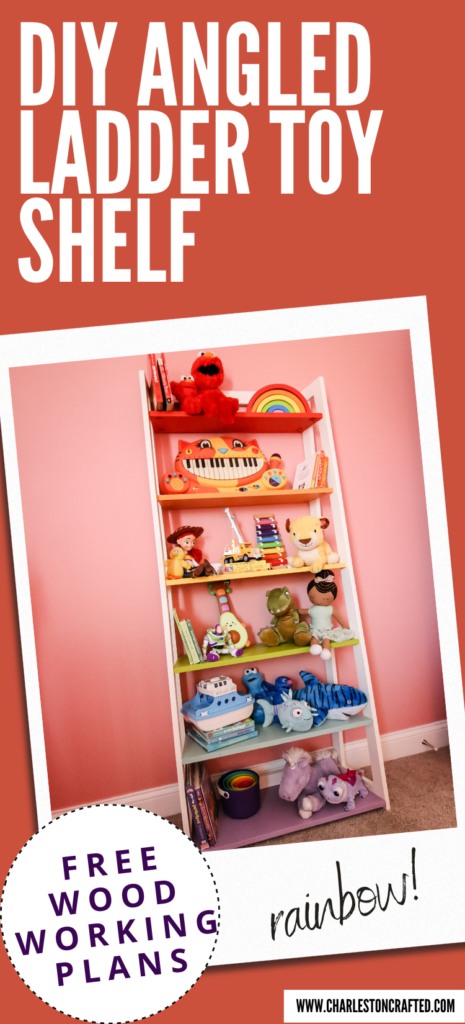
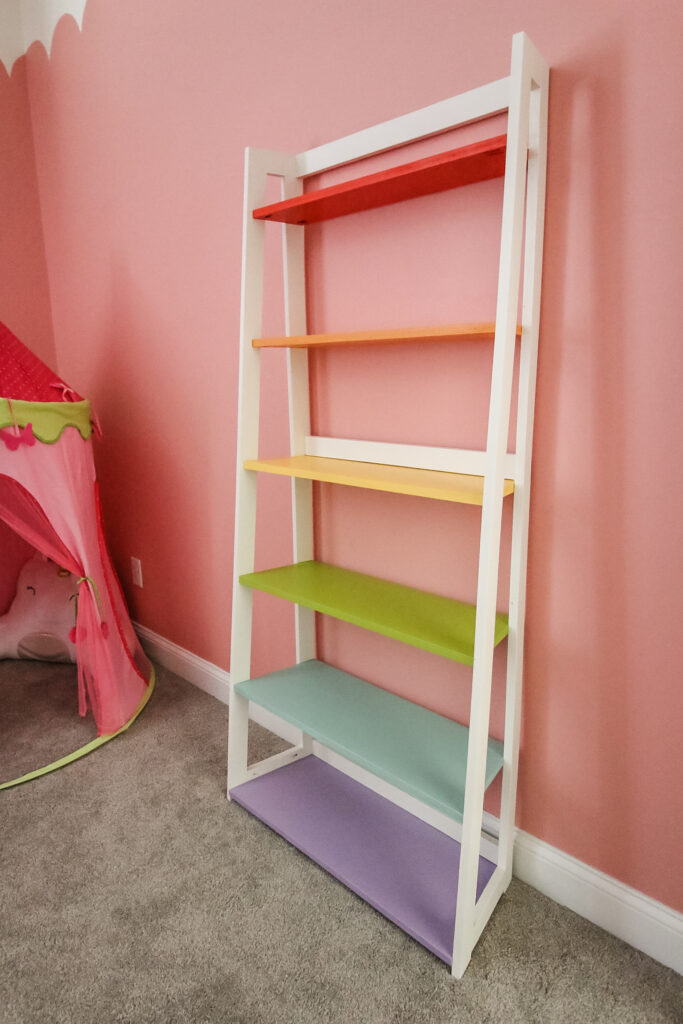
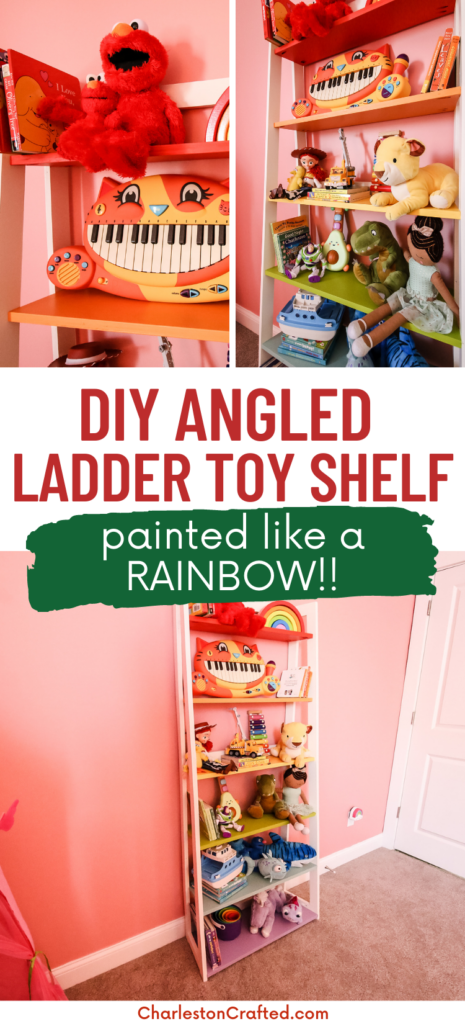
Add an angled twist to the classic ladder shelf with this DIY angled ladder shelf. The shelf has angled sides and has a wide base leading up to a narrow top. Use it for toys, books or decor!
This post was sponsored by Kreg Tool. All opinions are our own. Thank you for supporting the brands that make Charleston Crafted possible!
If you have kids, you know- stuff accumulates... a lot.
It's incredible how much stuff shows up when you don't even realize it. Like when I built our daughter this dollhouse shaped bookshelf and there were like 10 books on it. It's now completely packed and I don't remember buying a single book.
Same goes for all of her stuffed animals. I don't buy stuffed animals, but they are all magically here.
But they were all stuffed in an overflowing basket and on the floor. There wasn't anywhere to store them all. We needed toy storage and fast.
So, we built a DIY angled ladder toy shelf and painted it like a rainbow!
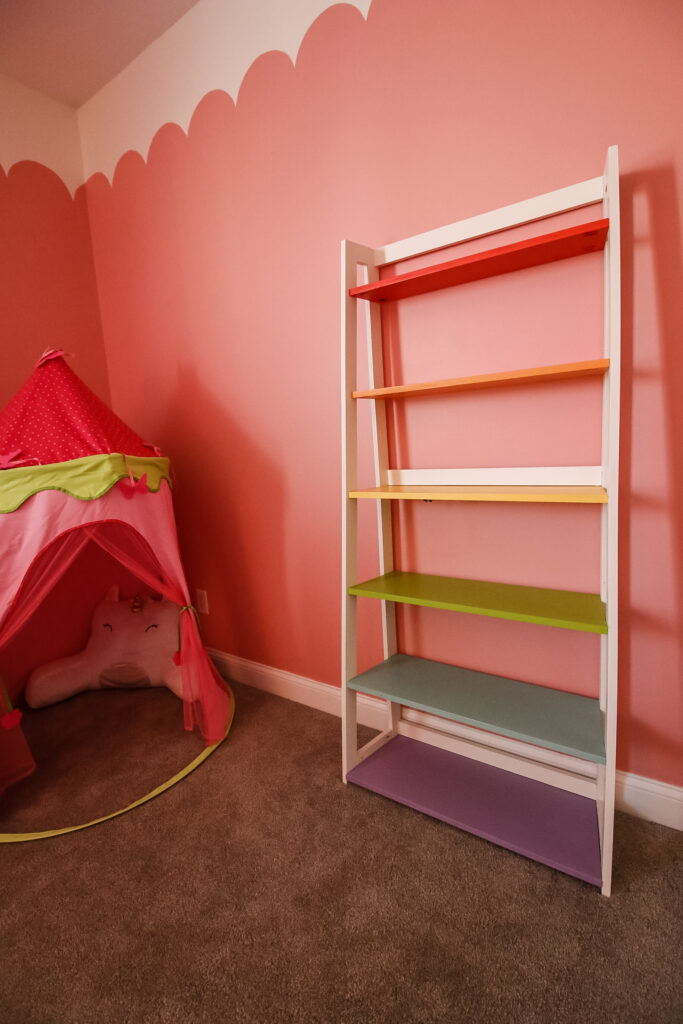
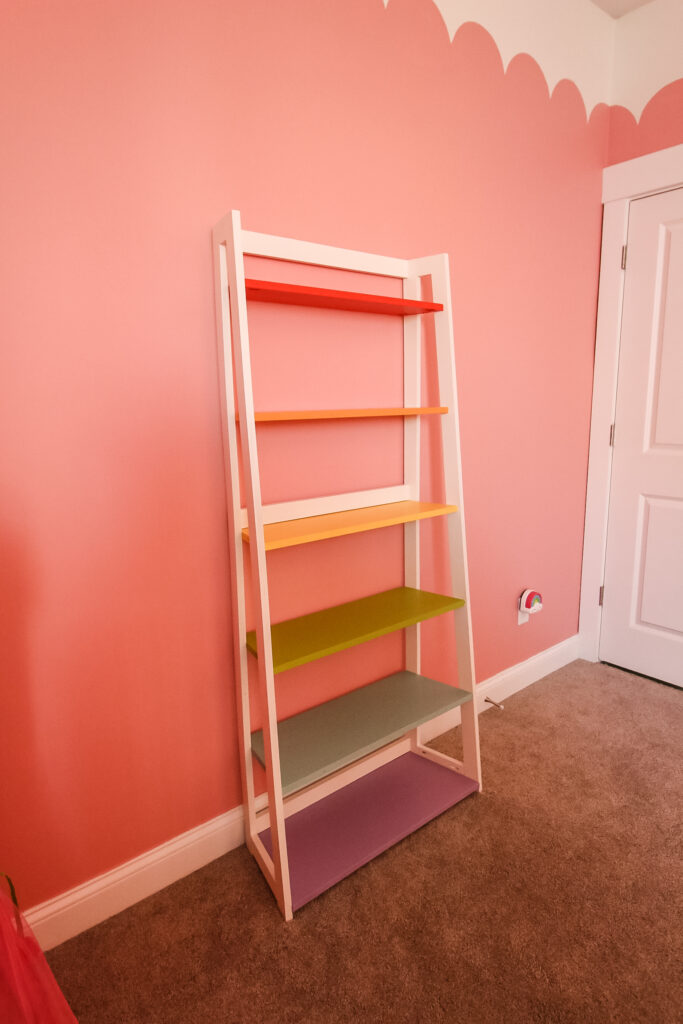
This is an angled take on the traditional ladder bookshelf with a slight taper on both sides. It brings a cool look that makes it unique.
Read on to see how we built it and how you can get free woodworking plans to build one for yourself!
DIY angled ladder toy shelf
Honestly, as soon as this project was done, it became a top three favorite project of mine from the year. It's just so much fun and super functional as well.
Obviously, we're using this as a toy organizer, but you can definitely use this project for your child's books as well or stain it a more traditional color and use it for yourself!
Make sure you check out our DIY tree-shaped toy/book shelf too for the nature kid in your life!
If you're stressing about where you're going to put all of the presents you're buying for your kids for the holiday season, make sure you build this project!
Materials and tools needed to build the shelf:
- One sheet of ¾" plywood
- 1 ¼" Kreg screws
- Kreg pocket hole jig of your choice
- Miter saw
- Track saw or circular saw
- Paint or stain
How to build a DIY angled ladder shelf
Here's the overview of how to build our angled toy shelf and how to make it look like a beautiful rainbow! If you want to get the full cut list and step-by-step images with computer models, head over to Kreg's Project and Plans site for the FREE woodworking plans we put up there!
Check out the plans for our simple DIY Montessori toy shelf as well!
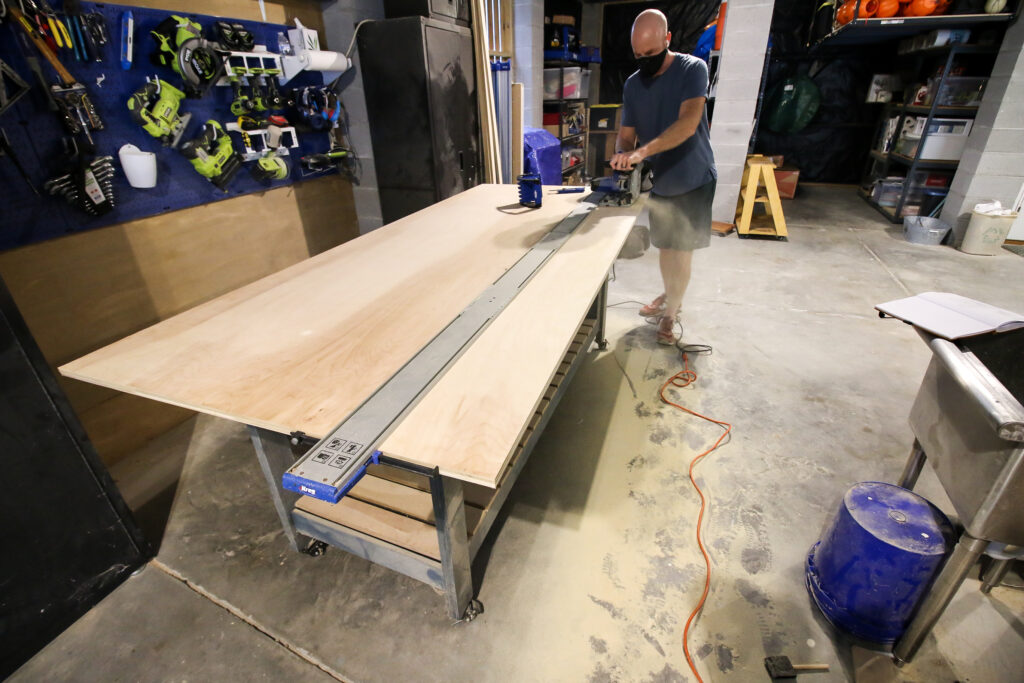
We used a single sheet of plywood to build this project, but we designed it so that it could be made by cutting down 1x12 pine boards as well.
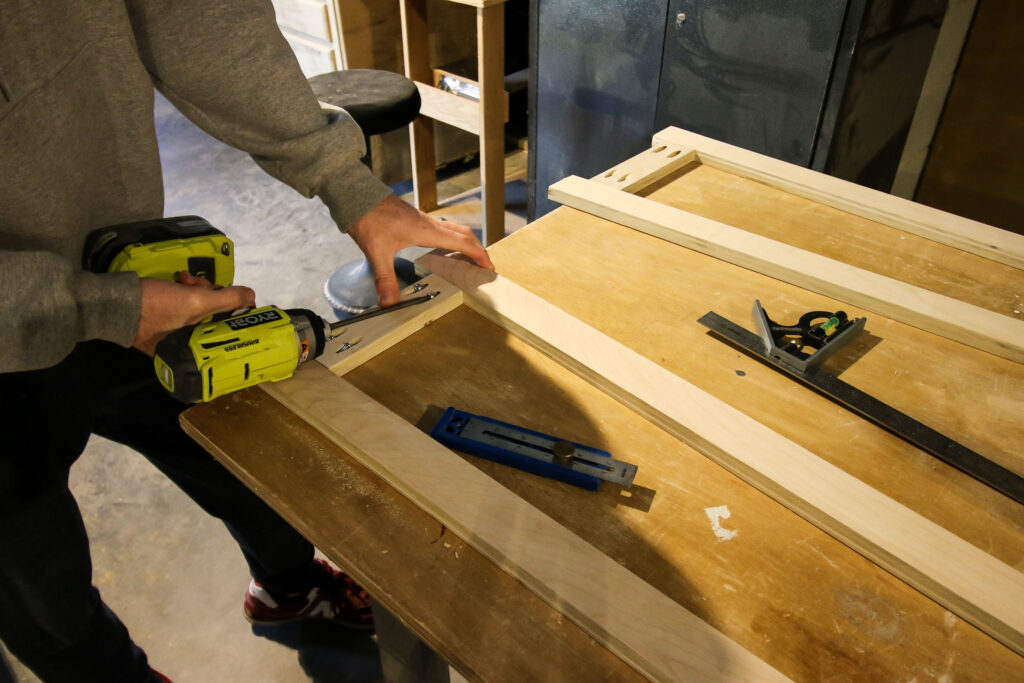
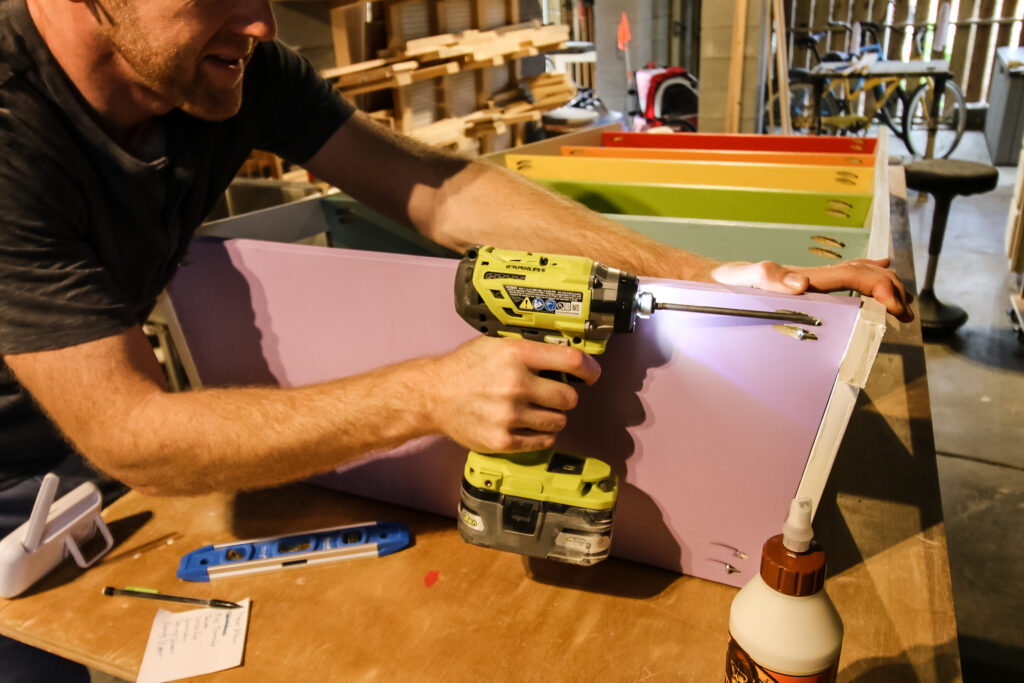
Step one: Make cuts and drill pocket holes
Start by making all the cuts in the cut list in the downloadable woodworking plans. That includes ripping down some strips off the plywood sheet first and then cutting out the boards for the shelves.
Then, drill your pocket holes. This was the second project where we used our new Kreg Foreman pocket hole machine. We recently started using it when we built our elevated tabletop centerpiece for holiday hosting.
I'm quickly falling in love with this machine because it makes drilling pocket holes so quick and easy with a huge work surface.
Once everything was cut and drilled we sanded everything smooth.

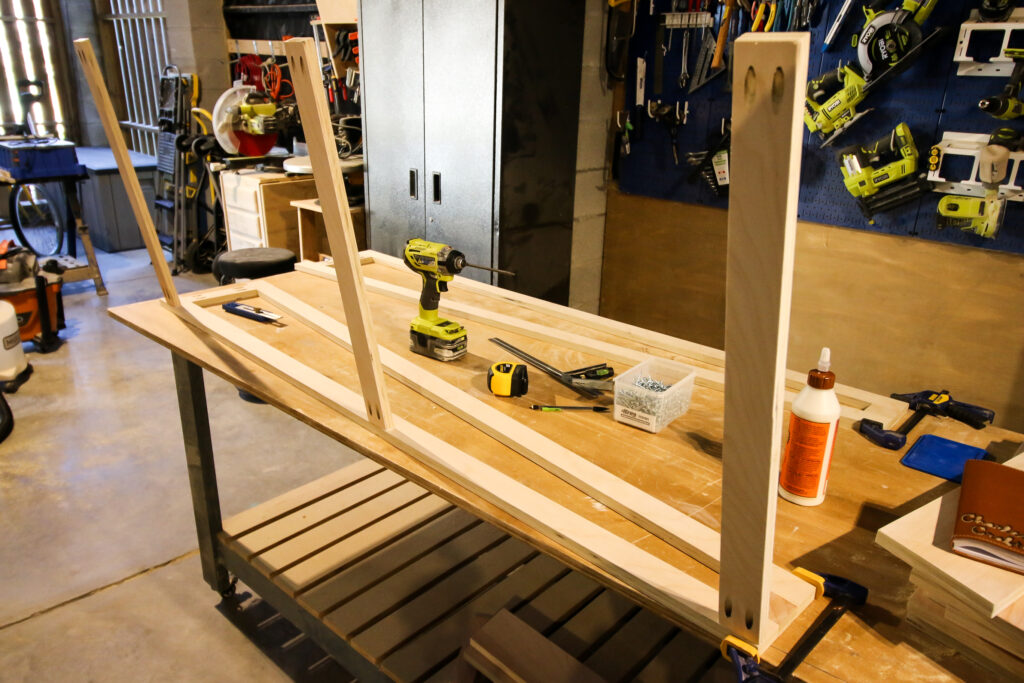
Step two: Assemble sides and connect
Next, we assembled the sides, which includes connecting a tall straight back post to a long angled post with two supports.
Then, we connected the two sides with angled support braces. These braces spread out the two sides with a 10 degree angle for a unique look.
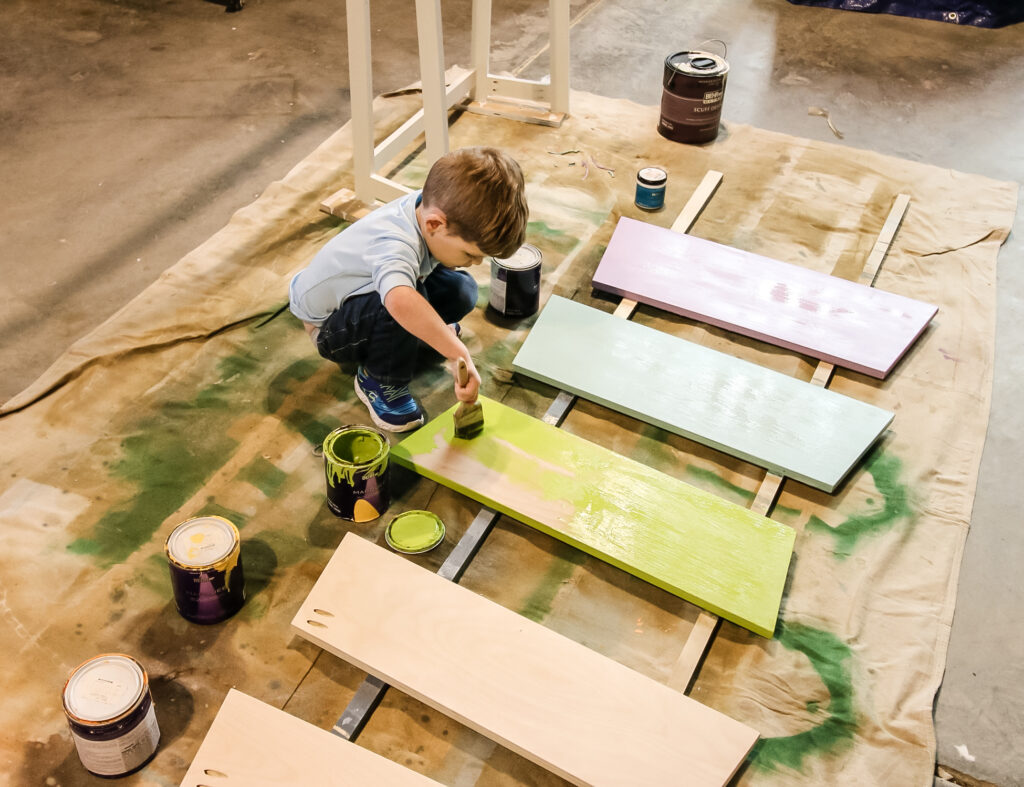
Step three: Paint like a rainbow
Once the frame was assembled, it was time to paint. If you were going to make this project all one stained color, you could assemble everything first, but since we wanted the rainbow shelf look, we painted now.
We painted the side pieces Behr's Papier Blanc (to match the white we used above the scallops on the wall in our daughter's room)
Then, each shelf from top to bottom was painted with the following Behr colors: Top Tomato, Toucan, Smiley Face, Green Neon, Spring Stream and Evening Slipper.
These are the same colors we used to paint a rainbow mural in our loft and our rainbow stairs!
Obviously, this project can be made without a rainbow too. You could choose to paint this just one color, two colors for the frame and shelves, or stain it a wood color of your choice. Make it your own!
Step four: Attach top shelf
After letting everything dry, we attached the top shelf first using wood glue and pocket hole screws.
The reason for attaching the first shelf at the top was that it is harder to have wiggle room up top because it's tighter, so it's easier to work down.
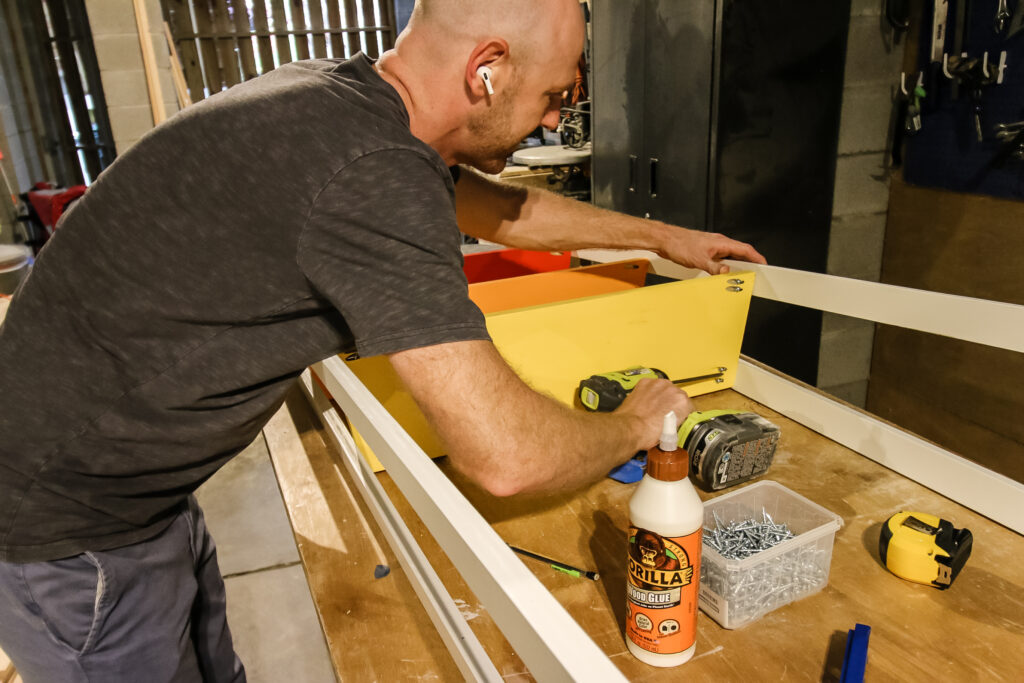
Step five: Continue attaching shelves
Then we repeated the process going down making sure every shelf was level and spaced appropriately.
The project really started coming together with each shelf! By the time it was done, it was looking so good!
Step six: Anchor to wall
Any leaning ladder shelf needs to be secured to the wall, especially if you have kids around. A shelving unit is great storage space, but it could quickly become a kids climbing toy if you aren't careful.
Read all about anchoring furniture to the wall here!
After we anchored the rainbow ladder shelves to the wall, we were ready to load it up!
DIY angled ladder shelf
We absolutely love how this toy shelf turned out! It looks even better in real life than in our brains.
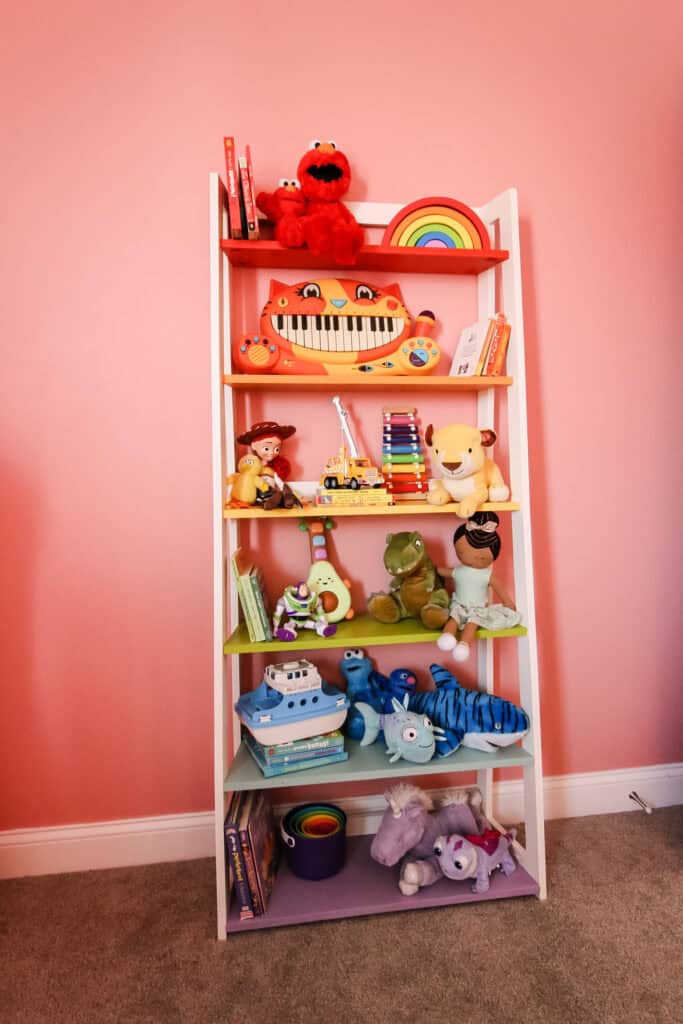
The rainbow works so well in a little kid's room and is so fun and bright. Plus, now we have room for all of her toys to be on display.
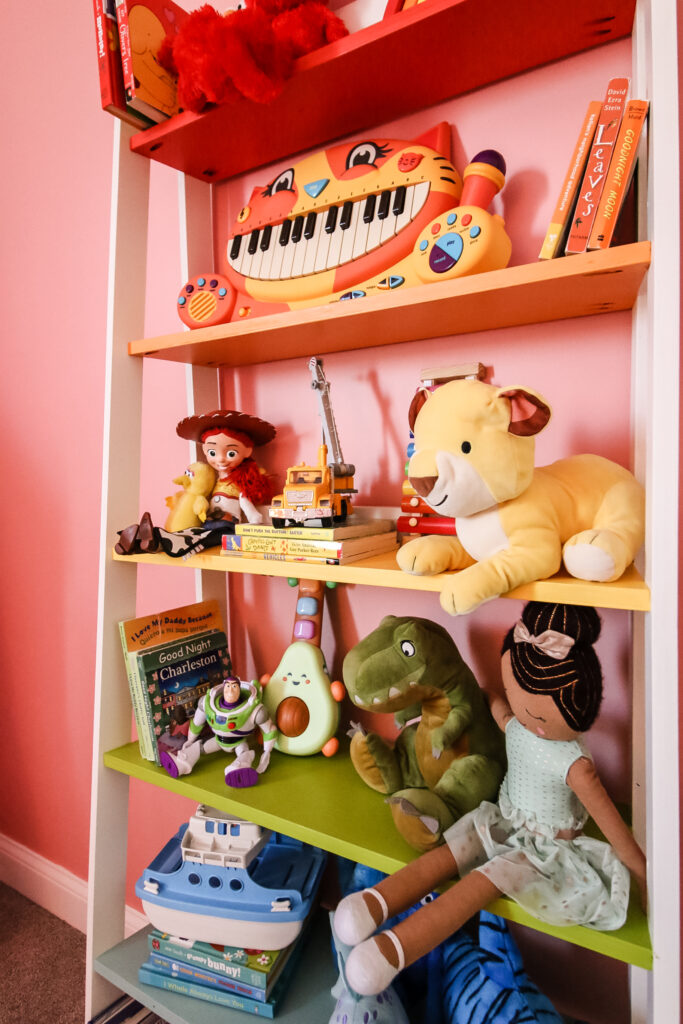
This is such a better solution than the basket she had before because now she can see everything she has and asks for what she needs.
FREE ladder shelf woodworking plans!
If you love this project and want to make one for the child in your life (or yourself!), we've got free woodworking plans!
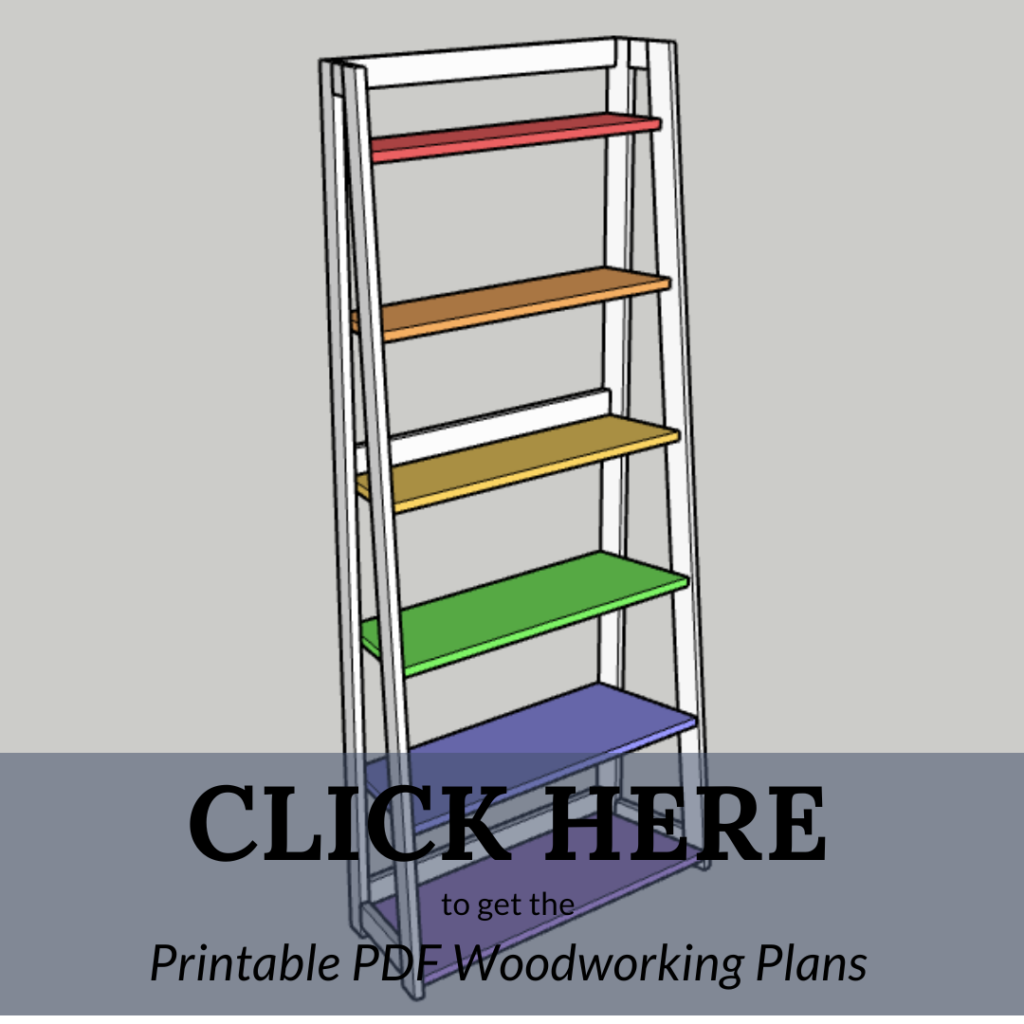
We've partnered with our friends at Kreg Tool to host our full downloadable plans on their Projects and Plans site.
A lot of our plans are there, and you can get everything you need for this project, as well as lots of other bookshelves and kids projects, so make sure to head over!
Basic woodworking information for every project
Here are some of our most popular woodworking articles!
Shopping for wood:
Woodworking project ideas
- 100+ of the best woodworking project ideas!
- 62 easy beginning woodworking projects
- Woodworking project ideas to make and sell
See all our printable PDF woodworking plans!
Our favorite tools + supplies
- See all our favorite tool reviews
- How to use a Kreg jig
- The ultimate wood stain guide
- The best wood fillers for your project
Remember to also always use safety equipment while woodworking and using tools. Make sure you have proper eye protection, ear protection and a good mask to keep yourself safe.
Interested in the Kreg Jig? Click here to read our full Kreg Jig review and to see all of our Kreg Jig projects.
New to the Kreg Jig? Here is a step by step guide on how to use a Kreg Jig!
OR grab our FREE Kreg Jig Cheat Sheet here! Download the cheat sheet!

Looking for something?
We've been doing this since 2012 so we have a LOT of blog posts!
Search stuff like: Ceiling Projects | DIY Plant Stands | Thrift Flips

Hey there, I'm Sean, the woodworking enthusiast and builder behind CharlestonCrafted.com! Since 2012, I've been sharing the magic of turning raw materials into beautiful creations. I love teaching others the art and satisfaction of woodworking and DIY. I try to inspire fellow crafters to make something extraordinary out of nothing at all.


