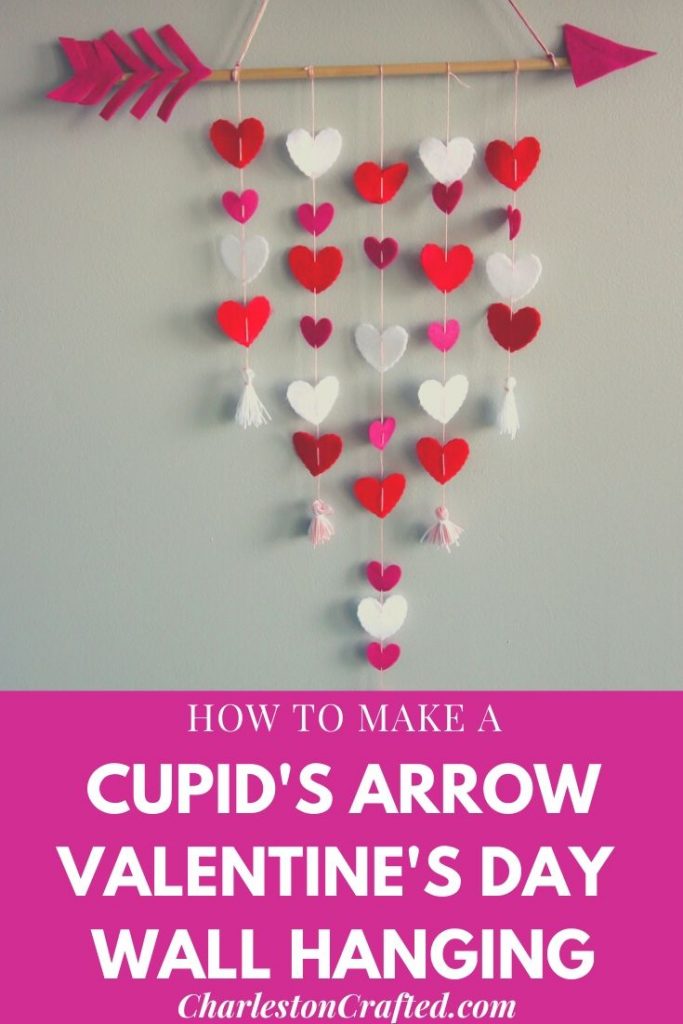
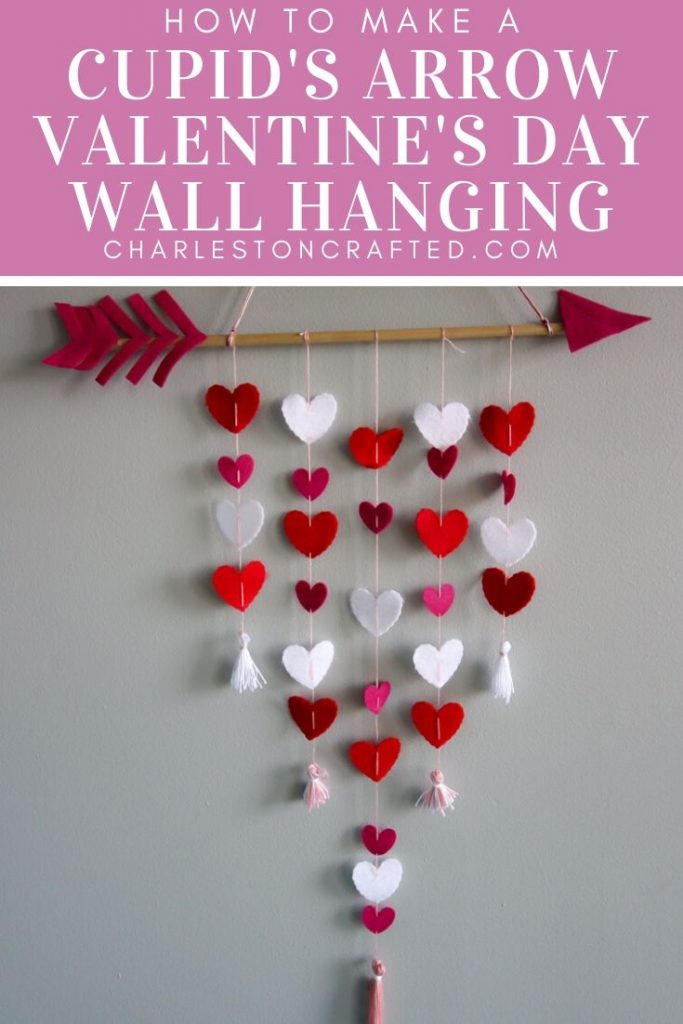
Getting ready for Valentine's Day? This DIY cupid's arrow wall hanging can be a wreath, part of a gallery wall, or hang anywhere that you need a touch of Valentine's day crafty spirit!
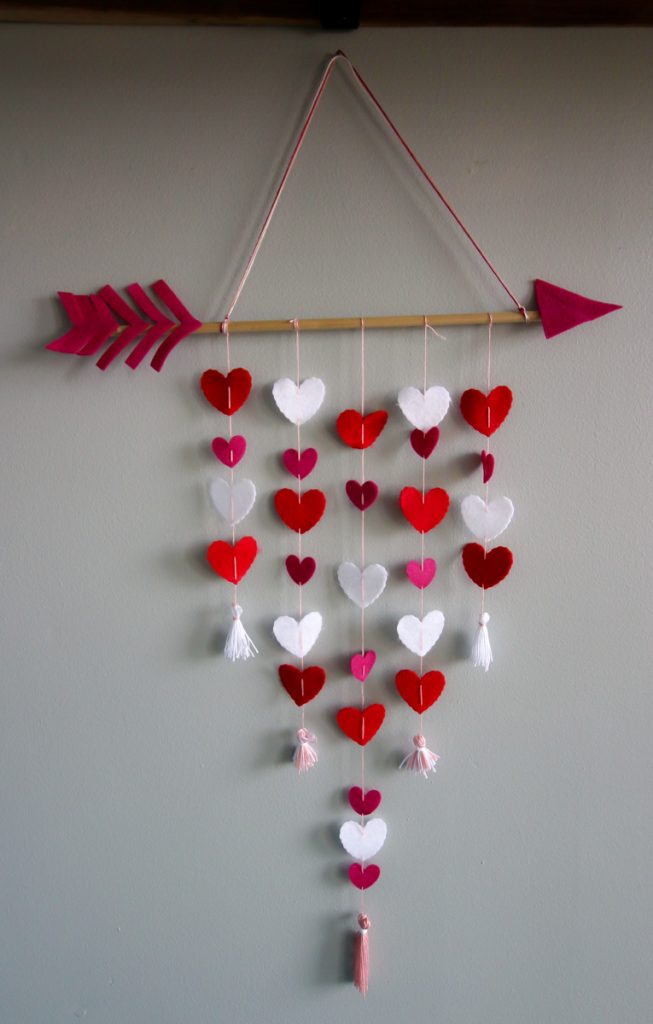
Feel like you've been shot with cupid's arrow? Maybe not, but this project was a fun and simple one for me to put together.
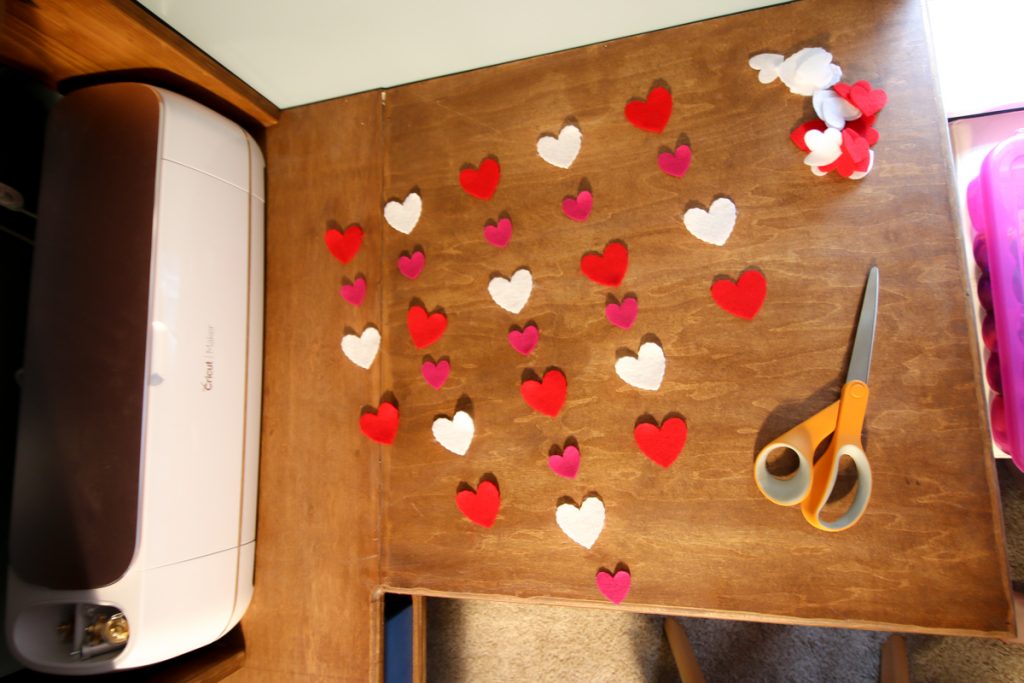
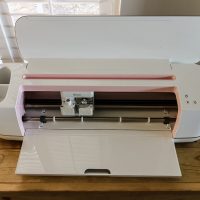
I used my Cricut to make the cuts, but you could easily cut all of the hearts out by hand - you'll just need pinking shears if you want the zig zag wavy look.
Speaking of that zig-zag look, let's talk about the Wavy Blade for a minute.
This was my first time using the blade. It's a bit like a rotary blade but with a scalloped finish.
Be sure to check out my complete guide to the Cricut wavy blade!
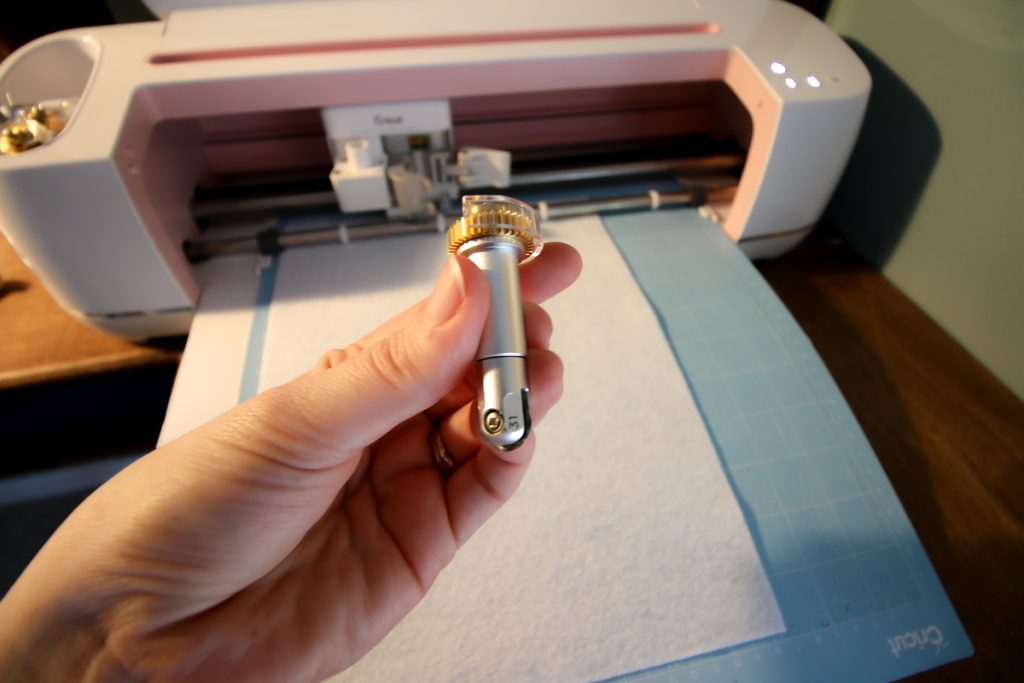
Honestly, it's not super easy to work with or super user friendly.
I don't know that I would recommend it unless you had a project in mind OR if you just want to have all the Cricut things.
I ordered it without any real plan and now feel like it was a waste.
That being said, you could easily cut these hearts out without the wavy blade - they would be very cute just plain and straight.
I didn't use the wavy blade for the smaller hearts anyway because it can't handle curves that small.

Want the exact cut file that I used, directly in Design Space? Sign up to get it below!
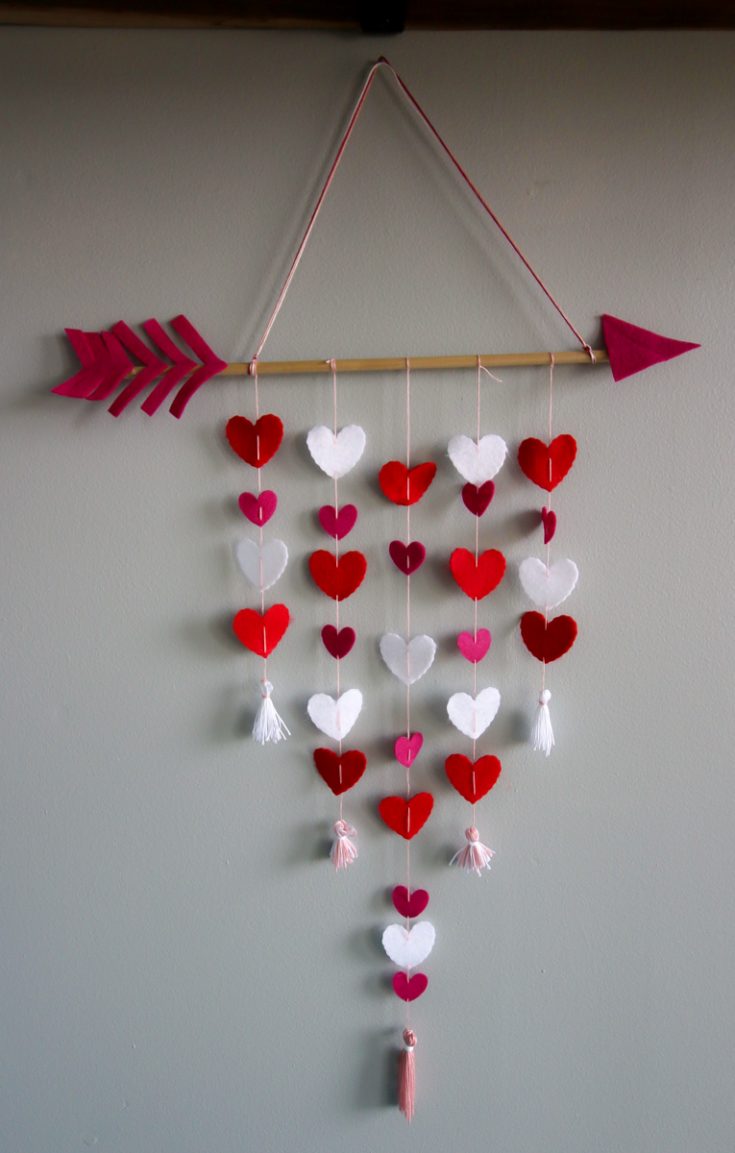
Anyways, I am hanging this on my front door from now until the 14th. I think that it is super cute and festive!
Supplies used:
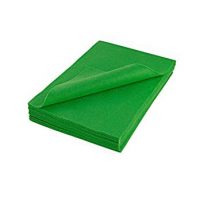
- Pink, red, white felt
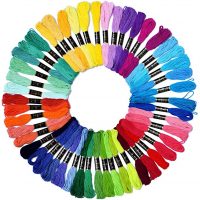
- Embroidery floss
- ½" dowel cut to 18" or desired length
- Scissors
- Cricut + wavy blade or pinking shears and scissors
- Embroidery needle
- Hot glue gun & glue sticks
Check out the step by step instructions for how to make your own below.
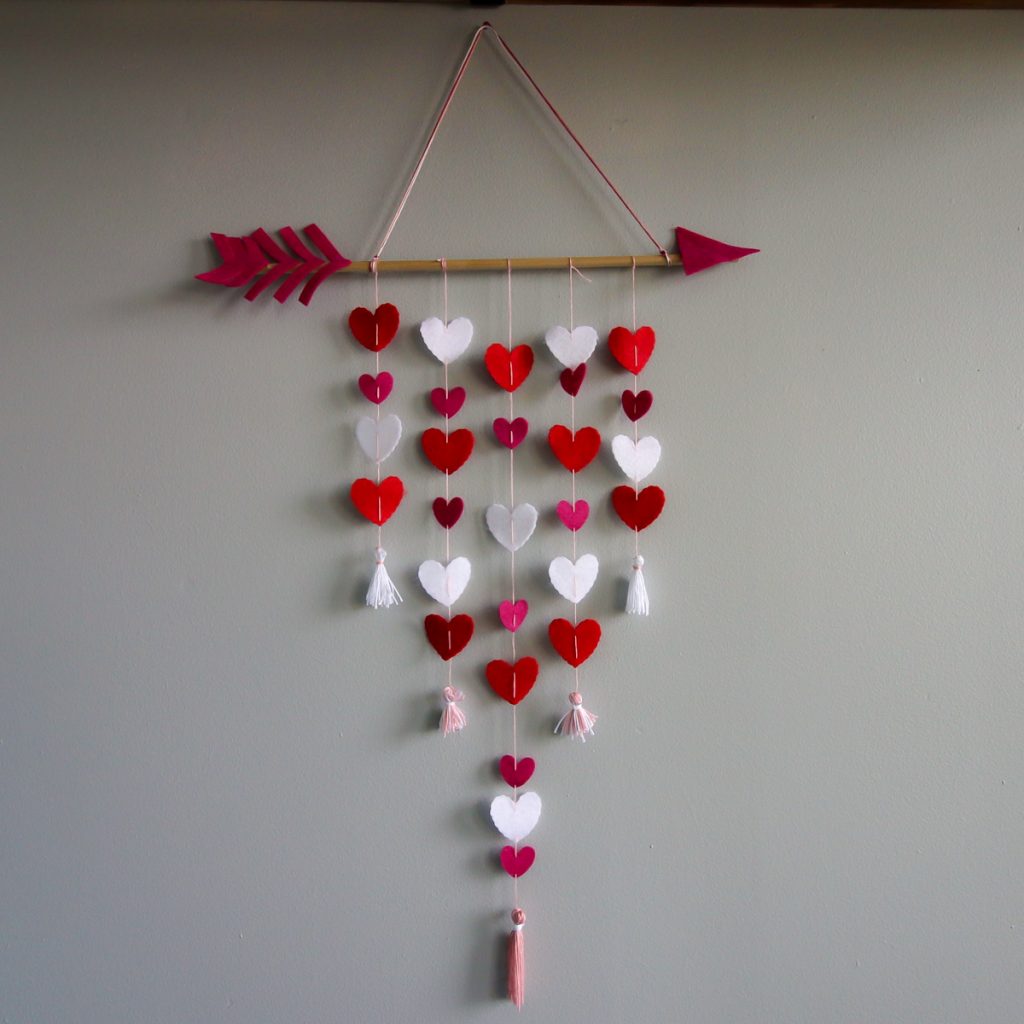
How to make a Valentine's Day Cupid's Arrow Wall Hanging
Want to bring a little Valentine's day spirit into your home? This arrow wall hanging is super quick and easy to make and can be adjusted to any width.
Materials
- Felt - pink, white, and red
- Embroidery floss - pink and white
- ½" dowel cut to desired length (mine is about 18")
Tools
- Scissors
- Cricut with wavy blade OR pinking shears
- Embroidery needle
- Hot glue gun + glue sticks
Instructions
- Cut your shapes out of the felt. Use the widget above to get access to my Design Space project file if you are using the Cricut, or cut hearts out by hand. I used the wavy blade for the larger hearts and the rotary blade for the smaller hearts.
- Lay out your hearts to achieve the desired pattern.
- Thread your needle with embroidery floss. I prefer to first separate my embroidery floss - each strand is made of 6 threads. I use only 3 threads at a time.
- Tie a knot in the end of the floss and thread on the hearts. You can do one big stitch per heart or lots of smaller ones, depending on the desired look. Leave enough thread at the end to tie onto the dowel.
- Repeat to complete all 5 threads (or however many you prefer for your design)
- I then created a tassel for the end of each strand. Wrap thread around your fingers to create a look - I loop it around 15 times per tassel. Cut thread. Slip loops off fingers carefully. Cut a small piece of string in a contrasting color and wrap around the top of the loop several times. Double knot. Use scissors to cut the loop on the bottom to create a tassel look.
- Tie each tassel onto the end of a strand of hearts.
- Tie each strand of hearts onto the dowel. Trim an excess thread.
- Use hot glue to attach the point and tails of the arrow to the dowel.
- Use embroidery floss to create a long hanger for the arrow. Tie onto either end. Trim any excess.
- Hang and enjoy!
Recommended Products
As an Amazon Associate and member of other affiliate programs, I earn from qualifying purchases.

How are you decorating for Valentine's day?

Looking for something?
We've been doing this since 2012 so we have a LOT of blog posts!
Search stuff like: Ceiling Projects | DIY Plant Stands | Thrift Flips

Hello, I'm Morgan, half of the creative force behind CharlestonCrafted.com! With a passion for DIY that dates back to 2012, I've transformed three homes and now I'm dedicated to helping others craft their dream spaces. Let's turn your house into a home together!


[…] Cupid’s Arrow Wall Hanging from Charleston Crafted […]