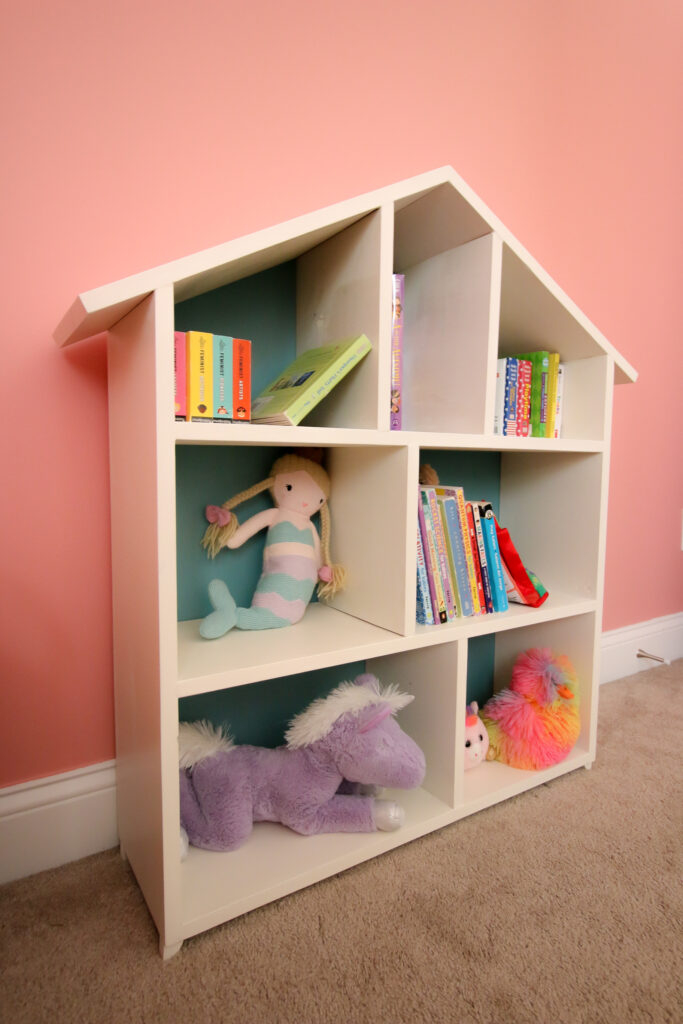
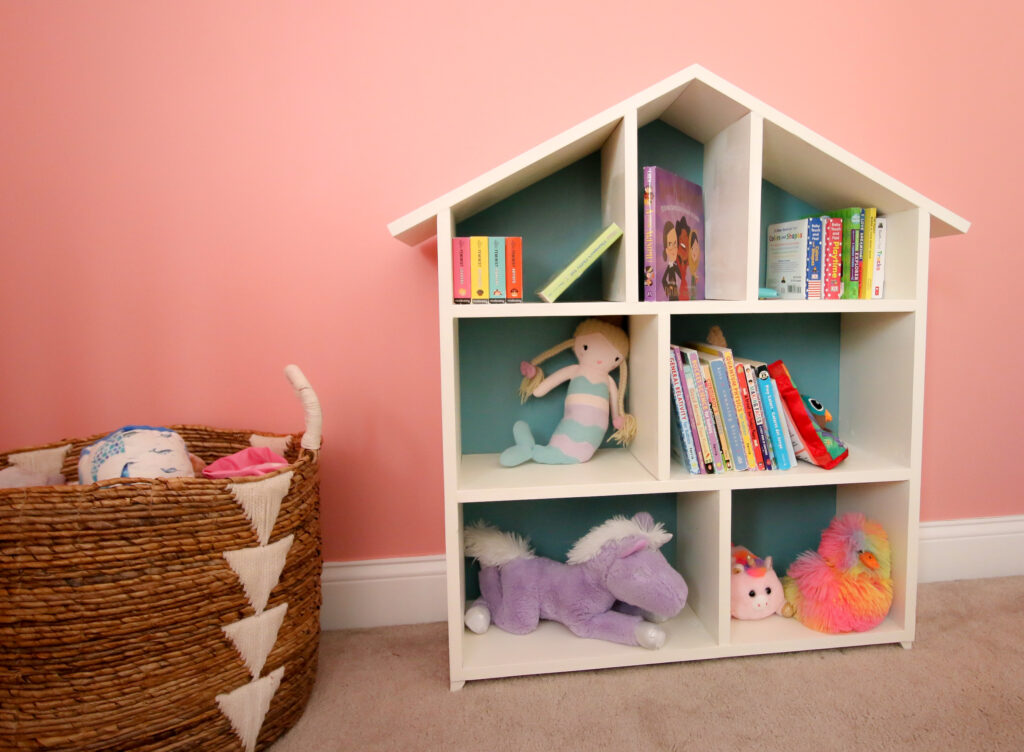
We built this DIY dollhouse bookshelf for our daughter's nursery and it's so cute! Check out the tutorial below and grab the woodworking plans to build one yourself!
We're wrapping up our daughter's room makeover and needed a place to put her books and a few toys.
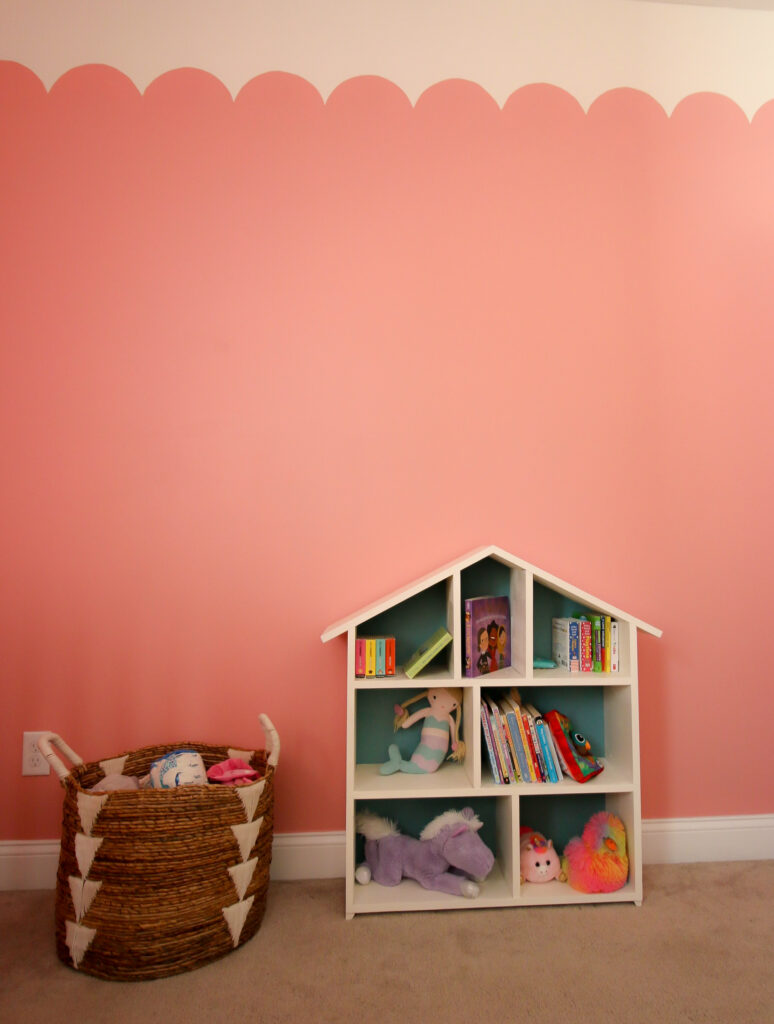
Her room is whimsical and fun, yet classy and traditional.
Each element of her room is being tied together in some way. We painted her room in a shade of pink with scallops and stained her crib with a whitewash.
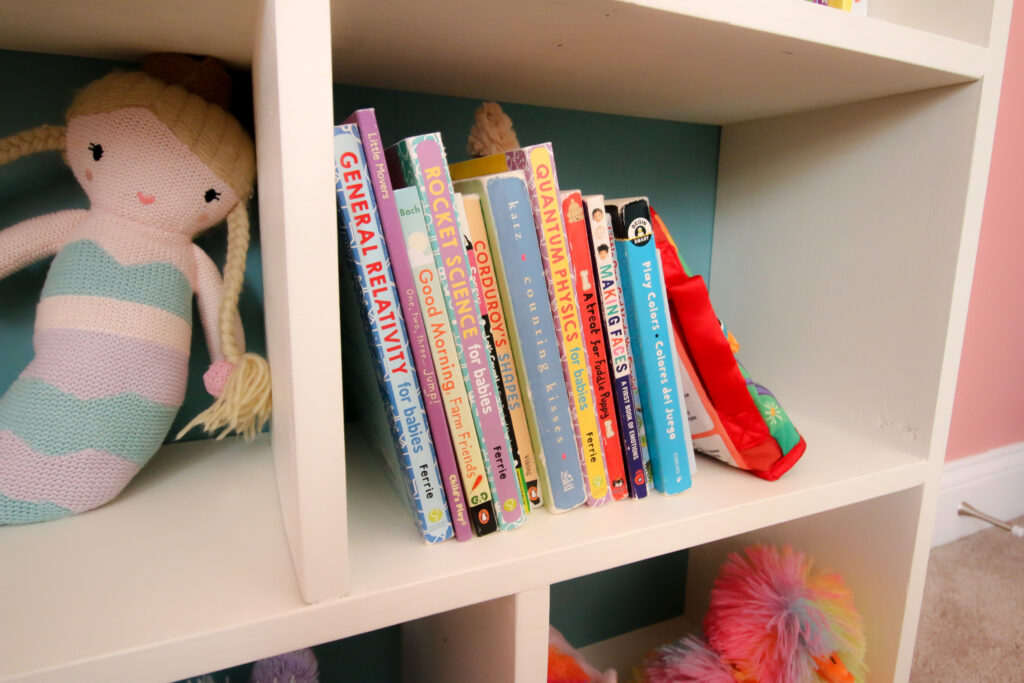
We wanted a cute bookshelf that would be able to hold a good amount of books, but be able for a toddler to reach.
This DIY dollhouse shaped bookshelf is perfect for any kids room and can be painted or stained for your style!
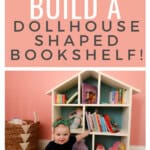
DIY house bookshelf
This DIY dollhouse bookshelf is a simple build that can be used in any kid's room. It's cute that it's shaped like a house and also functional.
This bookcase could also be used as an actual dollhouse. Each of the rooms can be painted and styled a different way to use with dolls and toys.
Remember that all children's furniture, especially shelving like this, should be braced to the wall to prevent tipping. This is very important for toddler safety!
Below is the simple step-by-step tutorial for how to build a DIY dollhouse bookshelf. Check out how we built it and get the printable PDF plans below!
Be sure to check out our other bookshelves that are perfect for kids!
Dollhouse bookshelf tutorial
Here's the overview for how to build a dollhouse bookcase and what you'll need to do it.
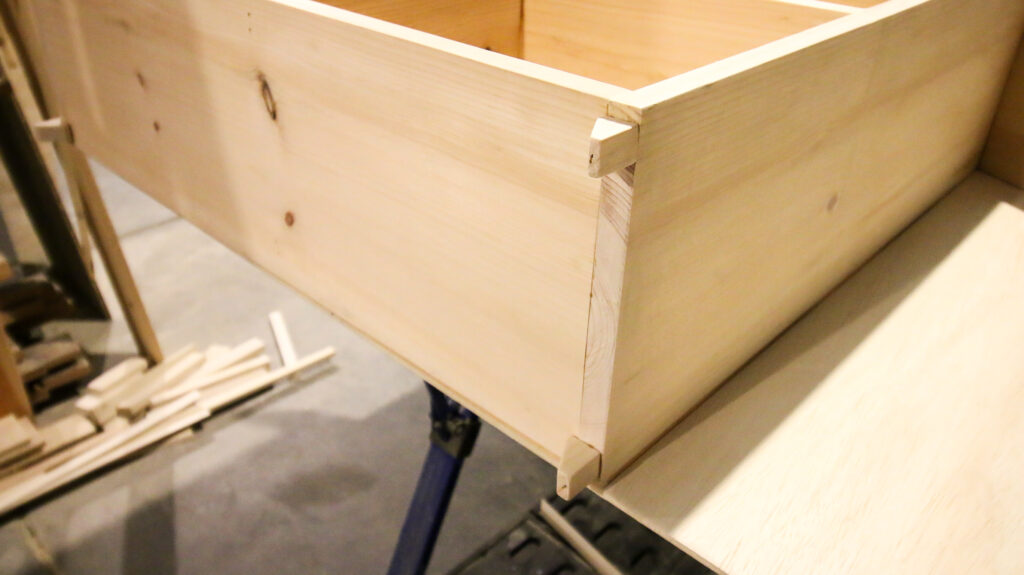
All of the joints we made with a nail gun, applying wood glue to the edges before nailing for added strength.
Since we planned to paint this piece, we just used a little wood filler to fill the nail holes, then sanded before painting.
You could use pocket holes if you prefer, but we didn't find them necessary for this project.
Materials needed
- (2) ¾"x9 ¼"x10' boards of your choice
- (1) 4'x4'x¼" plywood
- Wood glue
- Stain or paint of your choice
- Sealant
Tools needed
Step One: make all cuts
The first step is to make all the cuts in the cut list of the PDF plan.
It's easiest to make all of the cuts first so that you can assemble all at once with no problem.
After all the cuts are made, sand all sides and edges of each of the pieces.
Step Two: Attach Shelves to Sides
Next, we built the frame of the bookcase. To do this, we attached each of the shelves to the two sides.
The best trick to making sure the shelves are at the right height is to use the actual dividers as spacers.
We attached the lowest shelf flush with the bottoms of the sides first, using wood glue and nails from the outside of the side through to the shelf.
Then, we used the dividers on the sides to attach the next shelf.
There are three shelves on this cute dollhouse bookshelf, but the top one is set down a bit from the sides. You'll see why.

Step Three: Attach Lower Dividers
Once all the shelves are on, we attached each of the lower shelves a foot in from each side.
This is a great opportunity, if you're following these plans to build this bookshelf for yourself, to adjust the placement of the dividers.
Changing the location of each divider is no difference on the structure of the bookshelf, but can change how each "room" looks.
Step Four: Attach Roof
Next, we attached the two roof pieces to each other using wood glue and nails.
When those were solid in place, it was time to attach the roof to the sides.
The roof is cut at the same angle as the beveled cut on the sides, so it slide right into place.
Step Five: Attach Top Dividers
The top dividers are angled as well, so they slide into place against the roof on the top shelf.
These top dividers make three great sections at the top of the bookshelf.
The center section is extra tall, so it's perfect for those abnormally tall kids books.
The side sections are sloped and smaller, great for small board books or a cute piece of decor.
Once it's all done, if you want to add feet, attach some small pieces of wood to the base.
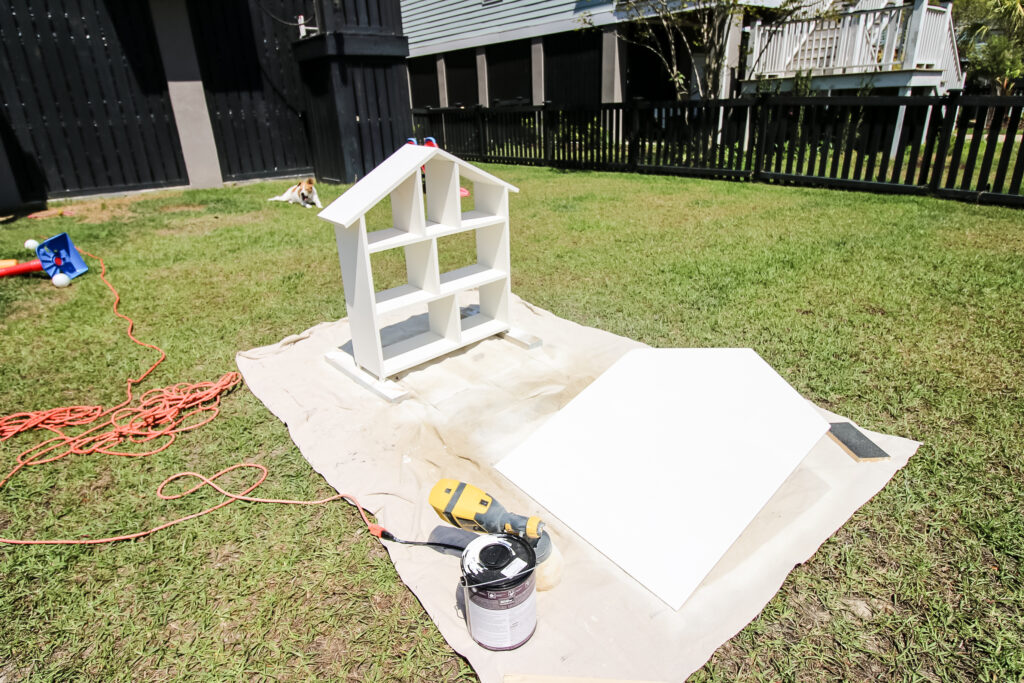
Step Six: Attach Back
Once the entire bookshelf is built, lay it out on the ¼" plywood and trace it out. This way you'll know exactly what shape you need for the back and have the angles and lengths perfectly.
Cut out that traced shape with a jig saw or the saw of your choice!
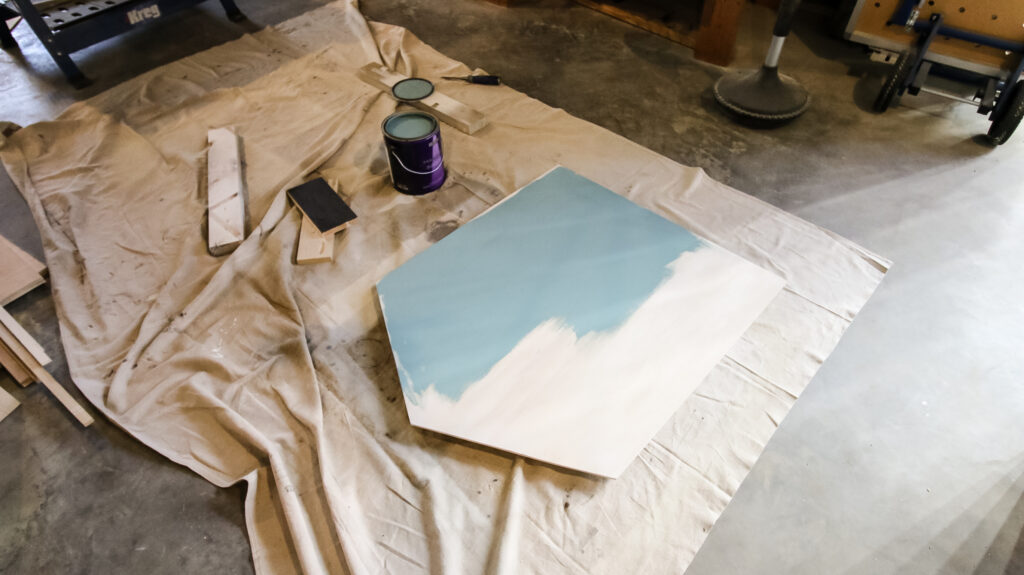
With the back cut, this is a great opportunity to customize the color of your bookshelf.
We painted the bookshelf body with one color to match the room, but painted the backer a separate color to tie into the dresser in the room.
If you want to make this look more like a dollhouse, you could paint each room a separate color, and it's a lot easier to do before you put the back on.
After everything is painted how you want, attach the back to the bookshelf with wood glue and nails.
Final reveal of our DIY dollhouse bookshelf
We love how this DIY dollhouse bookshelf turned out!
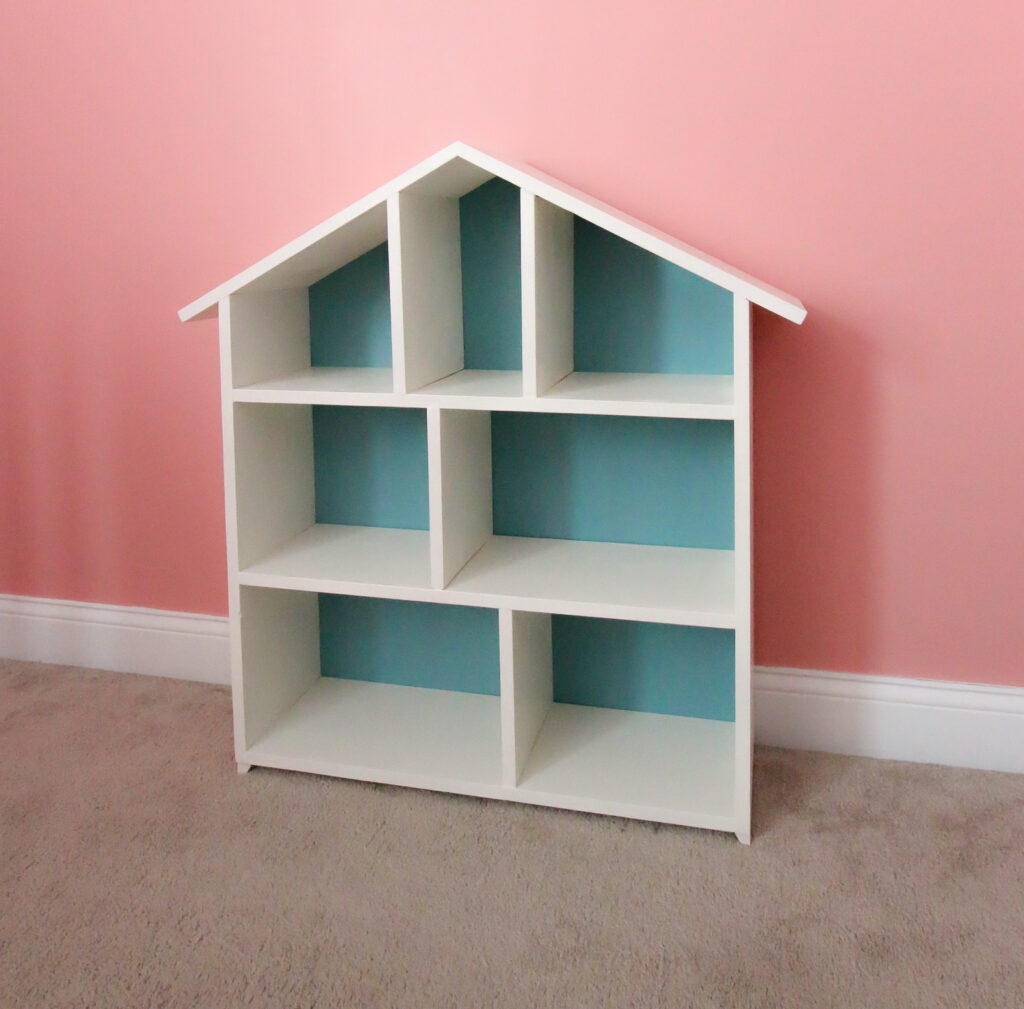
This cute dollhouse bookshelf is the perfect addition to any kid nursery. It allows for imaginative play and great storage.
Now each of our kids has a fun bookshelf, with our son having his tree bookshelf.
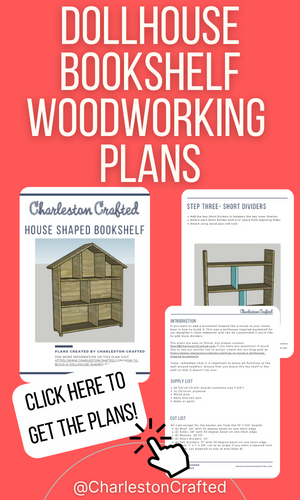
DIY dollhouse bookshelf woodworking plans
You can get the woodworking plans to make our DIY dollhouse bookshelf right here!
These plans will print out a clear list of materials, cuts and step-by-step instructions.
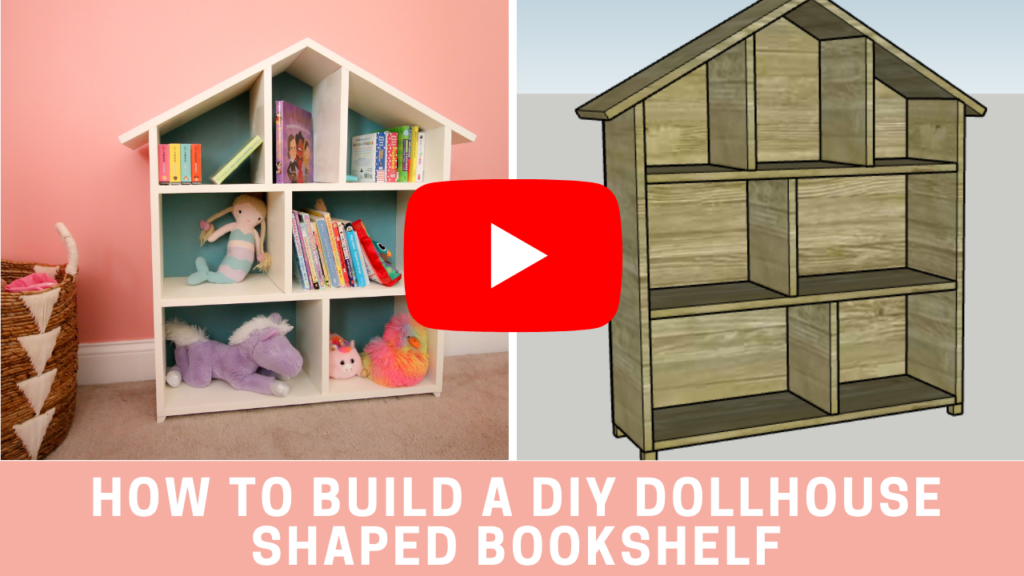
Each of our woodworking plans includes computer model images to clearly show you each step. Make sure you download yours today!
DIY dollhouse bookshelf video tutorial
If video tutorials are your thing, you can click over on the image below to check out our video tutorial on YouTube!
There, you'll see how we did it in real time and can use it to get all the information on how to build your child this fun bookshelf!
Basic woodworking information for every project
Here are some of our most popular woodworking articles!
Shopping for wood:
Woodworking project ideas
- 100+ of the best woodworking project ideas!
- 62 easy beginning woodworking projects
- Woodworking project ideas to make and sell
See all our printable PDF woodworking plans!
Our favorite tools + supplies
- See all our favorite tool reviews
- How to use a Kreg jig
- The ultimate wood stain guide
- The best wood fillers for your project
Remember to also always use safety equipment while woodworking and using tools. Make sure you have proper eye protection, ear protection and a good mask to keep yourself safe.

Looking for something?
We've been doing this since 2012 so we have a LOT of blog posts!
Search stuff like: Ceiling Projects | DIY Plant Stands | Thrift Flips

Hello, I'm Morgan, half of the creative force behind CharlestonCrafted.com! With a passion for DIY that dates back to 2012, I've transformed three homes and now I'm dedicated to helping others craft their dream spaces. Let's turn your house into a home together!