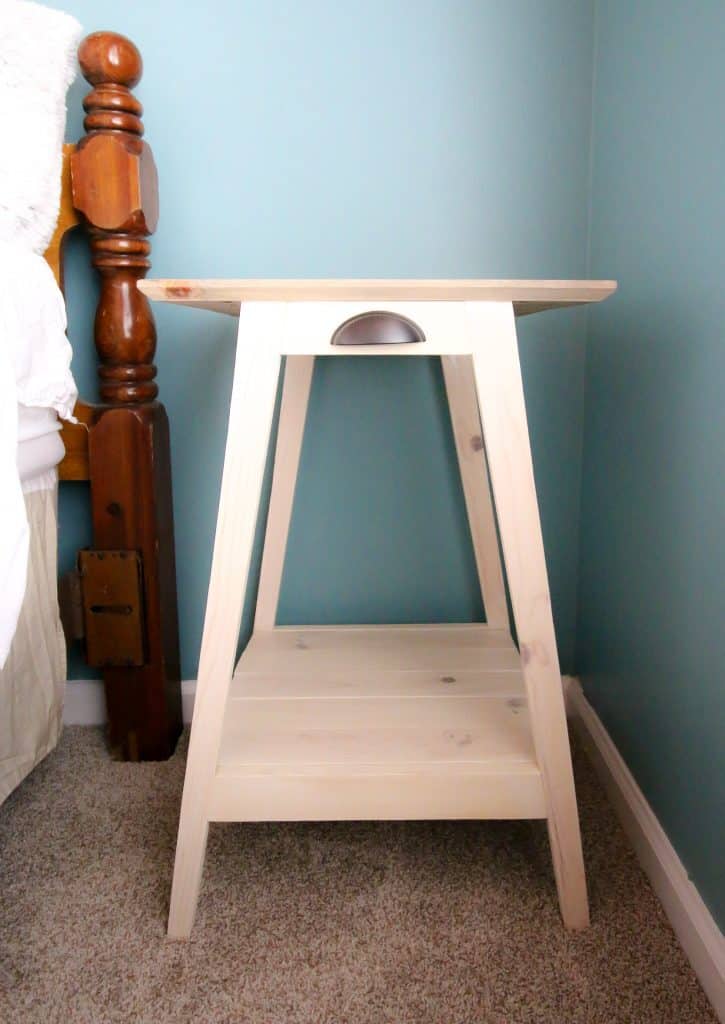
Here's how to build a DIY midcentury modern style side table that works perfectly in a living room or as bedside tables!
You know that old, mismatched side tables just weren't going to work in a newly renovated guest bedroom. We wanted matching tables that also matched the stain colors of our triangle brackets and bookshelf above the bed.
This DIY mid century modern side table is easy to reconstruct using the instructions in this post and with our woodworking plans, but let's dive into some of the details!
In case you missed it, check out the guest bedroom design plan here!
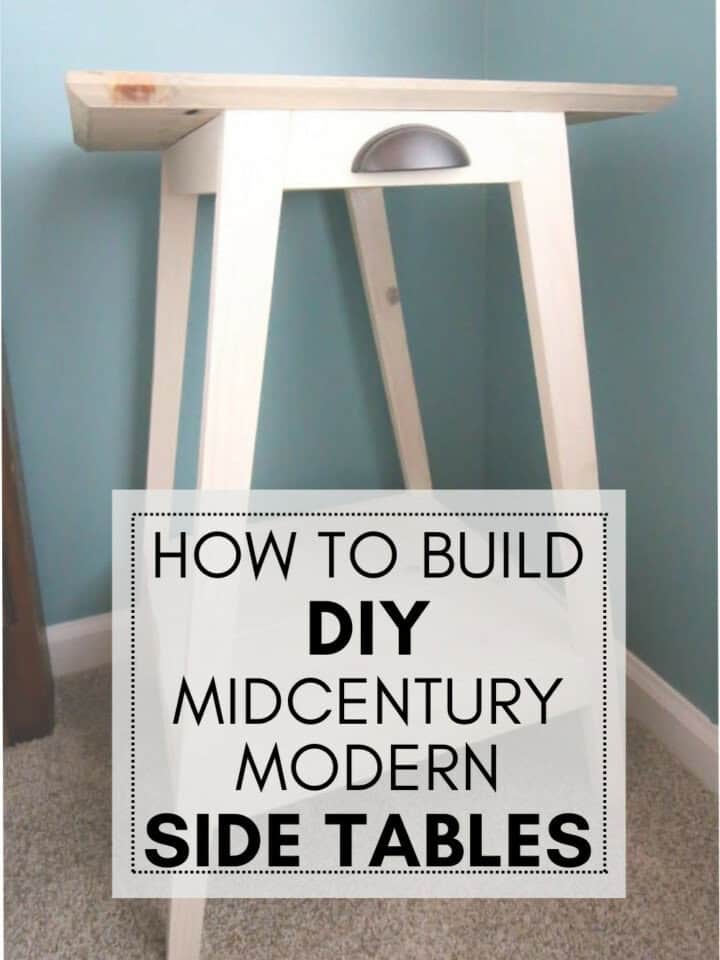
Mid Century Modern Side Tables
We constructed these tables with custom cuts and broke it down into three pieces: frame, top, and shelf.
This side table looks great next to our coastal console table and modern platform bed!
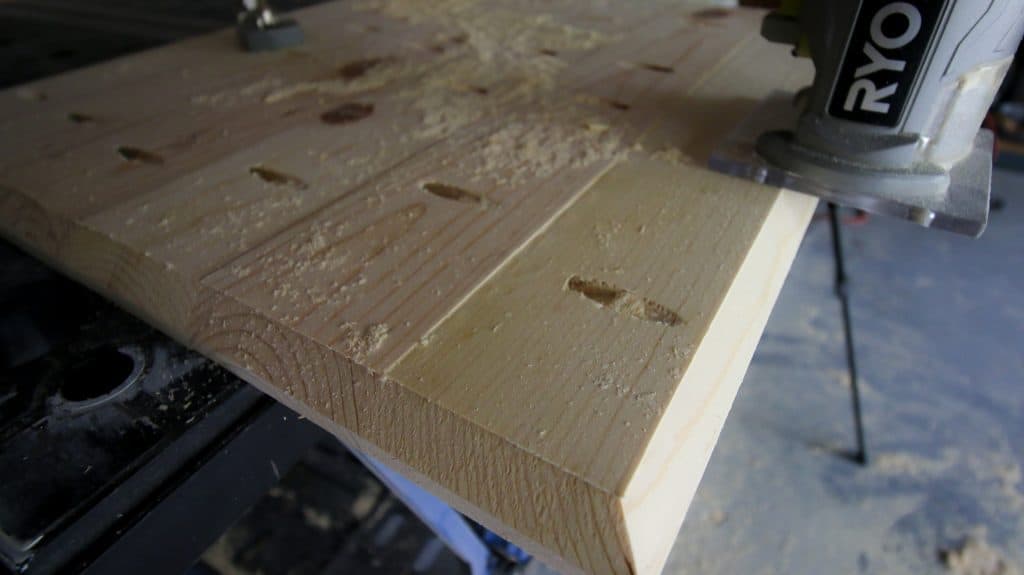
Step one: build the top
The top was easy after making the cuts first. We drilled pocket holes and attached the pieces flush together.
Here's more information on how to make a tabletop with pocket holes!
Then we added a nice element and ran a router around the bottom edge to add a nice touch. This just makes it a little more interesting and less basic.
Step two: build the lower shelf
We did the same thing for the shelf, creating pocket holes to attach the boards together, but we didn't route the edge.
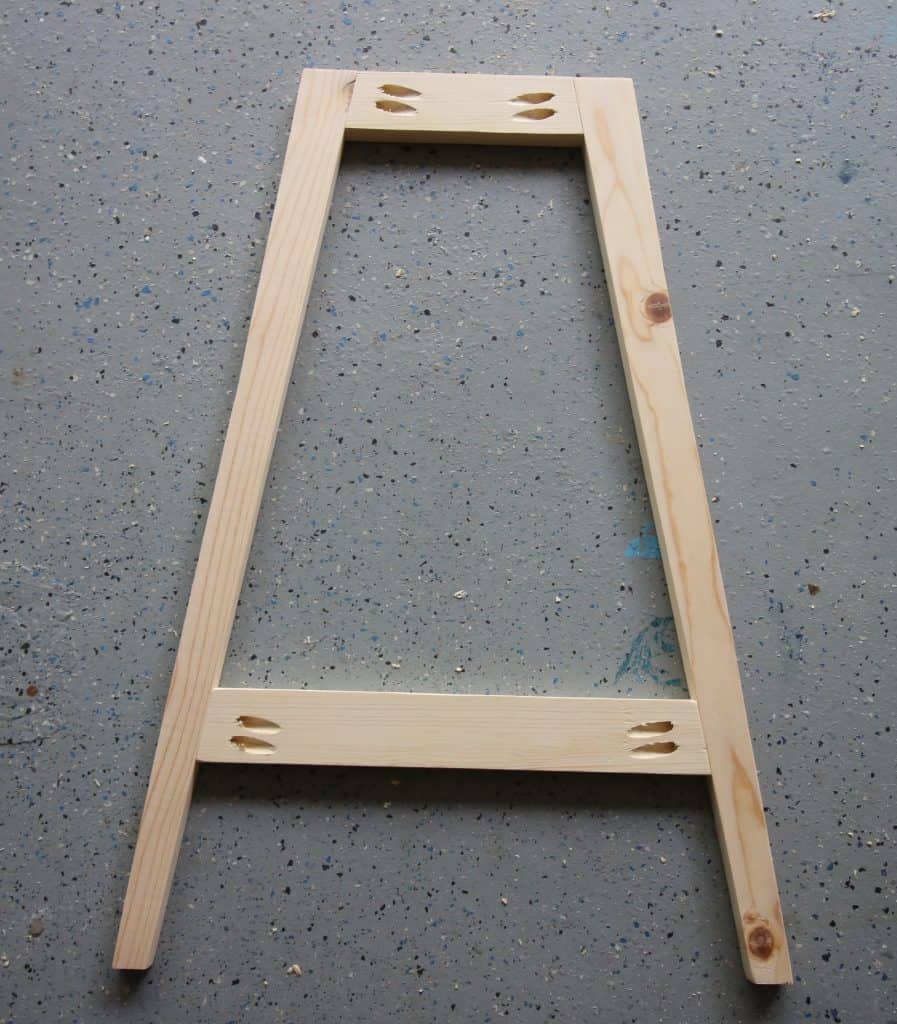
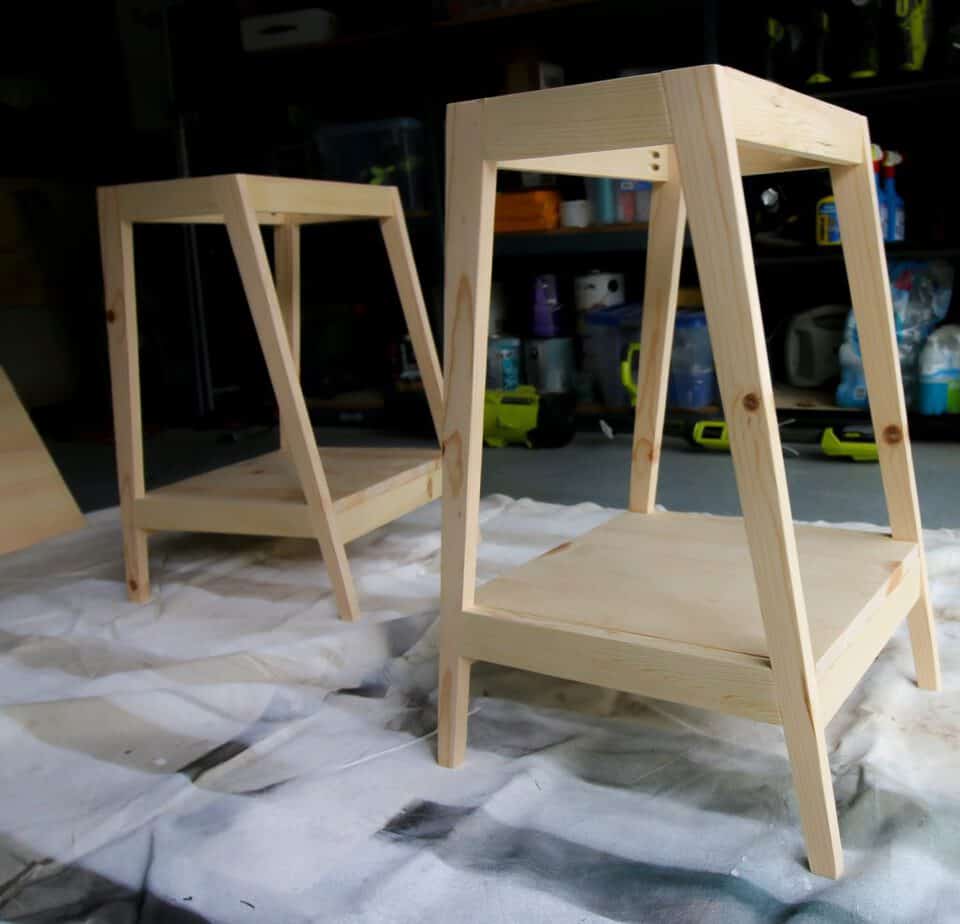
Step three: build the sides
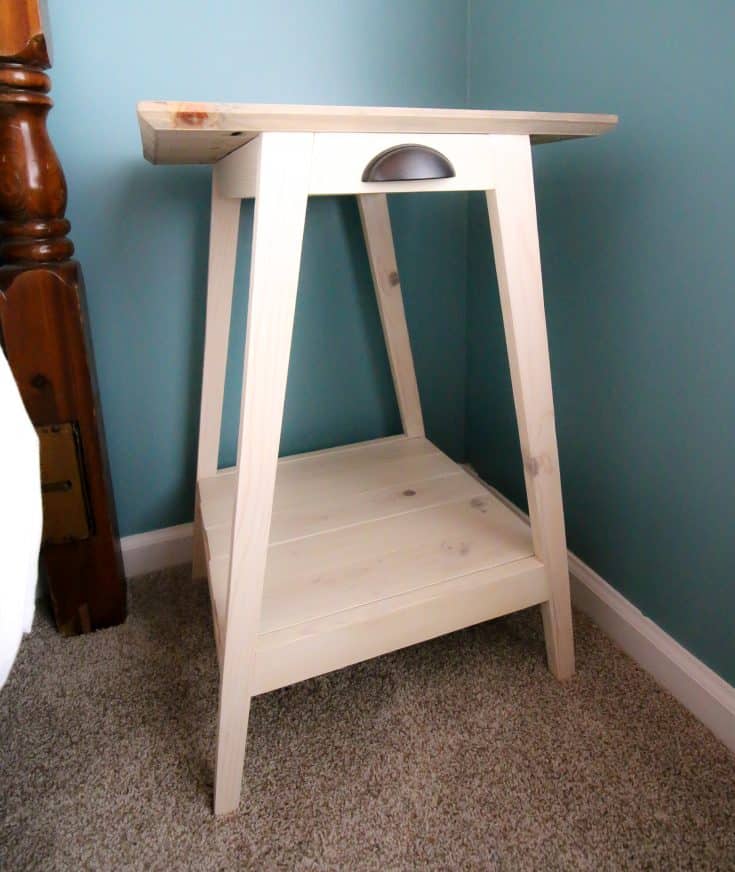
Then we created the frame. The frame is simple when you realize it's just two A-frames attached with four boards.
We built these with a slight taper on the legs and a 10 degree angle on the boards so that it would have the angled look of a midcentury piece of furniture.
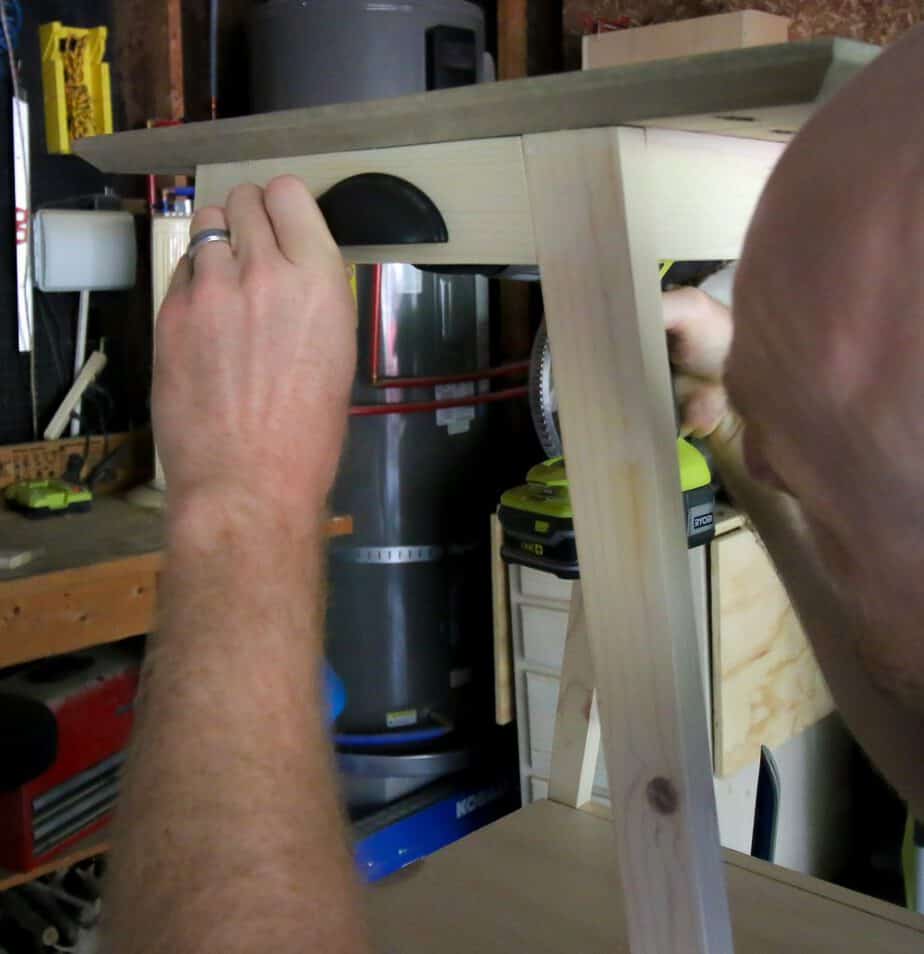
Step four: connect base frame
With the two side frames constructed, we just had to attach them together with two straight boards at the top and two at the bottom where the shelf would go.
These were also connected with pocket holes, but they were straight end cuts to hold the two pieces together.
Then, the shelf sits on the lower level and the top sits, well, on the top.
We used glue to attach the shelf and top so that there weren't any nail holes showing. Clamping them down keeps them sturdy and eliminates being able to see any screw or nail holes.
Step five: hardware
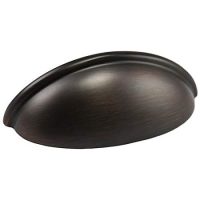
We decided to add a pull that was leftover from our kitchen cabinets to add a nice metal element. It obviously serves not structural or functional purpose, but we thought it looked nice.
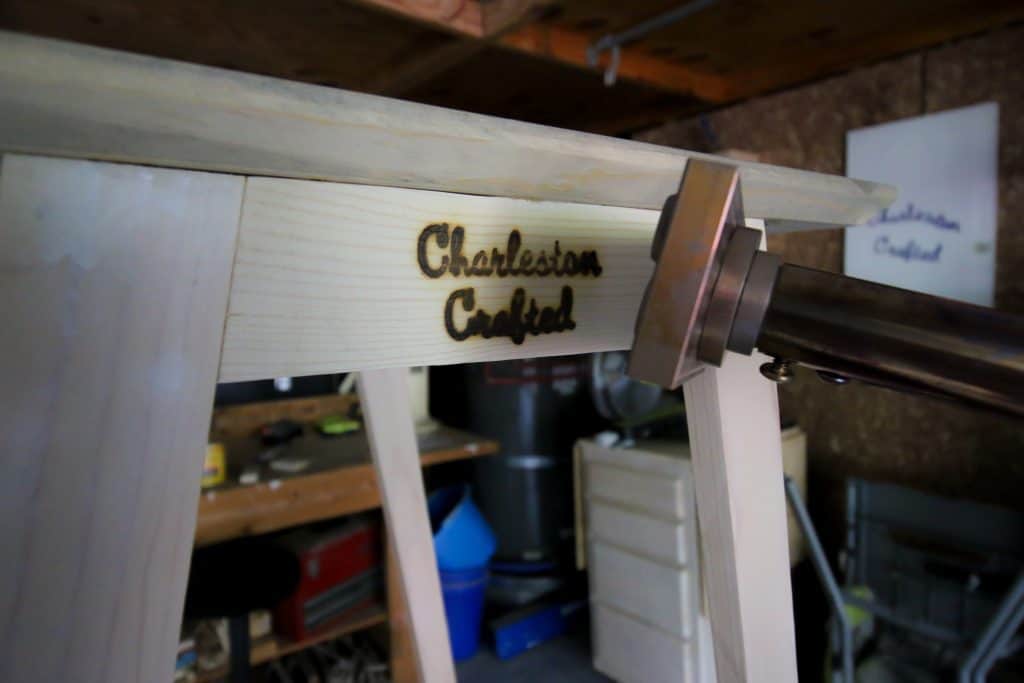
Step six: adding custom logo
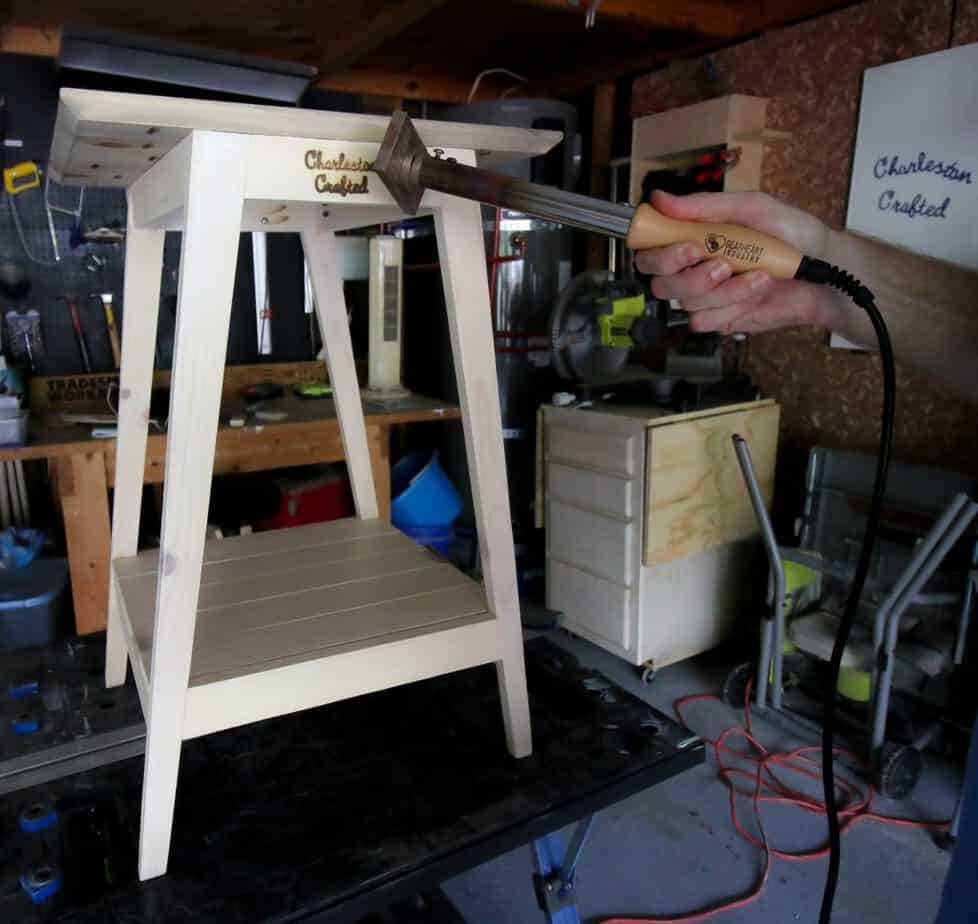
The final touch was to claim this DIY mid century modern side table as our own. To do this, we used our Gearheart Industry electric branding iron.
We wrote about how much we liked this a few months ago and have been branding every woodworking project since then.
We love the Gearheart electric branding iron because of how custom it makes all of our pieces.
The iron is so simple to use (plug it in and wait 10 minutes, then press it onto your piece) that we can fire it up for all our projects. We done this on several pieces we've sold lately so that our name gets out there, but we still want to brand things in our own home.
We pressed the brand up against the wood surface for about two seconds and it left a beautiful imprint of our Charleston Crafted logo.
Remember that if you're interested in a branding iron for your logo or other graphic, you can work with Gearheart to make it custom using their online tools. It's a simple process with amazing results.
DIY midcentury modern side table woodworking plans
Each DIY mid century modern side table looks amazing in this space and really brings out the natural and modern look to the space!
These came out better than we could have expected and we want to share the design with you!
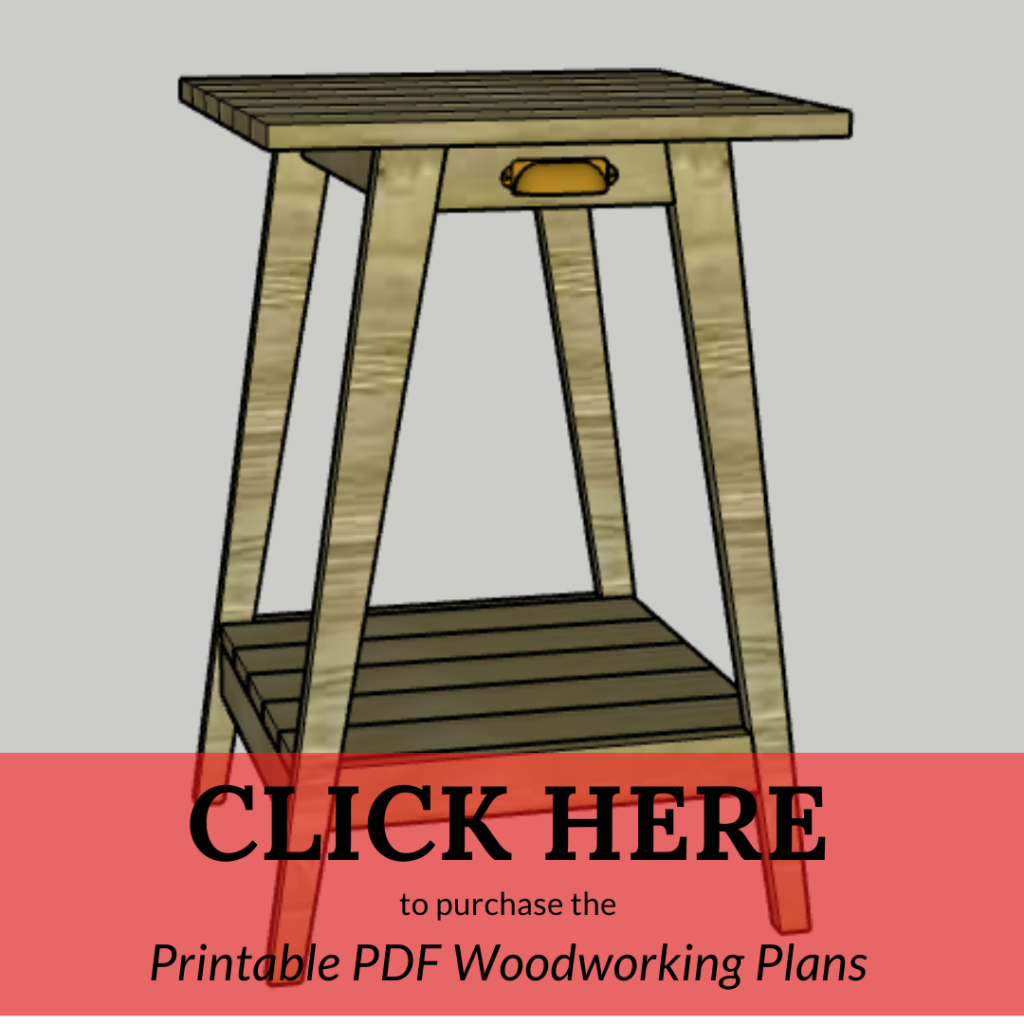
We created printable PDF woodworking plans that you can follow to build these for yourself. Our plans come with a material list, cut list and step-by-step instructions to get you through the process.
Build these for yourself and enjoy them every day!

Love side tables? Here are all of our DIY side table projects!
- DIY side table with arches - woodworking plans
- Upcycled chair into a modern side table
- DIY concrete terrazzo side table
- Media side table with hidden storage and tile top
- DIY Mid Century Modern Side Table - woodworking plans
- Campaign side table makeover
- Side table from counter top scraps
- Our first side table makeover
- DIY River table with epoxy
- Spray paint side table makeover
- Waterfall style slim side table
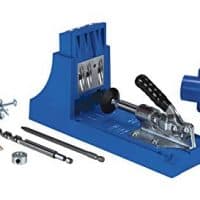
Interested in the Kreg Jig? Click here to read our full Kreg Jig review and to see all of our Kreg Jig projects.
New to the Kreg Jig? Here is a step by step guide on how to use a Kreg Jig!
OR grab our FREE Kreg Jig Cheat Sheet here! Download the cheat sheet!
DIY Mid Century Modern Side Table
A DIY mid century modern side table will add a beautiful aesthetic to your room and provide great functionality.
Materials
- 40' 1"x4" boards
- 1 ¼" Kreg pocket screws
- Wood glue
- Stain
Instructions
- Start by making the following cuts listed in the plans.
- Drill pocket holes on both ends of the Sides, Upper Leg Supports and Lower Leg Supports.
- Attach all of the Top Boards together with pocket holes or wood glue.
- Attach all of the Shelf Boards together with pocket holes or wood glue.
- Create two A-frame leg sides by attaching the Upper Leg Supports flush with the top (2" side) of the Legs. Then attach the Lower Leg Supports to the legs where they fit flush.
- Use the Side pieces to attach the two A-frame legs together, using them flush with the supports.
- Attach the Shelf to the lower supports and the Top to the upper supports using glue and clamps.
- Add any paint, stain or decorative hardware as you so please.
Recommended Products
As an Amazon Associate and member of other affiliate programs, I earn from qualifying purchases.
This post was sponsored by Gearheart Industry. All opinions are our own and our opinion is that we love our custom branding iron from Gearheart Industry. Thank you for supporting the brands that make Charleston Crafted possible!

Looking for something?
We've been doing this since 2012 so we have a LOT of blog posts!
Search stuff like: Ceiling Projects | DIY Plant Stands | Thrift Flips

Hey there, I'm Sean, the woodworking enthusiast and builder behind CharlestonCrafted.com! Since 2012, I've been sharing the magic of turning raw materials into beautiful creations. I love teaching others the art and satisfaction of woodworking and DIY. I try to inspire fellow crafters to make something extraordinary out of nothing at all.


[…] modern, minimalist furniture here at Charleston Crafted, as evidenced by things like our modern side tables, console table and coffee table. But, that doesn’t mean we don’t recognize the […]