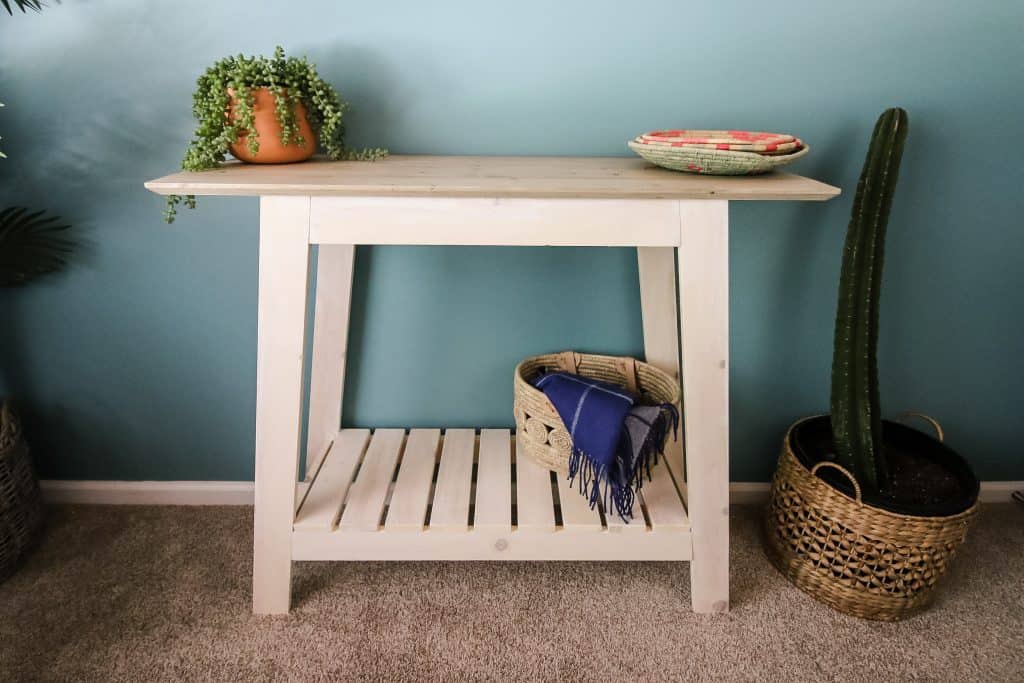
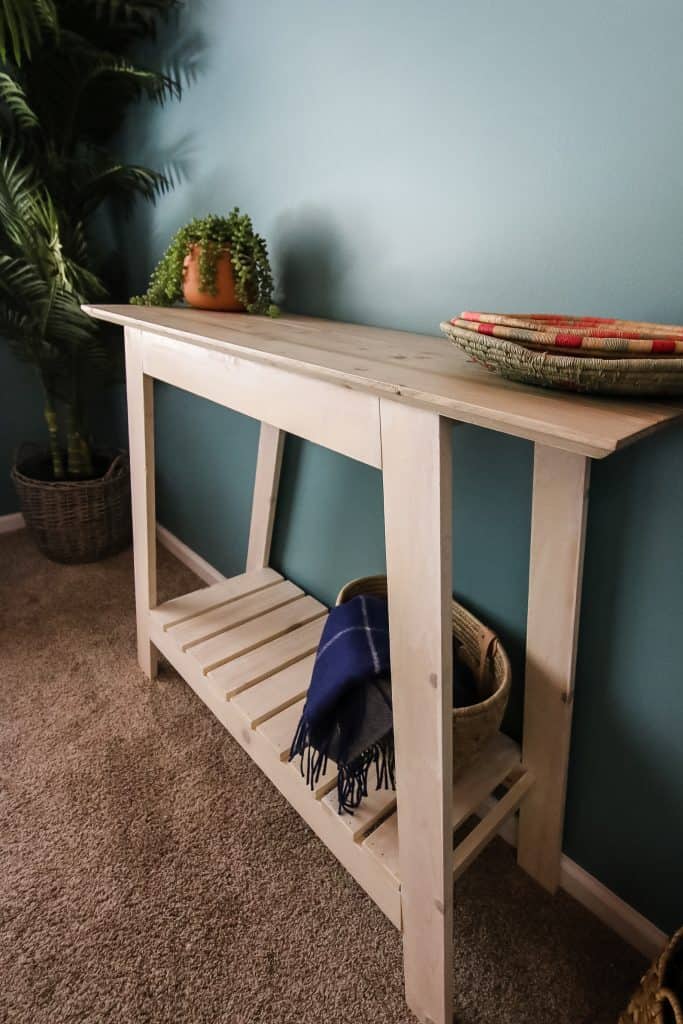
This DIY coastal console table was the perfect addition to our guest bedroom makeover! If you are wondering how to build a console table, I am excited to walk you through the step by step tutorial today.
We have lots of guests, but they don't need drawers for storage (you're not welcome that long!). We previously had our plywood and concrete desk in that room and guests always piled their stuff there.
So, we decided to build this console table. It's sleek and provides a great place for people to put their bags and items.
The slatted design gives the project a distinct coastal feel, and we chose light colored stains to keep that vibe.
However, you could easily use a darker or richer wood and this piece would have more of a traditional feel. So many options!
Here are a ton more DIY console table ideas!
How to Build a Console Table
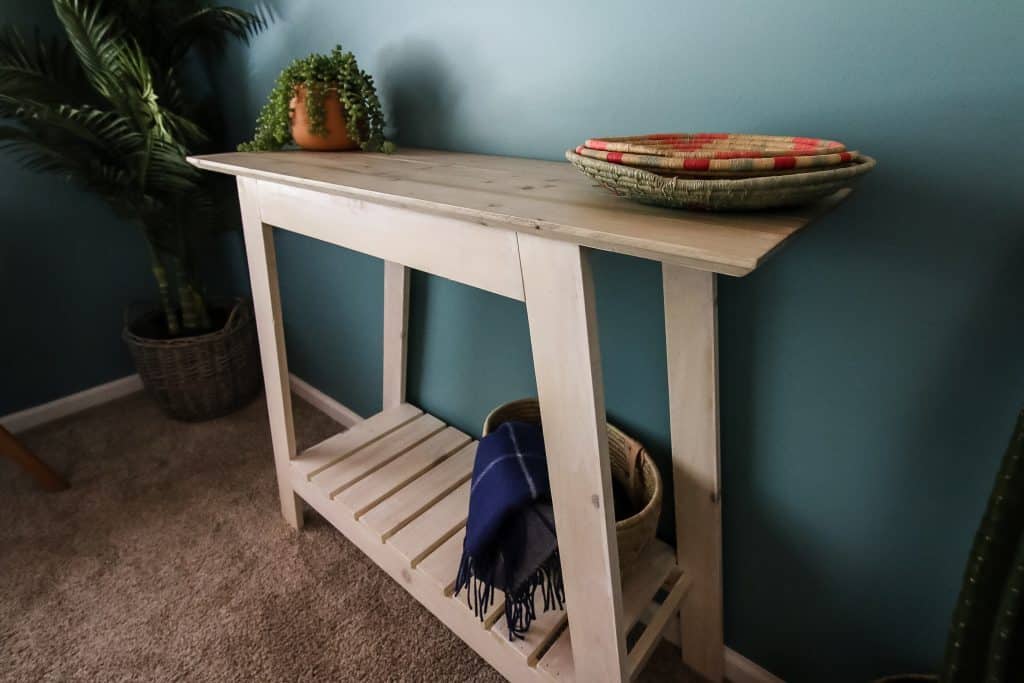
I love the design of this console table. It is beachy, but also has some Asian design tones to it with the angled legs and overhanging top. It's similar to the side tables we just built to go next to the bed. It could work with a lot of style of homes and could also pull off farmhouse console table.
What constantly amazes me about building a piece of furniture is how you can take a couple of boards (two in this case) and turn them into large, functional furniture. I love how easy this project was.
We will share the measurements that we used in the How To card at the bottom of this post, but it can easily be modified to fit a space in your home. I think this would look great longer and narrower behind a couch as a sofa table for a living room!
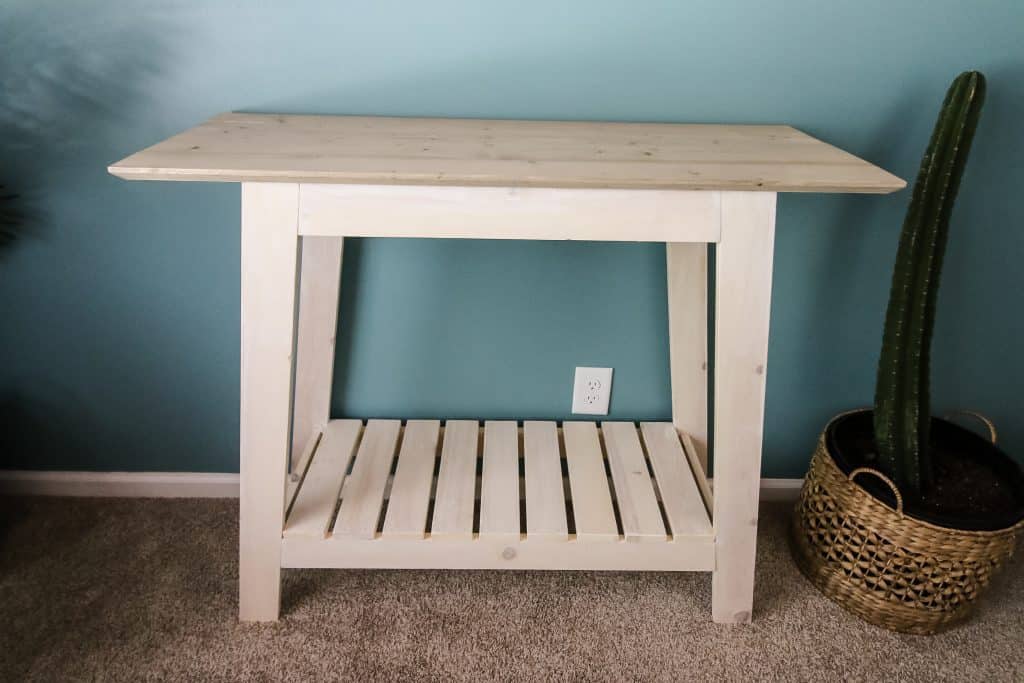
This console table looks great next to our coastal side tables and modern platform bed!
Building the console table
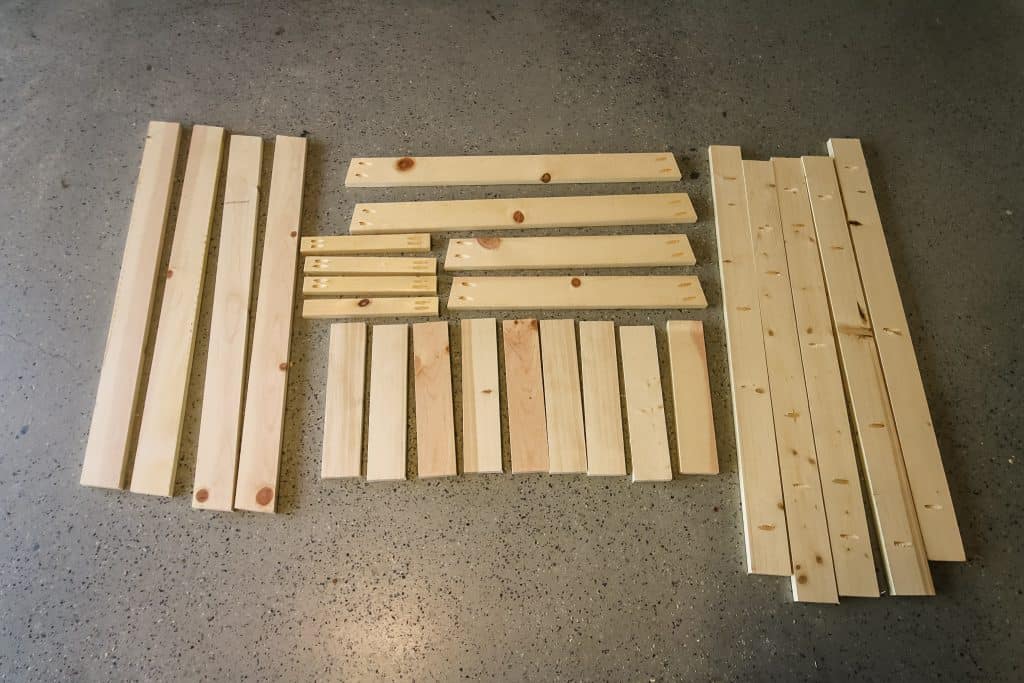
I started by making all the cuts for the table (all cuts in the How-To card below). Then I drilled all the pocket holes and sanded everything down.
I started by attaching the top pieces together with pocket holes and then used a router to create a nice smooth edge.
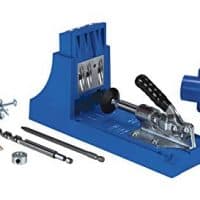
You can read more about how to use a Kreg Jig here!
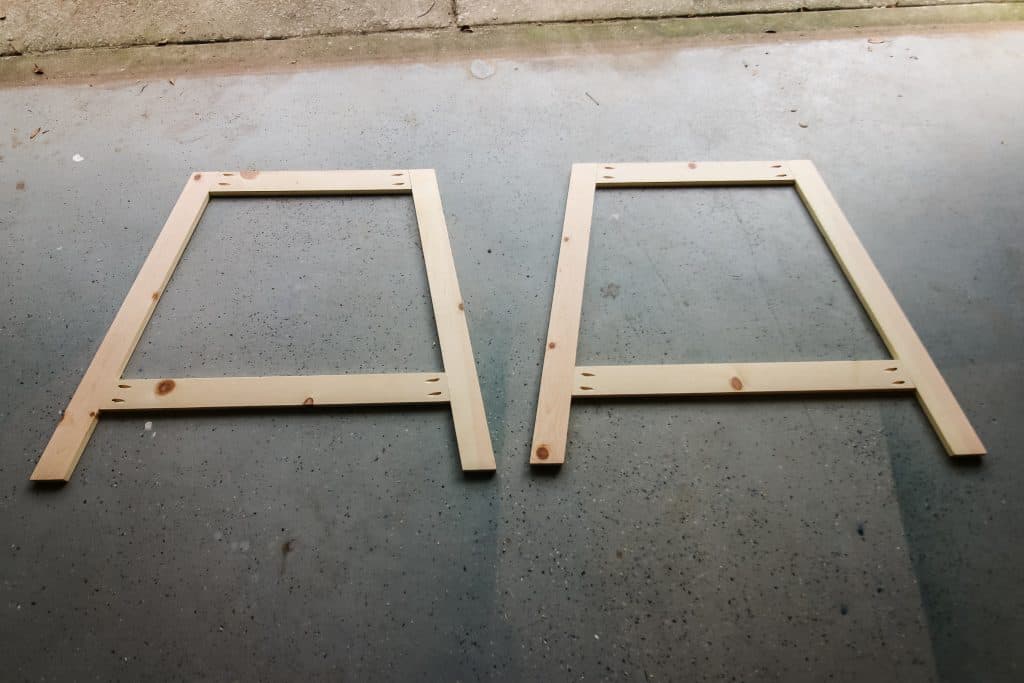
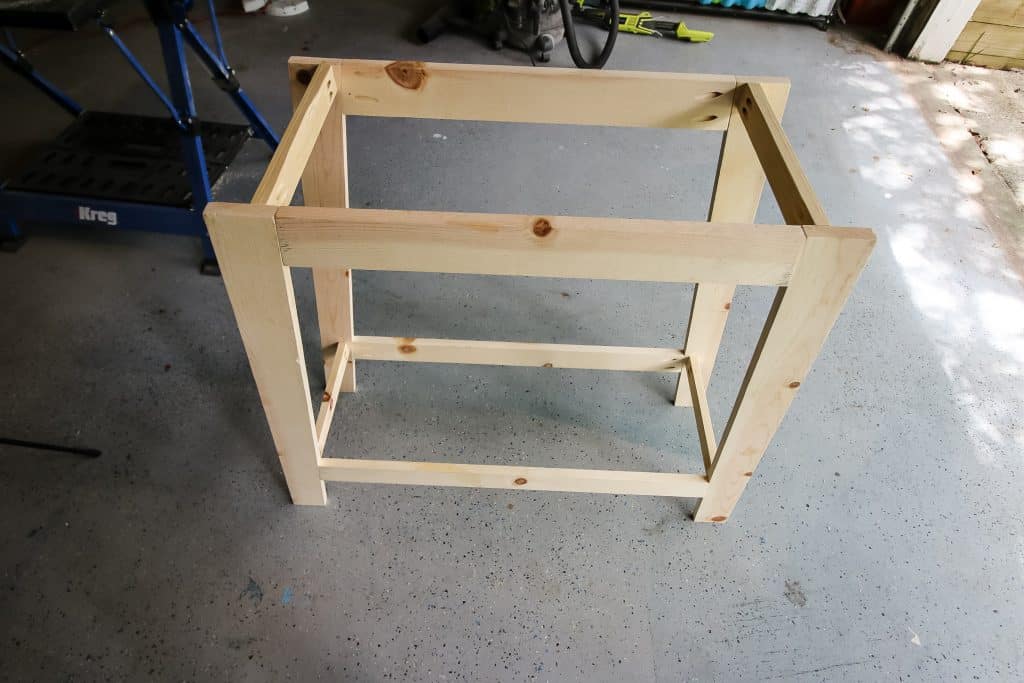
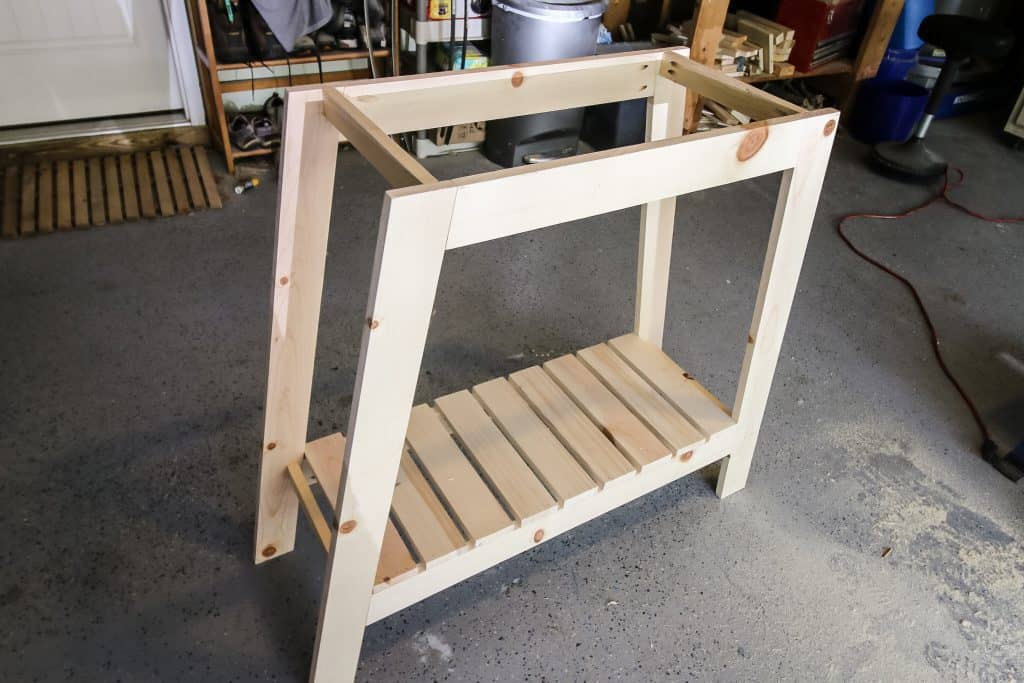
Next up was the frame. You start by building the two sides by connecting the legs with their braces. Then you connect the two sides together with four short pieces of wood. This creates the table legs.
Once the frame was together, I used a brad nailer to attach all the slats at the bottom. The hardest part of the whole project was figuring out the exact even amount of space between each slat.
Once you get your spacing correct, us something such as a thin slat of wood as a spacer, to ensure that you have them all even.
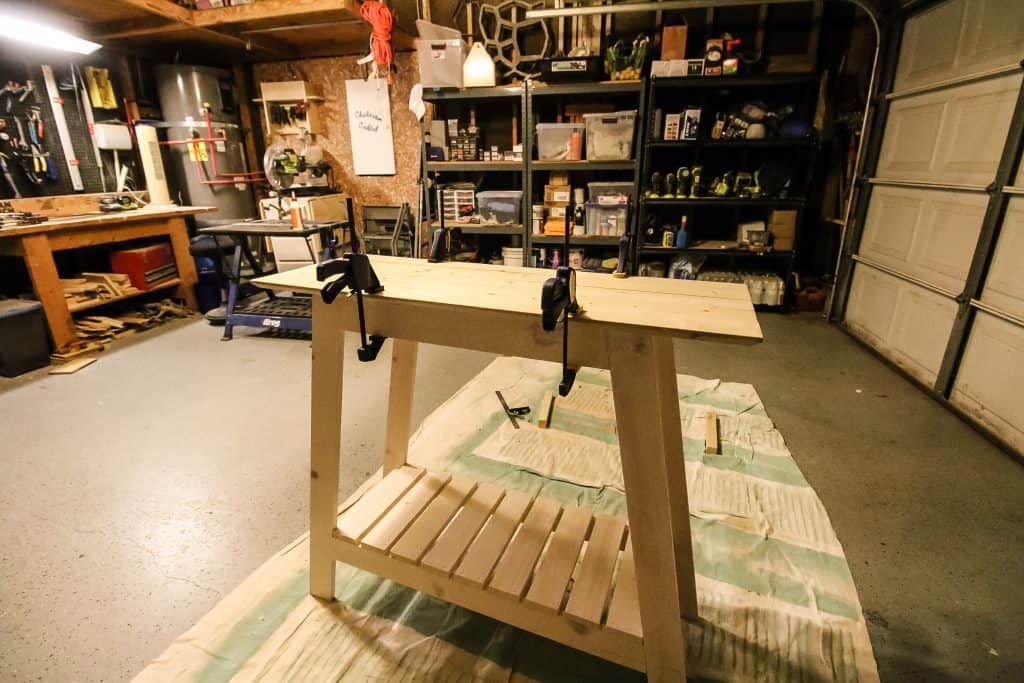
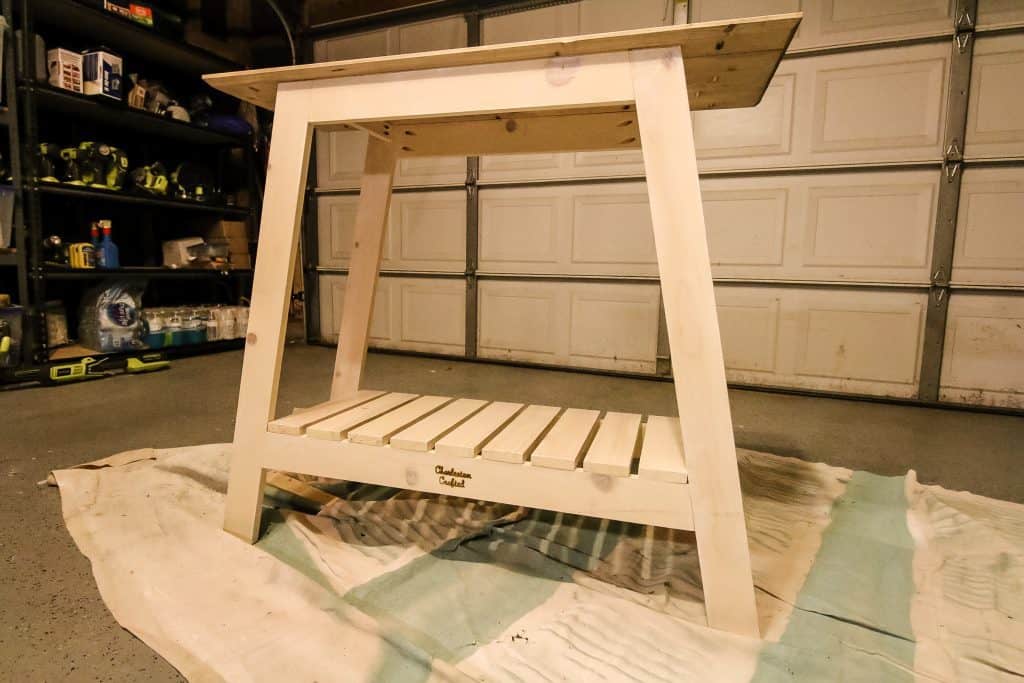
Finally, the table top was attached to the base with wood glue and clamps.
Finishing your easy DIY console table
Before attaching the top to the base, we stained each piece. The top was stained with Varathane's Weathered Wood Accelerator and the base was an Antique White.
The final step in building this beachy console table was my favorite. I absolutely love using my Gearheart Industry electric branding iron on all our builds now.
This is the coolest part of each build. I spend a lot of time creating my custom projects and it's amazing to be able to brand it. Now, if I ever give away or sell this piece in the future, the next owner will know where it came from.
Being able to physically put my stamp on a project is so satisfying, especially watching that little puff of smoke and hearing that sizzle.
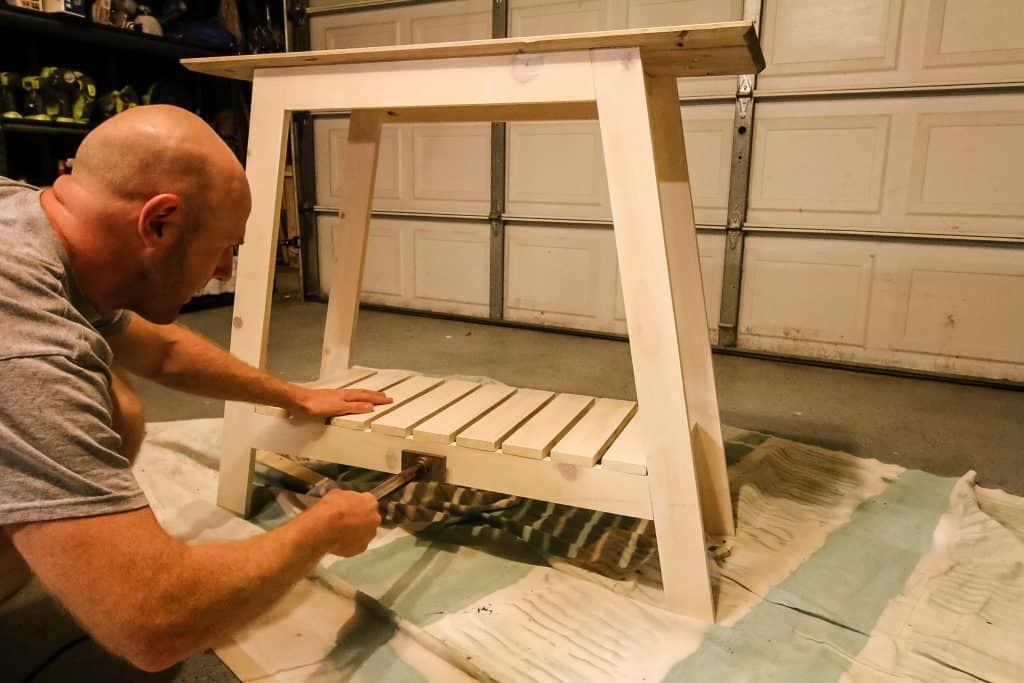
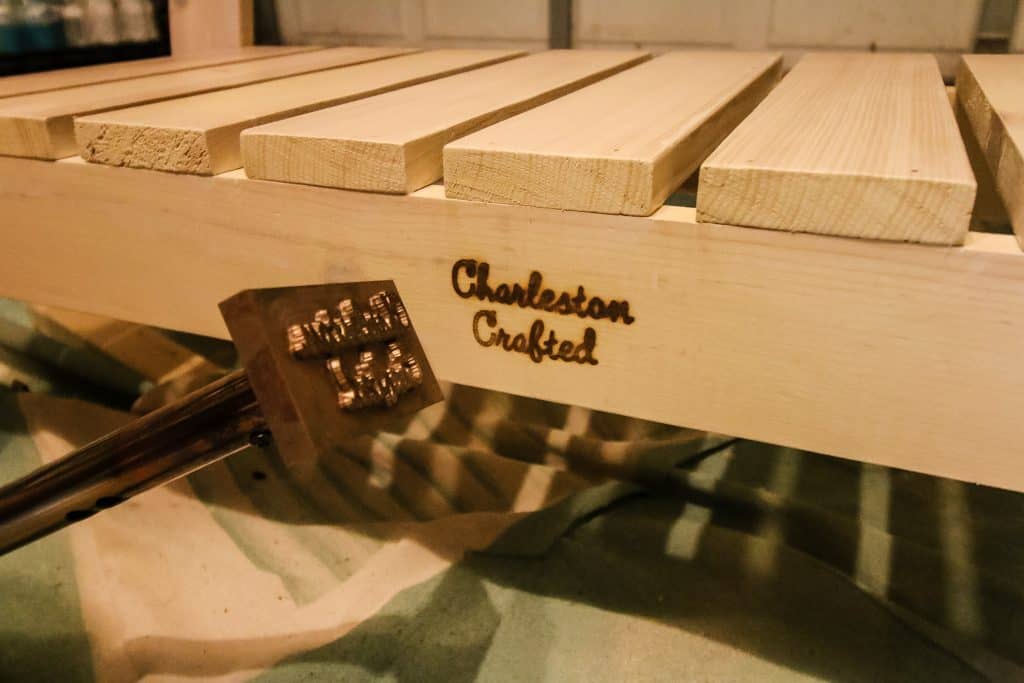
The Gearheart Industry electric branding iron is so simple to use. You plug it in and wait 10 minutes, then press it onto your piece. Hold it there for 2-3 seconds and remove to give a perfect mark.
We love how this piece turned out and we love how it's custom. If you'd like to copy or modify this DIY coastal console table, we have the full plans in the how-to card below. Print it out, build it, then tag us on Instagram when you're done!
Where will you use this DIY project? I think it could look great in an entryway or a dining room as a side board, too!

DIY Coastal Console Table
This DIY coastal console table is perfect for any bedroom, entryway or even behind a couch. Sturdy construction holds up well to heavy items like luggage, but also has an airy open feel when there's nothing on it. Customizable for color and height and the perfect project for you.
Materials
- 54 feet of 1" common wood of choice, cut into strips of true 3" wide.
- 1 ¼" Kreg Pocket Screws
- Wood glue
- Stain of choice
Tools
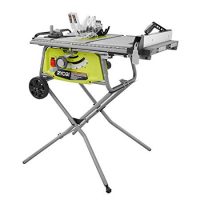
- Table saw
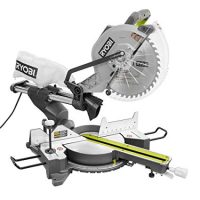
- Miter saw
- Cordless drill
- Nail gun
- Kreg K4
Instructions
- Make your cuts
- Legs (4)- 36" with parallel 10 degree miter on each end
- Top Leg Supports (2)- 22 ¼" with opposing 10 degree miters
- Bottom Leg Supports (2)- 33" with opposing 10 degree miters
- Side Braces (4)- 12"
- Bottom Slats (9)- 13 ½"
- Top (5)- 41" - Drill two pocket holes in the ends of the Top Leg Supports, Bottom Leg Supports, and Side Braces.
- Drill pocket holes necessary to connect the Top pieces together.
- Connect the Top pieces together. Add detail by using a router to give it a clean edge.
- Build the front and back of the base by attaching the Top Leg Supports to the top of the Legs, then connecting the Bottom Leg Supports to the Legs where they fit flush.
- Attach the two leg frames using the Side Braces. Attach them flush at the top and lined up with the Bottom Leg Supports.
- Use a nail gun to attach the slats along the Bottom Leg Supports.
- Attach the top to the base using wood glue and clamps.
- Add your desired stain or paint and enjoy!
Recommended Products
As an Amazon Associate and member of other affiliate programs, I earn from qualifying purchases.


This post was sponsored by Gearheart Industry. All opinions are our own and our opinion is that we love our custom branding iron from Gearheart Industry. Contact them to create your own custom branding iron. Thank you for supporting the brands that make Charleston Crafted possible!

Looking for something?
We've been doing this since 2012 so we have a LOT of blog posts!
Search stuff like: Ceiling Projects | DIY Plant Stands | Thrift Flips

Hey there, I'm Sean, the woodworking enthusiast and builder behind CharlestonCrafted.com! Since 2012, I've been sharing the magic of turning raw materials into beautiful creations. I love teaching others the art and satisfaction of woodworking and DIY. I try to inspire fellow crafters to make something extraordinary out of nothing at all.


[…] DIY Coastal Console Table from Charleston […]