
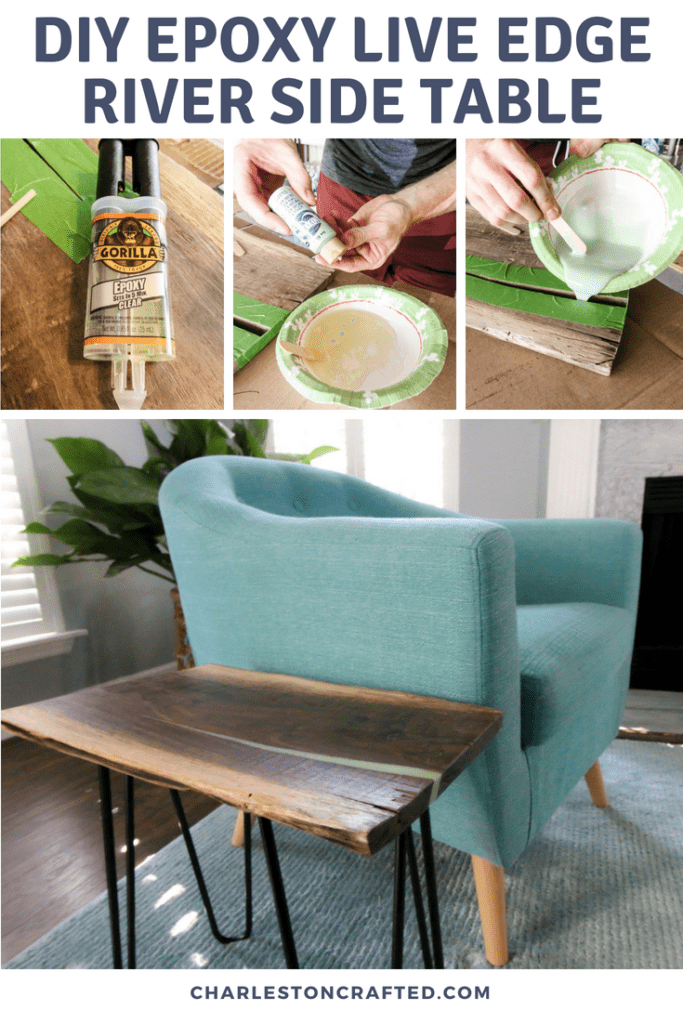
Making a river table doesn’t have to be complicated or use fine woodworking skills. Here’s the easiest way to make a live edge river table with five minute epoxy!

Sometimes a trend is harder to spot than others, but epoxy resin poured river tables are all the rage right now. We’ve never made one because we haven’t had the need, but we decided to make an epoxy live edge side table for our son’s nursery.
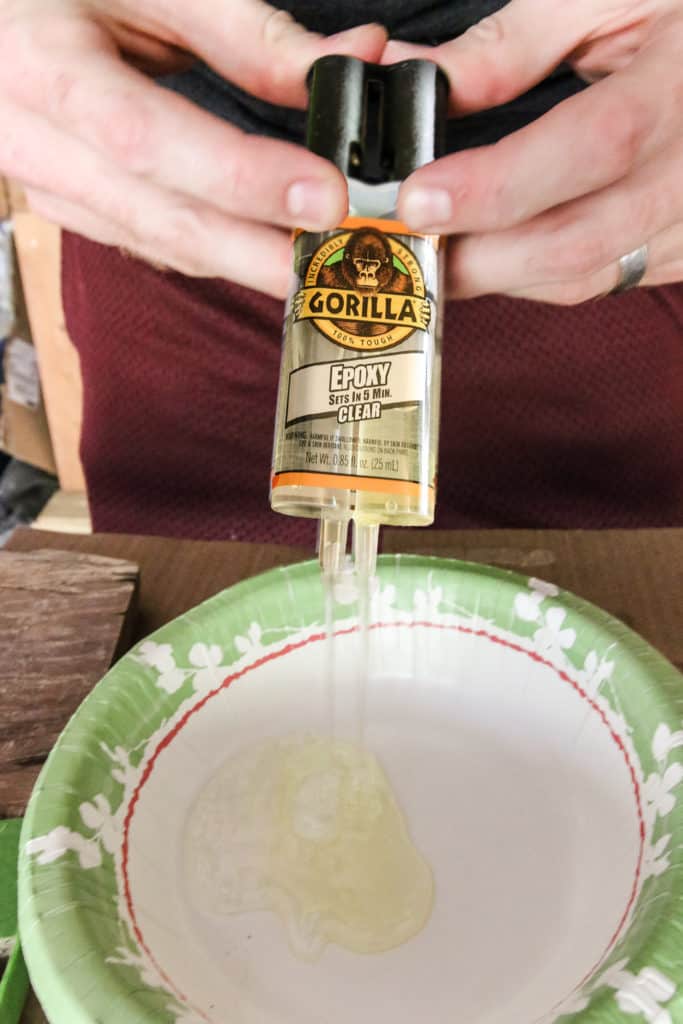
However, ours is MUCH more beginner level DIY friendly by using Gorilla Glue Two-Part Epoxy. If you want to make a small live edge river table, this is the way to go!
Click here to pin this project to your Pinterest board!
Epoxy Live Edge River Table
Most epoxy tables are made with expensive resin and colored dye that can seem overwhelming. That has a glossy, clear look, but is more difficult to use and is the aforementioned expensive.

In our opinions, Gorilla Glue makes the best epoxy for a small, simple river table.
Tubes of Gorilla Glue’s Two-Part Epoxy are just a few bucks and we found that adding a few drops of acrylic craft paint to the mixture gives you a beautiful matte finish epoxy look.
We decided to do this project to build a side table for the nursery, but you could also use it on a coffee table!
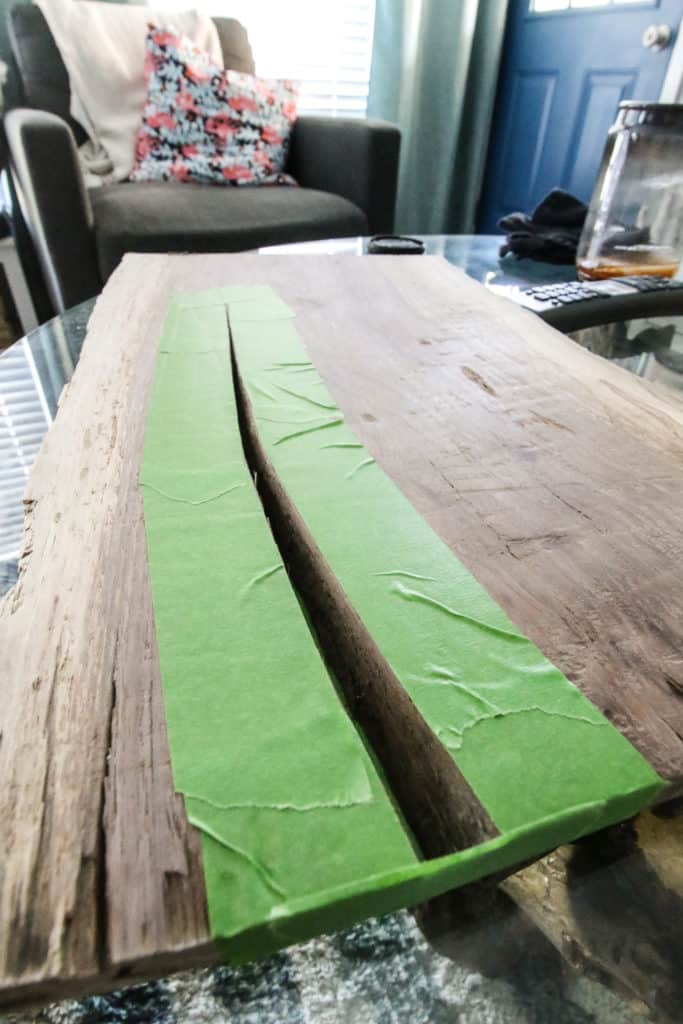
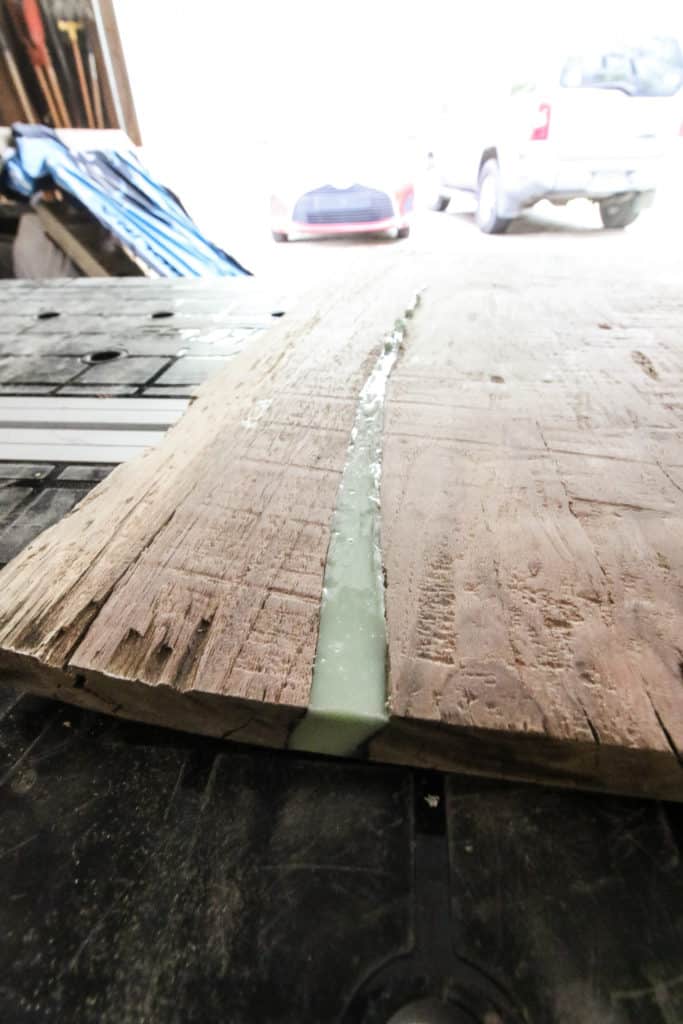
We used a live edge piece of black walnut that we cut off of long slabs that we used for our live edge shelves above our bar a few weeks ago. The piece had a nice crack from one edge and was perfect for filling.
Click here to see our favorite live edge wood projects!
How to pour an epoxy river table
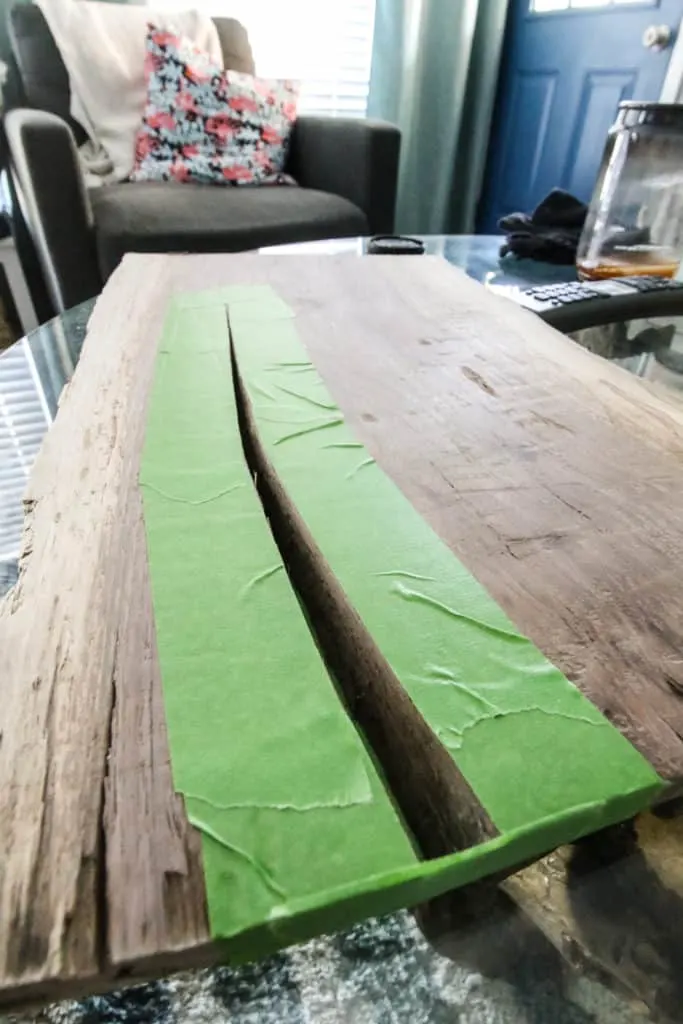
We started out by using painters tape to cover the bottom side of the crack, the outside edge, and then along the crack on the top. This will hold in the epoxy.

Then we mixed several tubes of the Gorilla Glue Two-Part Epoxy together in a bowl and added about 10 small drops of acrylic craft paint in a color that will match the wallpaper we plan to hang.
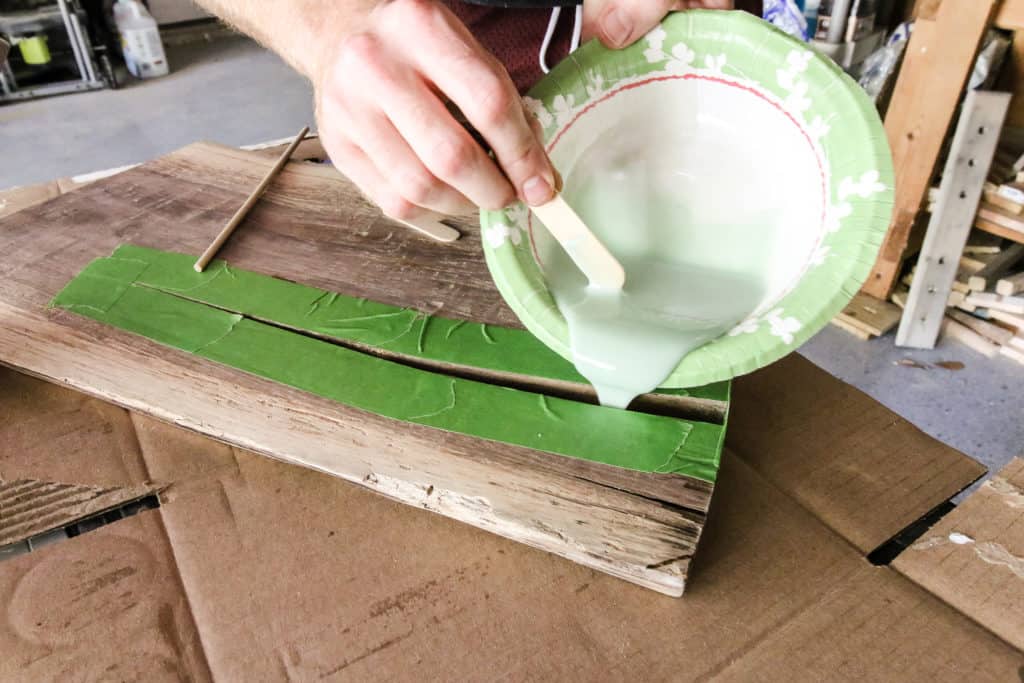

When it was mixed, we poured it into the crack. Make sure to go quickly, or it will solidify and you’ll lose the whole batch! It solidifies in about 2 minutes.

How to build a river table
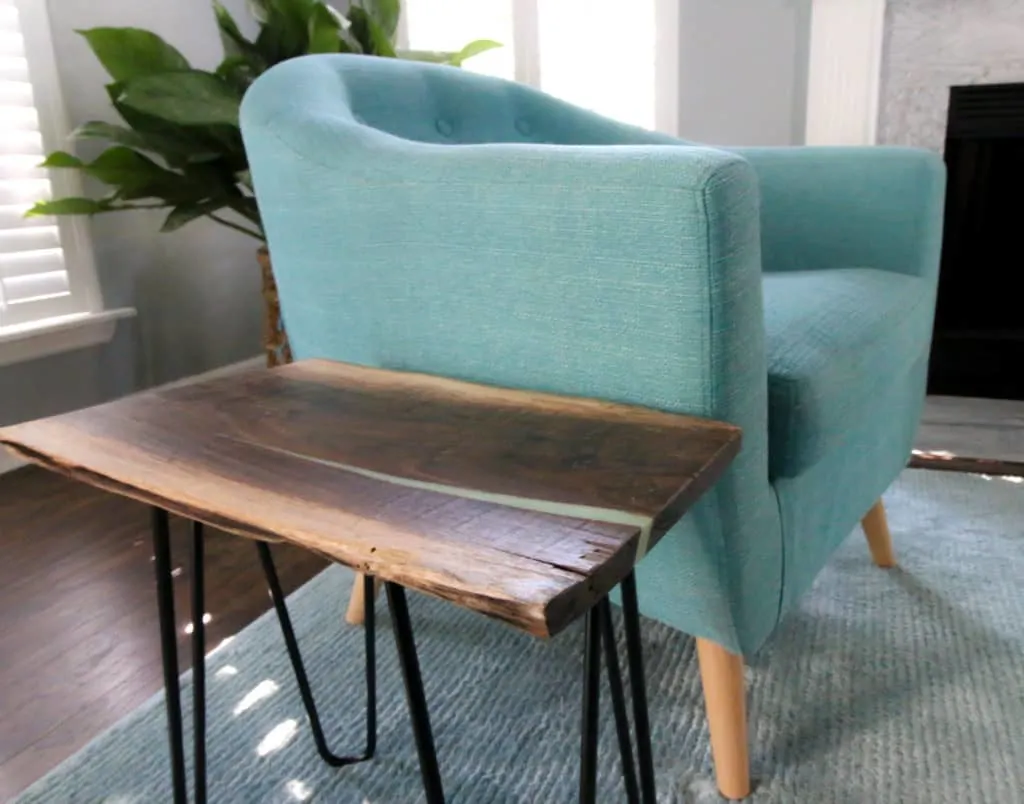
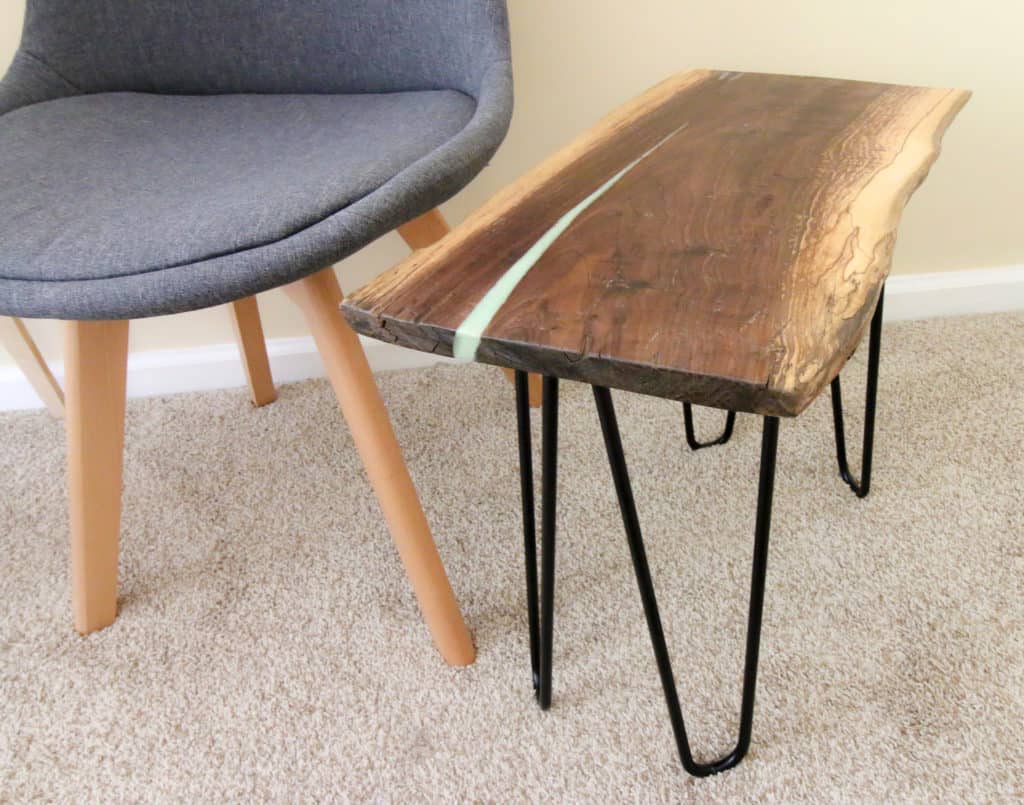
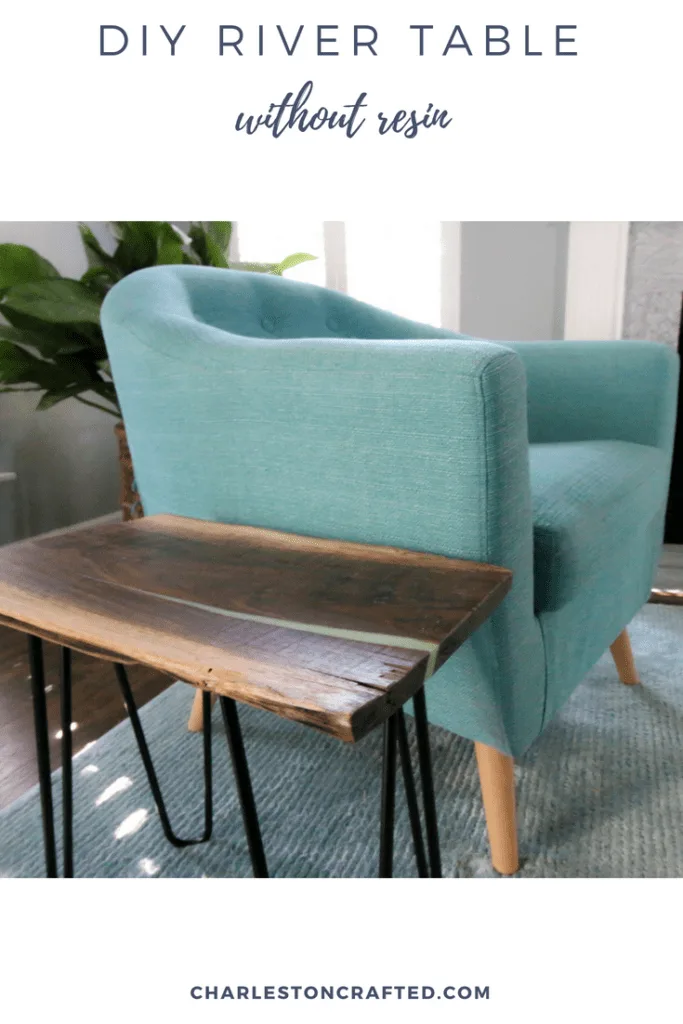
We let it dry for 24 hours, then sanded the colored epoxy fill down before oiling and sealing the board. Then we added these hairpin legs to the bottom.

Be sure to click over and check out our Jungle Theme Nursery Reveal!
The epoxy live edge side table looks great! It has a different look than a resin pour, but is much more simple and cheaper. This is a great way to add a very unique river table look to any piece of live edge wood.
A river table DIY is a super easy project for you to tackle in one evening.
We love trying to do budget-friendly, beginner-friendly takes on different projects. Using Gorilla Glue Two-Part Epoxy to make an epoxy live edge river table was really a breeze!
Click here to pin this project to your Pinterest board!

Want more side tables?
Chip + salsa dish into a side table
Side table from counter top scraps
Spray paint side table makeover


Looking for something?
We’ve been doing this since 2012 so we have a LOT of blog posts!
Search stuff like: Ceiling Projects | DIY Plant Stands | Thrift Flips


Hey there, I’m Sean, the woodworking enthusiast and builder behind CharlestonCrafted.com! Since 2012, I’ve been sharing the magic of turning raw materials into beautiful creations. I love teaching others the art and satisfaction of woodworking and DIY. I try to inspire fellow crafters to make something extraordinary out of nothing at all.
Lovely Ideas Diy Table Epoxy – Ideas for House
Tuesday 4th of August 2020
[…] The Easiest Live Edge River Table with Epoxy charlestoncrafted.com […]
Tomika
Tuesday 17th of September 2019
This is a wonderful example of turning imperfect into perfection. I love that you took natural features of the wood and used it to your advantage. The end result is beautiful!
Sean
Wednesday 18th of September 2019
Thanks so much, Tomika! It was really easy and had a great result!
Bruce A. Ulrich
Wednesday 18th of July 2018
It looks great, Morgan! I think you were able to achieve a nice look, and without busting the bank!