Want to make a very simple wooden table top? It's easy to do using edge joints and your Kreg Jig pocket hole jig. Here's a step by step guide!
Making furniture can mean any number of things. Sometimes, you might have a base and just need to make a tabletop.
The easiest thing to do is make a rustic tabletop with individual boards and join them together with Kreg Jig pocket holes.
You can use a Kreg Jig to make a tabletop easily by joining a bunch of boards together and forming a top that meets your specifications. This is called Edge Joining!
Let's show you how to do it.
Check out all of my ideas for how to get free furniture!
If you need to know how to use a Kreg Jig, click here!
Rustic tabletop construction with pocket holes
We found a metal table base on the side of the road in our neighborhood that was next to a stack of shattered glass.
Clearly, the glass top broke and they threw the whole thing by the curb. We took the base with us.
This gave us a great opportunity to make a rustic wooden tabletop from old boards.
We saved the boards from our rustic dining table after we recently made a new modern angled leg dining table. These 1x4s were perfect for making a new top.
That made this a FREE project! Get creative and you can make lots of free furniture!
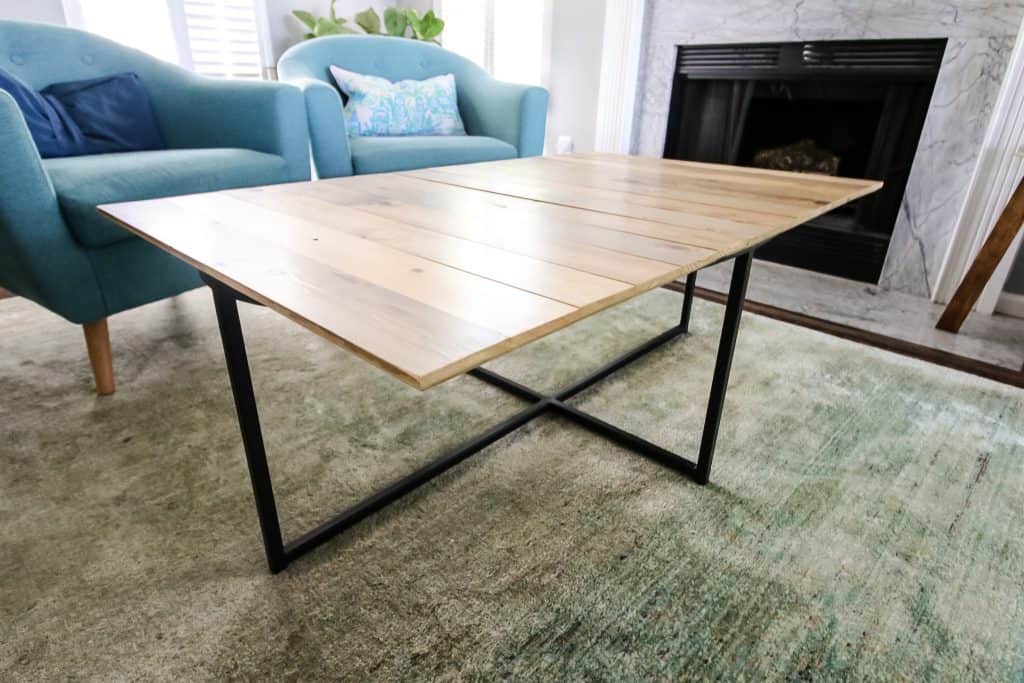
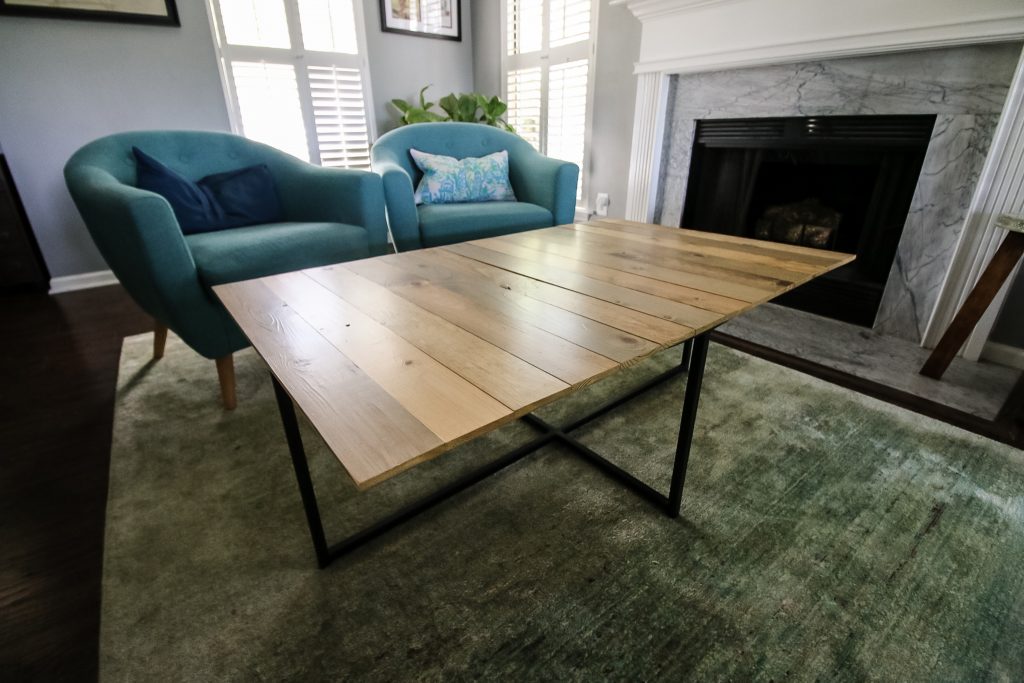
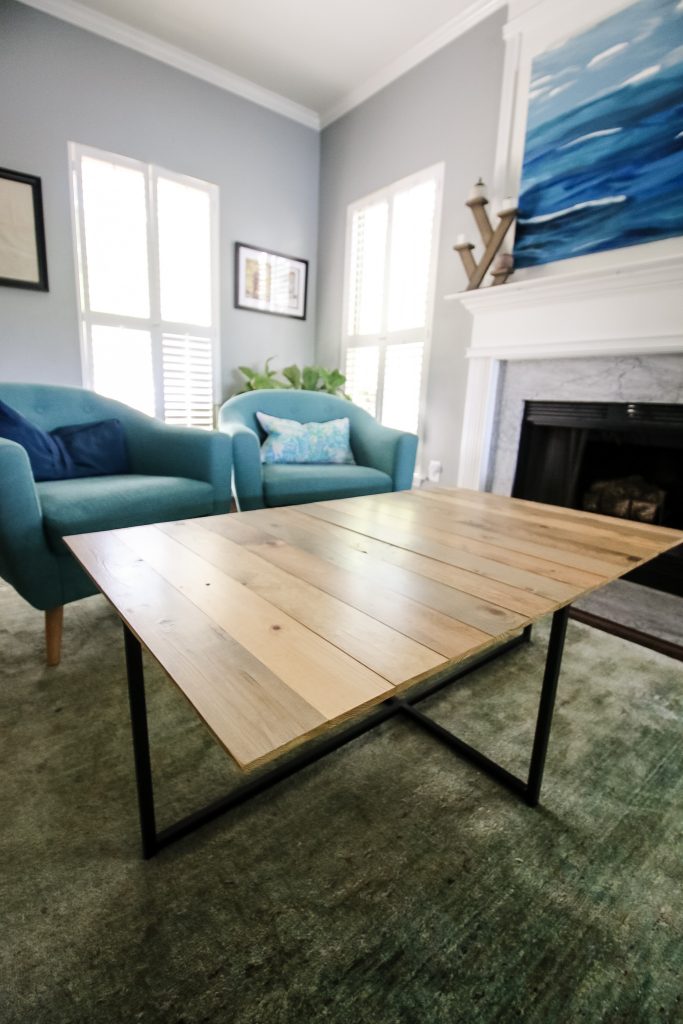
We opted to make a simple rectangle top entirely using Kreg pocket holes. Then we attached it to the metal base and had a nice rustic coffee table!
Preparing to make a tabletop
The first step was to measure the base and then add two inches to the length and the width.
This way there would be a one inch overhang on all sides.
Cut your boards to be the right length and determine how many you need to meet the width of your table.
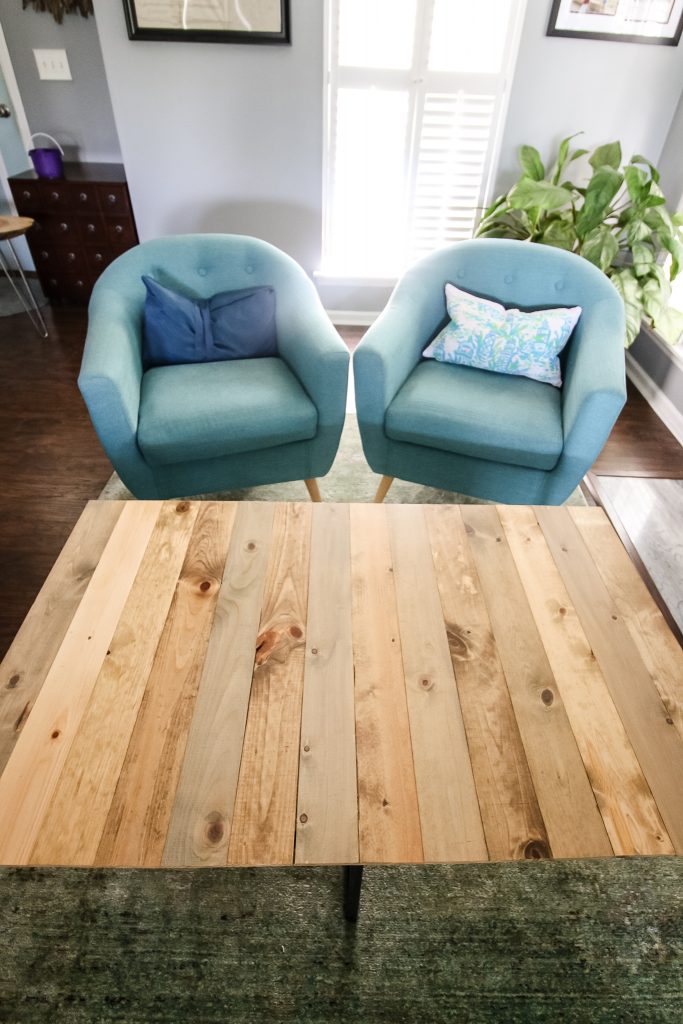
Depending on what look you want for your tabletop, pre-stain your boards different shades for a rustic look, or leave natural and stain once it's put together at the end.
How to make a tabletop with a Kreg jig
In order to build a wooden tabletop using a Kreg jig, the key is to make sure that there are a lot of pocket holes going in each direction from each board.
We recommend doing two pocket holes out wide on one side, then one to two pocket holes in the center going in the other direction.
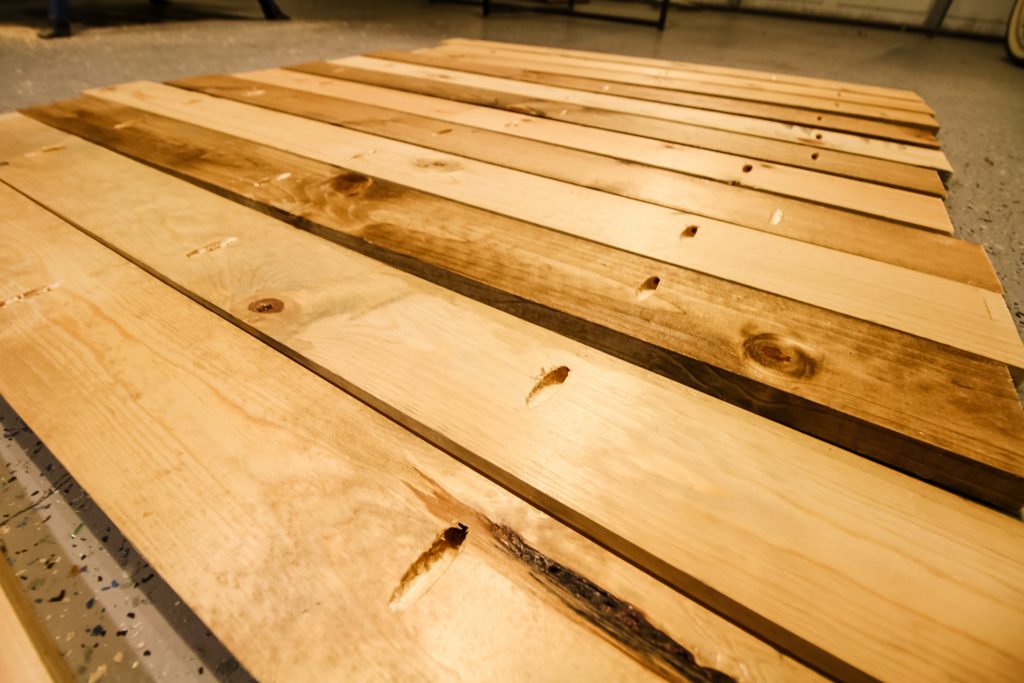
It's important to have pocket holes in alternating directions so that the boards don't curve at the joints when you pick up the table.
Then, just add your pocket hole screws and screw together!
The longer a tabletop is, the less stable it will be if you don't have side rails.
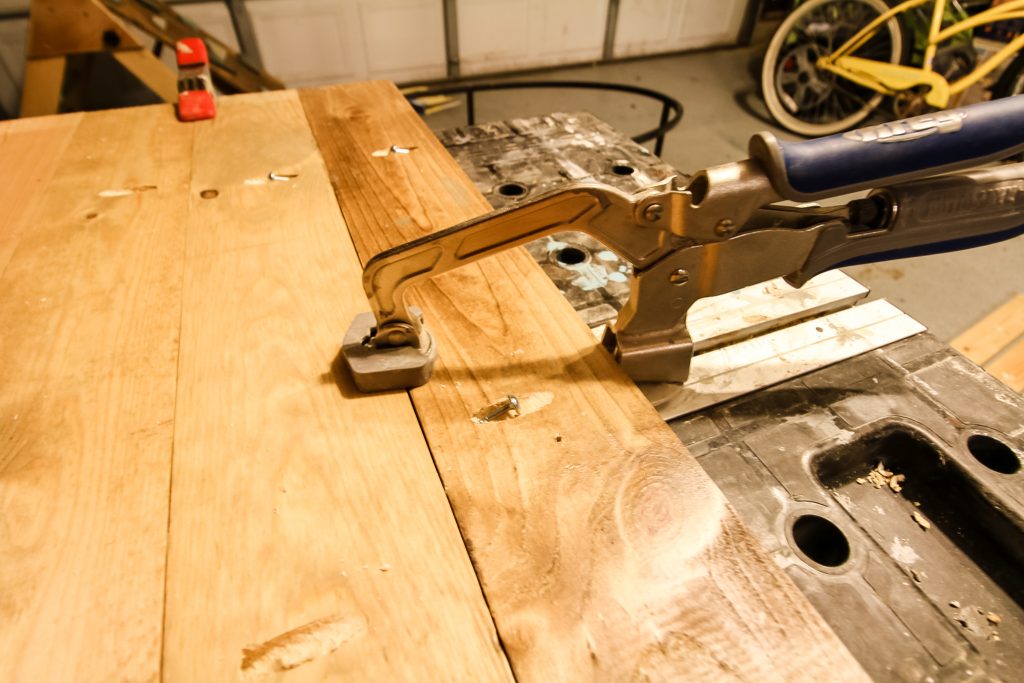
Make sure that when you're joining the boards you do two other things. 1) use a bead of wood glue between the boards to prevent bending, and 2) clamp down the seam of the two boards to ensure they remain flush.
Interested in the Kreg Jig? Click here to read our full Kreg Jig review and to see all of our Kreg Jig projects.
New to the Kreg Jig? Here is a step by step guide on how to use a Kreg Jig!
OR grab our FREE Kreg Jig Cheat Sheet here! Download the cheat sheet!
Edge joining with a Kreg Jig - tips and tricks
Edge joining is the process of joining boards on the long sides. You lay boards long edge to edge to create one long flat surface.
It's possible to do with a Kreg Jig - we did it for this project - but you need to keep a few things in mind.
Stick to narrower boards - under 4 inches in width - to avoid "cupping" or the bowing of the wood.
Keep your pocket holes about 2" in from the edge of the board to avoid cracking or splintering the wood.
Add pocket holes about every 6 inches down the length of your board. This is pretty frequent, but it will help to prevent that bowing!
Use glue and clamps as you work to give your surface extra support and strength.
Also, be sure to seal all sides and exposed edges after screwing together to help avoid moisture seeping in!
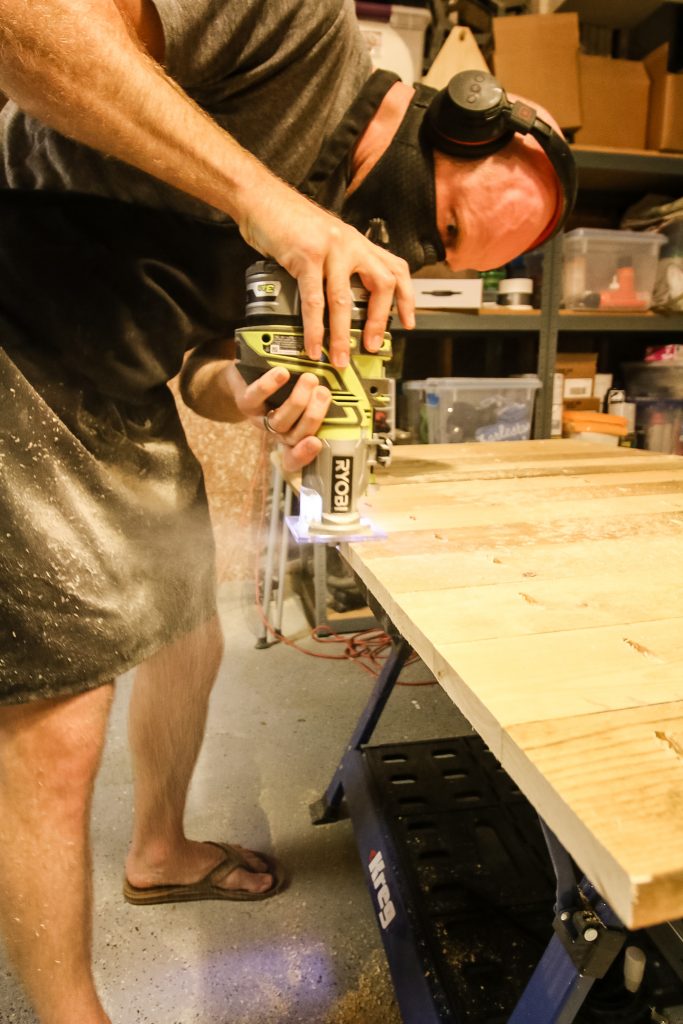
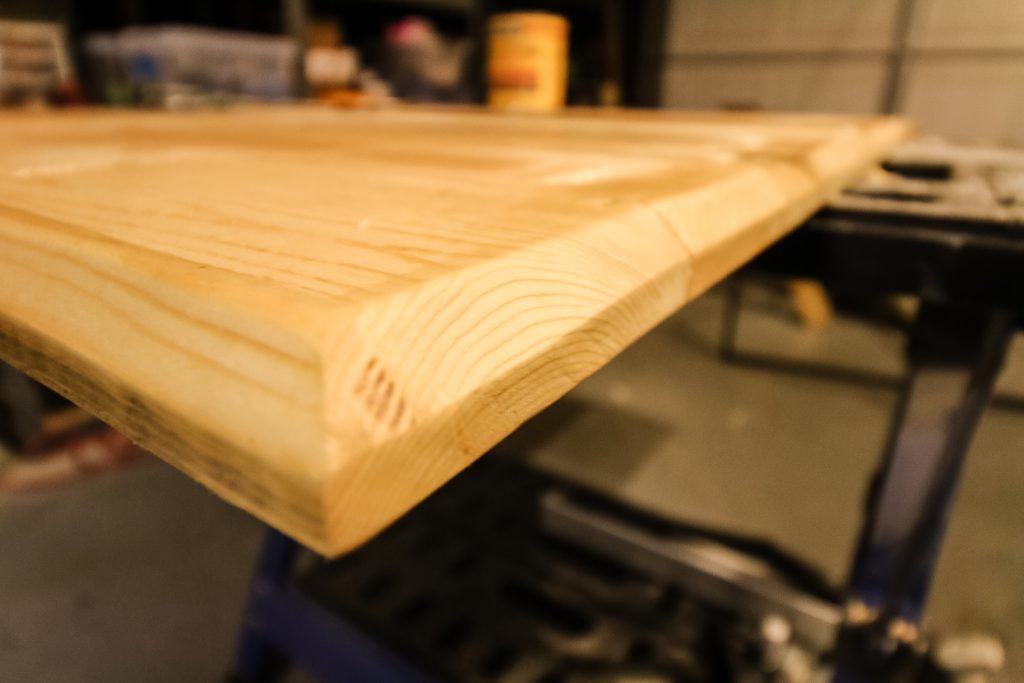
In order to make a tabletop made from a bunch of boards screwed together look better, use a palm router to round over the the top edge or add a chamfer edge to the underside.
You can build this farmhouse dining tabletop with a Kreg Jig with our FREE plans!
Attaching to a base
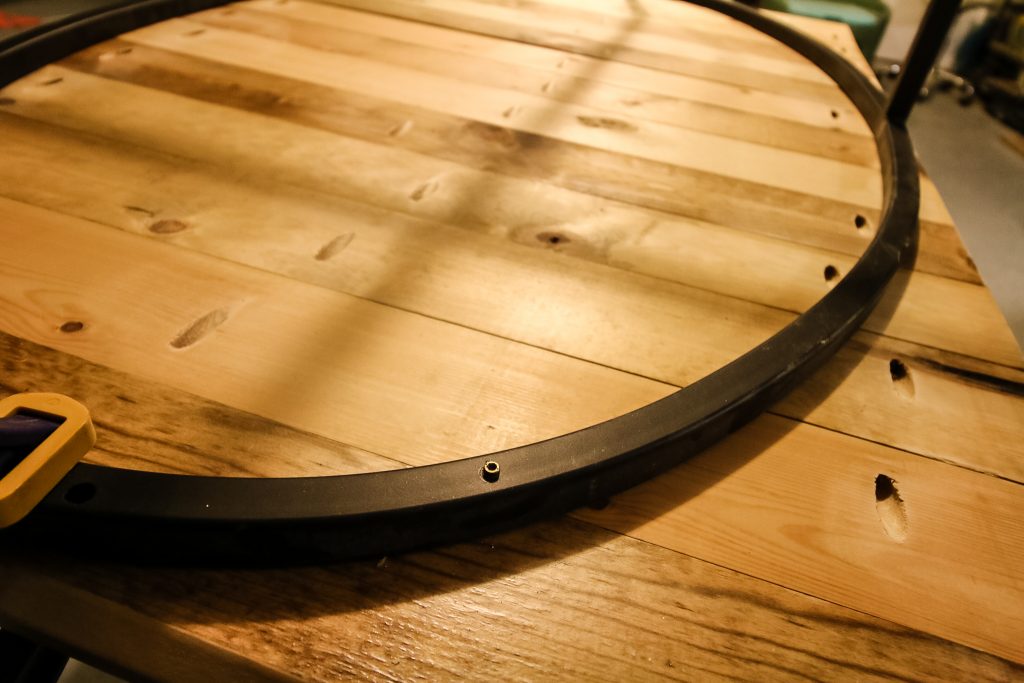
We were attaching our wooden top to a metal base, so that required drilling holes through the metal and attaching the top with screws.
Once that was done, we flipped it over and added a couple coats of polyurethane.
If you have a wooden base, you can drill pocket holes into the legs of the base to attach directly into the top. Make sure you use the correct screws.
It's easy to make a simple wooden tabletop with a Kreg Jig by joining boards together to fit the width you need.
Just make sure you alternate your screws so that you create the best fit!
Want to build a dining room table? Check out our plans to build this one with a modern geometric base!
That's how easy it is to make a kreg jig table top! Any questions?

Looking for something?
We've been doing this since 2012 so we have a LOT of blog posts!
Search stuff like: Ceiling Projects | DIY Plant Stands | Thrift Flips

Hey there, I'm Sean, the woodworking enthusiast and builder behind CharlestonCrafted.com! Since 2012, I've been sharing the magic of turning raw materials into beautiful creations. I love teaching others the art and satisfaction of woodworking and DIY. I try to inspire fellow crafters to make something extraordinary out of nothing at all.


