
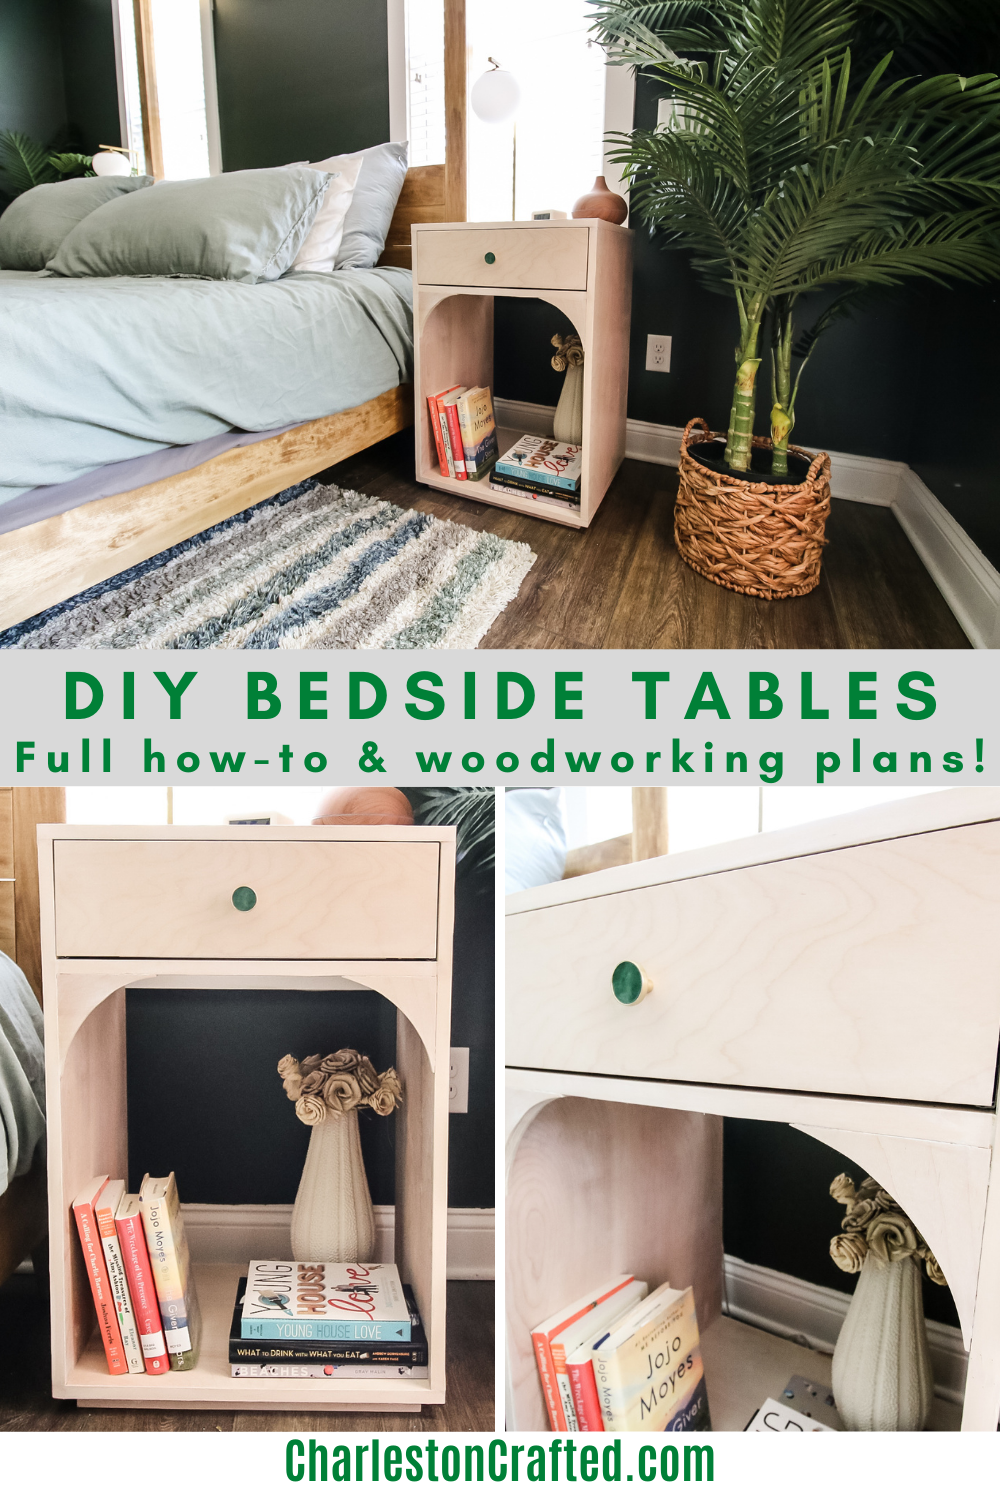
Looking to add something new and modern to your bedroom? Well, if you want to be trendy and functional, try these modern bedside tables with a single drawer, arches and open space for books or decor. You can make two bedside tables from one sheet of plywood, so get busy!
This post was sponsored by Kreg Tool, makers of joinery and cutting solutions for your next DIY project. All opinions are our own. Thank you for supporting the brands that make Charleston Crafted possible!
Think about the last time you moved into a new apartment or house. Did you move all your old furniture and realize it just didn’t look right in your new place?
That’s what happened most recently with us, but it has taken a year and a half to prioritize our own bedroom. Finally, that time came.
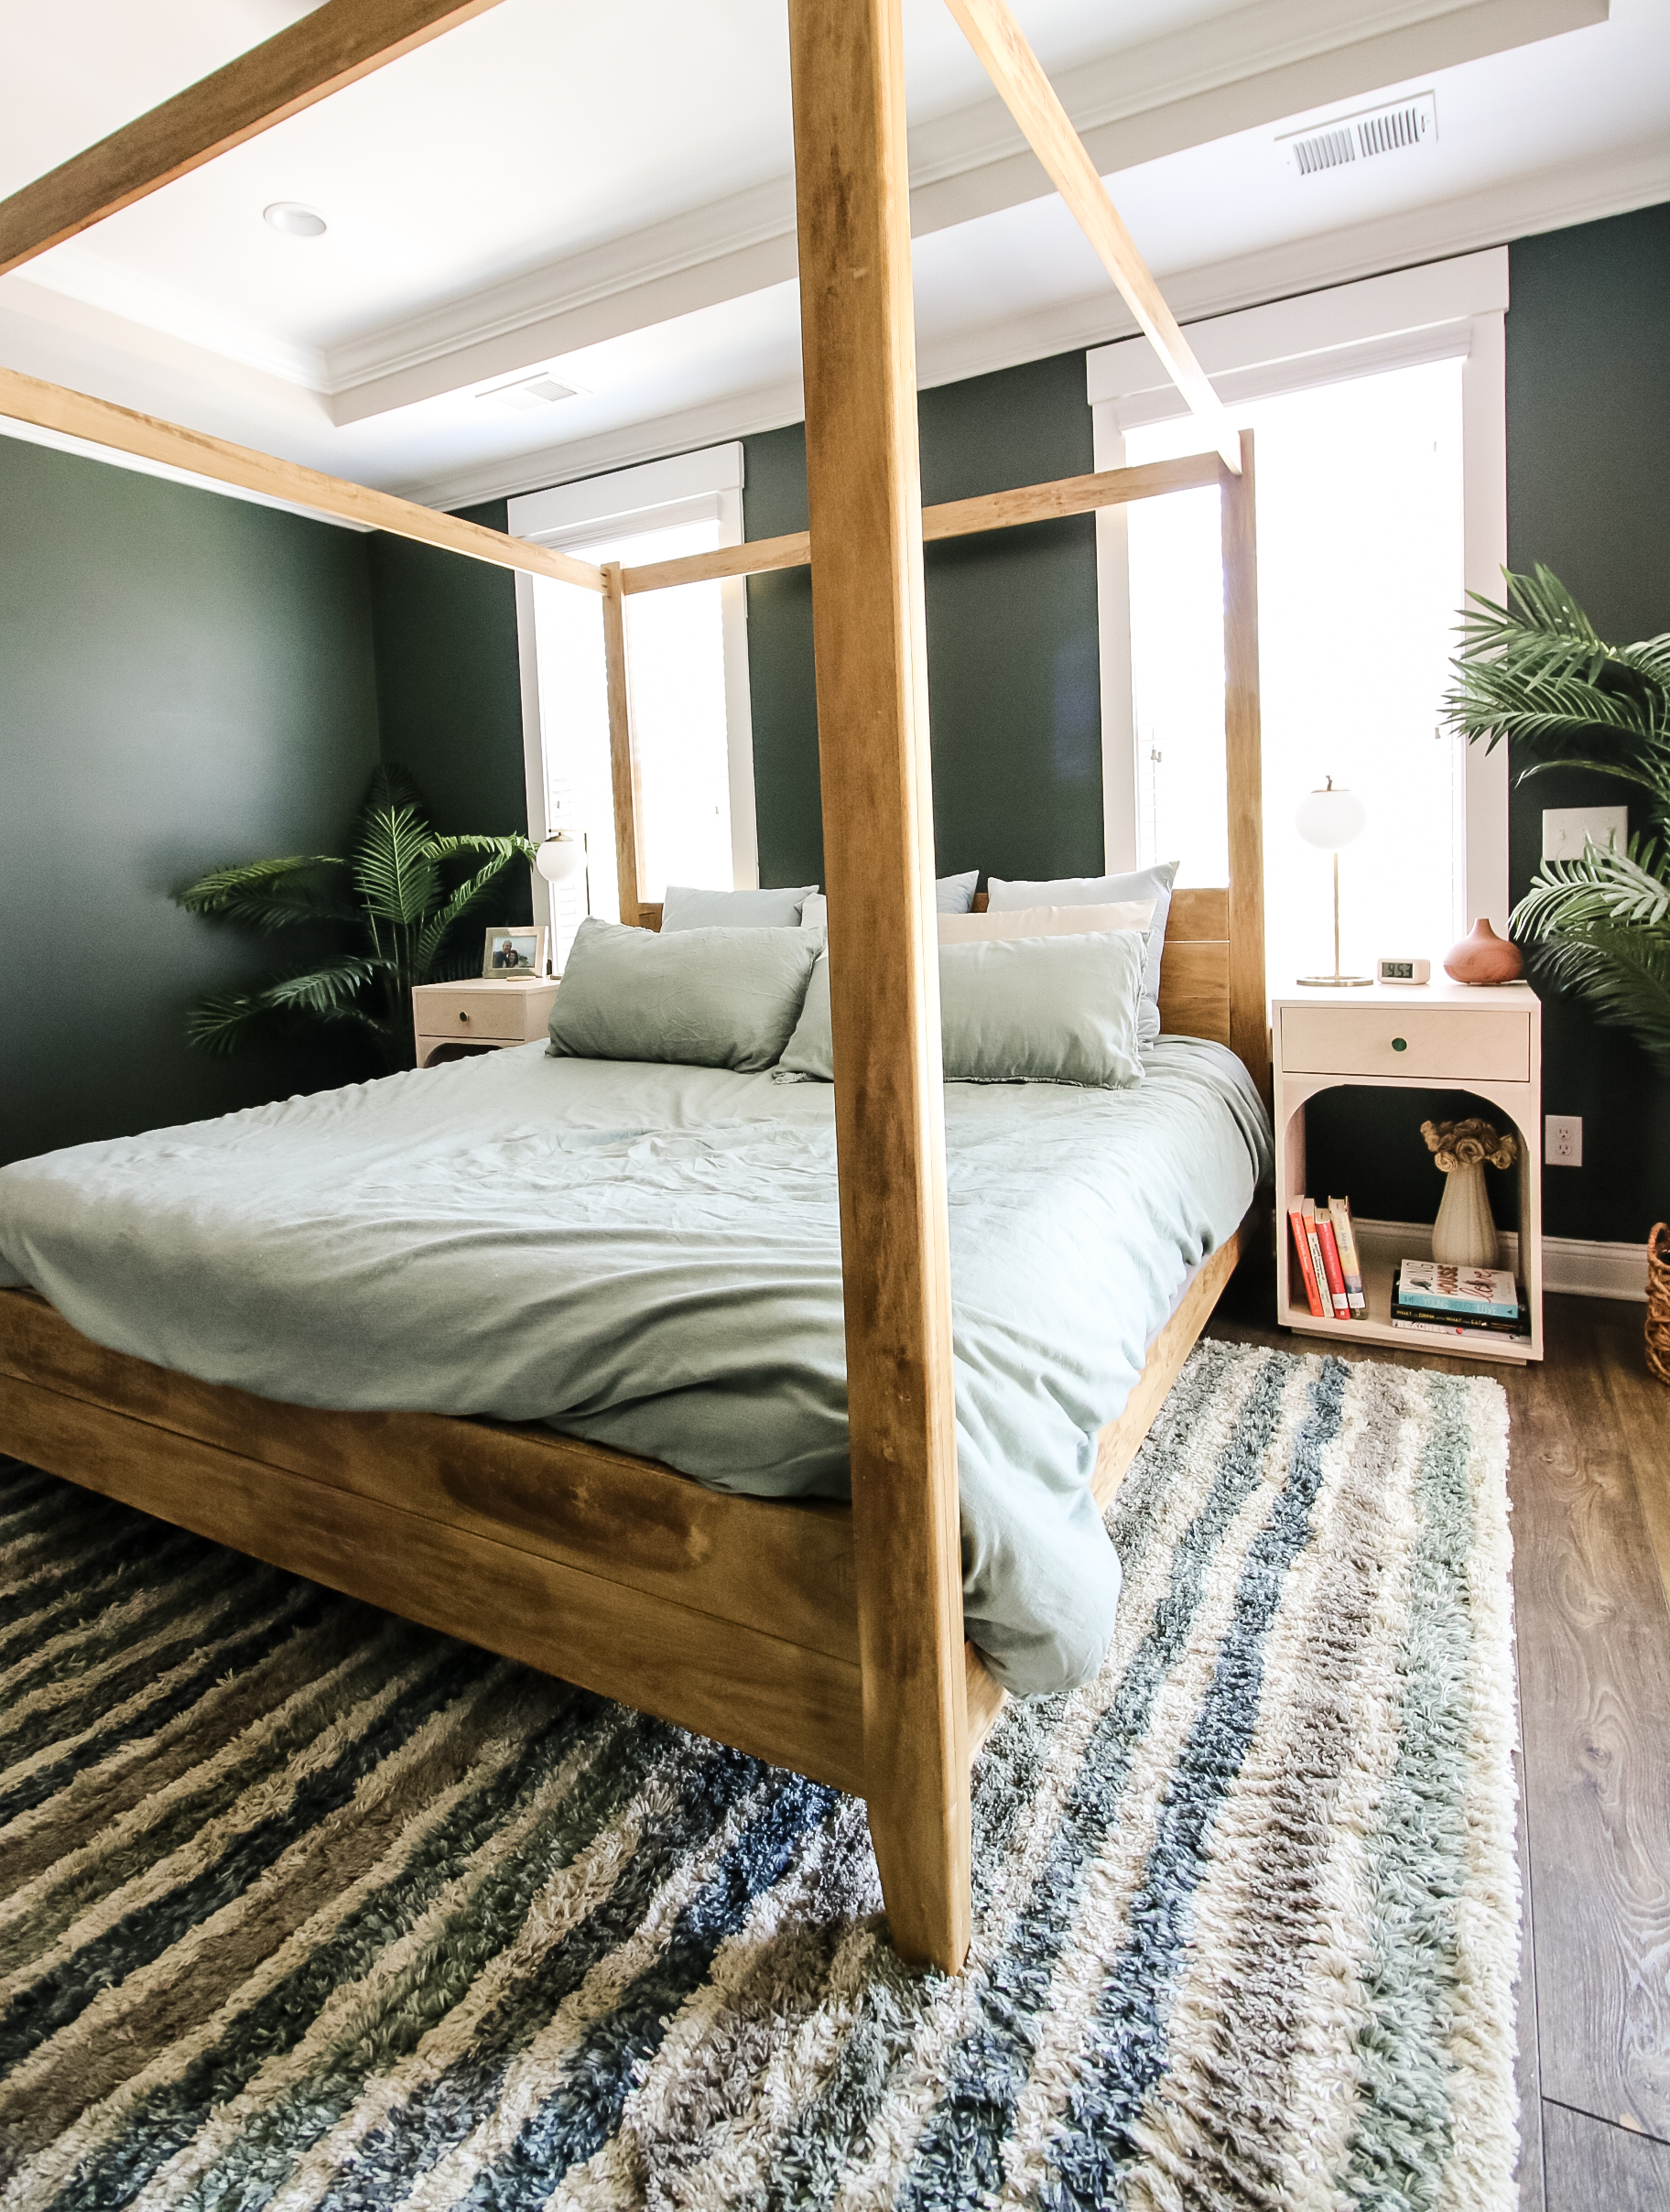
We recently painted the walls and built a DIY four poster canopy bed that is the statement feature in the bedroom, but we needed new bedside tables as well.
We were still using these large, boxy vintage Campaigner dresser bedside tables that we flipped years ago still living in our condo. One of the few holdovers from that era.
For our new space, we wanted something more simple and clean and decided to design these DIY modern bedside tables with trendy arches to be beautiful and functional in our bedroom.
See our primary bedroom makeover reveal here!
Check out our DIY midcentury modern side tables with angled lines!
DIY modern nightstand
When you think about a bedside table, you don’t usually think of it being the statement piece in your bedroom. However, you want it to look nice and complement the rest of the room.
You also want a bedside table to be functional for your needs. Some people use nightstands as their dressers and some just need a place for a reading lamp and a book.
Short on space? Check out our tutorial for how to build slim, floating nightstands!
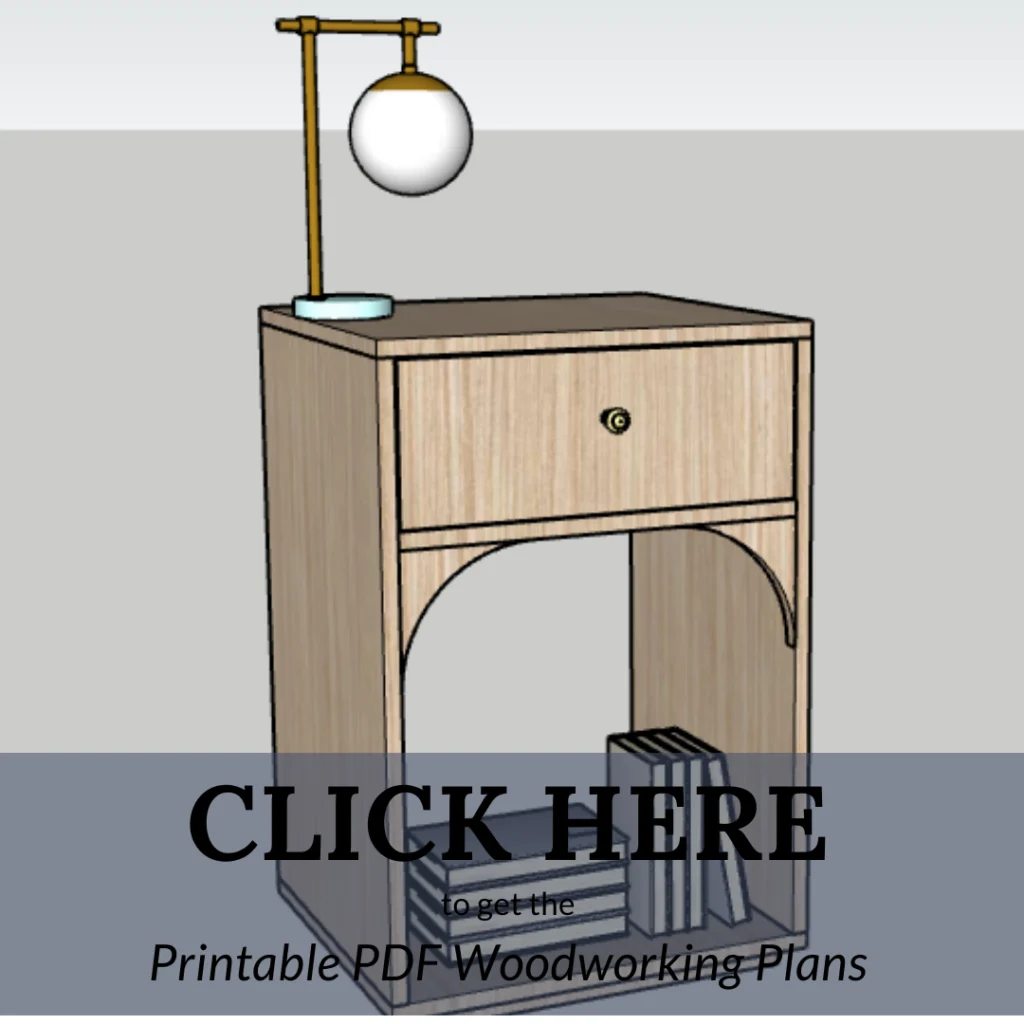
We designed these DIY plywood bedside tables to have a big open space to store books or showcase decor at ground level, but have a single drawer to have some storage out of eyesight.
The best thing about these DIY plywood nightstands is that you can build two of them with just one sheet of 3/4″ plywood and some scrap 1/2″ plywood. Most people want two nightstands, so this is a great plus.
Plus, arched furniture and arches in general are now very trendy, so we wanted to incorporate a little of that into these bedside tables. The arch is subtle, but noticeable and makes them very on trend.
How do you make a modern bedside table
If you’re looking to build these modern bedside tables, make sure you grab the free DIY nightstand plans with our downloadable PDF. After you have the plans, here’s the tools and materials you’ll need to get started on your nightstand with one drawer.
Tools needed to build a DIY bedside table:
- Table saw
- Jig saw
- Cordless drill
- Kreg 720 Pro pocket hole jig
- Orbital sander
Materials needed to make a modern bedside table:
- 3/4″ plywood sheet
- 1/2″ plywood half sheet
- Pocket hole screws
- Wood glue
- Edge banding
- Stain
Steps for how to build a bedside table
Here are the overall general steps for how to build this DIY modern bedside table with arches. To get the full details and instructions, make sure to click over to get our free DIY nightstand woodworking plans.
These bedside tables would look great next to our DIY modern platform bed!
Step one- Build bedside table box
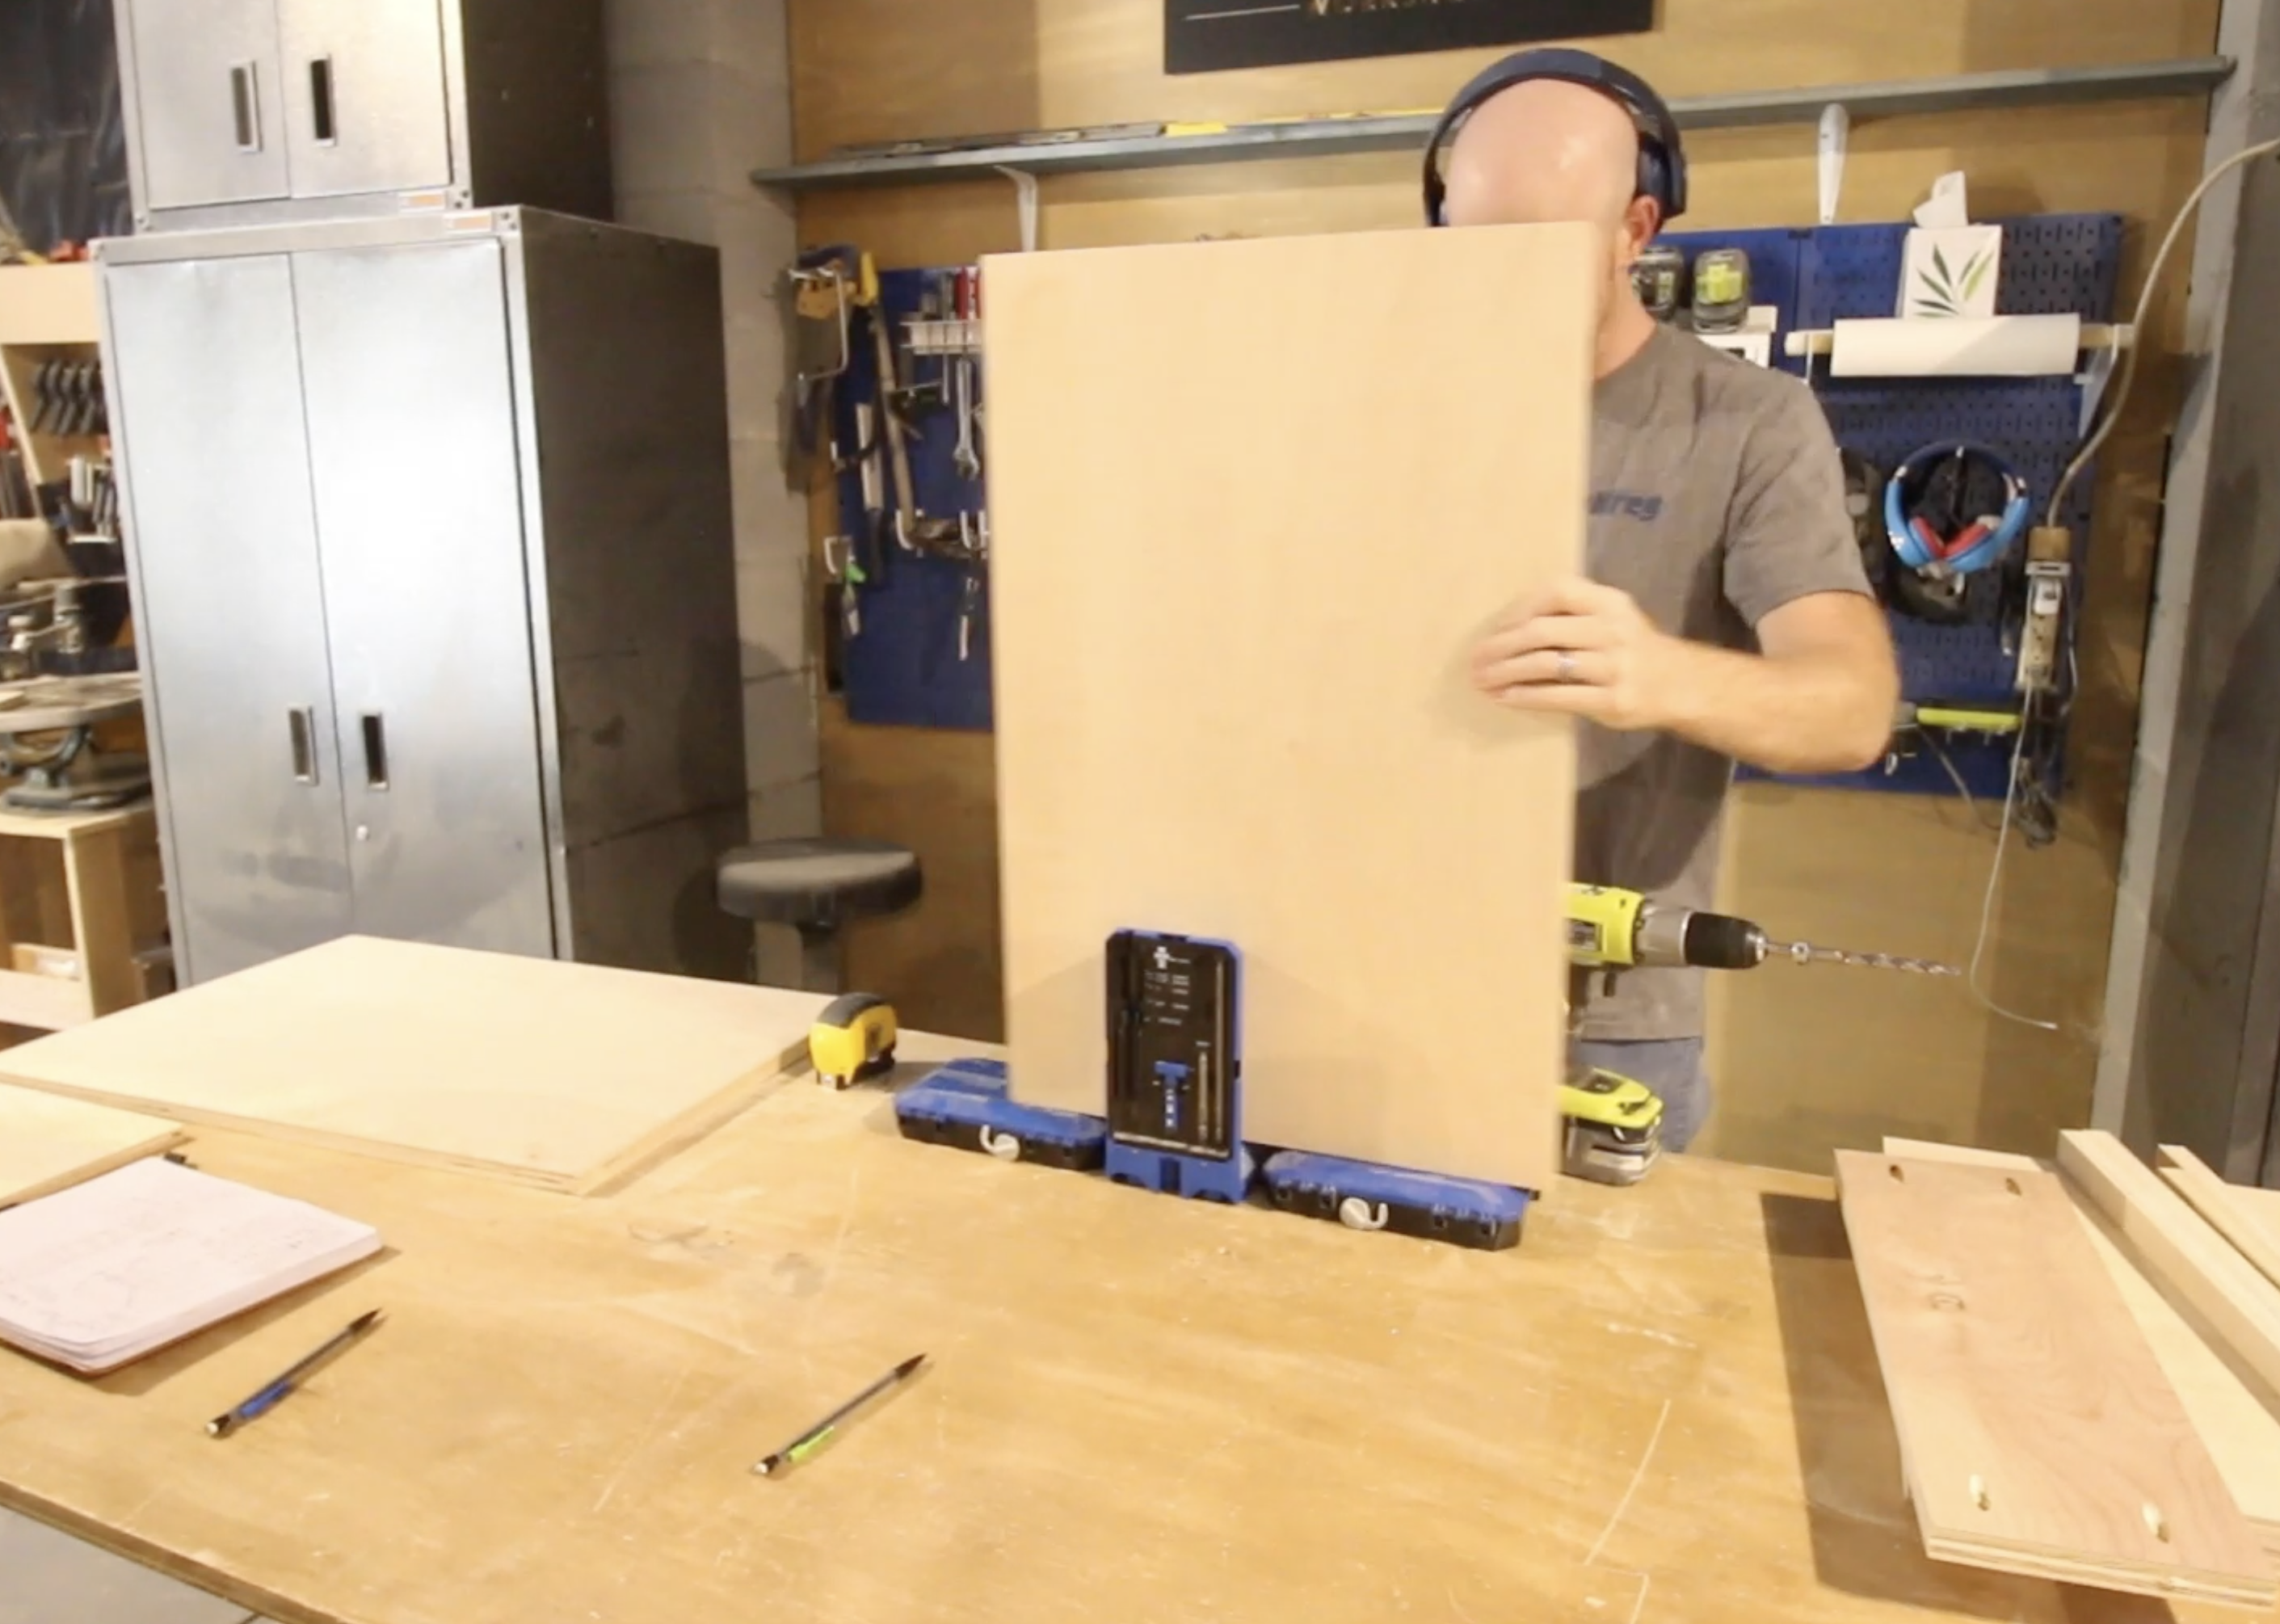
The first thing to do to build these mid century nightstands is to cut down your sheet of plywood, drill pocket holes and sand everything smooth and even.
Remember that these are going to be next to your bed, so you want the top of the nightstand to be very smooth especially.
We used the Kreg 720 Pro pocket hole jig to drill all the pocket holes needed in our pieces of plywood. The 720 Pro is an excellent option for pocket hole joinery because it has auto-clamping and a large work surface for your pieces.
We used pocket hole screws to attach the two sides to the top and bottom pieces and then filled in the holes with pocket hole plugs (click here to learn how to make your own pocket hole plugs!).
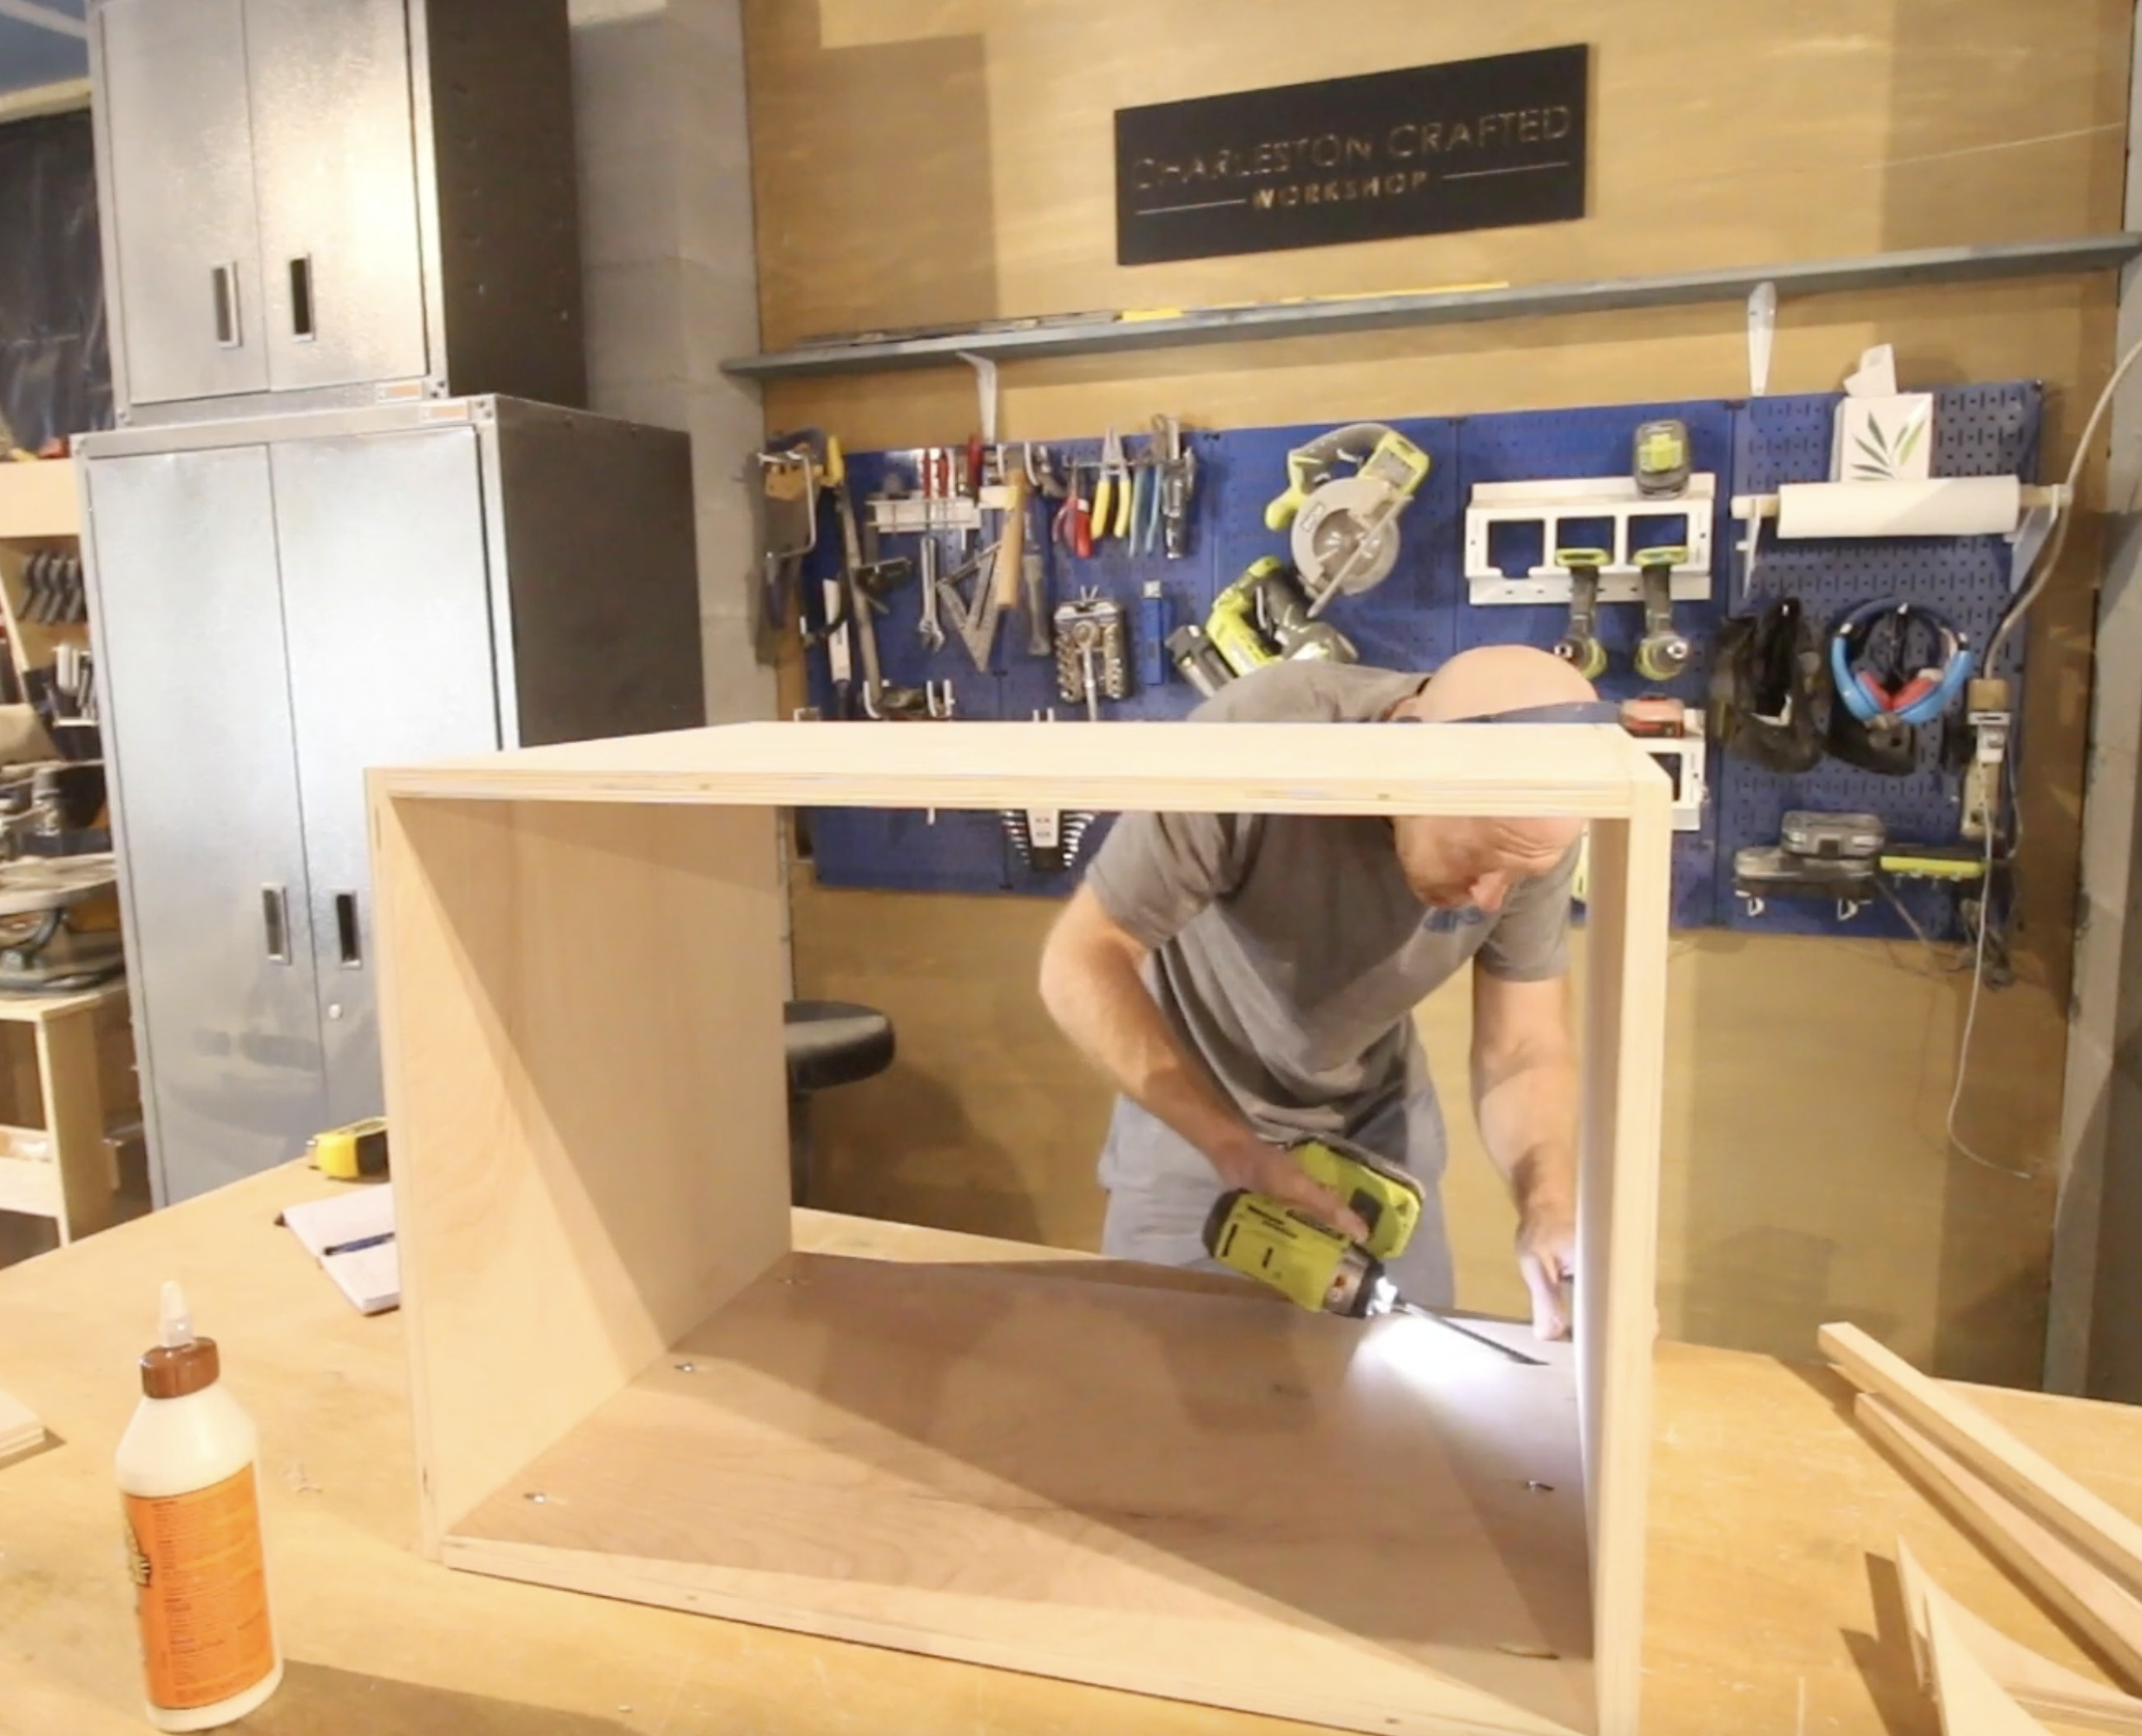
Step two- Attach toe kicks
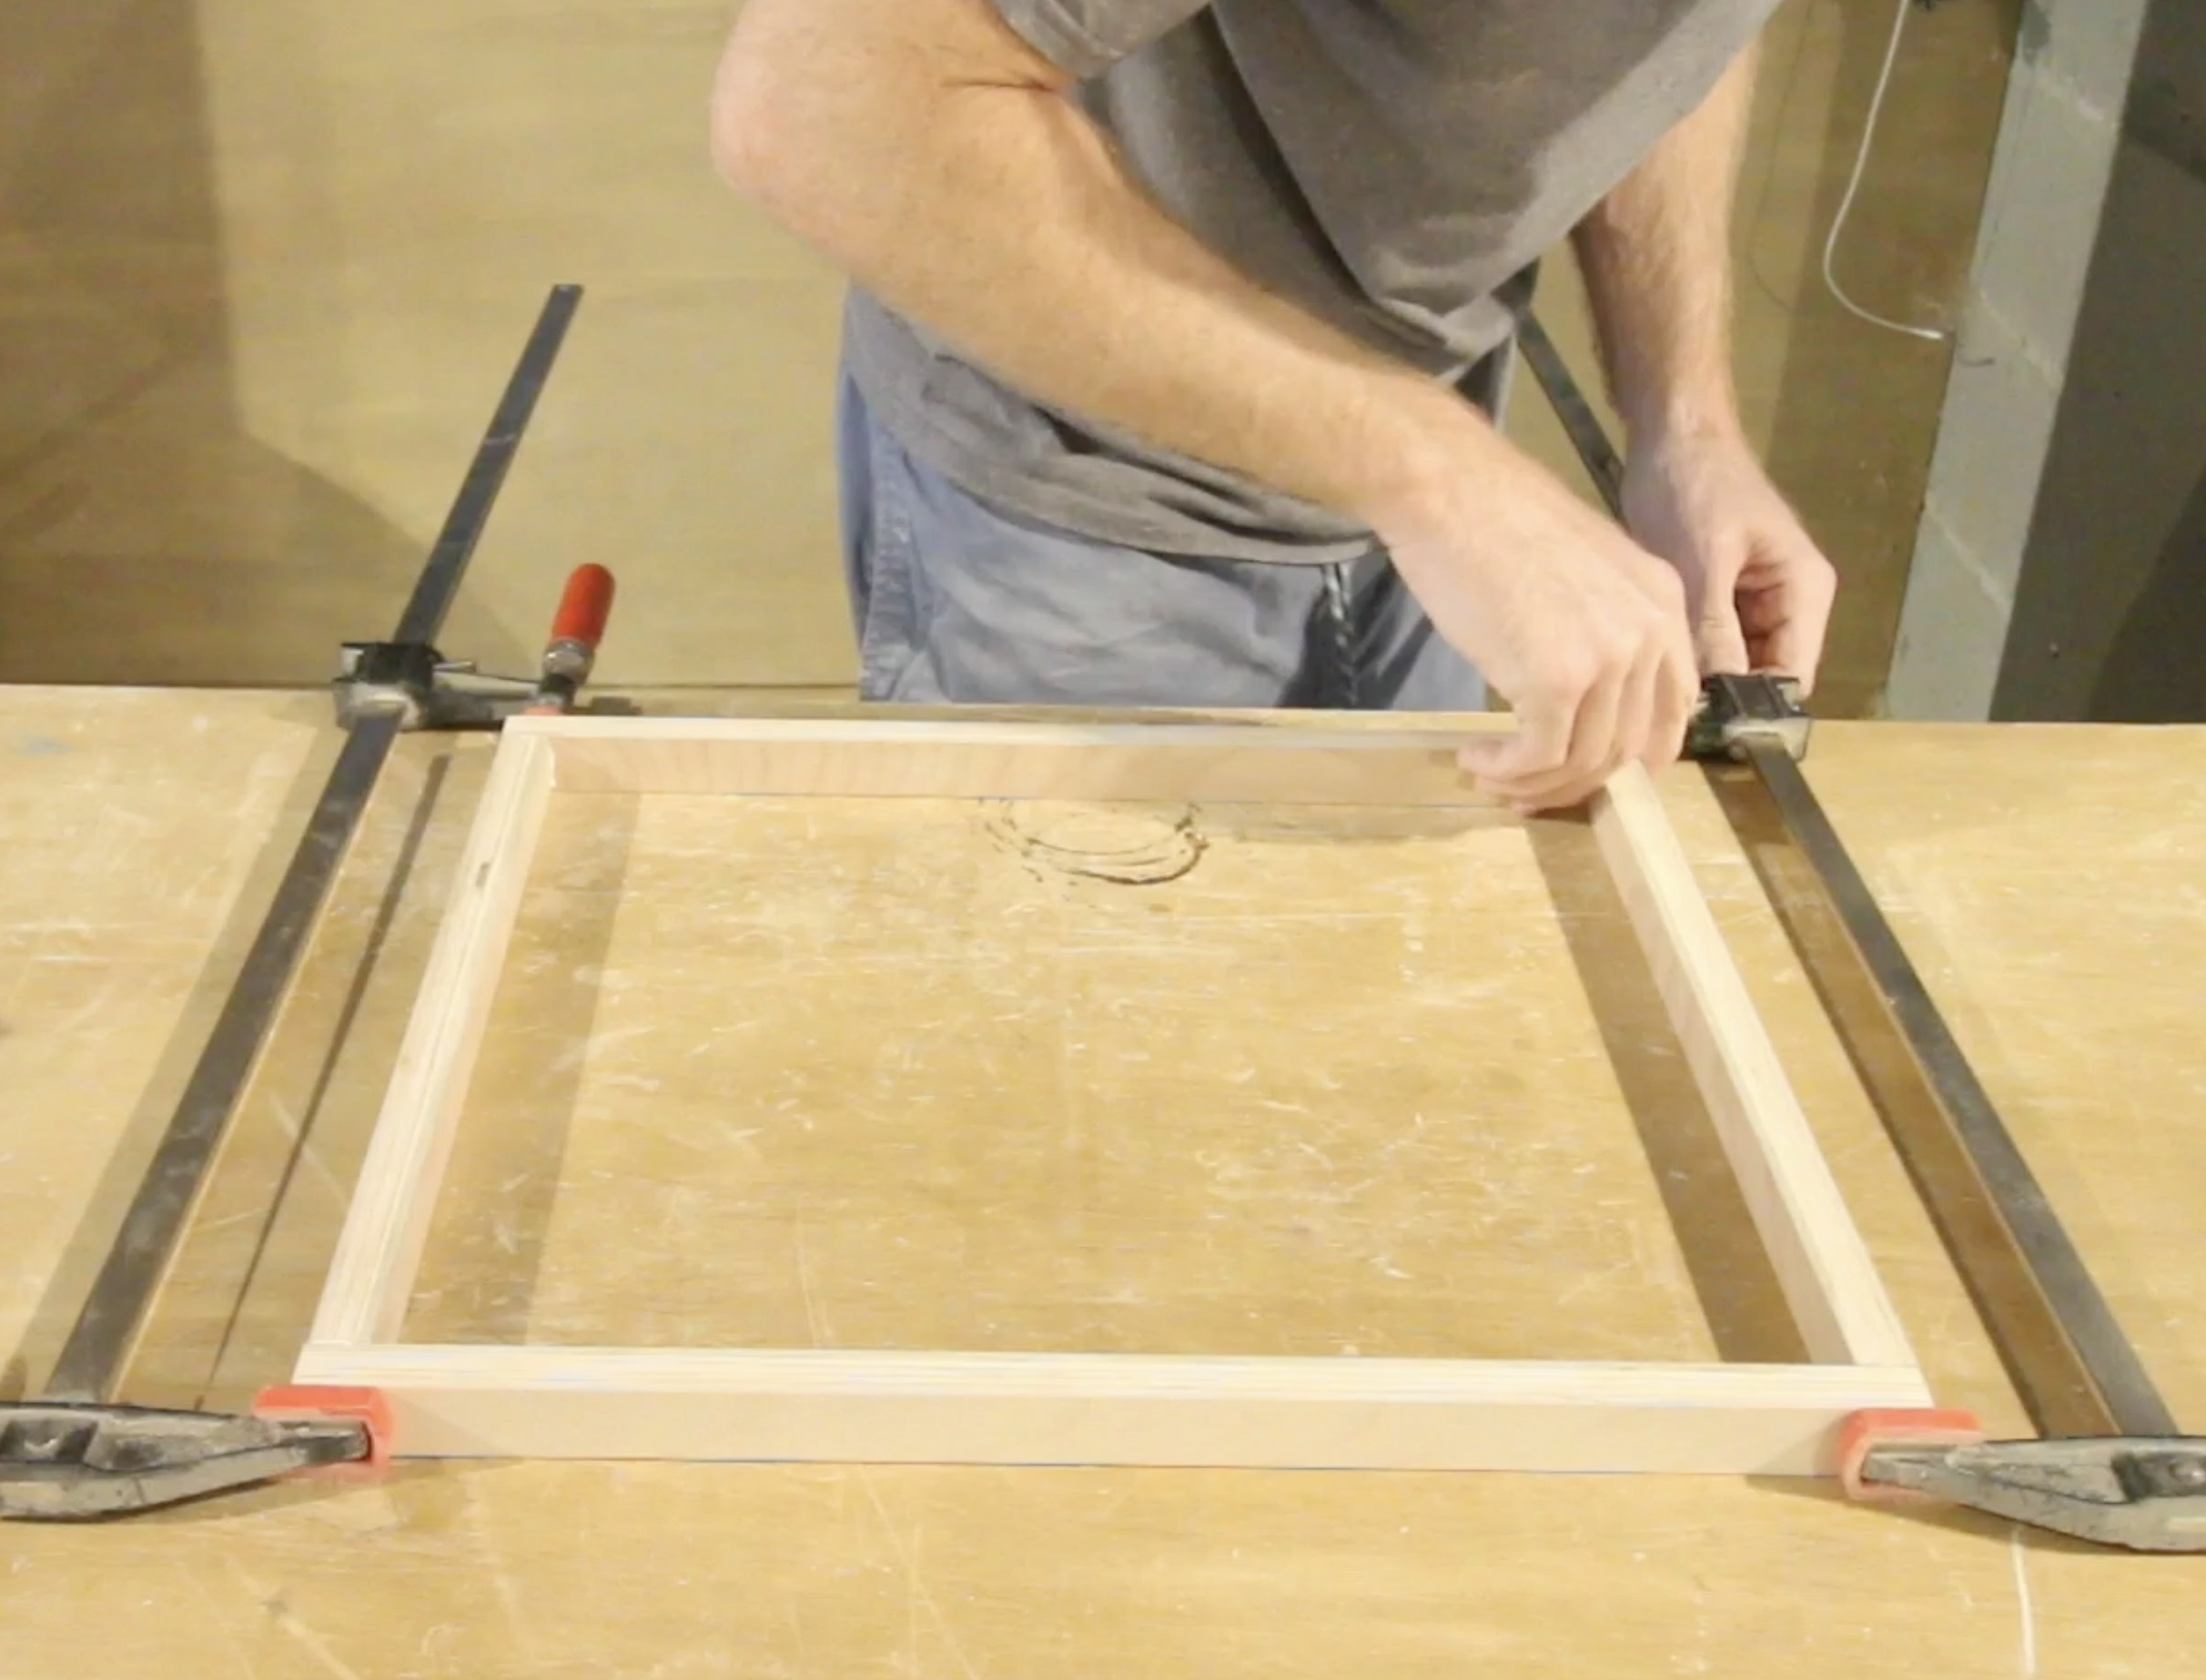
Next up was to attach the toe kicks to the underside of the bedside table. We did a similar design with our DIY slatted coffee table by using 1″ strips of plywood tucked underneath to give the appearance that the furniture is floating.
To get the floating nightstand look, we glued four pieces of plywood together in a box shape and then glued that to the underside of the nightstand.
Step three- Create arches
Time to add those trendy arches. To do this, we cut out arches from plywood using our scroll saw.
There’s no big trick to this, but we traced an arch between two corners of a square 6″ piece of plywood and then traced that curve on the saw, then sanded smooth.
Then, we coated the flat sides with wood glue and clamped them in place between the sides of the box and the support under the drawer.
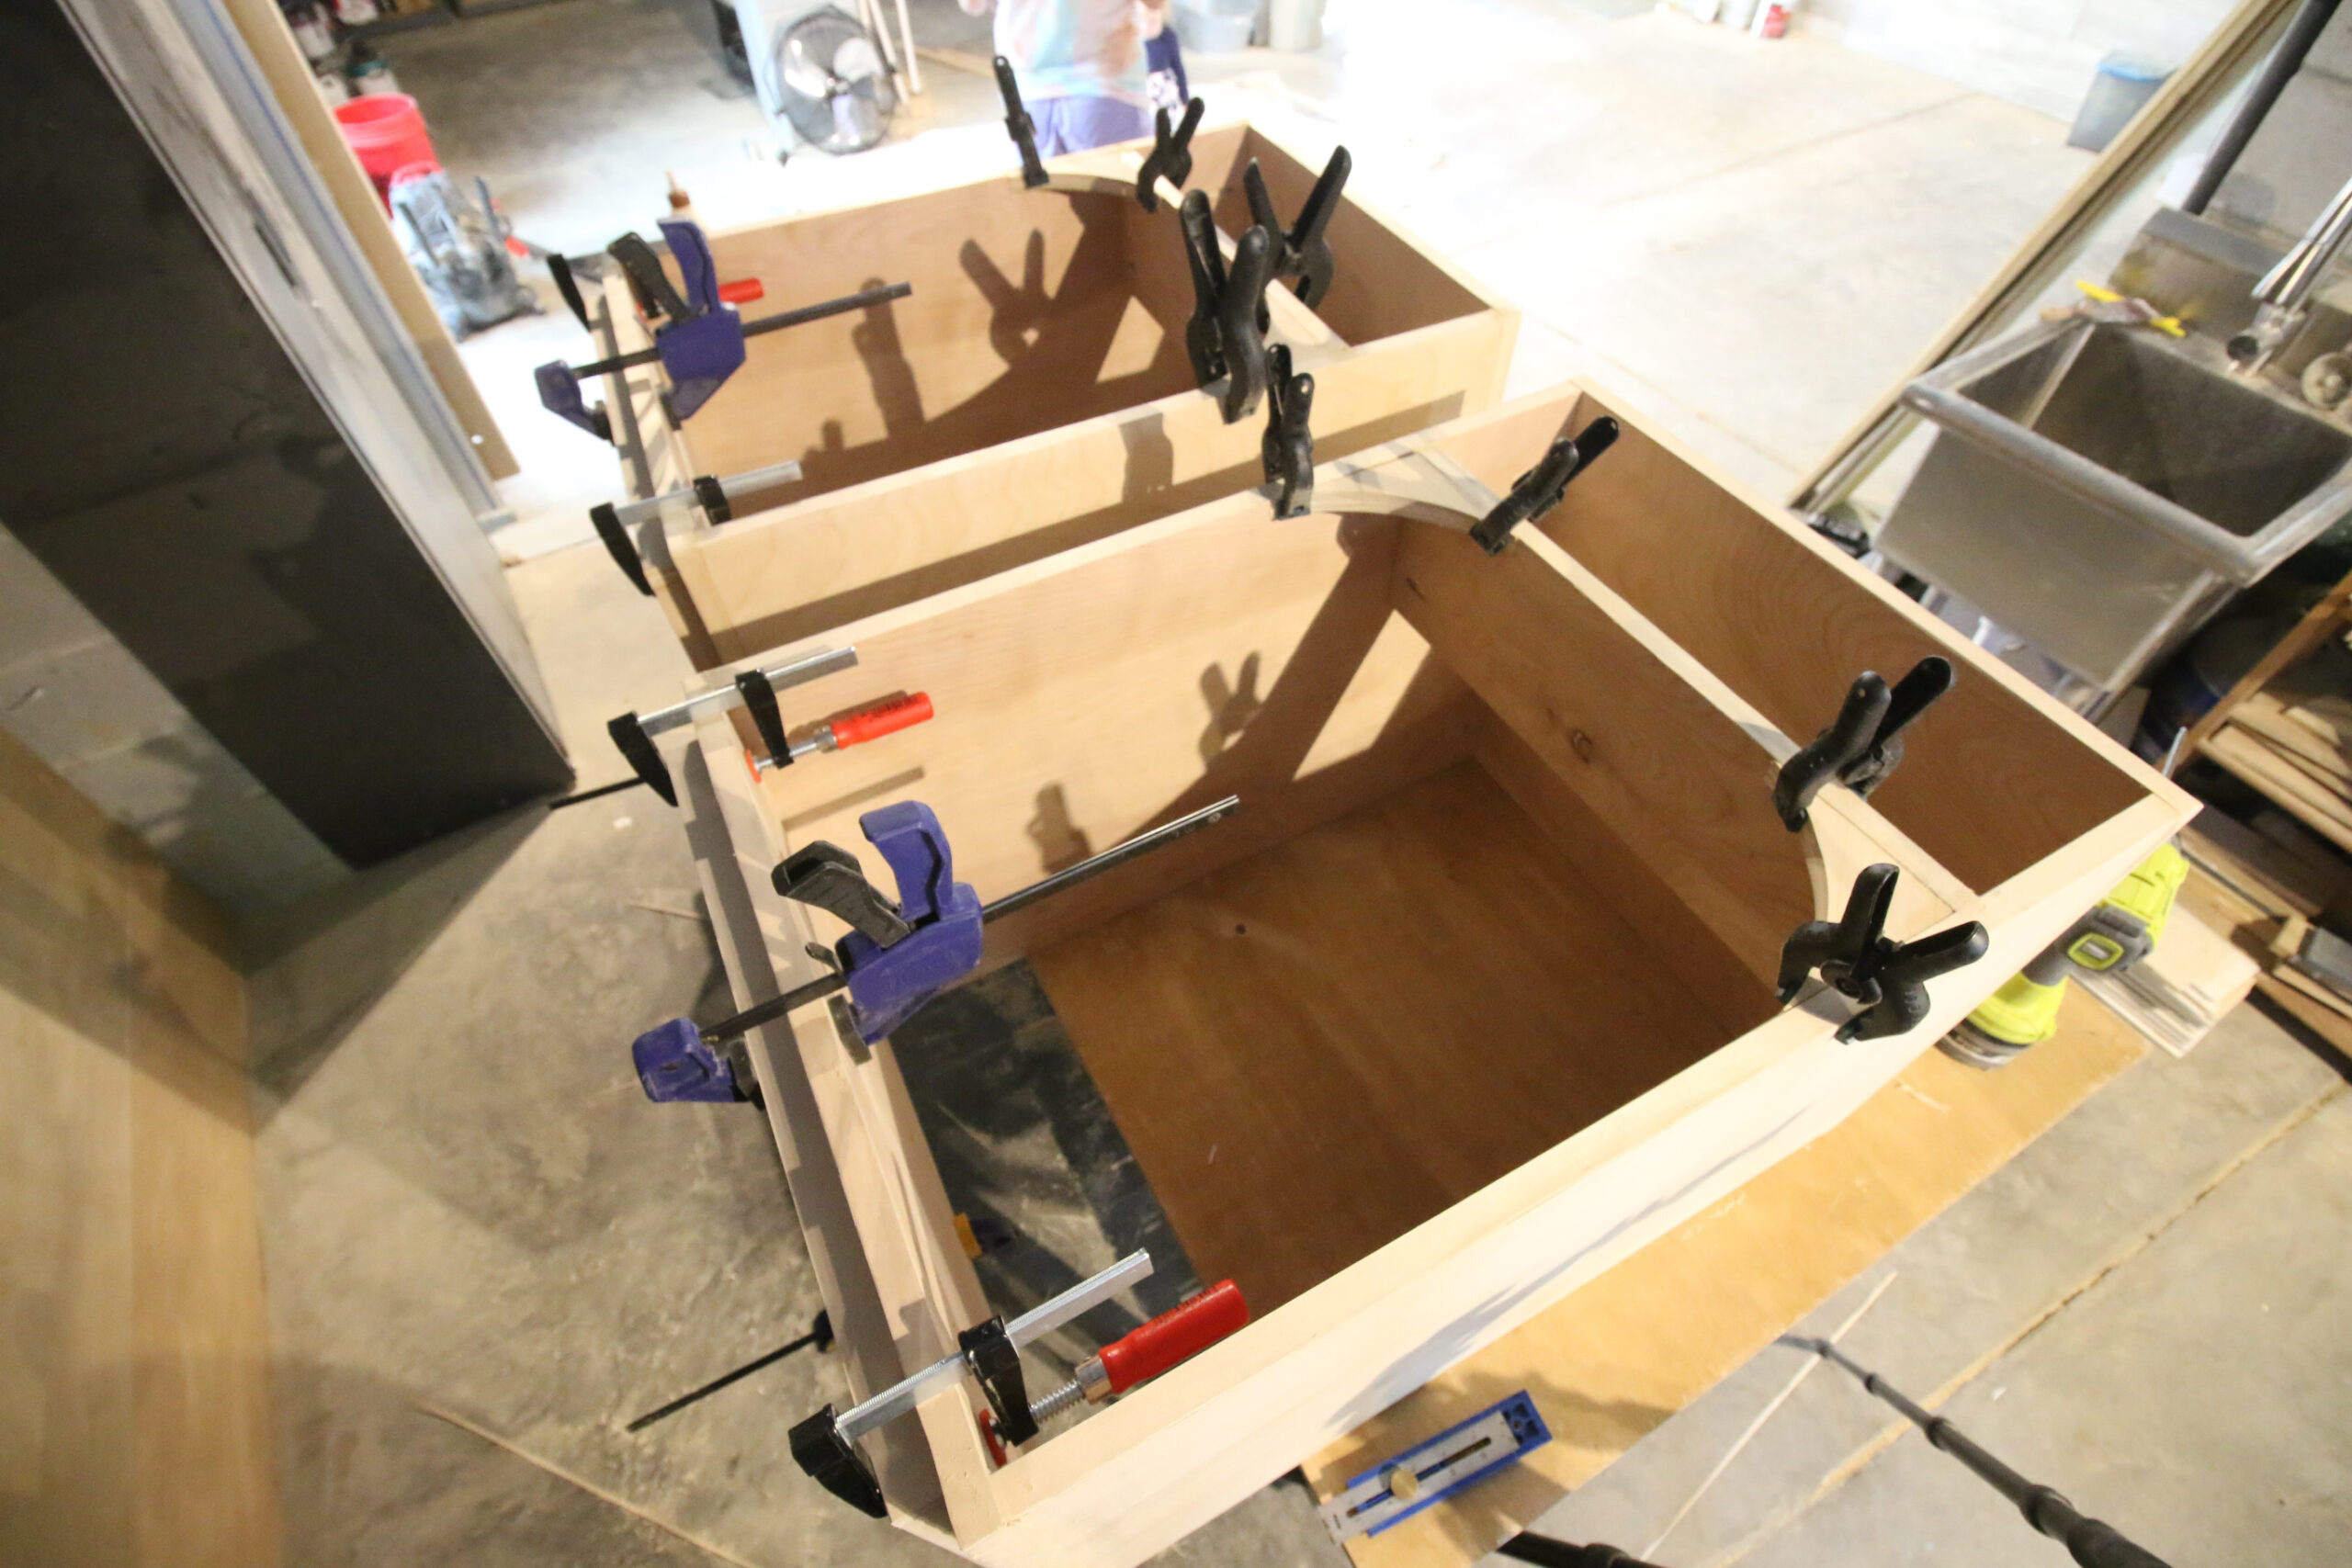
Step four- Build drawer
We just got through building 10 drawers for our DIY walk-in closet built-in dresser, so it was a breeze putting these together.
The drawer boxes are three sides put together with pocket hole joinery with a bottom piece in between.
We also attached a drawer face later on after it was stained.
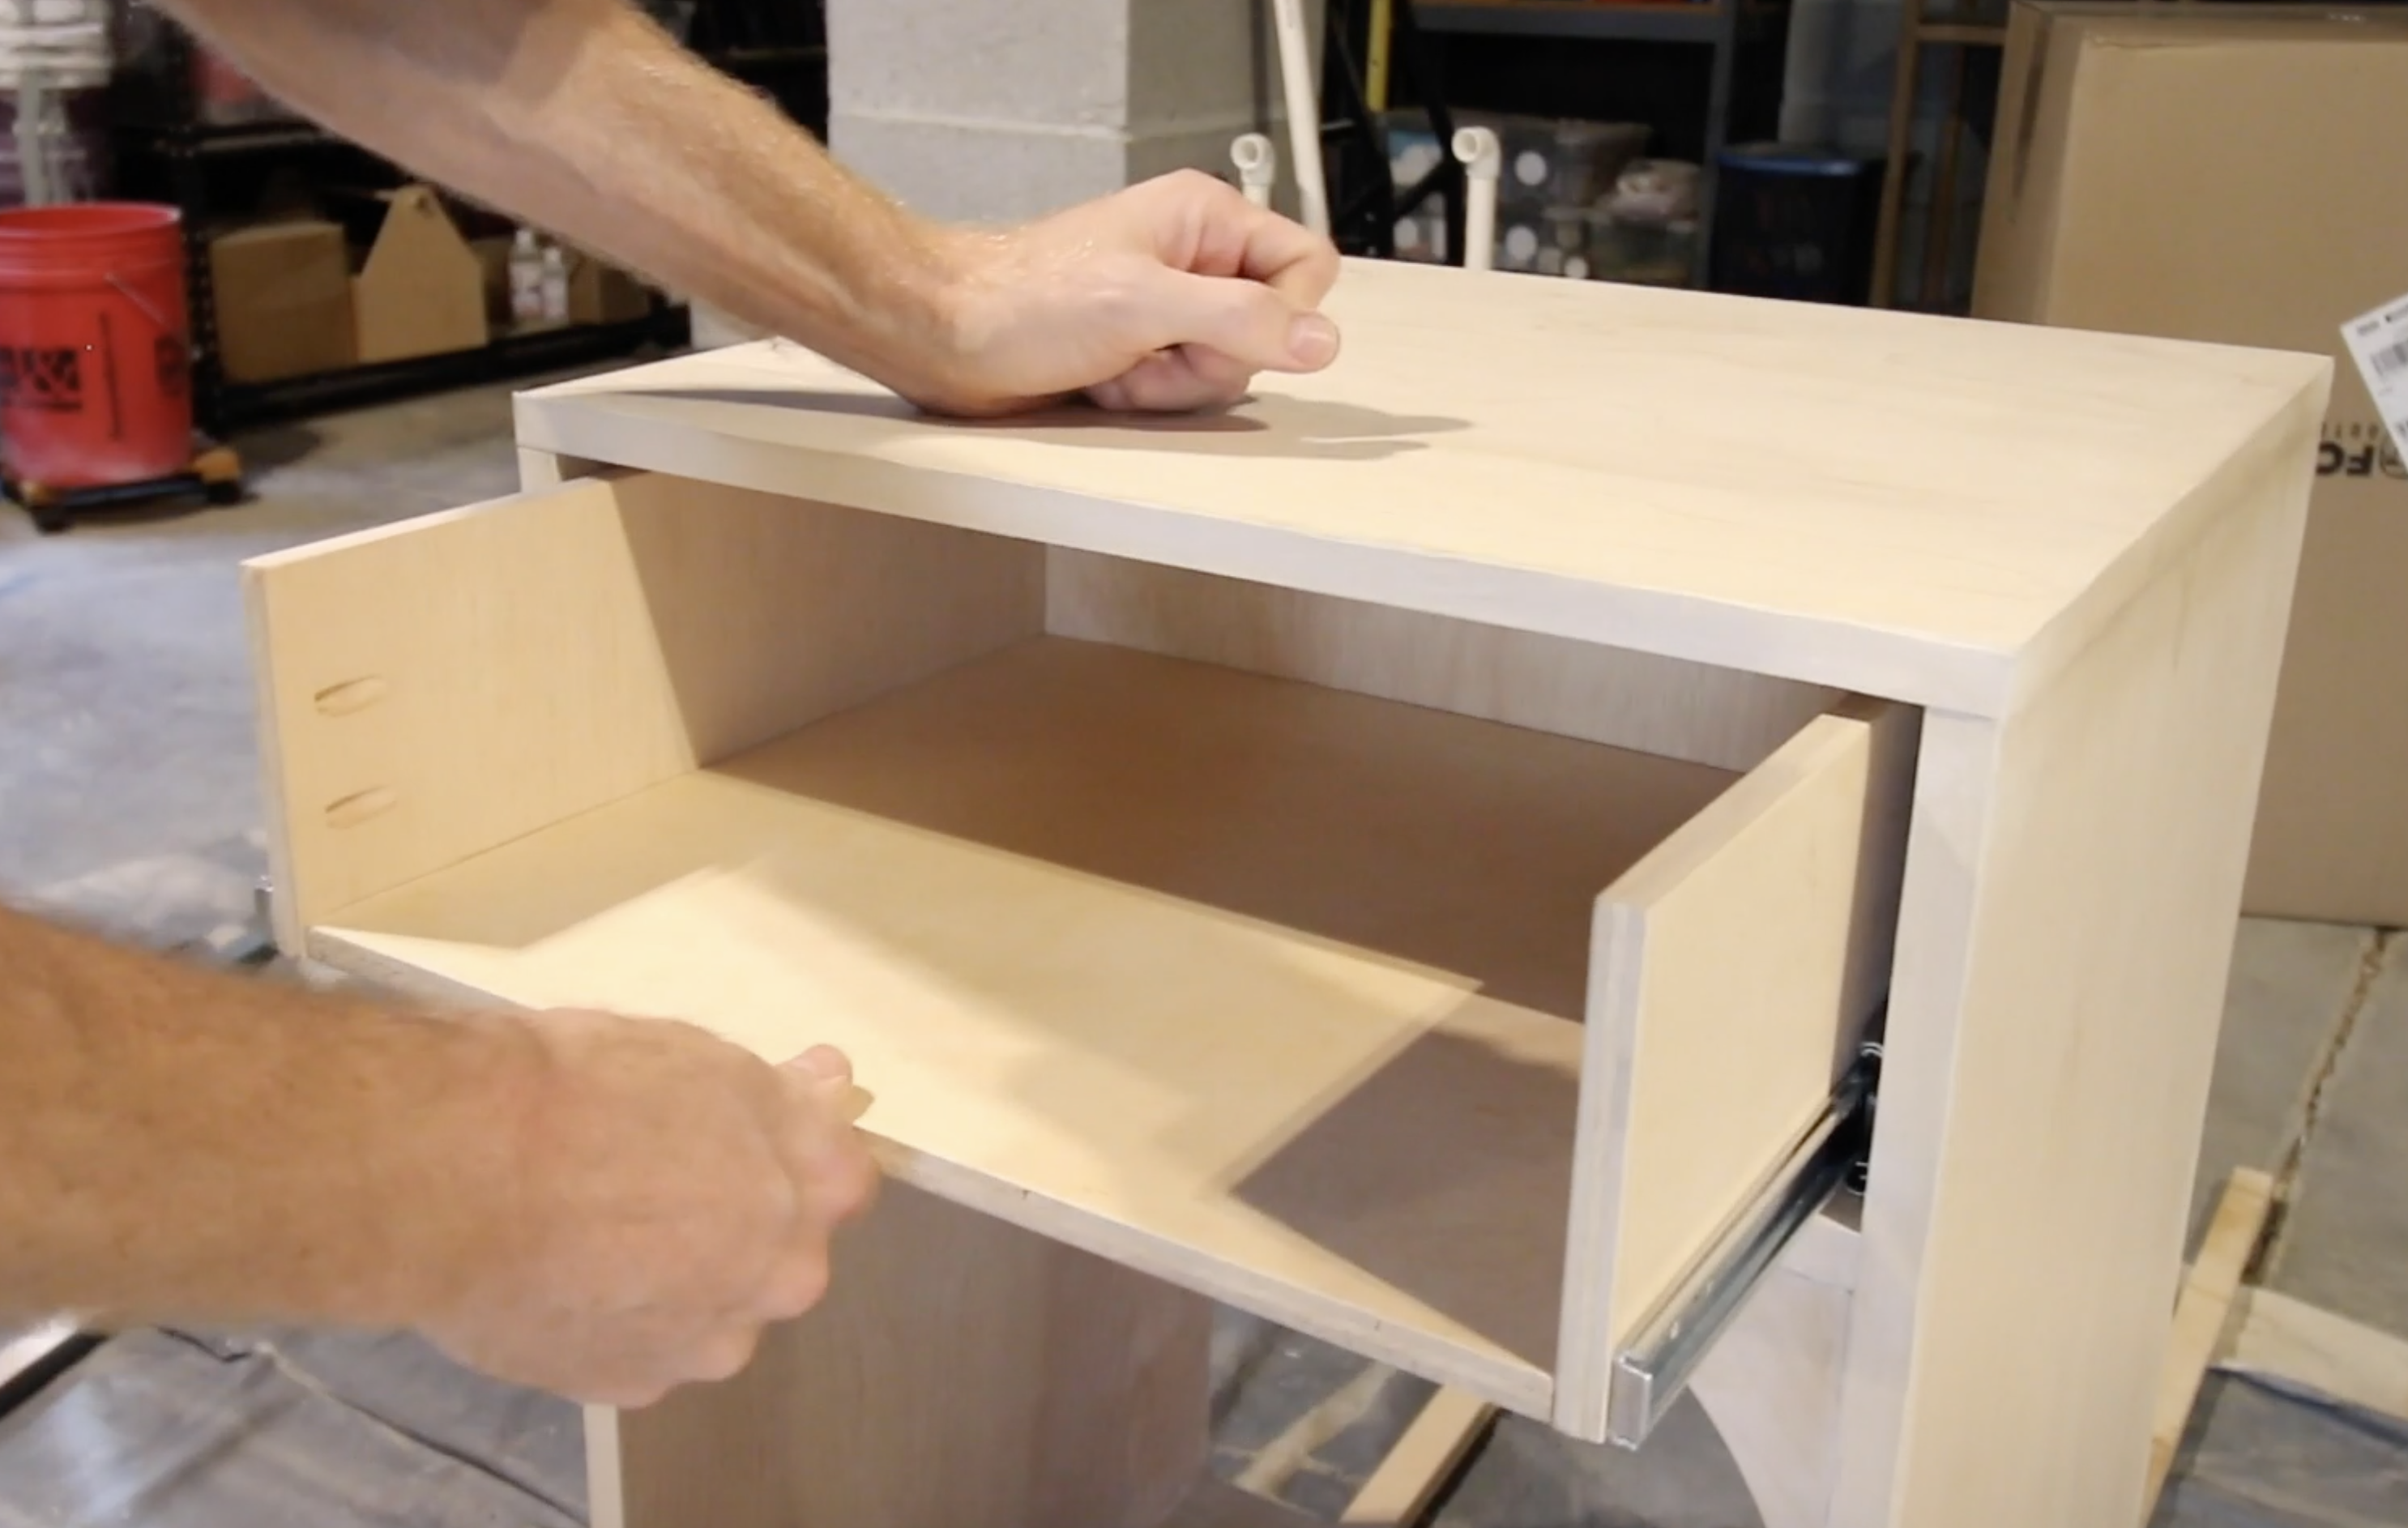
Step five- Install drawer
After staining the whole project, we installed drawer slides onto the drawer box and into the top of the bedside tables.
Drawer slides are very easy to install, even though they can be intimidating. Follow the instructions provide to line them up and use the Kreg drawer slide jig to help if you need it.
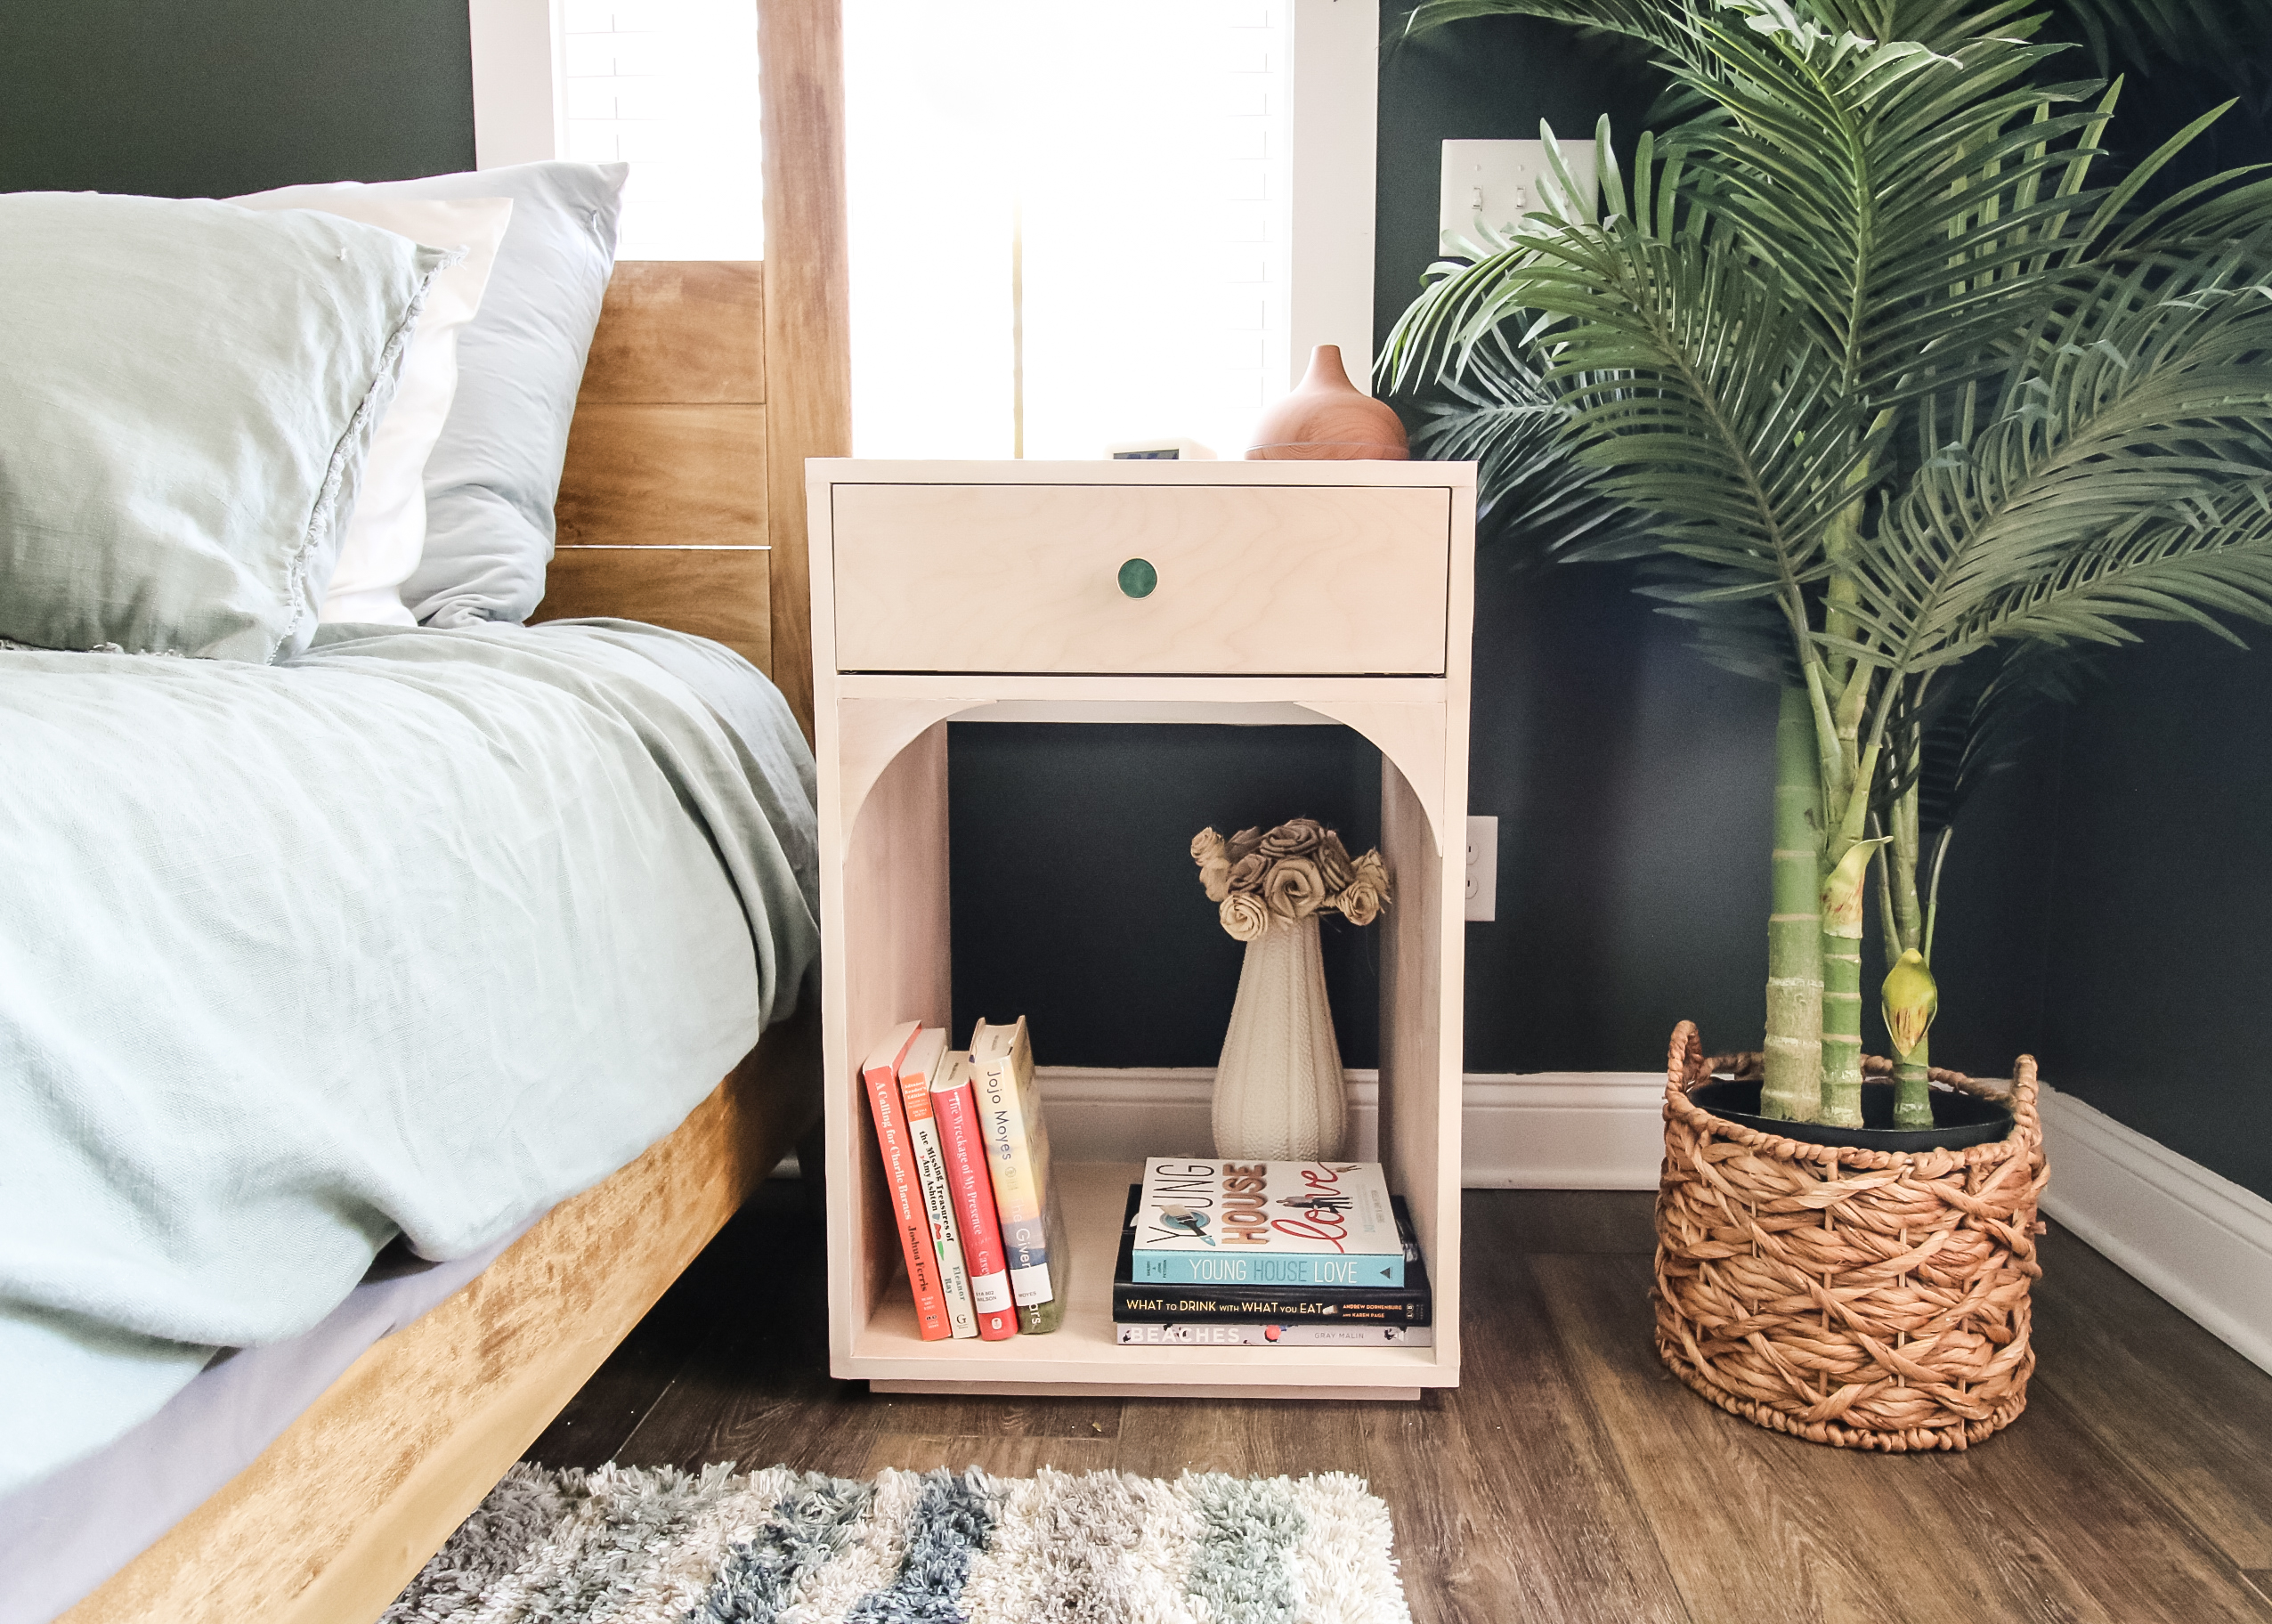
After the drawer boxes were in, we added a single knob to each one. We chose a pair that were green (to match our bedding and walls) and gold (to match the reading lamps we are going to put on top of the tables).
Step six- Style and enjoy
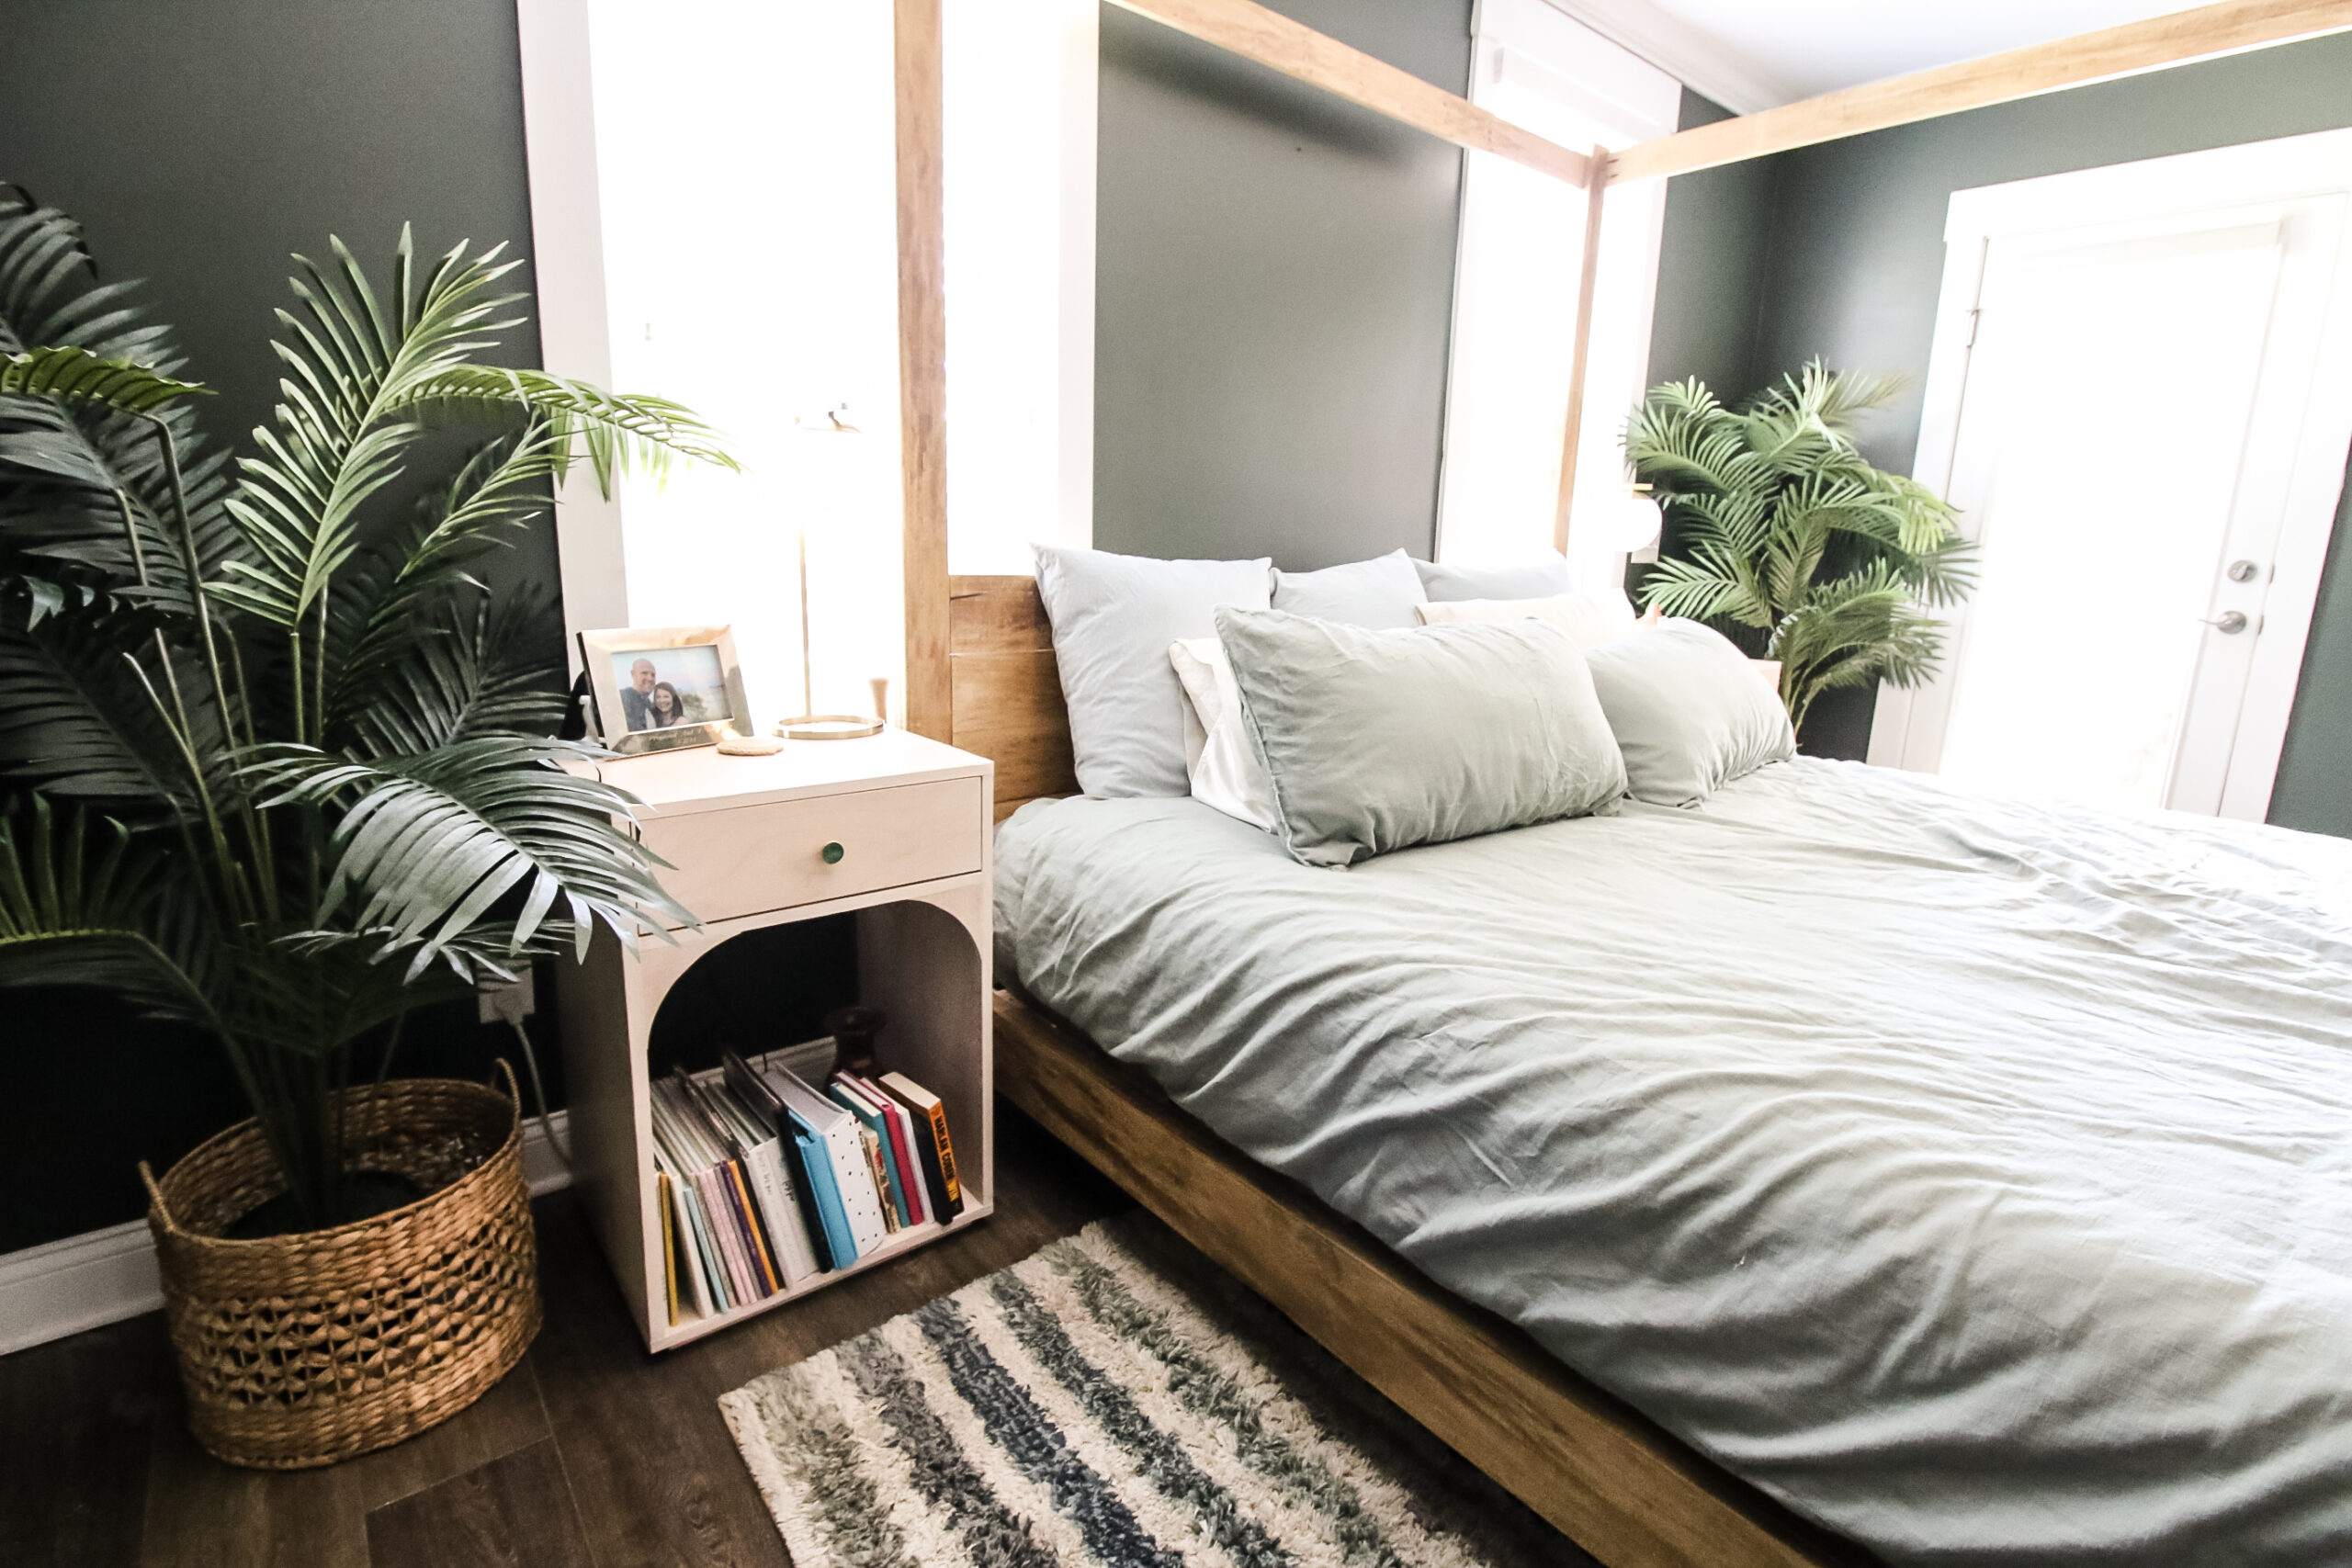
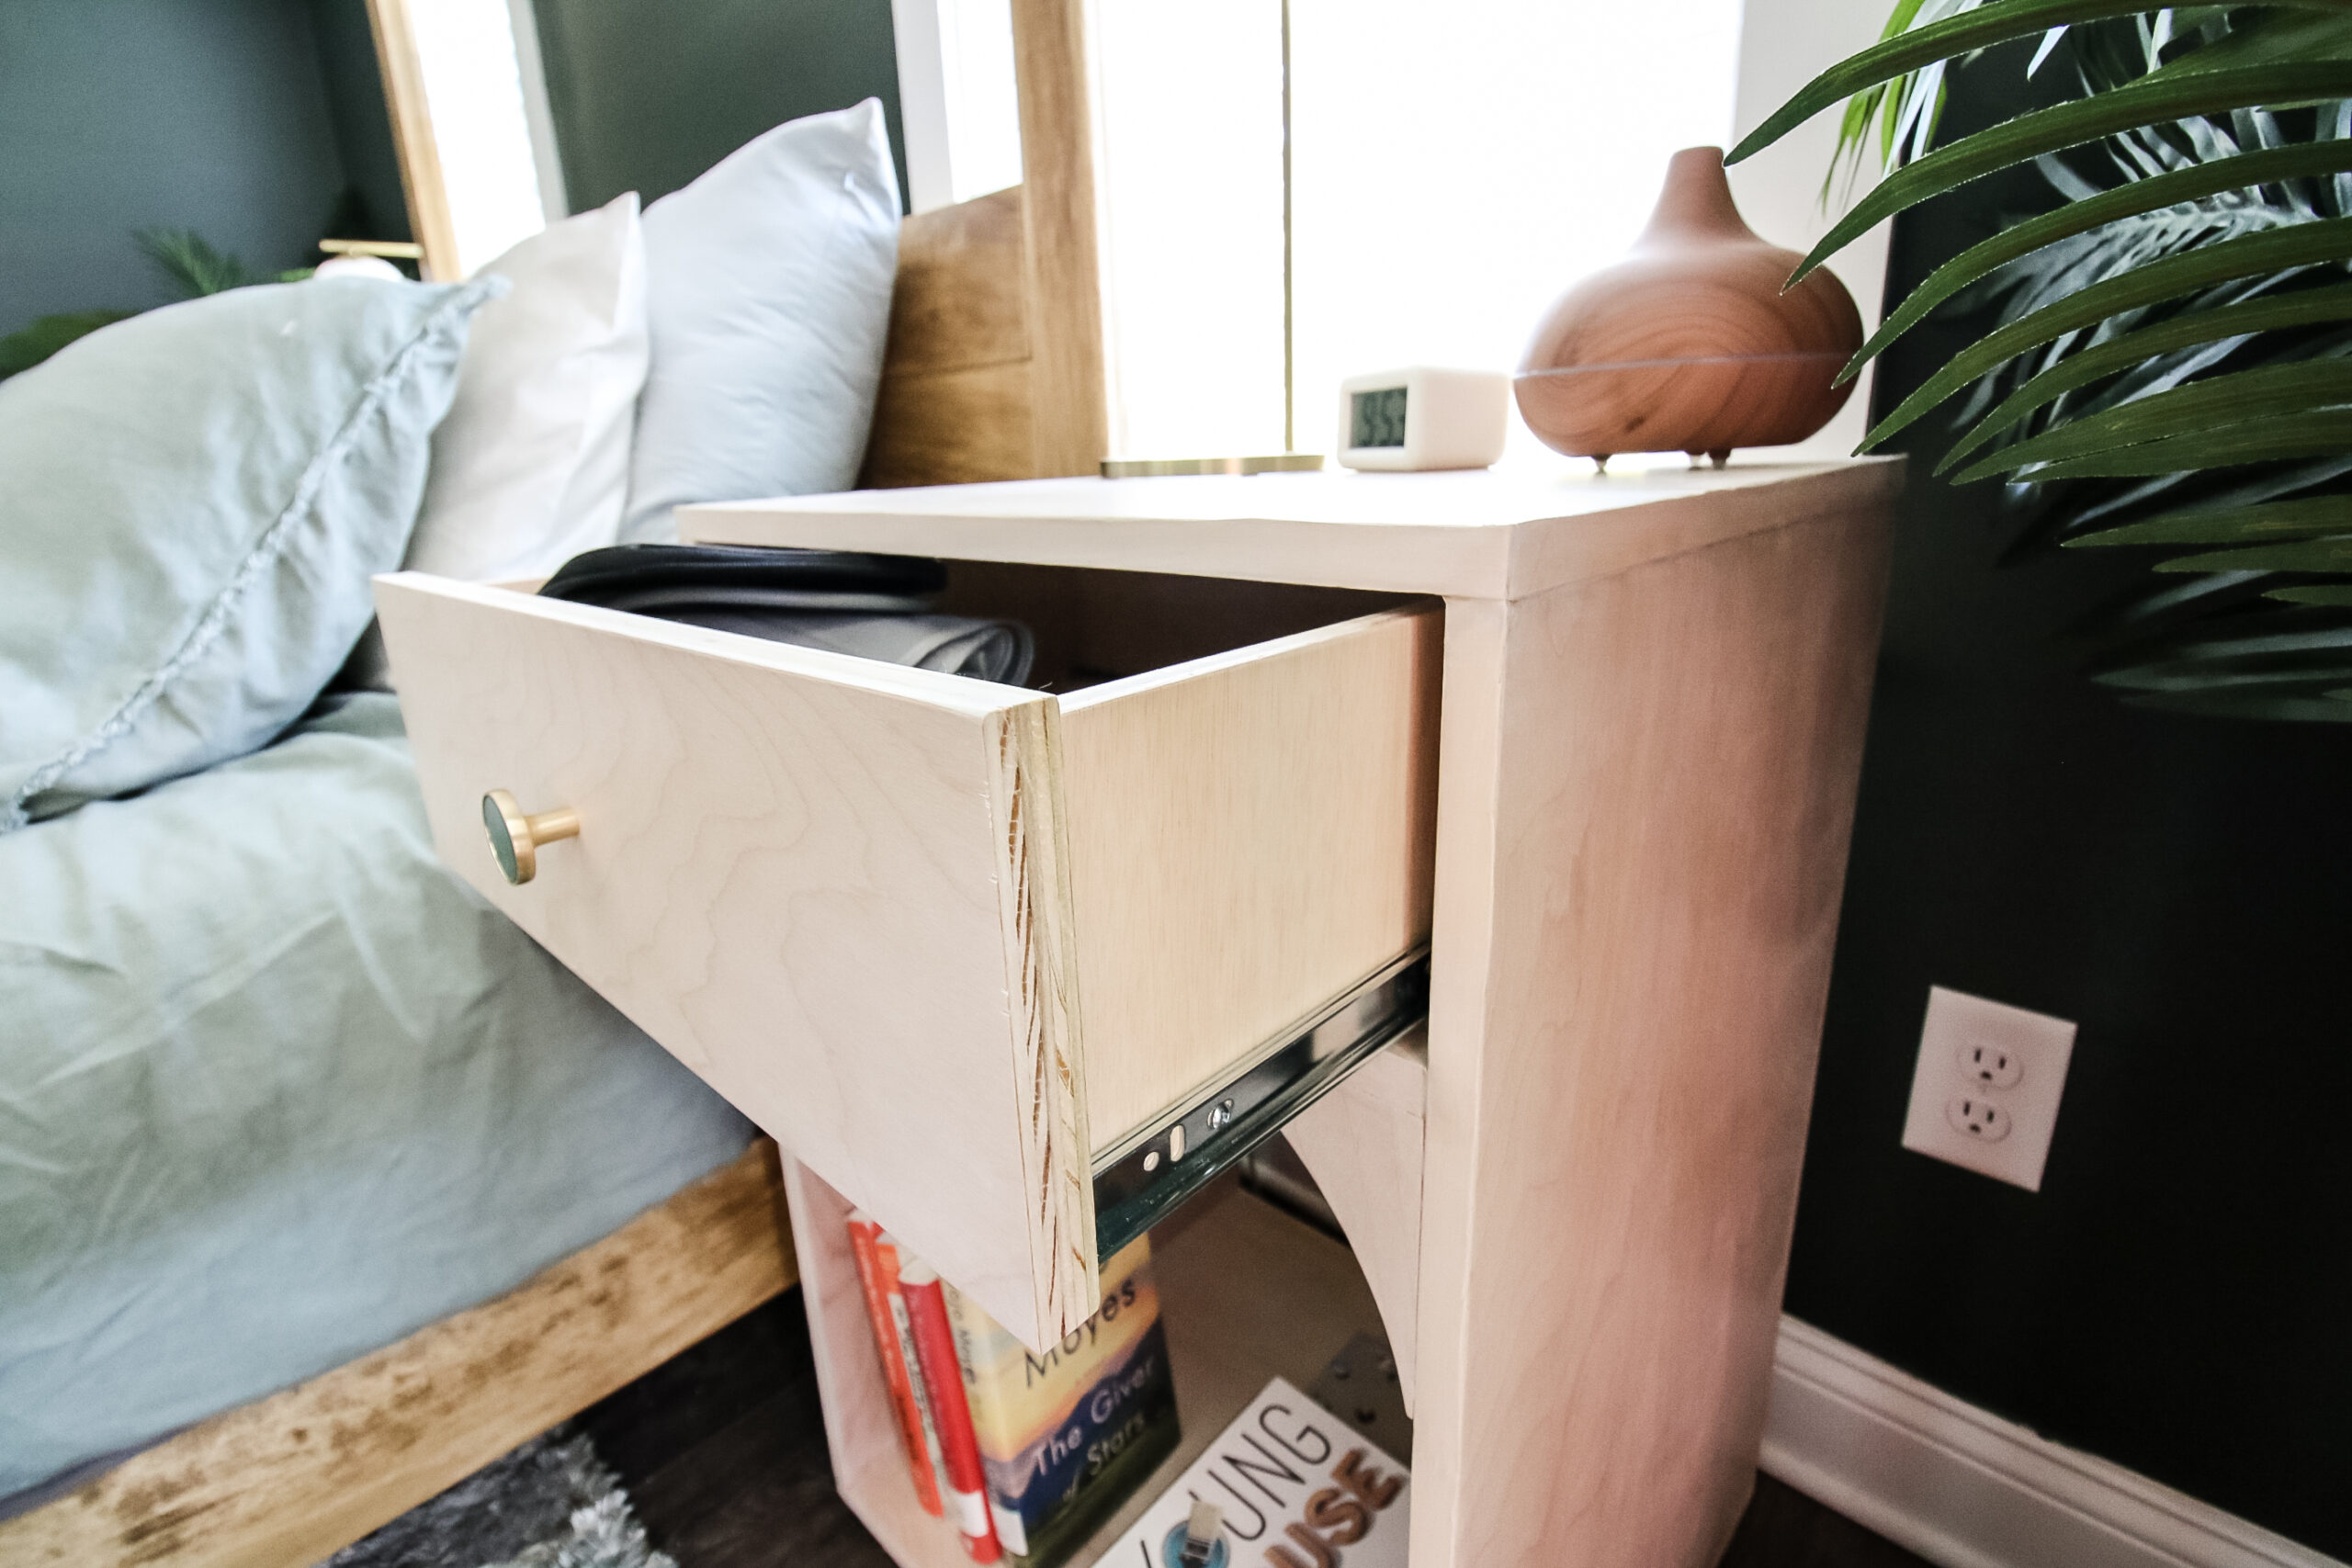
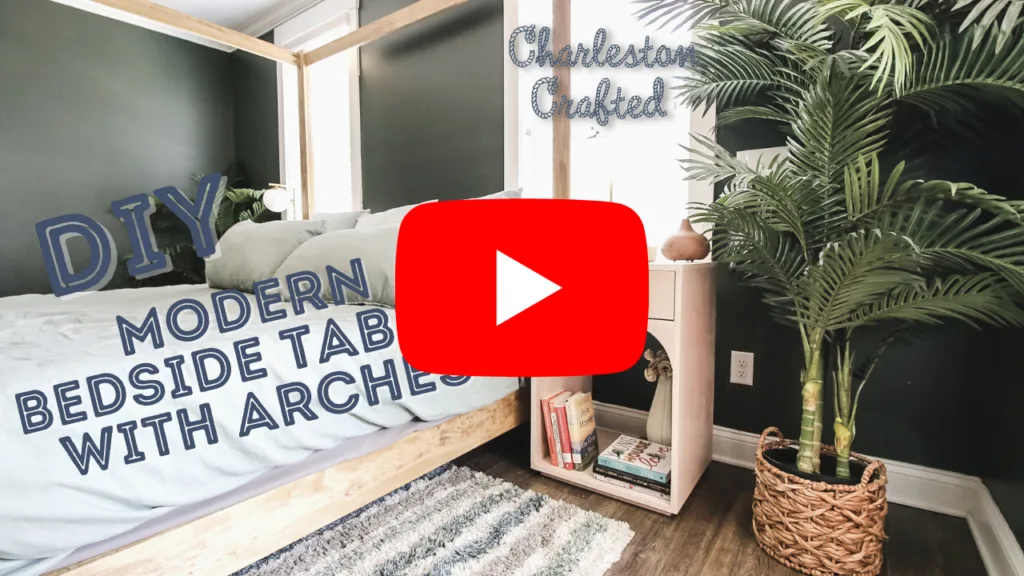
With the DIY bedside tables completed, we moved them into the bedroom and set them up next to the canopy bed.
We styled them with our collection of books and a small piece of decor on the bottom section and added a few things to the drawers.
On top, we added our new gold reading lamps that look just like the pendant lights we hung downstairs between the kitchen and living room.
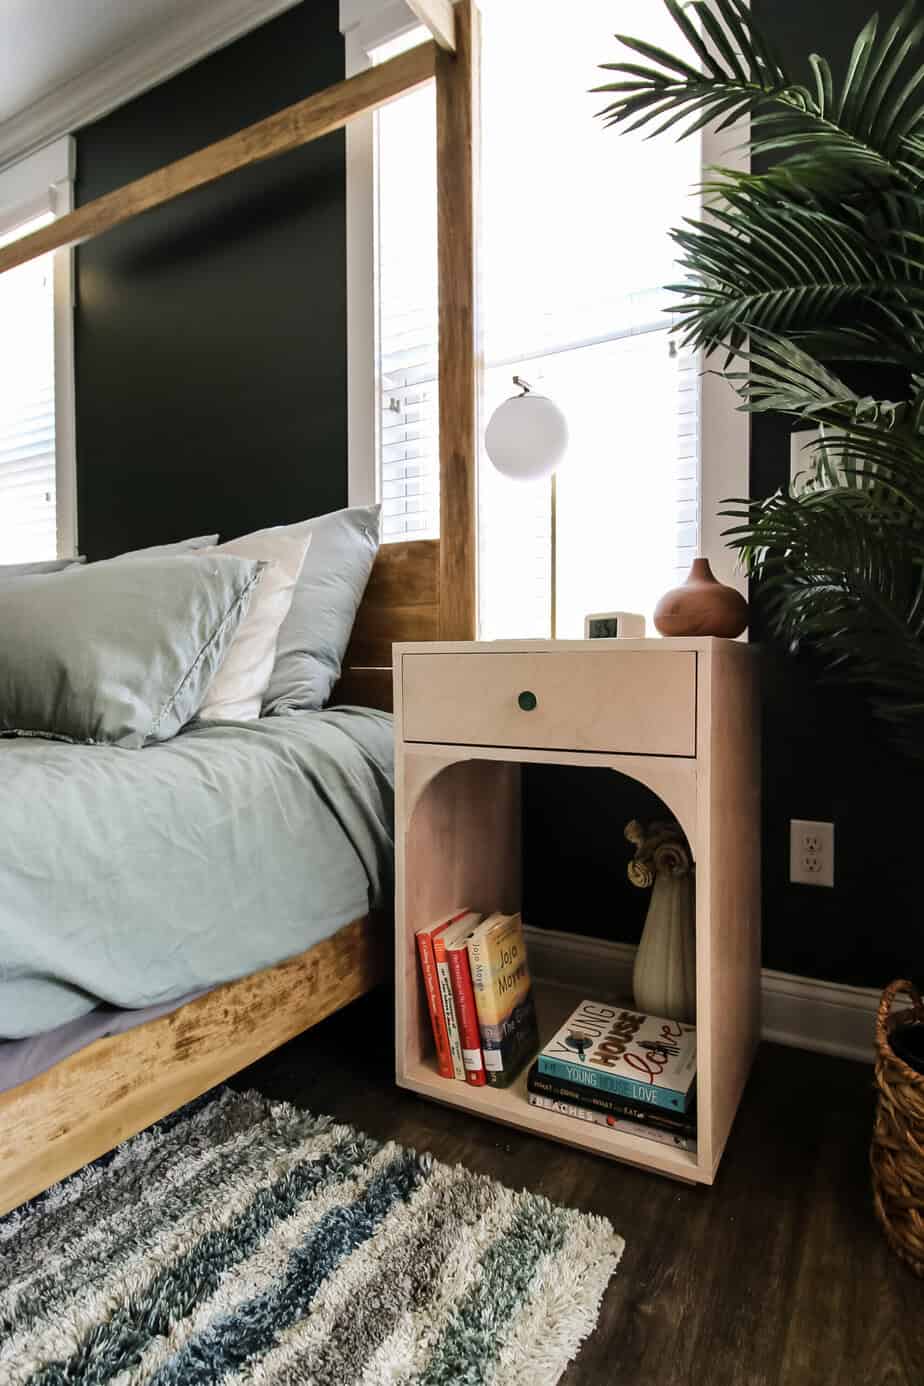
These DIY midcentury modern bedside tables with arches are the perfect addition to our bedroom and look so nice and open. The design is clean and doesn’t block the windows.
Plus, they were easy to build and took no time at all.
FREE DIY bedside table woodworking plans
If you love the look of our project, you can have them in your own home with a little bit of work using the FREE woodworking plans!
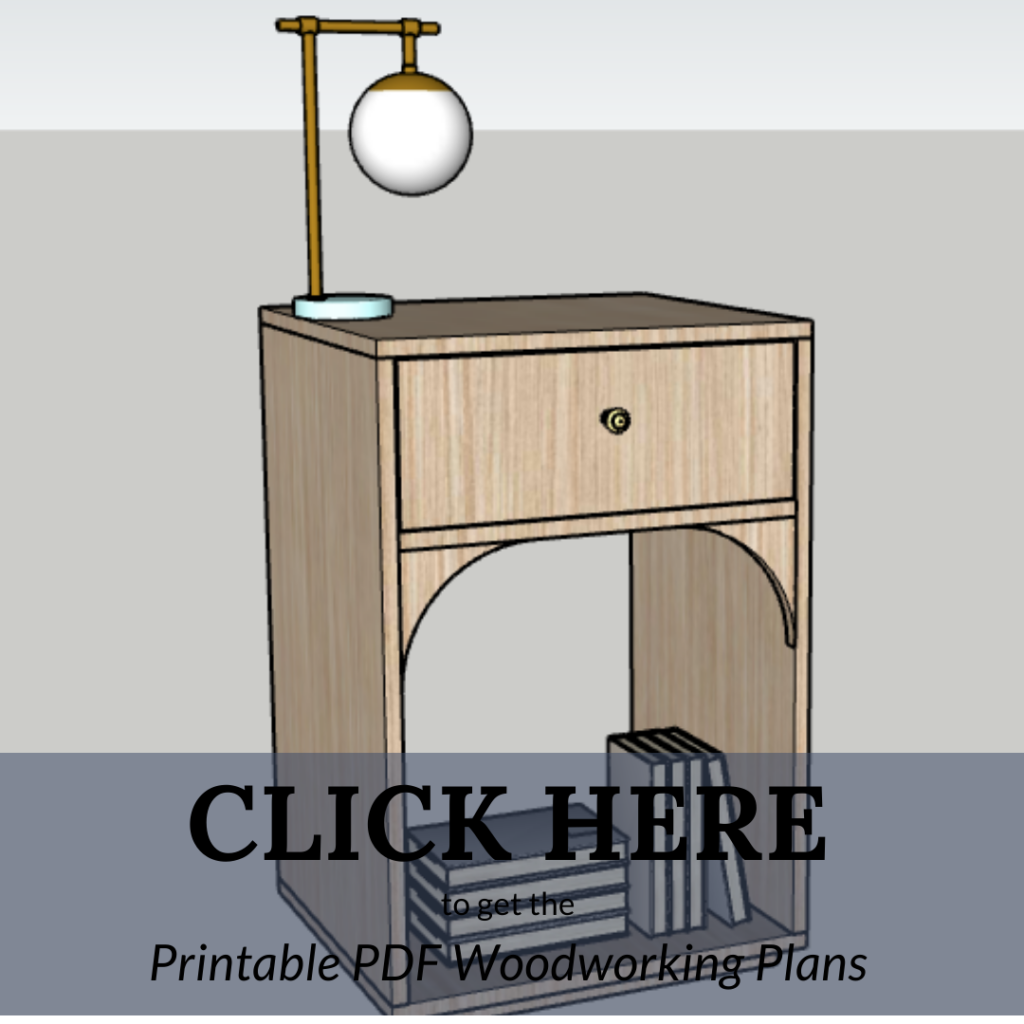
Thanks to our friends at Kreg Tool, you can get the FREE DIY nightstand plans on their Projects and Plans website by clicking here. This will take you to our plan with computer model imagery and full material list, cut list and step-by-step plans.
They have hundreds of great plans available (including our DIY canopy bed and many others) so you’re sure to find exactly what you’re needing for each room of your home!

Love side tables? Here are all of our DIY side table projects!
- DIY side table with arches – woodworking plans
- Upcycled chair into a modern side table
- DIY concrete terrazzo side table
- Media side table with hidden storage and tile top
- DIY Mid Century Modern Side Table – woodworking plans
- Campaign side table makeover
- Side table from counter top scraps
- Our first side table makeover
- DIY River table with epoxy
- Spray paint side table makeover
- Waterfall style slim side table
How to build a nightstand video tutorial
If video tutorials are your thing, we’ve got you covered. Make sure to click over to see the full video format of how we built these DIY bedside tables with arches before you get started on yours!

Basic woodworking information for every project
Here are some of our most popular woodworking articles!
Shopping for wood:
Woodworking project ideas
- 100+ of the best woodworking project ideas!
- 62 easy beginning woodworking projects
- Woodworking project ideas to make and sell
See all our printable PDF woodworking plans!
Our favorite tools + supplies
- See all our favorite tool reviews
- How to use a Kreg jig
- The ultimate wood stain guide
- The best wood fillers for your project
Remember to also always use safety equipment while woodworking and using tools. Make sure you have proper eye protection, ear protection and a good mask to keep yourself safe.


Looking for something?
We’ve been doing this since 2012 so we have a LOT of blog posts!
Search stuff like: Ceiling Projects | DIY Plant Stands | Thrift Flips


Hey there, I’m Sean, the woodworking enthusiast and builder behind CharlestonCrafted.com! Since 2012, I’ve been sharing the magic of turning raw materials into beautiful creations. I love teaching others the art and satisfaction of woodworking and DIY. I try to inspire fellow crafters to make something extraordinary out of nothing at all.