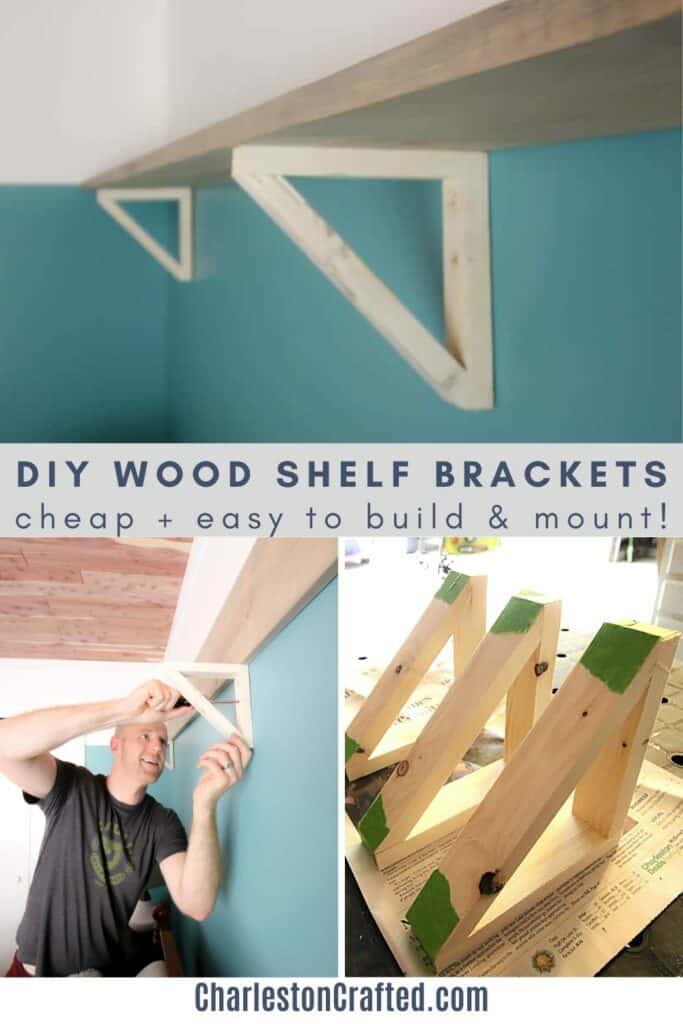
Want to build wooden shelf brackets from scratch? Here's a simple step by step tutorial showing how to build inexpensive wood shelf brackets!
We're continuing on with the guest bedroom makeover with these DIY triangle shelf brackets! We've shared with you our cedar plank ceiling and our color block wall painting already.
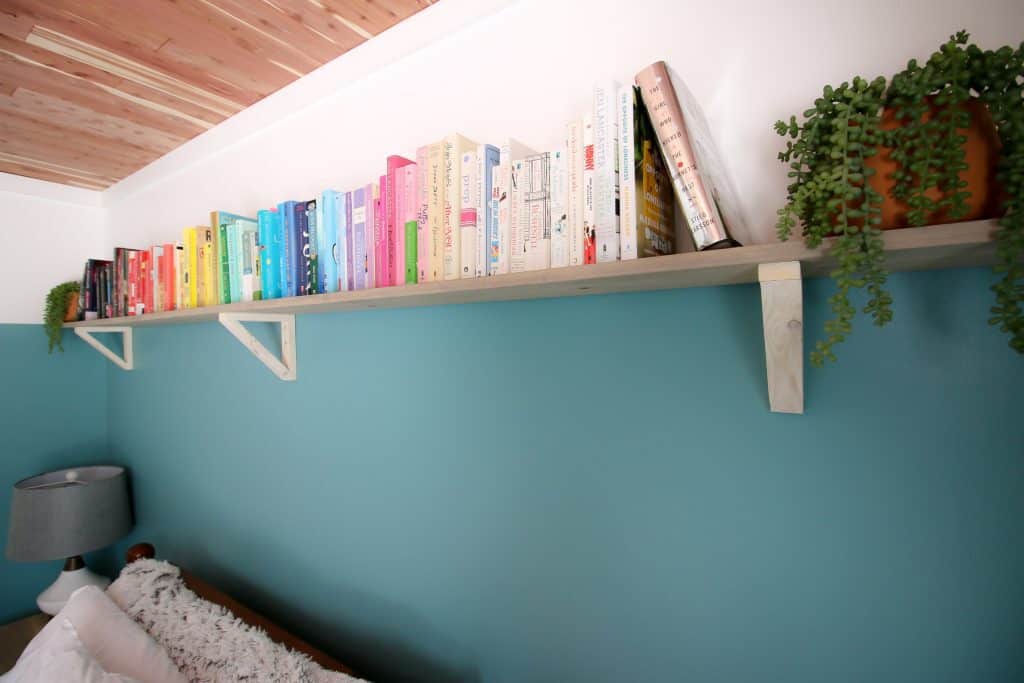
Once we had the frame of the room done, we could start with filling it in. We started by making these brackets and a wall-to-wall shelf over the bed for books!
Wood shelf brackets vs Metal brackets
You can't go wrong with wood or metal brackets. I use both for open shelving all over our house!
Metal shelving will have more of an industrial look. Wooden shelving looks more rustic, farmhouse, or natural.
Metal shelf brackets can also get kind of pricey to purchase. DIY wood shelf brackets can be made on a small budget!
How to build wood shelf brackets
These brackets are high impact and really cool. We wanted something unique and study to hold literally all of the books that we own. So, homemade shelf brackets were in order.

How to make triangle shelf brackets out of wood
Making a triangular shelf bracket is easy. It requires three pieces of wood. We made these brackets based on planning to hang a 1"x8" shelf.
You could definitely make this wall shelving out of scrap wood, especially if you have a big stash!
Supplies needed to make wooden shelf bracket:
- 1x3" lumber, less than 2 feet for each bracket
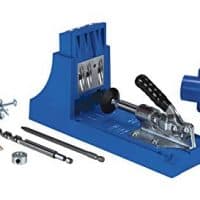
- Pocket hole wood screws + jig
- Wood glue
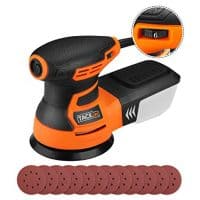
- Sand paper or sanding block
- Painter's tape
- Wood stain of choice + brush to apply
We used 1x3 lumber for these brackets, meaning they are ¾" thick by 2 ½" wide.
Honestly, if you just wanted to make one or two brackets, you could use scrap pieces of wood!
Choosing the right boards for DIY shelf brackets
Smaller lumber like 1x3" boards tend to get warped. It is VERY important that you hold up each board at the hardware store and buy straight ones. Warped boards won't make a good triangle!
How to make wood shelf brackets
STEP 1 - make the cuts
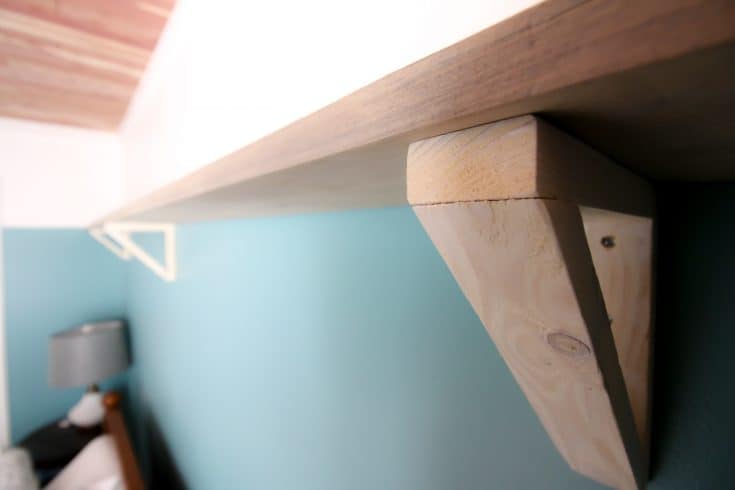
For each bracket, we cut three pieces- 7", 6 ¼", and 9" (this one being beveled at 45 degrees on each end and the 9" being the longest side.
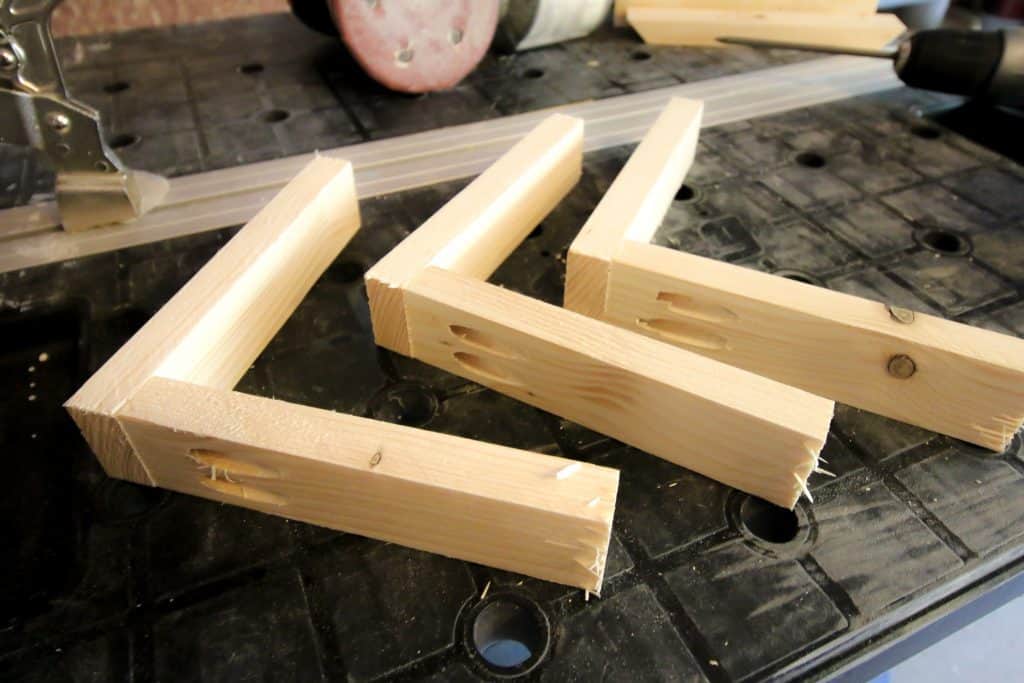
STEP 2 - Drill pocket holes + attach
In the 6 ¼" piece, we drilled two pocket holes and then attached this piece into the 7" piece.
The Kreg pocket hole screws make this a really heavy duty bracket!
Tip: if you want to pre-drill pilot holes to screw these into the wall, do it before you Kreg and glue the pieces together!
STEP 3 - Glue final piece
Then we spread wood glue on the two cut edges of the 9" piece and secured that to the angle of the other two pieces.
You could also use corner clamps or even a speed square to ensure you get a nice 45 degree angle as the wood glue dries.
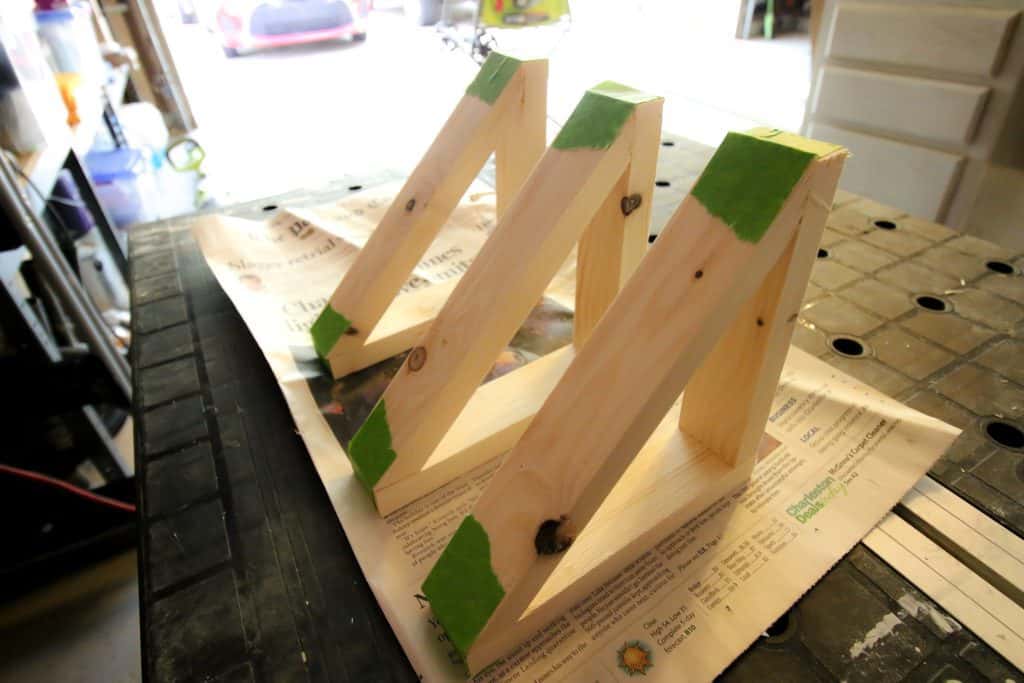
STEP 5 - stain or paint
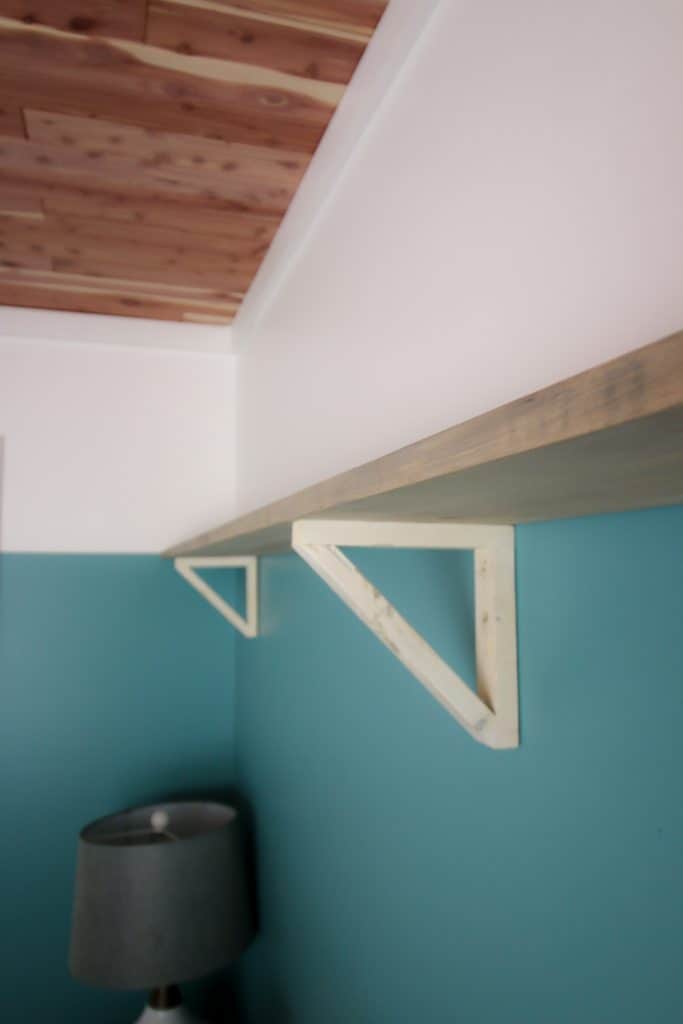
Once the glue was dry, we removed the tape and then stained the shelf brackets with a white wash.
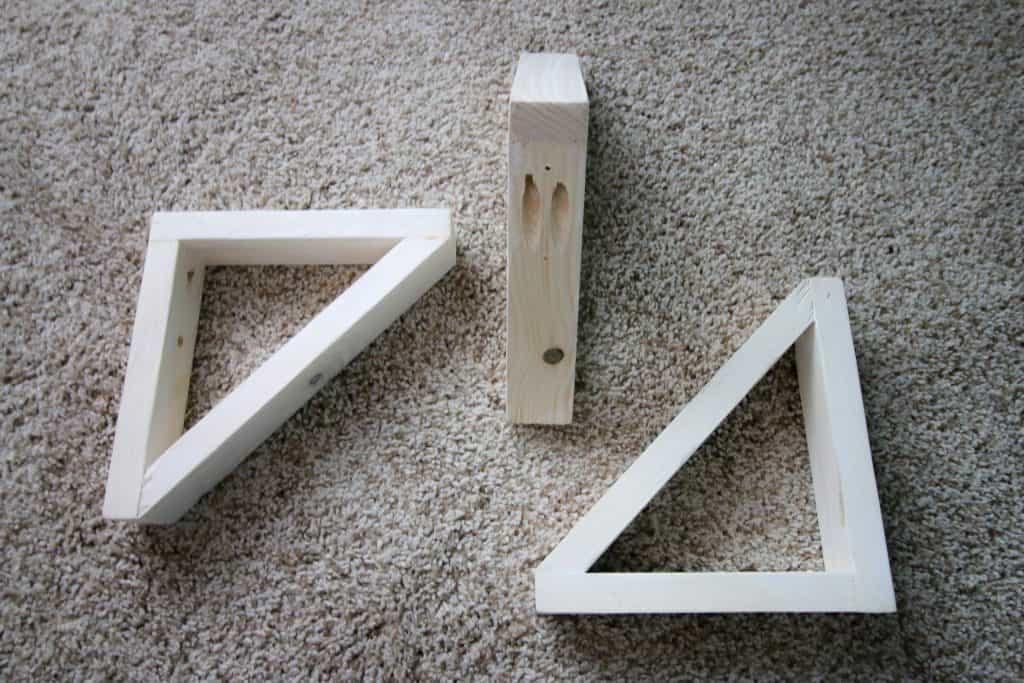
Making shelf brackets out of wood might sound scary, but I hope that showed you how easy it really is to do!
How to add a wooden shelf
For the shelf, we cut a 12 foot board down to the exact dimensions of our wall so it would go the full length.
We stained the board with Varathane Weathered Wood Accelerator to create a similar look to the side tables. We wanted to have things match as best as possible.
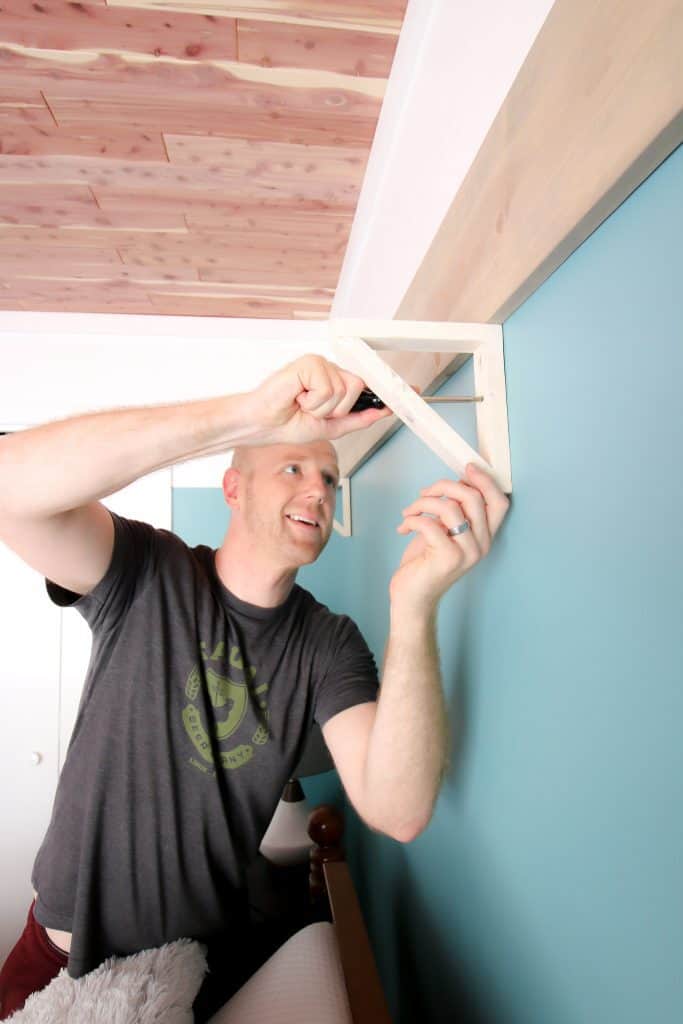
Installation of wooden brackets
Wooden brackets are great, but now it's time to get them wall mounted!
We hung the brackets on the wall using drywall anchors and screws. You might want to drill a pilot hole in your bracket first.
Honestly, it was pretty tough to get a drill bit inside the triangle of the support bracket! Take your time with it.
We set it so that the shelf would sit right at the line of our color blocked wall. The three brackets were spaced out with two each a foot from the walls and one in the center.
Be sure to use a level (or laser level) to ensure straight lines!
Bracket spacing
Place your brackets approximately every 3 feet apart or closer for a 1" thick board. Anything wider will tend to sag under any significant weight!
We spread out all of our remaining books that we haven't purged on the bookshelf. Now, if one of our guests needs something to read, all they have to do is reach up!
How to make wooden shelf brackets
These shelf brackets are very sturdy and a great option if you want DIY brackets! We used 3 to hold up 1 10 foot shelf
Materials
- 1"x3" lumber
- Paint or stain
- Kreg screws
- Wood glue
Tools
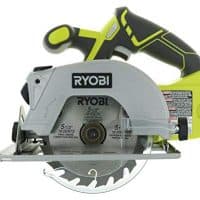
- Saw
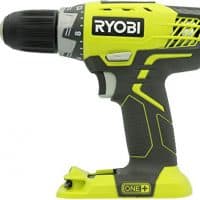
- Drill
- Kreg Jig
Instructions
- Cut three pieces- 7″, 6 ¼″, and 9″ - this one being beveled at 45 degrees on each end and the 9″ being the longest side.
- In the 6 ¼″ piece, drill two pocket holes and then attached this piece into the 7″ piece.
- Then spread wood glue on the two cut edges of the 9″ piece and secured that to the angle of the other two pieces.
- Stain or paint the brackets.
- To mount - use a level to ensure it's level and screw into the wall. We recommend 3 for a long shelf.
Recommended Products
As an Amazon Associate and member of other affiliate programs, I earn from qualifying purchases.

Any questions about how to make wooden brackets?!

Looking for something?
We've been doing this since 2012 so we have a LOT of blog posts!
Search stuff like: Ceiling Projects | DIY Plant Stands | Thrift Flips

Hey there, I'm Sean, the woodworking enthusiast and builder behind CharlestonCrafted.com! Since 2012, I've been sharing the magic of turning raw materials into beautiful creations. I love teaching others the art and satisfaction of woodworking and DIY. I try to inspire fellow crafters to make something extraordinary out of nothing at all.


Frans says
Hi Sean, thanks for the post!
I'm looking to do something similar, but the shelves will be bigger and bearing a lot more weight than just a few books. My worry is that the weak spot will be where the diagonal piece of wood (the two 45 degree bevels) connects to the other two pieces. If the glue doesn't hold the pieces together (particularly if a lot of weight were to be put on the edges of the shelves furthest away from the wall), the whole thing would collapse.
Any thoughts on whether your design could bear a decent amount of weight, or how you could increase the weight it can bear?
Thanks!
Sean says
I can tell you that on this bookshelf, we had approximately 75 books on the shelf and it held up just fine. If you wanted to add some extra support, you could consider doing screws through the angles to better connect the two boards. But the pocket holes in the 90 degree angle really add a lot of stability to that top board. Combined with the angle acting as its own counterweight, I think these hold up quite a bit of weight. Also remember that the more brackets there are, the more weight they can hold, so if you think you have a lot of weight, you could do more brackets. Hope that helps!
Mike says
Dude how the hell did you get a drill to fit in the bracket?! I just broke a bit trying to get it to fit right. This is by far the most frustrating shelf I have ever made and my house needed a lot of shelves.
Sean says
I would use a right angle drill to fit in there, or a ratchet.
Chris M says
The diagonal 9” piece goes beyond one side of the right angle when I make it flush with the other. Any tips?
Sean says
Hmmm, hard to say exactly without seeing it. It should line up. All I can say here would be to mark where it is going past and then cut on that line. Basically, trim it to fit. Sorry if that's not helpful!