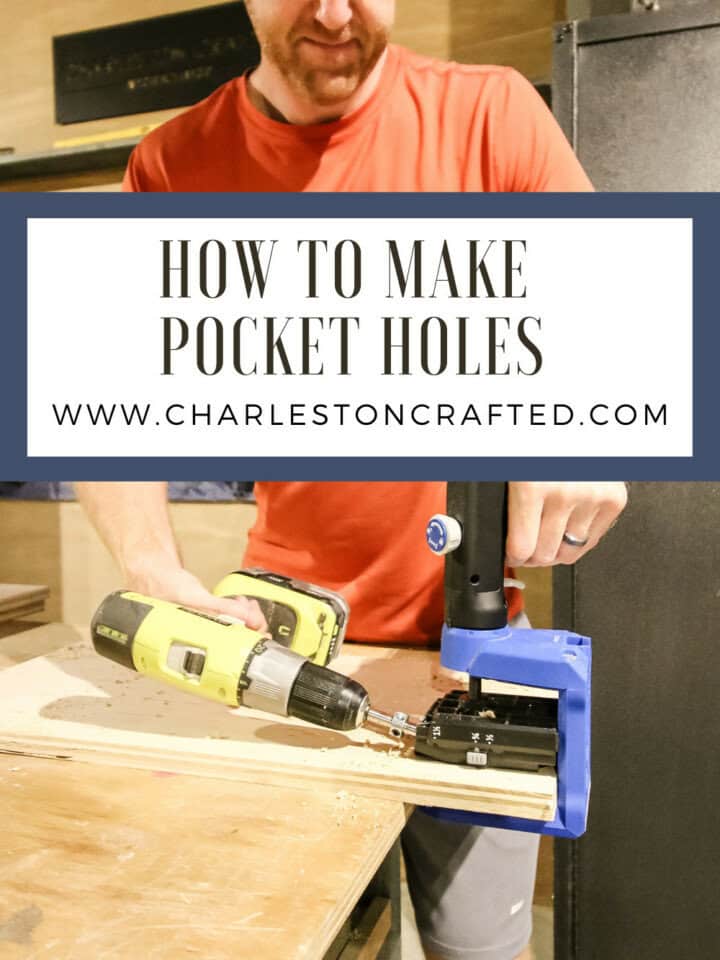
Pocket hole joinery is an approachable and functional way to do woodworking projects. Learn how to make pocket holes for your next project!
There are many different types of joinery for doing woodworking projects, but arguably the most approachable method is pocket hole joinery.
Pocket holes are drilled at an angle on the end or edge of a board so that the screw angles into the board you're securing it to, creating a tighter joint that won't move.
Making pocket holes is a really simple process and one that anyone can do. It's how we learned woodworking and what we usually use so that our projects are easy to replicate.
How to drill pocket holes
If you know how to drill pocket holes, you can start building furniture, cabinets, decor or anything you want out of a few pieces of wood.
Drilling pocket holes is as simple as having a pocket hole jig and a drill. Then you can make holes in any wood you need to and build great projects.
Let's dive into exactly what you need and and how to make pocket holes!
Interested in the Kreg Jig? Click here to read our full Kreg Jig review and to see all of our Kreg Jig projects.
New to the Kreg Jig? Here is a step by step guide on how to use a Kreg Jig!
OR grab our FREE Kreg Jig Cheat Sheet here! Download the cheat sheet!
What do I need to make pocket holes?
If you want to drill pocket holes, you first need a pocket hole jig. There are lots of options out there, but our favorite and recommended brand is Kreg Tool jigs.
Within the Kreg brand, there are several different pocket hole jig options. Each accomplishes the task of drilling quality pocket holes, but some of them are better for different tasks or different sizes of wood.
If you click here, you can read all about the different Kreg jigs and which one is best for you, depending on what you do most often.
You can also buy less expensive clamp-on pocket hole jigs on Amazon, like this one here, but I can't speak to their quality. They are also limited in what they can do, but they will get you pocket holes.
Once you have your jig, all you need now is a cordless drill and your wood and you'll be good to go!
Steps for drilling pocket holes
Here's the steps to follow of drilling pocket holes. There might be slight variations depending on which jig or which brand you go with, but, for the most part, these are going to be the same steps for everything.
Step one: select best pocket hole jig for project
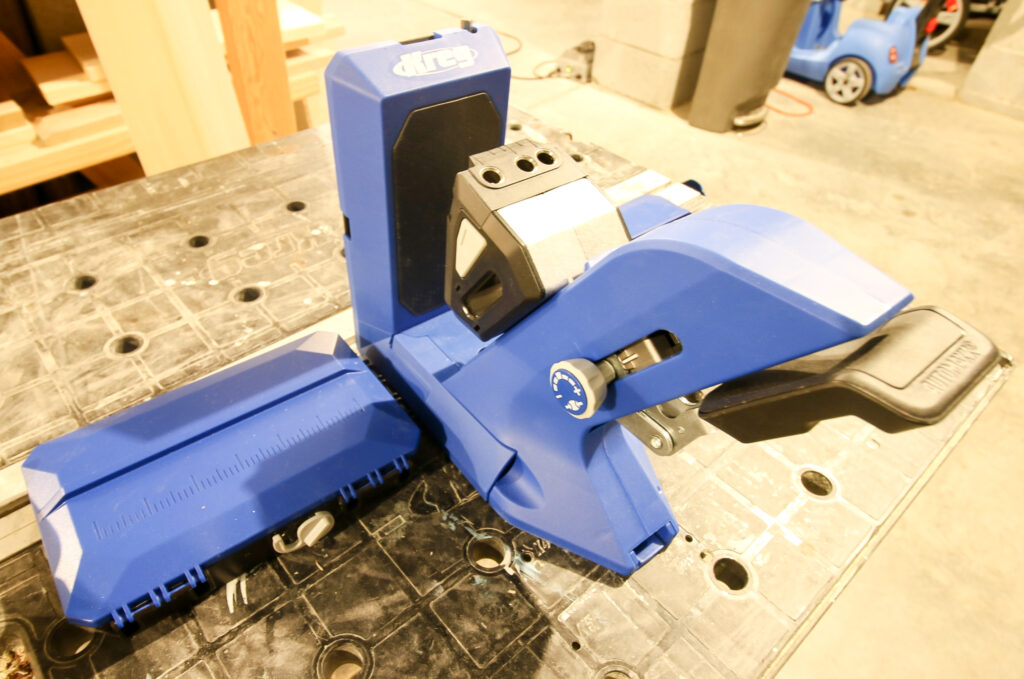
Start by picking the best pocket hole jig for your project. Like I mentioned above, you can read all about the best Kreg pocket hole jigs here, but in general, you need to pick a jig that works best for the type and size of wood you are going to be working with. Most jigs will work with material from ½" to 1 ½" thick, but some can go thicker.
The main types of jigs are ones that stay stationary one your workbench and you put your wood into, or one that you clamp onto the wood itself. Stationary jigs are best for repeatedly drilling pocket holes on similar size wood, whereas clamp-on jigs are sometimes better for bigger sheets of plywood or longer boards.
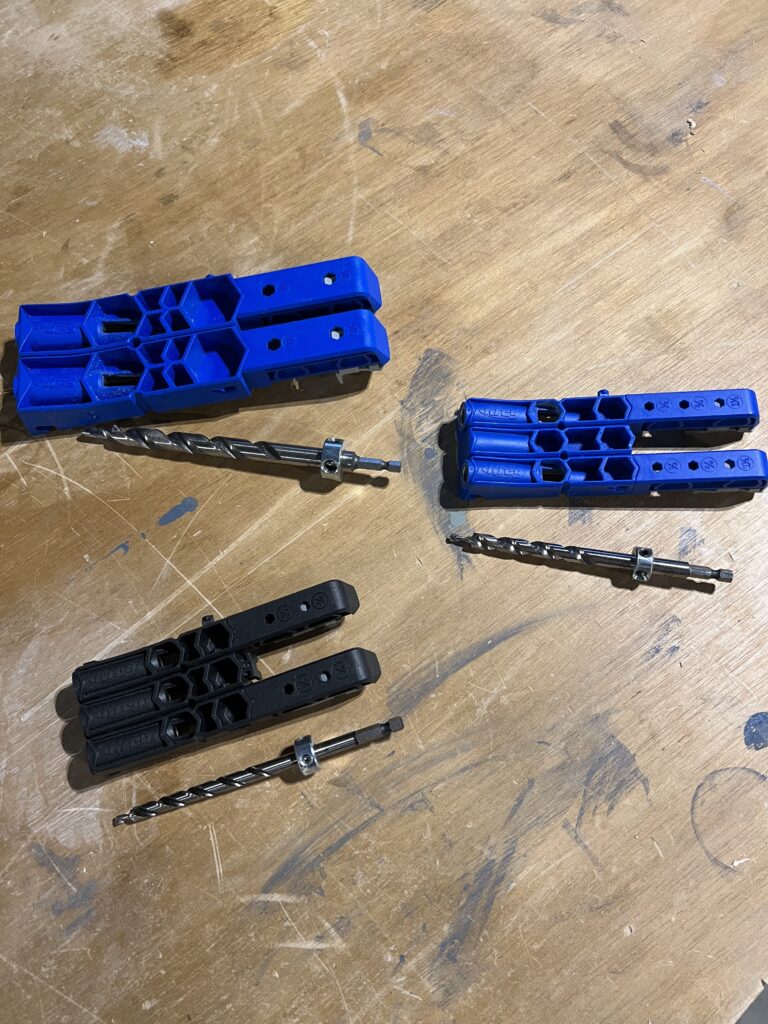
Step two: set depth collar and thickness gauge
Next step is to set the depth collar on the drill bit and the thickness gauge on the pocket hole jig.
Kreg depth collar settings are really easy to do and other jigs are similar. Basically, there is a ring around the drill bit with a small hex nut to adjust. Simply slide the depth collar up or down on the jig to match the thickness of the wood you're using.
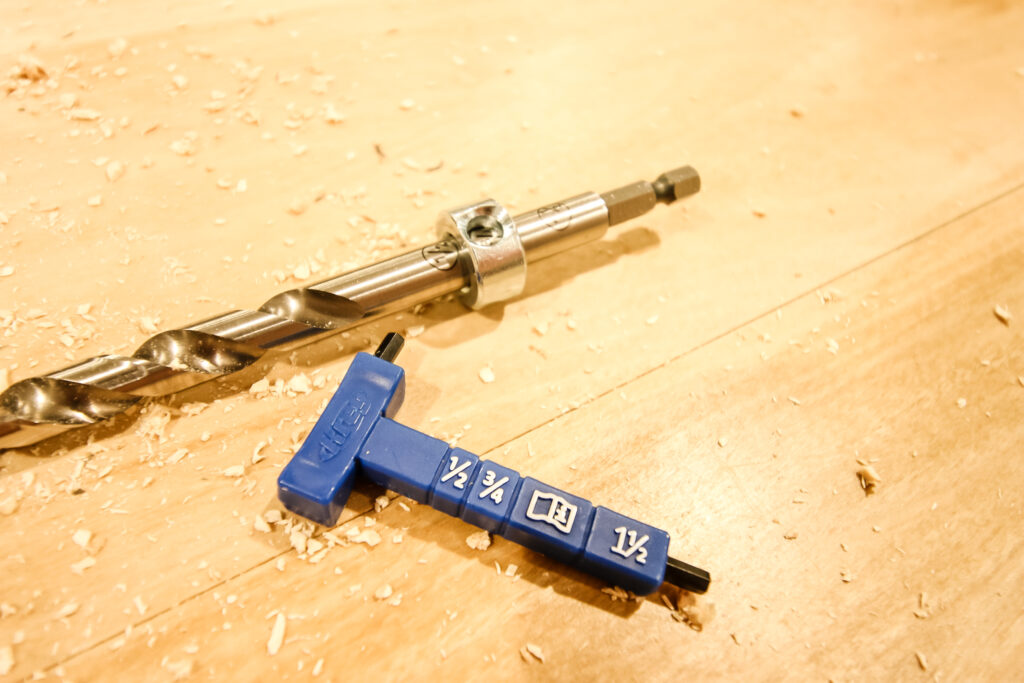
Then, on your pocket hole jig, you may need to slide the tabs on the jig to match the thickness of your wood as well. If you use the Kreg 720 Pocket Hole Jig, it uses an AutoMaxx clamping system that auto adjusts to the thickness of your wood, so you don't even need to do that step.
Step three: clamp board into jig
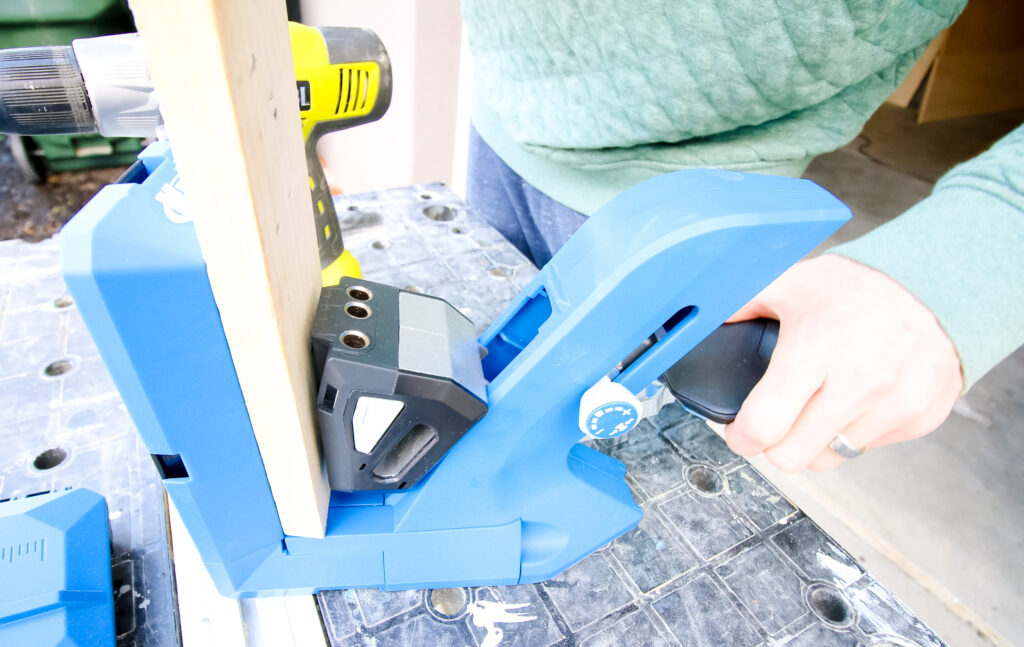
Next up, clamp the board into the jig or the jig onto the board. If you have a Kreg 720, you'll clamp the board into the jig by pushing down on the handle. With a Kreg 520, you'll use the squeeze handle to clamp the jig onto the board.
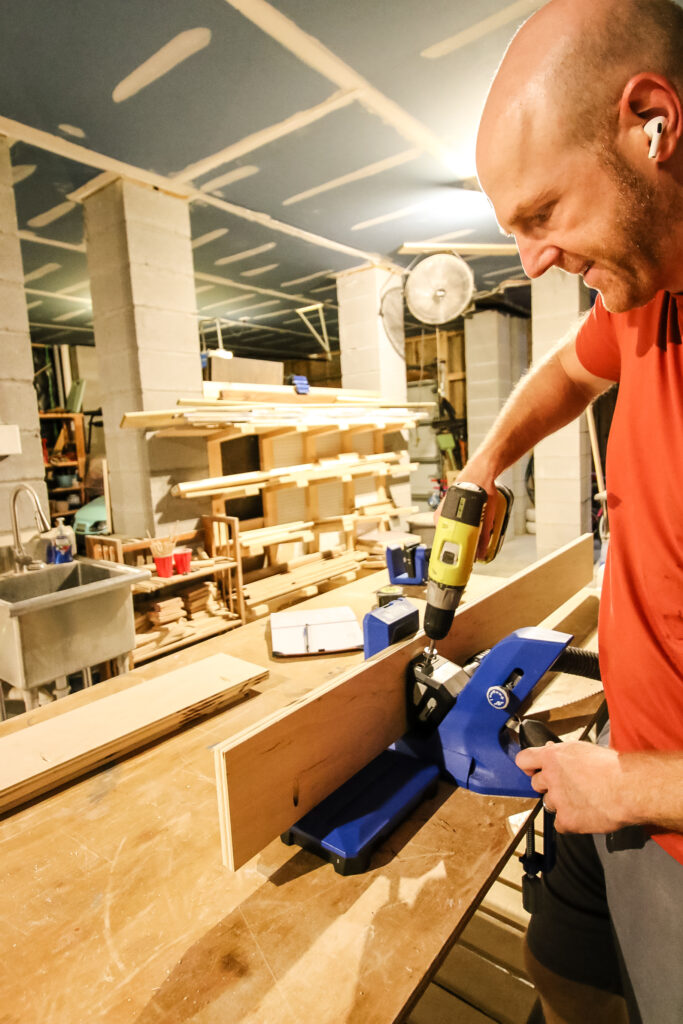
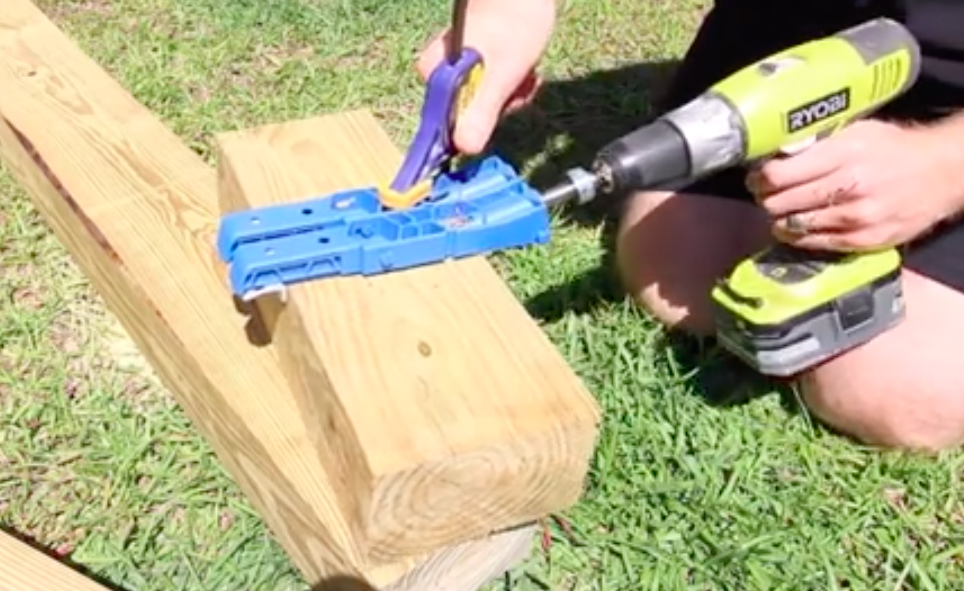
If you have a Kreg 320 or a similar clamp on jig, you need to align the jig onto the end of the board and then use an external clamp to clamp the jig tightly onto the board. Make sure it is very tight because you don't want the jig to move when you're pressing into it.
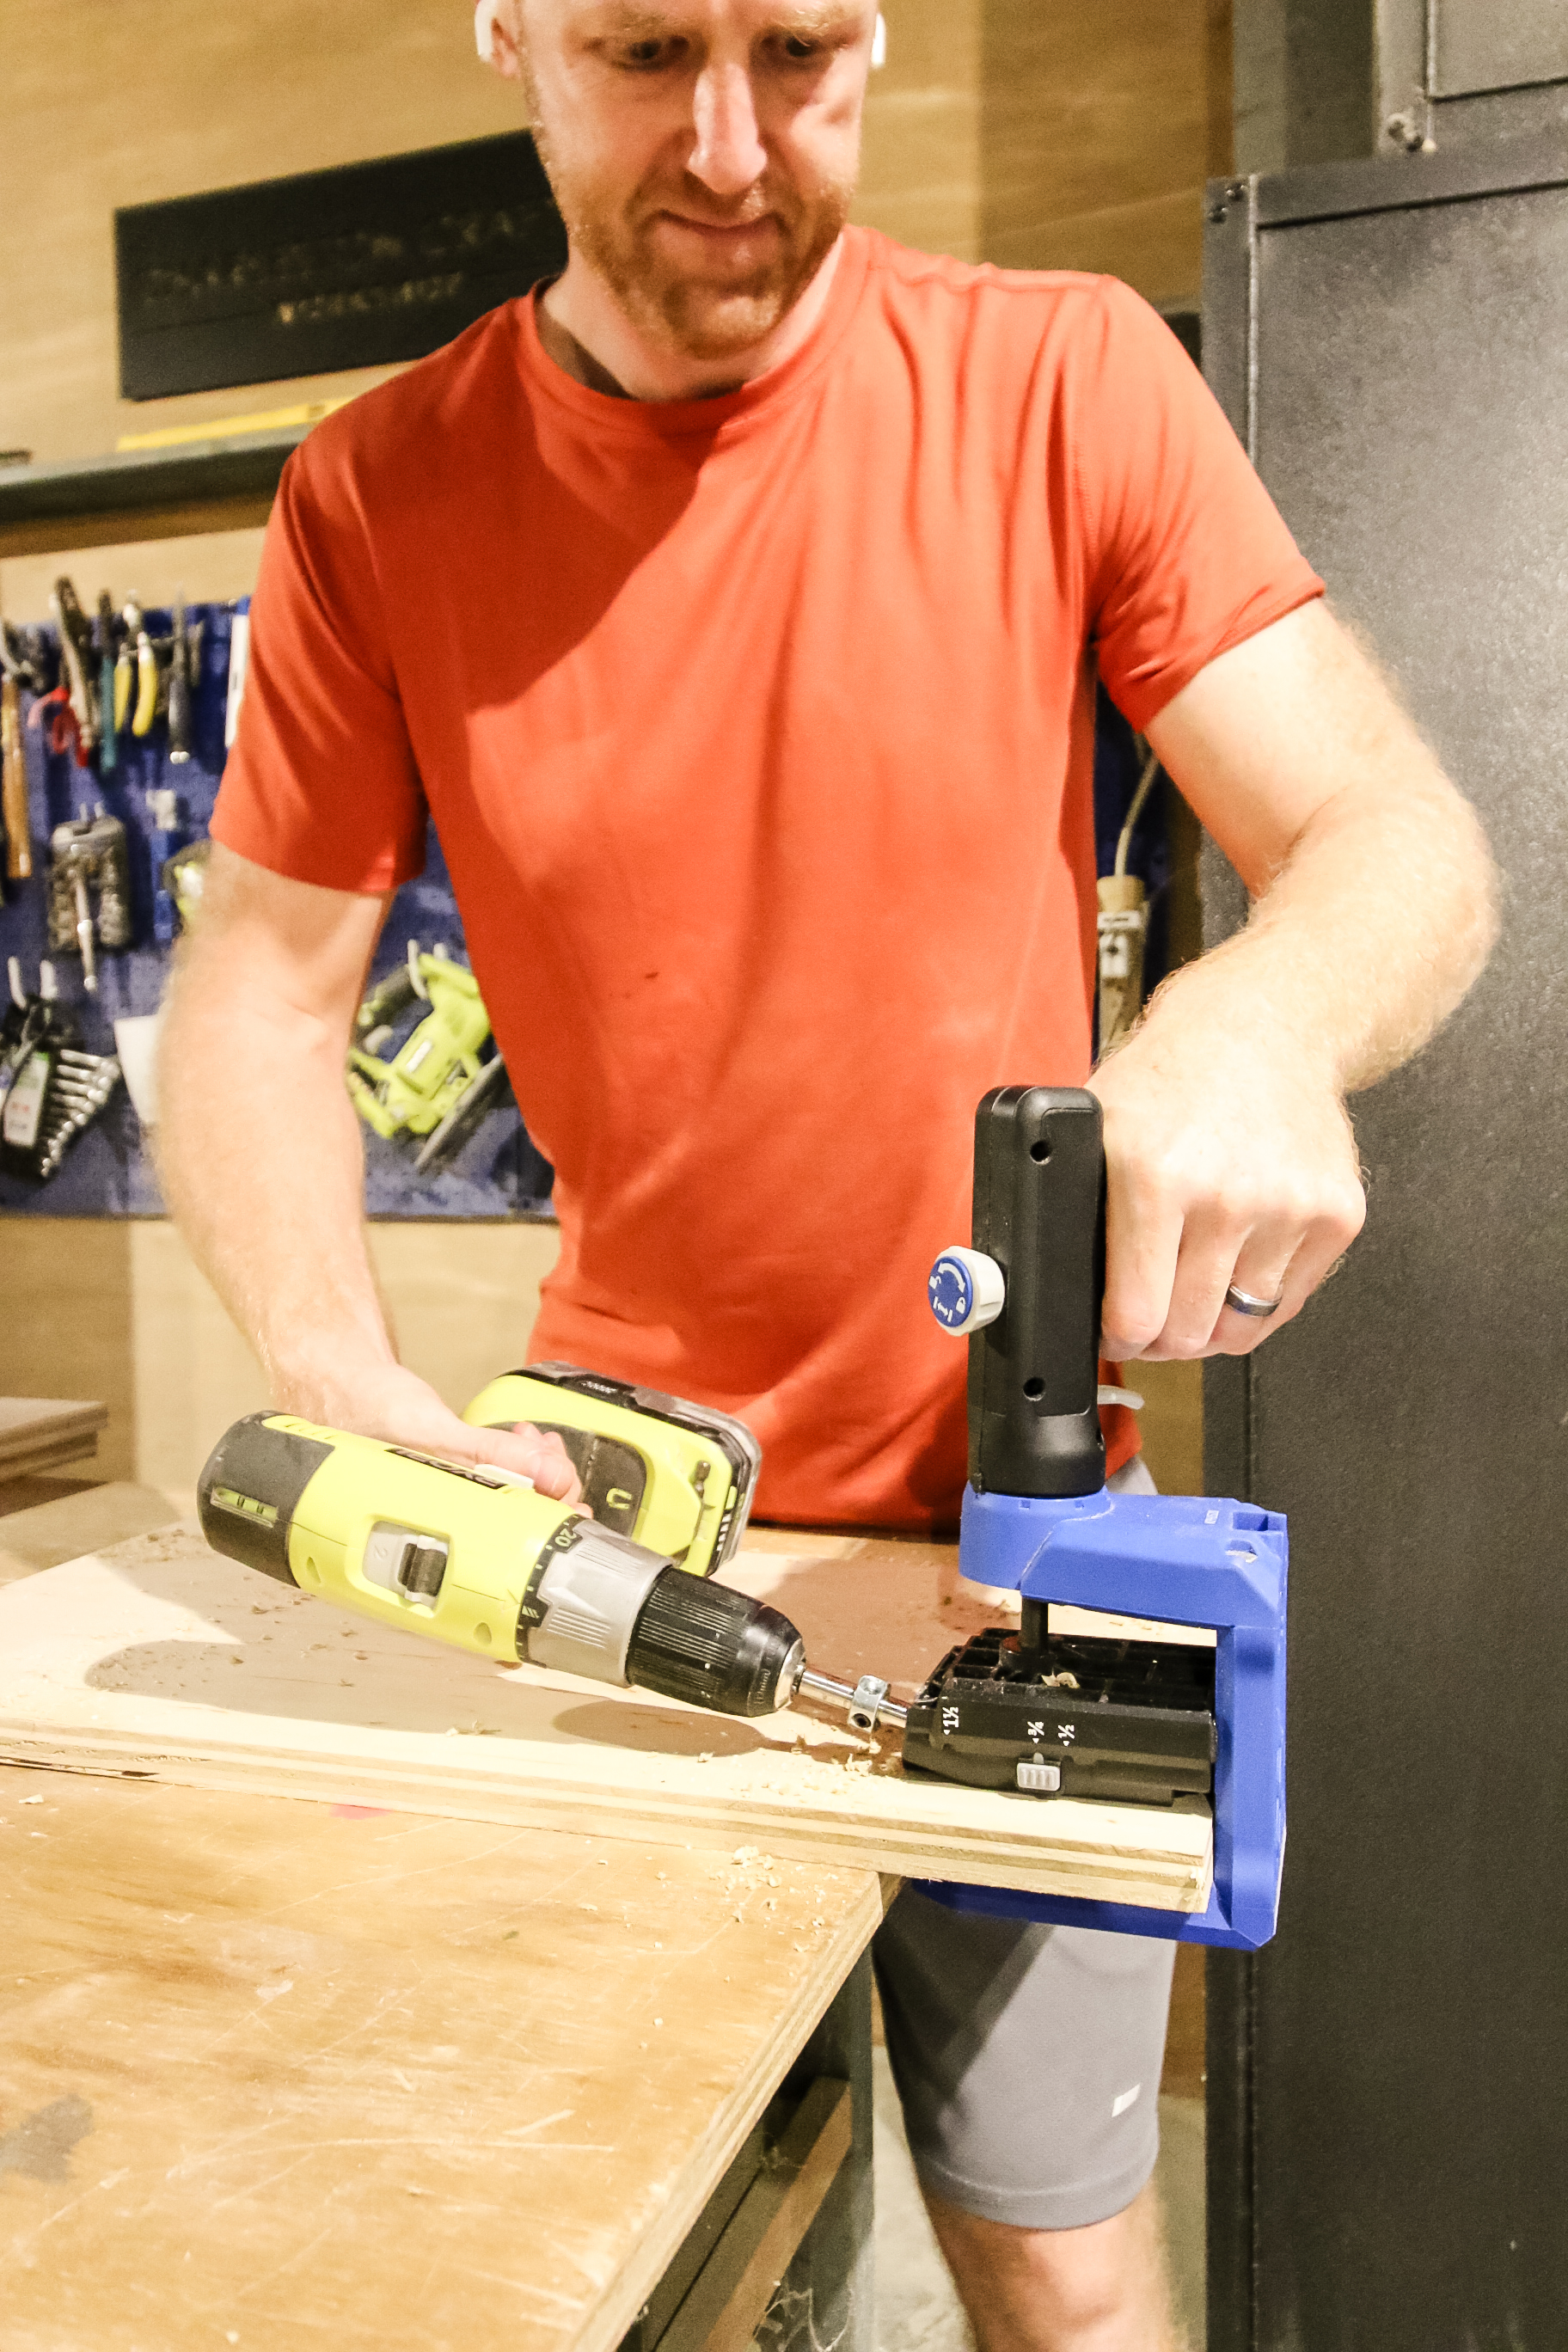
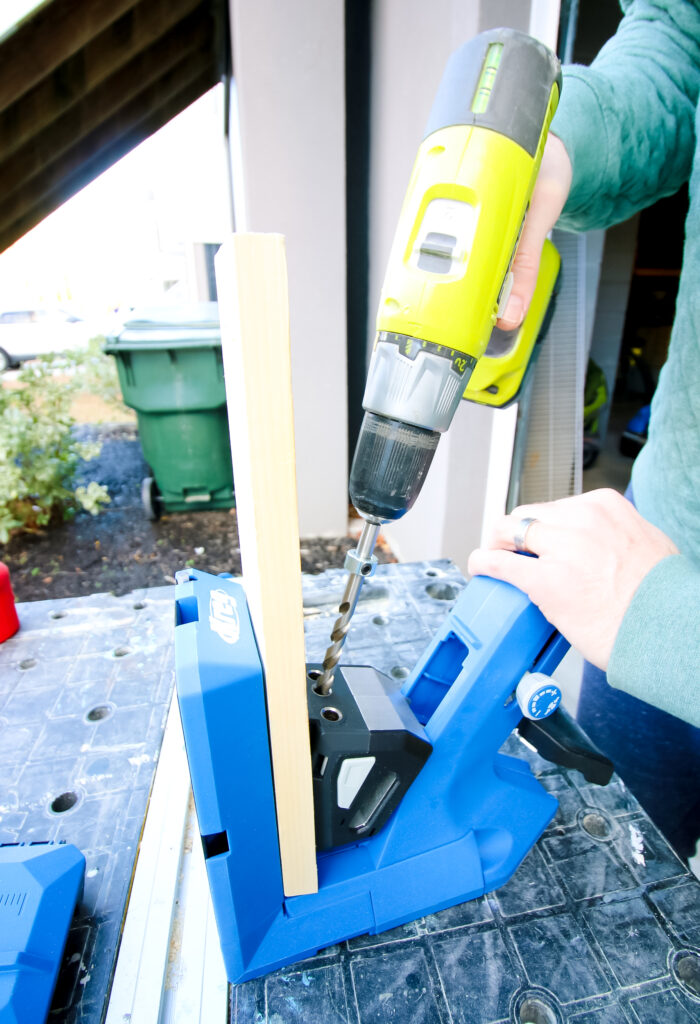
Step four: drill pocket holes
Now it's time to drill the pocket holes. Tighten the drill bit into your drill and slide the end of the drill bit into one of the drill guide holes on the jig.
Turn the drill on to full speed and then press the drill through the drill guide until the stop collar makes contact with the jig. I find it best to go in and out a couple of times to get a cleaner hole with less rough edges.
When you drill the hole, you'll notice that the drill bit has a narrow drill bit on the end that is smaller than the rest. This drills a pilot hole through the wood and also leaves an area in the hole for the screw head to hold onto.
Continue to drill angled holes through the pocket hole jig wherever you need them on your board.
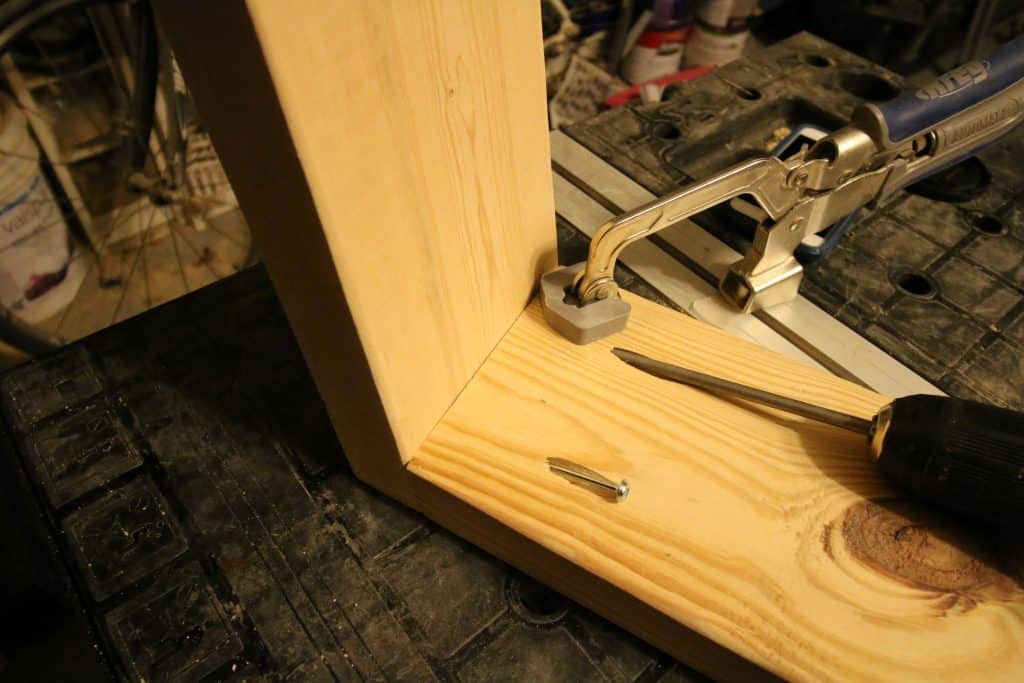
Step five: drive pocket hole screws
After your pocket holes are drilled, it's time to assemble you're project. You'll want to grab Kreg pocket hole screws that correspond with the thickness of you're material. If you're not sure what screw size you need, here's a free guide we made to help!
Now, clamp your boards together where then need to be joined. Here's a whole post we did about how to join two boards together with a Kreg jig!
Slide a pocket hole screw into each hole you just made. Using a square head driver, drive the screw through the hole and into the second board.
Be careful not to go too far or you could see the tip of the screw push out the other side, especially if you're working with ½" material. Just drive until the boards pull together and you get resistance.
Continue with this process until all your holes are finished.
That's all there is to making pocket holes! Congrats, you did it!
Can you make pocket holes without a jig?
Yes, you can make pocket holes without a jig, but I don't recommend it. A pocket hole jig is a fairly inexpensive piece of equipment and its very handy to have for other projects you need to create pocket hole joints.
If you are going to try it, you'll need to drill straight down into your board just a little, then tilt your drill bit at an angle through the end of the board. Then clamp your boards together and drive a screw through the hole.
Before you go...
I've built a lot of furniture using a Kreg jig pocket hole jig. Here's just a few roundups of DIY furniture you can make with a pocket hole jig too!
Basic woodworking information for every project
Here are some of our most popular woodworking articles!
Shopping for wood:
Woodworking project ideas
- 100+ of the best woodworking project ideas!
- 62 easy beginning woodworking projects
- Woodworking project ideas to make and sell
See all our printable PDF woodworking plans!
Our favorite tools + supplies
- See all our favorite tool reviews
- How to use a Kreg jig
- The ultimate wood stain guide
- The best wood fillers for your project
Remember to also always use safety equipment while woodworking and using tools. Make sure you have proper eye protection, ear protection and a good mask to keep yourself safe.

Looking for something?
We've been doing this since 2012 so we have a LOT of blog posts!
Search stuff like: Ceiling Projects | DIY Plant Stands | Thrift Flips

Hey there, I'm Sean, the woodworking enthusiast and builder behind CharlestonCrafted.com! Since 2012, I've been sharing the magic of turning raw materials into beautiful creations. I love teaching others the art and satisfaction of woodworking and DIY. I try to inspire fellow crafters to make something extraordinary out of nothing at all.


