If you're ready to start your next woodworking project but aren't sure how to use your Kreg jig to join boards together, here's how!
One of the most simple and effective joinery methods in woodworking is pocket hole joinery.
Pocket hole joinery has a low barrier to entry in woodworking, is easy to master thanks to pocket hole jigs, and is a very strong and sturdy joint.
If you're new to woodworking or are looking to try out pocket hole joinery for the first time, we'll help show you how to join boards together with a Kreg jig pocket hole system.
How to join two boards together with a Kreg jig
There are several different types of joints when it comes to woodworking, but you can do most of them with pocket hole joinery.
We have been using a Kreg jig for years and love that it is so easy to learn and easy to use. That's why we recommend it to anyone who is looking to DIY furniture in their home.
Joining two boards together with a Kreg jig is simple, no matter what type of joint you're trying to make. One tip I have is to make sure you use a clamp to keep the boards together no matter what joint you're making. You don't want the boards to shift when you insert the screw.
If you're new to a Kreg jig, I'd recommend check out our Kreg Jig 101 post before going any further so you are sure you know all of the features of a Kreg jig and how to use it.
Interested in the Kreg Jig? Click here to read our full Kreg Jig review and to see all of our Kreg Jig projects.
New to the Kreg Jig? Here is a step by step guide on how to use a Kreg Jig!
OR grab our FREE Kreg Jig Cheat Sheet here! Download the cheat sheet!
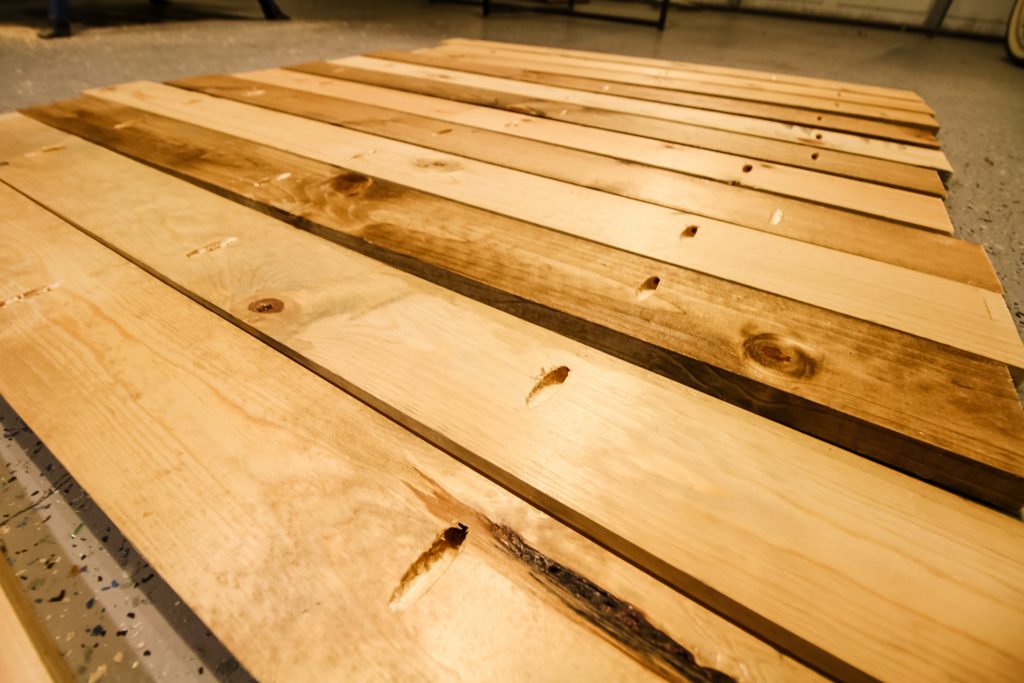
How to join two edge boards with Kreg jig
An edge joint is when you connect the long edges of two boards together right next to each other, parallel.
To join two edge boards with a Kreg jig, you need to drill pocket holes spaced out along the long edge of your first board. Start a couple inches in from each end, then space them out every 6 inches or so along the edge.
Then, I like to put the board up against the board it will be connecting to and marking a point between those pocket holes on the first board and drilling pocket holes into the second board in those locations.
This makes sure that the boards are very secure. Continue this until you get to your last board.
We did this on our DIY angled base dining table!
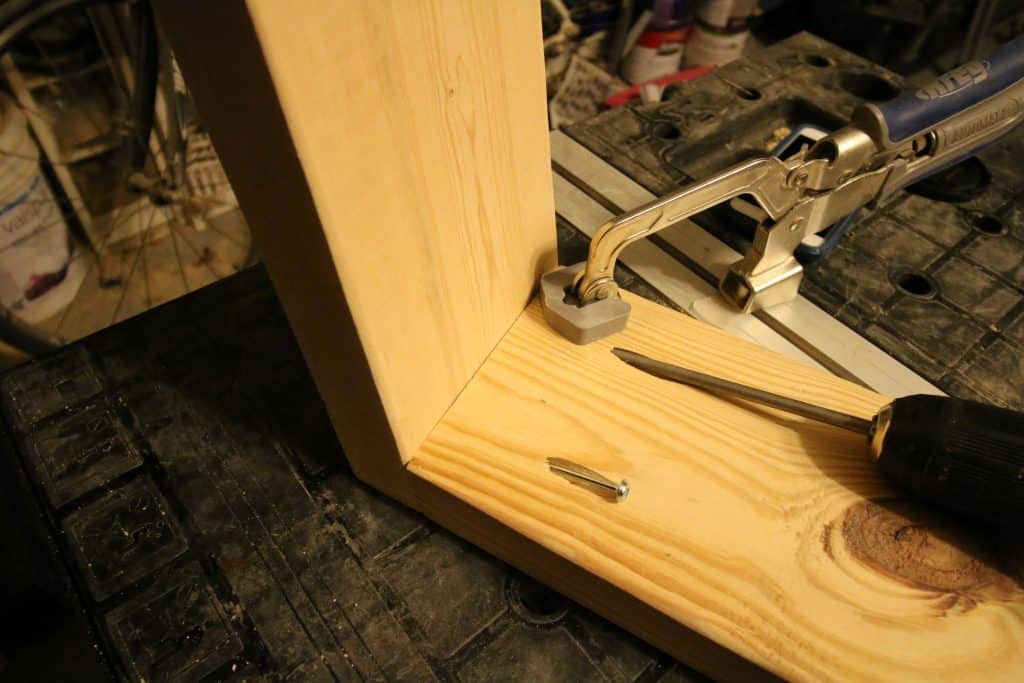
How to make butt joints with Kreg jig
Butt joints are when two boards come together at a perpendicular angle. So, two boards coming together to form an "L".
To make butt joints with a Kreg jig, drill you pocket holes in the end of the board that will be going into the other board.
Then, using clamps or pressure, place the boards together and drive the pocket holes from the first board into the second board.
One example is on our rectangular coffee table where we did butt joints on the tops and legs!
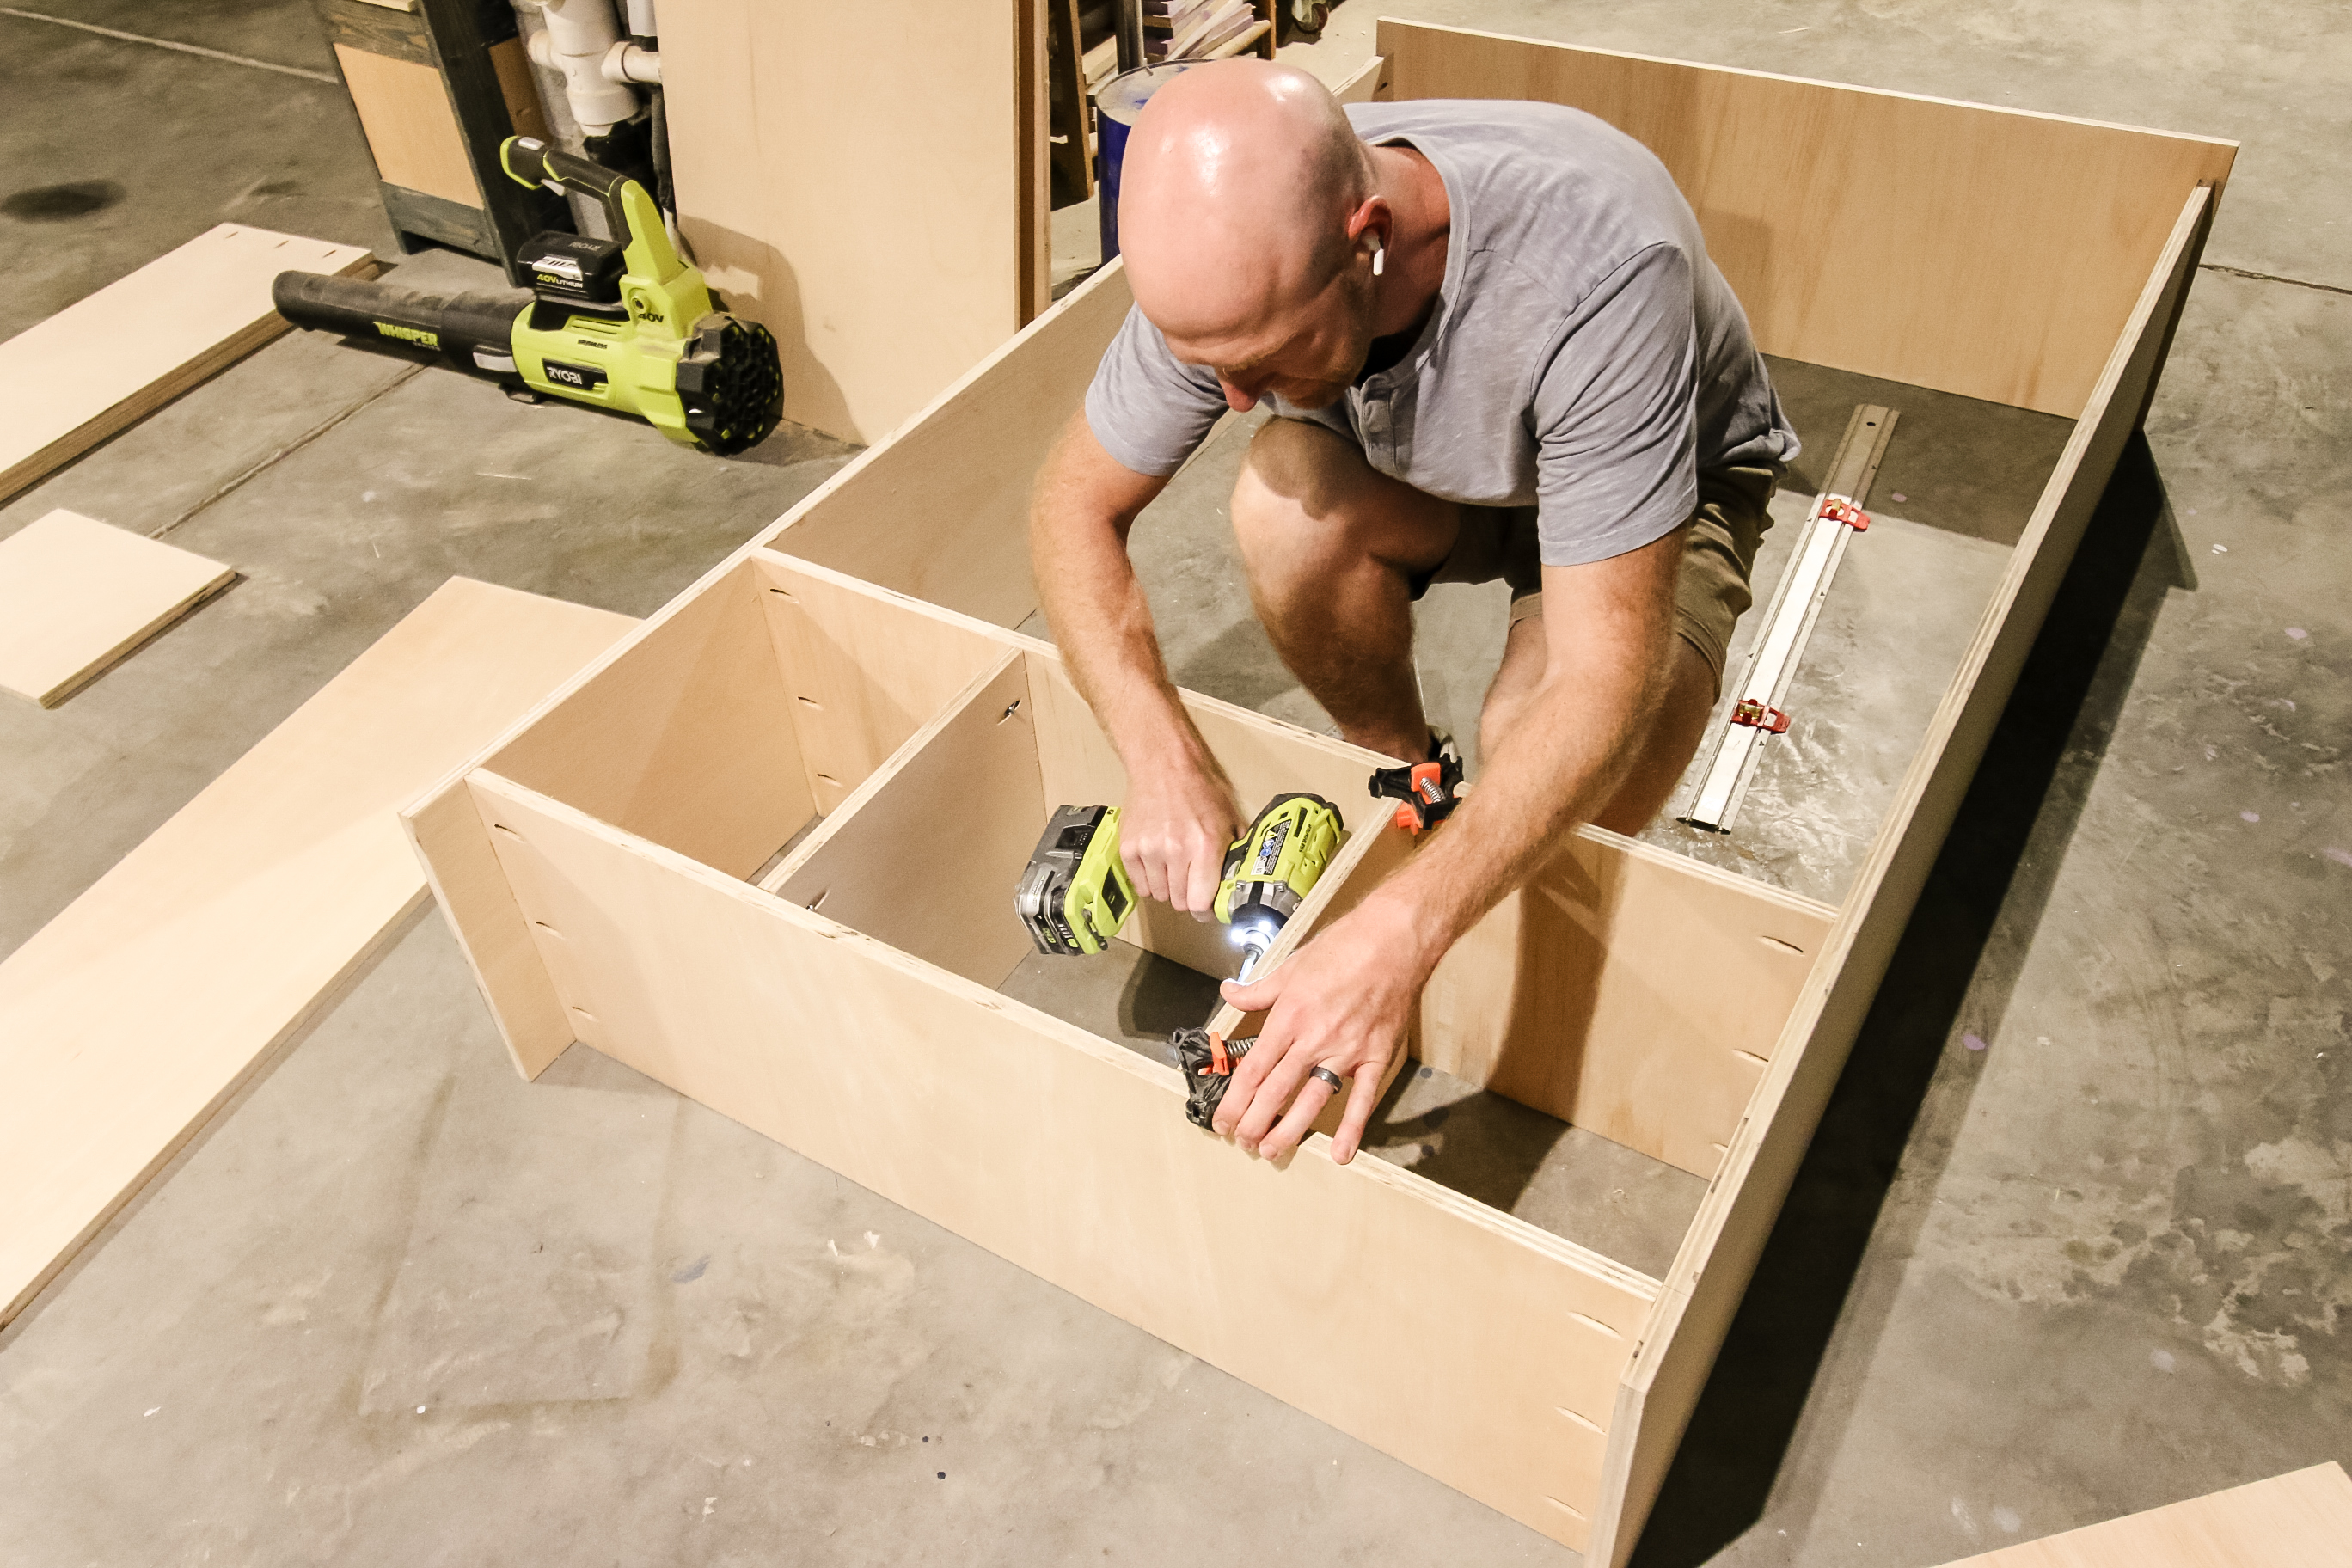
How to make 90 degree joints with Kreg jig
90 degree joints are when a board goes into a point somewhere in the middle of another board, instead of along the edge or at the end.
To make 90 degree joints, you follow the same steps as making a butt joint, but in this case it's really important to use a right angle clamp to hold the two boards in place so they don't move.
Drill the pocket holes on the board that will be going into the other board, line it up where it needs to go, then add the clamp. Finally, use pocket hole screws to attach the board.
You can see this on the bookshelves portion of our DIY toy display shelf and bookcase!
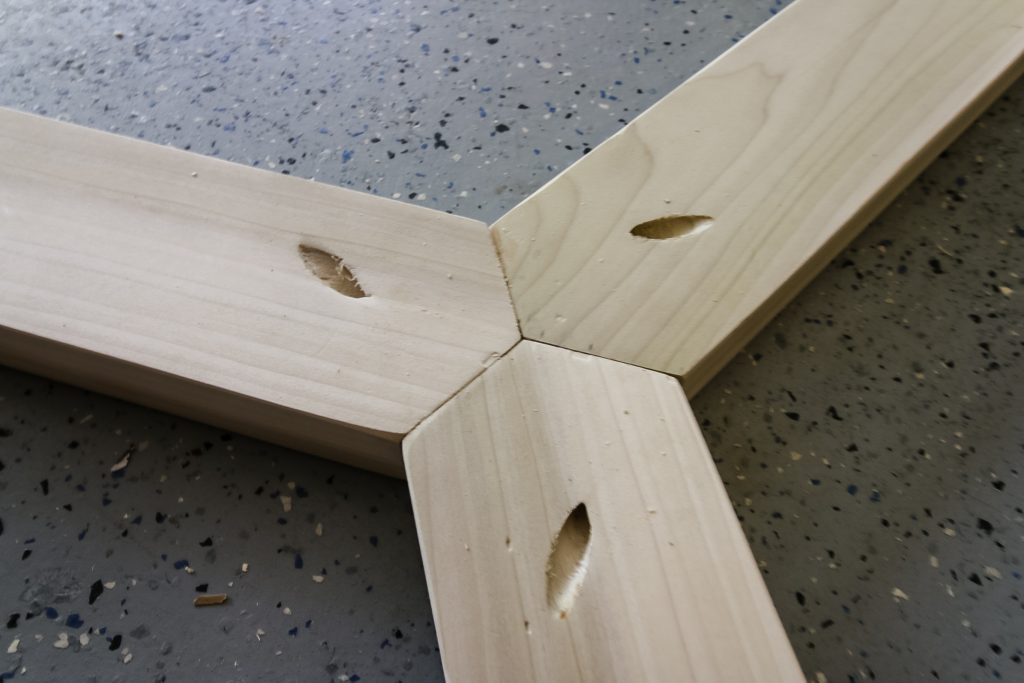
How to make mitered joints with Kreg jig
Mitered joints are when two boards come together at a mitered angle, most commonly at a 45 degree angle to make a frame of some sort.
To make mitered joints with a Kreg jig, place the angled portion of the board into your Kreg jig and clamp in place. Make sure you are closer to the inside of the miter so that the pocket holes don't drill through the outside edge of the board.
You only need to have pocket holes drilled on one of the ends that are coming together with a mitered joint!
With the holes drilled, put the mitered ends together and clamp down to keep them in place. Then, simply drive your pocket holes from one board to the next.
We did this in the corners of our DIY outdoor square dining table!

Basic woodworking information for every project
Here are some of our most popular woodworking articles!
Shopping for wood:
Woodworking project ideas
- 100+ of the best woodworking project ideas!
- 62 easy beginning woodworking projects
- Woodworking project ideas to make and sell
See all our printable PDF woodworking plans!
Our favorite tools + supplies
- See all our favorite tool reviews
- How to use a Kreg jig
- The ultimate wood stain guide
- The best wood fillers for your project
Remember to also always use safety equipment while woodworking and using tools. Make sure you have proper eye protection, ear protection and a good mask to keep yourself safe.
Before you go...
Make sure you see which Kreg jig is for you and if it's worth the cost!

Looking for something?
We've been doing this since 2012 so we have a LOT of blog posts!
Search stuff like: Ceiling Projects | DIY Plant Stands | Thrift Flips

Hey there, I'm Sean, the woodworking enthusiast and builder behind CharlestonCrafted.com! Since 2012, I've been sharing the magic of turning raw materials into beautiful creations. I love teaching others the art and satisfaction of woodworking and DIY. I try to inspire fellow crafters to make something extraordinary out of nothing at all.


