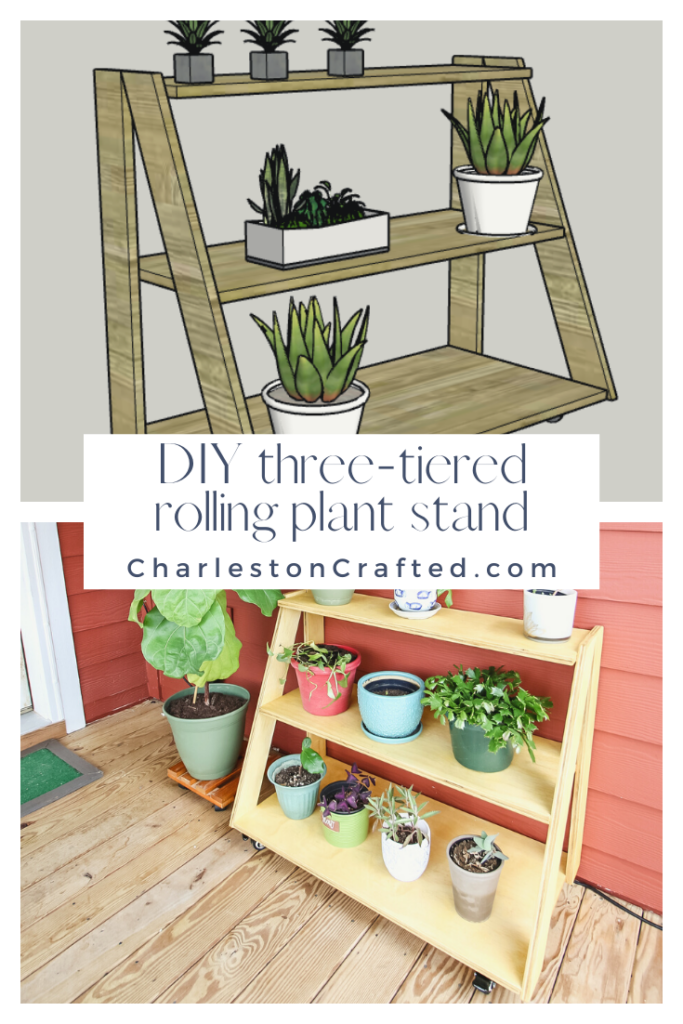
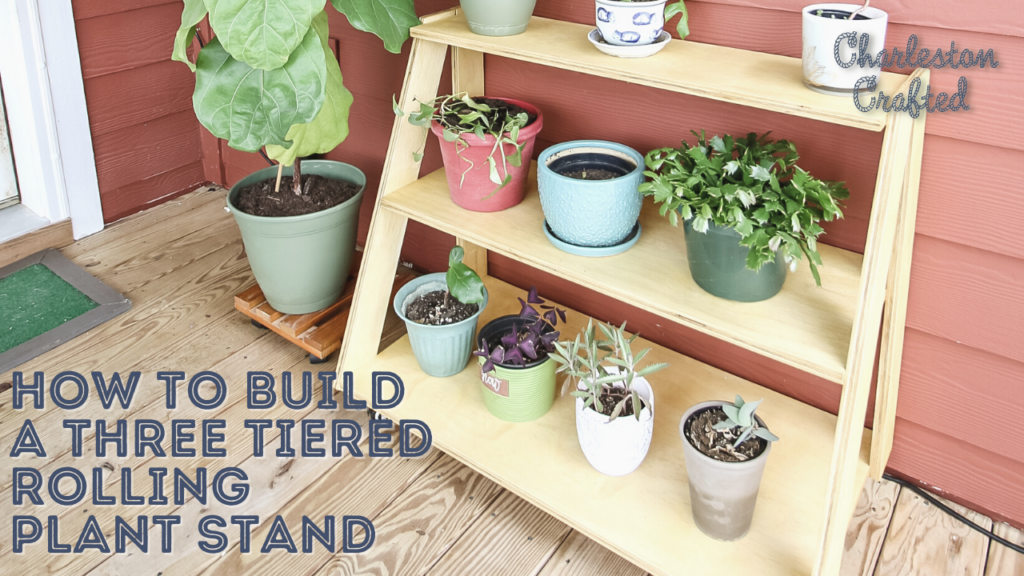
Check out how we built a DIY three tiered rolling plant stand to hold all of our small potted plants on the porch. Get the details on this easy DIY project and FREE woodworking plans to build it here!
This post is sponsored by Kreg Tool. We used Kreg pocket hole joinery to make this rolling plant stand. All opinions are our own and our opinion is that we love Kreg products. Thank you for supporting the brands that make Charleston Crafted possible!
If you've followed us for any amount of time, you know that Morgan is obsessed with plants and propagation. That means we have a lot of living greens scattered around the house and on our porches.
That also means we have a lot of plant stands.
On our screened porch, we have had our rolling cedar plant stand, but the wings were starting to sag and it was looking worse for wear after several years. In the winter, we swapped that out for a simple greenhouse to keep the plants warm and wanted a new plant stand option for this year.
Enter our new DIY three tiered rolling plant stand. This is a perfect project for small potted plants of different sizes and can be moved easily.
Let's dive into how it was built and how you can make one too!
Check out our screened porch makeover reveal!
How to build a rolling plant stand
It was important to us to have a rolling plant stand where we could store all our favorite plants during propagation or their early stages, but also be able to move it for different purposes.
This is also the first project we are doing as part of a makeover on our screened porch, so we wanted something that we could work around easily that didn't take over the space.
This is not our first DIY tiered plant stand as we've done our rolling cedar tower-style plant stand and our DIY three-tiered corner plant stand for the front porch at our old house.
DIY outdoor plant stands are a great option to give you different ways to have plants on display and swap them out easy.
Check out our full round up of 28 DIY plant stand ideas you can build in a weekend!
DIY three tiered rolling planter
Here's what you'll need to build our DIY three tiered rolling planter. Remember that you can get the full list of specific materials, as well as the cut list and step-by-step instructions on the free woodworking plans!
Tools needed to build a DIY three tiered rolling plant stand:
- Circular saw
- Kreg 720 Pro Pocket Hole Jig
- Cordless drill
- Orbital sander
Materials needed to build a DIY three tiered rolling plant stand:
- ¾" plywood
- 1 ¼" Kreg pocket hole screws
- Wood glue
- 2" Rolling swivel casters
- Outdoor sealant
Steps for how to make a three tiered plant stand
Here are the general steps for how to make a DIY rolling three tiered plant stand. Make sure to download the FREE woodworking plans for detailed steps and instructions.
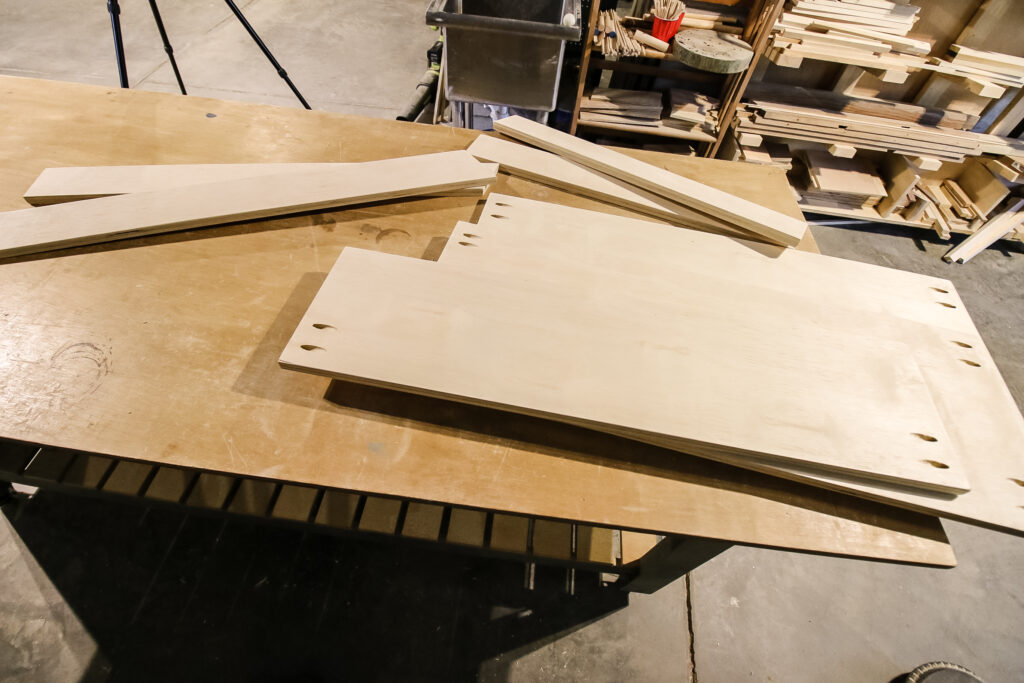
Step one: make cuts and drill pocket holes
We always find it easiest to make all your cuts for a project first, if possible, and do all the finishing work before assembly.
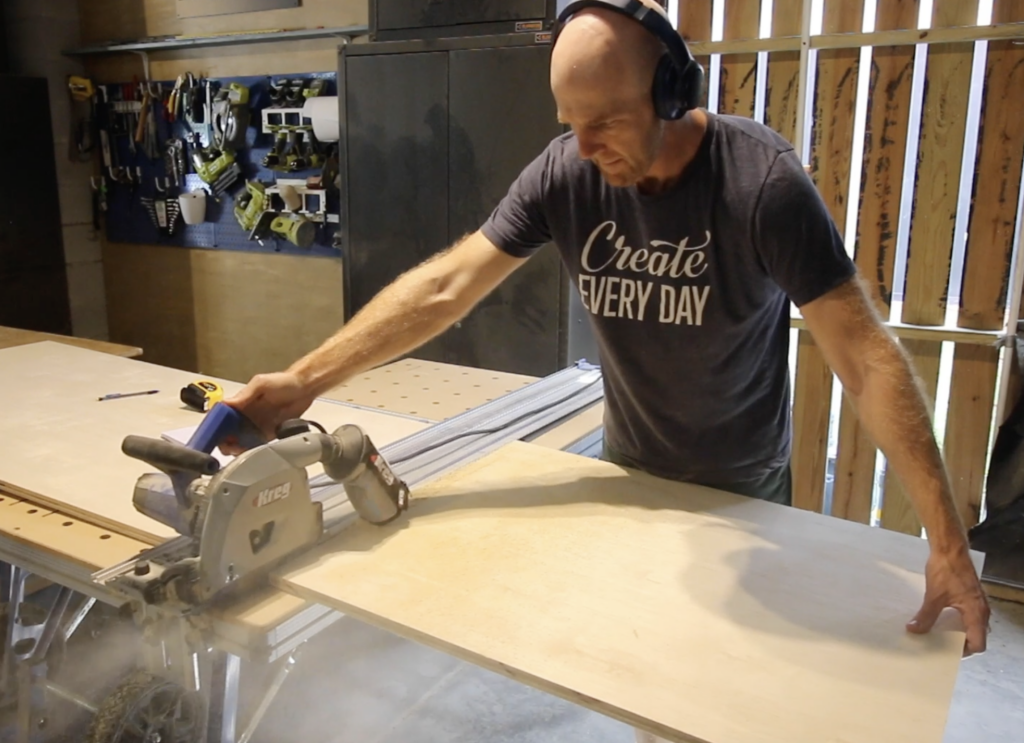
We started by using our Kreg Adaptive Cutting System to rip down our plywood pieces.
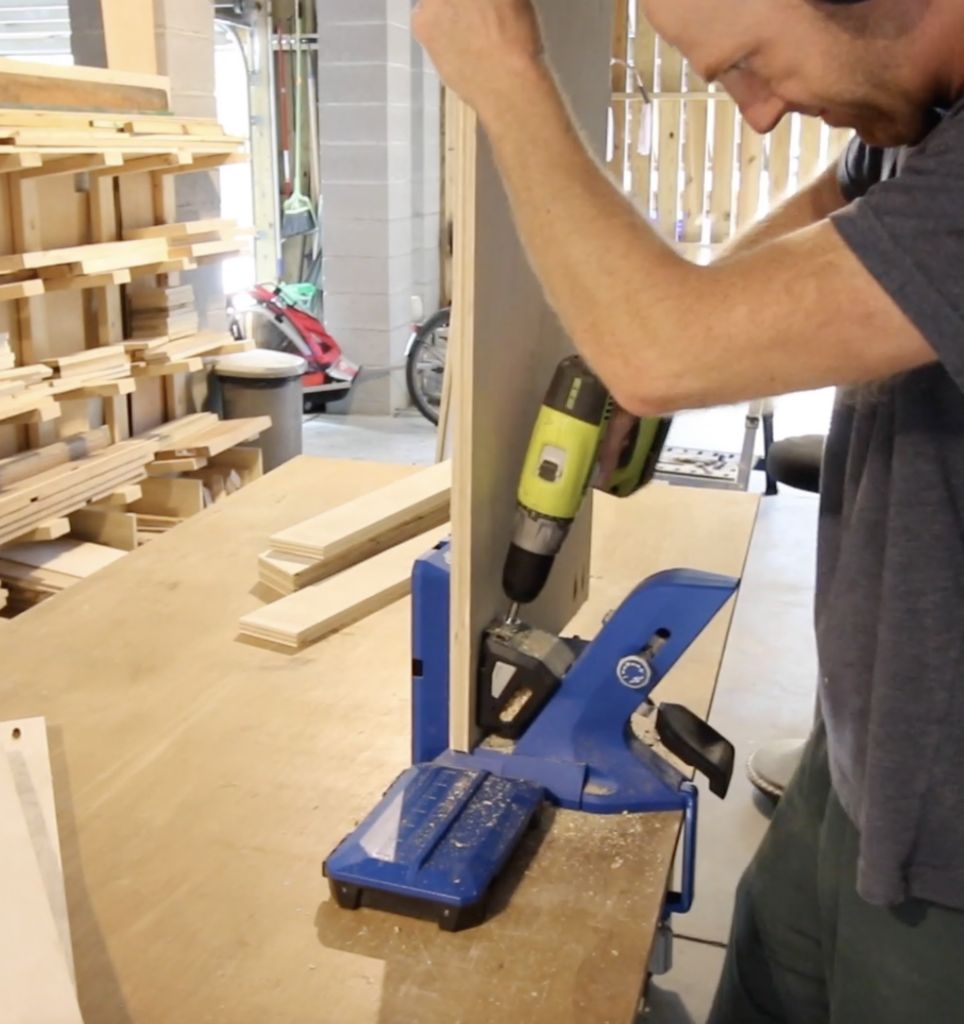
Then, we slid each shelf piece into our Kreg 720 Pro pocket hole jig to drill pocket holes. We love using the 720 because it is so smooth and simple to use.
Check out our full review on the Kreg 720 Pro here!
The 720 Pro's AutoMaxx clamping system makes it easy to move the board to adjust where new holes are drilled.
After we were done with pocket holes, we sanded everything down nice and smooth.
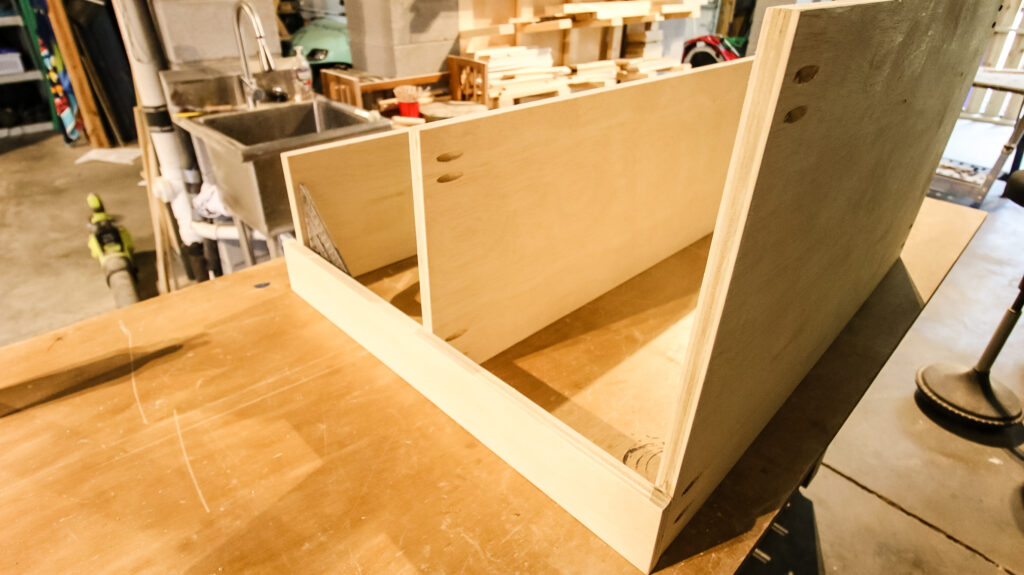
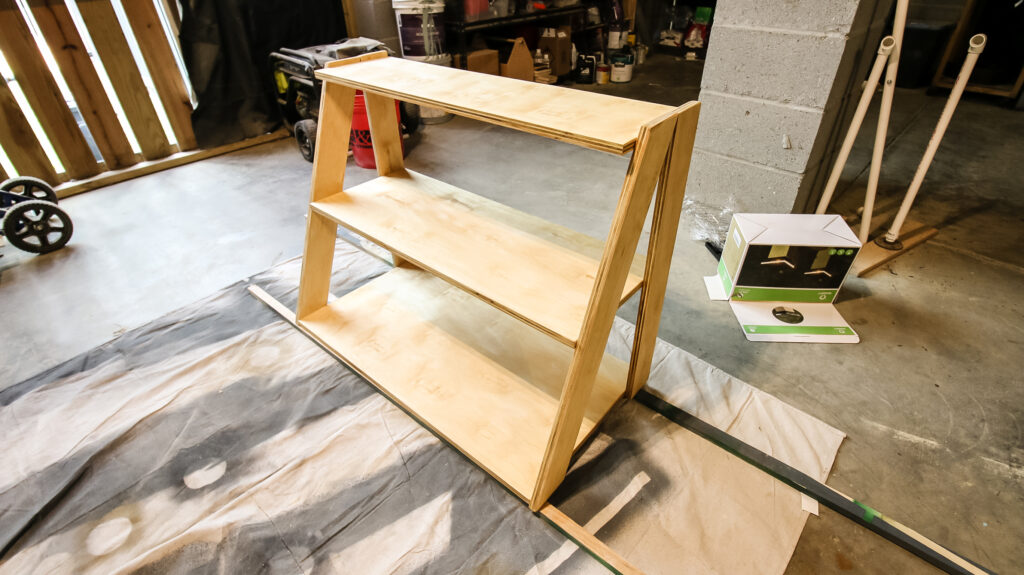
Step two: attach shelves to back posts
The first step to building this DIY plant stand was to attach each of the shelves to the straight back post. To do this, we used wood glue and pocket hole screws, starting by attaching the bottom, biggest shelf flush with the bottom of the back post.
Then, we attached the middle shelf the same way and the top shelf the same as that.
Then we repeated the process to attach each shelf to the second back post, making sure the spacing was exact and the shelves were flush.
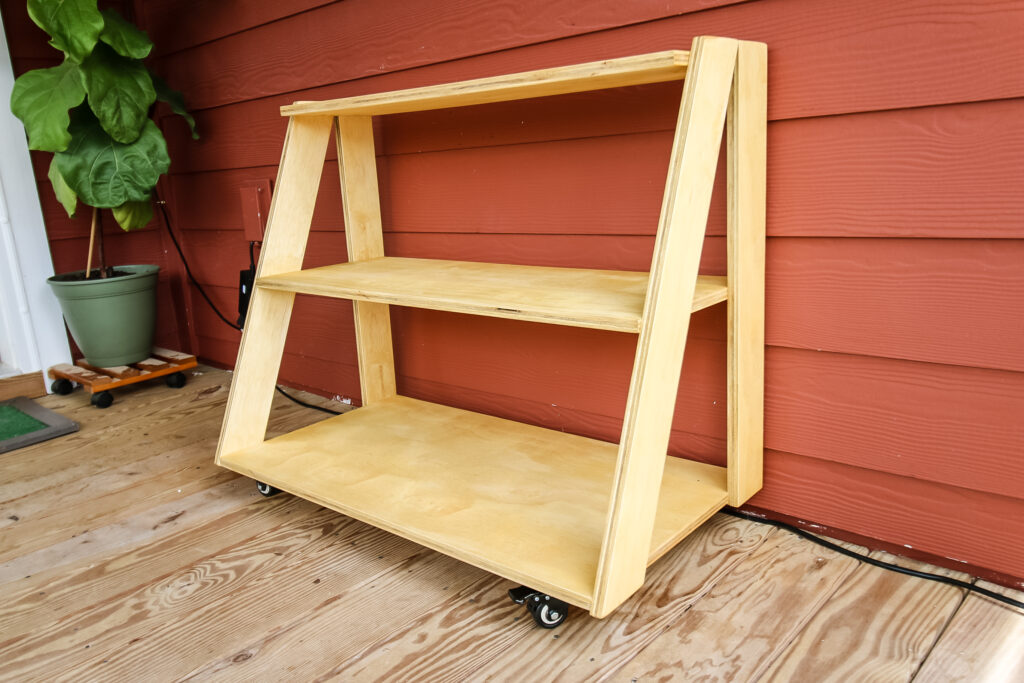
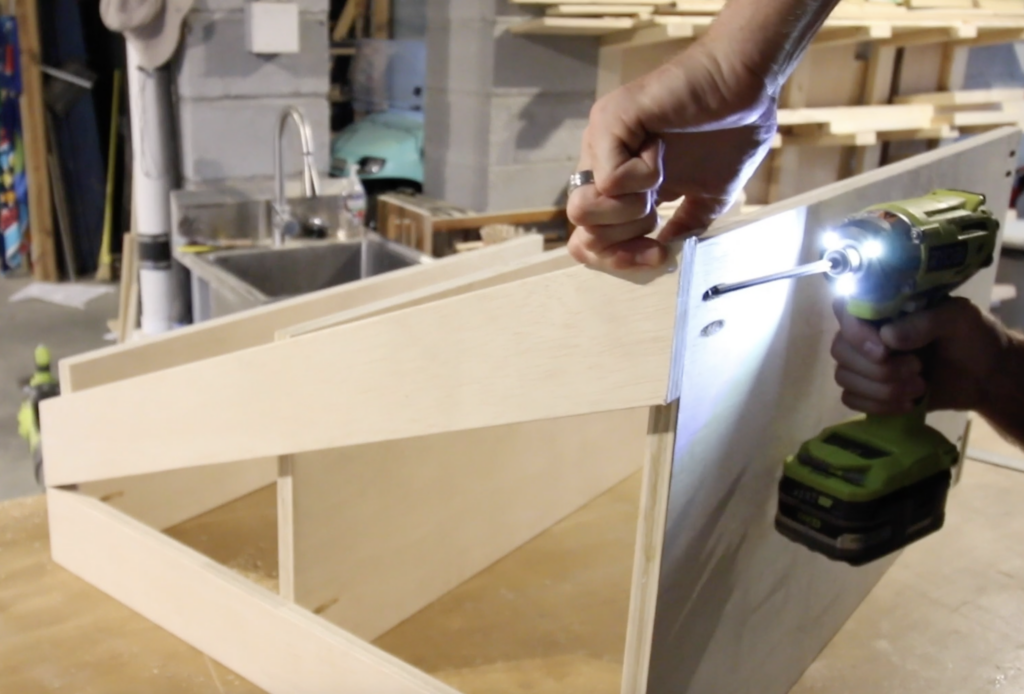
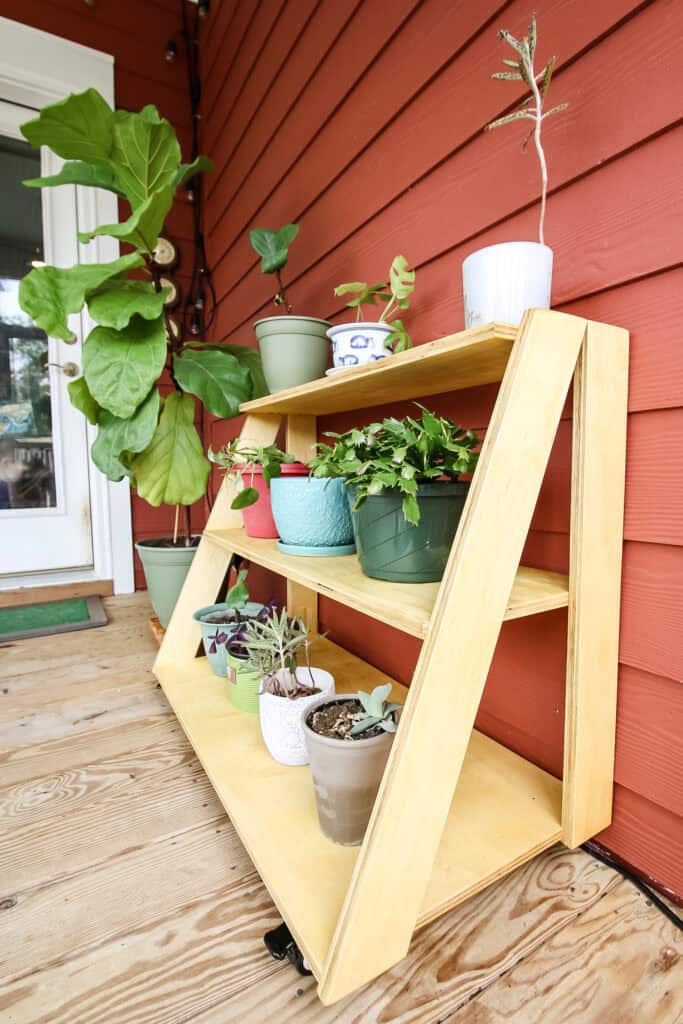
Step three: attach angled front posts
With the back posts in place, we added the angled front posts. These connected flush at the top with the back posts then angled down to the front edge of the bottom shelf.
These were also attached with wood glue and pocket hole screws to make sure each joint was solid and secure.
Step four: seal for outdoor protection
After the whole thing was built, we added outdoor sealant to protect the plant stand from sun, water and everything else.
We used the same Waterlox sealant that we used on our DIY outdoor potting bench, which has held up super well in its first year.
This sealant is a two step process, so make sure to read all about it in our potting bench post!
If you're going to used this plant stand indoors, choose your favorite stain and then make sure to give it a good coat of polyurethane to protect it from any watering that gets out of the pots.
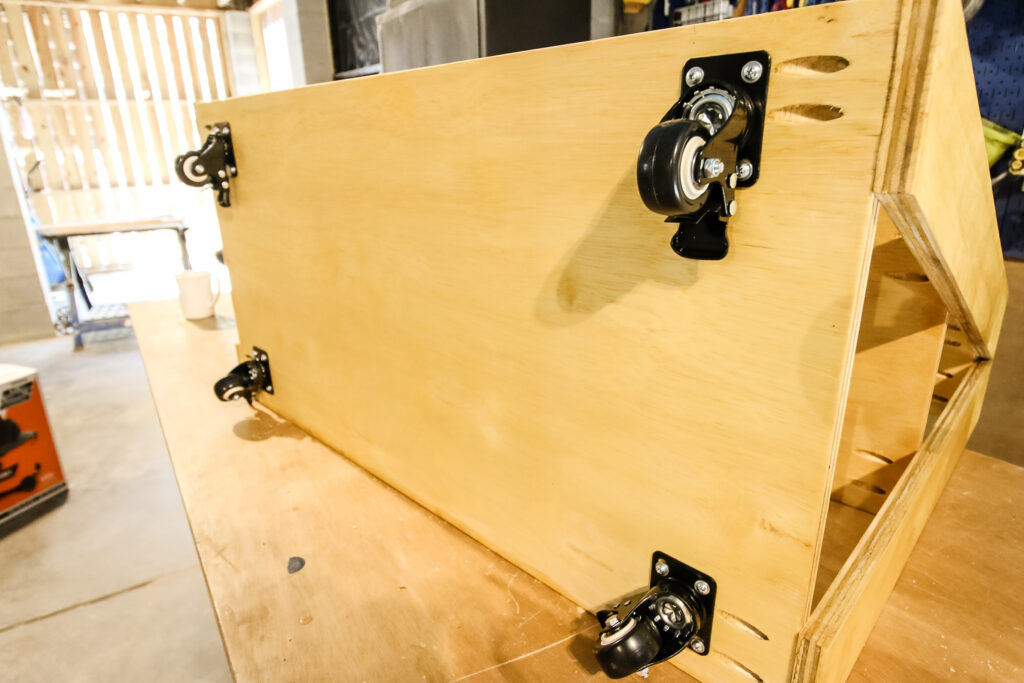
Step five: add rolling casters
Finally, we added the rolling casters. We like these rolling swivel casters that also lock, making it easy to stay in one place or move it.
These casters just screwed into the bottom of the plant stand in the corners and we were off to the races!
Step six: fill with plants!
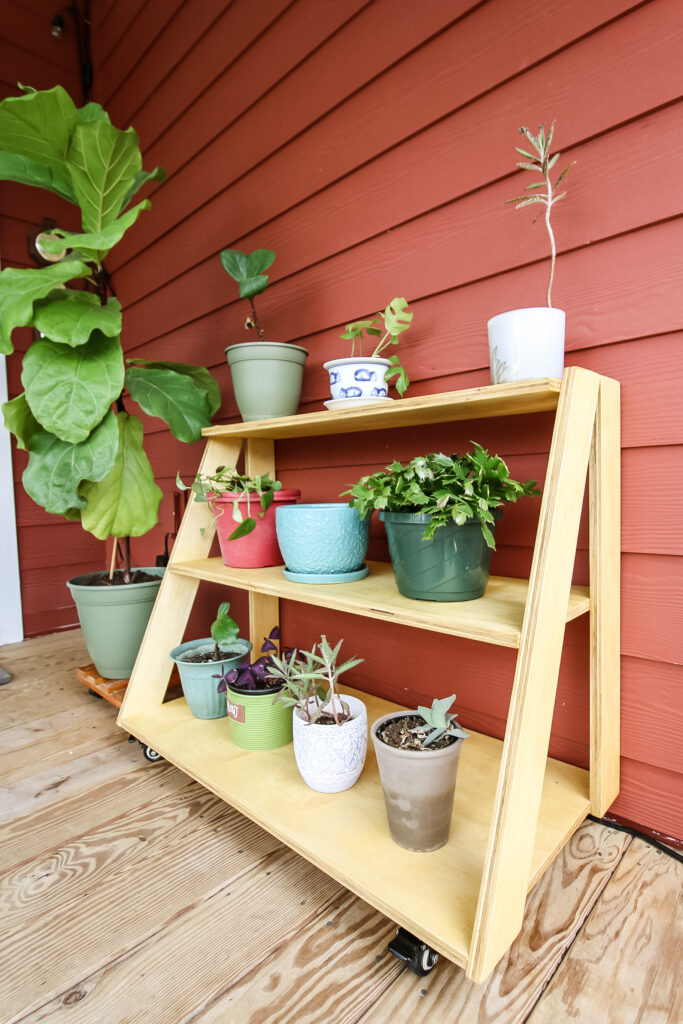
With the plant stand done, we rolled it into place and filled it up with plants!
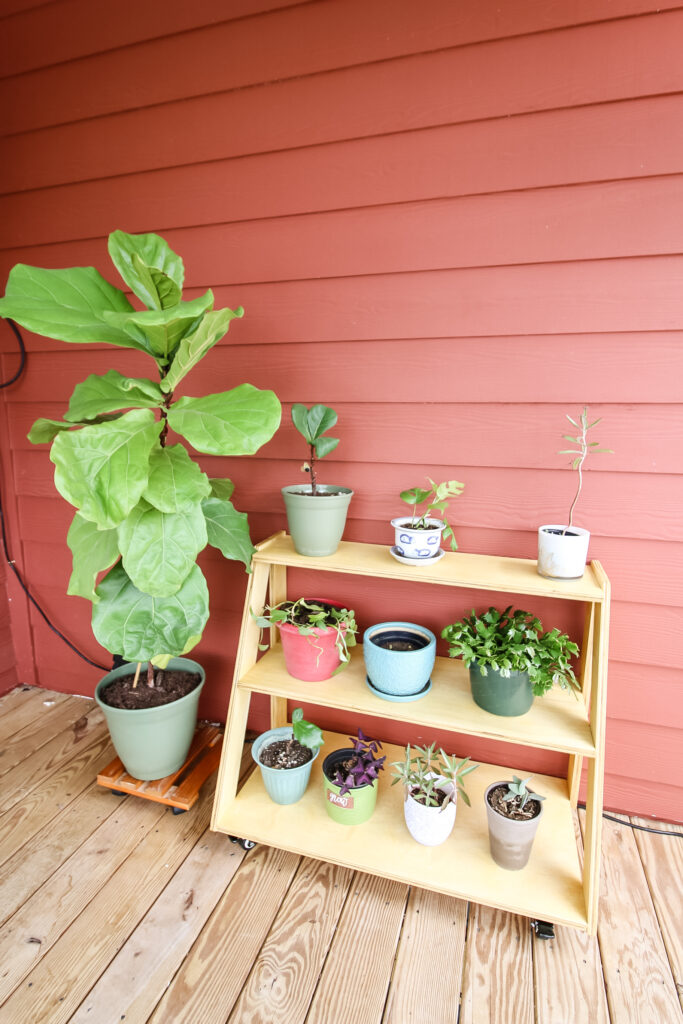
This is a great plant stand for lots of different sized pots since there is a small, medium and large shelf. The top shelf is perfect for taller plants, with lots of space underneath, too.
This is also a great plant stand for getting your kids involved. Our toddlers are at the perfect height to help water the plants and watch them grow!
DIY three tiered rolling plant stand FREE woodworking plans!
Like the looks of this project? You can easily build one of your very own!
This DIY rolling plant stand is simple to make and requires only a half a sheet of plywood. The plans also use Kreg pocket hole joinery, making it a beginner-friendly project.
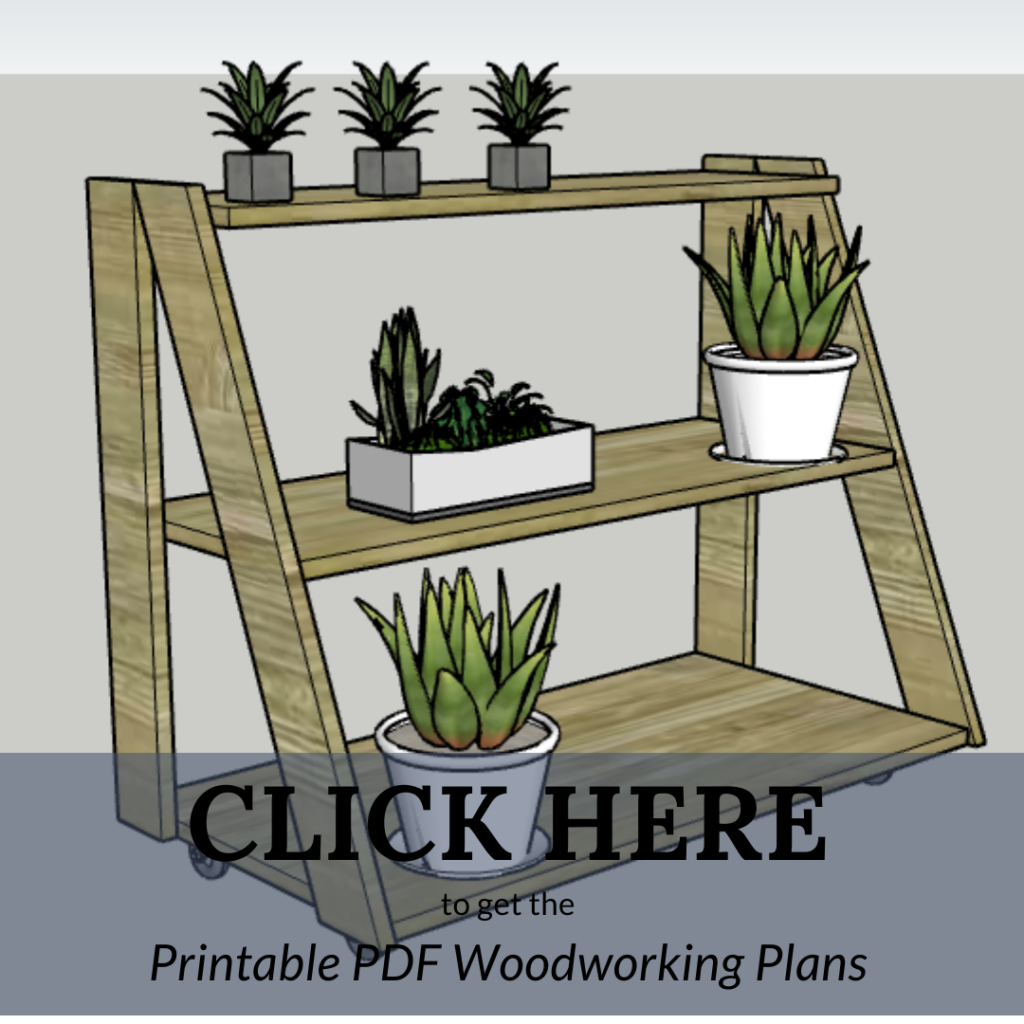
Make sure to click over to download our FREE woodworking plans on the Kreg Projects and Plans website where you can get the full material list, cut list and step-by-step instructions to build this DIY plant stand.
While there, make sure to download some of our other great plans!
Video tutorial for the DIY three tiered rolling plant stand
Before you dive into building the DIY three tiered rolling plant stand, make sure you watch our video tutorial to get the inside look at how we did it!
Basic woodworking information for every project
Here are some of our most popular woodworking articles!
Shopping for wood:
Woodworking project ideas
- 100+ of the best woodworking project ideas!
- 62 easy beginning woodworking projects
- Woodworking project ideas to make and sell
See all our printable PDF woodworking plans!
Our favorite tools + supplies
- See all our favorite tool reviews
- How to use a Kreg jig
- The ultimate wood stain guide
- The best wood fillers for your project
Remember to also always use safety equipment while woodworking and using tools. Make sure you have proper eye protection, ear protection and a good mask to keep yourself safe.

Looking for something?
We've been doing this since 2012 so we have a LOT of blog posts!
Search stuff like: Ceiling Projects | DIY Plant Stands | Thrift Flips

Hey there, I'm Sean, the woodworking enthusiast and builder behind CharlestonCrafted.com! Since 2012, I've been sharing the magic of turning raw materials into beautiful creations. I love teaching others the art and satisfaction of woodworking and DIY. I try to inspire fellow crafters to make something extraordinary out of nothing at all.


