If you love a modern arched look but have minimal space next to your bed, try your hand at this DIY modern floating nightstand!
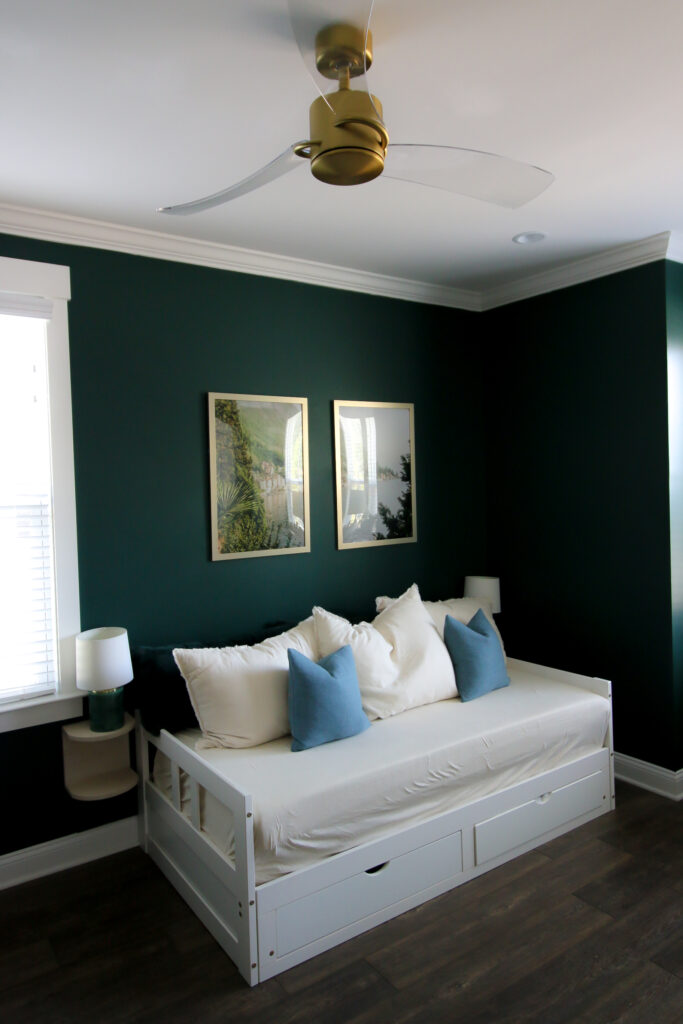
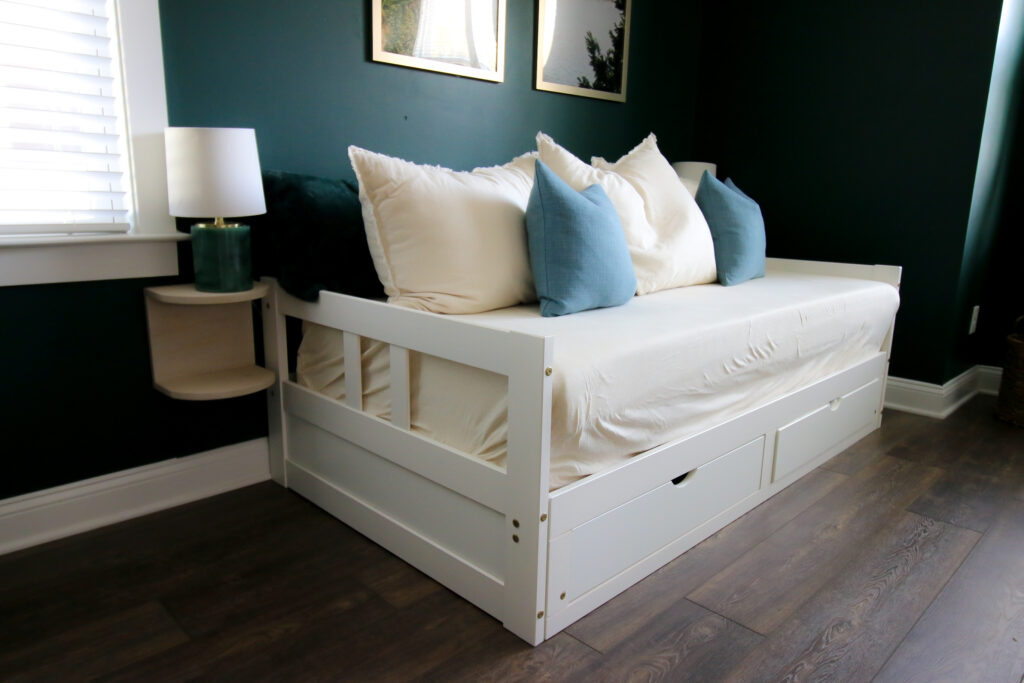
We're working on our guest bedroom makeover and part of that included adding a day bed that would serve as a couch for us and a pull out king bed for guests when they are in town.
The old room had a simple DIY platform bed and we were able to use two DIY mid century modern nightstands on either side of it.
However, this daybed is much wider, so we couldn't fit those nightstands again in the space.
So, we needed new nightstands for our guests when they are here. The space was very small and the daybed is fairly low to the ground, so we decided to go with something a little different and lower as well.
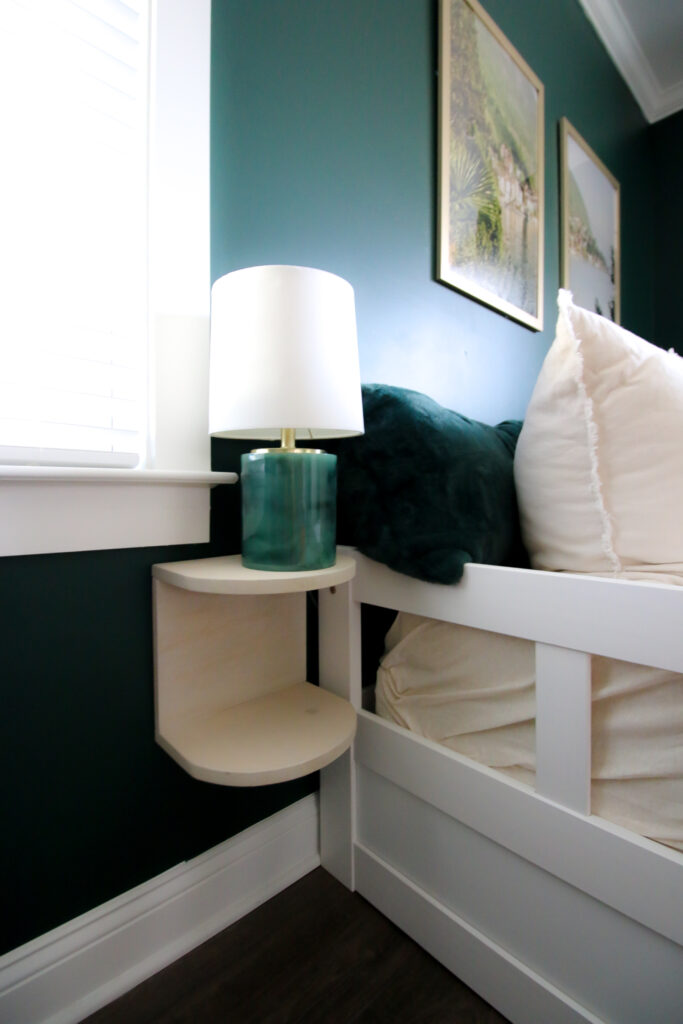
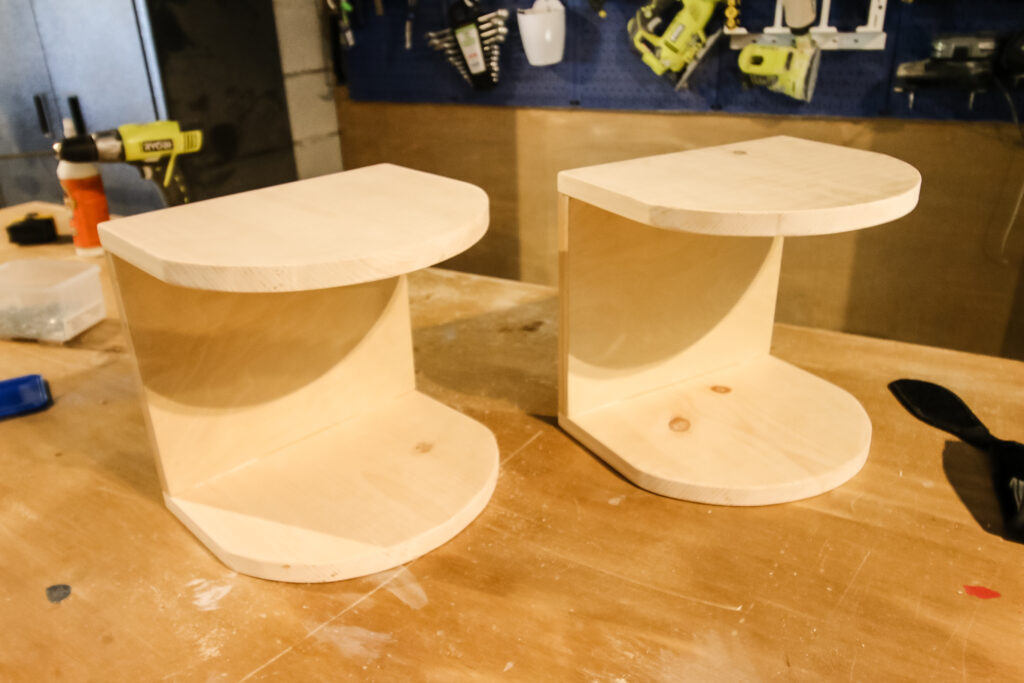
With that, we designed these low profile floating bedside tables that hang on the wall with space for a lamp and a few necessities.
Check out how we build our DIY arched floating nightstands and how you can make them too with just a little bit of wood!

DIY floating nightstands
These DIY floating bedside tables are really easy to make and also trendy, adding the modern arch to the two shelves.
Check out how we added arches to our DIY arched bedside tables in our bedroom!
You can build these in an afternoon for about $20 in wood and have a modern look in your space. Let's dive into it!
How to build a floating nightstand
Here's the general steps on how to build a floating nightstand and what you need to do it! This nightstand brings a modern design and functionality to any space, so you're going to want to grab it!
These instructions are for one hanging nightstand, but you can easily replicate for both.
Supplies and tools needed to make a floating nightstand
- 1x12 pine board
- Wood glue
- Kreg pocket hole jig and pocket hole screws
- Wood stain
- Keyhole hanger brackets
Step one: cut back board
Start by cutting a single back board to 11 x 9". Then, drill two pocket holes on each 11" long side.
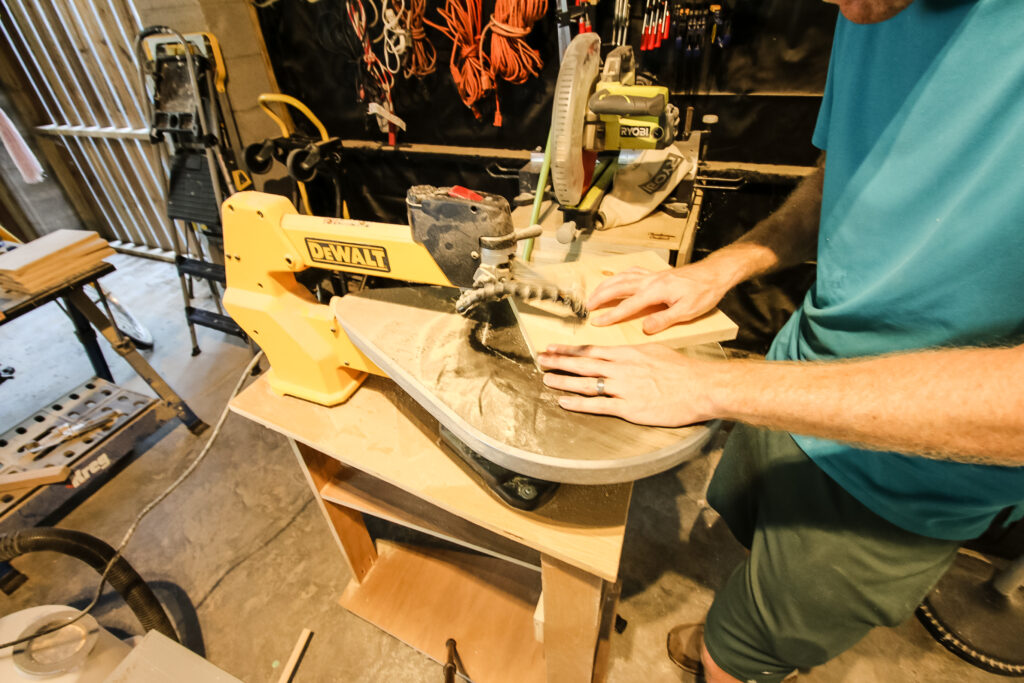
Step two: cut arches
Next, cut two pieces of wood from the board to 11" x 9". Then, using an arched template from a bowl or bucket, trace an arch starting out 5" on both sides.
We used a scroll saw for this, but you could also easily use a jigsaw. Create a nice arch and then sand it smooth.
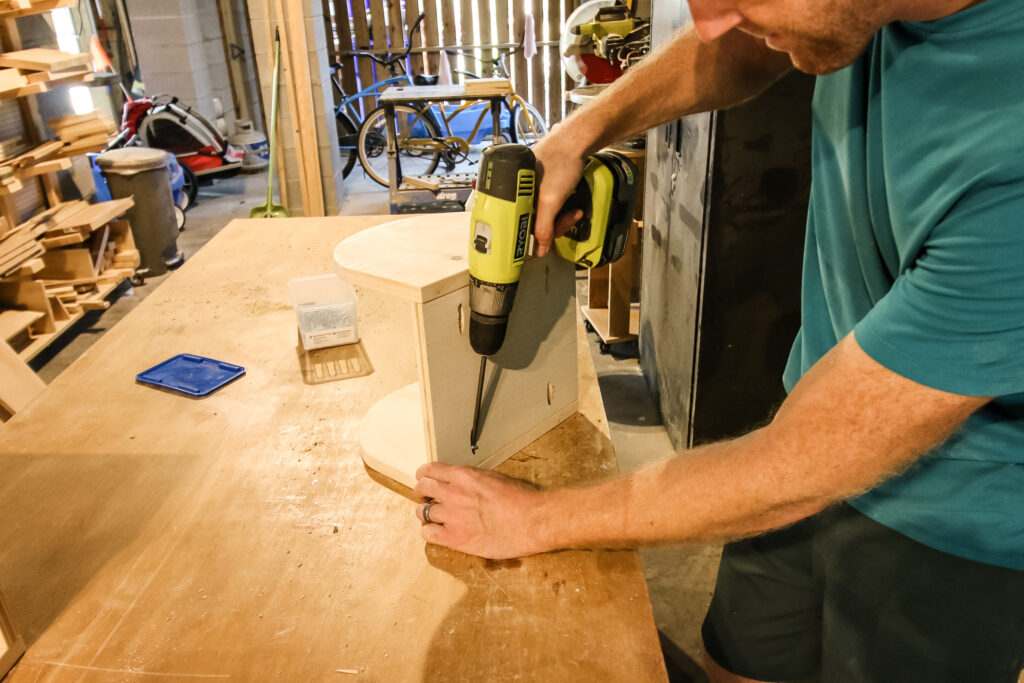
Step three: attach arches to back board
Using the pocket holes on the back board and wood glue along the edge, attach the two arched boards to the top and bottom of the back board.
Step four: stain and seal
Once everything is dry and sanded smooth, add a wood stain to match the decor in your home. We used a light grey that we used to match the simple DIY floating shelves we hung in the room on another wall.
Then, it's a good idea to add a coat of polyurethane too in case you want to place a drink or anything on one of the shelves.
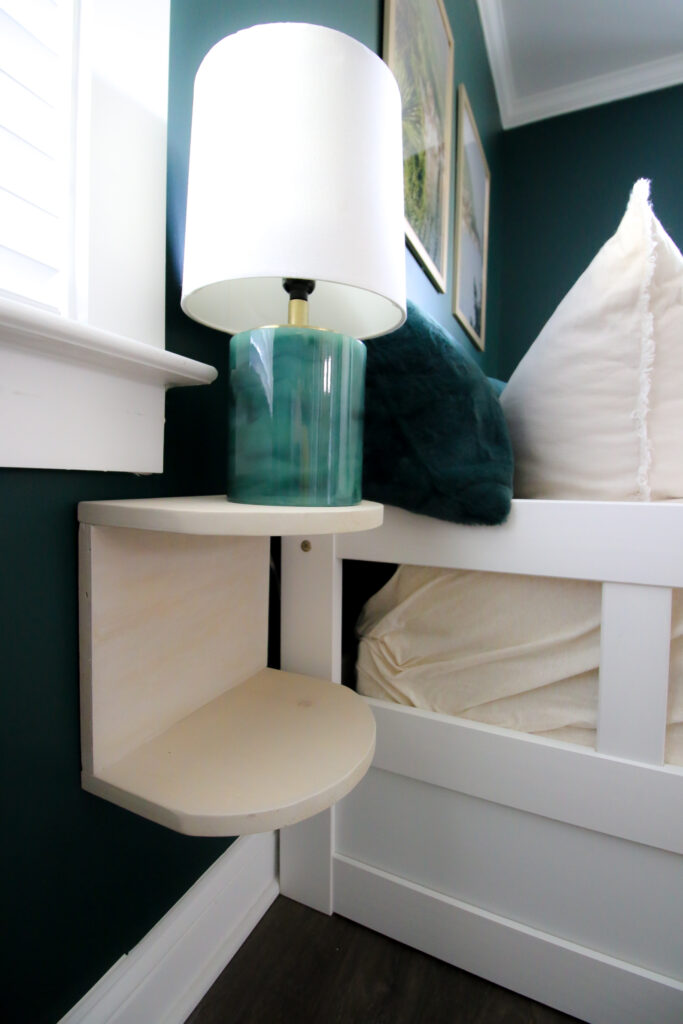
Step five: hang on wall
When it's ready to hang on the wall, try using keyhole hanger brackets. This was the first time we have actually added these to anything we were hanging on the wall and they work great.

The keyhole bracket is great because it holds the screw very tightly and close to the wall. With something like a floating side table, you want it to be as flush with the wall as possible.
These brackets easily attach to the back of the nightstand and then hang on screws on the wall.
We also used these keyhole hangers to hang our DIY dartboard cabinet (click for free plans!)
Modern arched nightstand
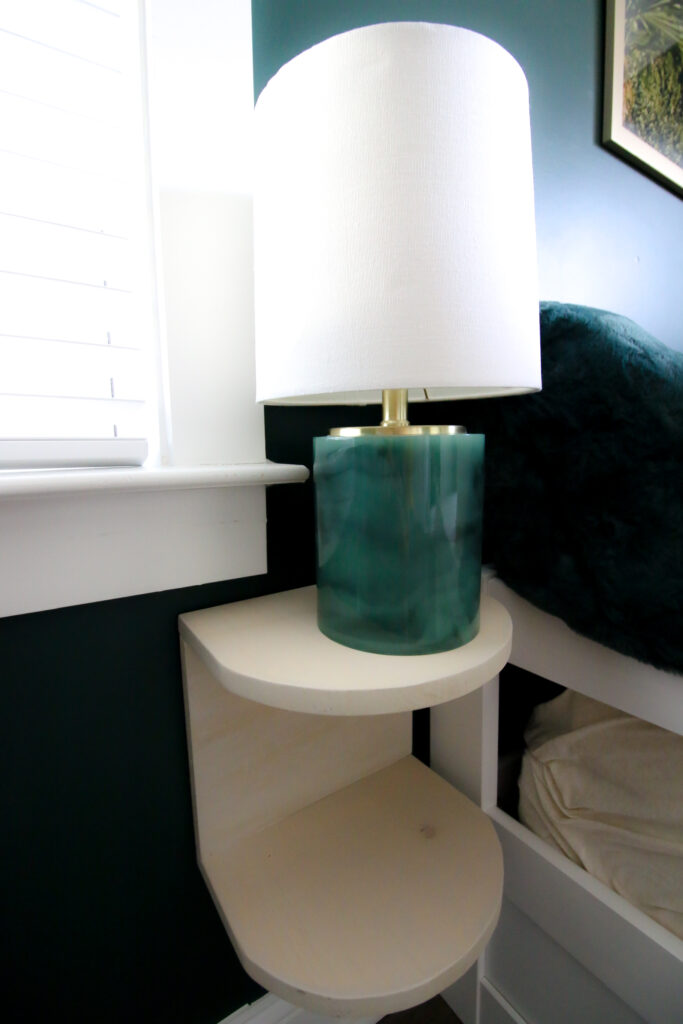
We are loving these DIY modern arched nightstands that float on the wall!
They are small and low profile, which is exactly what we needed in this space. These could easily be added in any small space where you need a nightstand or side table and don't have a lot of floor space.
The two shelf design allows for a lamp on top and easy access to your book, water or reading glasses on the lower shelf.
This is a great project for a mid century modern look with modern arches that works in lots of different design schemes!
Basic woodworking information for every project
Here are some of our most popular woodworking articles!
Shopping for wood:
Woodworking project ideas
- 100+ of the best woodworking project ideas!
- 62 easy beginning woodworking projects
- Woodworking project ideas to make and sell
See all our printable PDF woodworking plans!
Our favorite tools + supplies
- See all our favorite tool reviews
- How to use a Kreg jig
- The ultimate wood stain guide
- The best wood fillers for your project
Remember to also always use safety equipment while woodworking and using tools. Make sure you have proper eye protection, ear protection and a good mask to keep yourself safe.

Looking for something?
We've been doing this since 2012 so we have a LOT of blog posts!
Search stuff like: Ceiling Projects | DIY Plant Stands | Thrift Flips

Hey there, I'm Sean, the woodworking enthusiast and builder behind CharlestonCrafted.com! Since 2012, I've been sharing the magic of turning raw materials into beautiful creations. I love teaching others the art and satisfaction of woodworking and DIY. I try to inspire fellow crafters to make something extraordinary out of nothing at all.


