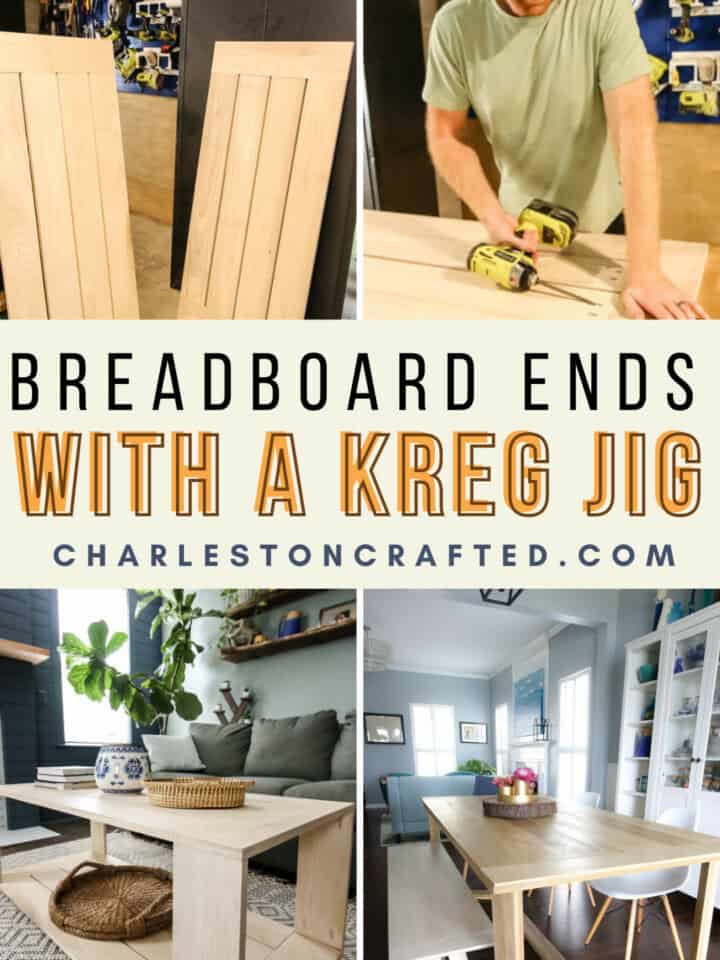
Building a farmhouse table with breadboard ends and want to use pocket holes? Here's how to do it using a Kreg Jig!
A classic decorating and building style is the farmhouse look. One of the big staples in farmhouse style furniture is a table with breadboard ends.
Historically, farmhouse tables with breadboard ends were made using dowel rod joinery or other more intricate types of joinery. But these aren't always accessible to you if you're a novice or don't have that equipment.
One of the most accessible types of joinery in woodworking is pocket holes and it's a perfectly acceptable way to create breadboard ends on a table.
Let's talk about bread board ends and how to make them with a pocket hole jig!
Can you pocket hole breadboard ends?
You can use pocket holes to make breadboard ends in any table. It's a great way to get the farmhouse look and makes it much easier to build furniture.
Using pocket holes to make breadboard ends does require a couple of extra things to consider to make sure your table is functional and sturdy, but they are all easy to do.

Interested in the Kreg Jig? Click here to read our full Kreg Jig review and to see all of our Kreg Jig projects.
New to the Kreg Jig? Here is a step by step guide on how to use a Kreg Jig!
OR grab our FREE Kreg Jig Cheat Sheet here! Download the cheat sheet!
What are breadboard ends?
Breadboard ends are pieces of wood on the two ends of a table that go perpendicular to the rest of the boards that make the table, holding them together and covering their end grain.
Breadboard ends are historically used as a way to make the end of a table look more finished, so you don't have end grain boards on the edges of the table. They are perpendicular to all the other boards, holding them together as a decorative and functional feature to a table.
How to make breadboard ends with a Kreg jig
It's very easy to make breadboard ends with a Kreg jig or other pocket hole jig. There are a few other steps to take, but you can use pocket holes to hold the breadboard ends in place and have no issues.
We've done this now on a dining table, coffee table and bench with no issues. Let's show you how.
Click here to decide which Kreg pocket hole jig is right for you!
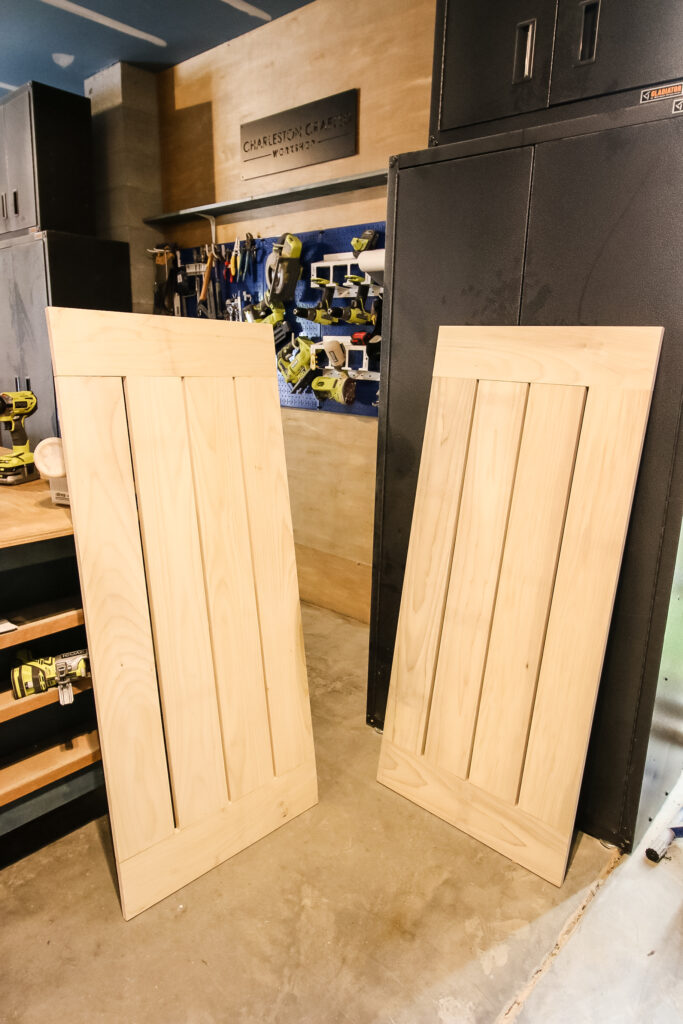
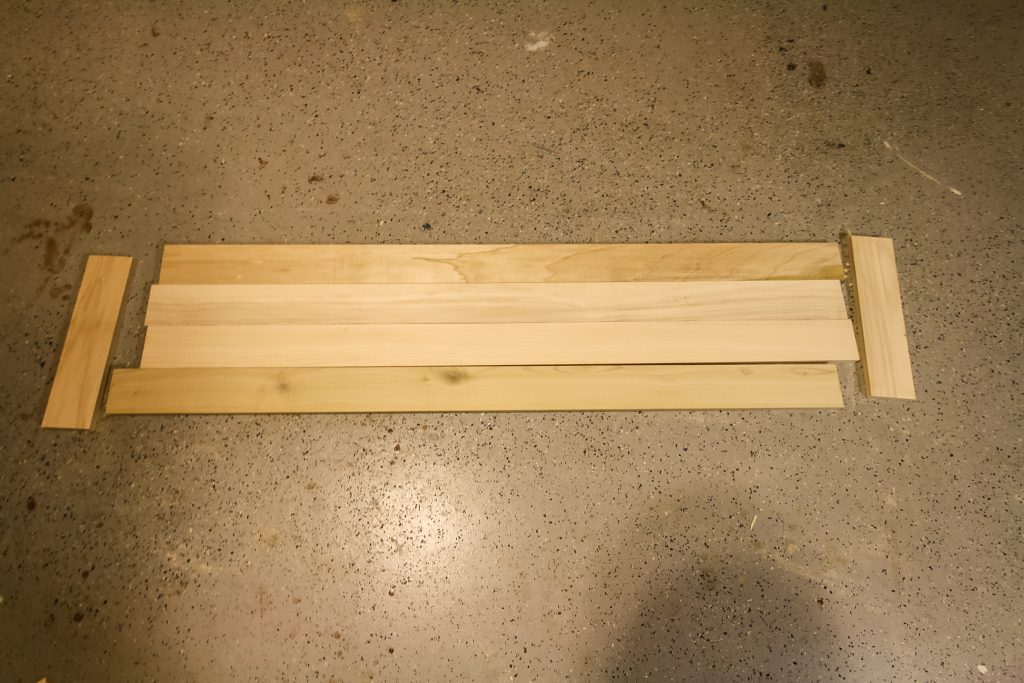
Step one: cut boards to size
Start by building your project according to your specifications. When it comes to cutting a breadboard end, you'll want the length to be the same as the total width of the other boards coming into it.
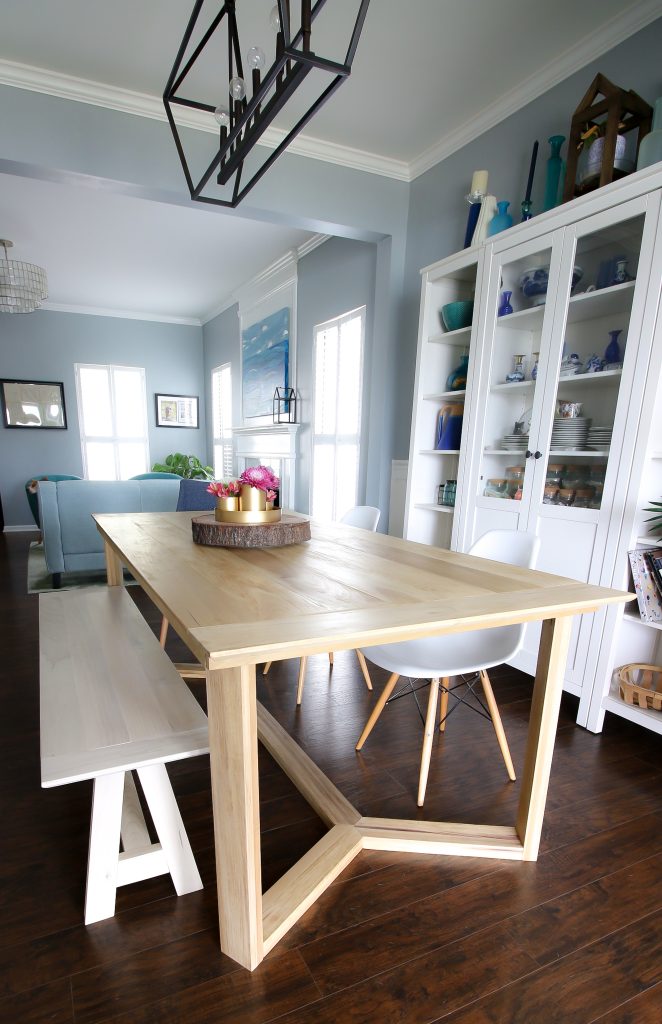
On our DIY angled dining table, all of the boards perpendicular to the breadboard end were touching and connected, also with pocket holes. So we simply multiplied the width of the boards times the number of boards to get the length of our breadboard ends.
For our DIY rectangular coffee table, we had small gaps in between the boards, so we accounted for that measurement as well when determining the length of the breadboard end pieces.
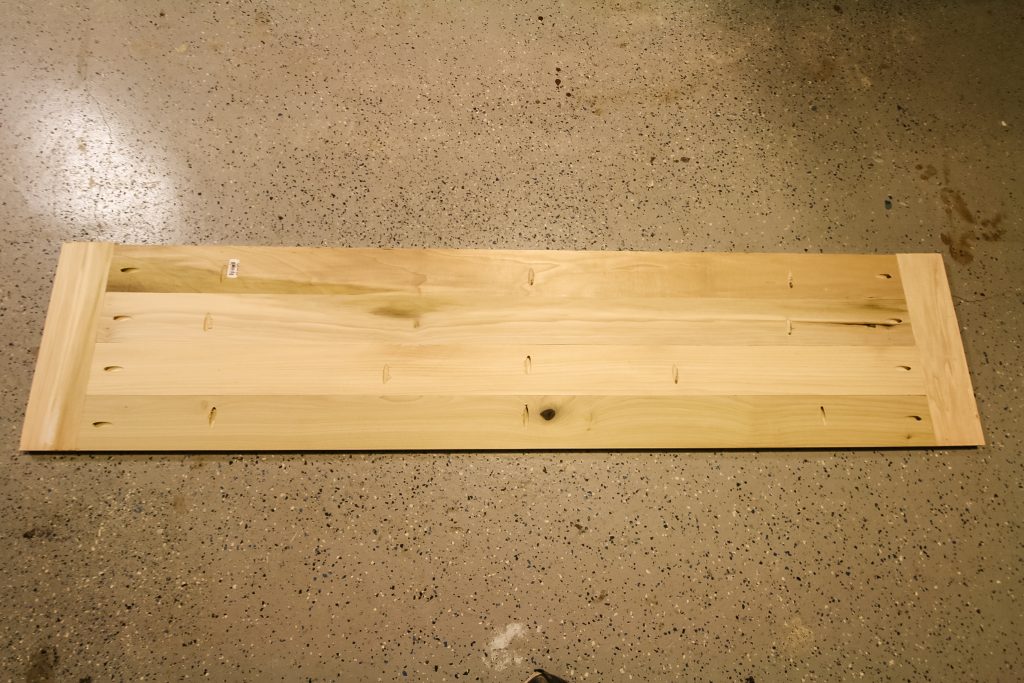
Step two: drill pocket holes
Start by drilling two pocket holes in the ends of the boards that will be going into the breadboard ends.
Then, lay out those boards along the long edge of the breadboard ends and mark a point on the breadboard ends that will be in between the holes on the other boards and drill pocket holes along the breadboard end in those points.
Step three: attach first board
For a breadboard end, you're going to want to make sure you have wood glue along the entire edge of the board where it will be attaching to the rest of the table top. This will be the first tip toward ensuring it stays secure.
Attach the first board into the breadboard end on one end. If all of your boards for the table are already connected, you can just align that first board with the end of the breadboard end and attach.
Attach the two holes from the end board into the breadboard and the one pocket hole the opposite direction.
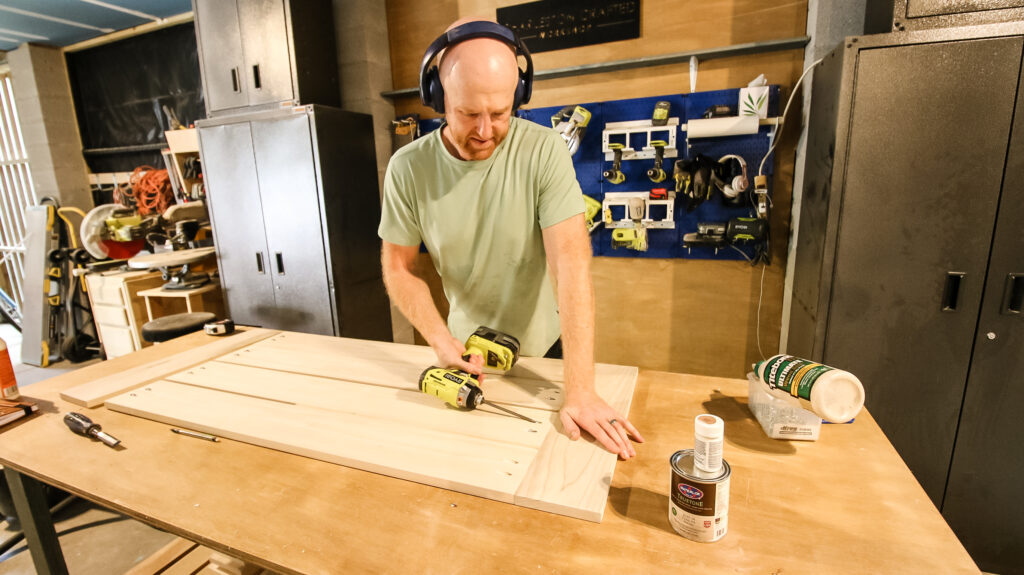
Step four: attach remaining boards
Continue for the remaining boards, attaching the boards into the breadboard and the breadboard into the boards.
Step five: have legs under breadboard ends
The last tip that is important for making breadboard ends with a Kreg jig is to have something underneath the breadboard end to help in case someone pushes down on it.
The main concern with a breadboard end, especially when secured with pocket holes, is that someone leaning on the breadboard end or putting something heavy there will break it off of the ends of the table.
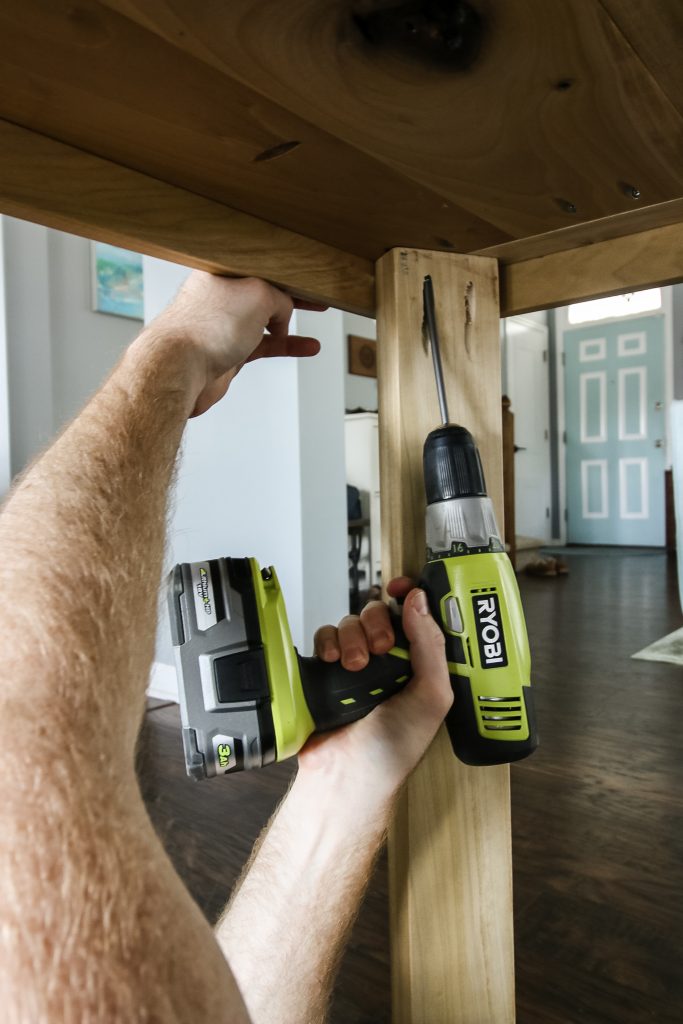
To prevent this from happening, make sure you design your table so that the legs are at least partially underneath the breadboard ends to get them support.
In our dining table, we have the legs under about half of the breadboard ends, whereas on our coffee table, we have the legs completely on the ends of the breadboard, creating a waterfall look.
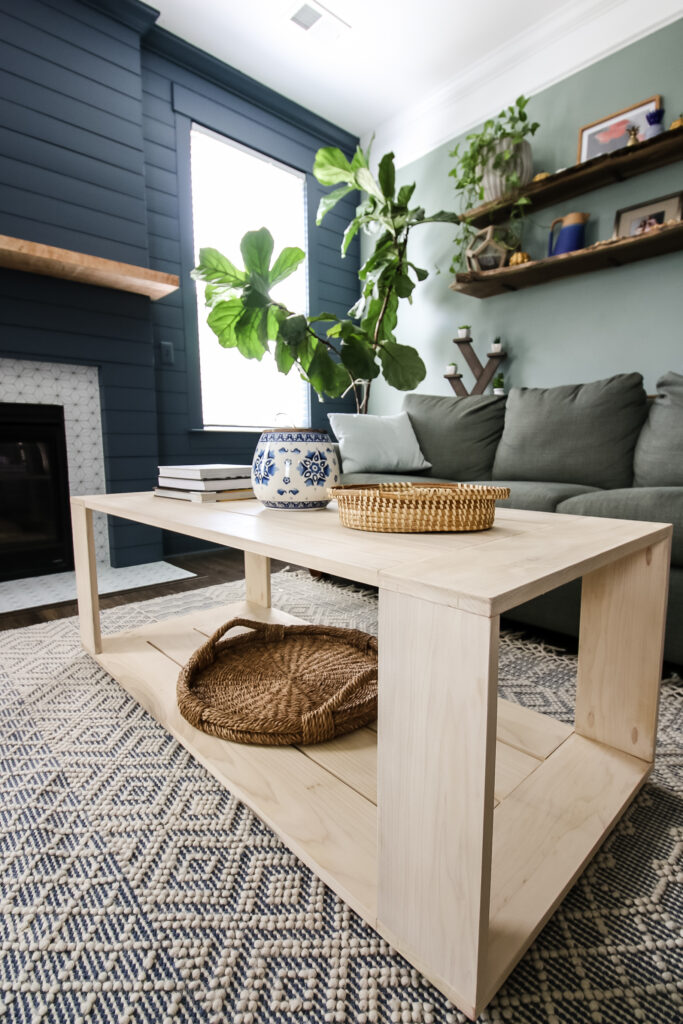
Breadboard ends with pocket hole jig
You can easily make breadboard ends with a pocket hole jig. This is an approachable way to woodworking and designing that farmhouse style furniture.
Basic woodworking information for every project
Here are some of our most popular woodworking articles!
Shopping for wood:
Woodworking project ideas
- 100+ of the best woodworking project ideas!
- 62 easy beginning woodworking projects
- Woodworking project ideas to make and sell
See all our printable PDF woodworking plans!
Our favorite tools + supplies
- See all our favorite tool reviews
- How to use a Kreg jig
- The ultimate wood stain guide
- The best wood fillers for your project
Remember to also always use safety equipment while woodworking and using tools. Make sure you have proper eye protection, ear protection and a good mask to keep yourself safe.

Looking for something?
We've been doing this since 2012 so we have a LOT of blog posts!
Search stuff like: Ceiling Projects | DIY Plant Stands | Thrift Flips

Hey there, I'm Sean, the woodworking enthusiast and builder behind CharlestonCrafted.com! Since 2012, I've been sharing the magic of turning raw materials into beautiful creations. I love teaching others the art and satisfaction of woodworking and DIY. I try to inspire fellow crafters to make something extraordinary out of nothing at all.


