New to woodworking? Sanding is an essential step in any wood project! Here is a complete tutorial on how to sand wood like a pro!
Whether you are building wooden furniture from scratch, refinishing an existing wooden piece, or using wood in a DIY project around your home, it is almost guaranteed that you will need to sand the surface of the wood project.
Sanding is a super important part of woodworking and DIY home decor projects.
Sanding enhances the appearance, texture, and durability of wood. It is certainly essential for a professional finish, but it is also essential for just a nice, usable finish overall.
Today we want to dive into a complete guide to sanding and cover the basics of wood sanding techniques, sanding equipment, and some of our best tips.

Understanding the Sanding Process
Sanding is the process of smoothing out the surface of the wood. Sanding removes splinters, rough edges, and conceals imperfections in the wood.
I wish I could say that it's a common misconception that sanding is a tedious task.
It sucks. It's boring and repetitive and can take quite a long time for big projects.
But, it's not a step that you want to skip. Proper sanding is crucial for project preparation and finishing.
An unsanded wood project will just look... bad.
Different wood types may require different sanding techniques. Some woods are harder and may require more aggressive sanding, while softer woods may be prone to over-sanding.
You kind of have to get in there and learn as you go!
Why Do You Need to Sand Wood?
The biggest reasons for sanding wood include:
- Smoothing the surface and removing imperfections.
- Preparing wood to absorb stains.
- Providing a suitable surface for paint or primer.
- Achieving a super-smooth finish between coats (of paint, stain, or sealant).
- Remove rough saw marks.
- Even out uneven surfaces.
- Remove old finishes.

Tools for Sanding: Sandpaper and Sanders
You have the option to sand with an electric sander or to hand sand wood with sandpaper.
Sanding wood with sandpaper
Sandpaper is an essential tool in wood sanding. It's made of a paper backing with abrasive particles on one side that rub your wood surface smooth.
There are a few different types of sandpaper available:
- Aluminum Oxide Sandpaper
- Grit Range: 24-240
- Application: Aluminum oxide sandpaper is versatile and suitable for general-purpose sanding. It's great for woodworking, metalworking, and surface preparation. It's commonly used for sanding wood, removing paint, and smoothing surfaces.
- Garnet Sandpaper
- Grit Range: 50-220
- Application: Garnet sandpaper is often used for woodworking. It's ideal for fine to medium sanding tasks, such as finishing furniture, cabinets, or wood surfaces. Garnet is a natural abrasive that provides a smooth finish.
- Wet-Dry Sandpaper
- Grit Range: Various
- Application: Wet-dry sandpaper is versatile and can be used with water or oil for wet sanding or dry sanding. It's suitable for a wide range of applications, including automotive refinishing, woodworking, and metal finishing.
- Micro-Mesh Sandpaper
- Grit Range: 1500-12000
- Application: Micro-Mesh sandpaper is ultra-fine and used for polishing and finishing high-gloss surfaces. It's often employed in woodworking for finishing exotic woods and in automotive detailing for achieving a mirror-like finish.
- Film-Backed Sandpaper
- Grit Range: Various
- Application: Film-backed sandpaper has a durable plastic film as its backing material. It's waterproof and resistant to tearing and clogging, making it suitable for both hand and machine sanding. It's often used in automotive refinishing and woodworking.
- Hook and Loop (Velcro) Sandpaper
- Grit Range: Various
- Application: Hook and loop sandpaper feature a backing that attaches to hook and loop sanding pads. It's convenient for quick grit changes and is commonly used with orbital and random orbital sanders for various applications.
Sandpaper Grits
Sandpaper grit is a number that measures the particle size of the abrasive particles on the scratchy side of the sandpaper. The bigger the particle, the smaller the grit. I know, it's confusing, it's an inverse relationship.
Low-grit, coarse sand paper are best for removing existing finish and taking care of large imperfections.
Finer grit sandpapers will smooth the wood and give it that silky soft finish.
The below table best shows when to use each grit of sandpaper. Remember to always start with a coarse paper and work your way towards a finer finish.
| Grit Range | Level of Fineness | Purpose |
|---|---|---|
| 60 to 80 | Coarse | Extremely coarse grit sandpaper is used for removing large amounts of material quickly. It's ideal for tasks like heavy material removal, shaping, or smoothing rough surfaces. |
| 100 to 150 | Medium | Medium grit sandpaper is suitable for general-purpose sanding and preparing surfaces for finishes like paint or stain. It helps smooth surfaces effectively and removes moderate imperfections. |
| 180 to 220 | Fine | Fine grit sandpaper is used for finishing wood and achieving a smooth surface before applying finishes. It's also suitable for preparing surfaces for painting or staining, where a finer finish is desired. |
| 320 | Ultra-fine | Ultra-fine grit sandpaper is employed for achieving an exceptionally smooth, almost glass-like finish on wood surfaces. It's used in the final stages of sanding to remove fine imperfections and create a polished look. |
Sanding wood with an electric sander
Whenever possible, we use an electric orbital sander for our sanding projects. Let's get real – sanding takes forever and is boring enough as it is.
For the purpose of DIY and woodworking projects, an orbital sander is a really inexpensive tool that can speed up this dreaded step.
Types of Sanders
Here's a list of various types of sanders and their suitability for different levels of woodworking projects:
Random Orbital Sander
These sanders use a round sanding pad that moves in both circular and orbital patterns, reducing the risk of swirl marks. They come in various sizes and are known for their efficiency and ability to provide a smooth finish.
Suitability: Random orbital sanders are versatile and suitable for a wide range of woodworking projects. They can handle tasks from rough sanding to finish sanding.
Sanding Block
Sanding blocks are handheld tools with a flat base that holds sandpaper. They are ideal for maintaining control and applying even pressure when sanding.
Suitability: Sanding blocks are often used for finer finishing work or for sanding by hand in smaller or detailed areas.
Finish Sander (Detail Sander)
These sanders have a triangular-shaped sanding pad, making them perfect for reaching tight corners and intricate details in your projects.
Suitability: Finish sanders, also known as detail sanders, are designed for intricate woodworking projects and fine finishing work.
Sheet Sander
They have a rectangular sanding pad and are easy to control. They work well for flat surfaces and are less aggressive than belt sanders.
Suitability: Sheet sanders are well-suited for medium to large woodworking projects requiring a smooth finish.
Belt Sander
Belt sanders use a continuous loop of sandpaper in the form of a belt and are best suited for tasks like leveling surfaces, removing paint or varnish, and quick stock removal.
Suitability: Belt sanders are ideal for heavy material removal and rough shaping in larger woodworking projects and for sanding down large items that won't need a fine finish, such as outdoor projects.
Spindle Sander
They feature a spindle that holds sanding sleeves, making them effective for shaping and smoothing curved edges or surfaces.
Suitability: Spindle sanders are specialized tools for sanding curved or contoured surfaces.
Comparison of different sanders for woodworking
Here's a table summarizing the suitability of these sanders for different levels of woodworking projects:
| Type of Sander | Suitability |
|---|---|
| Random Orbital Sander | Suitable for a wide range of projects, from rough to finish sanding. |
| Sanding Block | Ideal for finer finishing work and hand sanding in smaller areas. |
| Finish Sander (Detail Sander) | Designed for intricate woodworking and fine finishing. |
| Sheet Sander | Well-suited for medium to large projects requiring a smooth finish. |
| Belt Sander | Ideal for heavy material removal and rough shaping in larger projects. |
| Spindle Sander | Specialized for sanding curved or contoured surfaces. |
This table provides a quick reference for choosing the right sander based on the type and scale of your woodworking project.
Safety first!
Remember to always follow safety procedures when working with power tools. That means wearing protective gear such as safety glasses, gloves, hearing protection, and dust mask and using appropriate tools to ensure safe construction.
Basic woodworking information for every project
Here are some of our most popular woodworking articles!
Shopping for wood:
Woodworking project ideas
- 100+ of the best woodworking project ideas!
- 62 easy beginning woodworking projects
- Woodworking project ideas to make and sell
See all our printable PDF woodworking plans!
Our favorite tools + supplies
- See all our favorite tool reviews
- How to use a Kreg jig
- The ultimate wood stain guide
- The best wood fillers for your project
Remember to also always use safety equipment while woodworking and using tools. Make sure you have proper eye protection, ear protection and a good mask to keep yourself safe.
Sanding Setup
There are a few things to consider when setting up your sanding workspace.
First, be sure that the space is well ventilated. You want air circulation and you want to wear a face mask so you don't breathe in too much saw dust.
We have added a Mullet M5 Dust Cyclone as we have grown and expanded our workshop.
But, when you are starting out, working outdoors or in an open garage is a great start. You can use a leaf blower and broom to clean up afterwards.
You also want to make sure to set up a non-slip, non-marring surface for sanding. No accidents allowed!
Sanding on our DIY mobile workbench is a great option!

How to Sand Wood
Here are our step-by-step guides for sanding unfinished wood, including sanding wood by hand, with an electric sander, for finishing, and sanding wood that has previously been finished.
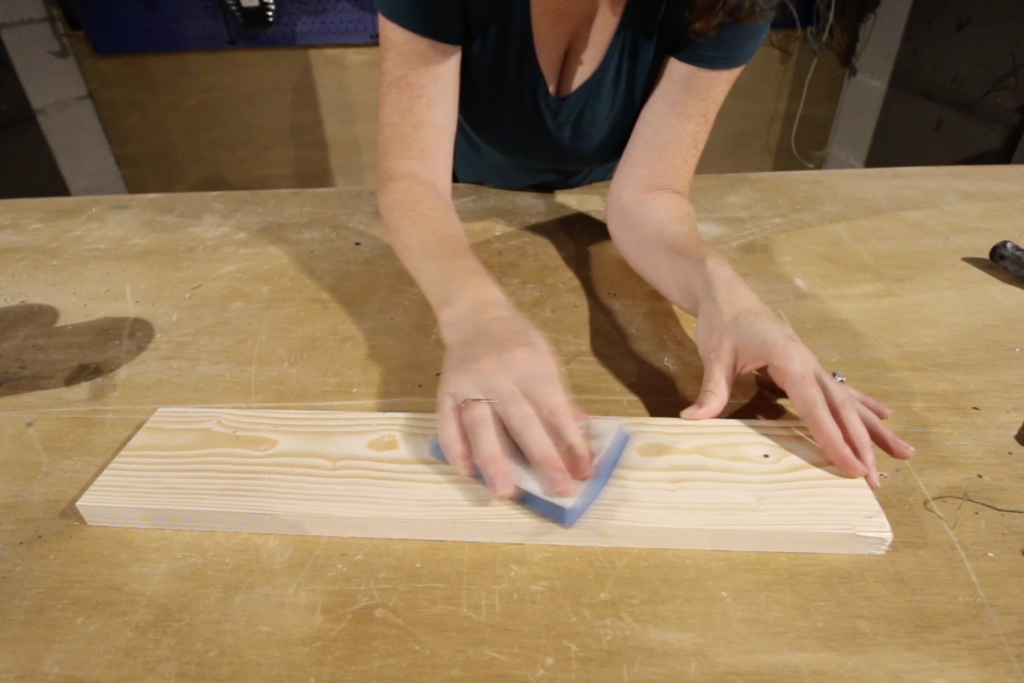
How to Sand Wood by Hand
Sometimes you will have to sand wood by hand. This could be because you don't have an electric sander, if you have a delicate piece, or if you just want to quickly sand a few small spots.
Required supplies:
- sanding block
- sand paper
- dust mask
- safety goggles
- workbench/work surface
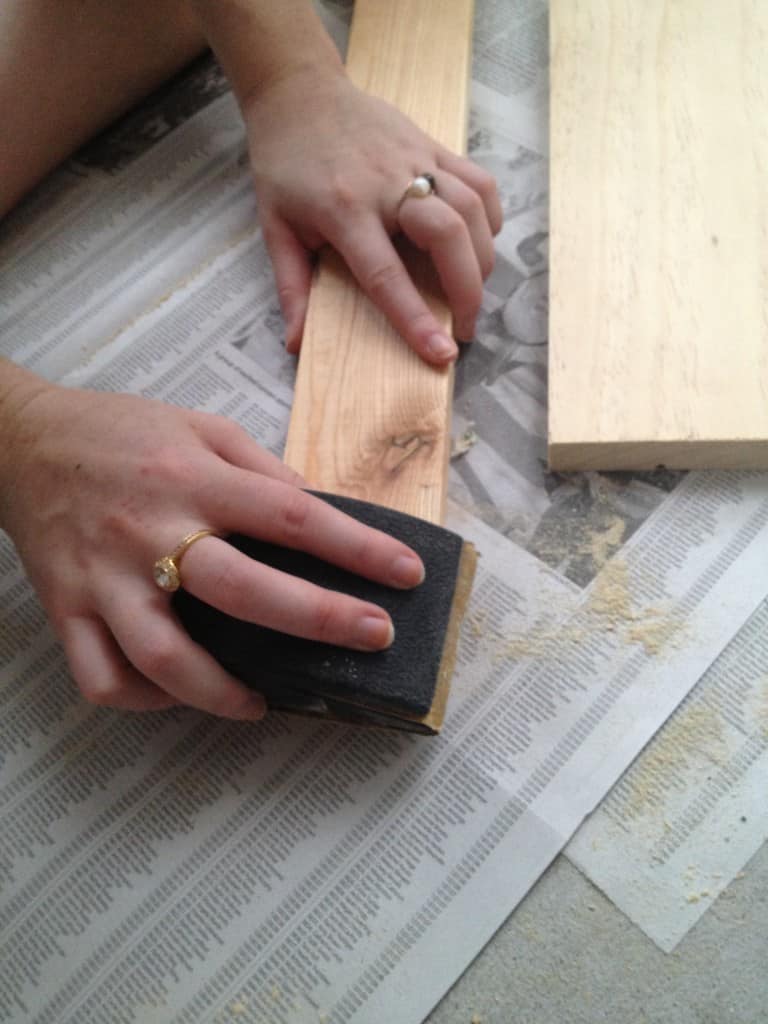
Steps to sand wood by hand
Here are the simple steps to follow to sand wood by hand.
Step 1: Prepare Your Workspace
- Choose a well-ventilated and well-lit workspace. It's best to work outdoors or in a garage to minimize dust indoors.
- Place your wood project on a stable surface like a workbench or sawhorses. Make sure that it's firmly secured to prevent movement during sanding.
Step 2: Safety First
- Put on your safety gear: safety goggles and a dust mask. These protect your eyes and lungs from sawdust and wood particles.
Step 3: Choose the Right Sandpaper
- Start with a coarse-grit sandpaper, such as 80 or 100, for the initial sanding to remove imperfections and rough areas.
- Prepare finer grits (e.g., 120, 220) for smoothing and finishing. You will progress to these as you work the wood surface.
Step 4: Wrap Sandpaper Around a Block
- Fold and tear or cut a piece of sandpaper to a size that fits your sanding block.
- Wrap the sandpaper around the sanding block. Ensure it's snug and evenly aligned with the block's edges. Clip in place however the block holds the sandpaper.
Step 5: Begin Sanding
- Hold the sanding block with one hand (dominant hand) and grip your wood project with your other hand. Apply even, gentle pressure on the sandpaper.
- Sand in the direction of the wood grain whenever possible. This minimizes the risk of scratches or damage to the wood's grain.
- Use long, straight strokes rather than circular motions. This helps maintain a consistent surface and will cut down on swirl marks or scratches.
- Keep the sanding block flat against the wood to ensure an even finish. Avoid tilting it to prevent uneven sanding.
- As you sand, periodically check your progress by running your hand lightly over the surface. This will help you identify rough spots that need more attention.
Step 6: Change to Finer Grit Sandpaper
- When you're satisfied with the results from the coarse-grit sandpaper, switch to a finer grit. Don't skip too far ahead - go 30-50 grit up for each "coat".
- Repeat the sanding process with the finer grit, focusing on smoothing the surface and removing any scratches left by the coarser grit.
- Continue progressing to even finer grits as needed for your project. Each finer grit should leave the surface smoother and smoother!
Step 7: Sand Curved or Contoured Areas
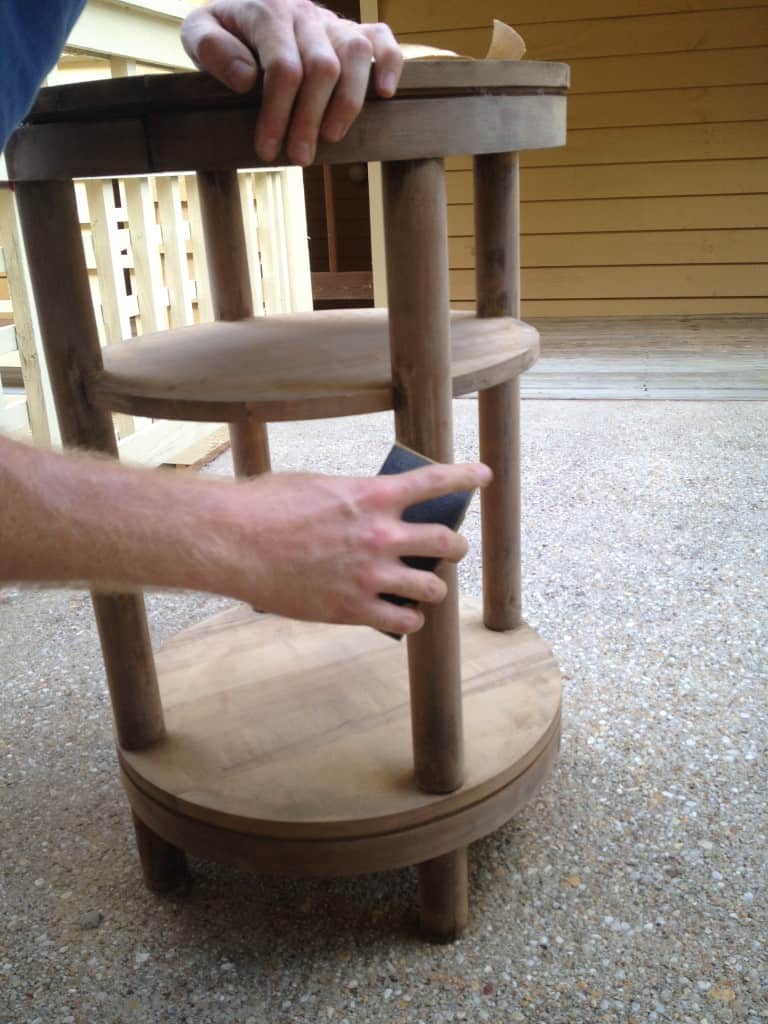
- For curved or contoured surfaces that are difficult to reach with a sanding block, you can use a sanding sponge.
- Sanding sponges conform to the shape of the wood, allowing you to sand these areas more effectively.
Step 8: Final Sanding
- For the final sanding pass, use very fine-grit sandpaper (220 or higher) to achieve the smoothest possible finish.
- Ensure all rough spots and imperfections are eliminated before you quit. I know, you are sick of sanding. But, you are never going to go back and do it again. This is your chance to do it right!
Step 9: Clean the Surface
- Use a shop vac or a damp cloth to remove sanding dust and wood particles from the surface.
- Ensure the wood is clean and ready for your chosen finishing process, such as staining, painting, or applying a clear coat.
Step 10: Clean and Store Your Tools
- Remove the used sandpaper from the sanding block.
- Dispose of used up sandpaper.
- Store your sandpaper sheets, sanding block, and sanding sponges in a dry and dust-free environment for future use.
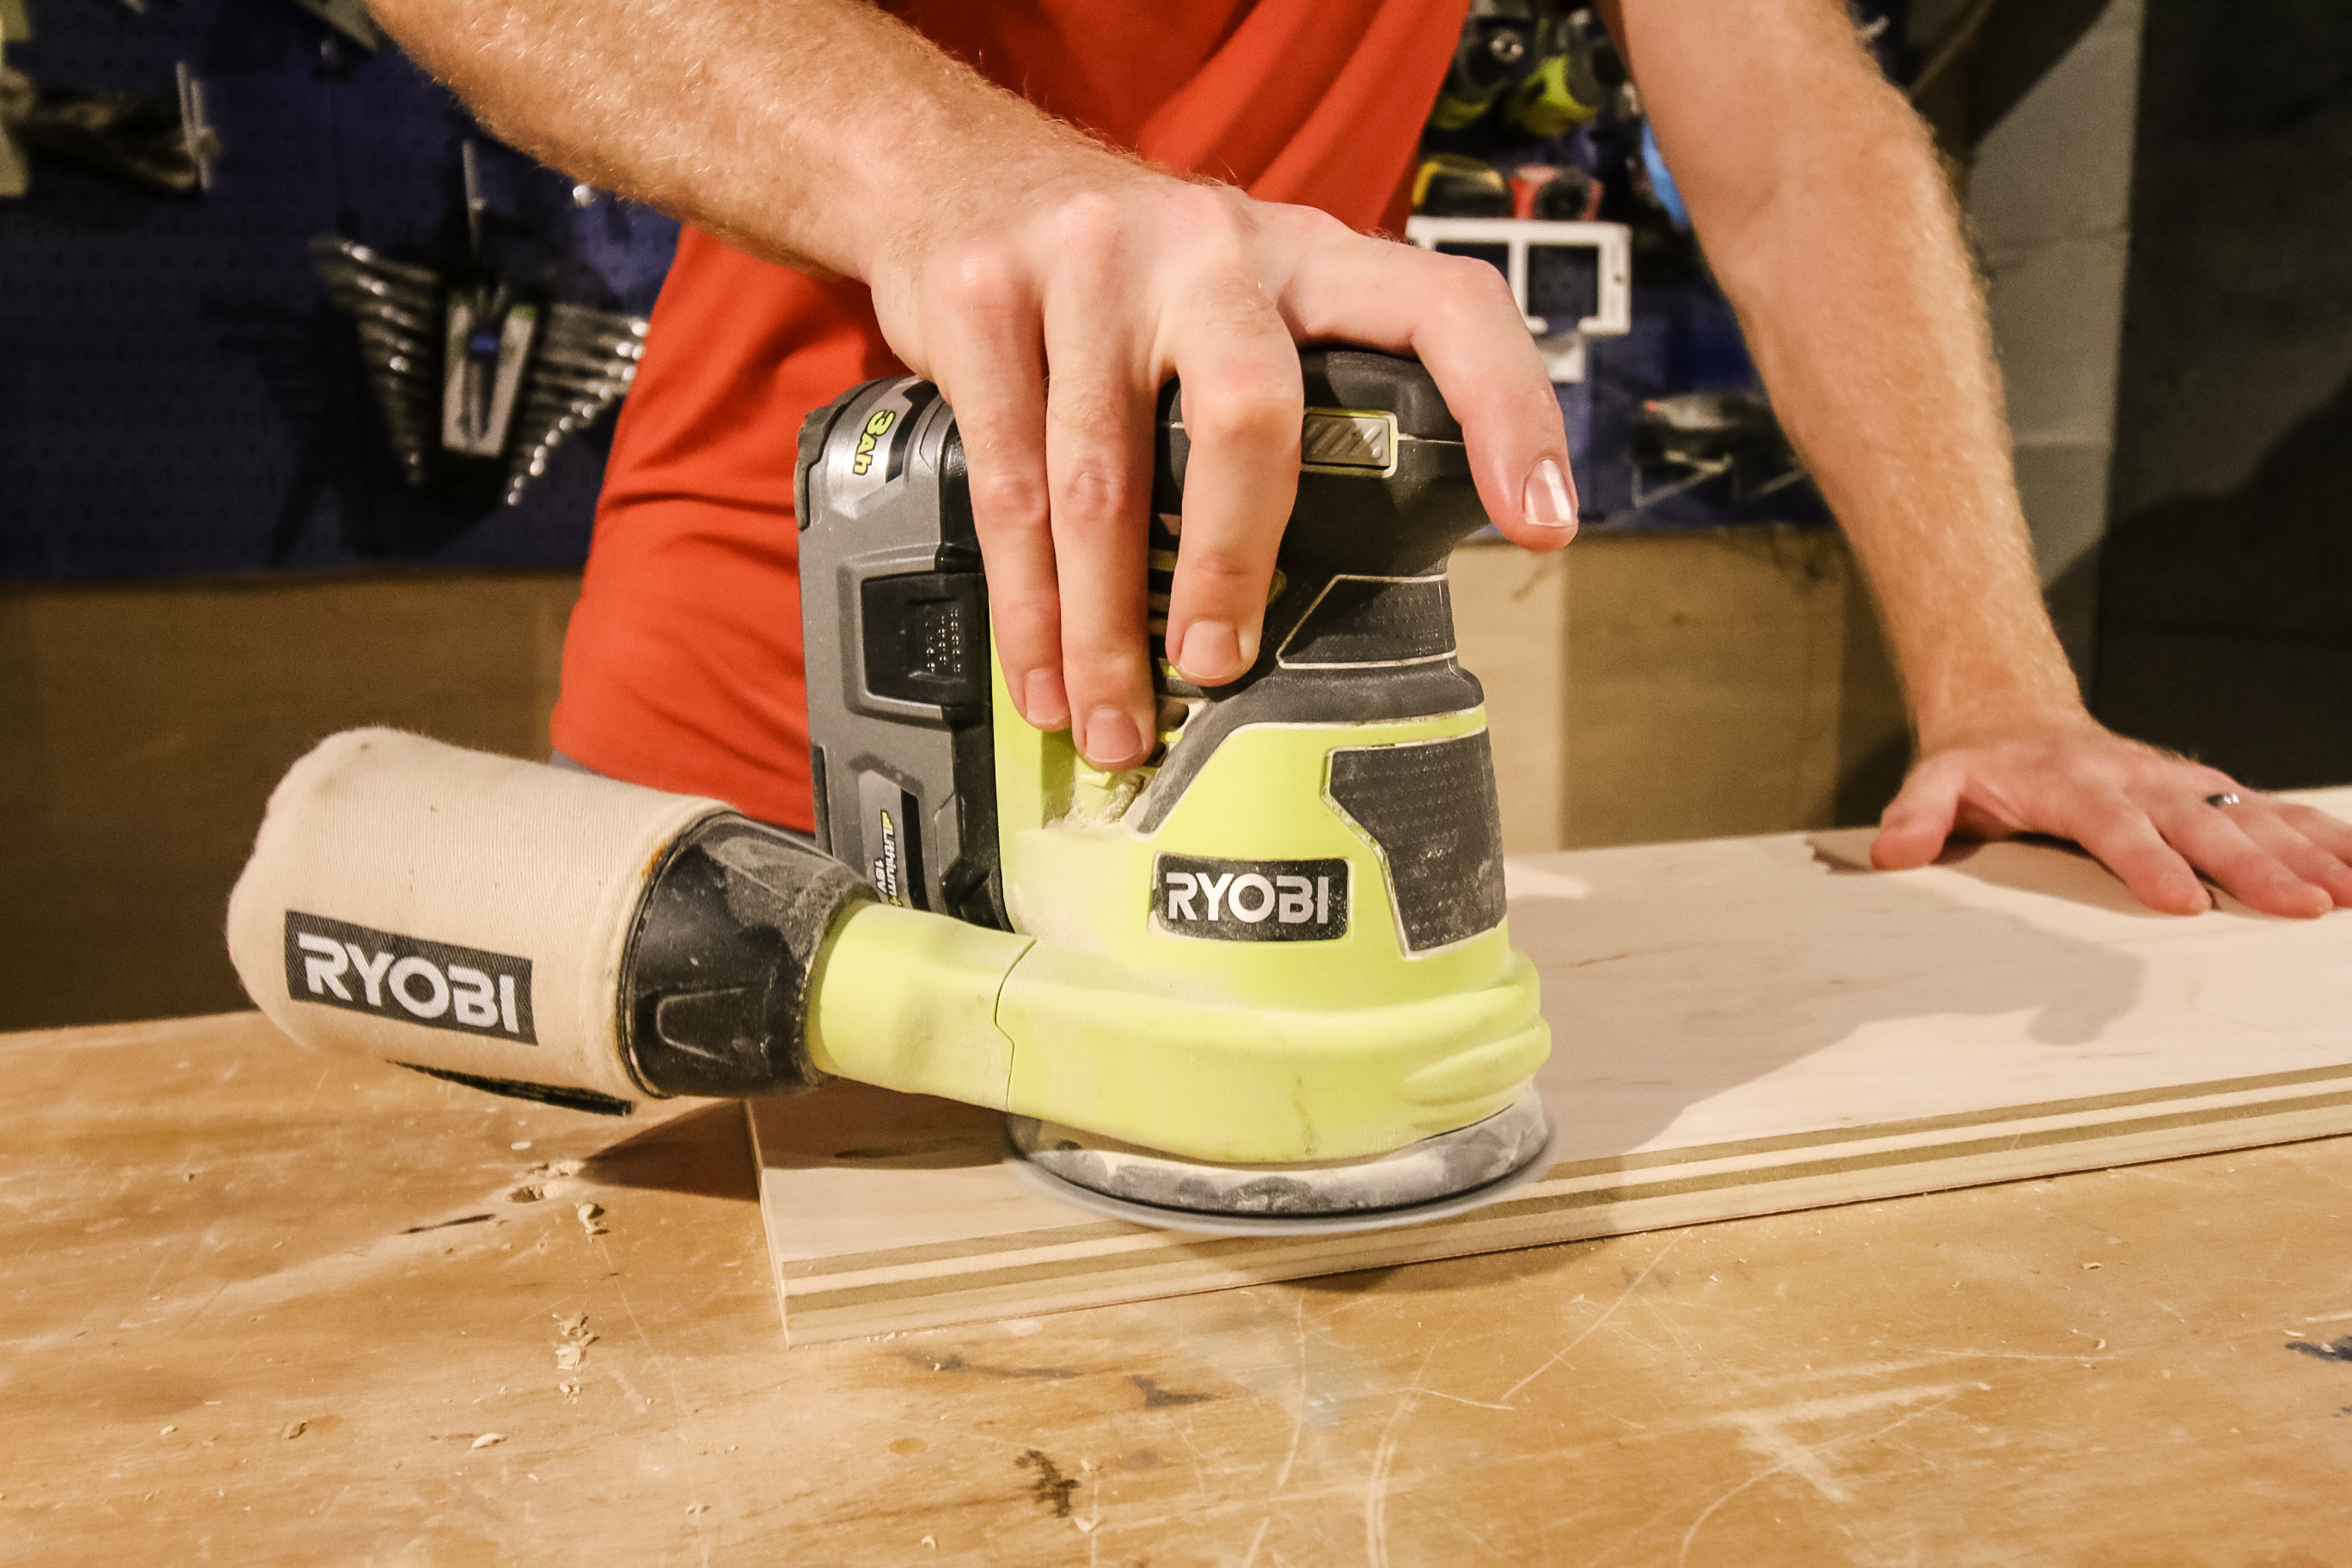
How to Sand Wood With an Electric Sander
Power sanders save you some elbow grease and help you to sand your project quicker and with less physical effort.
Required supplies:
Steps to sand wood with an electric sander
Here are the simple steps to follow to sand wood with an electric sander
Step 1: Prepare Your Workspace
- Choose a well-ventilated and well-lit workspace, preferably outdoors or in a garage to minimize dust inside your home.
- Place your wood project on a stable surface like a workbench or sawhorses. Ensure it's firmly secured to prevent movement during sanding.
Step 2: Safety First
- Put on your safety gear: a dust mask, safety goggles, and hearing protection (or noise cancelling headphones).
- Make sure the power cord of your electric sander is clear of your work area to prevent tripping hazards.
Step 3: Choose the Right Sandpaper
- Select the appropriate grit sandpaper for your initial pass. Medium-grit (around 80 to 120) is usually a good starting point for most projects. Adjust to coarser or finer grits as needed.
- Check the sander's sandpaper compatibility. Some sanders use velcro attachments, while others use clips or clamps to secure the sandpaper and some have 5 holes and some have 8 holes. You need the right paper that corresponds to your sander!
Step 4: Attach the Sandpaper
- If your sander uses velcro attachments:
- Ensure the sanding pad on your sander is clean and free of debris.
- Align the holes in the sandpaper with the dust collection holes on the sander's pad.
- Press the sandpaper firmly onto the pad's surface. Make sure it's evenly attached. You are ready to go!
- If your sander uses clips or clamps:
- Align the sandpaper sheet with the base of the sander.
- Secure it in place using the clips or clamps on the sander.
Step 5: Power On the Sander
- Plug in your electric sander or ensure the battery is charged if it's cordless.
- Hold the sander firmly with both hands, one on the handle and the other on the front grip.
- Turn on the sander. Most have a trigger or a power switch.
Step 6: Start Sanding
- Begin sanding by gently placing the sander on the wood surface.
- Move the sander in the direction of the wood grain. Follow the lines in the wood back and forth for the smoothest possible finish.
- Apply even, light pressure, letting the sander do most of the work. Avoid pressing too hard, which may cause uneven sanding or swirl marks.
- Keep the sander in motion, working systematically across the entire surface. Overlap each pass slightly to ensure an even finish.
- Check your progress frequently to avoid over-sanding. Stop periodically to examine the wood's surface and adjust your technique or change to a finer grit if it seems like you are sanding too much off the wood surface off.
Step 7: Changing Sandpaper
- When the sandpaper becomes worn or less effective, power off the sander and unplug it.
- Follow the previous instructions to change the sandpaper.
- Replace it with a finer grit if you're progressing through grits, or replace it with a fresh sheet of the same grit if you haven't finished the surface yet.
Step 8: Final Pass and Finishing
- Repeat the sanding process with progressively finer grits until you achieve the desired smoothness. Finer grits typically range from 180 to 220 and beyond.
- For a final pass, use very fine-grit sandpaper (320 or higher) to achieve a glass-like finish.
- Clean the wood surface and your workspace of dust and debris using a shop vac or a damp cloth.
- You're now ready to finish the wood with paint, stain, or a clear coat, depending on your project.
Step 9: Clean and Maintain the Sander
- Power off and unplug the sander.
- Remove the sandpaper and dump the sander's dust collection system if it has one.
- Store your electric sander in a dry and dust-free environment for future use.
Sanding for Finishing
Sanding is a common part of the wood finishing project.
If you want a raw wood look with a clear coat sealant, I suggest sanding up to at 220 grit. Then follow instructions on the can for sanding in between coats of topcoat.
For wood projects that will be painted or stained, start with an 80 grit sandpaper. Then do a 120 grit, 150 grit, 180 grit, and 220 grit.
This will fully open up the wood surface and make it as absorbent as possible.
If you plan to use a wood stain, I suggest using a pre-stain wood conditioner, especially with dark stain colors. If you are painting, you are ready to dive in!

Sanding Previously Finished Wood
Sometimes, you might not be working with raw wood. For example, if you are refinishing a piece of furniture, it might already have a finish on it.
Here is how to sand previously finished wood:
- Prepare the wood by removing any existing finish. I usually apply a paint stripper according the the bottle's instructions, then scrape off with a paint scraper.
- Repeat this until as much of the existing stain, paint, or varnish has been removed.
- Wipe the surface clean with a cloth or paper towel and prepare to sand the area.
- Start with a coarse sand paper - around 60 grit. Sand in the direction of the wood grain until you feel you have covered the whole surface.
- Repeat with 80, 120, 150, 180, and 220 grit sandpapers for the smoothest possible finish. Wipe the surface clean with a towel between grits.
- Once complete, you are ready to stain, paint, or seal your wood piece!
Always wear safety gear when working with paint stripper and work in a well ventilated space!
FAQs about how to sand wood properly
Here are some frequently asked questions about sanding wood!
Why You Should Not Skip Sandpaper Grits
It is important to start with a low grit (coarse) sand paper and work your way up to a fine grit sand paper.
But, it is important not to skip grits when sanding. Each grit is designed to remove scratches from the previous grit. Using consecutive grits make sanding scratches smaller!
Why Is My Sander Making Swirl Marks?
The most common reasons to get swirl marks on your wood when sanding with an orbital sander is from too much pressure or the wrong grit of sandpaper.
Using a higher grit, high quality sand paper can often help to cut down on swirl marks.
Also, check to see if the sanding pad on your sanding pad is damaged or if there is anything stuck to it or between the sander and the pad. Debris can lead to swirl marks!
What Is the Fastest Way to Sand Wood by Hand?
Sanding by hand can be a slow process. To speed it up, use a sanding block, which is easier for most people to grip. We like these sanding blocks that allow you to swap in your own sandpaper sheets.
It's also important to be sure you are using the correct grit when sandpapering wood.
For example, trying to sand down large imperfections with a fine grit (high number) sand paper will take FOREVER compared to using a coarse sand paper and then smoothing it out quickly with a fine grit paper at the end.
Can You Sand Wood Indoors?
Wood can be sanded indoors with proper dust control and wearing a respirator. You will want to use a shopvac or similar to clean up afterwards.
This is fine for small touch ups, but if you are sanding large pieces or projects, we always suggest moving outdoors.
How Do You Sand Wood Without Leaving Scratches?
To sand wood without leaving scratches, be sure to work up with your grits and finish off with a high grit sandpaper.
Wipe down your wood in between grits to remove excess dust and debris, which can scratch the wood as you move on to finer grits of sandpaper.
How Do You Fix Uneven Sanding?
The best way to fix uneven sanding is by re-sanding with the proper grit sequence. Assuming that it's a minor unevenness, I suggest using a high-grit sandpaper for this process.
Feel the wood with your hand as you go, rubbing the surface until it feels smooth and even again.
If an area is over-sanded and you don't want to match it across the wood surface, you can fill it with wood filler and then sand smooth.
Is It Better to Sand Wood Wet or Dry?
We typically always sand our wood projects dry. Moisture - like water or some wood stains - will cause the wood surface to slightly swell and results in a raised grain feeling. I definitely experienced a raised grain when using food coloring wood dye and coffee-based wood stain.
So, some people prefer to wet their wood and then wet sand it for a final finishing step. This is not a part of our normal finishing sequence, but is something you could experiment with if you feel you are not getting as smooth of a finish as you'd like.
Any more questions about how to sand wood projects?

Looking for something?
We've been doing this since 2012 so we have a LOT of blog posts!
Search stuff like: Ceiling Projects | DIY Plant Stands | Thrift Flips

Hello, I'm Morgan, half of the creative force behind CharlestonCrafted.com! With a passion for DIY that dates back to 2012, I've transformed three homes and now I'm dedicated to helping others craft their dream spaces. Let's turn your house into a home together!


