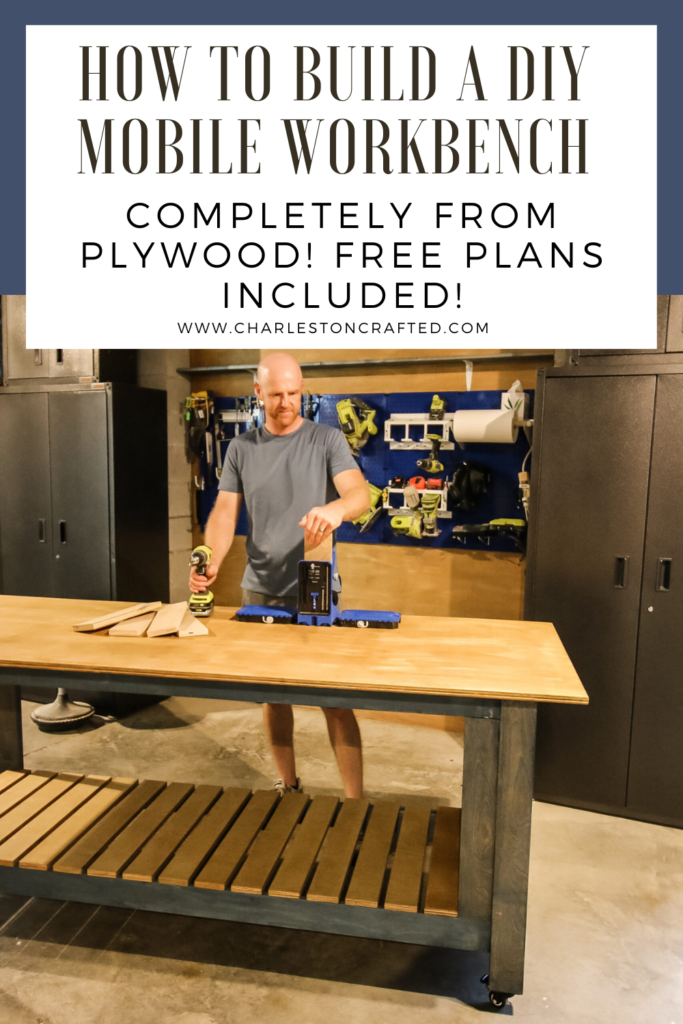
This post will show you how to build a DIY mobile workbench that is perfect for any shop! This mobile workbench rolls and has a large surface area, so it's great for moving around and working on all your DIY projects!
This post is sponsored by Kreg Tool. All opinions are our own and our opinion is that we love Kreg Tool. Thank you for supporting the brands that make Charleston Crafted possible!
We've been working on our garage workshop makeover for a while now and one of the feature projects is our new DIY mobile workbench!
Previously, we've been working off an old, un-level workbench that was left in the garage at our first house. It worked fine there, but now we have a new space.
While overhauling our workshop space, we wanted a workbench that we could roll out to work on projects anywhere in the garage, while keeping in mind our personal need of wanting to give you better photos and videos of our work.
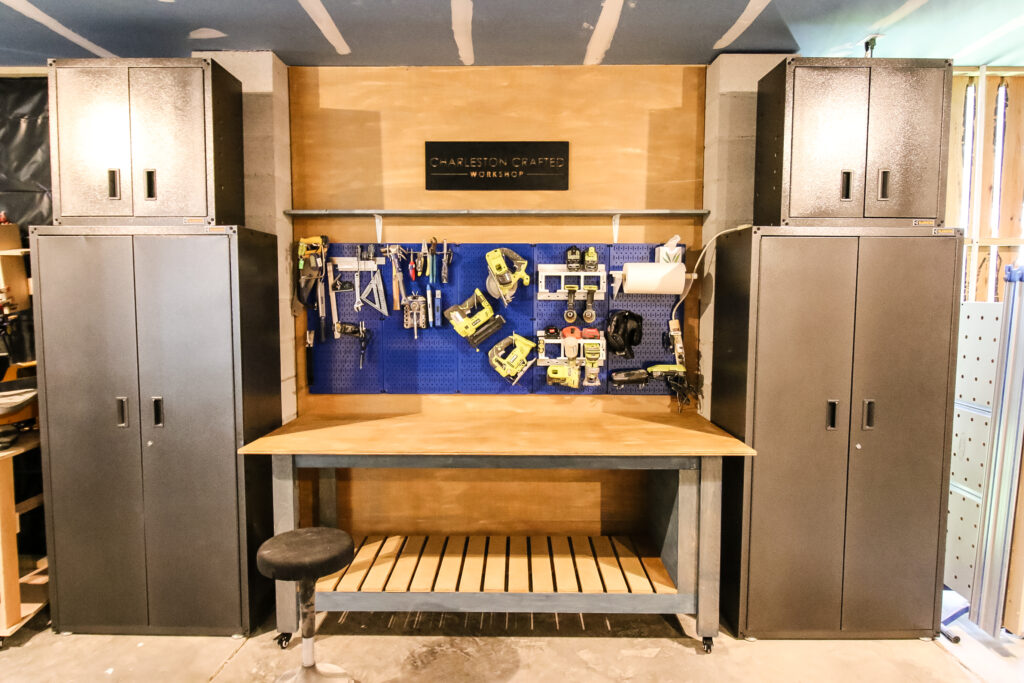
We settled on this design for a DIY mobile workbench because it gives us a large surface area to work, a slatted base for temporary storage underneath, and dedicated shelves on the side for frequently used tools and hardware.
Scroll down to see how to build a mobile workbench that is functional and sleek, and get the free plans to build one for yourself!
DIY mobile workbench
Our old workbench was a hand-me-down from the previous owners of our old house and it was small, but well-loved.
The boards that served as the work surface have become very warped over the years, plus they have dried puddles of all sorts of glues, epoxies and stains.
We mostly used that workbench as a place to set things to dry or store. We even kept our scroll saw there, so the workbench wasn't used much.
Most of our furniture building and projects for the last four years has been done either on the floor or on our Kreg Mobile Project Center, but we needed a large space at standing height to do more heavy duty projects and really get to work.
We designed this DIY mobile workbench to suit a few needs:
- It's great for moving around a small shop
- It has a large work area for projects
- The tabletop is at a good height to avoid slouching and back problems
- There is tons of tool storage and hardware storage
- It allows you to stand behind the workbench if you are filming yourself working from the front
How to build a workbench
It is easy to build a workbench to fit your needs. We built this workbench using several Kreg Tool cutting and joinery solutions.
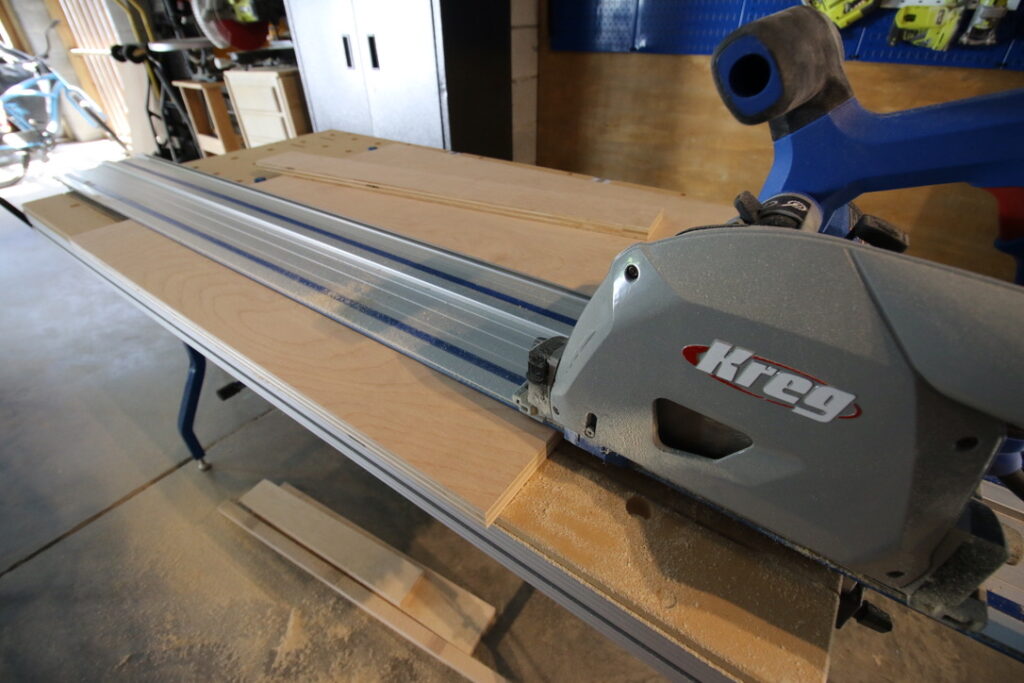
This was one of the first big projects we built doing most of our cutting using the Kreg Adaptive Cutting System. The Kreg ACS is a perfect tool for ripping down large sheets of plywood with accuracy and repetitive cuts.
This entire workbench is built from plywood, which makes the ACS a great option for cutting each piece uniformly and safely.
The structure of this DIY mobile workbench is also entirely connected with pocket hole screws, and we used the Kreg 720 Pro and Kreg 520 (click each link for our reviews and how to use!) to drill all of our pocket holes.
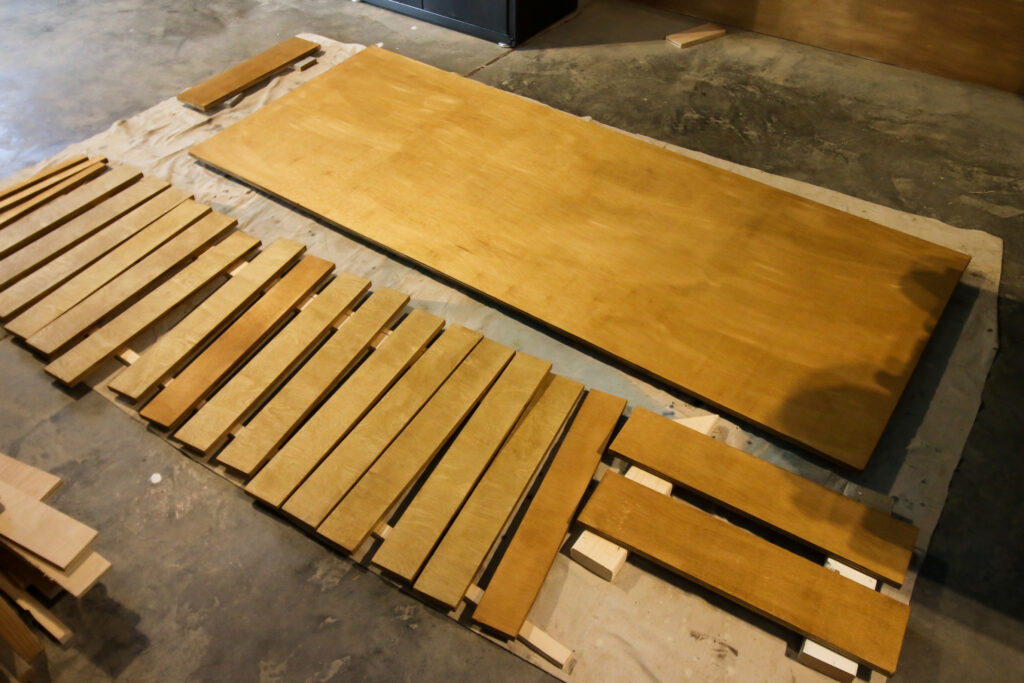
Step One: Make Cuts
Make all the cuts outlined in the free project plans. The cuts are simple and can be made using a table saw, circular saw, or Kreg Adaptive Cutting System, whatever you have and are comfortable with.
Step Two: Drill pocket holes
All the pocket hole locations are laid out in the project plans. Pocket holes are critical to the structural integrity of this mobile workbench.
Remember that it's also important to add wood glue to each joint, even when using pocket holes. This will help with the stability of the workbench.
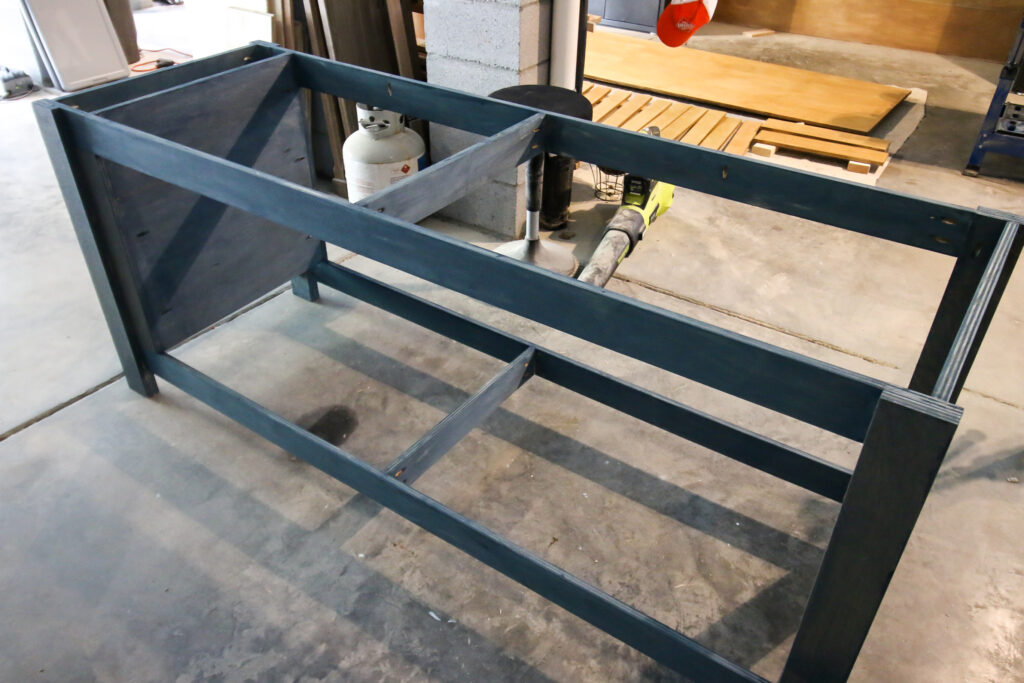
Step Three: Assemble frame
After everything was prepped and ready, we built the frame.
This included creating legs, building front and back frames and connecting the frames with short stretchers on the sides and middle.
With the workbench being so long, it was important to have center supports.
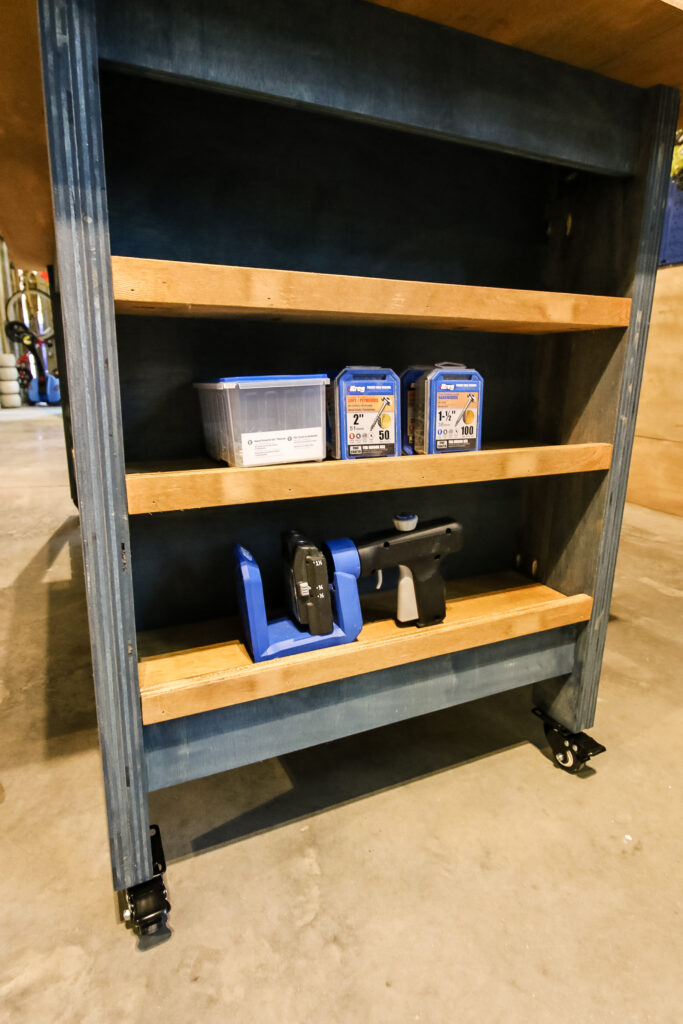
Step Four: Attach shelving
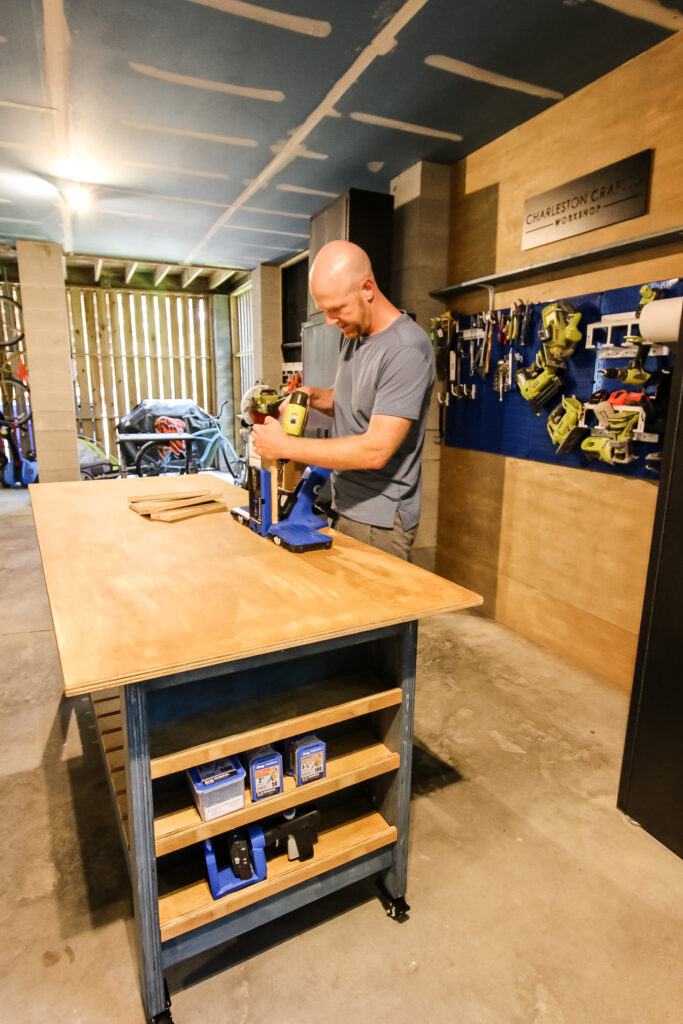
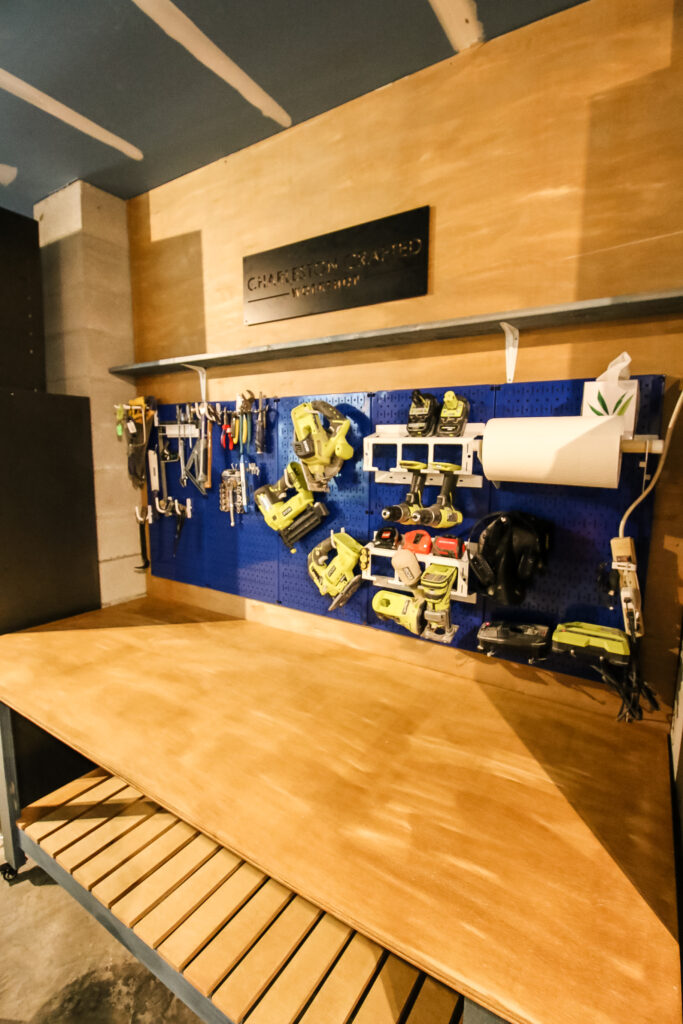
A cool aspect of this plywood workbench is the open shelving on one side.
The open shelving allows us to keep frequently used items on a shelf nearby while working on the project.
Sure, you could have the on the work surface or underneath, but you might be using that space for something else. These shelves give you some flexibility!
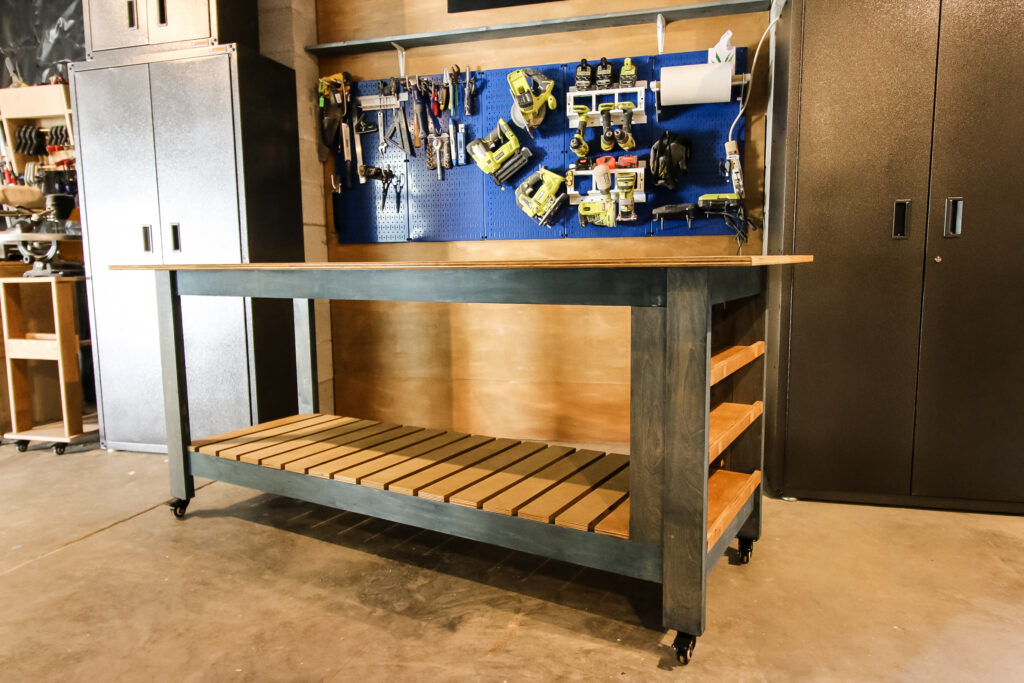
Step Five: Attach slats
The lower shelf section of this mobile workbench is slatted, which we prefer for any plant stand or work surface.
With slats, it makes it harder for saw dust and other debris to accumulate. The slatted aspect makes it cleaner.
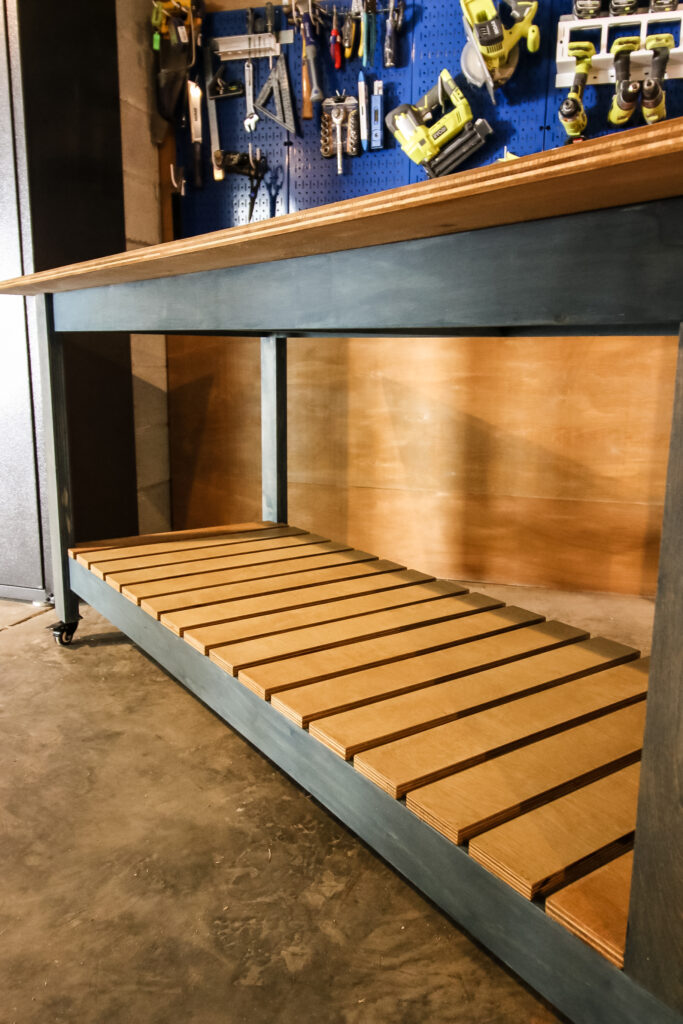
Step Six: Attach top
The top of this workbench is huge. More than 7 feet across!
We wanted a huge workspace because this is where we'll be building our projects from now on. No more working on the ground!
The top was attached with pocket screws from underneath. The benefit of this is that the work top can be replaced in the future if it gets a big spill on it, gets cut or gets worn out. Spoiler alert- I put a but cut in it the very first time I used it haha.
FREE DIY workbench plans
This post shows you the step-by-step overview of how to build the mobile workbench, but the specifics are easy to access and print at the Kreg Tool Projects and Plans website.
At the new Kreg site, you can access our full plan, including the material list, cut list and step-by-step instructions with computer models.
Click on over to the Kreg Projects and Plans site to get the full free plans for this DIY mobile workbench and lots of other great projects to keep your workshop organized!
Video Tutorial
If videos are your thing, make sure to catch our full video tutorial of how to build a mobile workbench on our YouTube page!
Basic woodworking information for every project
Here are some of our most popular woodworking articles!
Shopping for wood:
Woodworking project ideas
- 100+ of the best woodworking project ideas!
- 62 easy beginning woodworking projects
- Woodworking project ideas to make and sell
See all our printable PDF woodworking plans!
Our favorite tools + supplies
- See all our favorite tool reviews
- How to use a Kreg jig
- The ultimate wood stain guide
- The best wood fillers for your project
Remember to also always use safety equipment while woodworking and using tools. Make sure you have proper eye protection, ear protection and a good mask to keep yourself safe.

Looking for something?
We've been doing this since 2012 so we have a LOT of blog posts!
Search stuff like: Ceiling Projects | DIY Plant Stands | Thrift Flips

Hey there, I'm Sean, the woodworking enthusiast and builder behind CharlestonCrafted.com! Since 2012, I've been sharing the magic of turning raw materials into beautiful creations. I love teaching others the art and satisfaction of woodworking and DIY. I try to inspire fellow crafters to make something extraordinary out of nothing at all.


