Starting to rake fall leaves and realize you need a better way to store your outdoor lawn and garden tools? Look no further than this DIY wall-mounted yard tool organizer!
This post was sponsored by Kreg Tool, makers of our favorite pocket hole joinery systems. All opinions are our own. Thank you for supporting the brands that make Charleston Crafted possible!
No matter how hard we try, there's always something else that needs organizing. This fall, we noticed that that was our outdoor lawn tool collection.
When we first moved into this house, we hung up some clips next to our garage door as part of some initial organization. However, the collection has changed and we needed something new and better.
We have always preached that the best way to create garage storage is to go vertical, using vertical height to maximize floor space.
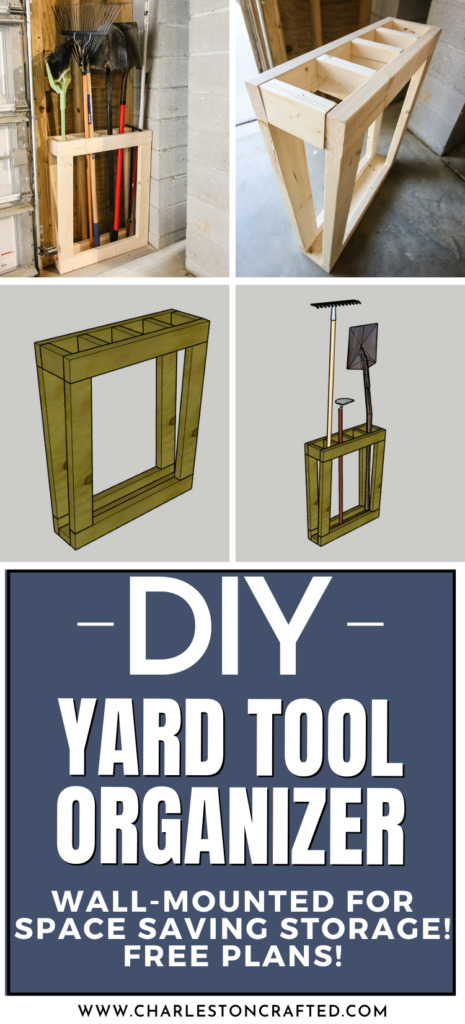
That's why we designed this DIY wall-mounted yard tool organizer for the garage that can be customized to fit your space.
Check out how we built it and grab the free woodworking plans to organize your lawn tools for your fall cleanup!
Check out our tutorial on how to build a raised bed garden!
How to make a DIY lawn tool organizer
In the fall, you need easy access to all of your lawn tools. Leaves are falling, weeds are growing, and it's important to keep everything neat and tidy.
You don't want to be spending time digging through your garden tools when you need them the most.
Build this DIY garden tool organizer in less than an hour and get your life back!
Garden tool wall storage steps
Here's a general idea on each step needed for our DIY yard tool organizer and how to mount it to the wall in your garage.
Make sure to review everything here and then grab our FREE woodworking plans to build one for yourself!
Materials needed:
- (3) 8' 2x4s
- Kreg pocket hole jig
- 2 ½" Kreg pocket hole screws
- Wood glue
- Saw
Step one: Make cuts and drill pocket holes
Start out by making all the cuts you need for this project. Everything is made from 2x4s so it is heavy duty, and all the exact dimensions, including lengths and angles, are laid out in our FREE woodworking plans.
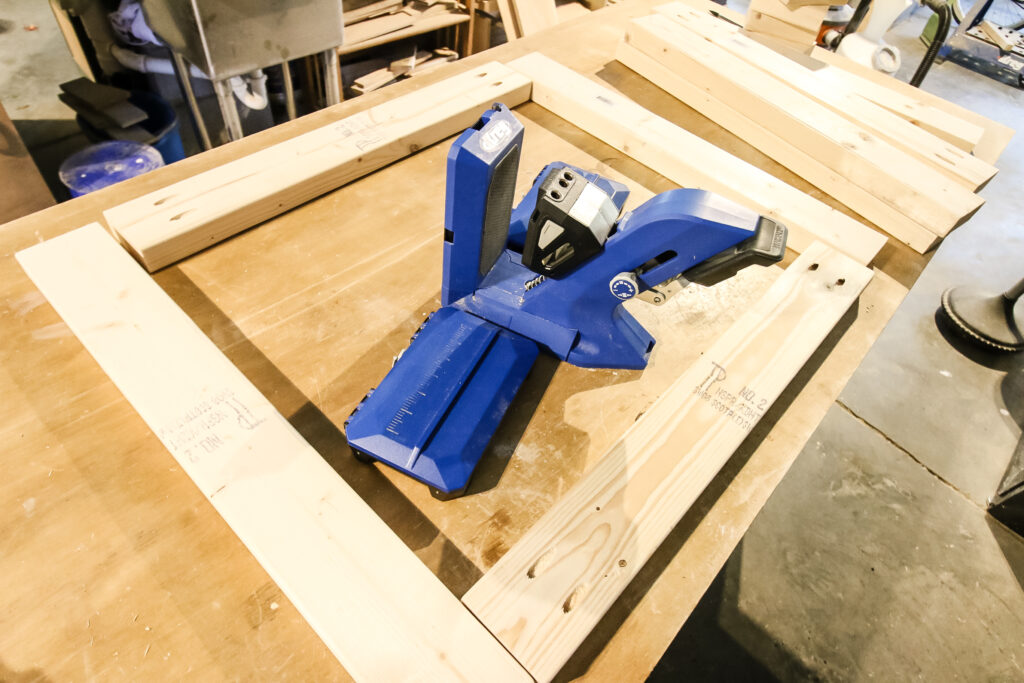
Next, drill all your pocket holes. We love using our Kreg 720 Pro for all our pocket hole drilling.
The Kreg 720 is great because of the AutoMaxx clamping system, which makes swapping pieces of wood quick and easy while drilling.
Step two: Build panels
Once everything is cut and drilled, start by building the two panels that will go on the back and front of the yard tool organizer.
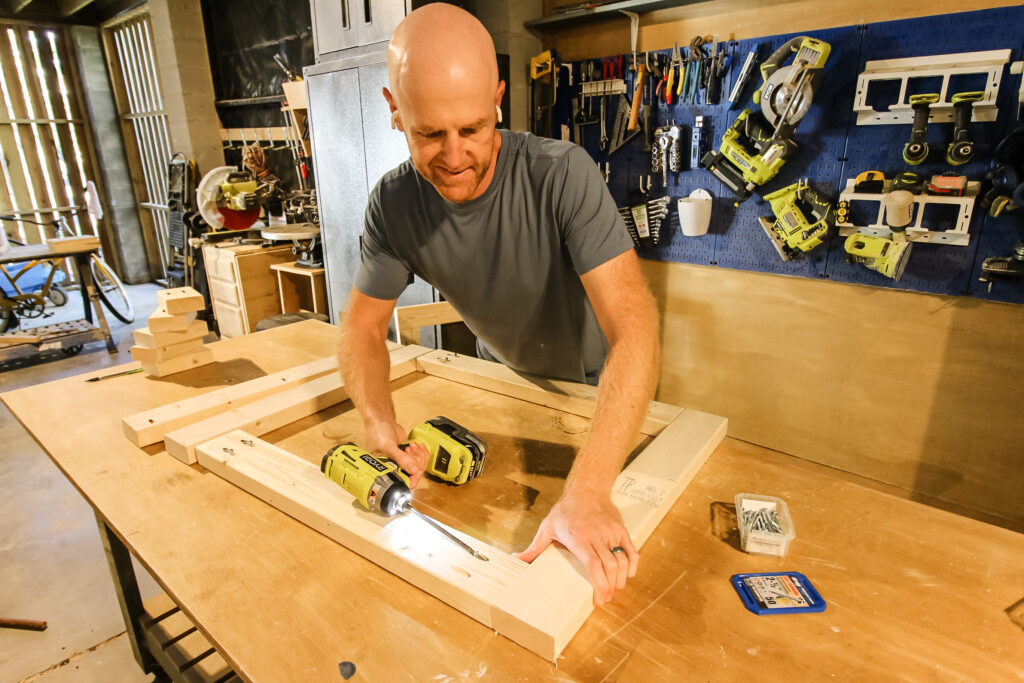
These two panels are identical and will be connected later.
Step three: Add base and dividers
Next, attach the base board and dividers to one of the panels.
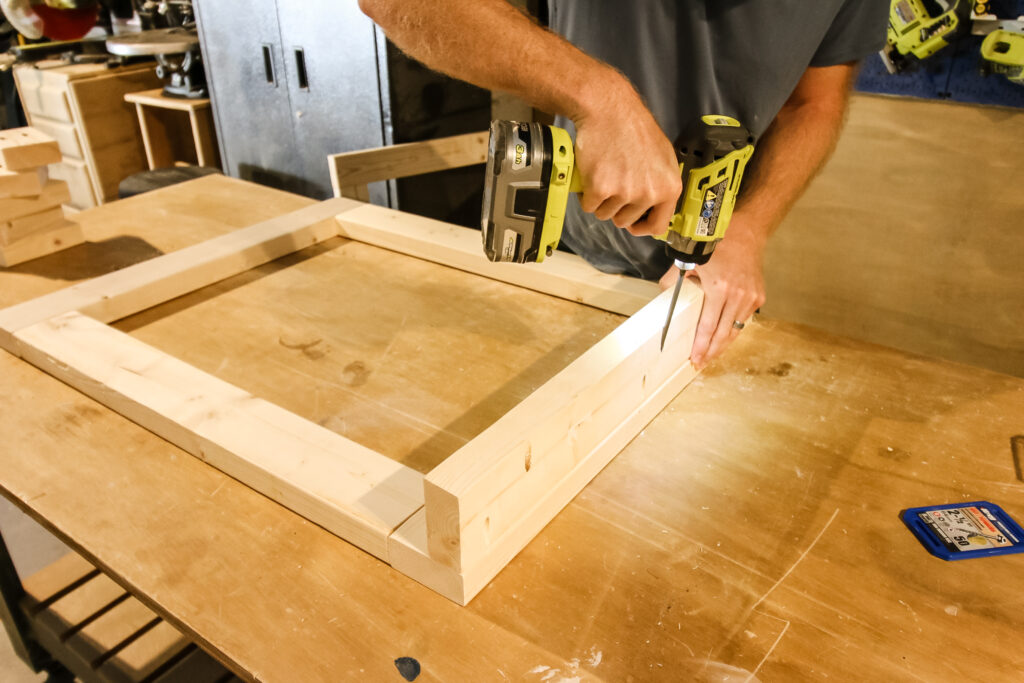
The base board and dividers are cut with an angle, which will keep one panel flat against the wall and tilt the other out. This allows for easy access to your lawn tools as you need to pull them out!
The base and all the dividers are attached to the panel with Kreg pocket hole screws, making it extremely secure.
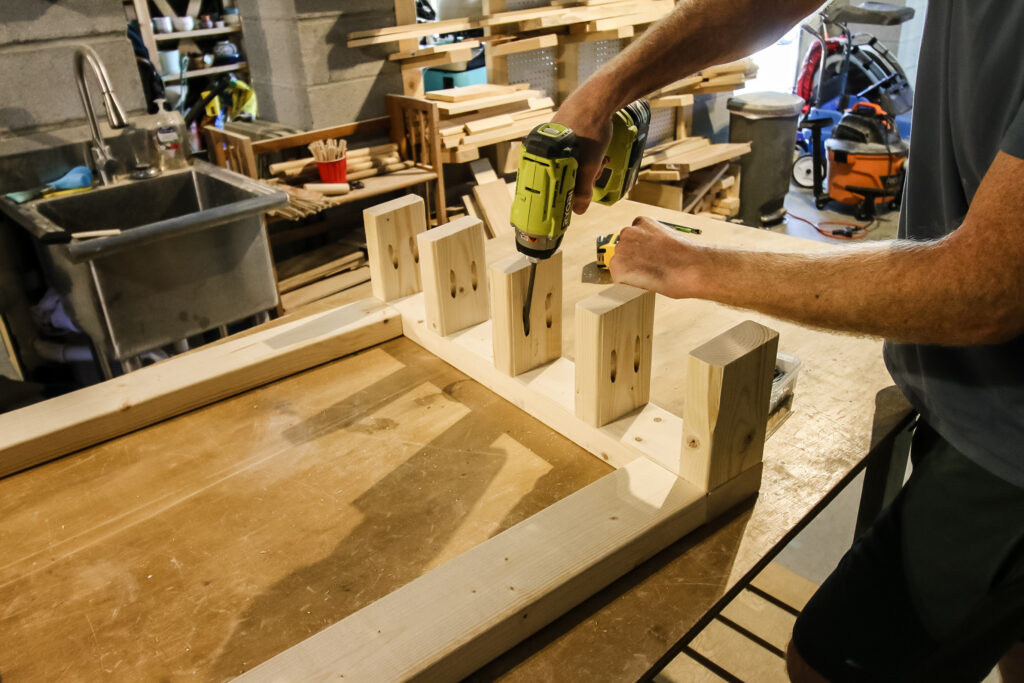
Step four: Attach panels
Next, attach the other panel to the base and dividers. Start with the base, because it's a lot easier.
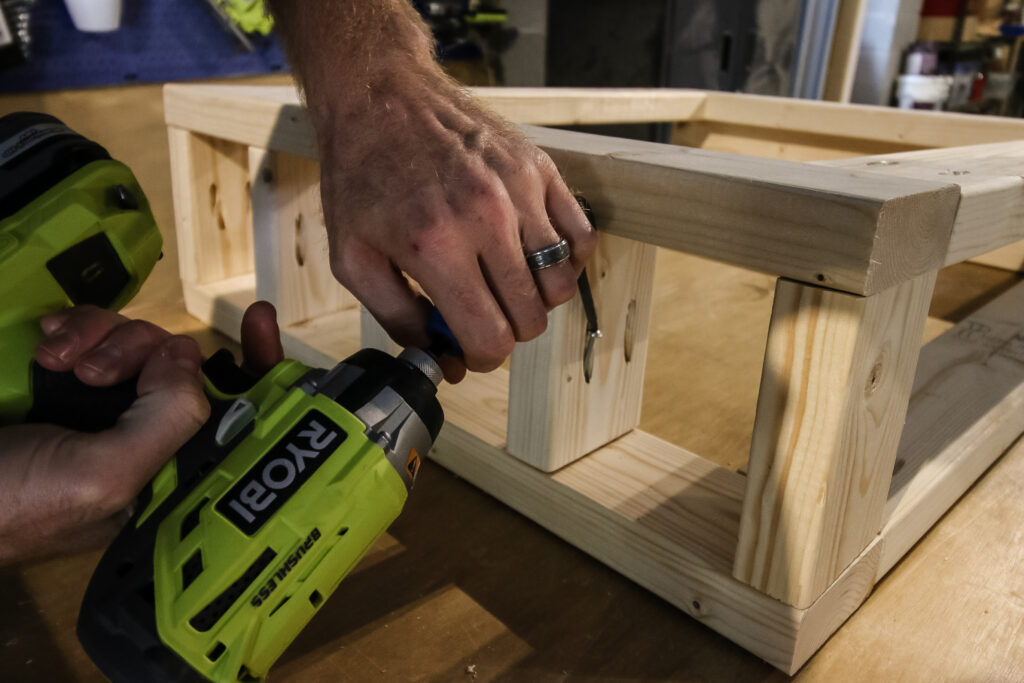
Then, attach the dividers to the second panel. We found it was much easier to drill in the screws using the new Kreg 90 Degree Pocket Hole Driver.
Since it is a tight space, it's tough to get a regular driver bit in there, so the 90 degree driver made it much easier.
Step five: secure to wall
Finally, once the entire unit is constructed, it's time to attach it to the wall! This tool storage rack is easy to install in just a minute.
Find two studs in the wall and drill a screw through the back panel into the studs.
You can attach this DIY yard tool organizer at ground level, but you can also attach it elevated if you need to leave room for something underneath.
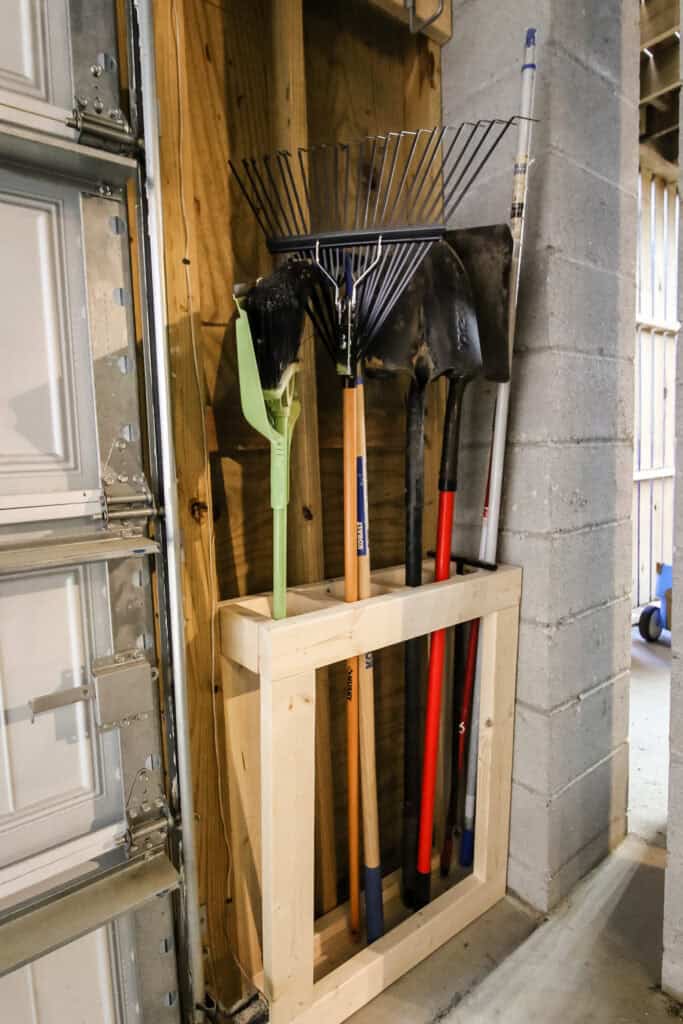
Then, fill it up with all your shovels, rakes and other garden tools!
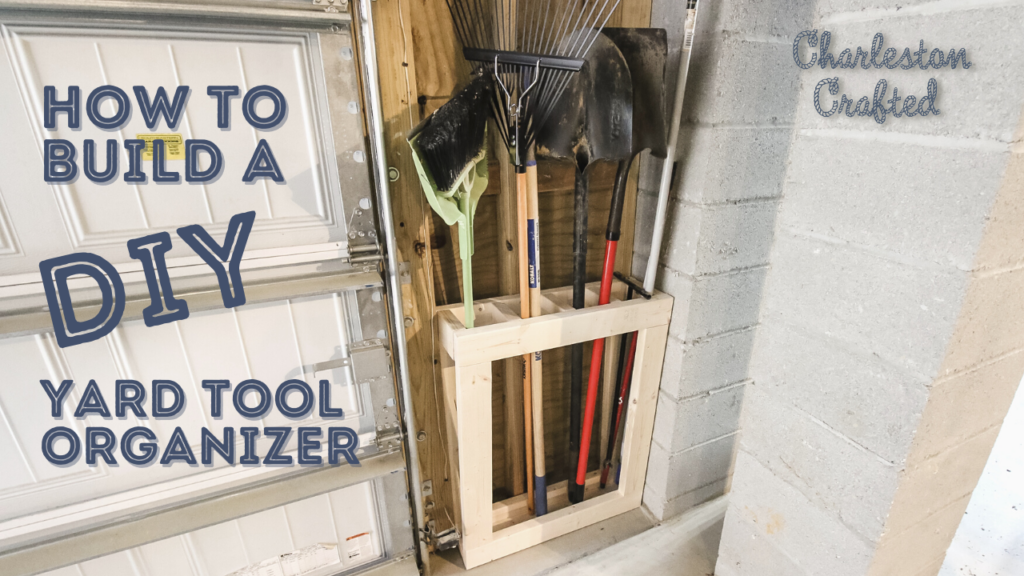
DIY wooden yard tool organizer
We love how our DIY wall mounted yard tool organizer turned out!
The vertical design of this garden tool storage rack allows us to keep all of our tools at arm's reach and also have plenty of room for other things.
What's great about this organizer is that it is easy to move things around and it holds a lot of tools for fall!
FREE DIY yard tool organizer woodworking plans
If you love this design, you can get the FREE printable woodworking plans to build one yourself! Our woodworking plans have a full material list, cut list and step-by-step instructions with computer models to help you build it!
Our plans are being hosted on Kreg Tool's Projects and Plans site along with lots of other great free plans for your garage storage needs!
Video tutorial
Don't forget to check out our video tutorial for how to build a DIY wall-mounted yard tool organizer to give you a better idea of what you need to do!
Interested in the Kreg Jig? Click here to read our full Kreg Jig review and to see all of our Kreg Jig projects.
New to the Kreg Jig? Here is a step by step guide on how to use a Kreg Jig!
OR grab our FREE Kreg Jig Cheat Sheet here! Download the cheat sheet!
Basic woodworking information for every project
Here are some of our most popular woodworking articles!
Shopping for wood:
Woodworking project ideas
- 100+ of the best woodworking project ideas!
- 62 easy beginning woodworking projects
- Woodworking project ideas to make and sell
See all our printable PDF woodworking plans!
Our favorite tools + supplies
- See all our favorite tool reviews
- How to use a Kreg jig
- The ultimate wood stain guide
- The best wood fillers for your project
Remember to also always use safety equipment while woodworking and using tools. Make sure you have proper eye protection, ear protection and a good mask to keep yourself safe.

Looking for something?
We've been doing this since 2012 so we have a LOT of blog posts!
Search stuff like: Ceiling Projects | DIY Plant Stands | Thrift Flips

Hey there, I'm Sean, the woodworking enthusiast and builder behind CharlestonCrafted.com! Since 2012, I've been sharing the magic of turning raw materials into beautiful creations. I love teaching others the art and satisfaction of woodworking and DIY. I try to inspire fellow crafters to make something extraordinary out of nothing at all.