Do you have young children or toddlers who love to do arts and crafts all over the house? Build this simple DIY kid's art table to give them a dedicated space to make all of their creations!
This post is sponsored by Waterlox. All opinions are our own. Thank you for supporting the brands that make Charleston Crafted possible!
Our children have just been growing up so so fast and it's incredible to watch their little minds work.
One thing they love to do is arts and crafts. This includes craft kits, coloring, play-doh, kinetic sand and all sorts of things.
But we don't have a great place for them to do that.
We put together this super cute rainbow table earlier this year, but it turned out it wasn't really big enough to spread anything out and really wasn't big enough for two kids to do things together.
So, for an upcoming Christmas present, we built a large, functional DIY kids arts and crafts table that we are so excited to give the kids on Christmas morning!
This project pairs really well with our DIY kids art display!

This art table is going to go in our "loft playroom" outside the kids' rooms where we currently have a Montessori forward facing bookshelf and Montessori toy shelf as well.
We're excited to give them a functional play space for arts and crafts that has storage space and functionality.
Scroll down to learn more about how we built this DIY arts and crafts station and get the woodworking plans to build your own!
DIY arts and crafts table
We had been wanting to build a great arts and crafts center for a while for our toddlers and really loved the design by the popular brand Guidecraft.
The Guidecraft Deluxe Art Center has a lot of great elements to it and we were very inspired by the design, so we used that as a basis to create our own table with the elements we thought were most valuable.
If you've been thinking about the Guidecraft version, consider building our DIY version for a fraction of the cost!
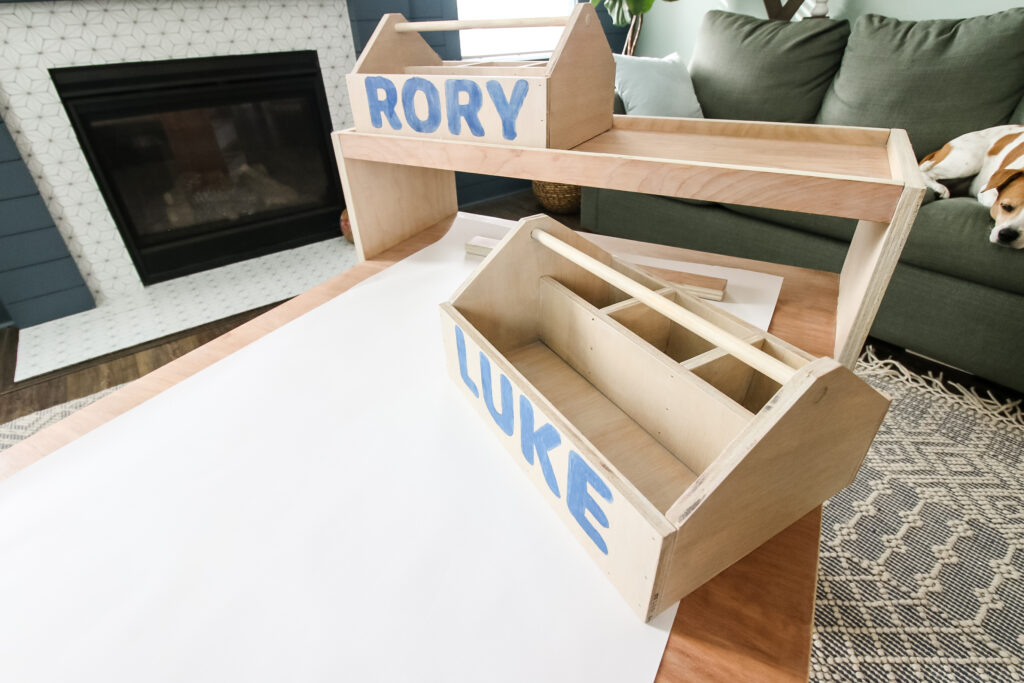
We also designed a DIY art supply caddy that fits perfectly into the top shelf of the table, so your kids can pull down their most commonly used items and have them right at hand.
The caddies are easy to build too and we've got the plans for those down below as well!
This table is perfect for a craft room or just to make any room a craft room with a functional desk space. Let's get into it!
Check out our tutorial + woodworking plans for how to build a kids learning tower!
How to build a DIY kid's craft table
Our post will show you a good general overview of how to build your own DIY crafting table for your kids, but you can get the full woodworking plans a little later on.
The best part about this project? It can be made from one sheet of plywood!
Sure, plywood is expensive, but we designed this project to only need one ¾" sheet, making it a budget friendly project, especially for one so large.
Step One: Make Cuts
All the cuts are in our downloadable PDF woodworking plans, but remember that they are all from one sheet of plywood!
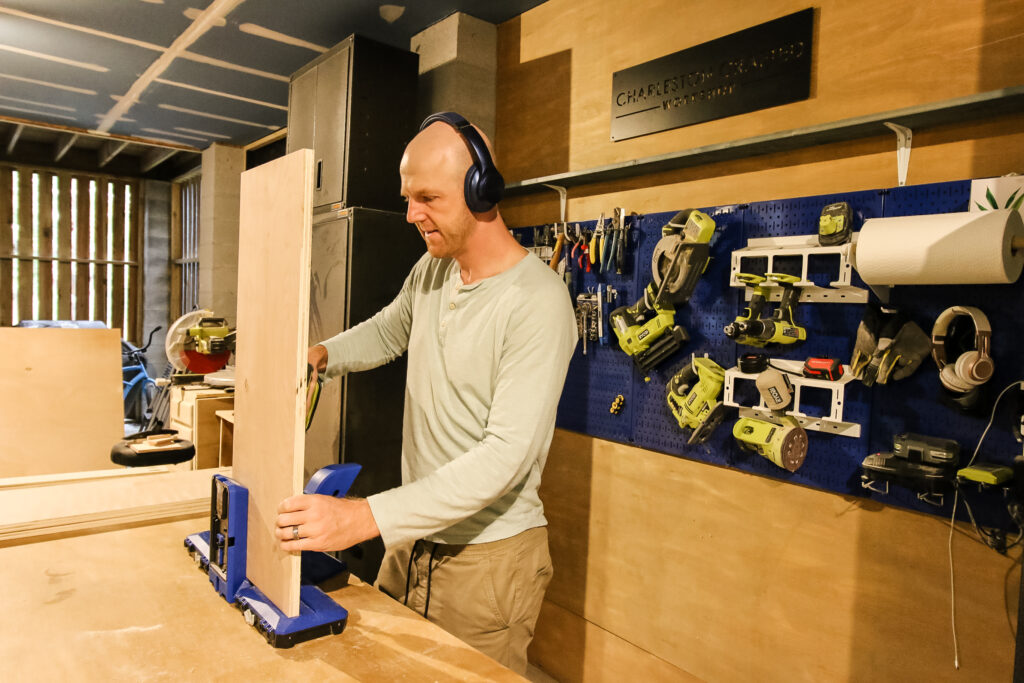
When handling a large sheet of ¾" plywood, remember to keep safety in mind.
It's really difficult (and not super accurate) to push a full sheet of plywood through a table saw alone, so we like to use our Kreg Adaptive Cutting System or a plunge saw and track guide to make the cuts.
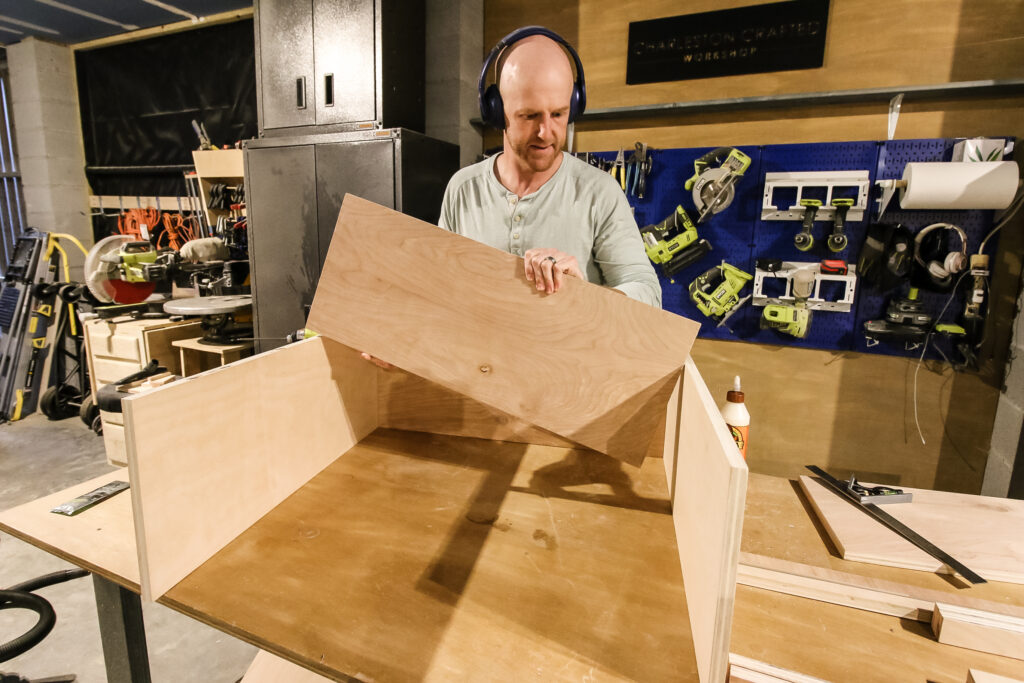
Step Two: Assemble Shelves
With everything cut and sanded, we started the fun part of assembly!
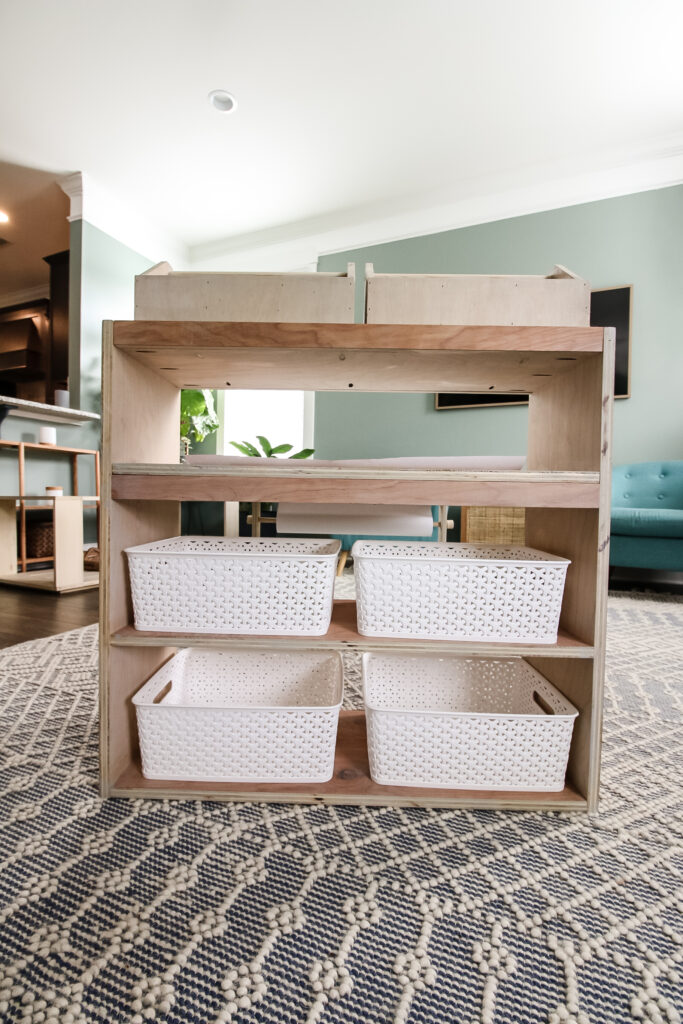
The first step was to assemble the shelving unit that serves as the storage space for bins.
We designed the shelves to fit these bins from Target that are cheap but great quality, especially for crafting supplies.
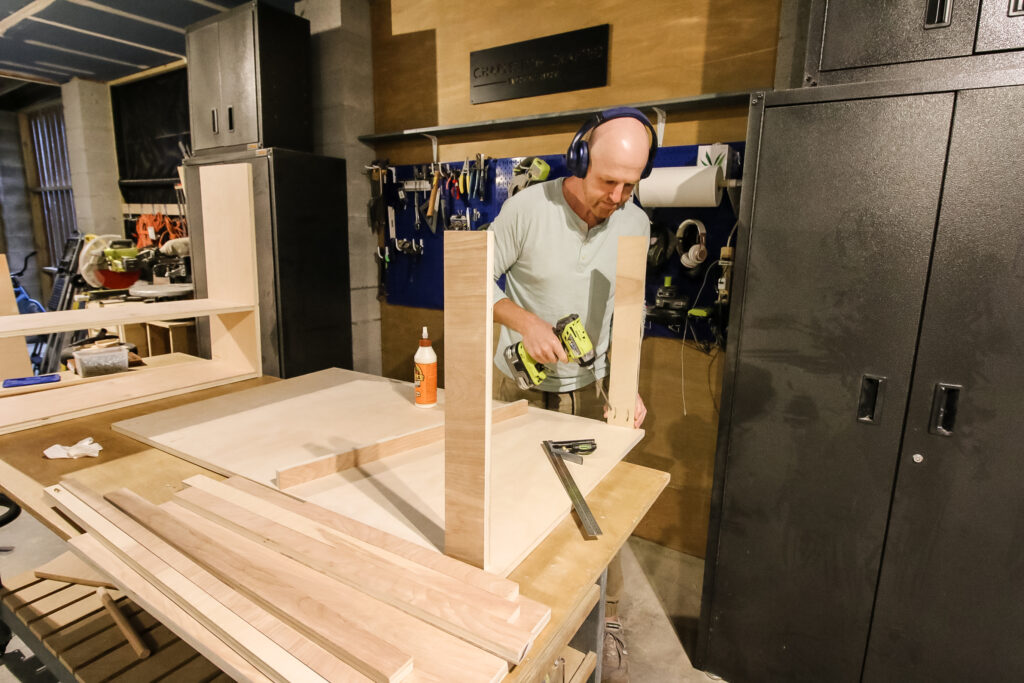
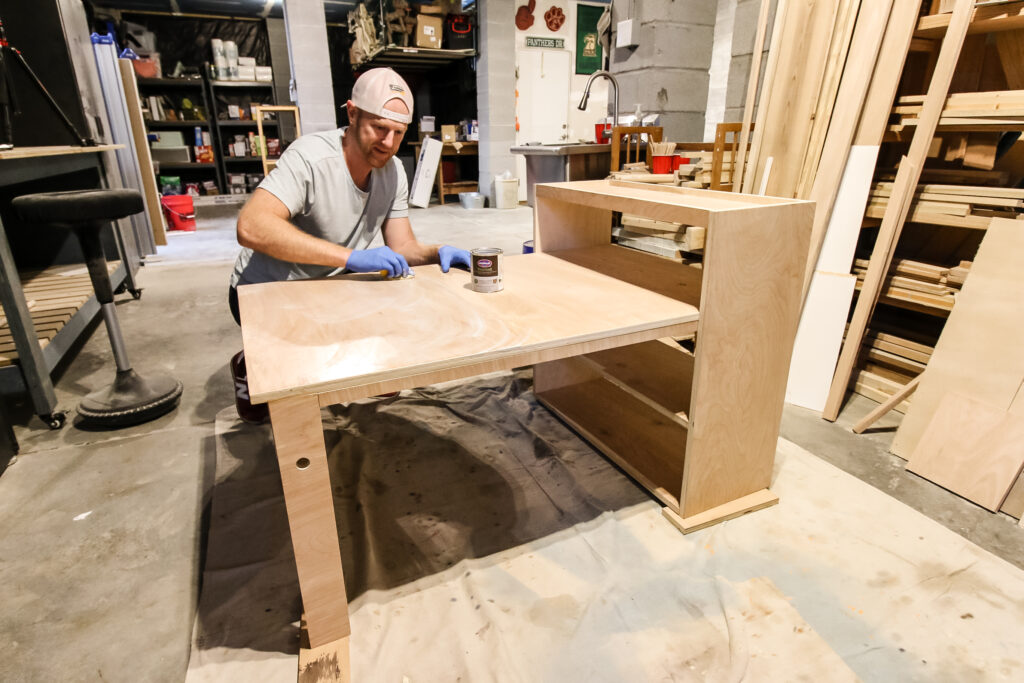
Step Three: Attach Desk
Next we attached legs to the tabletop of the art desk and then attached that to the shelving unit.
We designed this at a height for a 3 year old, but the legs could be adjusted to be shorter or taller for a different aged child.
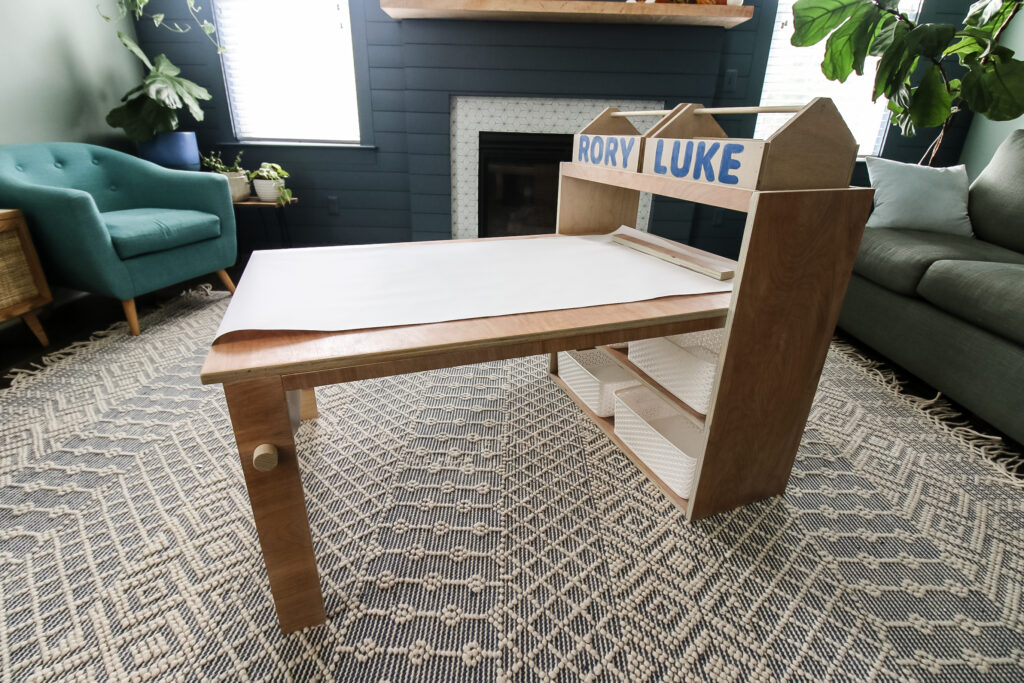
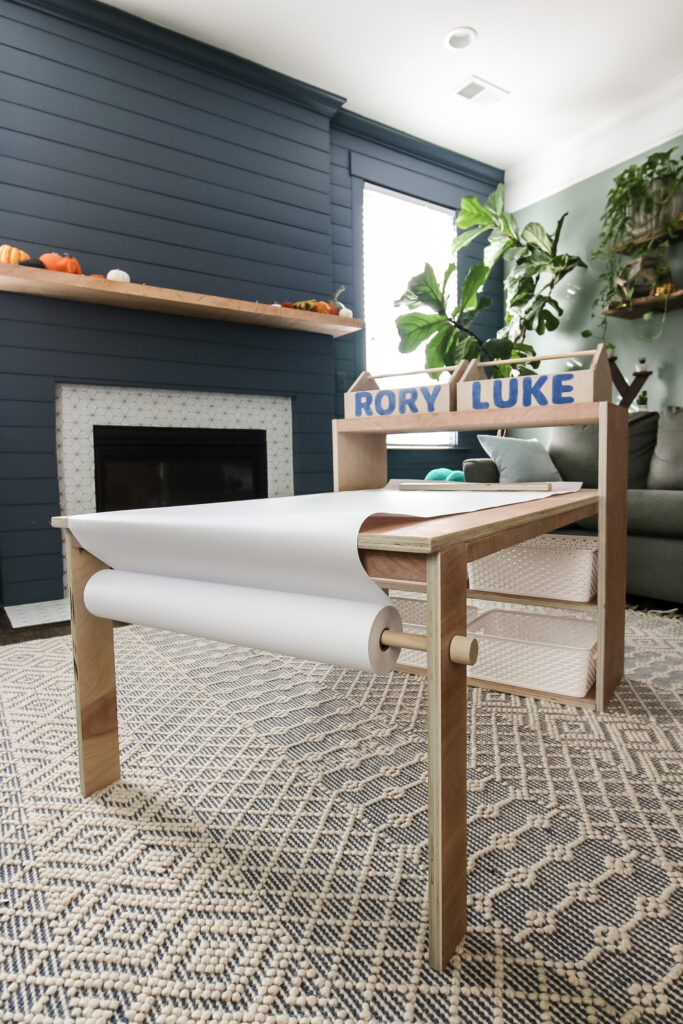
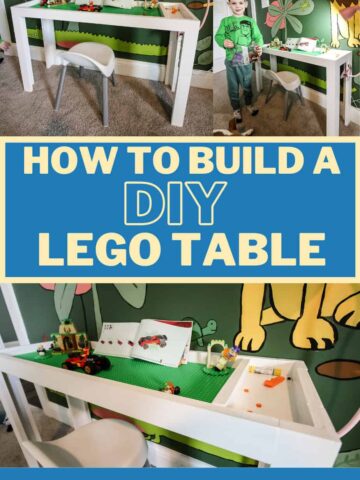
The tabletop for our DIY kid's art table is huge. It has so much room to spread out their items and do fun games without anything falling off the edge.
Step Four: Accessorize
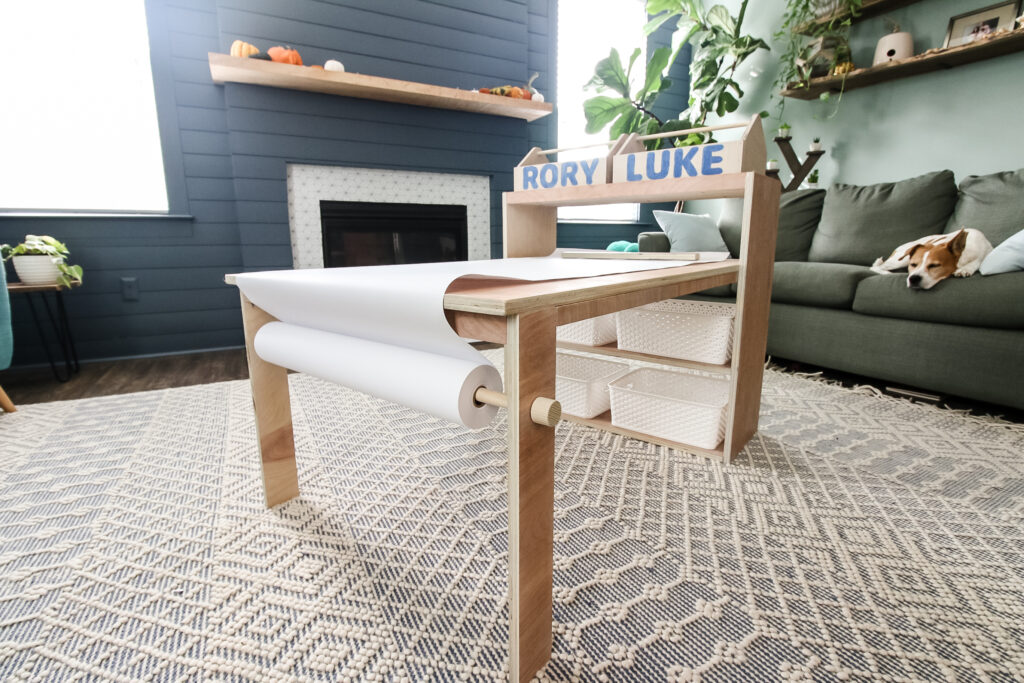
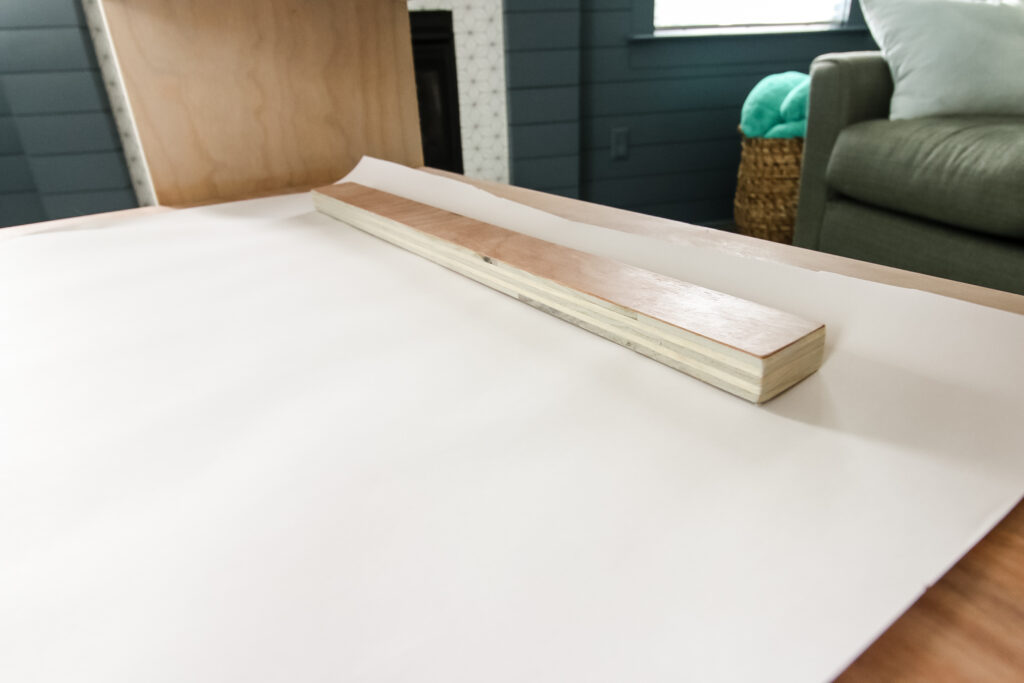
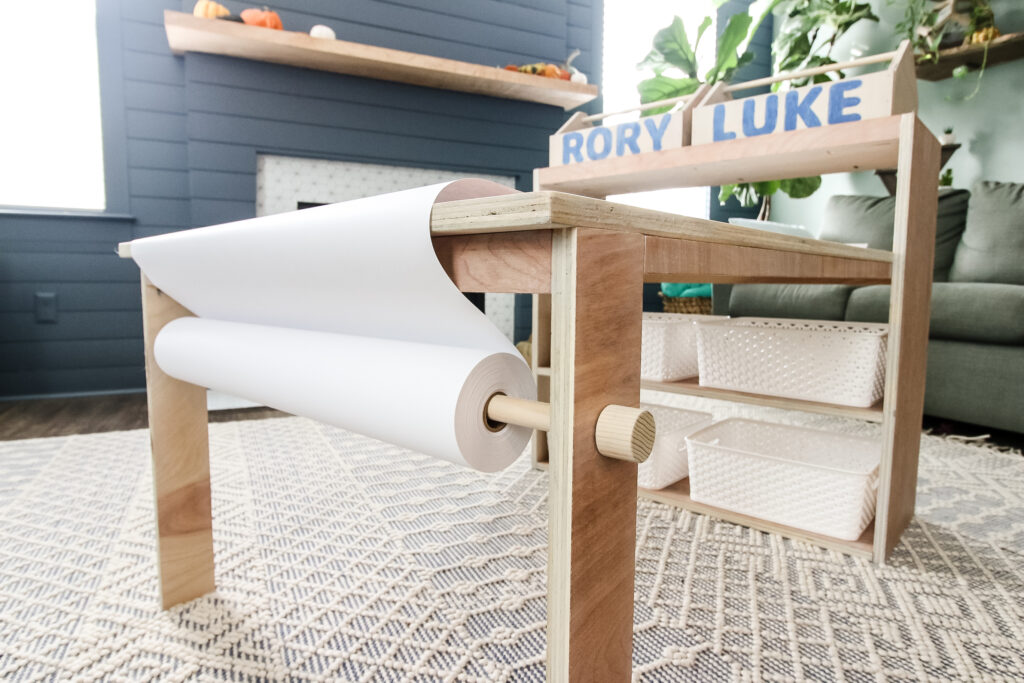
One of the coolest things about our DIY arts and crafts table is that it has a space for a roll of craft paper to be stored on the end and then pulled out to draw on or use as a cover for the table!
We bought this roll of paper from Amazon and attached a dowel to the legs that the paper roll can be unfurled from.
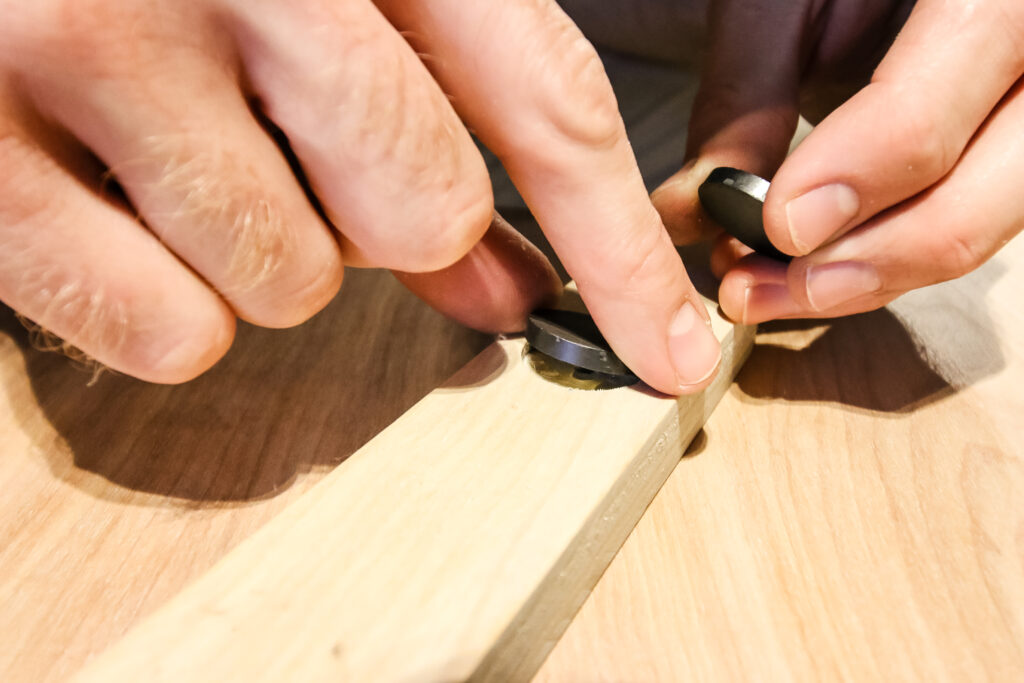
Then, we built a little magnet bar to hold the paper in place by countersinking magnets in the table and to a short wood bar.
This way, the paper comes out, clamps down, the kids play, then you tear it off to frame on the wall and start again.
Step Five: Stain and Finish
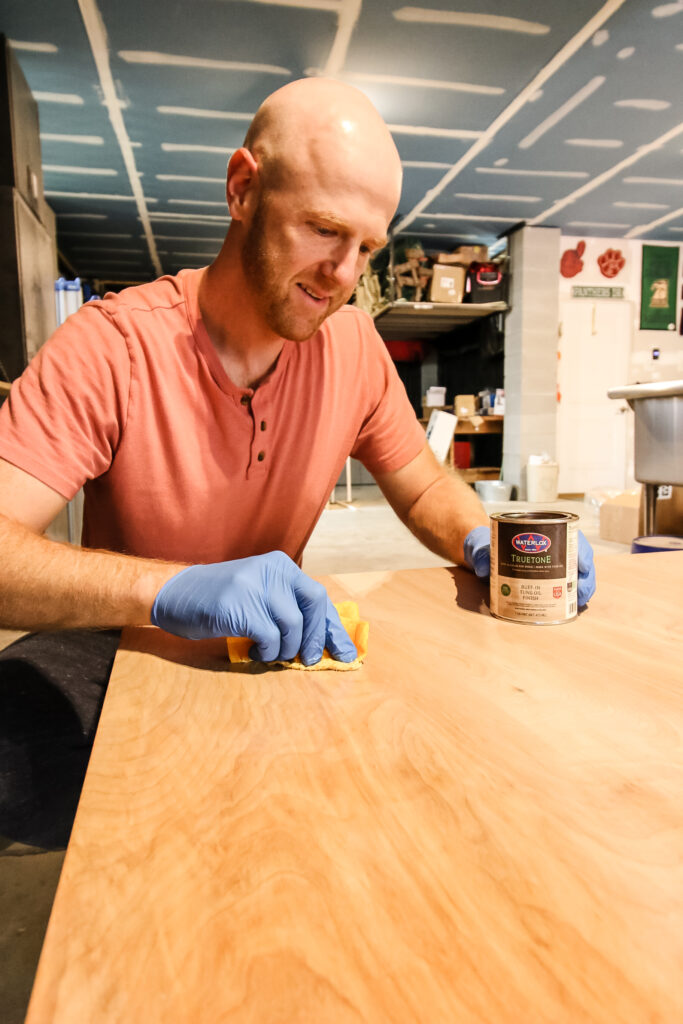
With the table fully assembled, it was time to stain and finish it.
For that, we turned to our friends at Waterlox. Just like we did for our modern coffee table a few weeks ago, we used Waterlox's TRUETONE Color-Infused Tung Oil and Tung Oil Finish for this art table.
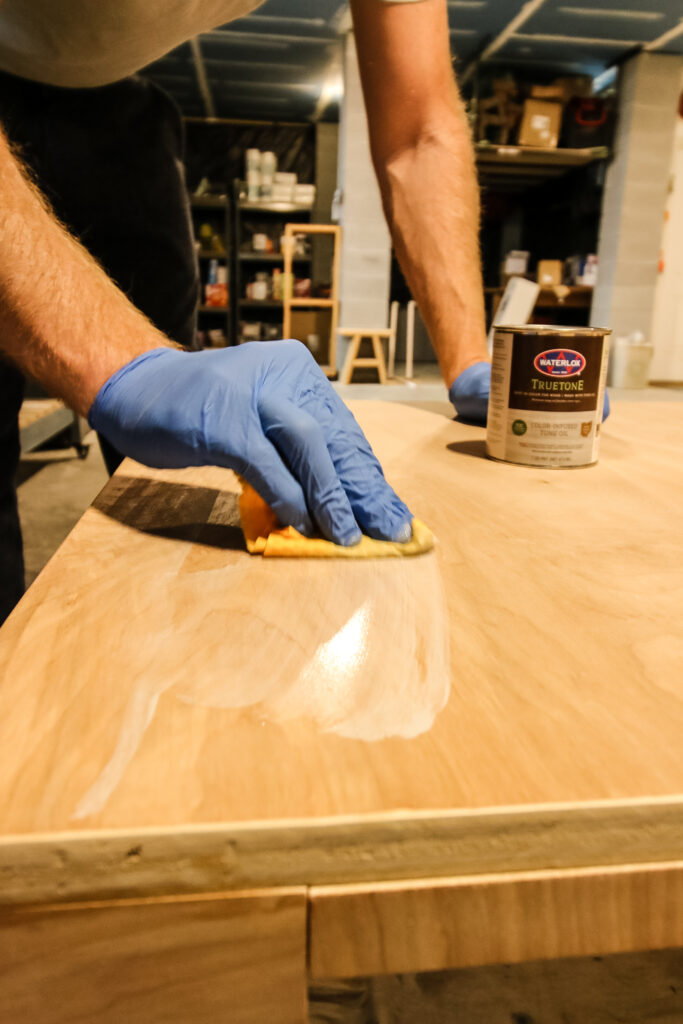
Waterlox TRUETONE is a buff-in, color-infused tung oil that works much like a regular stain. It comes in 11 colors to fit your decor style. We went with the "Frost" color to cool down the slightly red read of the birch plywood.
TRUETONE is an awesome option for our DIY kid's art table because it offers water resistant protection for any of their wet crafts or clean up, and is also low odor and VOC, which is good since the kids are the one using it.
The tung oil was easy to buff in with a cloth and then we waited 24 hours before applying Waterlox's Tung Oil Finish in the same way. This sealed the table and gave it a great final look.
We love the TRUETONE Tung Oil Finish because it is:
- Low VOC (VOC compliant in all 50 states!)
- Low odor
- 90% of the resin portion of the formula is from renewable, natural resources
- Non-toxic when dry and fully cured
- Easy to clean, maintain and spot repair
- Easily applied with a lint free cloth
- Handcrafted in small batches in Cleveland, Ohio by a 4th generation, family-owned company
Doesn't the table look awesome!
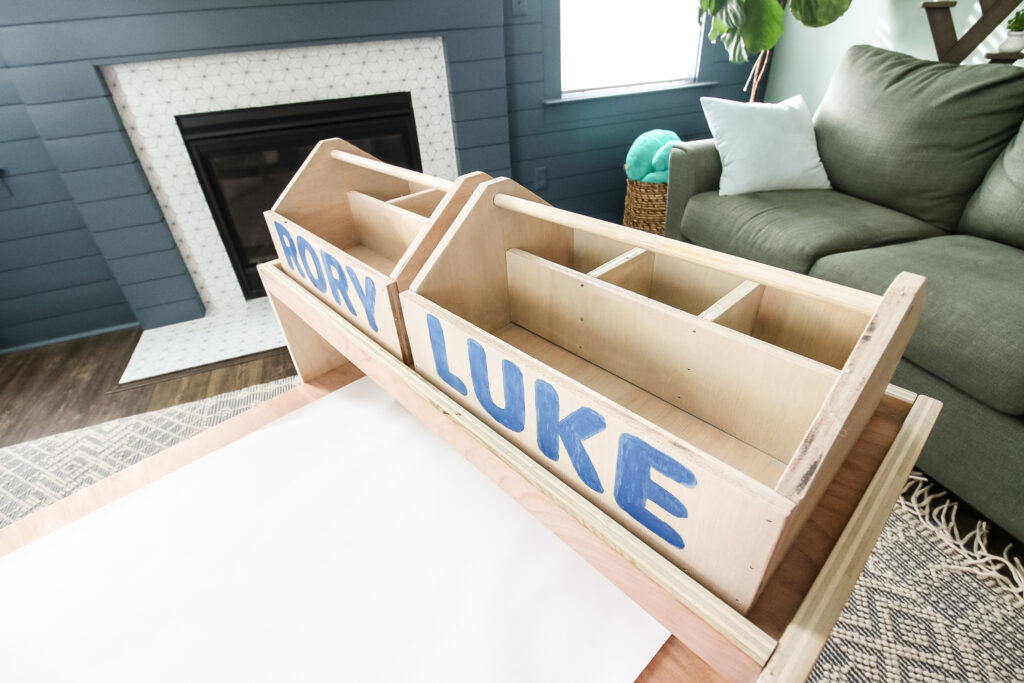
How to build a DIY kid's art supply caddy
To go along with this art table, we also designed some simple DIY kid's art supply caddies that fit perfecting onto the top shelf of the table!
These caddies are easy to build out of a quarter sheet of ½" plywood, still making this a budget friendly project.
You could also build these caddies independently of the table, or build one for yourself for desk supplies.
You can get the full plans for these right here, but here's the idea.
With all the pieces cut, we nailed together the sides and ends to each other and the base.
Then, we attached some dividers together and attached those inside the caddy.
Lastly, we added a dowel handle through the ends to make it easy to pick up for little hands.
We also used Waterlox TRUETONE color-infused tung oil and tung oil finish on the caddies as well, so they are well protected as materials might spill.
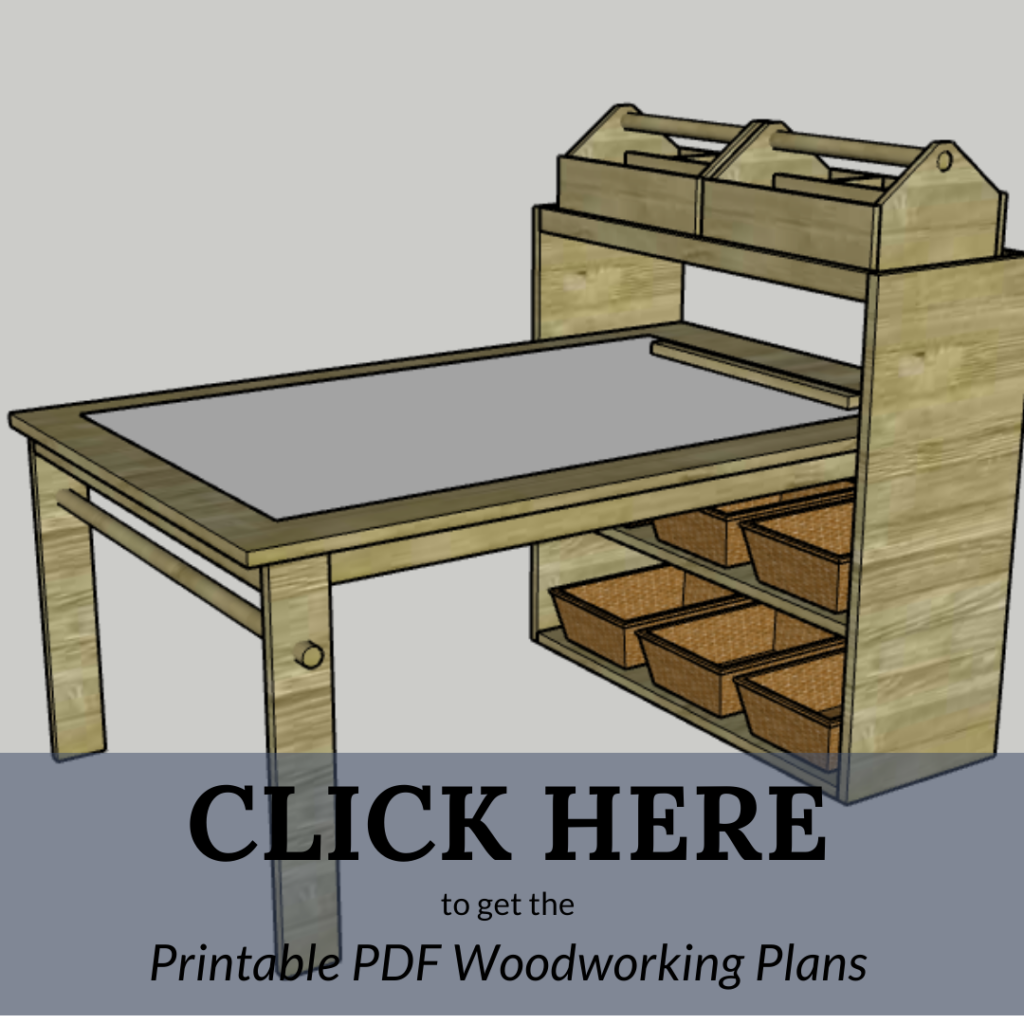
DIY kid's art table woodworking plans
If you love this project and it inspired you to build one for your own kids, we have woodworking plans available for you today!
These woodworking plans will show you how to build our DIY kid's art table for yourself and you can make any adjustments you need for your space.
Our woodworking plans include the full material list you need to buy, cut list for wood pieces, and step-by-step instructions with computer images to guide you right through building this project for yourself.
Grab the woodworking plans for yourself and put a smile on your child's face today!
Basic woodworking information for every project
Here are some of our most popular woodworking articles!
Shopping for wood:
Woodworking project ideas
- 100+ of the best woodworking project ideas!
- 62 easy beginning woodworking projects
- Woodworking project ideas to make and sell
See all our printable PDF woodworking plans!
Our favorite tools + supplies
- See all our favorite tool reviews
- How to use a Kreg jig
- The ultimate wood stain guide
- The best wood fillers for your project
Remember to also always use safety equipment while woodworking and using tools. Make sure you have proper eye protection, ear protection and a good mask to keep yourself safe.

Looking for something?
We've been doing this since 2012 so we have a LOT of blog posts!
Search stuff like: Ceiling Projects | DIY Plant Stands | Thrift Flips

Hey there, I'm Sean, the woodworking enthusiast and builder behind CharlestonCrafted.com! Since 2012, I've been sharing the magic of turning raw materials into beautiful creations. I love teaching others the art and satisfaction of woodworking and DIY. I try to inspire fellow crafters to make something extraordinary out of nothing at all.
