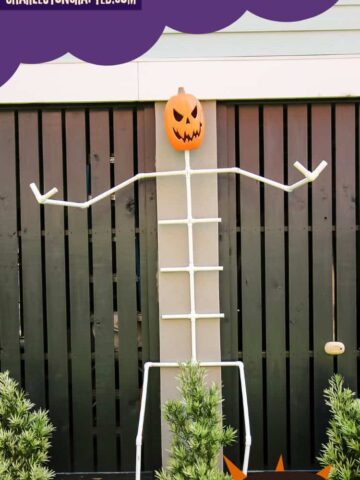
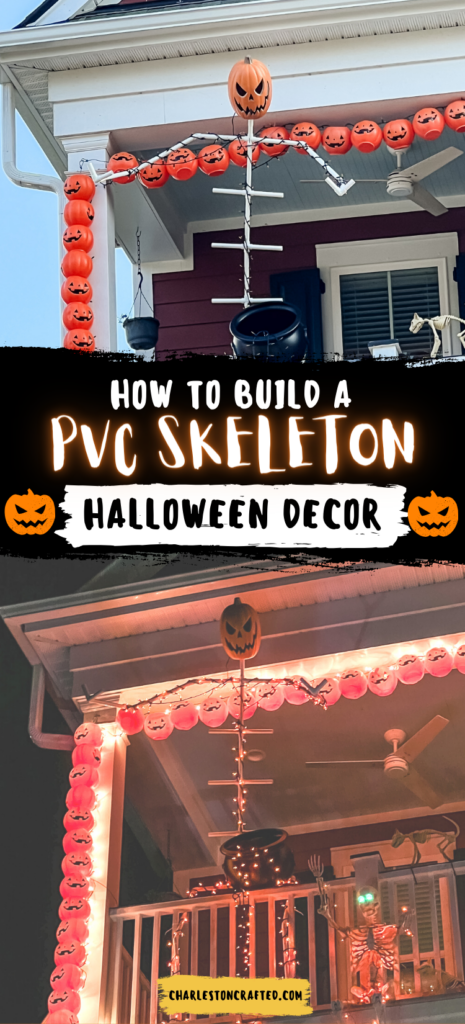
Want to add a big feature to your Halloween decor? How about making a giant PVC skeleton that you can fully customize for your yard!
We've always been jealous of the giant 12' skeleton from Home Depot and have been thinking of buying it for years.
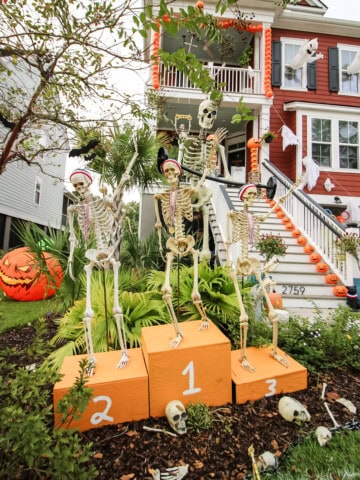
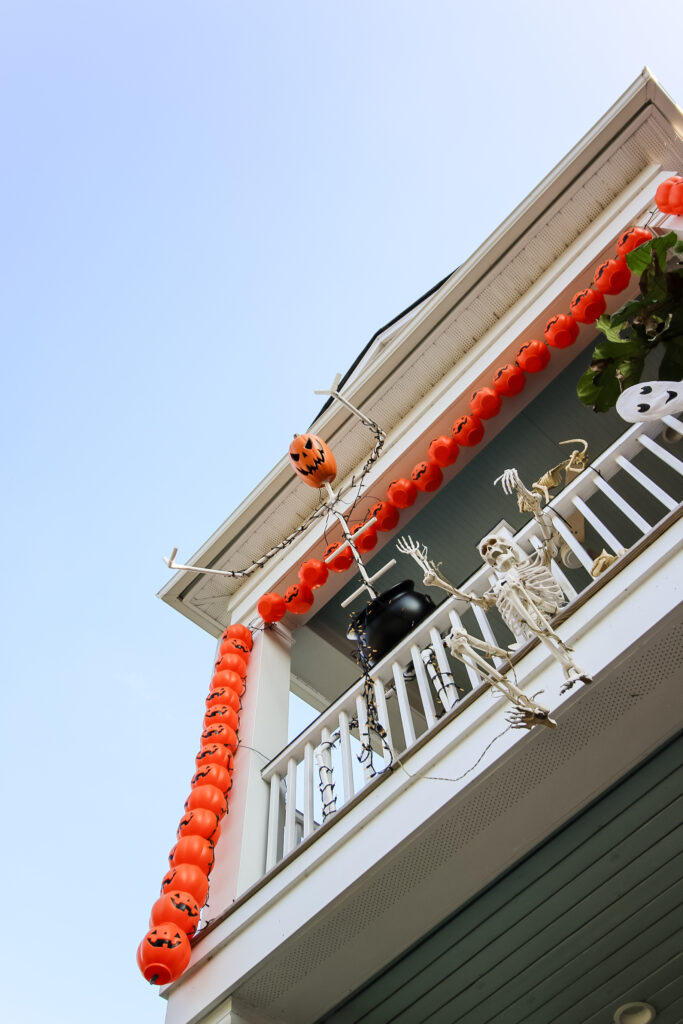
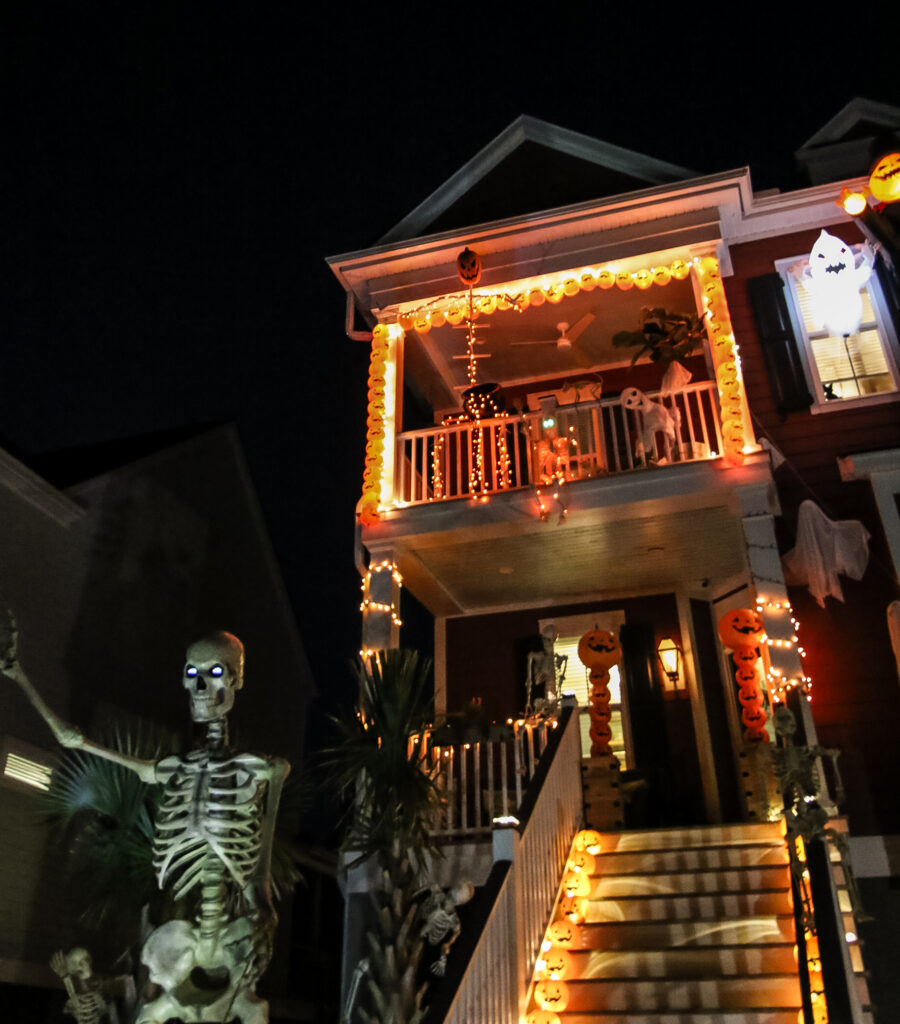
In years past, we always do some sort of skeleton scene in our yard with our pumpkins on the stairs and pumpkin arch garland on our upper porch.
This year, we wanted to add a bigger skeleton than the standard posable skeletons we've always had before, so we decided to make one for ourselves!
The best way to make large size skeletons is to use PVC pipes and fittings to make the bones and body frame of a skeleton. Not only do PVC pipes look like bones, but they hold together well!
We're going to show you how to make an easy giant PVC skeleton and exactly what materials you need to make it happen!
DIY PVC skeleton for Halloween
This PVC skeleton was a really fun build to make. This was a mix between a build and a craft and we used materials we don't usually work with, making it something more interesting.
The cool thing about making a life size or bigger PVC skeleton is that you can really just create any design you want or make it as small or big as you want.
We wanted to make an oversize skeleton, so the directions for this build will get you a PVC skeleton that is about 10 feet tall.
How to make a skeleton from PVC
Here's everything you need to buy and the directions to make your own DIY skeleton Halloween yard decoration!
Materials needed to make a DIY PVC skeleton:
- (3) 10' pieces of ¾" PVC pipe
- (1) ¾" PVC Tee
- (6) ¾" PVC 45 degree elbows
- (4) ¾" PVC Crosses
- (2) ¾" PVC 90 degree elbows
- (4) ¾" PVC side outlets
- PVC cement
- Plastic pumpkin head
- PVC cutter
What can you use to make a skeleton? Well, we used PVC for the entire project, but you could go with different items. You could use wood or foam noodles and duct tape, but the PVC is going to be the most rigid and give you the best long-term use.
Our favorite Halloween projects
Here are some of our favorite Halloween DIYs from the past!
Indoor Halloween Decor
- How to put up fake spiderwebs the right way
- Spider staircase
- DIY halloween village display
- Embroidery hoop Halloween wreath
- Spiderweb Halloween mantel
Outdoor Halloween Decor
- DIY concrete pumpkins
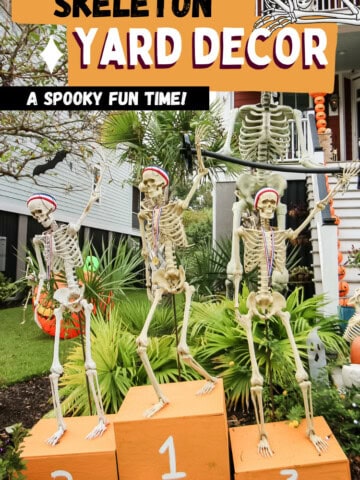
- How to pose skeletons in your yard
- DIY plastic pumpkin topiaries
- How to make a light up pumpkin arch
- Skeleton beach day yard display
- Skeleton pirate yard display
- Skeletons being chased by dogs yard display
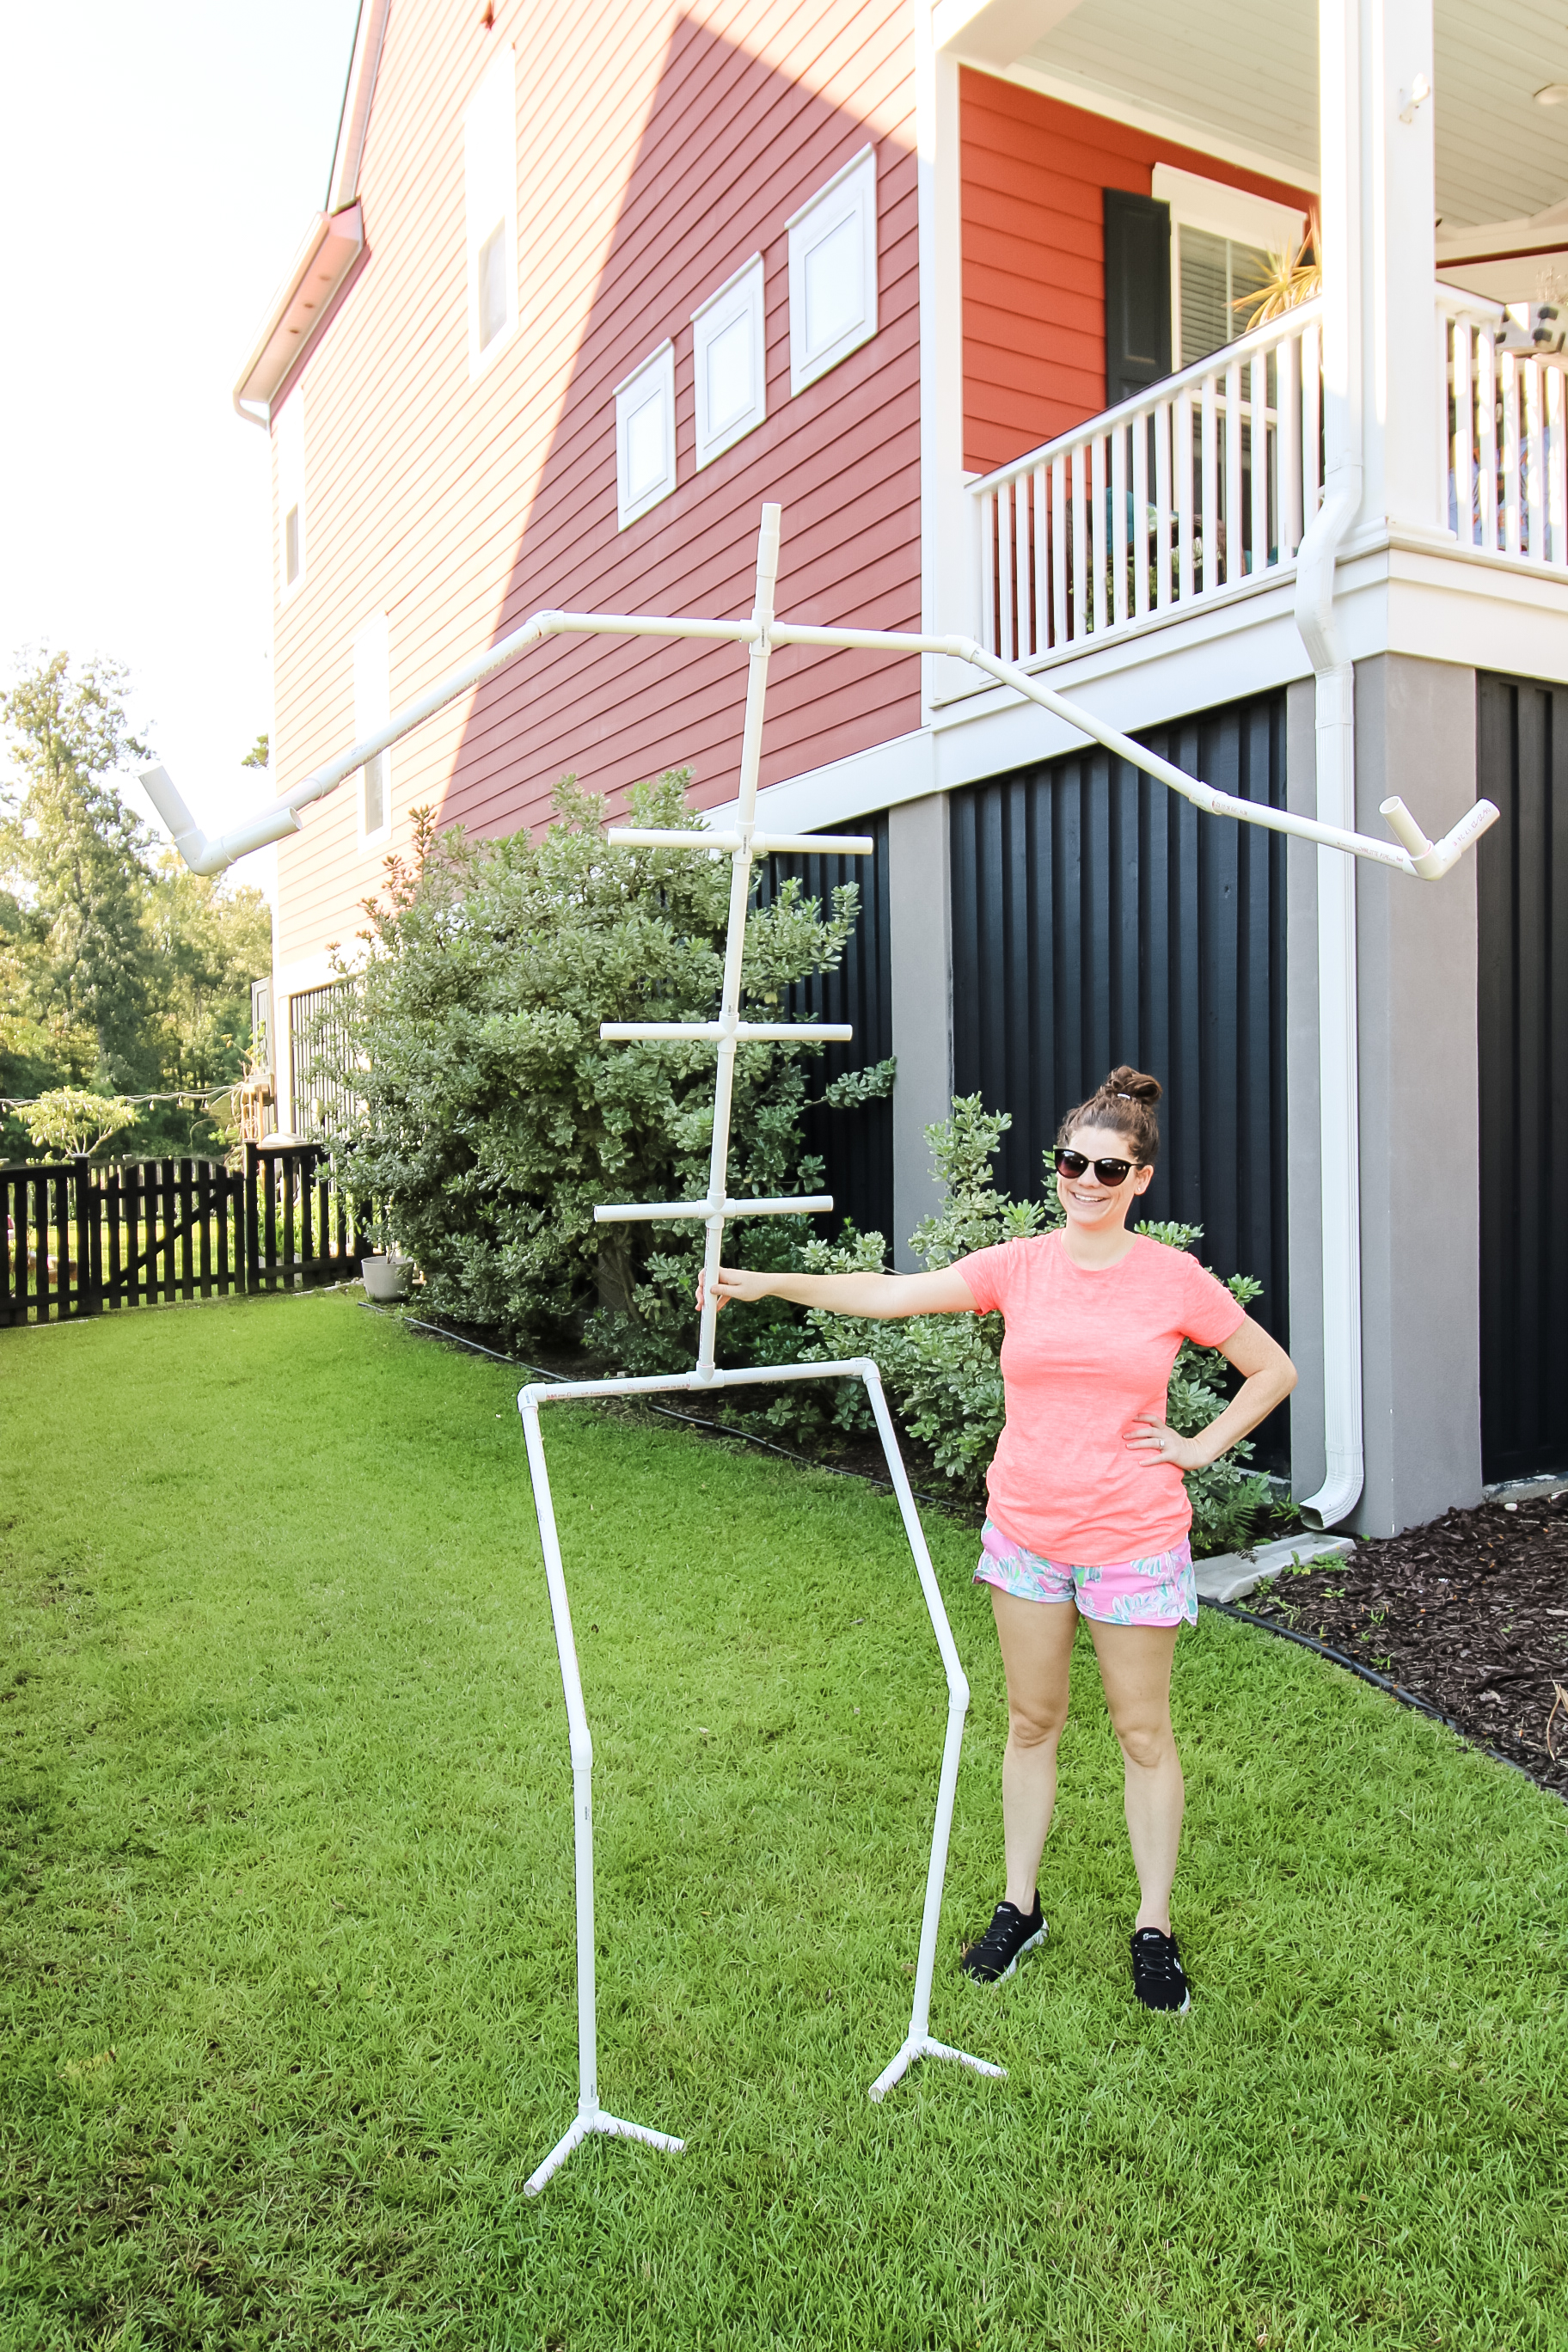
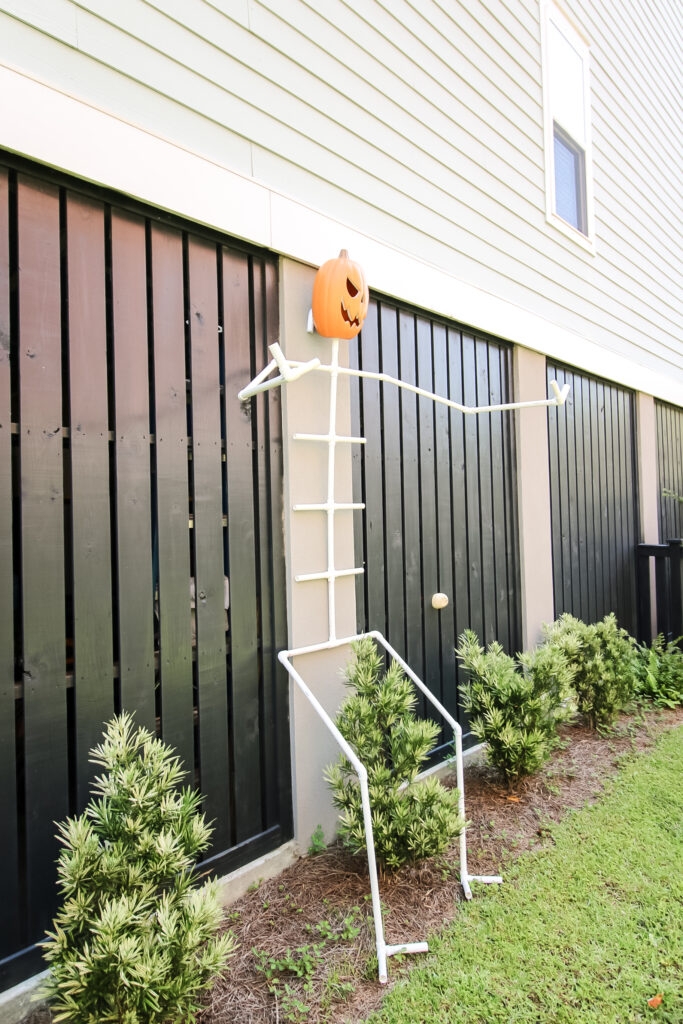
Step one: lay out DIY skeleton design
Start out by laying out the entire design by setting out all of the PVC fittings.
This will give you a good idea of where everything goes and what pieces you need to cut. You can also decide here how big you want the pieces in between each joint.
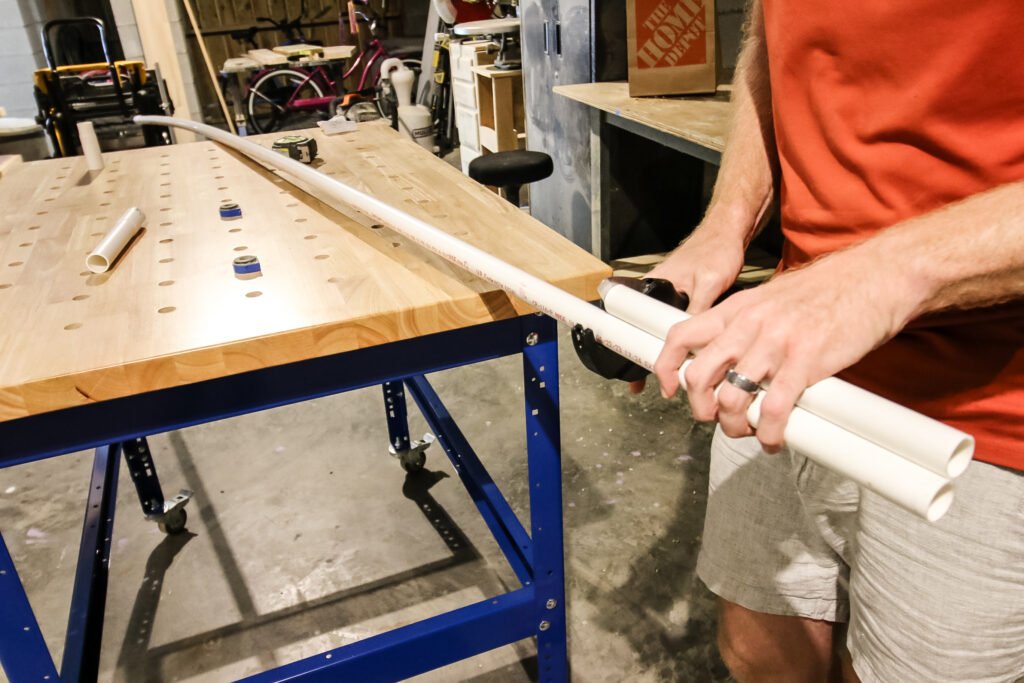
Step two: cut PVC pipes
Next, cut all the PVC pipes down to their exact lengths. The best, and easiest, way to do this is by using a PVC cutter. This is a ratchet style tool that clamps and cuts through a PVC pipe very easily.
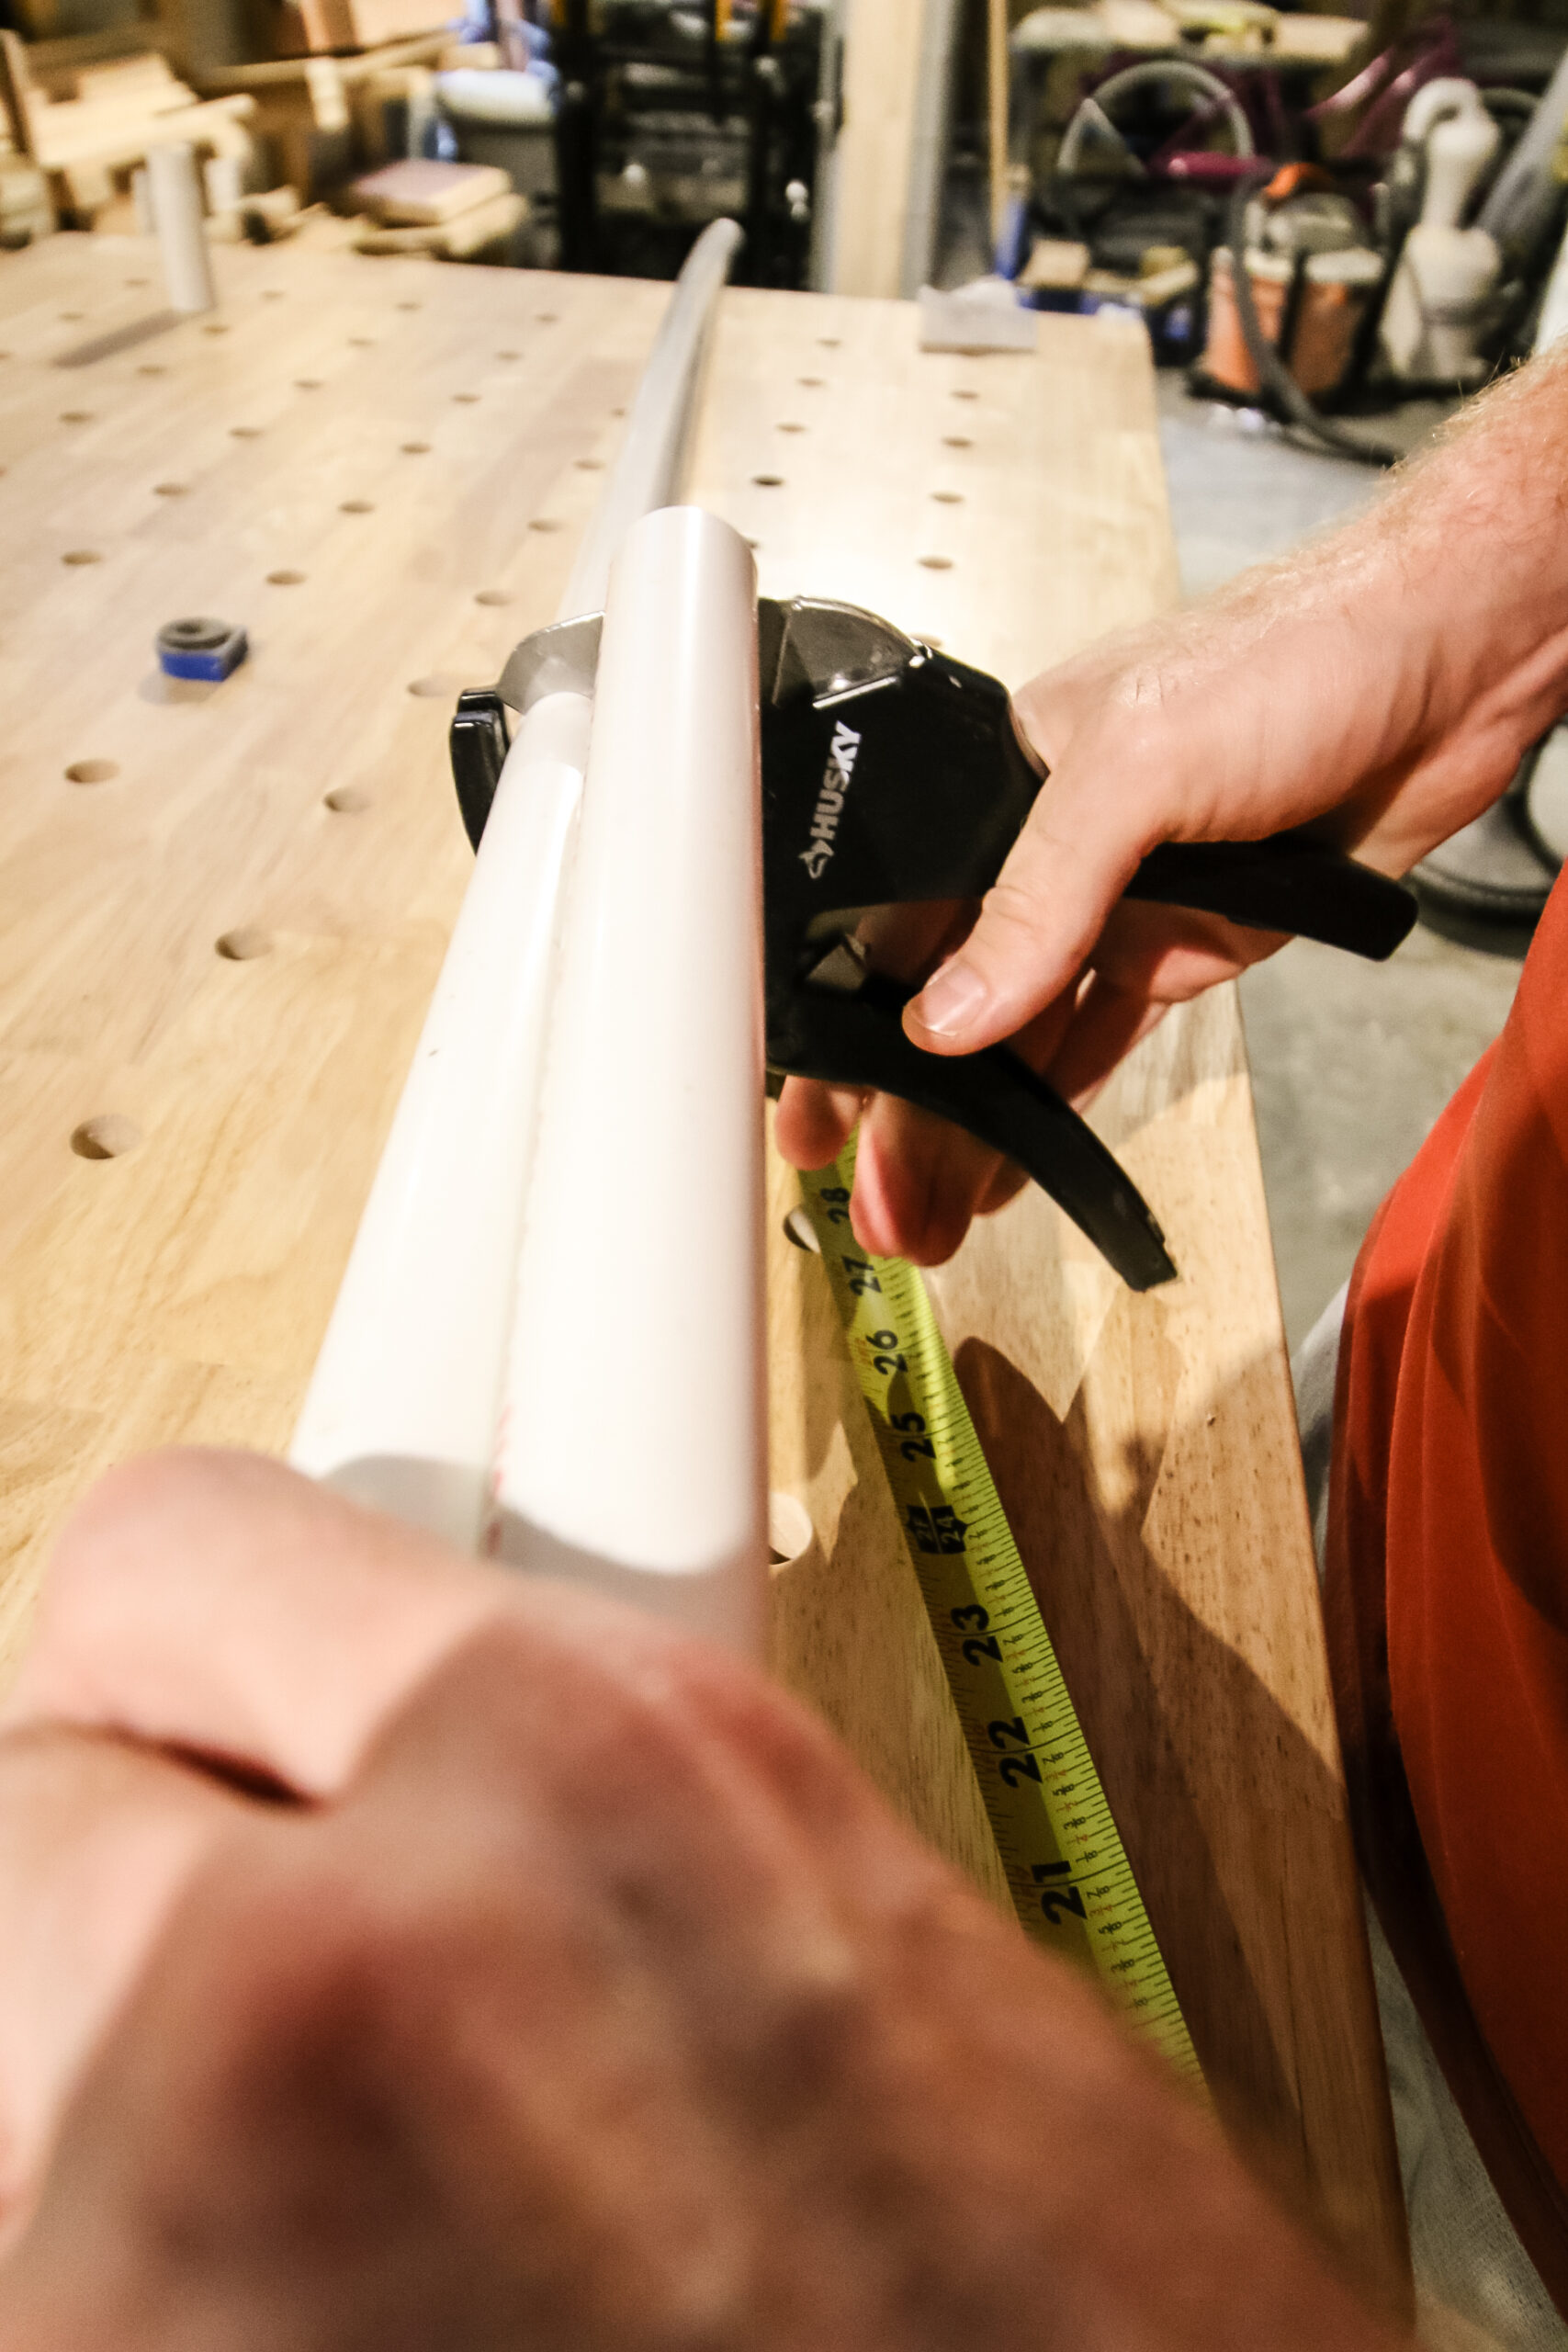
You can also use a hacksaw to cut through the pipe if you don't want to buy a PVC cutter specifically for this project, but the cutter is definitely the way to go.
To make the same size skeleton we made and use exactly three 10' PVC pipes, you'll need to make the following cuts:
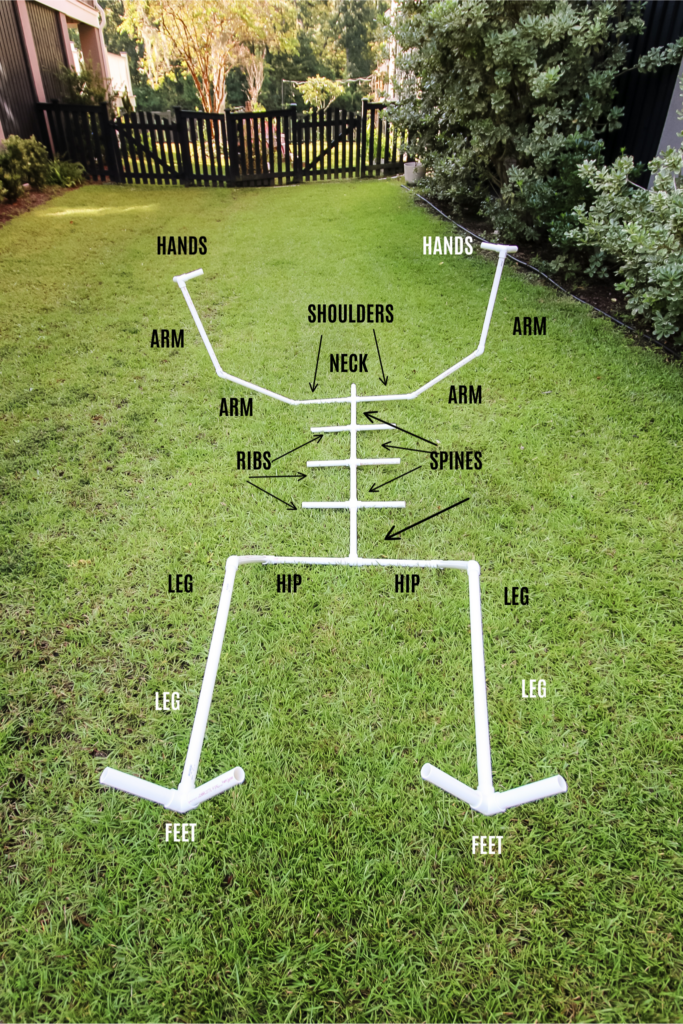
- (4) Legs- 24"
- (2) Hips- 12"
- (4) Spine- 12"
- (6) Ribs- 8"
- (2) Shoulders- 12"
- (4) Arms- 18"
- (4) Feet- 6"
- (4) Hands- 4"
- (1) Neck- 8"
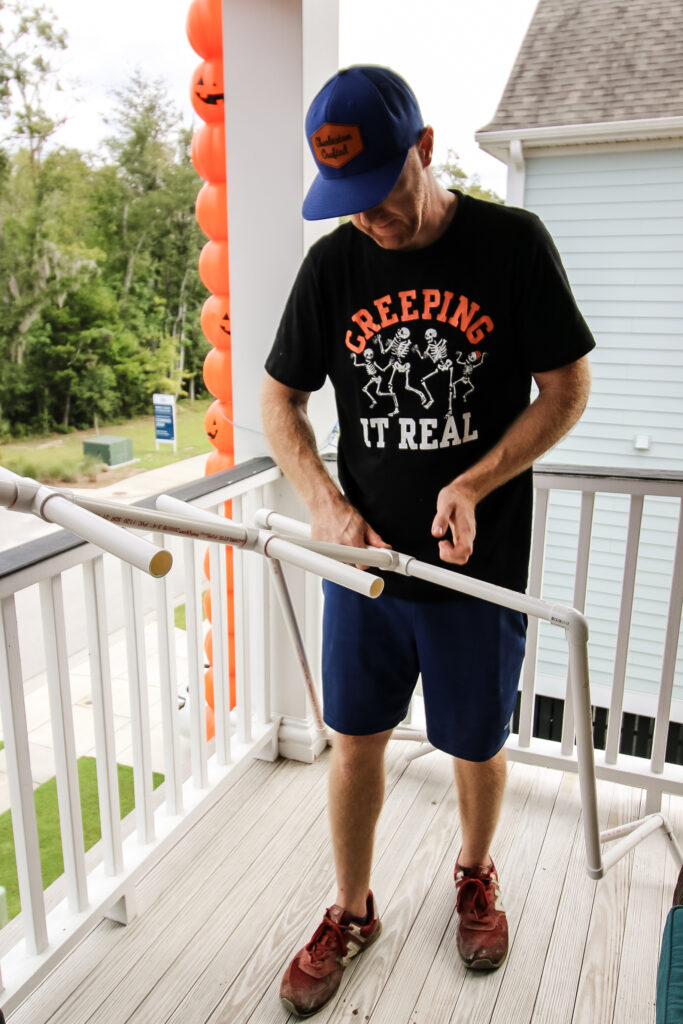
Step three: dry fit PVC skeleton frame
Next, I recommend dry fitting your PVC skeleton to make sure everything looks how you want it. Slide all the arms and legs and spine pipes into the fittings and make sure everything looks how you want it to.
This is also your opportunity to get your exact pose right. Depending on if you want your skeleton to be standing, sitting, or doing some sort of action, get the pose figured out here.

Honestly, we originally thought that this would be all we needed to do and we wouldn't need anything else. That was wrong, and the pipes will definitely slide around in the fittings when you're building something this big.
Step four: add PVC cement
Next, go through and add PVC cement to all the joints and pipes.
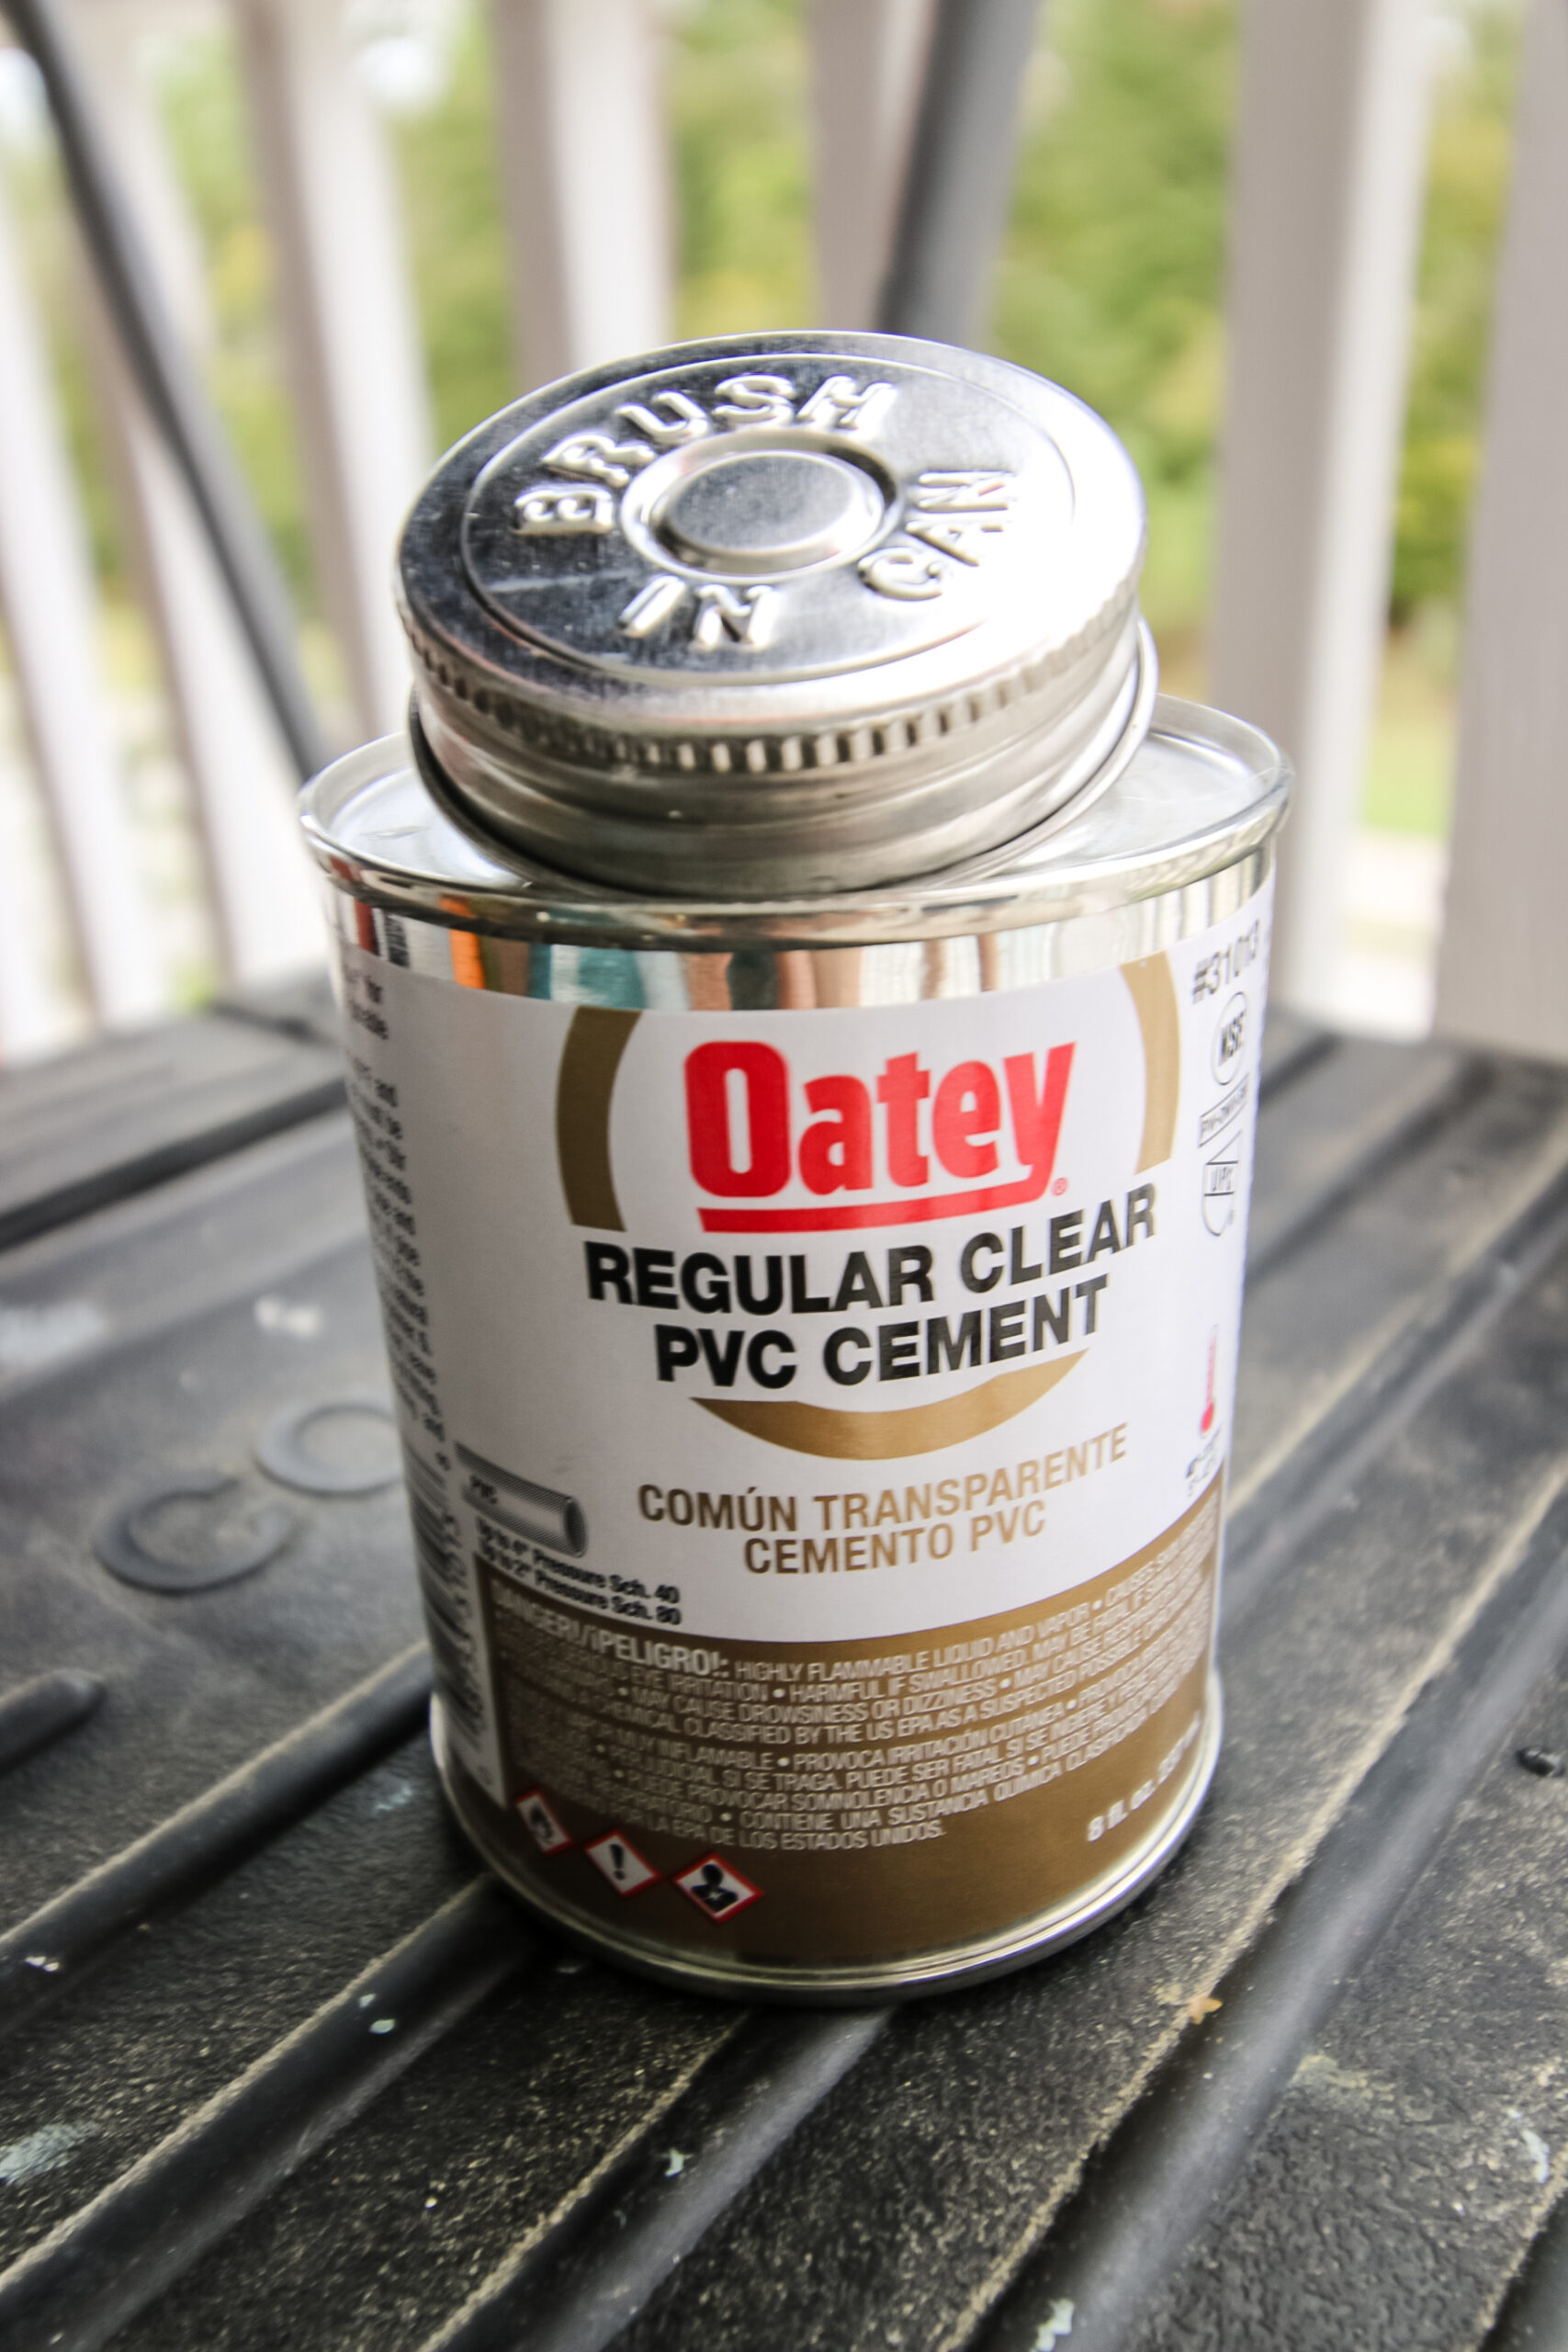
This was our first time using PVC cement and I didn't realize how fast it worked! It created virtually an immediate hold, which made it easy for construction.
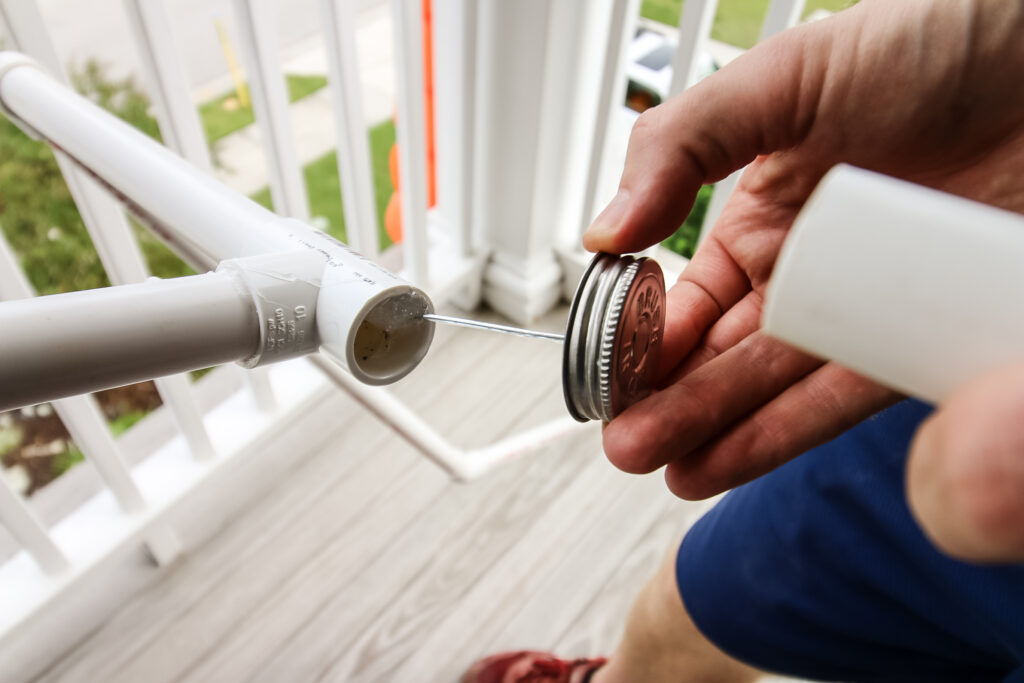
We used the brush to put cement on the inside of each joint and the outside of the pipe going into it and held it for a few seconds before the hold took place.
Repeat this for all the joints to make a solid hold.
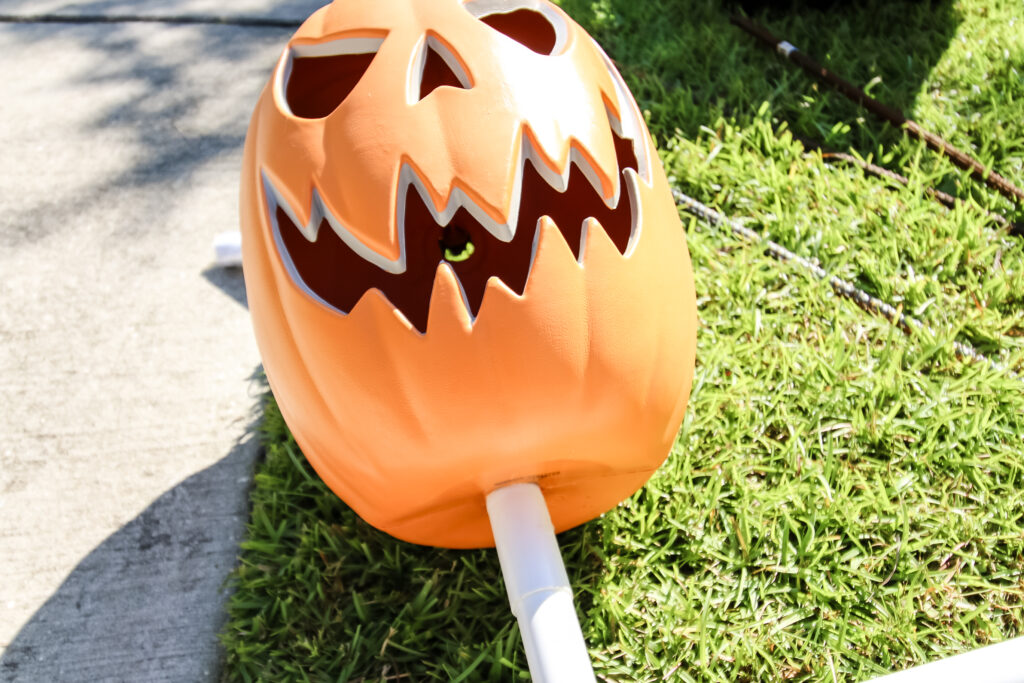
Step five: attach head
After the skeleton body is completely assembled, add the head.
You can attach any pumpkin head here that you want, but we chose one from Home Depot that lit up. We wanted something bigger but we were honestly concerned how it would hold up. You could also use cheap plastic pumpkin candy bowls from the craft store or anything else you want.
I also wish I had a better way to describe exactly how to attach the head. We tried using the PVC cement first, but that didn't work.
Then, we mixed up some two part epoxy and that didn't make a good hold either. So then we tried some epoxy putty around the bottom. That created a strong base around the pipe, but it didn't adhere to the head itself.
Finally, we grabbed a nail gun and shot some 1 ½" nails through the bottom of the plastic head and into the pipe inside. Do this enough times and you have a solid head hold.
I'd also recommend a good bead of hot glue around the base and on the inside if possible to make sure it holds.
Step six: display
Finally, display your PVC skeleton! You can stand yours up or put them in the pose that you created in your dry fit.
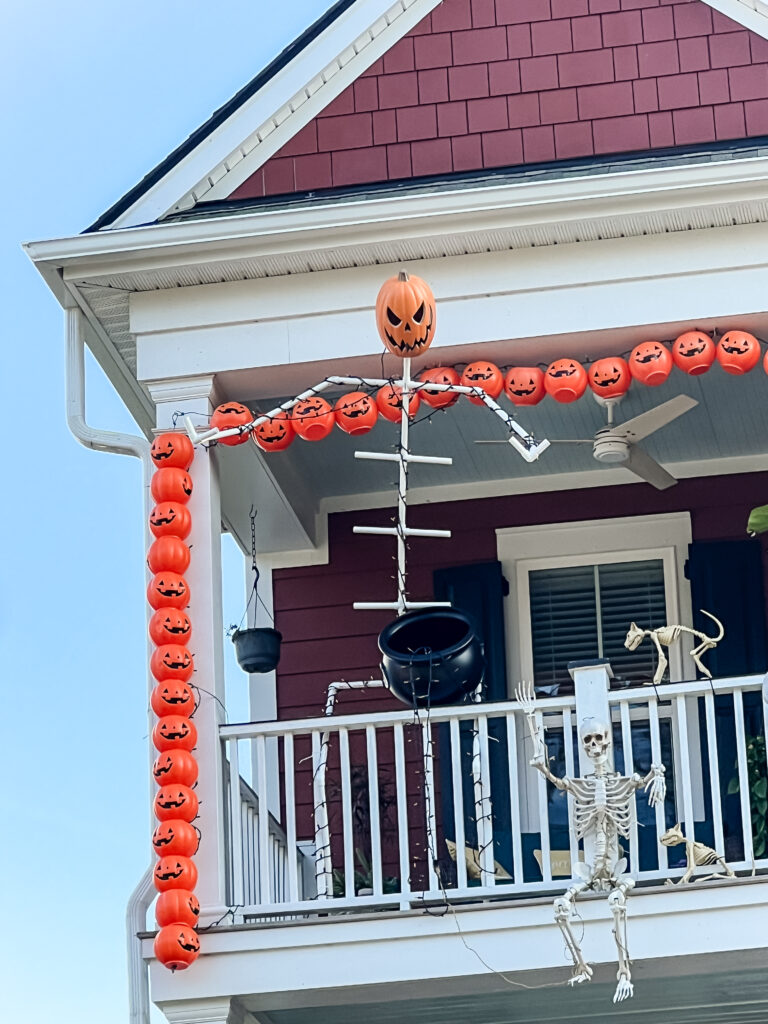
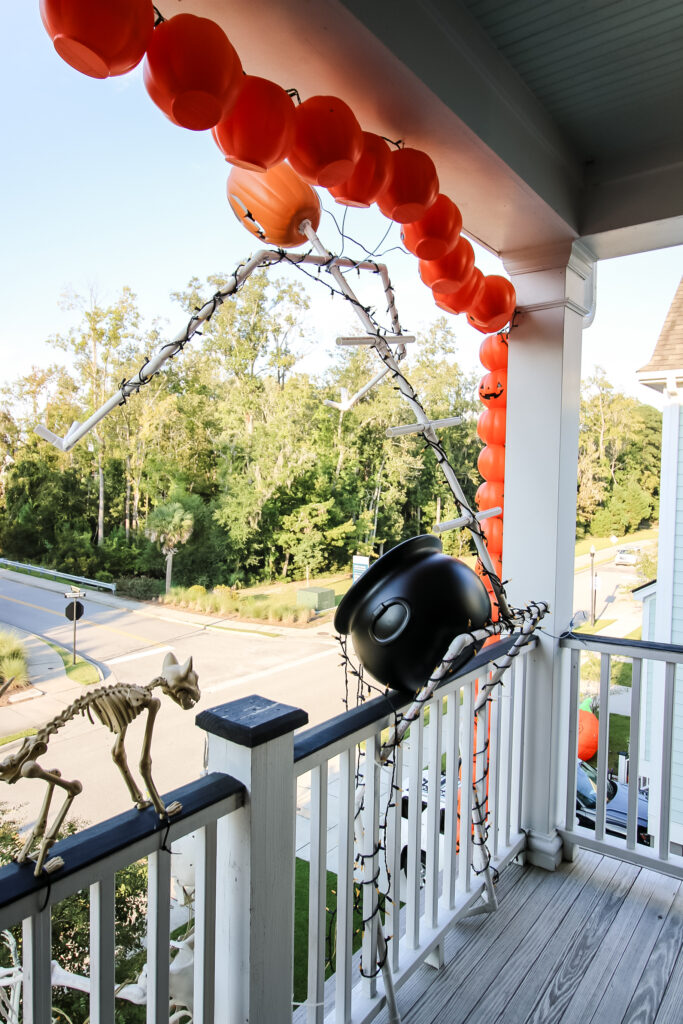
For us, we wanted him to be hanging off our third floor balcony so that he would be looming over the entire scene.
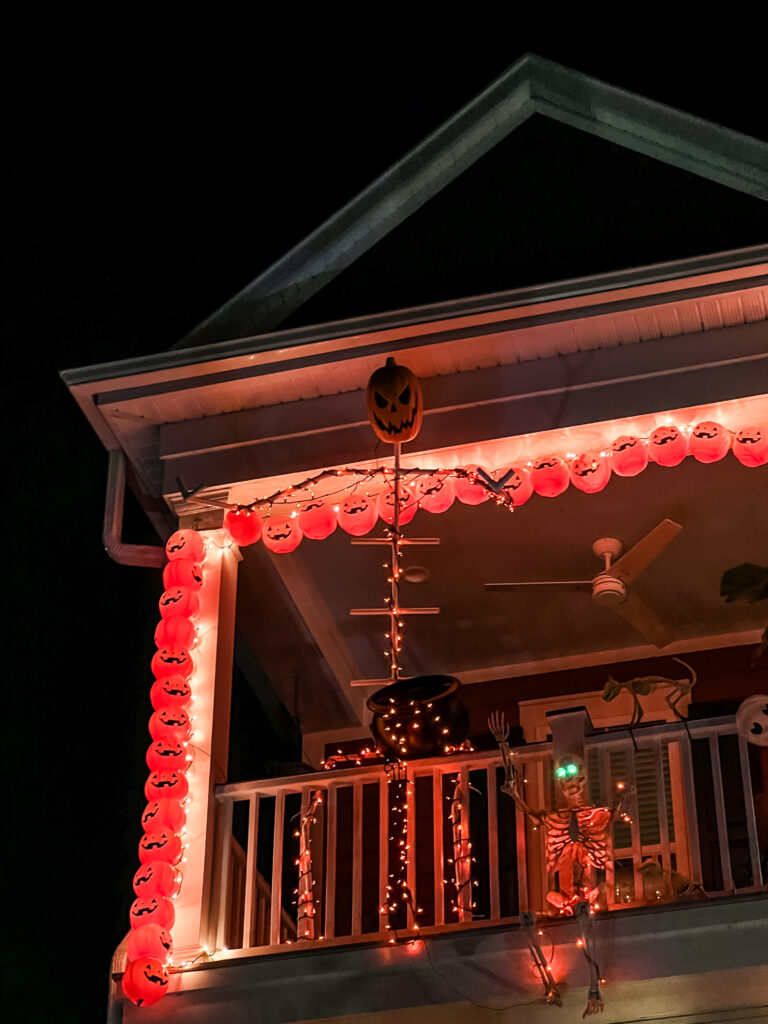
We created him with bends in his knees and a tilt in his torso so that he could lean over the railing.
To keep him from falling, we made sure to tighten several zip ties around his legs to the balusters on the railing and looped a string from his spine to a hook on the ceiling so that he wouldn't come crashing down.
How do you make a standing skeleton?
You can make a standing skeleton easily by posing them with rebar! We outlined this entire process in this post and it's really easy.
This method can be easily transferred to this PVC skeleton as well by hammering rebar into the ground and then using zip ties to attach the legs to the rebar.
Easy PVC skeleton
This easy PVC skeleton is a great DIY Halloween project! It has a huge impact on your Halloween decor and is so fun to make!
Obviously, a PVC skeleton doesn't look quite like a real Halloween skeleton you get from the store, but I think it adds to the whimsy of the holiday!

Looking for something?
We've been doing this since 2012 so we have a LOT of blog posts!
Search stuff like: Ceiling Projects | DIY Plant Stands | Thrift Flips

Hey there, I'm Sean, the woodworking enthusiast and builder behind CharlestonCrafted.com! Since 2012, I've been sharing the magic of turning raw materials into beautiful creations. I love teaching others the art and satisfaction of woodworking and DIY. I try to inspire fellow crafters to make something extraordinary out of nothing at all.