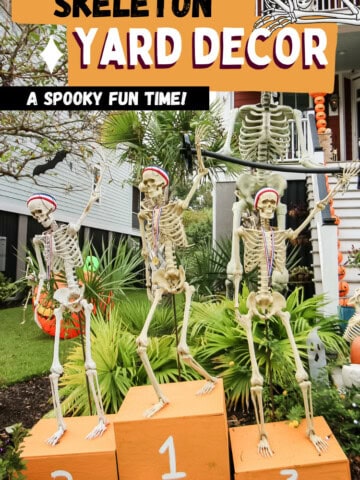
Want to add drama to your outdoor Halloween decorations? Here is how to make a DIY pumpkin arch garland from plastic pumpkins and white lights!
This project was sponsored by National Hardware. All opinions are our own. Thanks for supporting the brands that make CharlestonCrafted possible!
We absolutely love Halloween, and we especially love decorating our front yard for the holiday.
Our neighborhood has quite a few houses that go all out, which makes it extra fun to decorate!

We have previously done lit up pumpkins on our entry staircase paired with pumpkin topiaries at the top. This year we wanted to bring some light up pumpkins to the second floor porch.
So, we decided to create a simple DIY pumpkin arch using plastic pumpkins, white lights, and nylon coated wire.
Today we are excited to share our step by step tutorial on how to make a DIY pumpkin archway!

We sized this to fit our porch, but it could also be made to fit around a garage door or front door. Maybe we will have to add one to the garage door next year!
Here's how to get the look yourself!

How to make a DIY pumpkin arch garland for Halloween
Supplies + tools needed:
- Measuring tape
- Plastic pumpkins
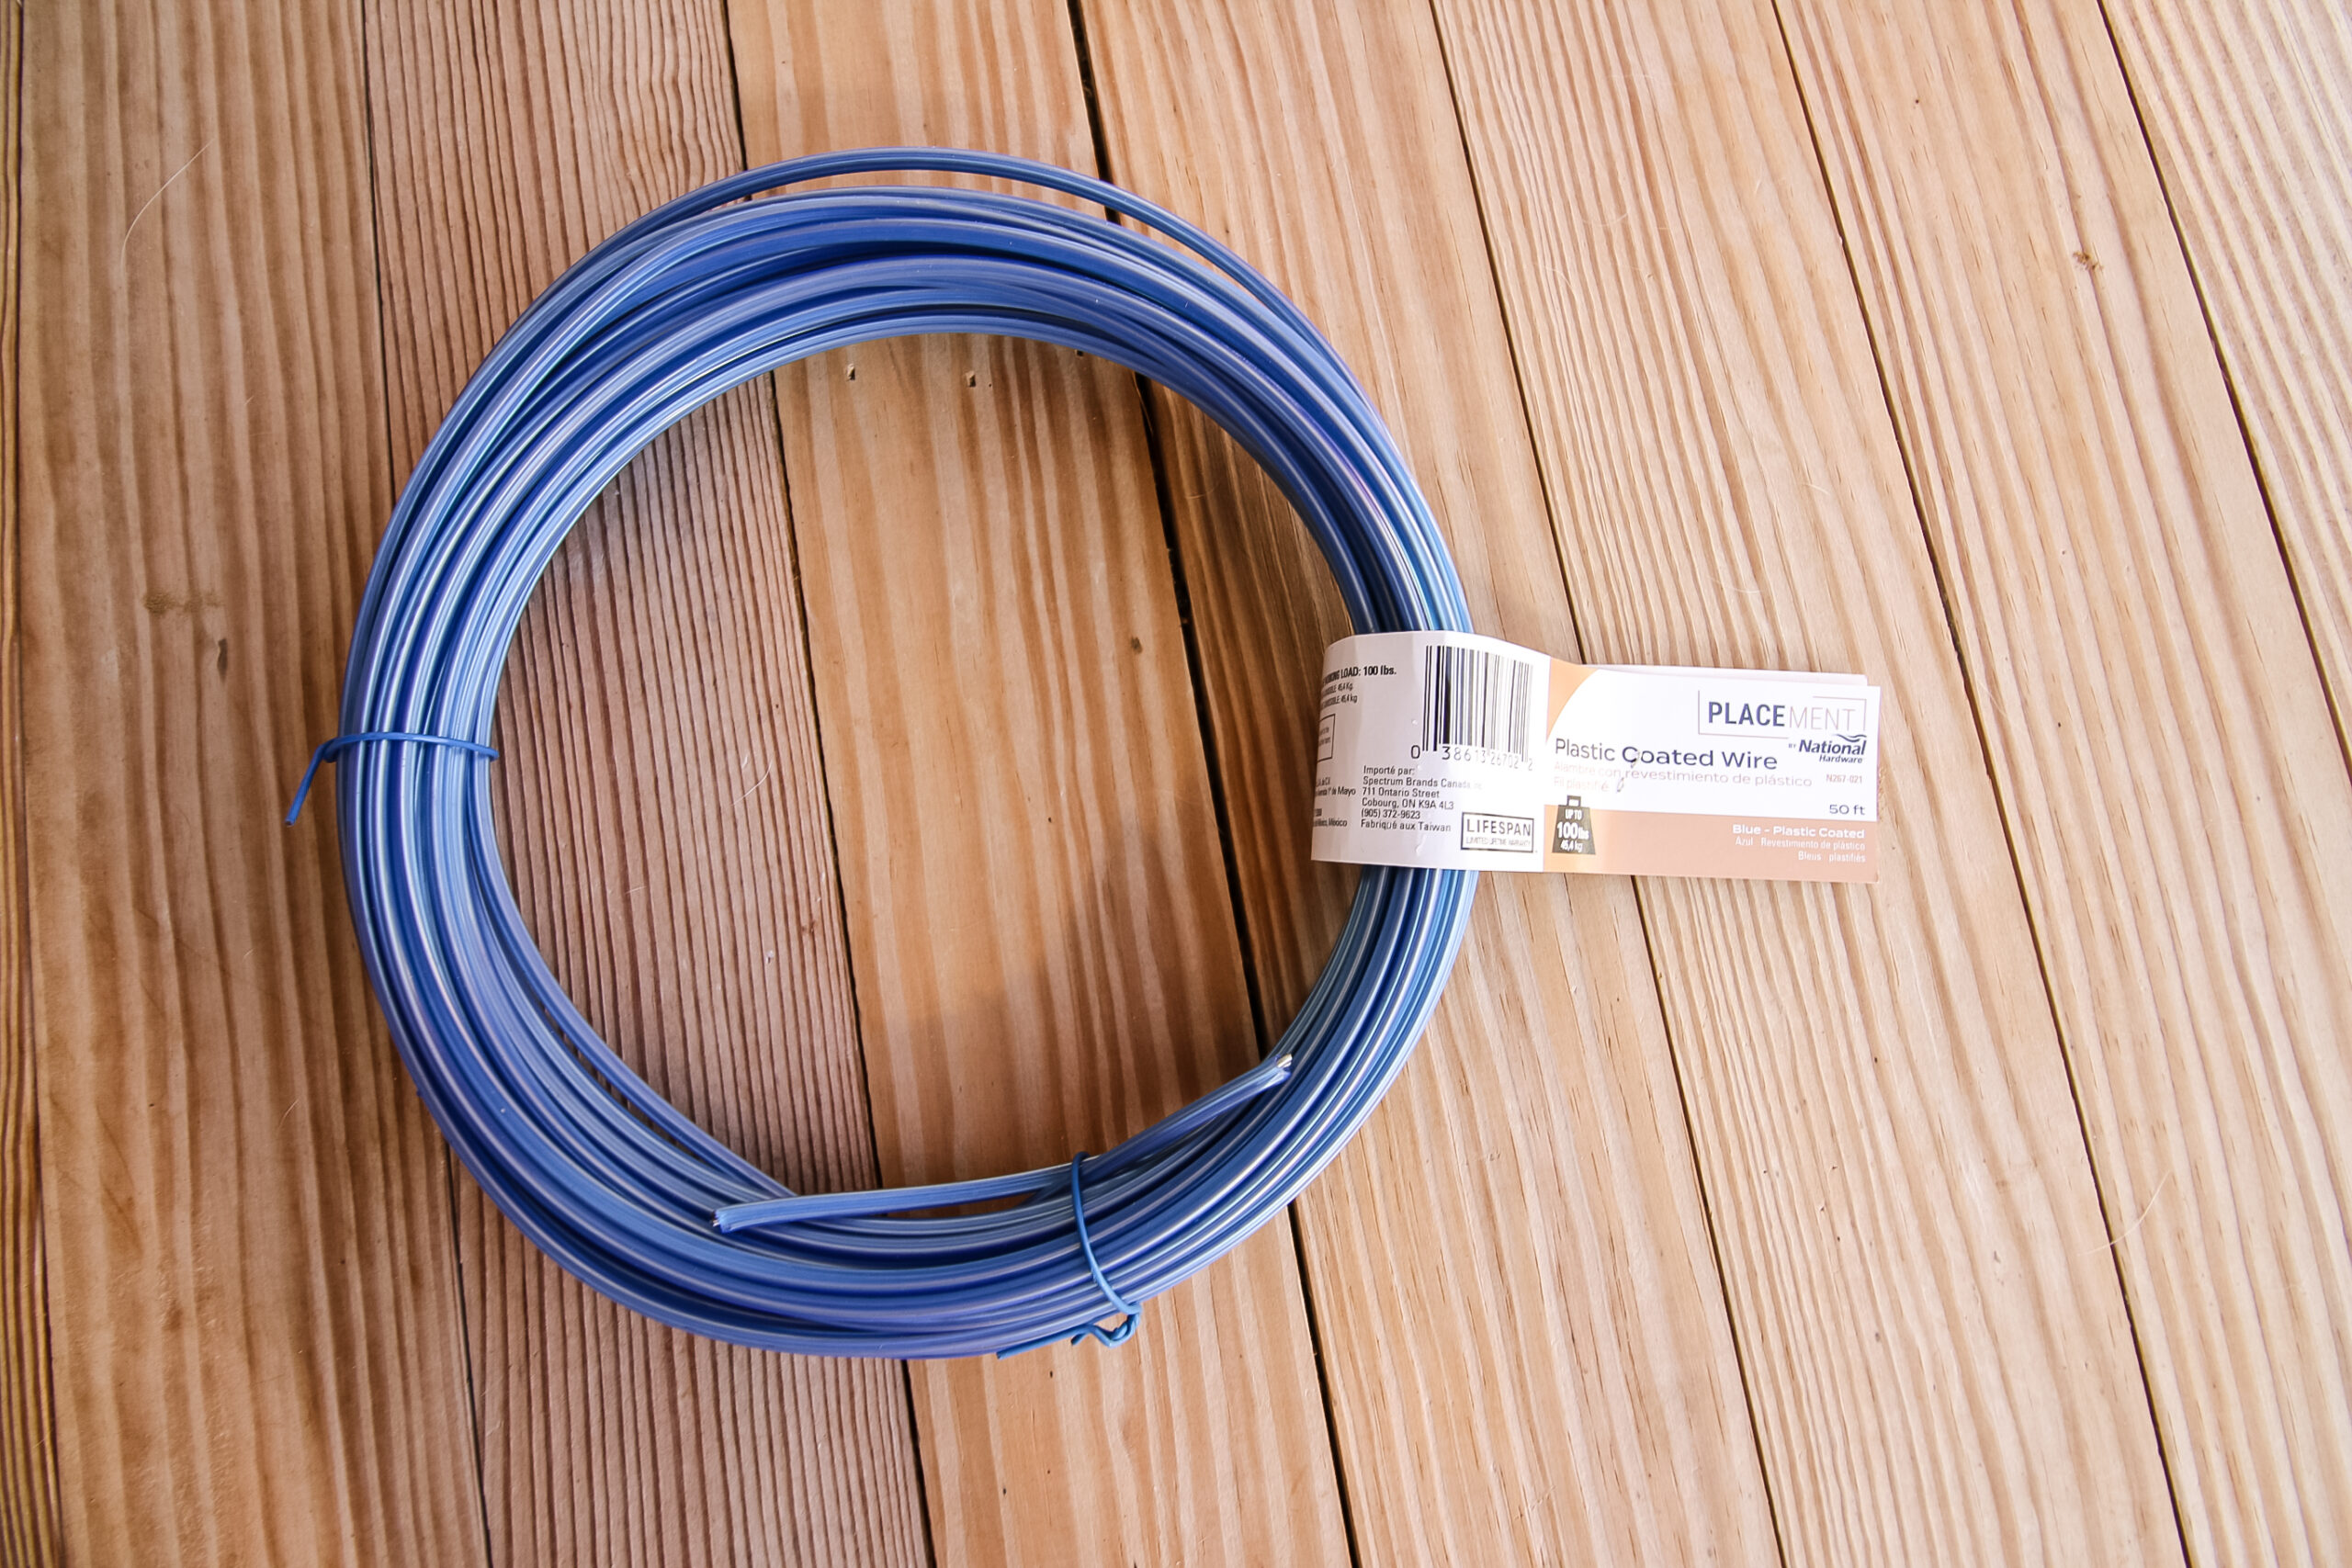
- Plastic coated wire
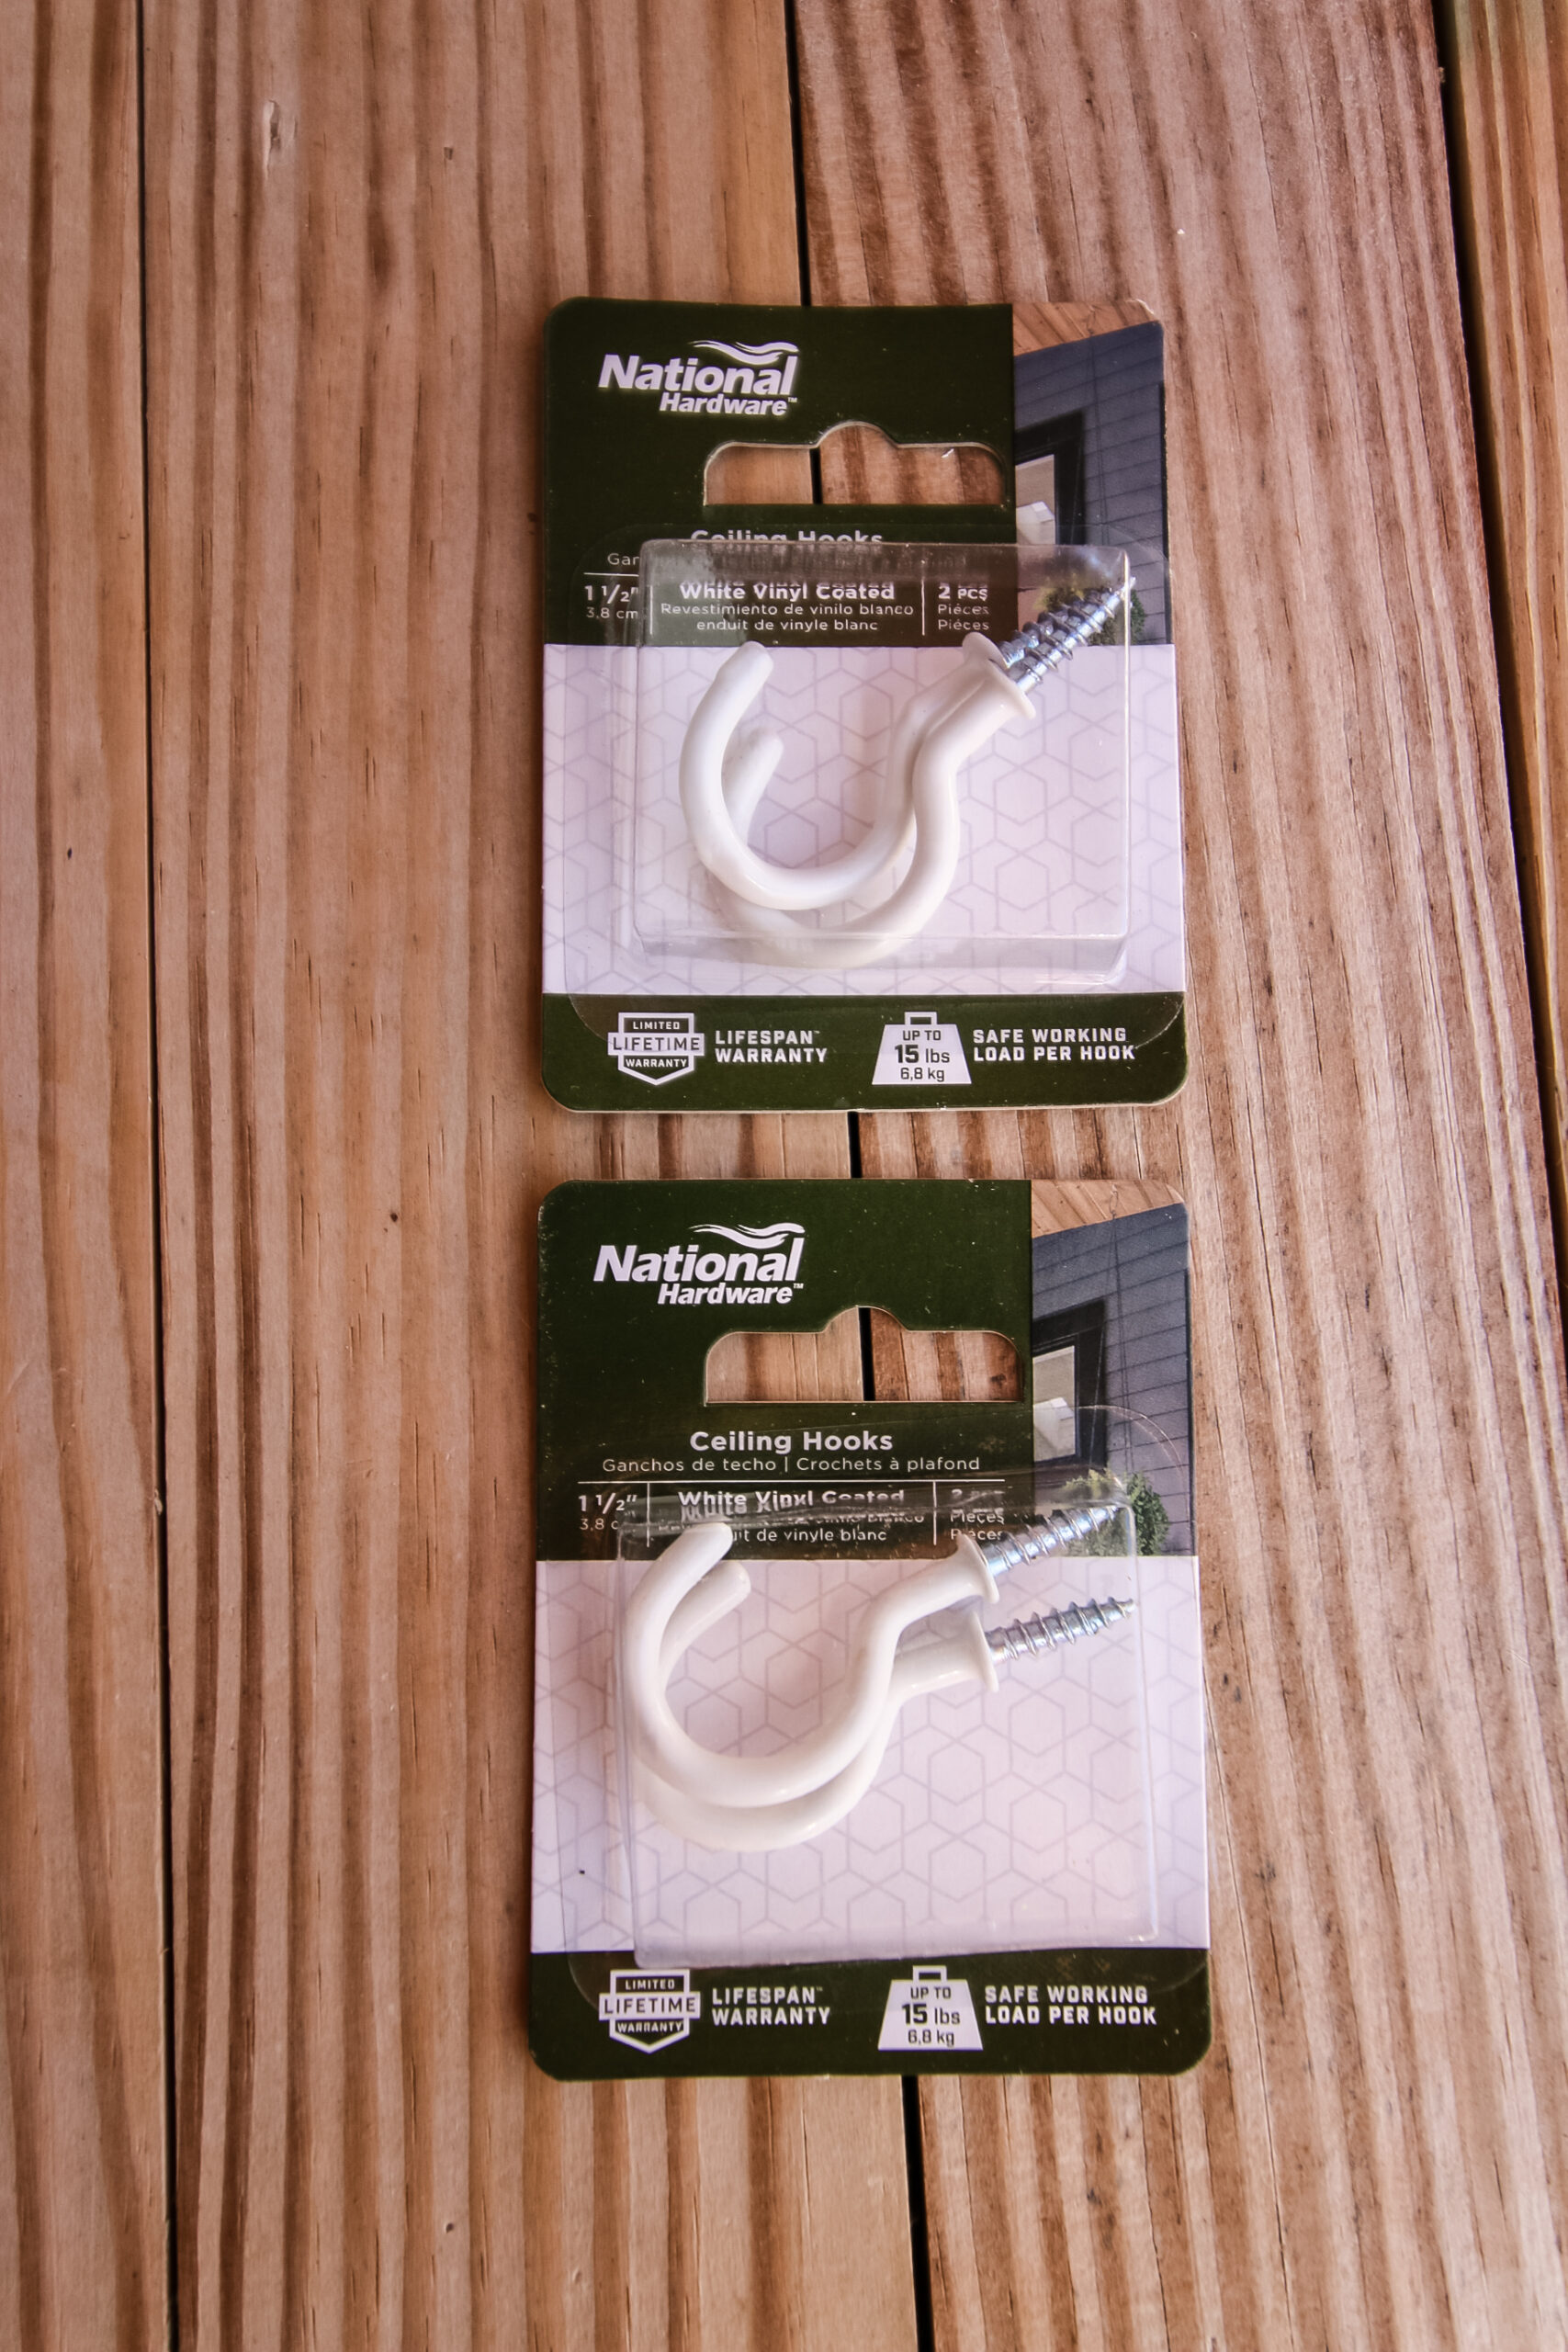
- White Vinyl Ceiling hooks
- Drill
- Wire snips
- Scissors
Steps for how to make a pumpkin archway:
Here are the steps to follow to make a Halloween arch DIY!
STEP 1: Measure and plan
The first step in how to make a halloween archway is to design your Halloween pumpkin arch. Measure your area and determine the height and width that you need.
Measure your pumpkins. The ones I used were 8 inches tall and 8 inches across in their widest part.
So, I took each measurement in inches and divided it by 8. I needed 45 pumpkins total to create 2 vertical garlands and 1 horizontal garland for a complete pumpkin arch.
Take this list shopping with you. The best deal I found on plastic pumpkins this year was $1.50 each at Target (up from 99 cents the last time we bought them!) and it took two shopping trips to be able to get enough since they didn't have 45 pumpkins on the shelves and you can't order them online.
STEP 2: Prep the pumpkins
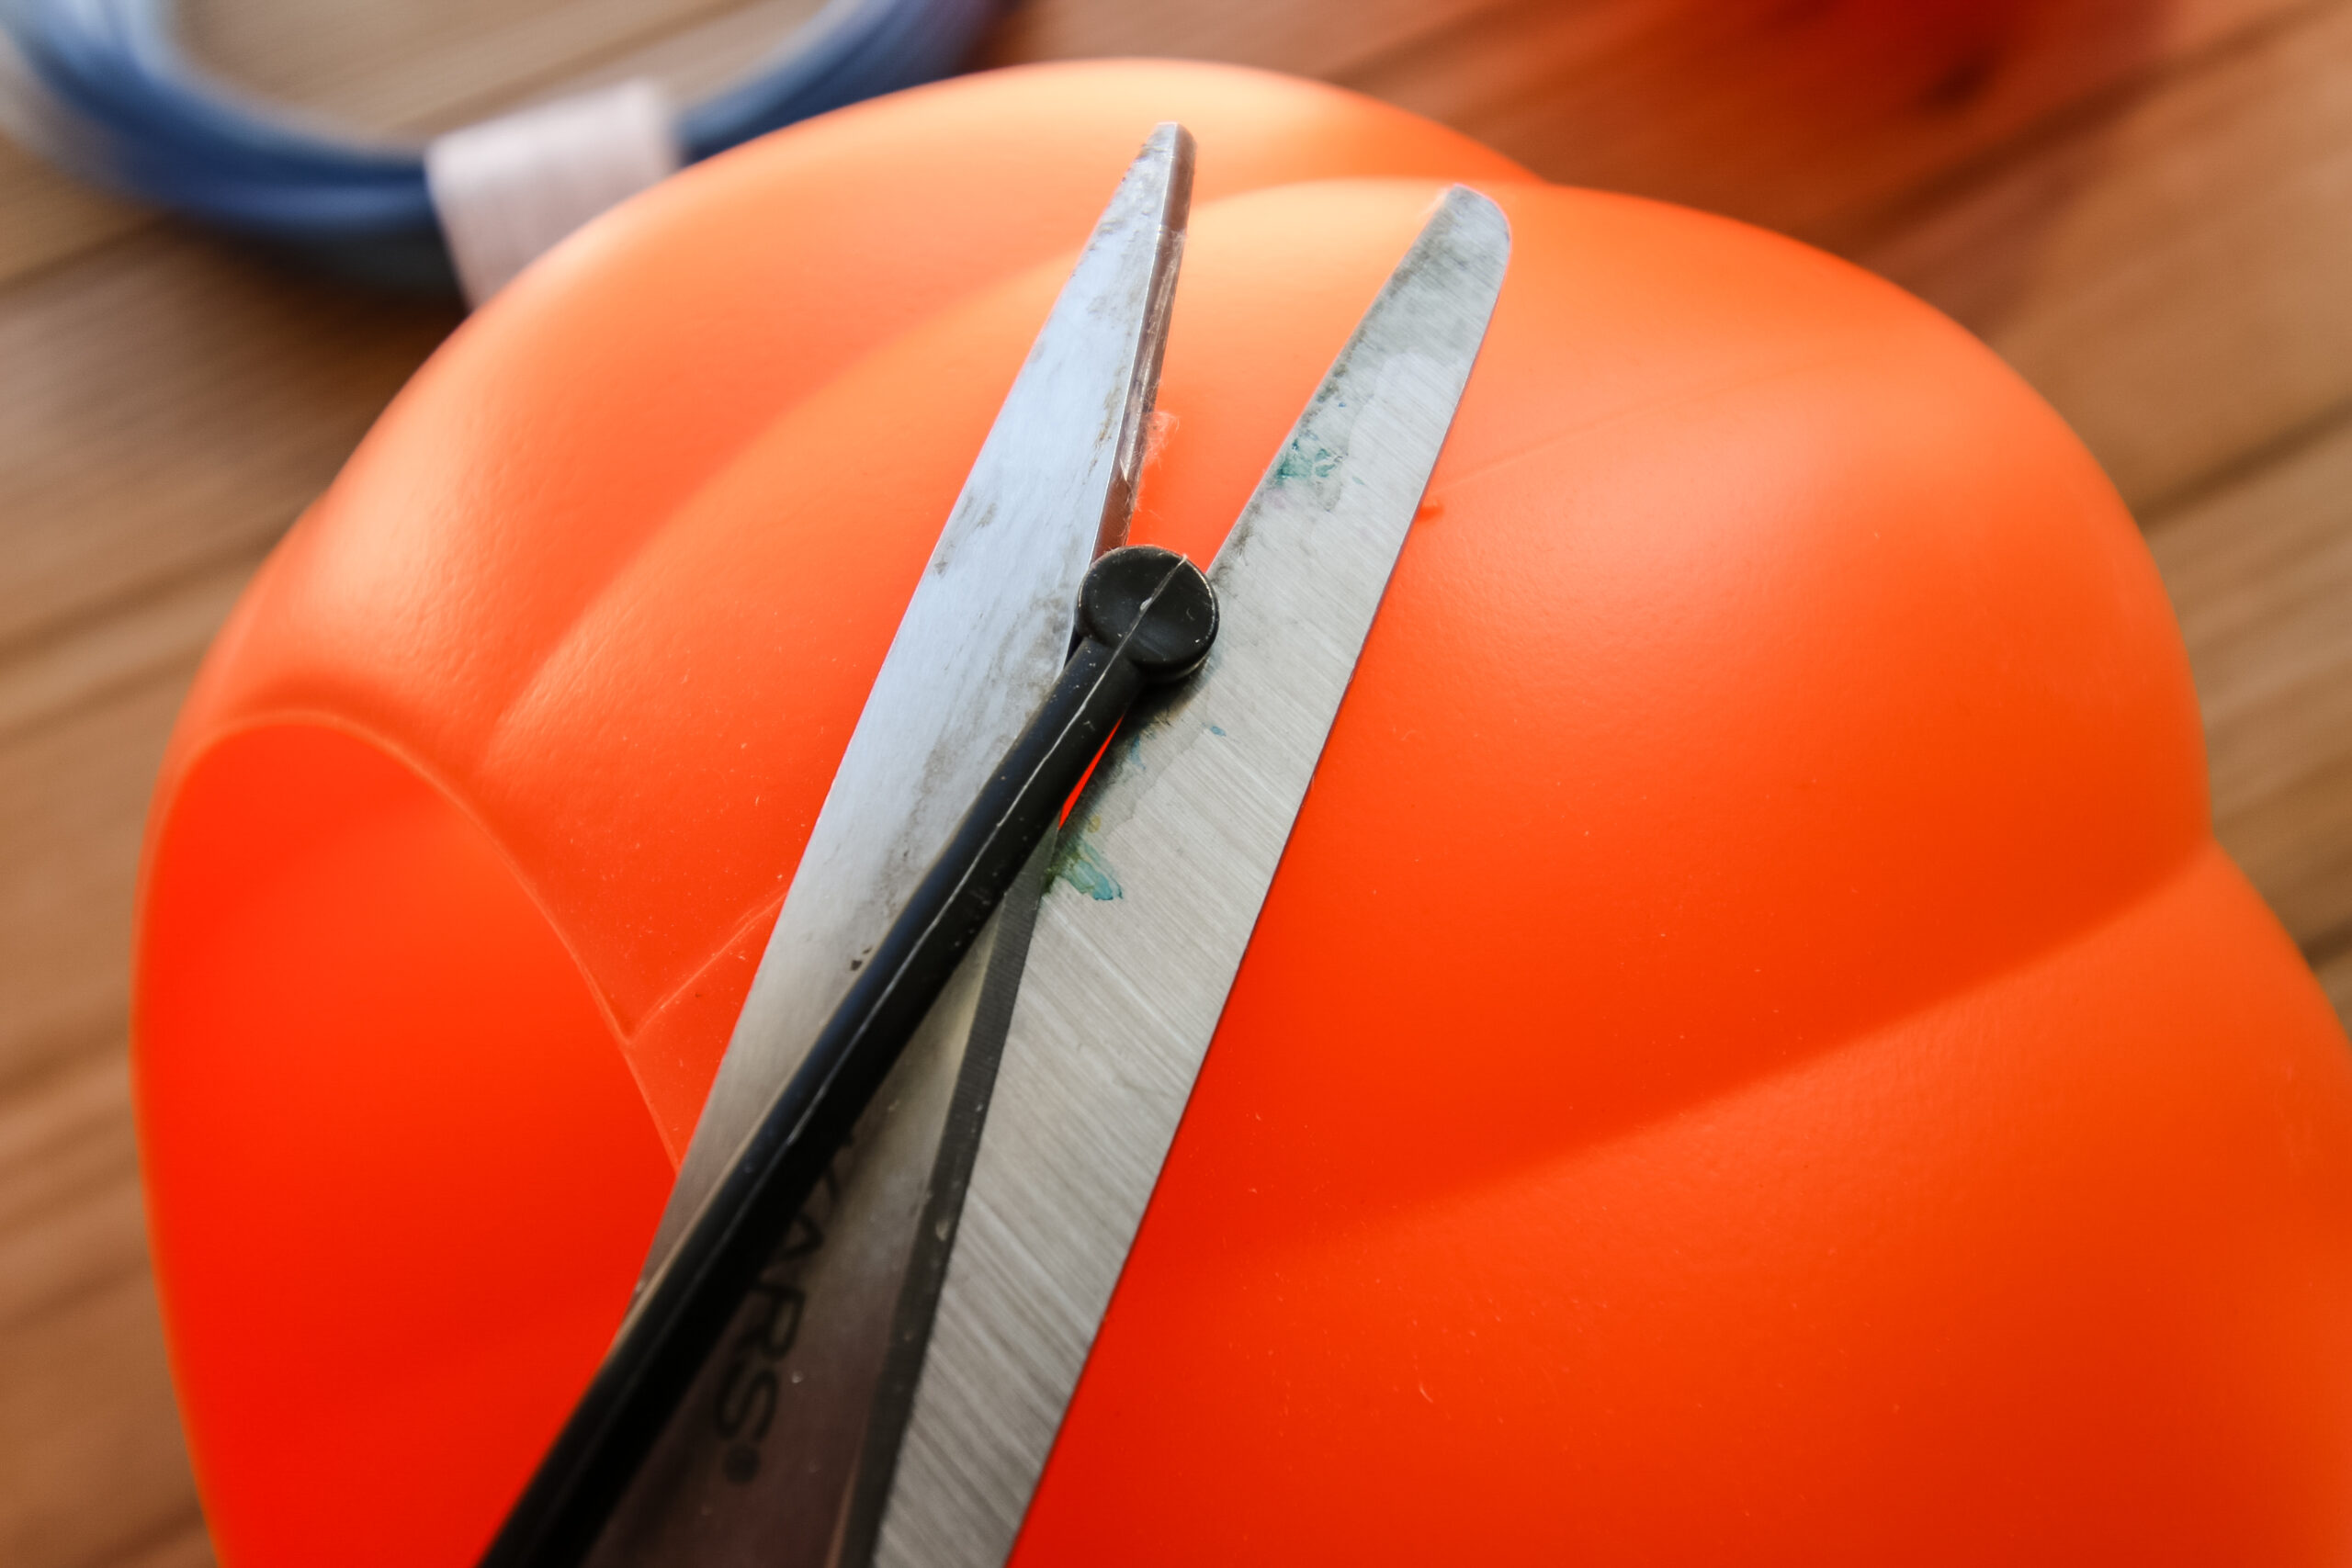
Now it's time to prep your pumpkins. Your pumpkins may vary, but I had to use scissors to cut the handles off of each one and peel a sticker off the bottom of each. This was honestly the most tedious part of this project!
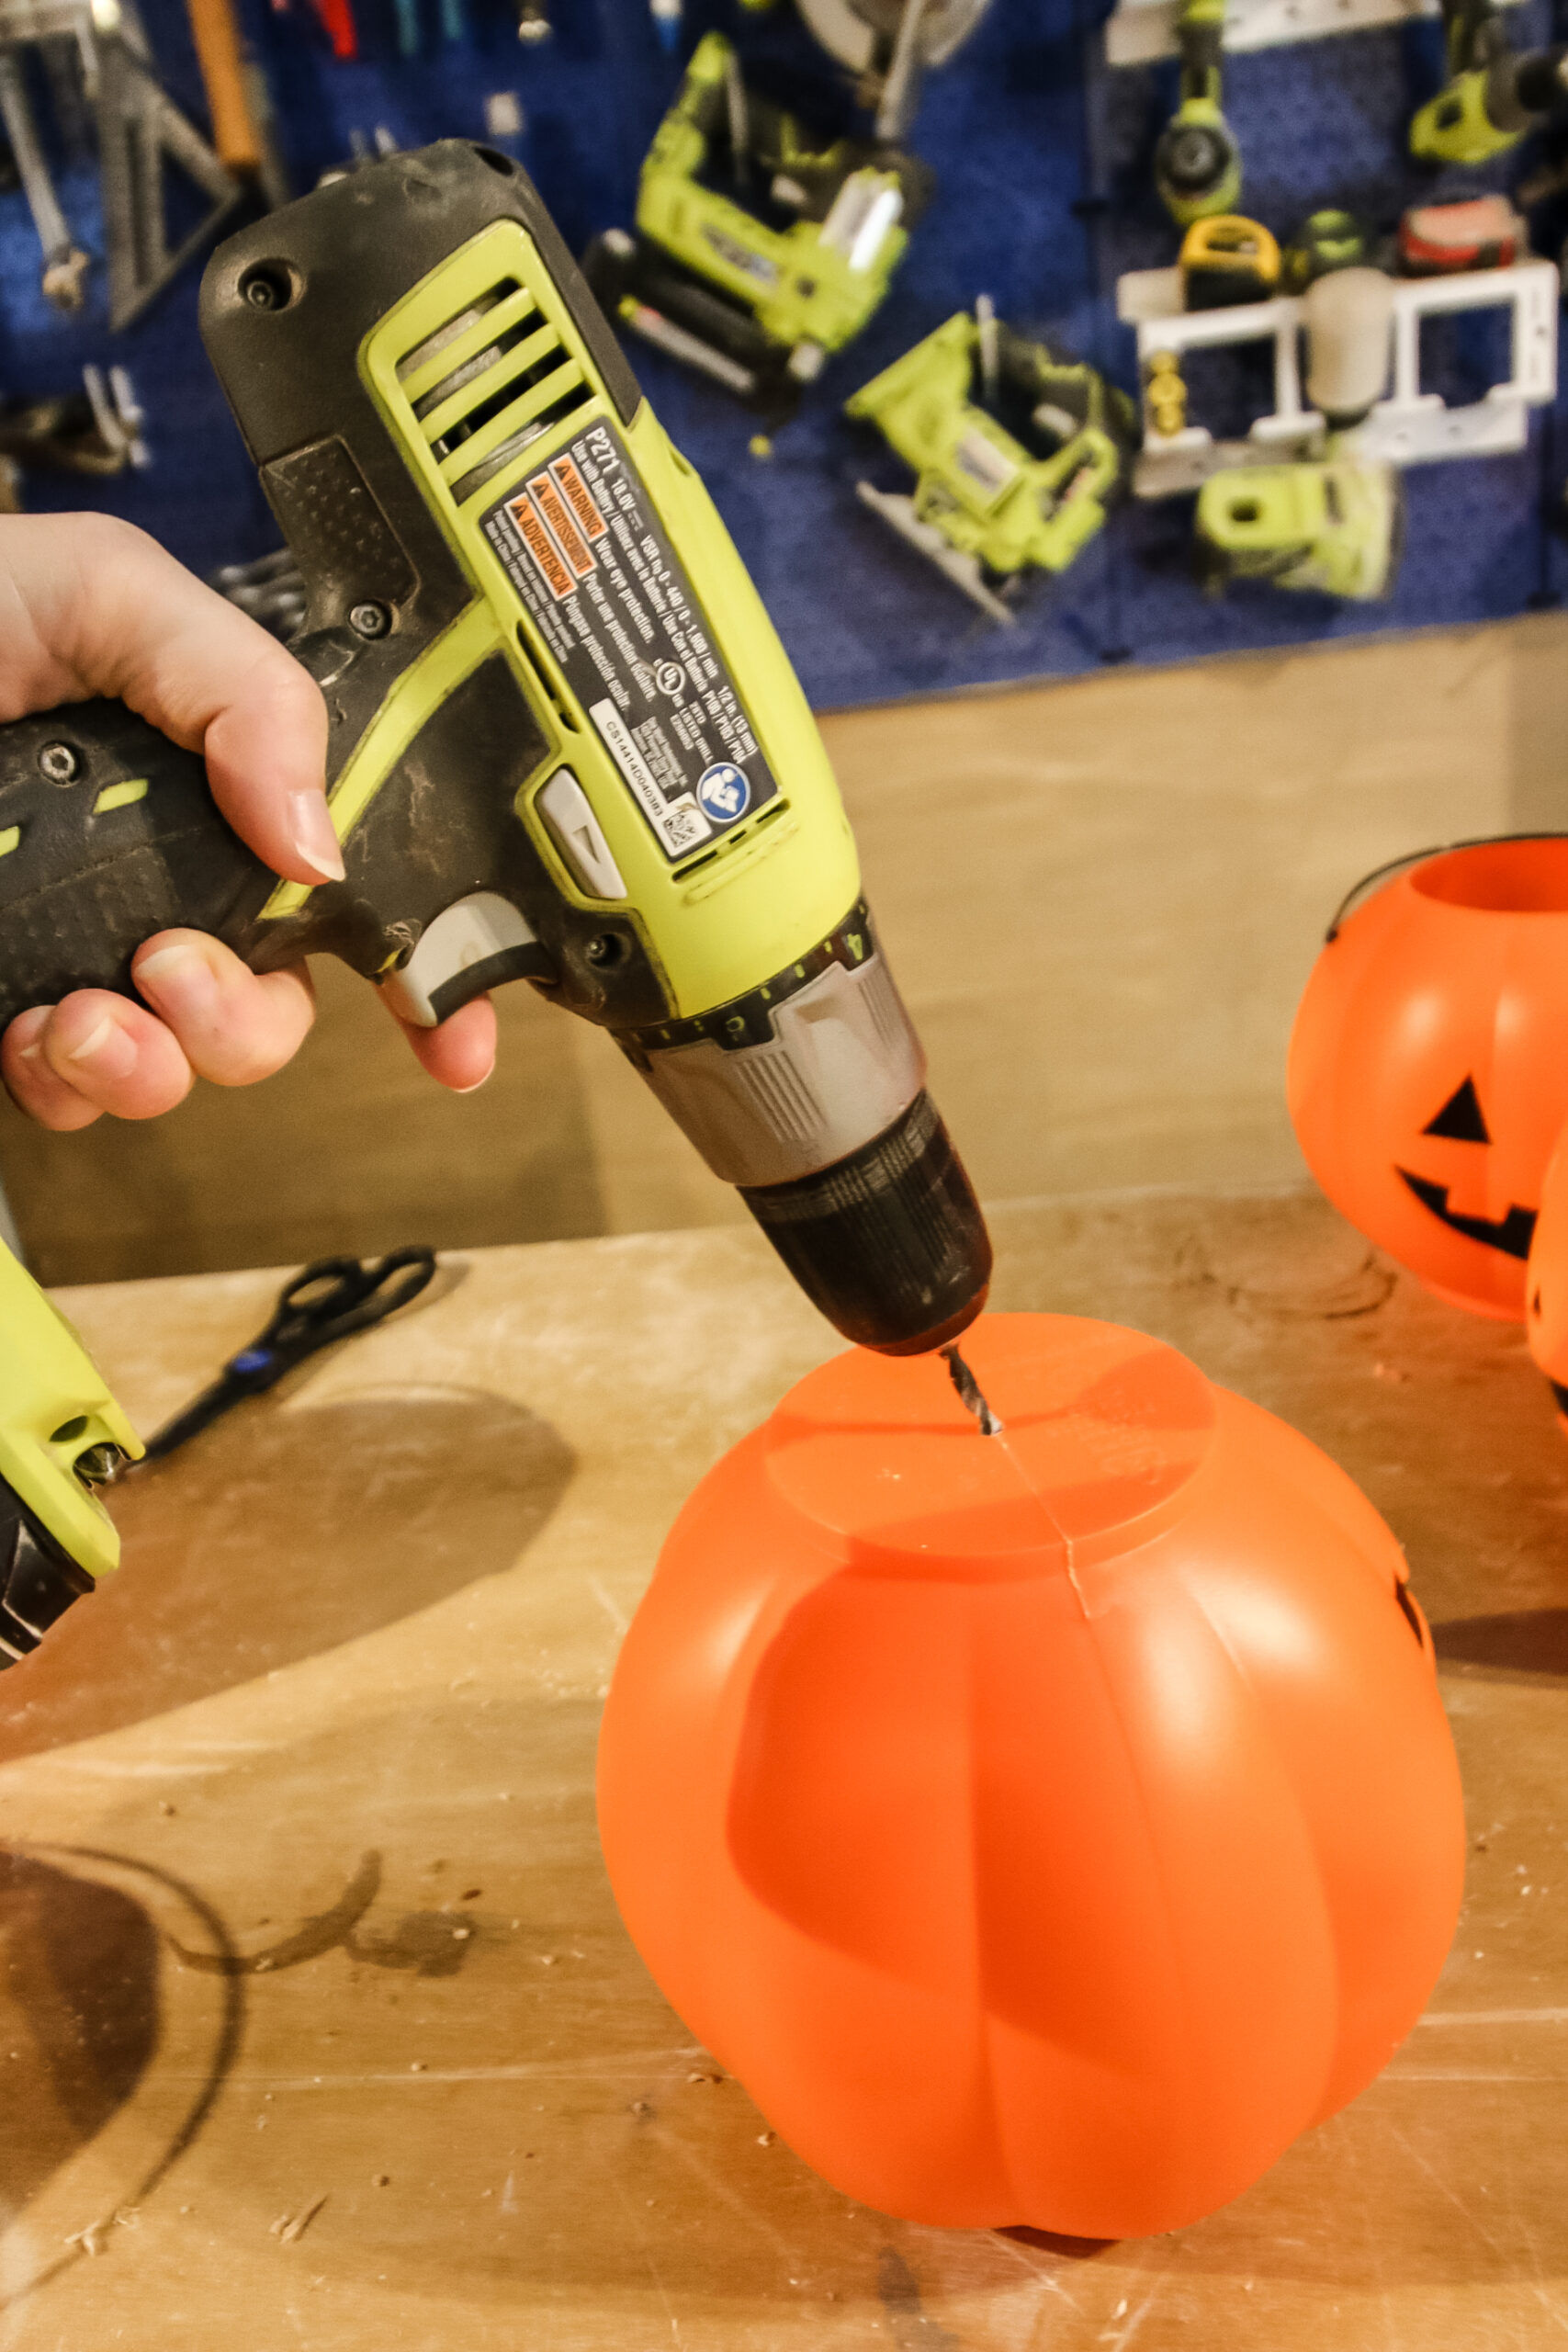
For pumpkins that will hang vertically, they will need a hole drilled in the bottom. I selected a drill bit slightly larger than the wire and drilled with that. It was very, very easy to drill the hole!
STEP 3: String the garlands
Next you will want to string up the pumpkins. For this project we chose to use Plastic Coated Wire from National Hardware. This wire is super strong - it can hold 100lbs! - and the plastic coating will help to protect it from the elements.
I also love that it is bendable and holds its shape a bit, which is perfect for twisting off the ends.
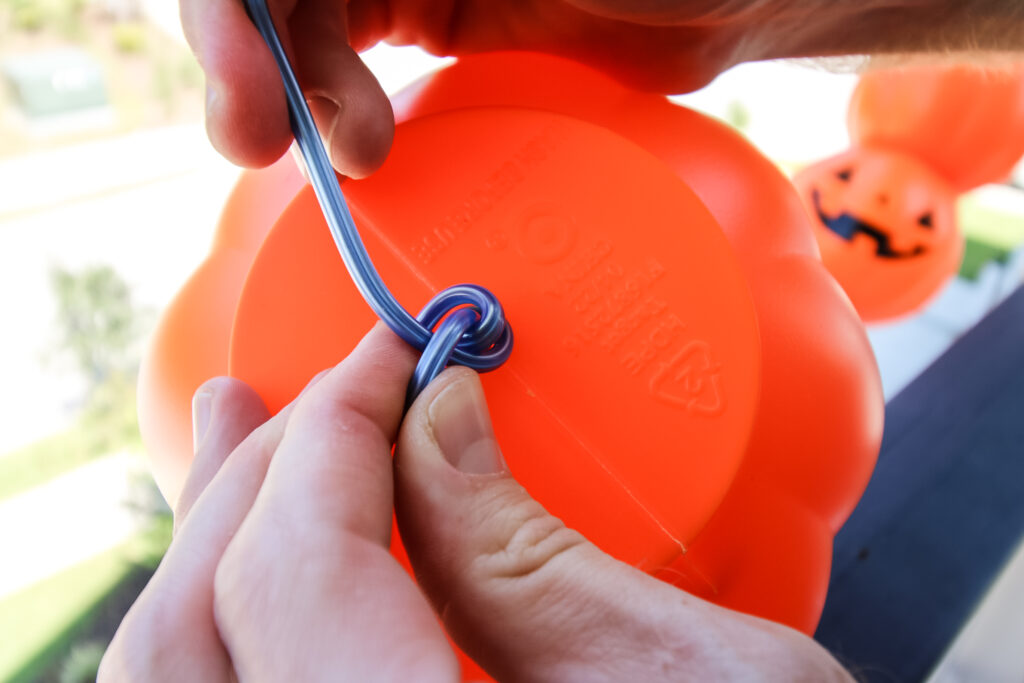
For the horizontal strands, simply thread the wire through the existing handle holes. When you get to the end, twist a loop to use for hanging in the wire. Do NOT cut the second end until you hold it up and double check that the length and number of pumpkins is correct.
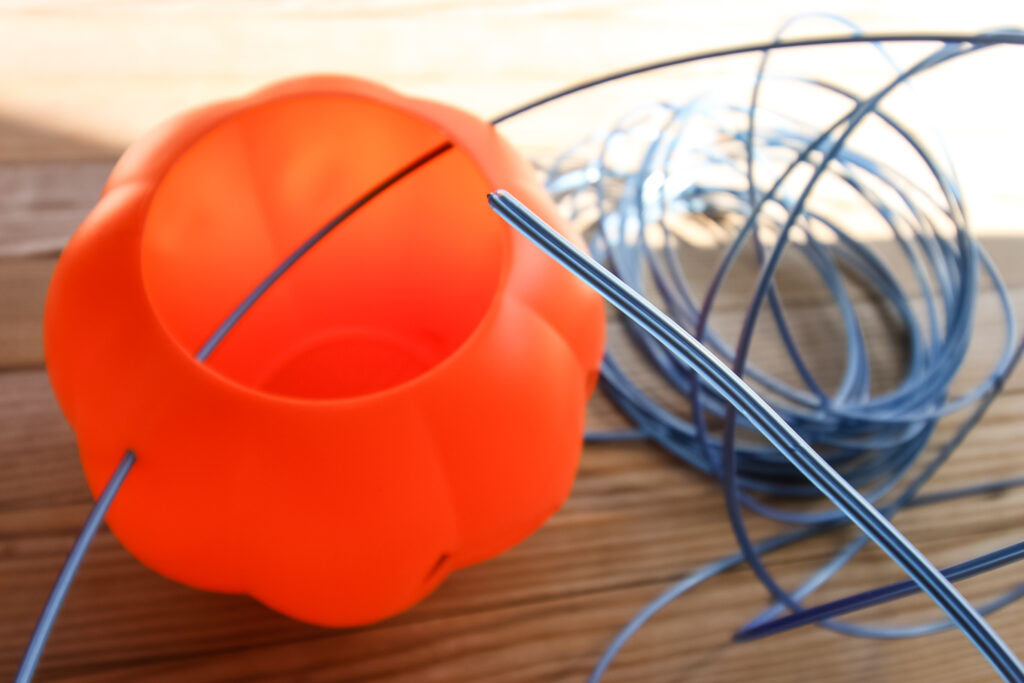
For the vertical strands, thread the wire up through the hole you drilled and out the opening at the top of each pumpkin. When you get to the end, twist a loop to use for hanging in the wire. Do NOT cut the second end until you hold it up and double check that the length and number of pumpkins is correct.
STEP 4: Add the hooks
Decide where you want the white vinyl coated Ceiling Hooks to go. We placed one on the front of each column, which holds the vertical and horizontal pieces. We also added 2 across the top for the horizontal strand to hang on.
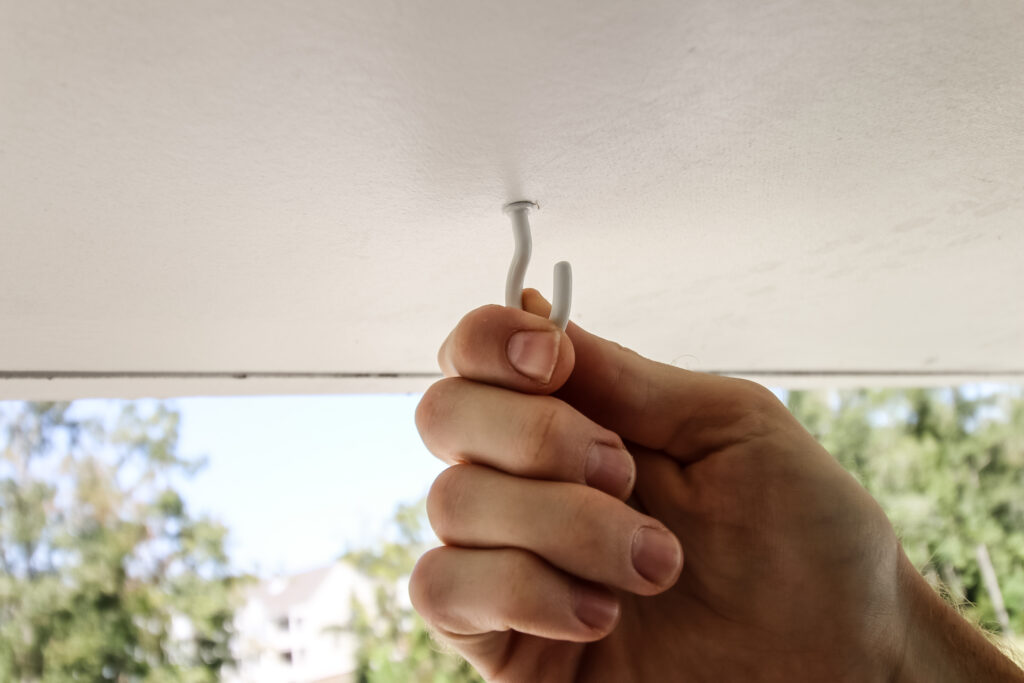
To hang the hooks, pre-drill a hole with a drill. Then, you can screw the hook in by hand. It should go in easily.
STEP 5: Hang the garlands
Be sure that the end of the garland is tied off with a loop in the wire. Slip the loop over the first hook. Adjust the pumpkins as needed, slipping onto hooks as you go.
Trim the second end of the wire and tie off a loop. Slip on the final hook.
For the vertically hanging strands, we added an extra loop of wire about 3 pumpkins up from the bottom. This wraps around the string (is hidden by the pumpkins) and around the column. This helps to keep it from flapping around in the wind.
STEP 6: Hang the lights
Finally, add lights. We chose a strand with large, clear bulbs. First, plug in the lights to be sure that they work and that you have the right end near the power source.
Next, run the light strand along the pumpkins. Tuck lights into the top holes of the pumpkins as possible. Depending on the spread of your lights, you may have some that won't reach - that's ok. Repeat to light the whole garland arch.
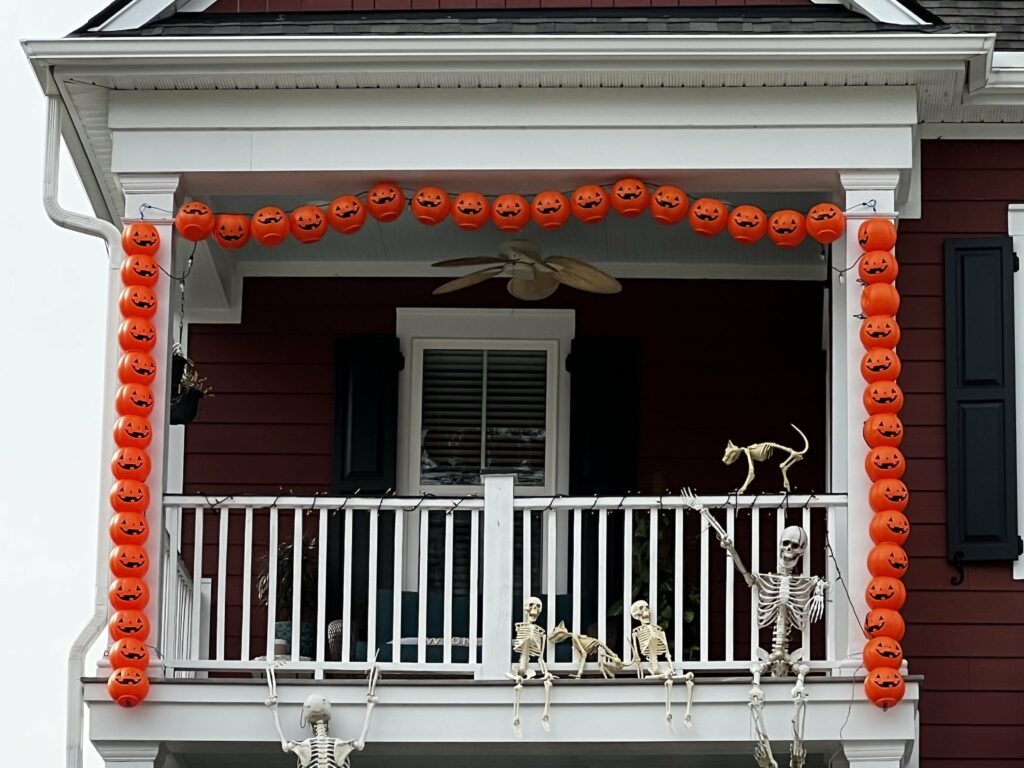
STEP 7: Enjoy!
Step back and enjoy your lights. Try to resist the urge to drape these garlands all over the front of your home!


Any questions about how we made this plastic pumpkin archway?

Looking for something?
We've been doing this since 2012 so we have a LOT of blog posts!
Search stuff like: Ceiling Projects | DIY Plant Stands | Thrift Flips

Hello, I'm Morgan, half of the creative force behind CharlestonCrafted.com! With a passion for DIY that dates back to 2012, I've transformed three homes and now I'm dedicated to helping others craft their dream spaces. Let's turn your house into a home together!