Wondering how to put pine cones on a Christmas tree? Here's a step by step tutorial on the easiest way to give your tree that natural, wintery aesthetic!
Christmas trees covered in colorful lights and ornaments are beautiful, but I also love a really natural looking winter wonderland type tree.
One of my favorite elements for adding a natural, winter feel to Christmas decor is with pine cones!
We are lucky enough to live in the Carolinas, where we have pine trees a-plenty, and we have a seemingly endless supply in the woods behind our house.
So, I decided to make some pine cone ornaments this year.

I have previously made a DIY pine cone Christmas tree - but this time I just wanted to add a few pine cones to our existing tree.
Of course, you could just add a loop of twine or a hanger to the top of a pine cone and hang it from the branches.
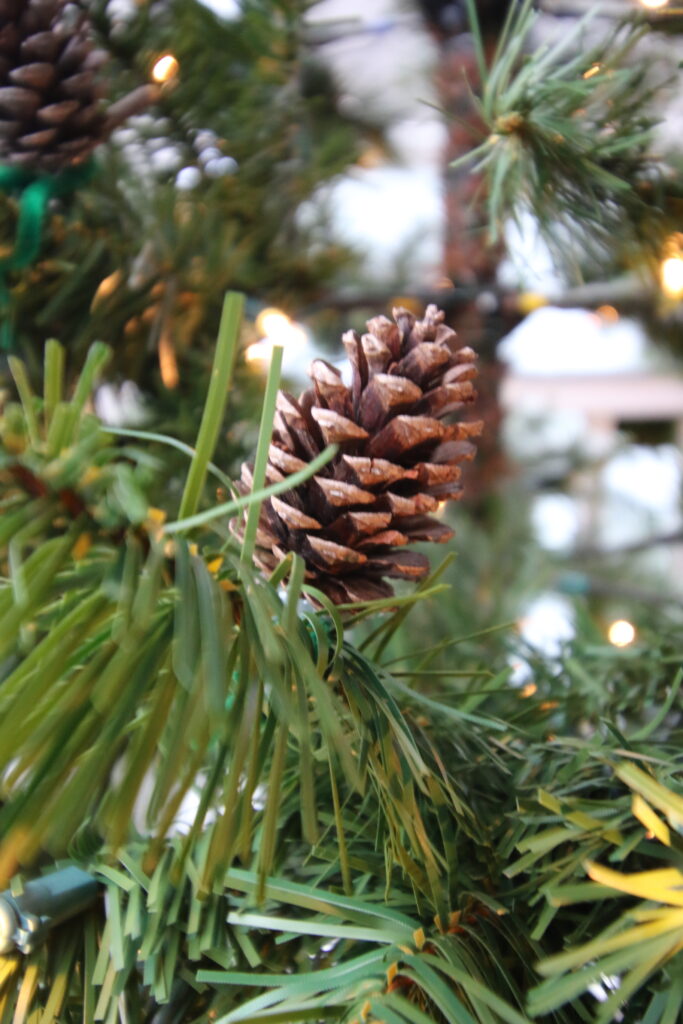
But, I wanted the pine cones to look more natural - like they are growing from the branches, not like ornaments hanging underneath.
So, I added wire and was able to get the perfect effect.
Here's how you can get the same look, too.
How do you attach pine cones to a tree?
It's super easy to add pine cones to the branches of your Christmas tree. Here's how to do it!
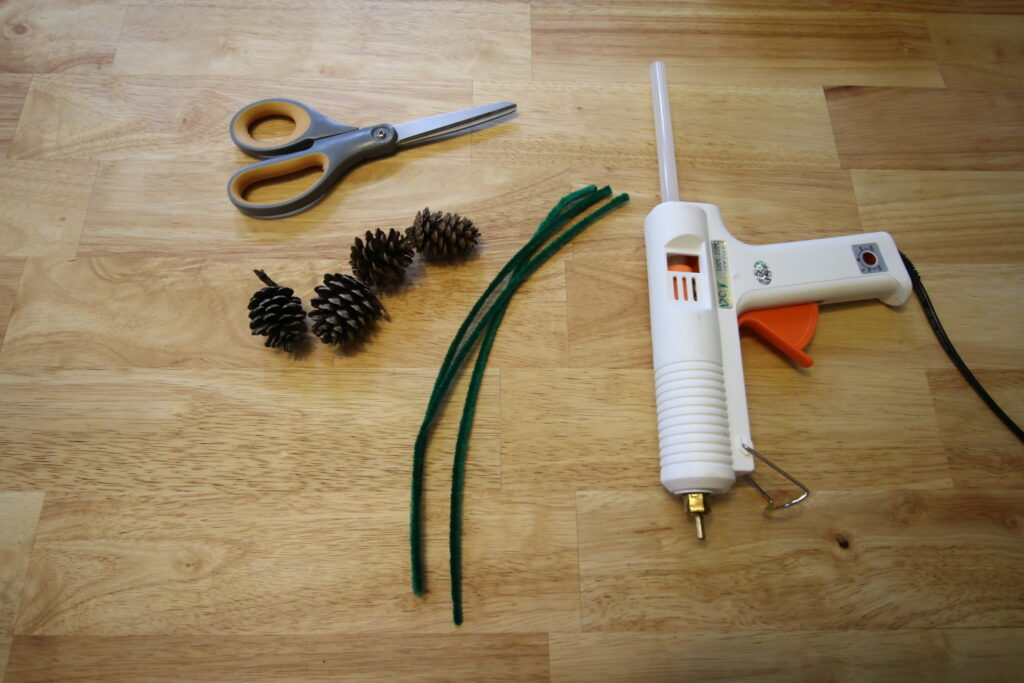
Supplies needed:
- Pine cones
- Green pipe cleaners (or floral wire)
- Hot glue
- Scissors
- A Christmas tree
Steps to add pine cones to a Christmas tree:
Here's how easy it is to hang pine cones on your Christmas tree!
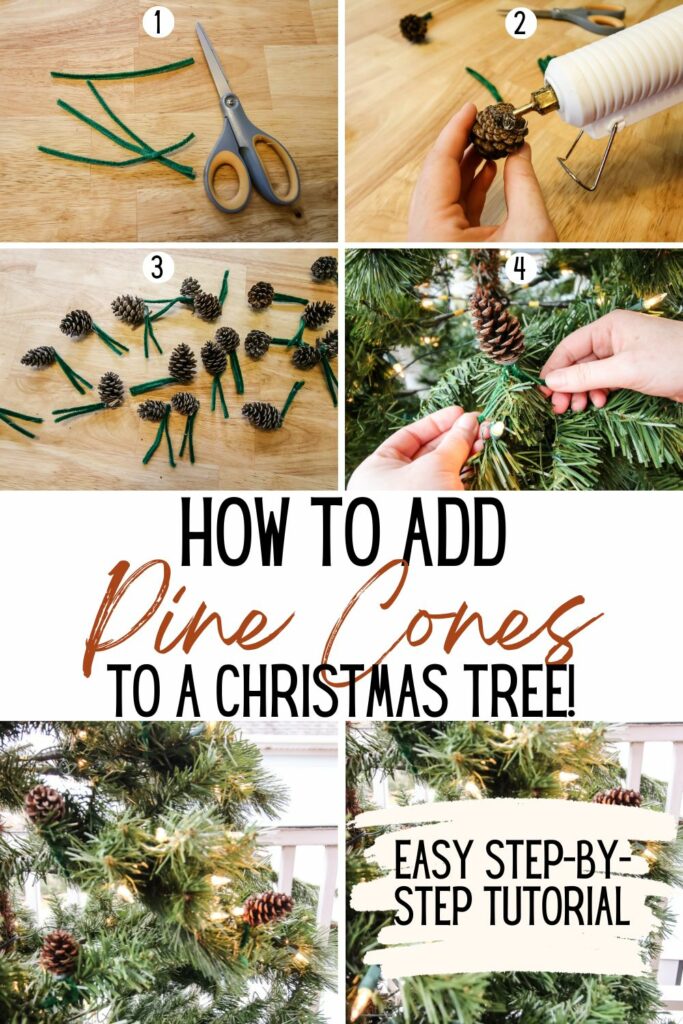
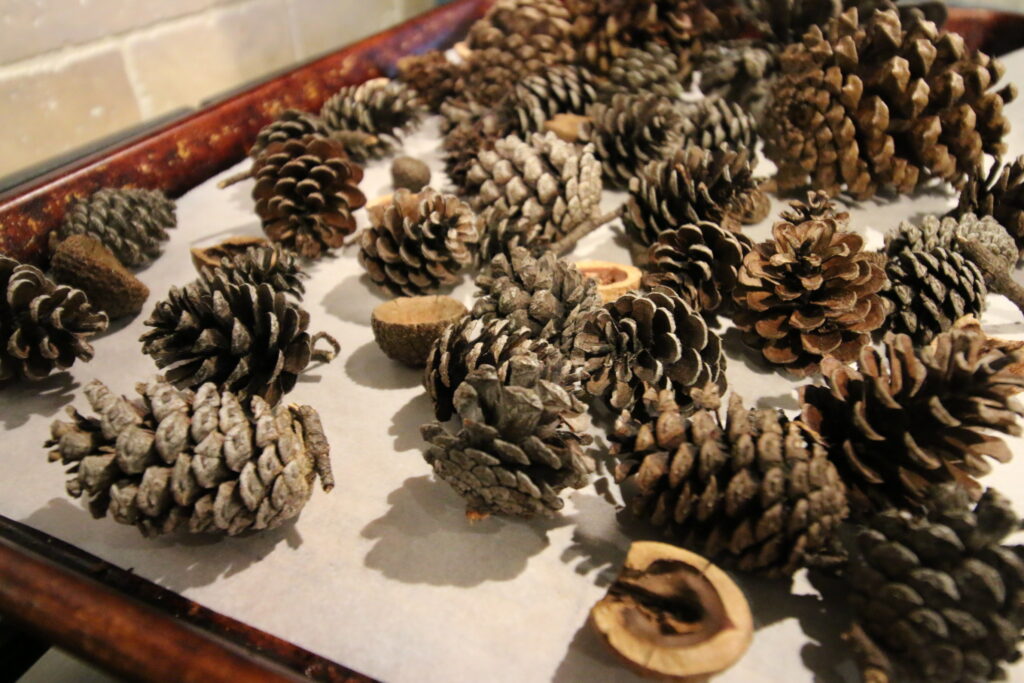
STEP 1: Clean pine cones
Unless you bought your pinecones from the craft store (like these!) you will probably want to clean or at least dry them.
Here are some simple steps to clean them completely:
- Only select pine cones that are in nice condition. Don't pick up any that are mushy or rotten or buggy.
- Start by brushing or shaking off visible dirt or debris.
- Optional: soak in a bowl with 2 parts water 1 part white vinegar for 15-30 minutes. Let air dry on towels or paper towels for several hours.
- To kill anything that might be living on or in the cones, bake in the oven at 250 degrees for one hour. Watch them carefully and check often. Flip halfway through for even drying.
These steps are optional but will ensure your cones are clean and bug-free, which is important if you want to use them for indoor decor.
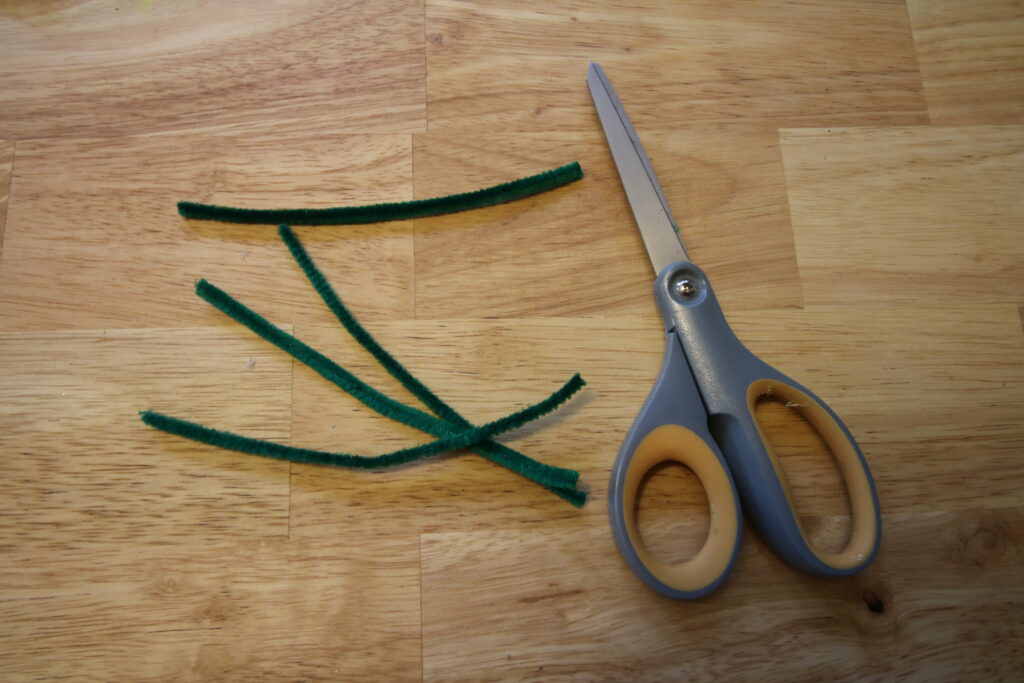
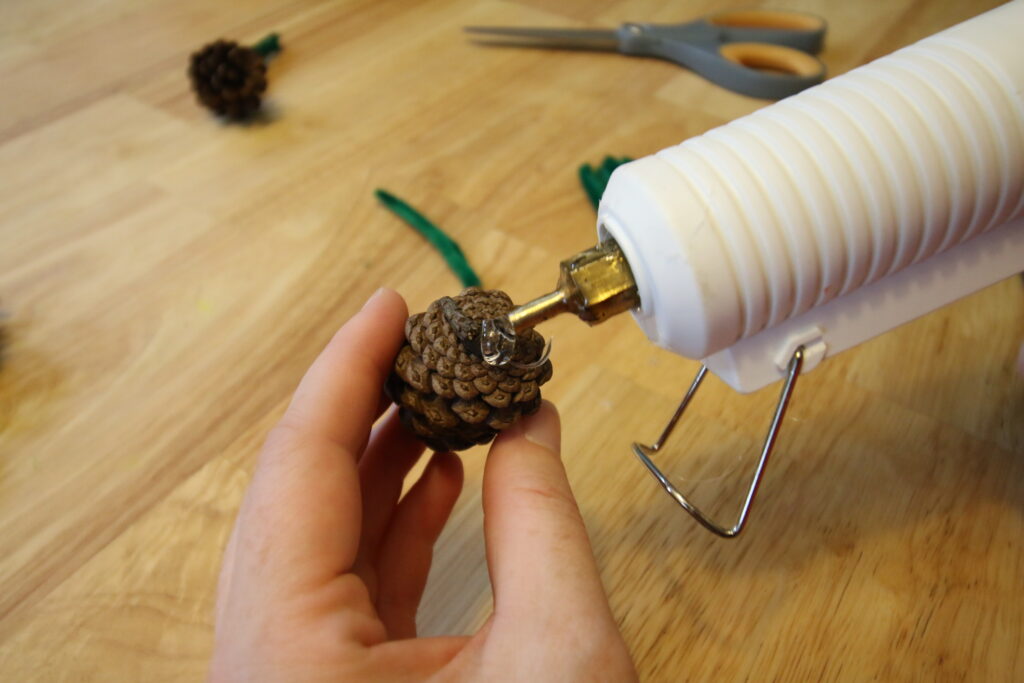
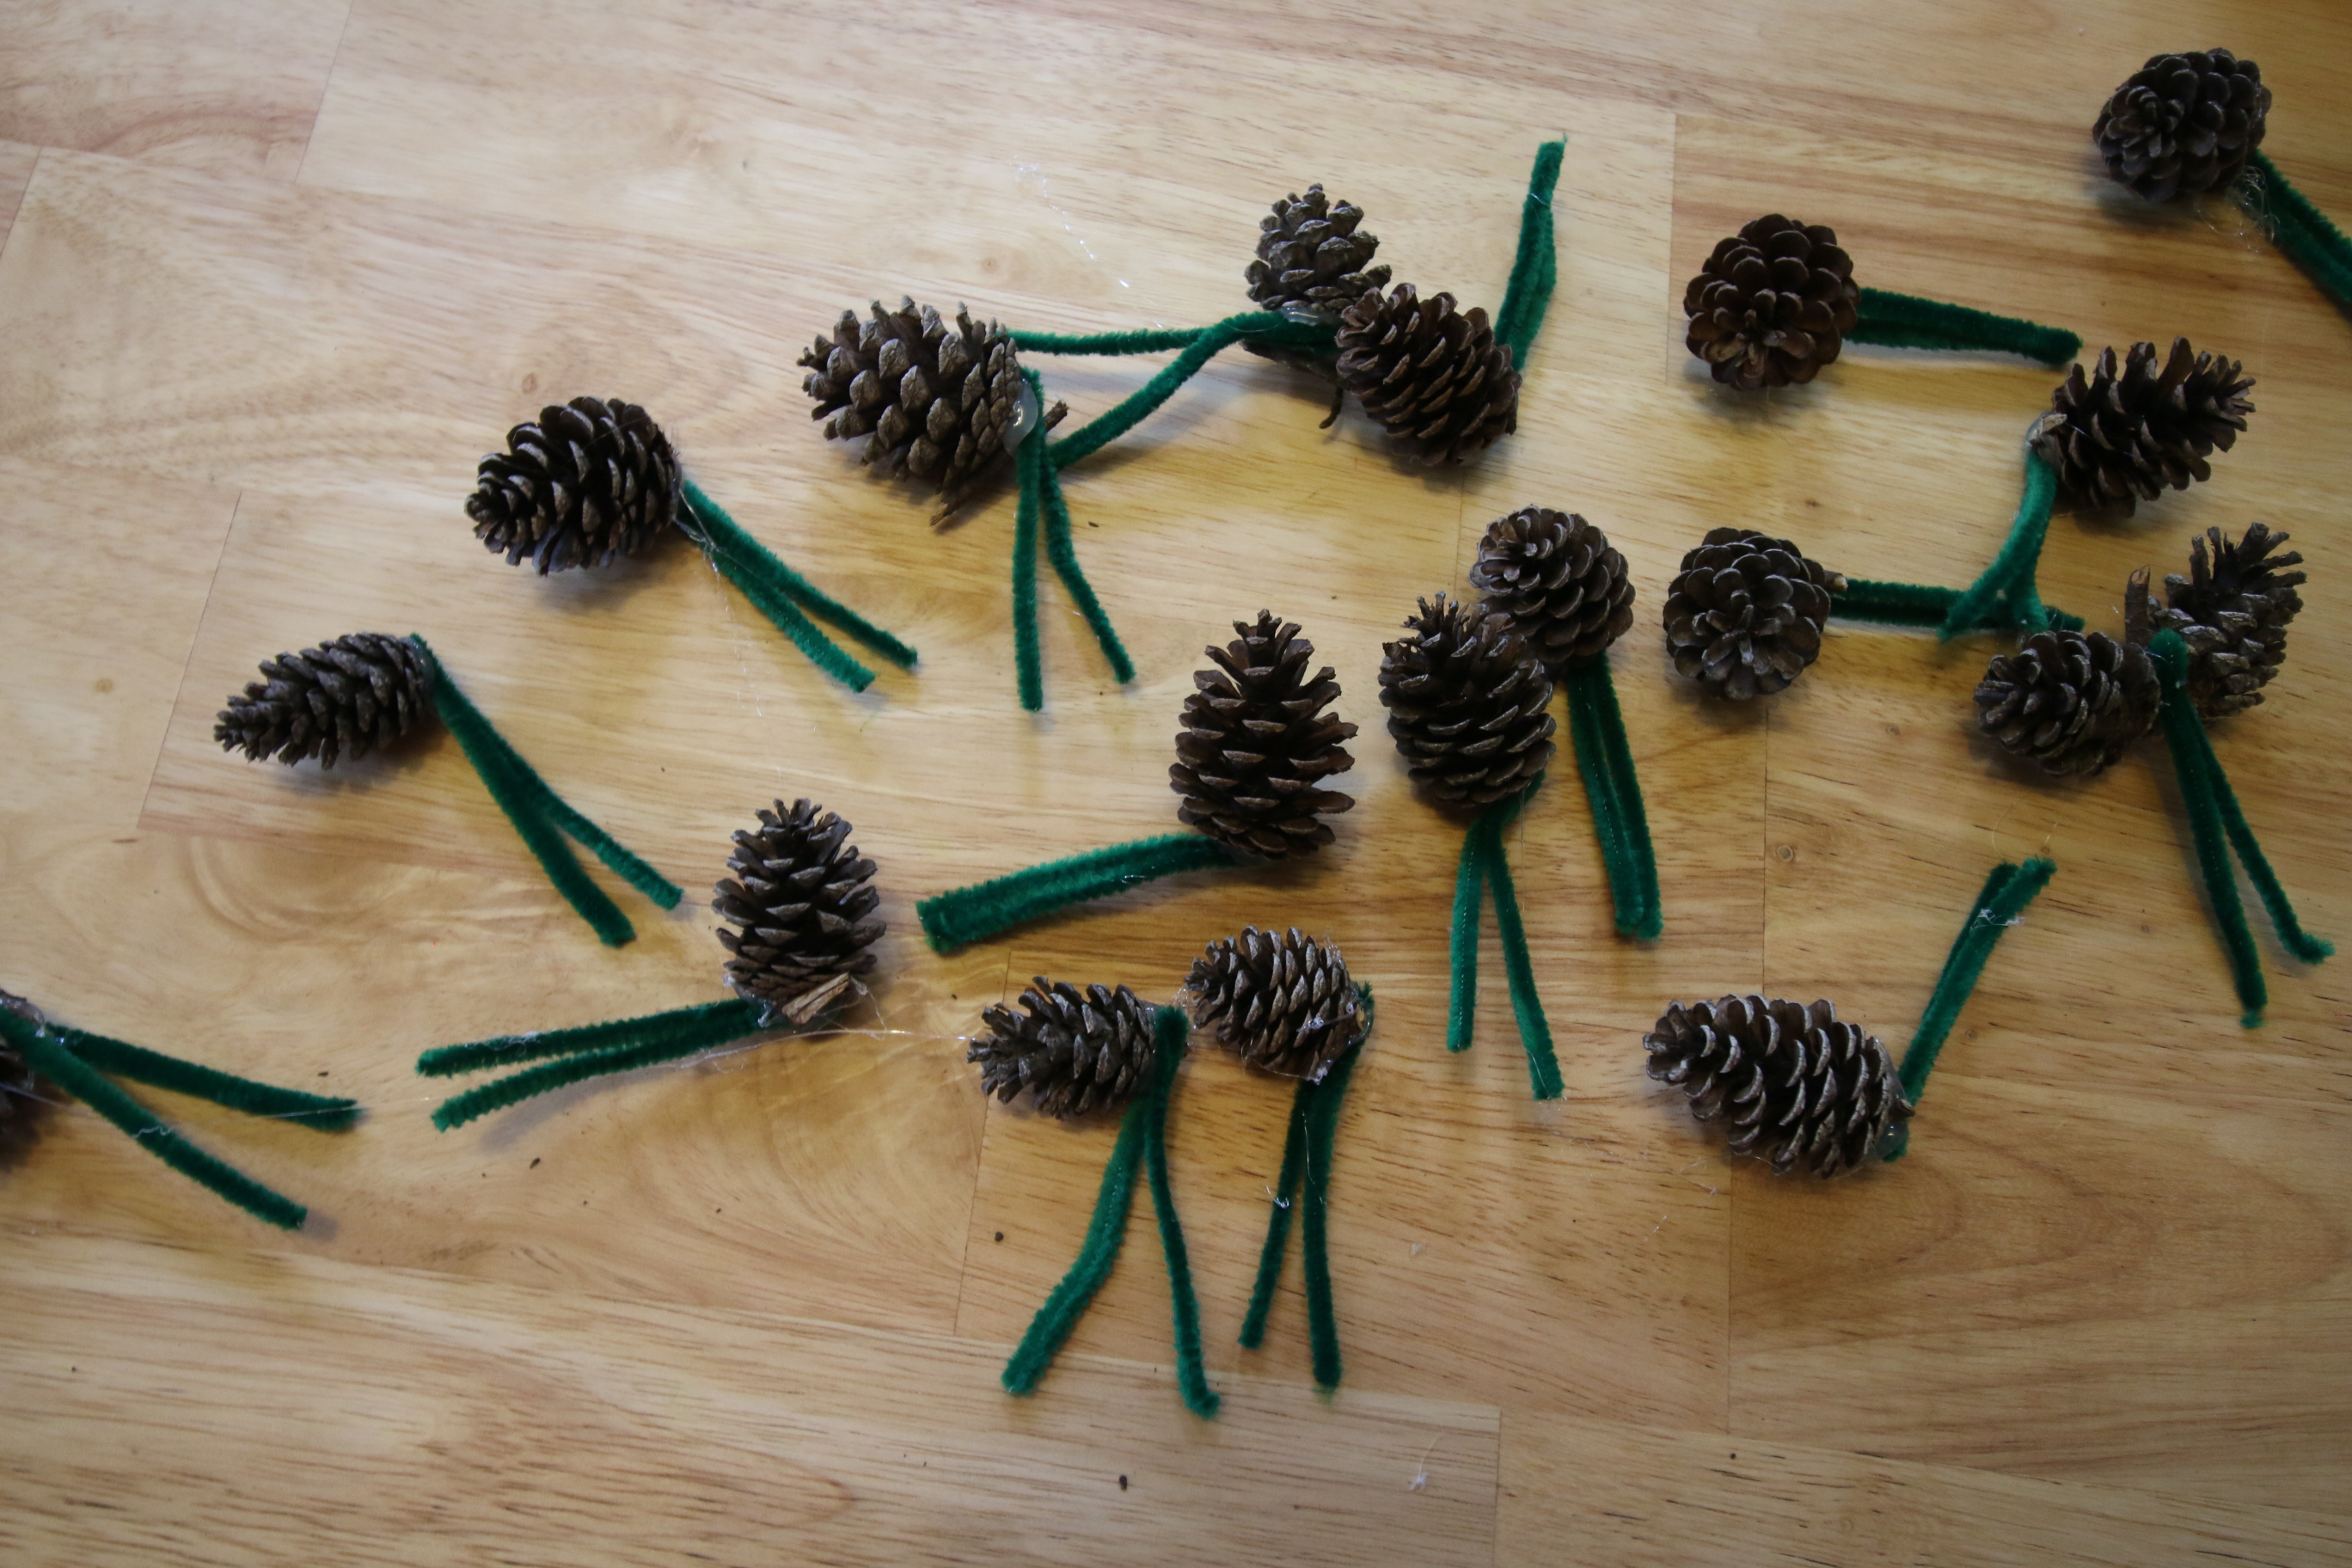
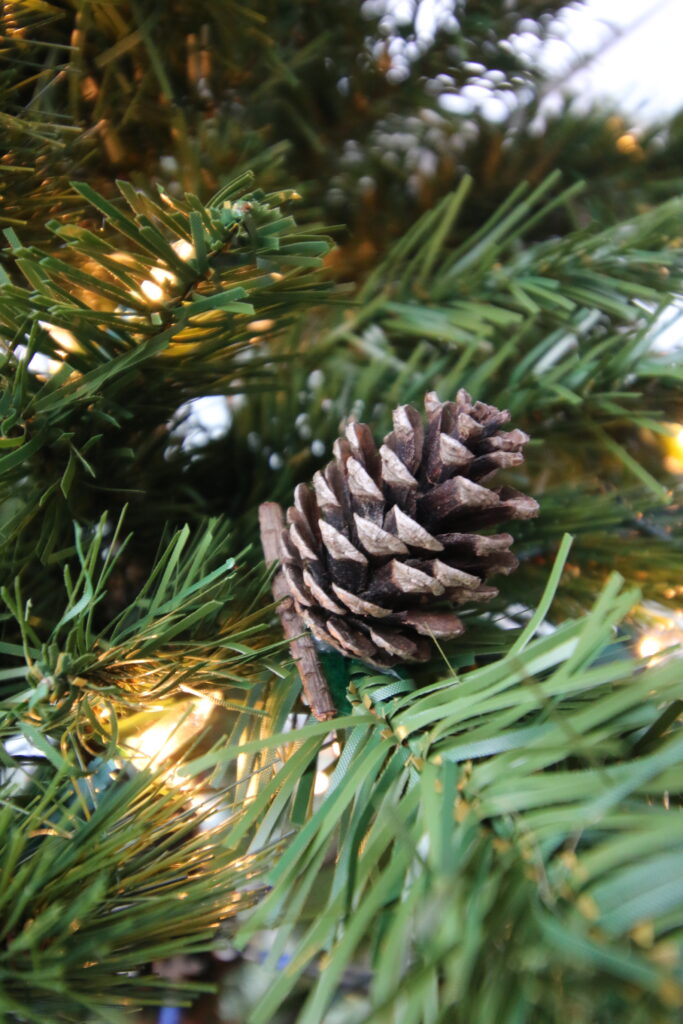
STEP 2: Add wire to pine cones
You can use a green pipe cleaner or floral wire to wire your cones to the tree. If you are using a pipe cleaner, I suggest cutting them in half.
Fold your wire in half and hot glue that center piece to the bottom center of the pine cone so that it is very secure.
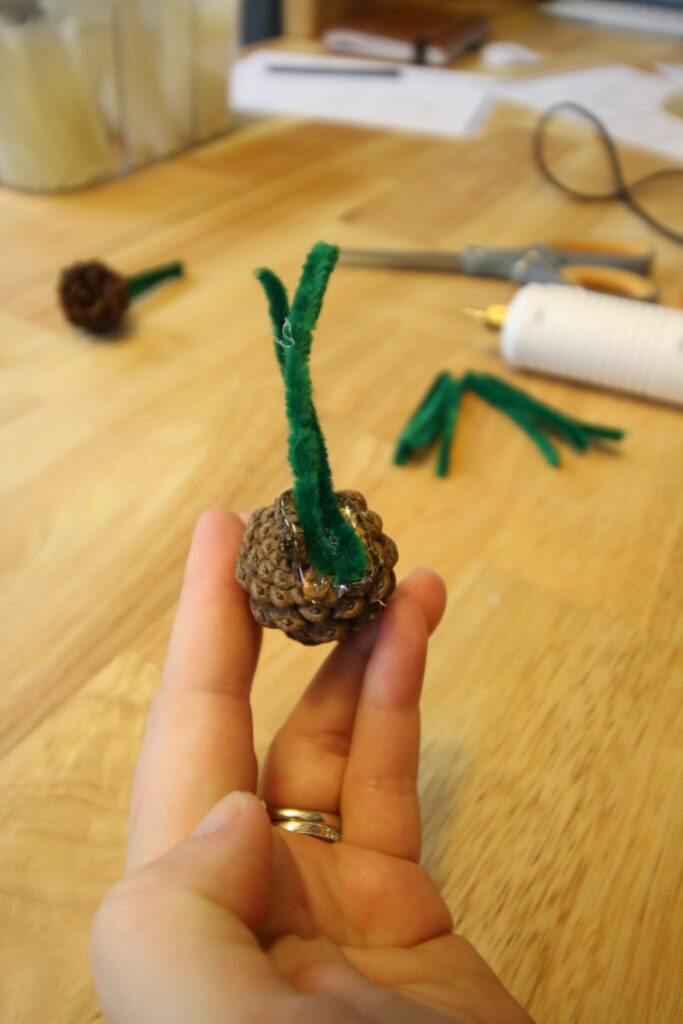
STEP 3: Let dry
It's important to let the hot glue dry completely. I know, it's exciting and you want to hang it now! But, letting it dry will keep it from falling off.
Use this time to wire more pine cones!
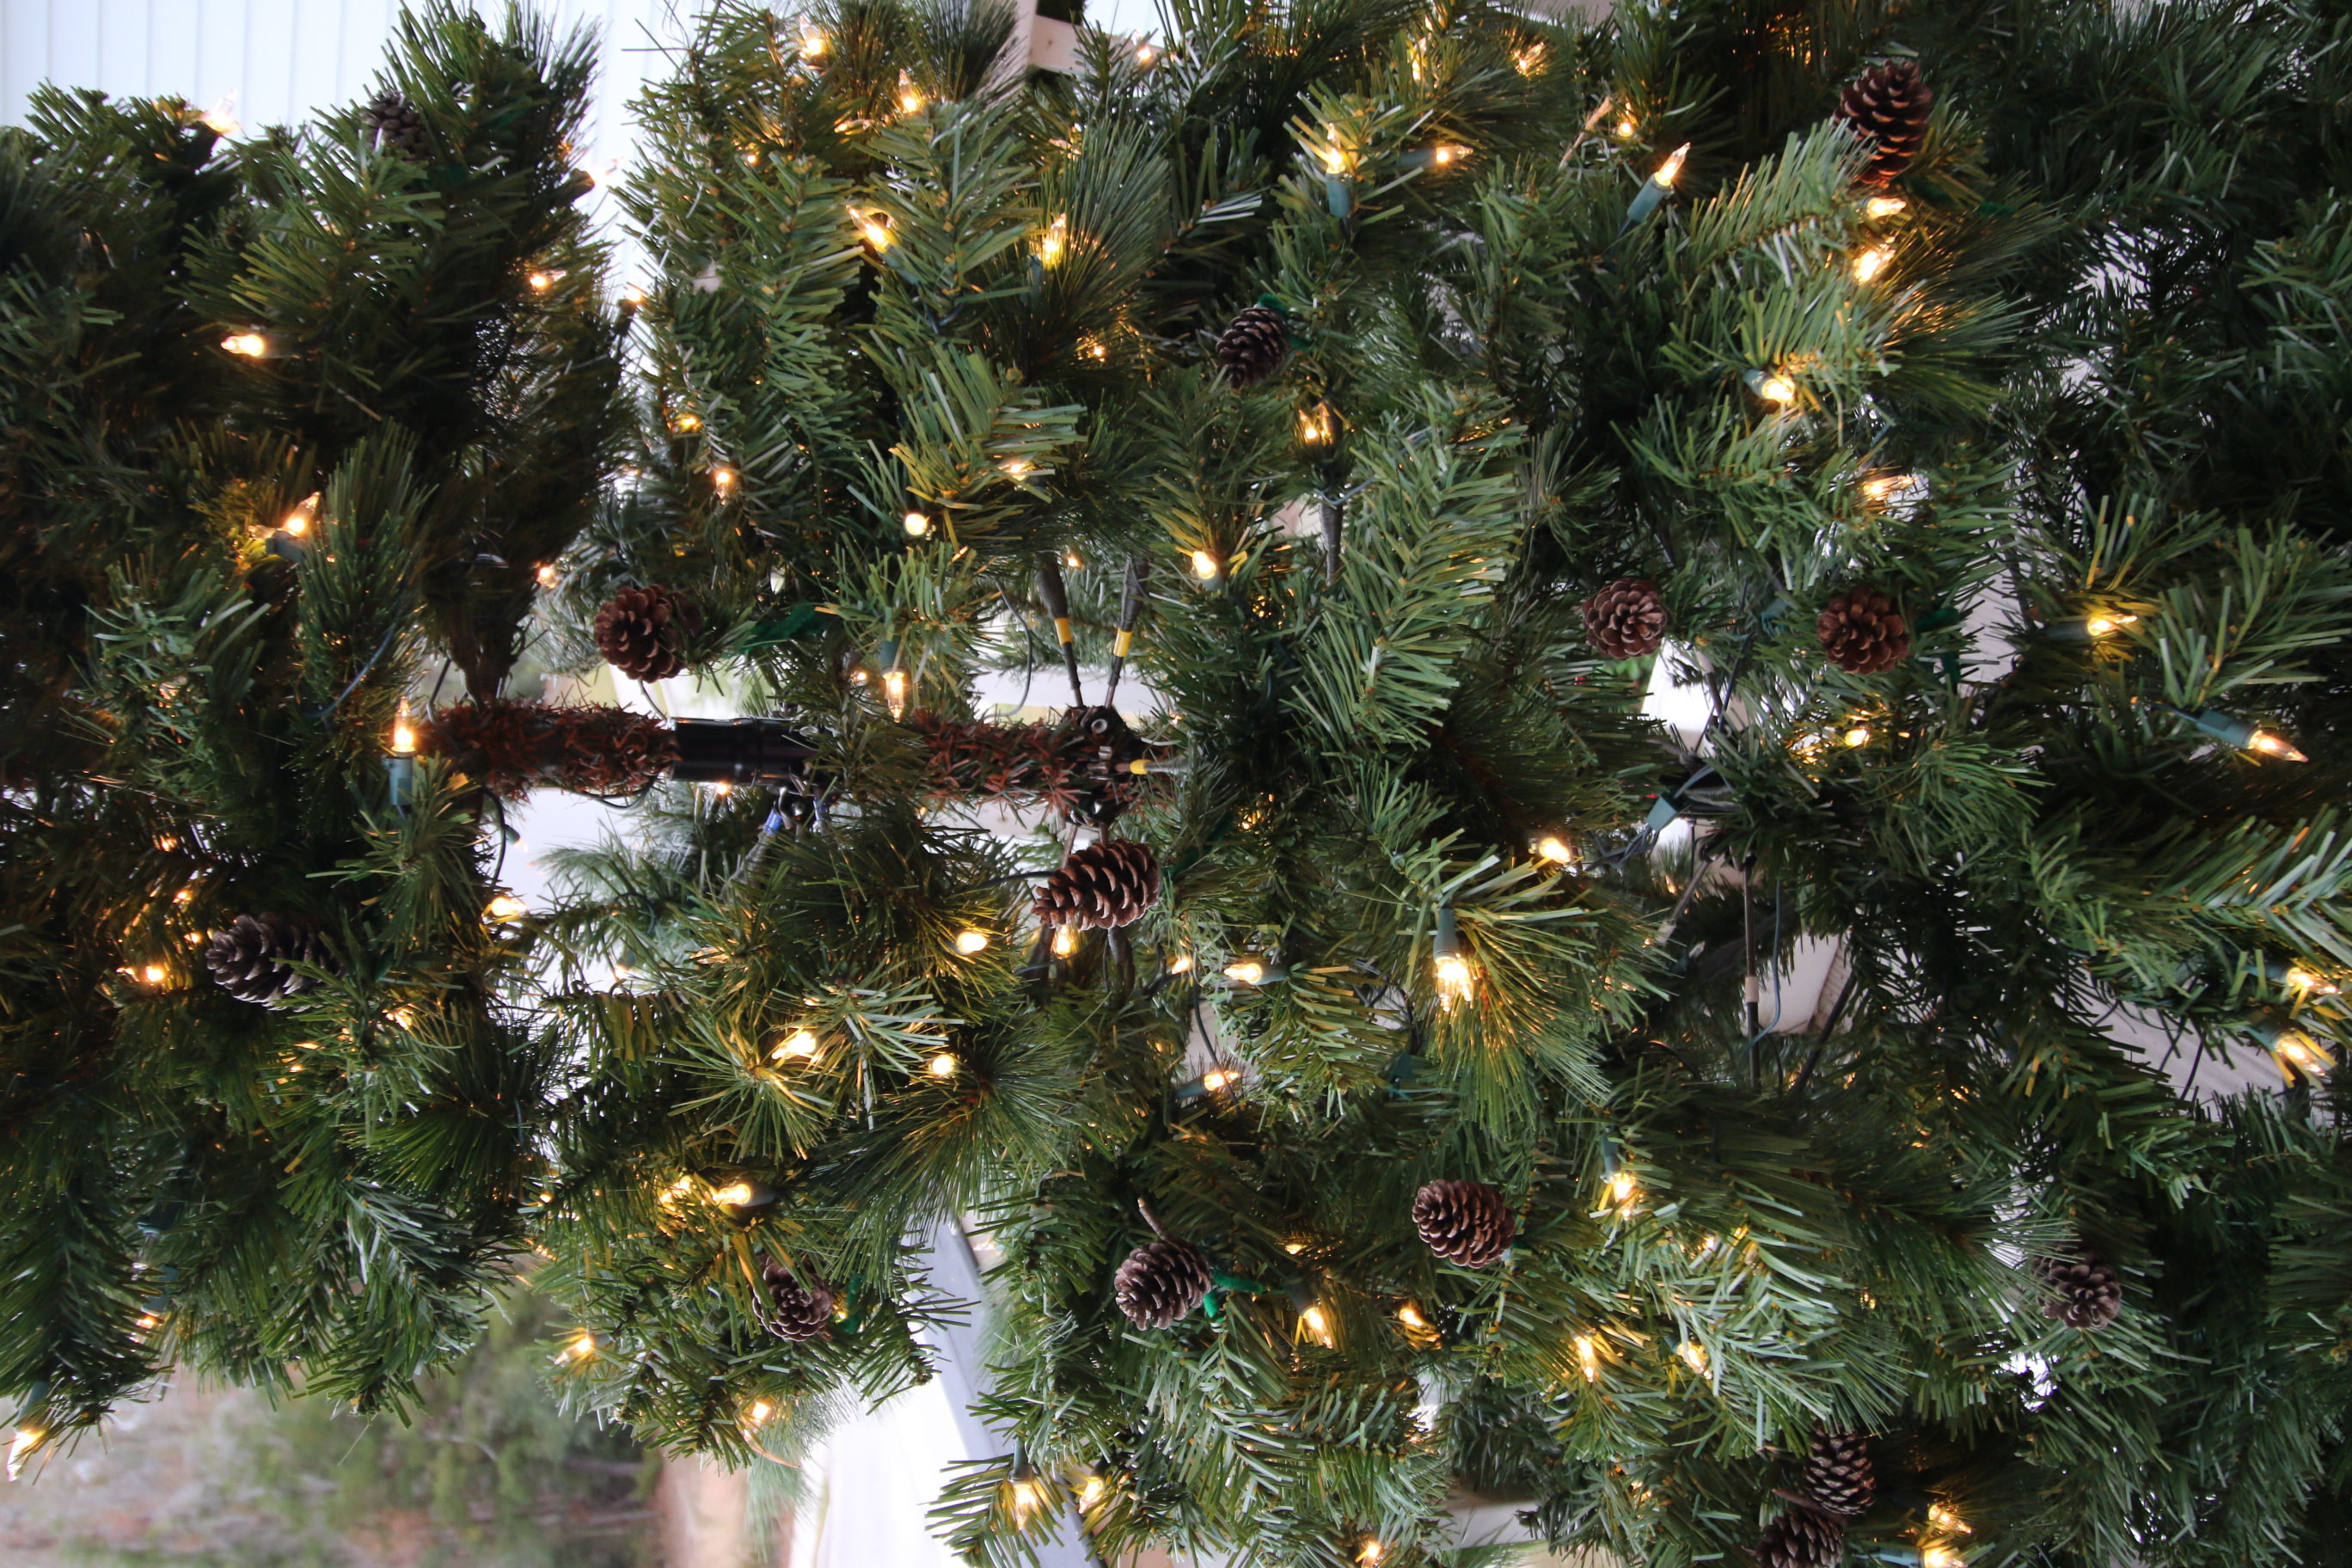
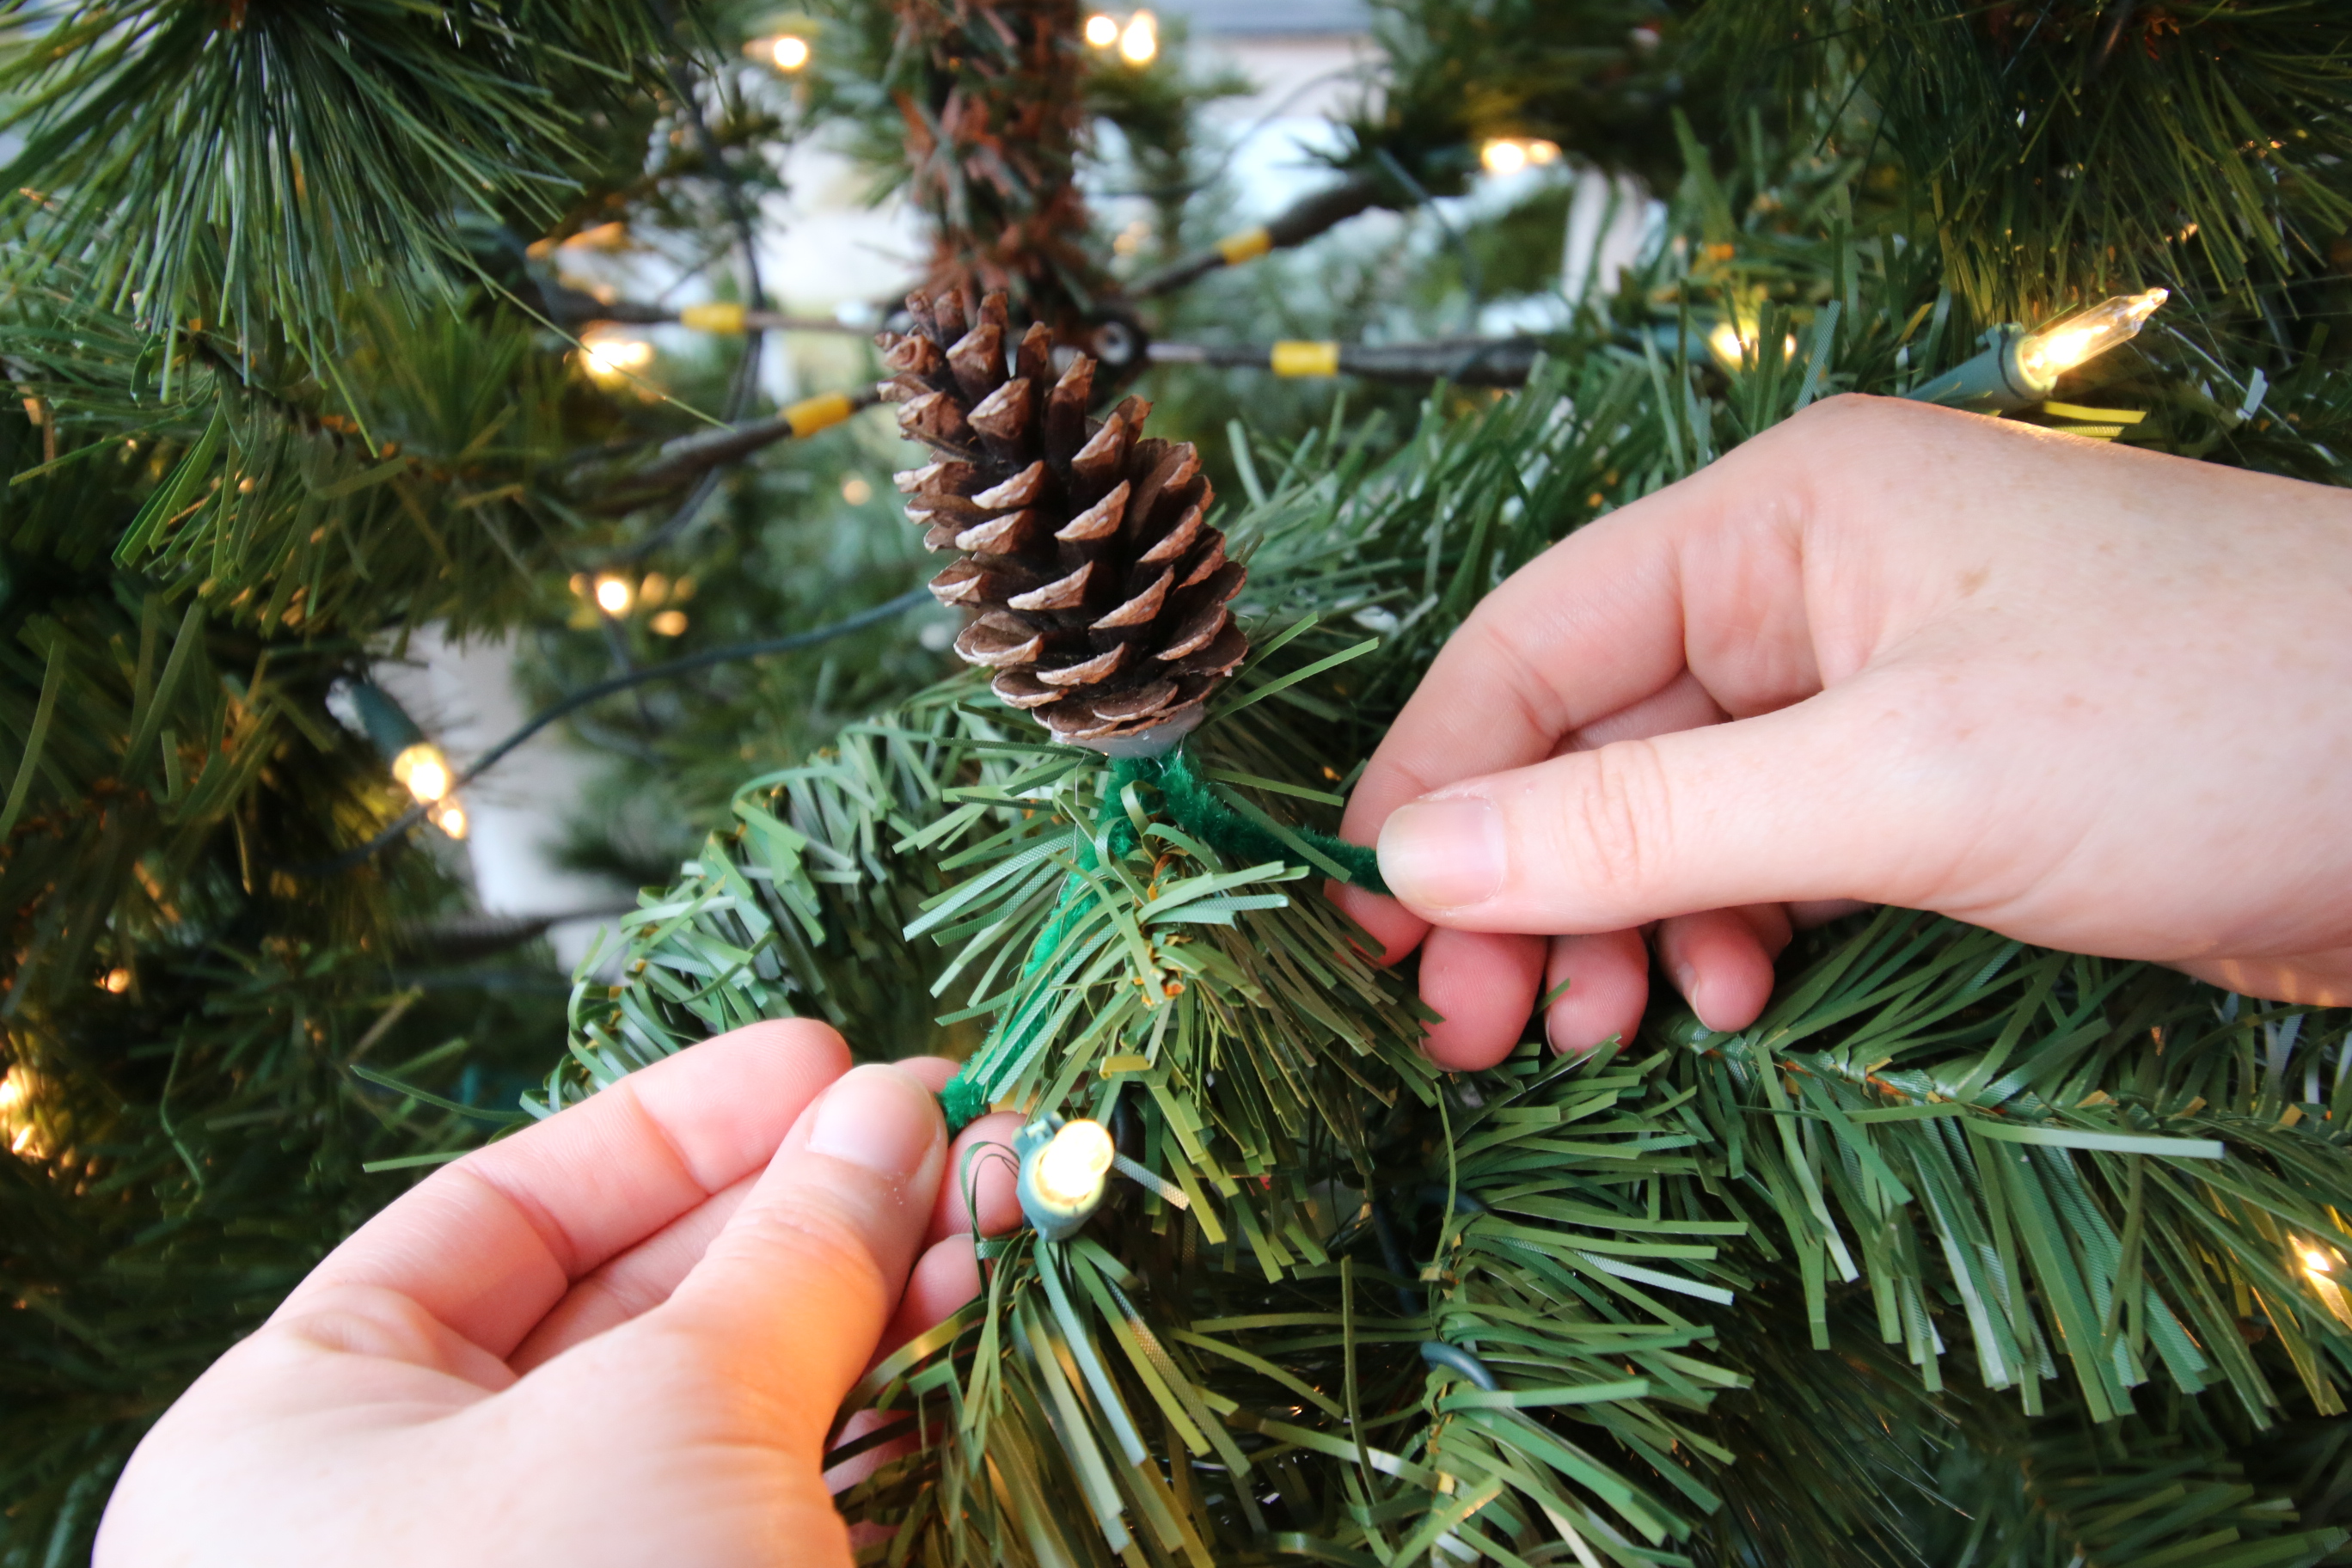
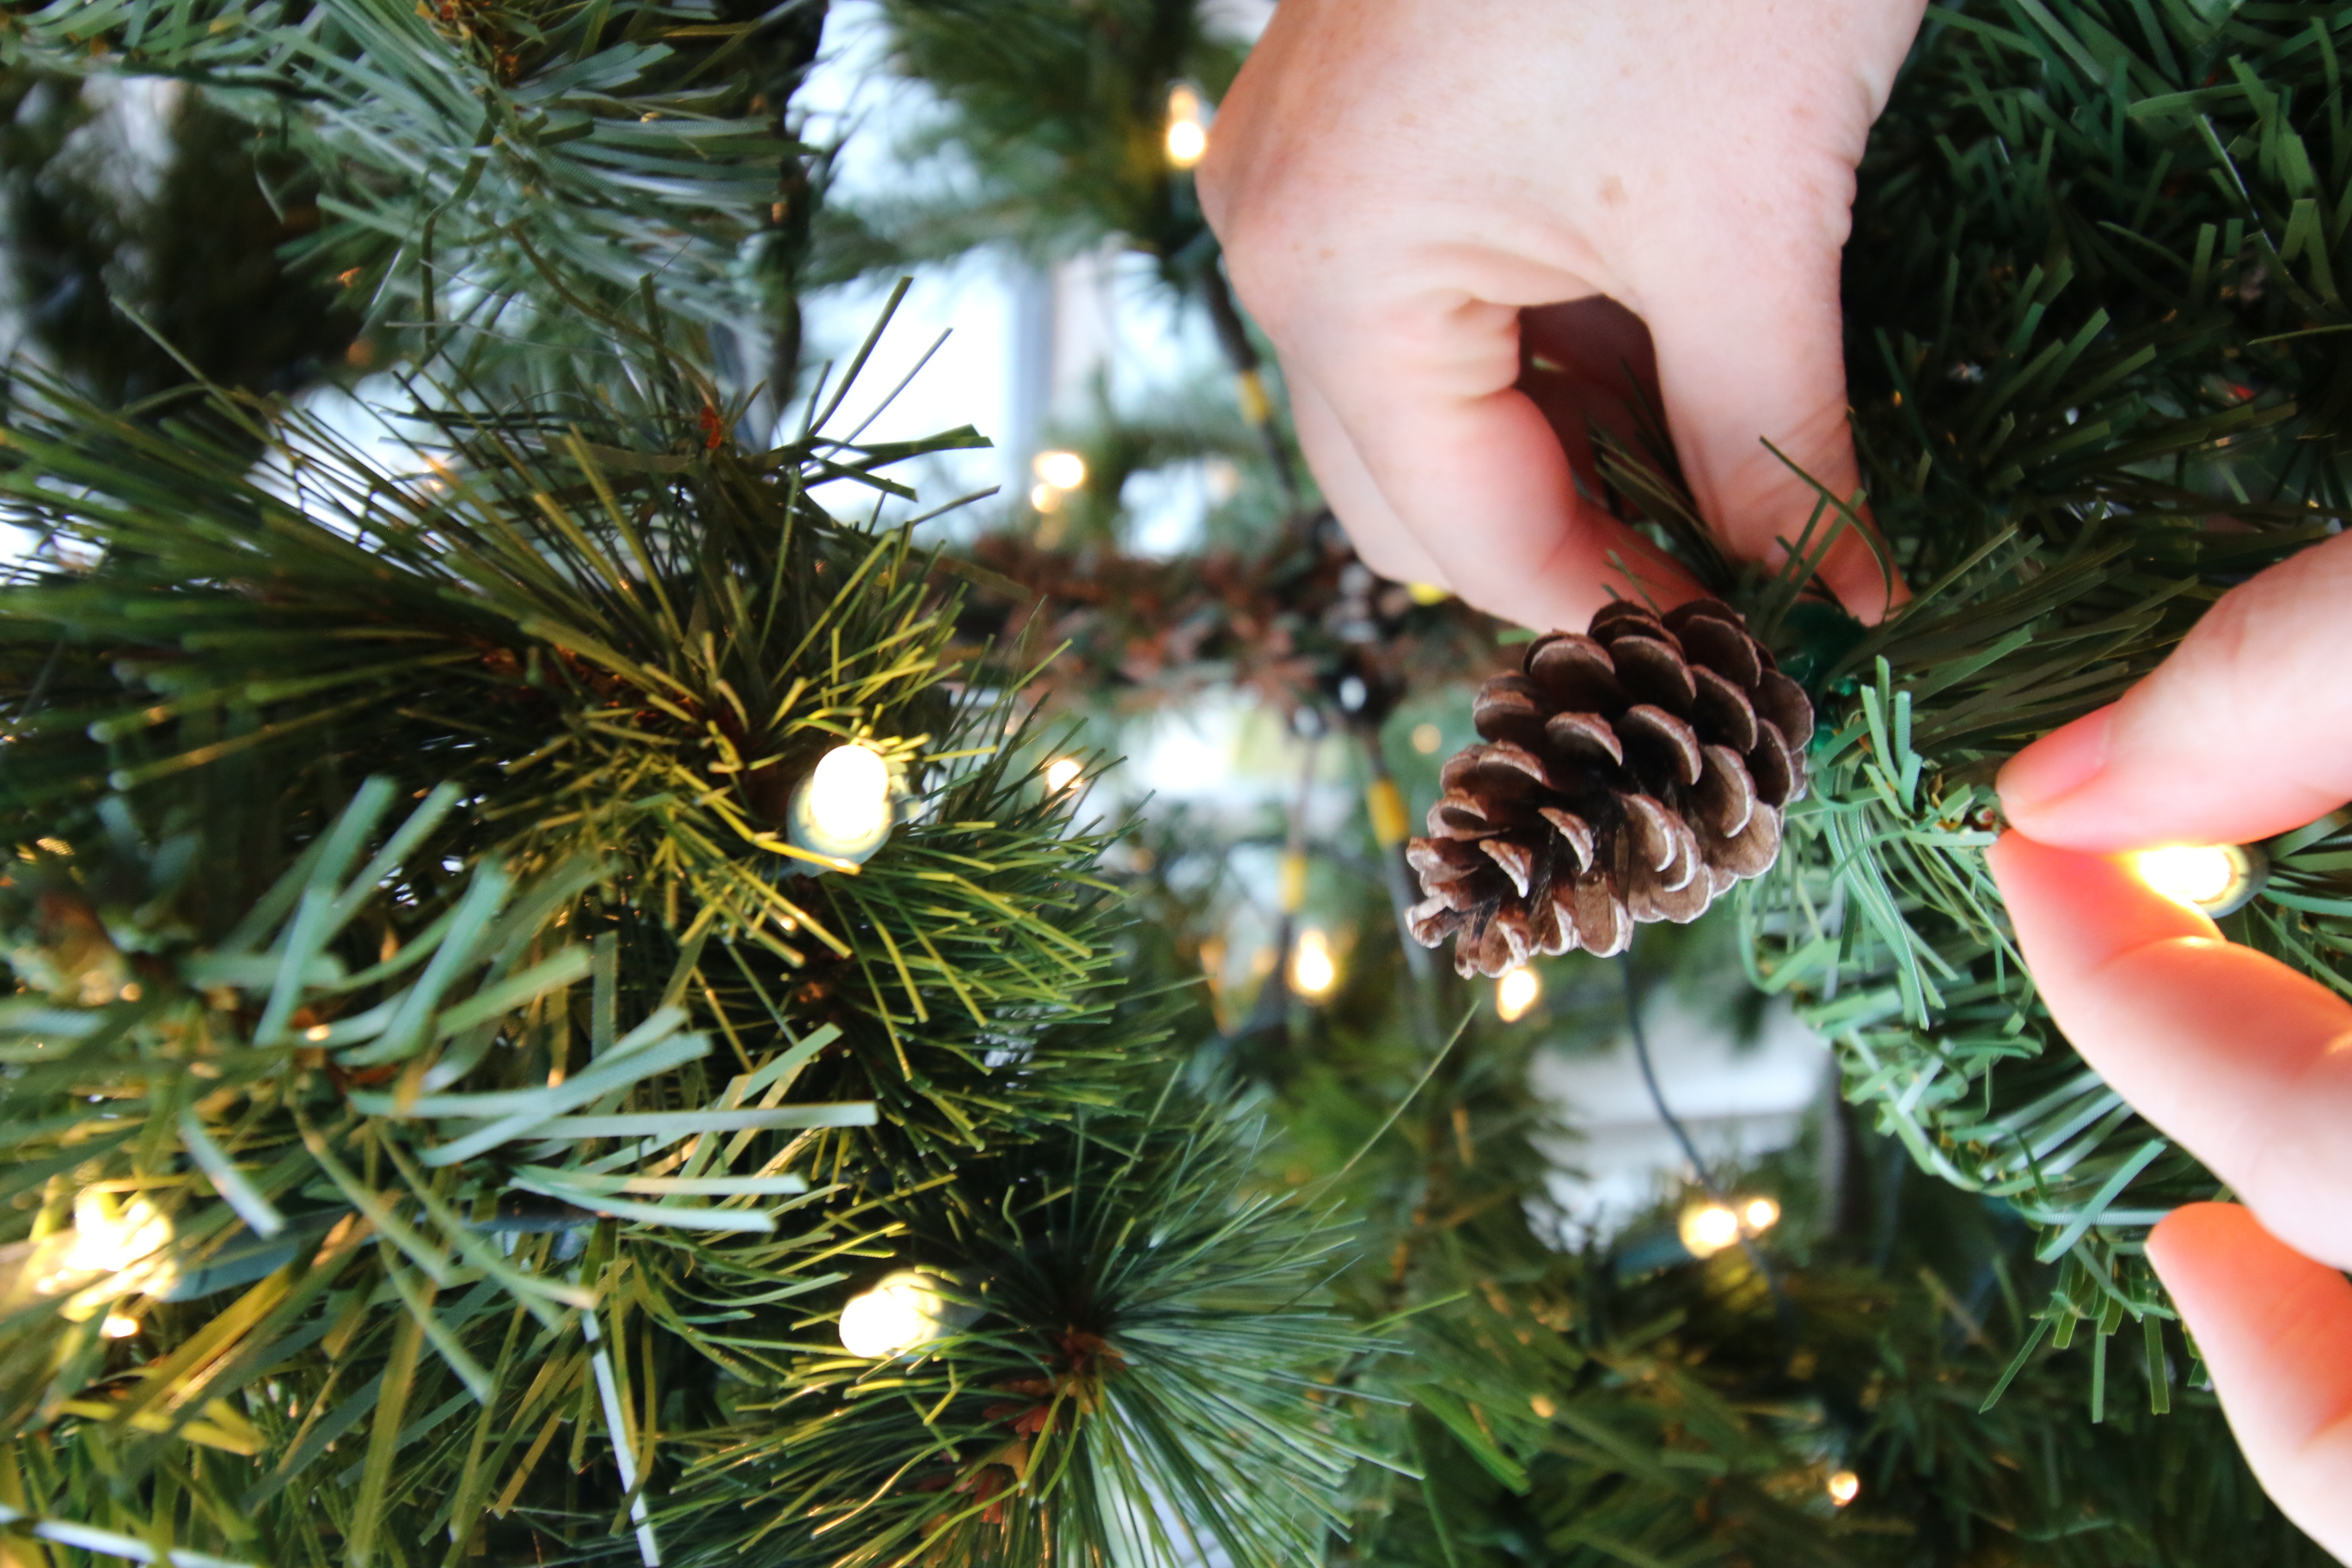
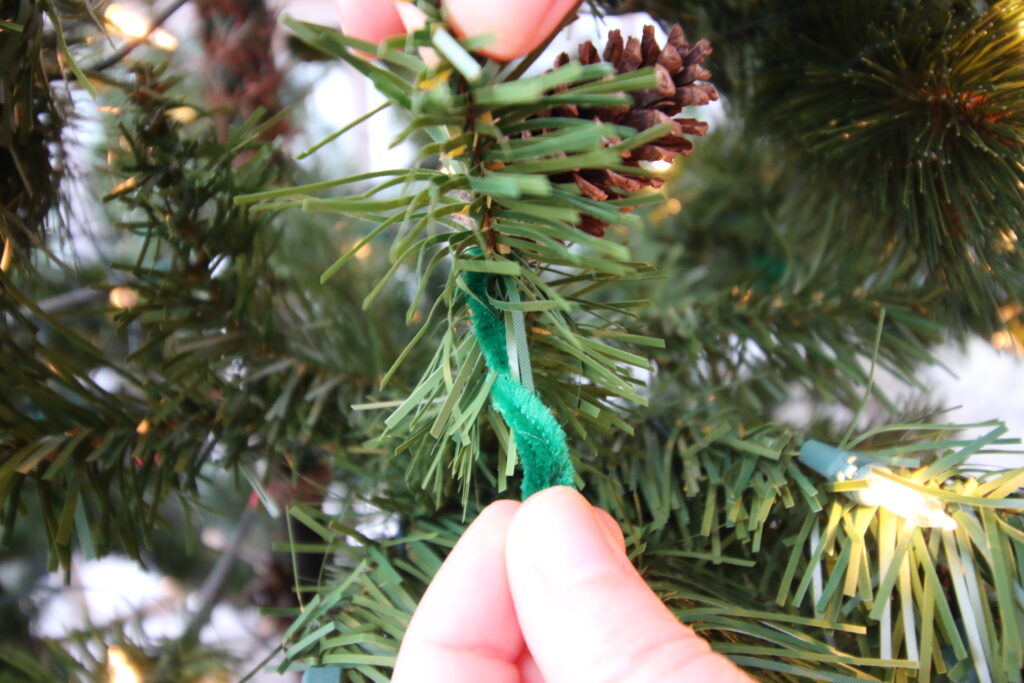
STEP 4: Attach to tree branches
Place the cone on TOP of the branch of your tree. Bring the wire underneath and twist into place. You can cut or trim your excess wire if you prefer!
Pine cones add a really nice rustic and natural touch to your Christmas tree. This is a great, easy and inexpensive Christmas craft idea!
How to put pine cones on a Christmas tree
Here's how easy it is to transform pine cones into beautiful, natural, Christmas tree ornaments!
Materials
- pine cones
- pipe cleaners or floral wire
Tools
- hot glue gun + sticks
- scissors
Instructions
- Clean your pine cones
- Cut a pipe cleaner in half or a piece of wire to about 3 inches long
- Fold wire in half
- Hot glue center of wire to bottom of pine cone
- Let dry
- Place on top of tree branch and twist in place
- Trim ends of wire if needed
Recommended Products
As an Amazon Associate and member of other affiliate programs, I earn from qualifying purchases.


See all of our handmade ornament ideas:
- How to make photo ornament balls
- DIY sea glass ornaments
- Sand ball ornaments
- How to make beach ornaments
- DIY pier post nautical ornaments
- Fur ball pom pom ornaments
- DIY snowball ornaments
- Citrus felt ornaments
- Mink snowman ornament
- Deviled egg felt ornament
- Metallic dipped textured ornaments
- Paper ball 3D ornaments
- Toilet paper roll starburst ornaments
- Bottle brush tree terrarium ornaments
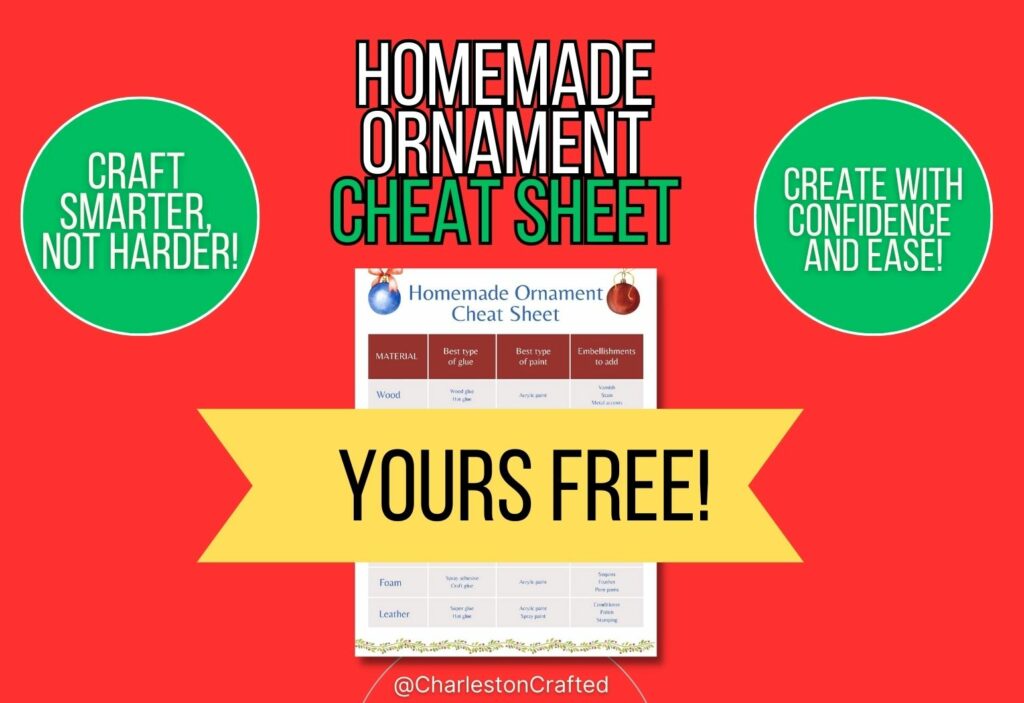
Simplify your crafting journey and eliminate guesswork with our free ornament crafting cheat sheet – your essential guide to selecting the right materials and tools with ease! Click here or the image below for the free download!

Looking for something?
We've been doing this since 2012 so we have a LOT of blog posts!
Search stuff like: Ceiling Projects | DIY Plant Stands | Thrift Flips

Hello, I'm Morgan, half of the creative force behind CharlestonCrafted.com! With a passion for DIY that dates back to 2012, I've transformed three homes and now I'm dedicated to helping others craft their dream spaces. Let's turn your house into a home together!


