Want to make simple, inexpensive homemade Christmas ornaments? Here's how to make paper ball ornaments for your tree!
I have been having so much fun making ornaments this year!
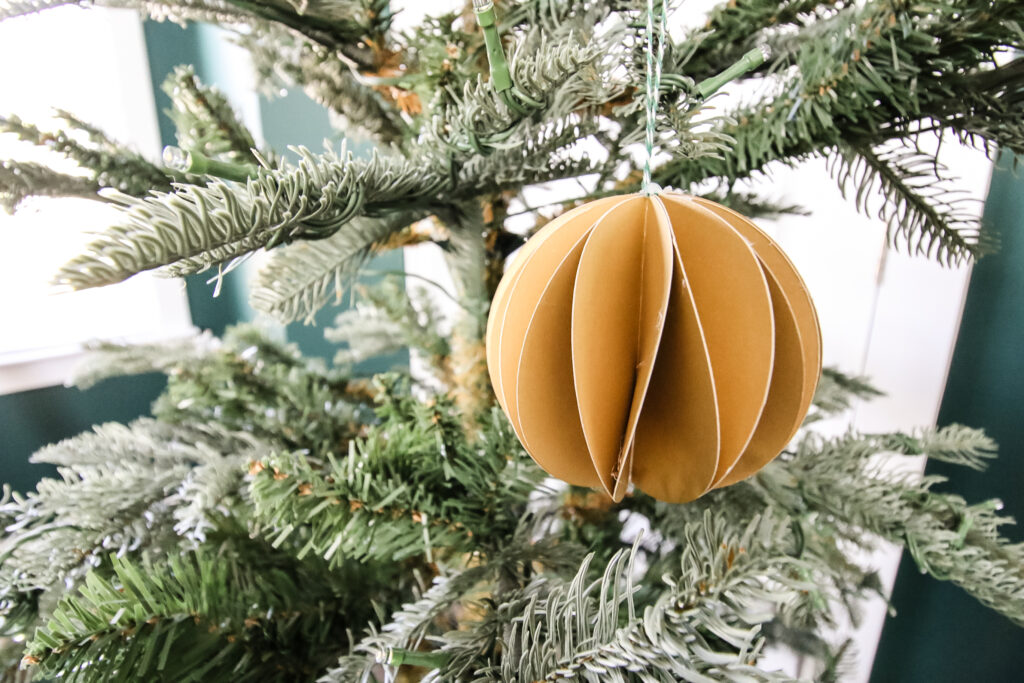
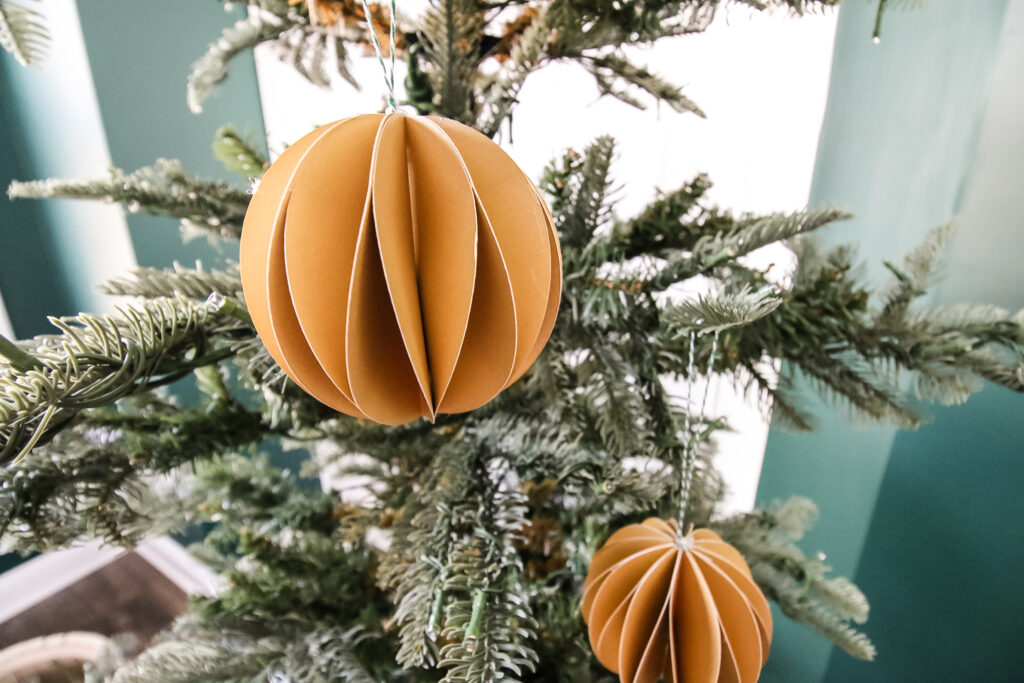
Today I wanted to share a super simple ornament that doesn't require special supplies or skills - a paper ball!
This paper ball has a unique pattern between the pieces that gives it an almost modern look.
You could make them monochromatic, two toned, or even rainbow to match your theme.
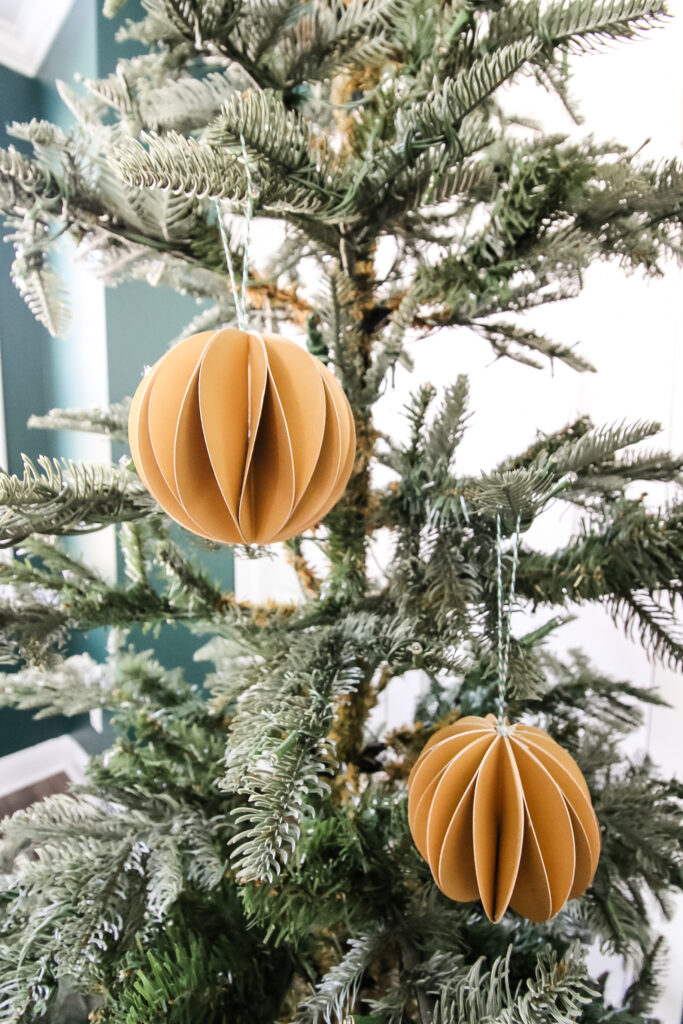
These are easy enough to make that you could crank out a TON to fully decorate your tree, wreath, or garland!
I cut the circles from paper with my Cricut, just to make it easier. No Cricut, no problem - just trace and cut the circles with scissors!
See all of our handmade ornament ideas:
- How to make photo ornament balls
- DIY sea glass ornaments
- Sand ball ornaments
- How to make beach ornaments
- DIY pier post nautical ornaments
- Fur ball pom pom ornaments
- DIY snowball ornaments
- Citrus felt ornaments
- Mink snowman ornament
- Deviled egg felt ornament
- Metallic dipped textured ornaments
- Paper ball 3D ornaments
- Toilet paper roll starburst ornaments
- Bottle brush tree terrarium ornaments
Simplify your crafting journey and eliminate guesswork with our free ornament crafting cheat sheet – your essential guide to selecting the right materials and tools with ease! Click here or the image below for the free download!

How to make ornaments out of paper
Supplies needed:
- Cardstock - I used 3 8.5x11" sheets per ornament (4 circles per page)
- Cricut cutting machine + supplies to cut OR scissors and circle template to trace OR large circle paper punch
- Hot glue gun + glue sticks
- Twine or ribbon
How to make paper ornaments step by step:
STEP 1: Trace your circles
I designed my circles with my Cricut software. They are 3.5" in diameter. I also added a score line across the middle to make them easy to fold in half.
If you don't have a cricut, you can trace something such as a water glass or use a large circle hole punch.
However you do it - you want 12 circles all the same size!
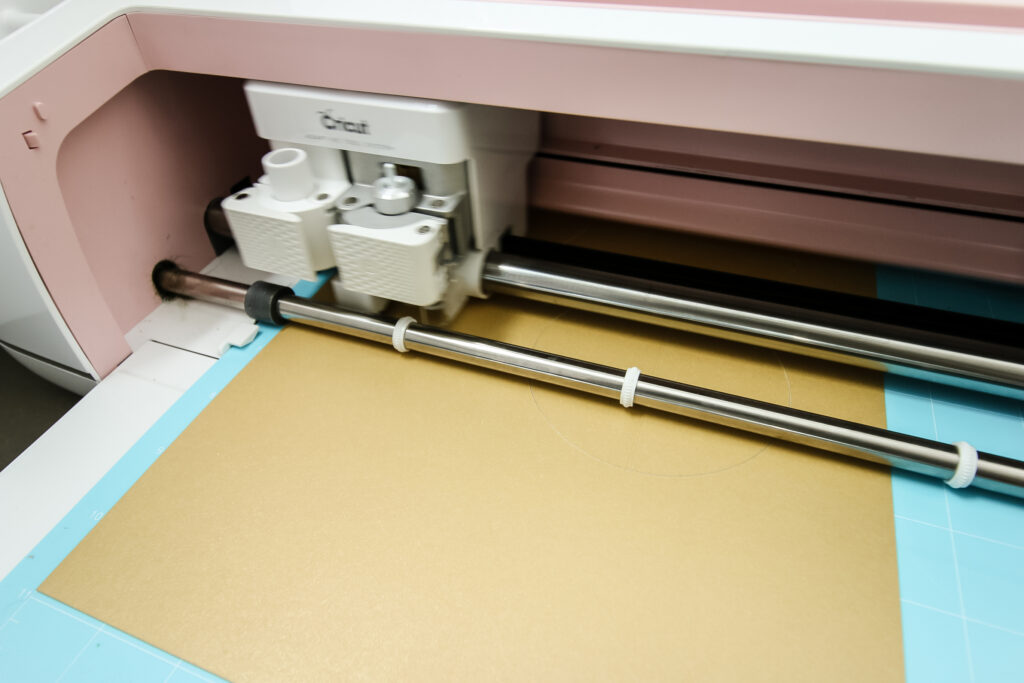
STEP 2: Cut the circles
Use a cutting machine, punch, or scissors to cut out your circles.
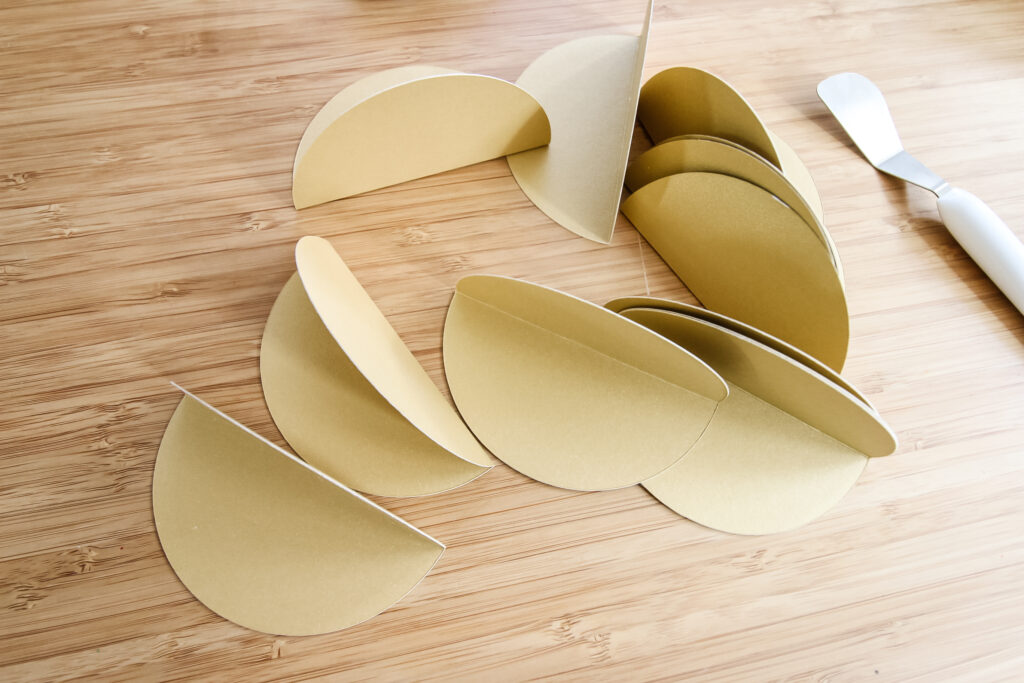
STEP 3: Fold in half
Fold each circle in half to make a sort of "taco" semi circle shape.
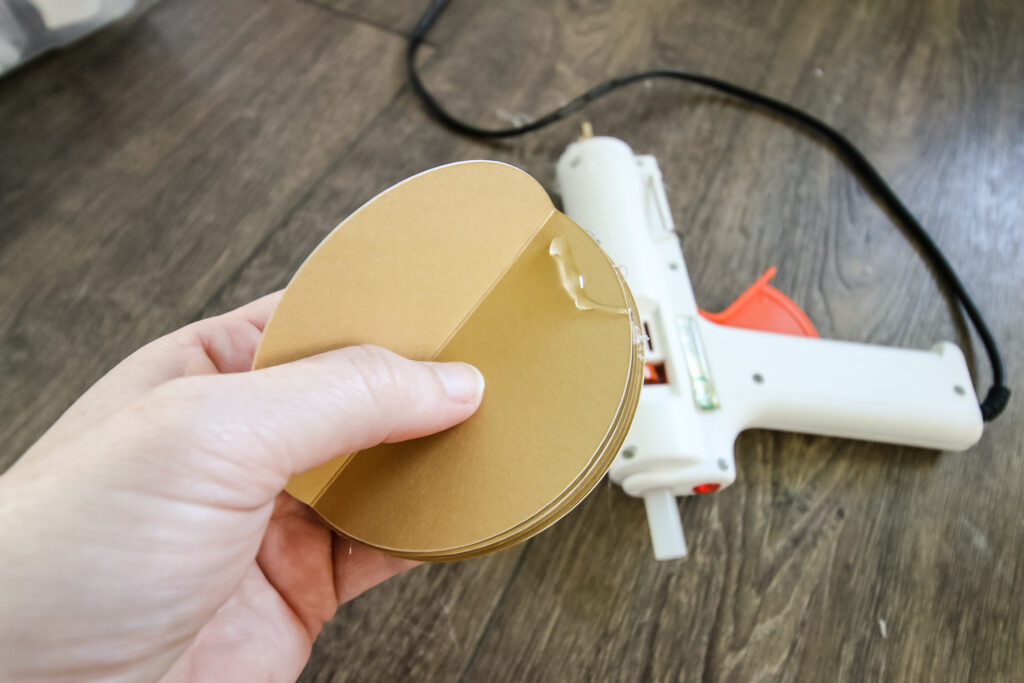
STEP 4: Glue
We will be stacking all of the "tacos" and alternating gluing between the top and bottom edge.
Apply hot glue to the top ¼ of the semi circle and attach to the next in the stack. Then, apply hot glue to the bottom ¼" INSIDE the "taco" of the folded semi circle. Press firmly to hold together.
When applying glue, try not to get too close to the edges, or it will squirt out.
Repeat this process until all 12 circles are glued into a stack.
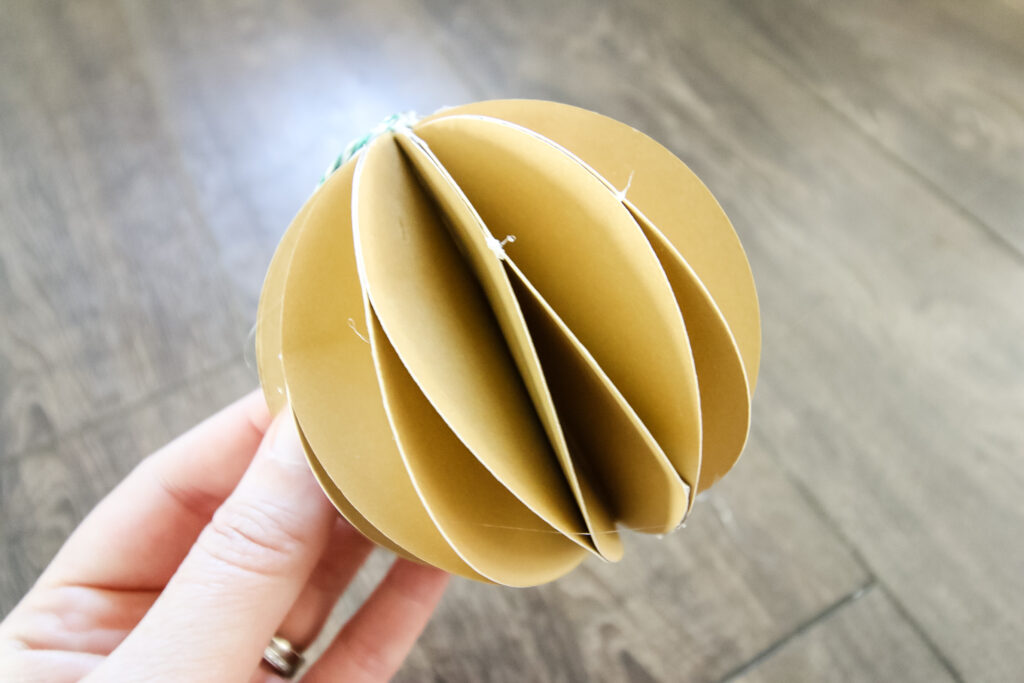
When you get to the final step, you will connect the first and last pieces with glue. I like to be sure all of the other glue is dried and cooled first.
Apply glue along the middle, straight edge of the stack to help them stick together well. Then, glue as normal, and stretch the whole accordion to connect in a sphere. Hold with your finger for 60 seconds to be sure it dries.
**Note: I initially tried this with double sided sticky tape and it did NOT hold. Hot glue is a must here!**
STEP 5: Add string
Tie a loop of twine or ribbon and hot glue it to the top as a hanger.
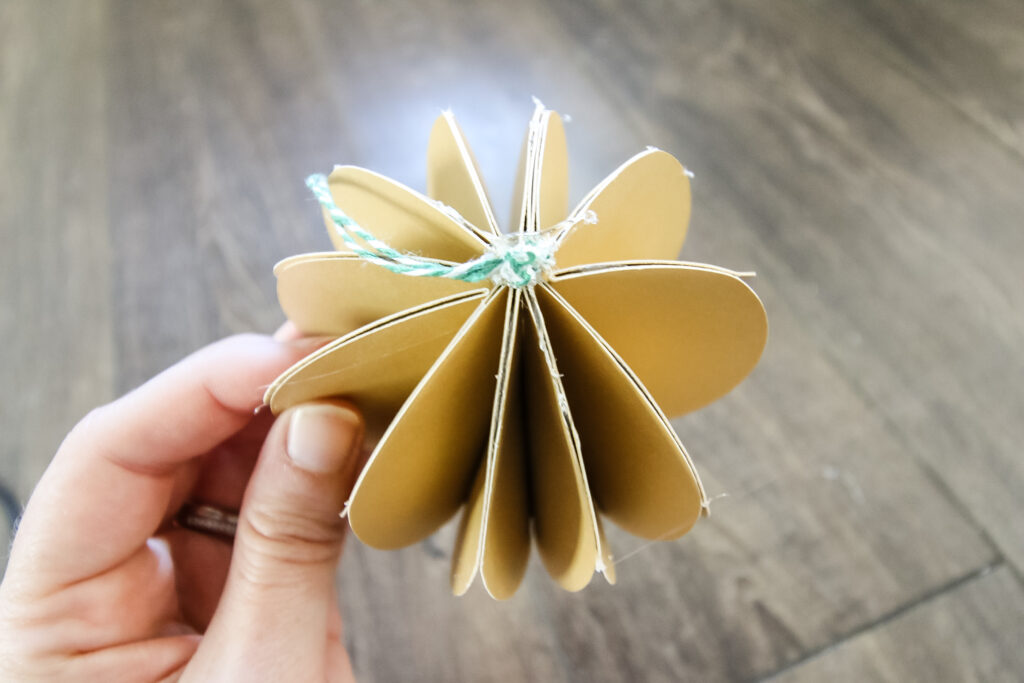
Enjoy your hanging balls! These are quick to make - especially with a cutting machine or hole punch - and you can mix up the colors for beautiful results.
Any questions about these homemade paper ornaments?

Looking for something?
We've been doing this since 2012 so we have a LOT of blog posts!
Search stuff like: Ceiling Projects | DIY Plant Stands | Thrift Flips

Hello, I'm Morgan, half of the creative force behind CharlestonCrafted.com! With a passion for DIY that dates back to 2012, I've transformed three homes and now I'm dedicated to helping others craft their dream spaces. Let's turn your house into a home together!