Want to add an oversized present stack to your holiday yard decor? Here's how to make an outdoor Christmas present topiary - that will last in rain and wind!
Our front yard is starting to look a little Griswald-y, and I'm not mad about it.
I have seen lots of people making giant present stacks for their front yards, but I knew that wrapping boxes in paper would not work in the super rainy and humid climate here in Charleston.
So, I decided to make the stack - but wrap it in plastic instead!
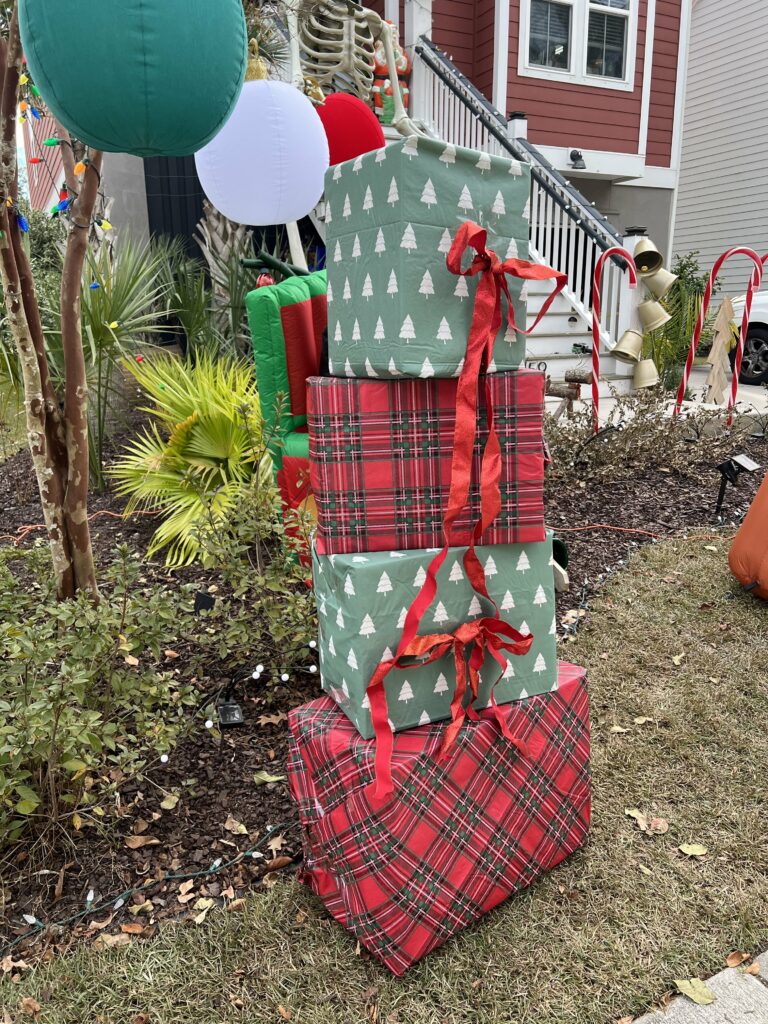
By using plastic-coated tablecloths, the boxes are protected from moisture, but still really easy and affordable to make!
I am obsessed with these and can't wait to make more next year!

How to make an outdoor Christmas present topiary
Here's how easy it is to make a present stack topiary that can withstand the elements outdoors!
Supplies needed:
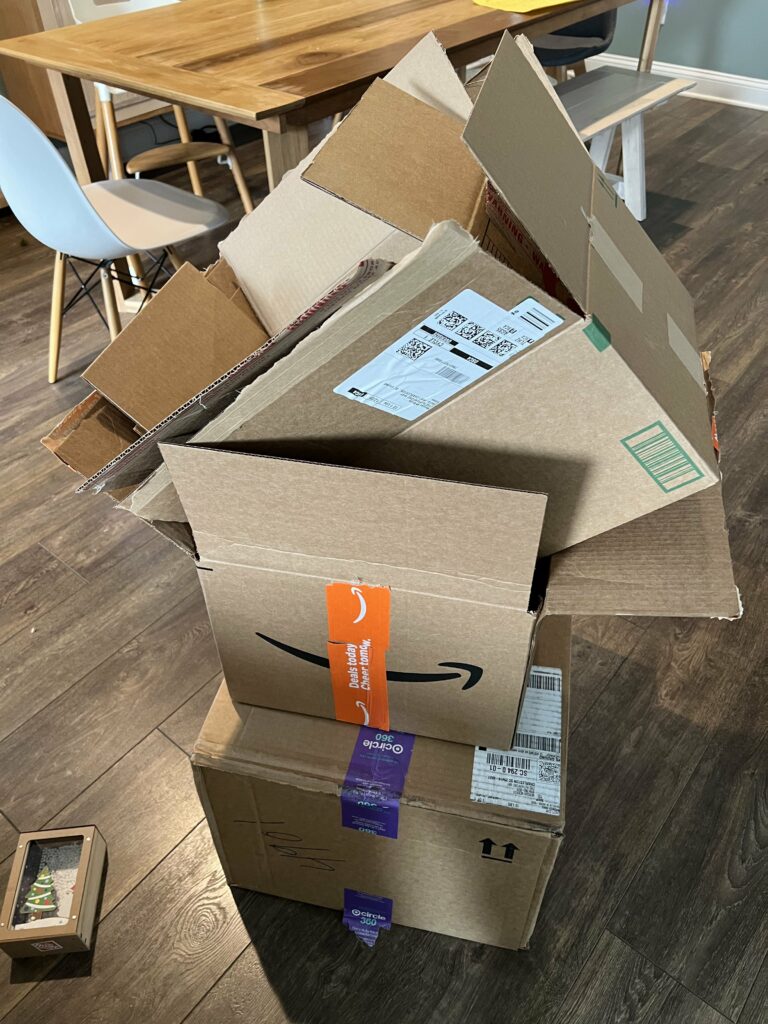
- Cardboard boxes of various sizes - larger is better in my opinion, but try to get ones that are more cube-shaped than long and flat. Scale bigger or larger depending on your vision.
- Packing tape
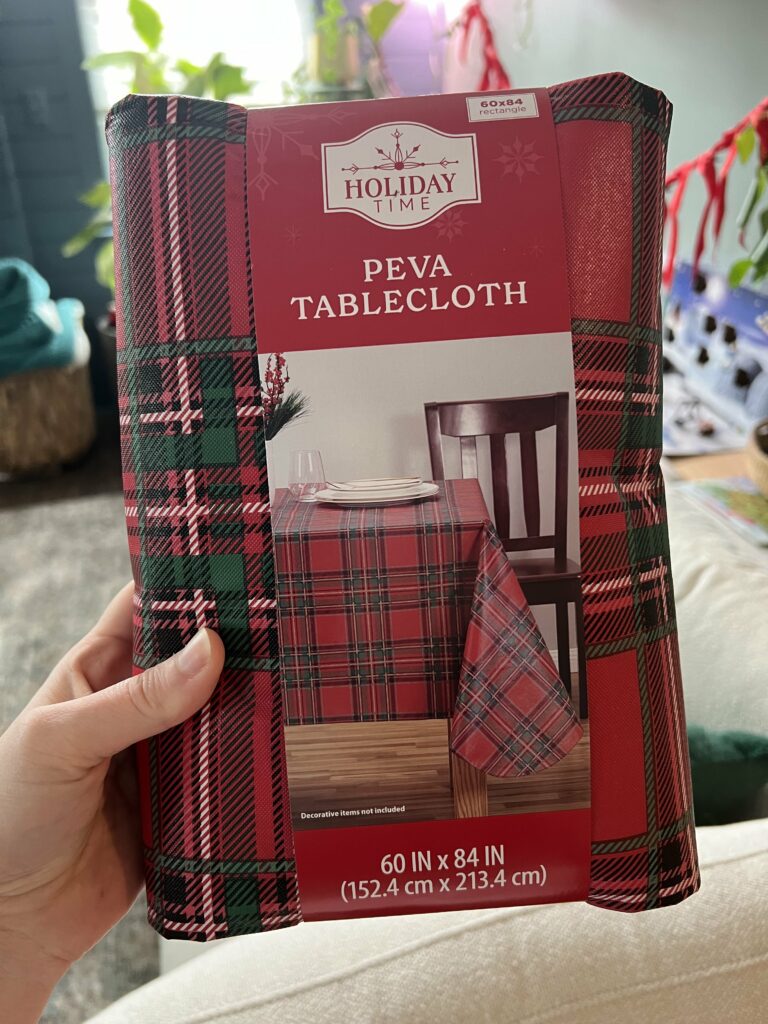
- Plastic tablecloths
- Scissors
- Rebar or PVC pole - about as tall as you want the stack to be total
- Mallet or hammer
- Drill with drill bit the same size as your pole OR box cutter
- Optional: bows, ribbon, etc for decoration
A note on the tablecloths I used:
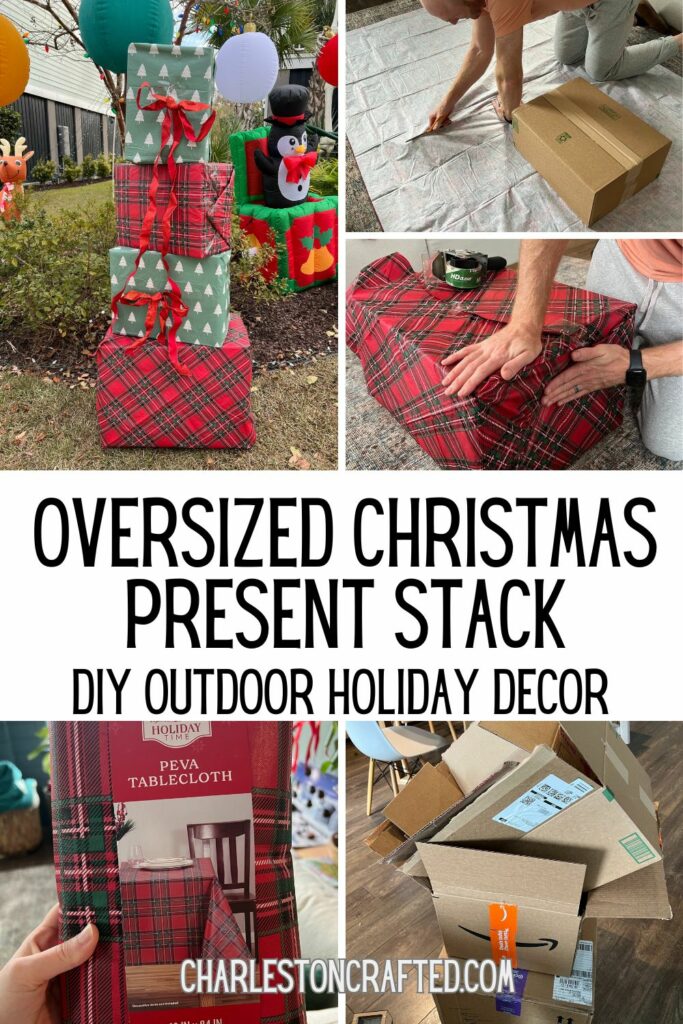
I specifically used plastic-coated Christmas tablecloths in lieu of paper, so they would withstand moisture and wind outdoors. These are not the super cheapo one time use plastic tablecloths, but the multi-use, plasticy on one side, white fabric on the backside type (from Walmart, linked above). They come in tons of patterns and seasonal colors!
Steps to make:
STEP 1: Assemble your boxes
Start by assembling all of your boxes, if they are not already. Use packing tape to tape them completely closed and cover any ripped or insecure edges and corners.
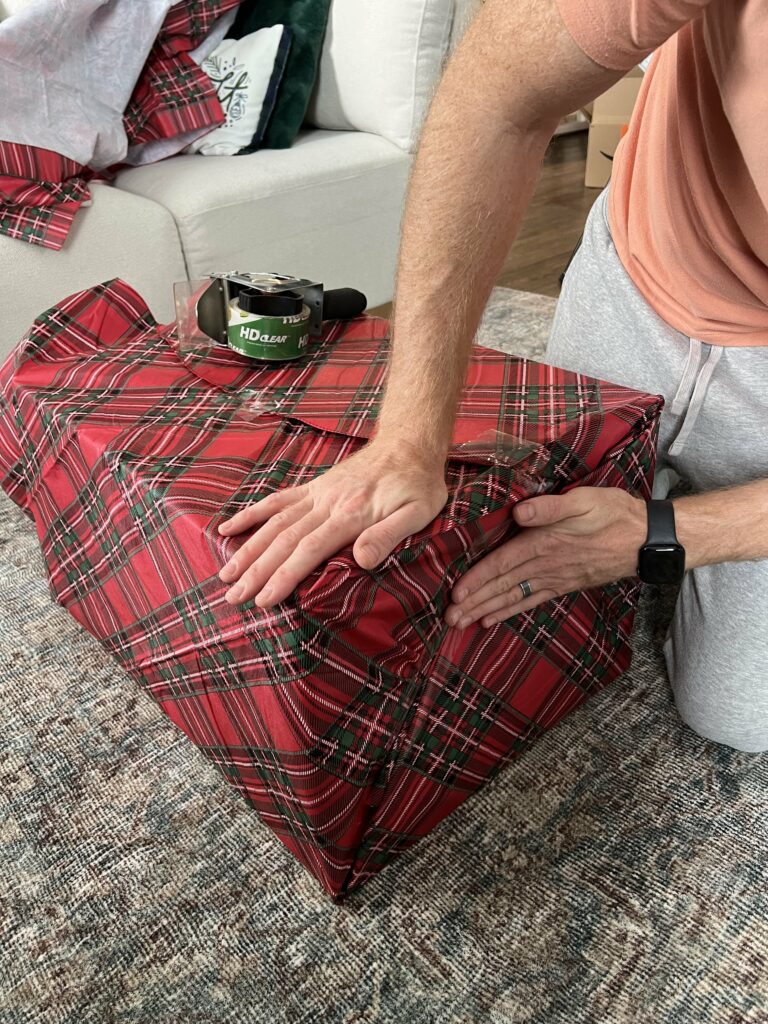
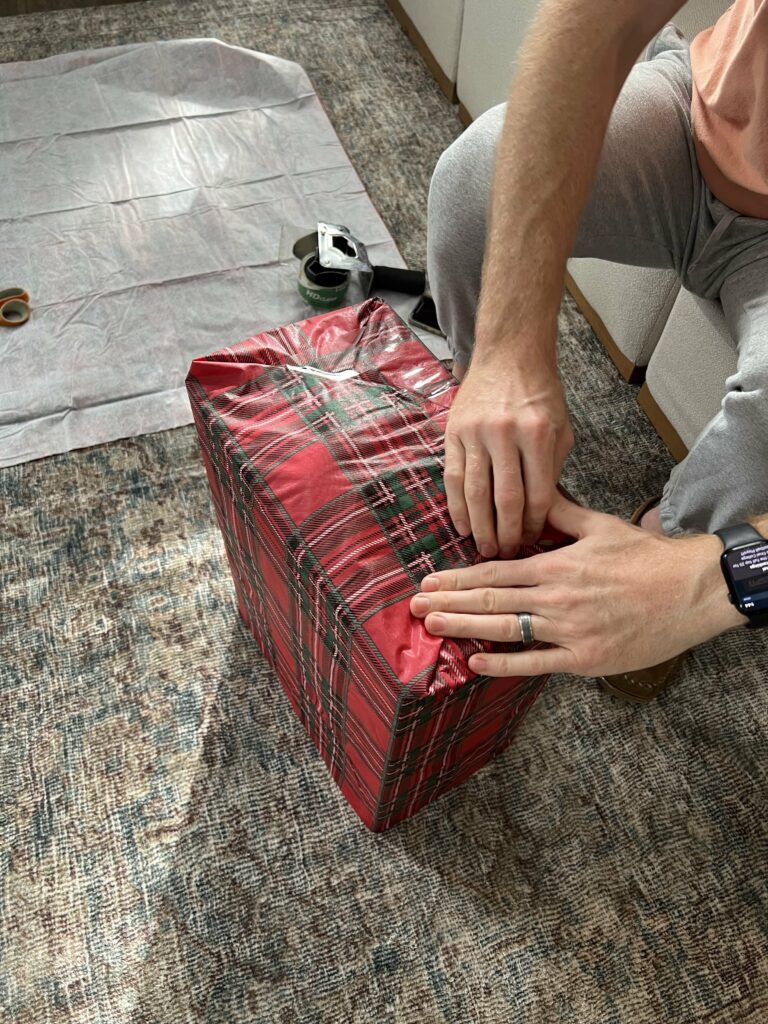
STEP 2: Wrap the boxes
Now, you are going to wrap your boxes! Treat the tablecloth just like wrapping paper. You can cut it - we fit 2 medium sized boxes in each tablecloth, but this will obviously vary by box and tablecloth size.
If your wrapping paper has a "right side up" - like our Christmas tree print - pay attention to which way you are positioning the box. You want it to look correct when positioned for your stack!

Pull the cloth tightly as you wrap so it's not saggy.
I do recommend using a bit more tape than you might normally do with a present, applying packing tape on each seam or edge of the wrapping for a really secure fit.
Repeat for each present.
STEP 3: Hammer in pole
Select a spot in your yard where you want the stack to go. We did this directly in the ground, but you could also add it to a planter, to go on a porch or somewhere similar. Just be sure that your planter is sufficiently large and heavy so it won't tip over!
Use your hammer or mallet to bang the pole into the ground. Knock it in enough that it is very sturdy and secure.
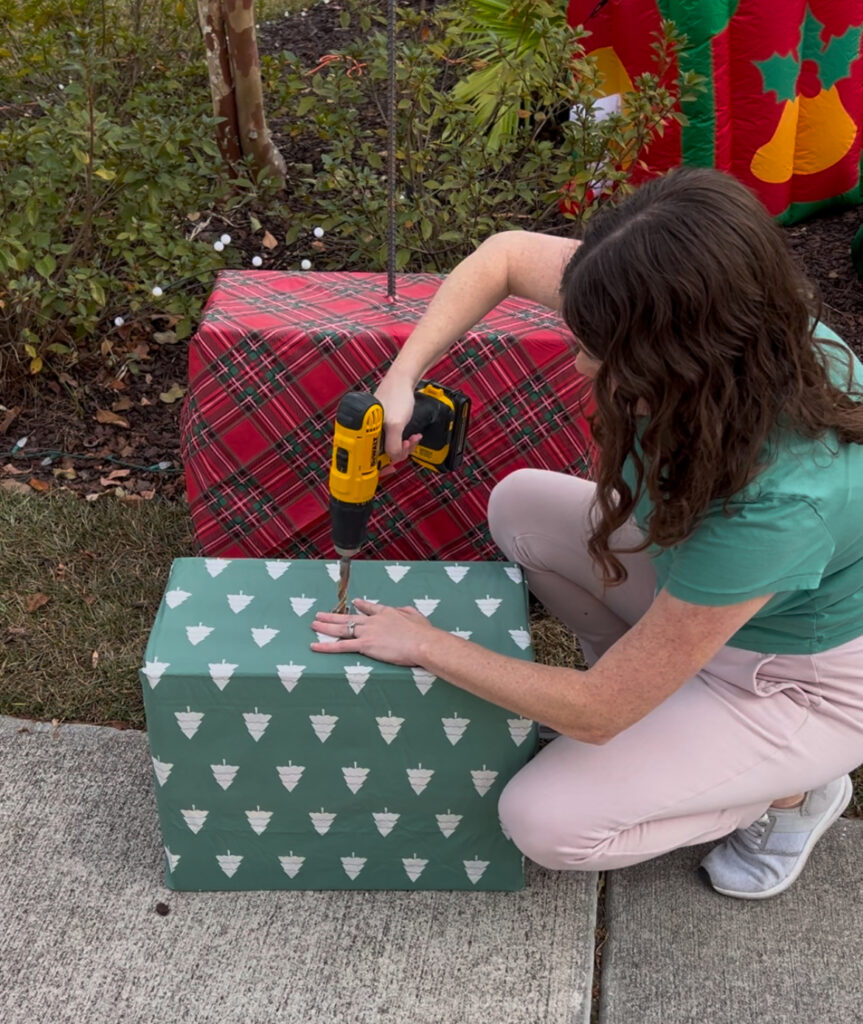
STEP 4: Cut or drill holes
Now, prep the boxes. Stack them so you can decide which will go where and where you need holes.
The holes should go in the center of the box, on opposite sides of each other so you can string the boxes onto the pole like a bead.
When we did this as a lego stack for a birthday party, we simply drilled a hole into each side of the box and strung it up that way.
However, when I tried that with the wrapped presents, the tablecloth got all twistedy with the drill.
So, instead, we used a box cutter to cut an X in the fabric where you want the hole to go. You can then drill the cardboard directly OR simply continue on with the box cutter, cut an X in the cardboard, and press through to create a hole.
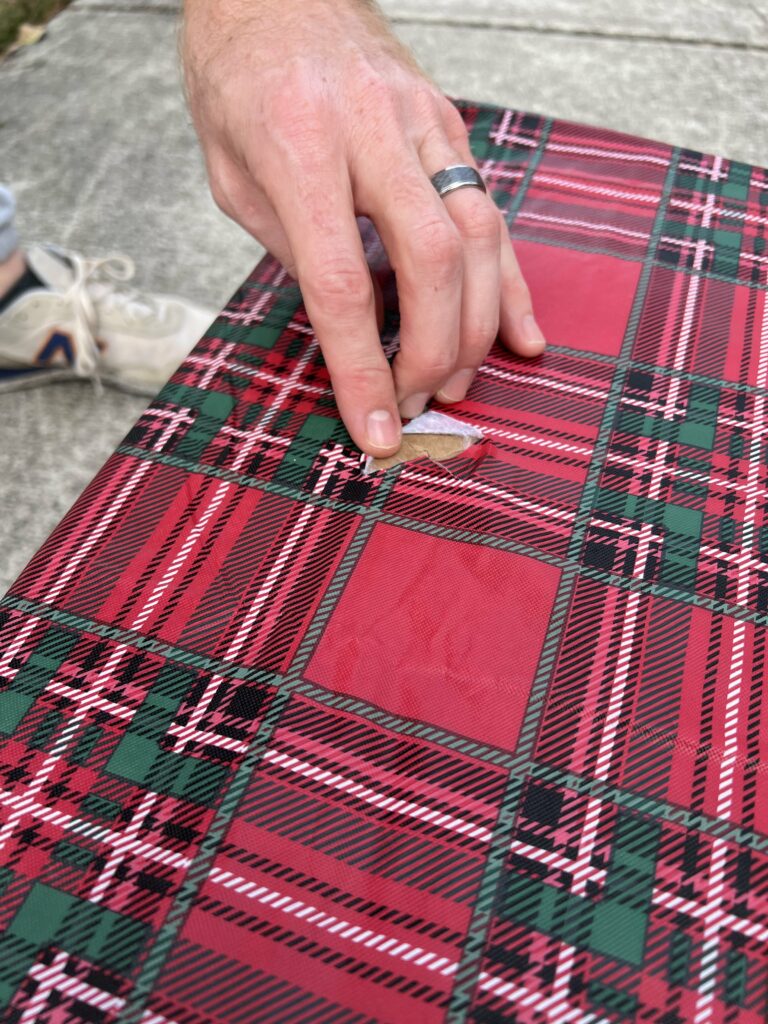
Repeat on either side of the box for each box.
NOTE: we only do 1 hole (the bottom one) on the top box! No need for a top hole, as the pole likely won't reach anyways and you don't want it poking up and out the top!
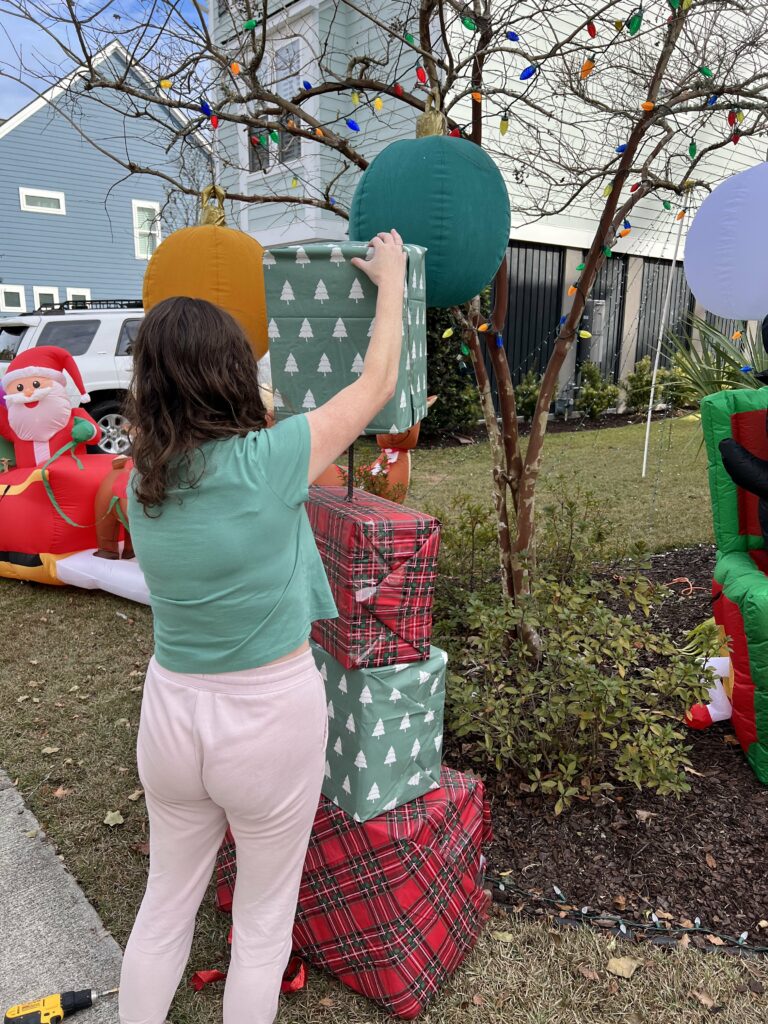
STEP 5: Add boxes to pole
As you drill the holes, string the boxes onto the pole in their stack. It's easy to get the first hole in - I found it easiest to stick my finger in the second hole, feel the pole, and guide it through the hole.
Repeat for all of the boxes.
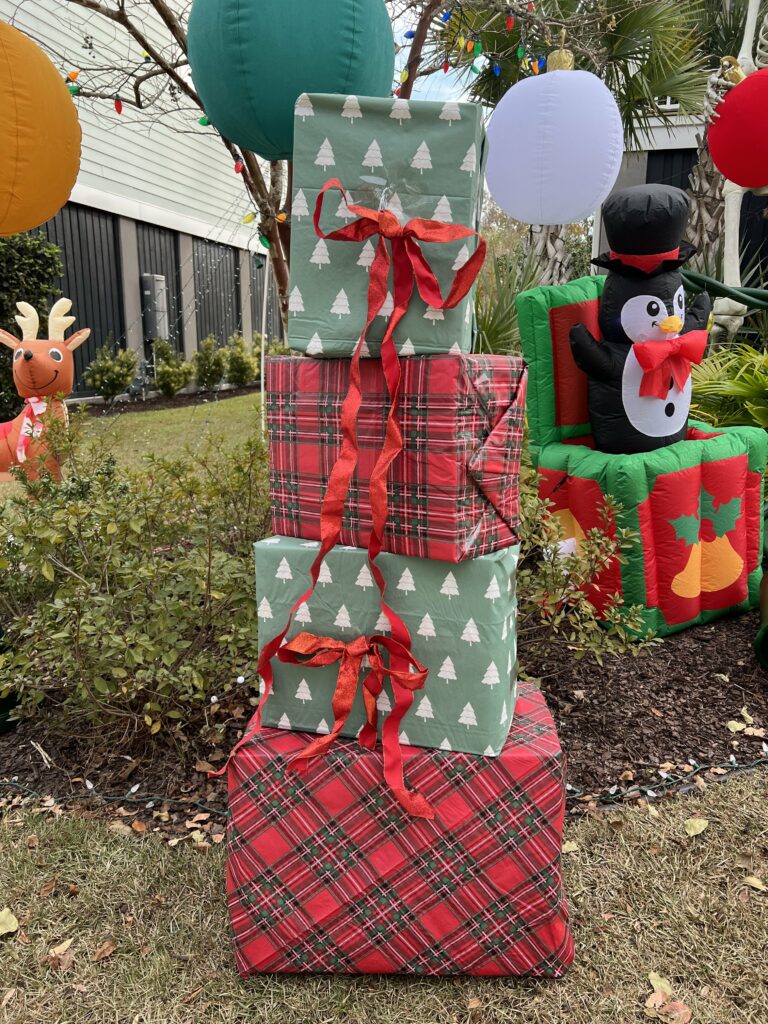
STEP 6: Optional, add bows or ribbon
Accessorize with bows or ribbons as you like.
I love how these turned out! They have been outside for a couple of weeks and are holding up well to rain, wind, and frost, so I feel great about their durability, too!

Happy holiday decorating!
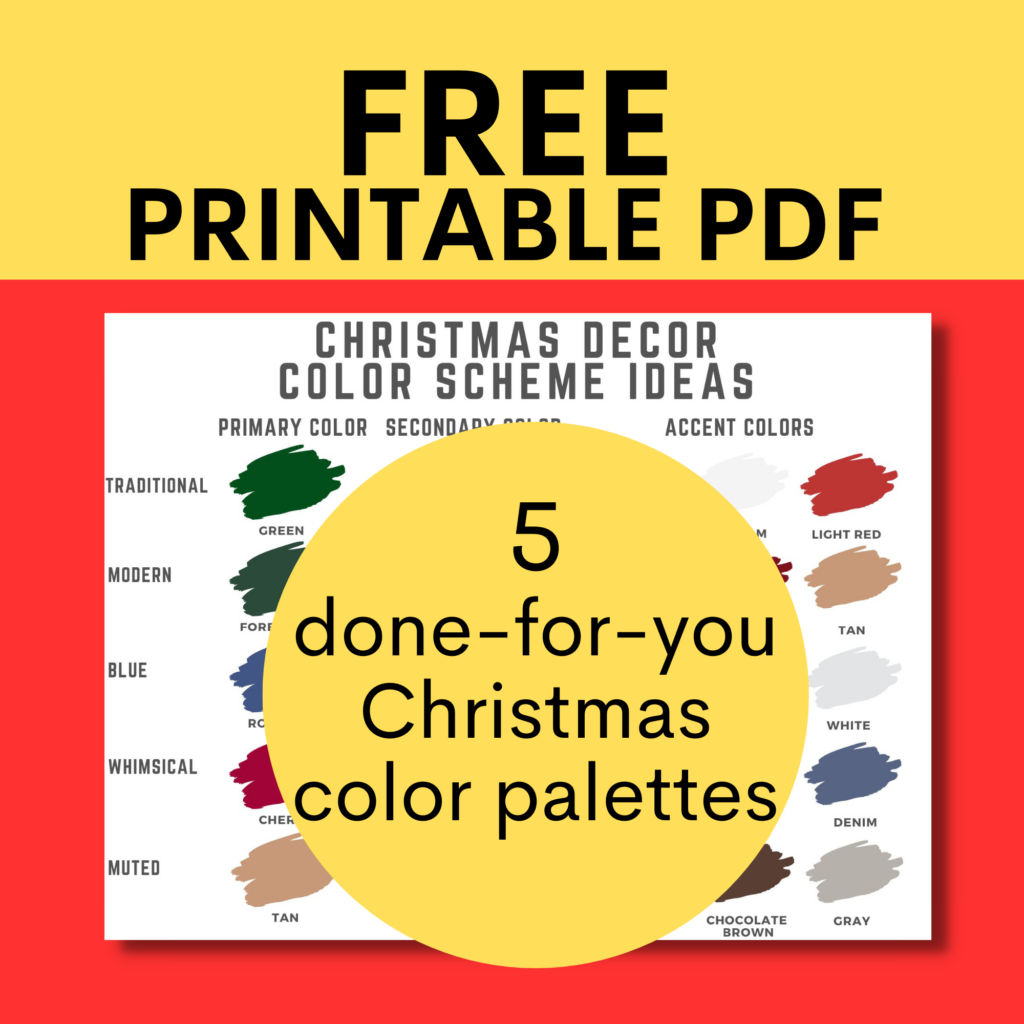
Get my Christmas Color Scheme Cheat Sheet!
With our free printable cheat sheet, you can easily bring your vision to life and create a festive atmosphere that will be remembered for years to come.

Looking for something?
We've been doing this since 2012 so we have a LOT of blog posts!
Search stuff like: Ceiling Projects | DIY Plant Stands | Thrift Flips

Hello, I'm Morgan, half of the creative force behind CharlestonCrafted.com! With a passion for DIY that dates back to 2012, I've transformed three homes and now I'm dedicated to helping others craft their dream spaces. Let's turn your house into a home together!