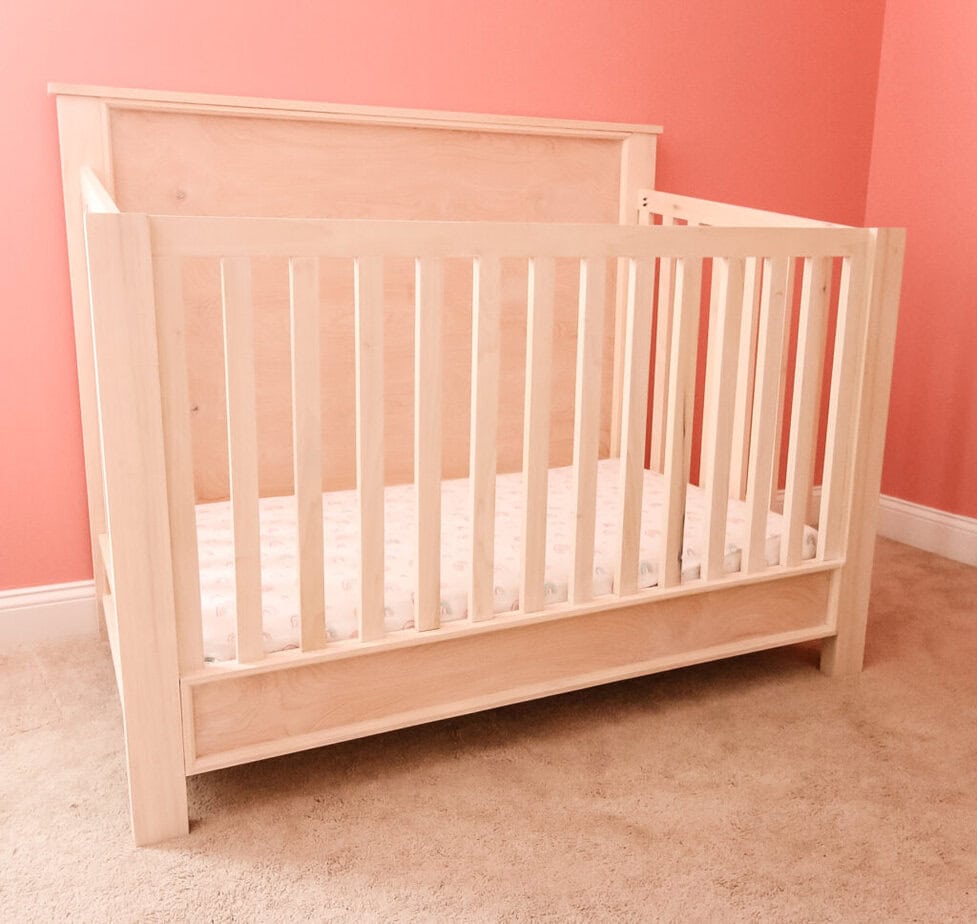
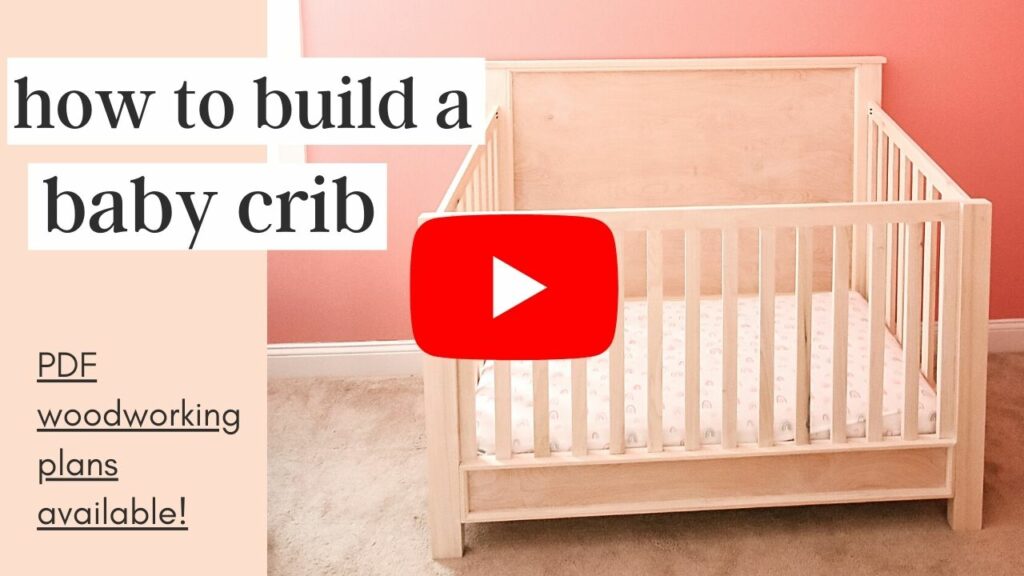
Get the woodworking plans for this DIY traditional style crib and build a beautiful home for your newborn baby!
Our daughter has been sleeping in our room in her Snoo bassinet for way too long and it was time to build her her own crib.
We bought our house only 10 days before she was born, so we weren't able to have a nursery ready for her like when we had our son's nursery completely done at our old house well before he was born.
After doing all of the initial projects in our new home and doing our son's jungle themed toddler room, we were ready to jump into our daughter's nursery with this DIY traditional style crib.
Check out how we painted her room with a pink scalloped color block style first!
DIY crib plans
You may know or remember that we built a DIY mid-century modern style crib for our son in his nursery. He's still using it today!
As with the mid-century crib, we built this traditional style crib to be modular. Cribs can't fit through a doorway, so they have to be able to come apart easily.
In the woodworking plans for this crib, you'll see exactly how we did that!
We pulled some inspiration for this traditional style crib from the Pottery Barn Larkin crib.
The look of the Pottery Barn Larkin crib is amazing, but at $999, it's not worth it to us... even if the price of lumber has gone up.
This DIY crib meets the appropriate regulations that we found for what a crib has to be, however, make sure you check the regulations for your state.
The big things we've learned from doing two cribs are to make sure that the space between the slats is no more than 2 ⅜", that there’s no gap between the mattress and the sides, and that the railing height is at least 26 inches.
Materials needed to build this DIY crib
Materials needed for building a crib will vary greatly, depending on the style you choose.
Even if you are following the plans for this crib, you could choose to vary the materials depending on if you want additional traditional style molding or different stain color.
Materials we used to build this crib were:
- (1) sheet of ¾" plywood
- (4) ¾"x 11 ¼" x 10' poplar boards
- Varathane White Wash stain
- Kreg Pocket Hole Jig 720 Pro and screws
How to build a DIY crib
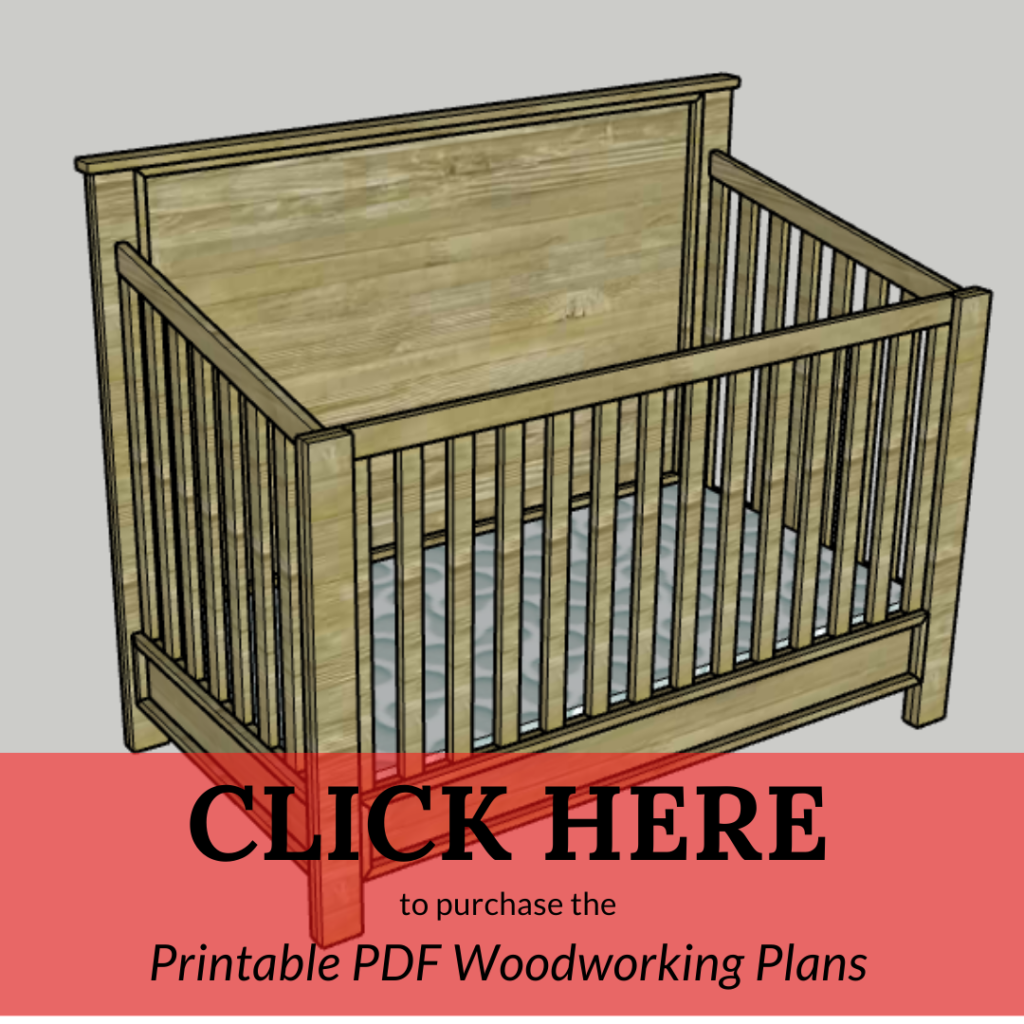
Building this crib really isn't difficult. We did all the hard work for you by creating the printable PDF plans!
Get the PDF plans here with full cut list, material list and step-by-step instructions!
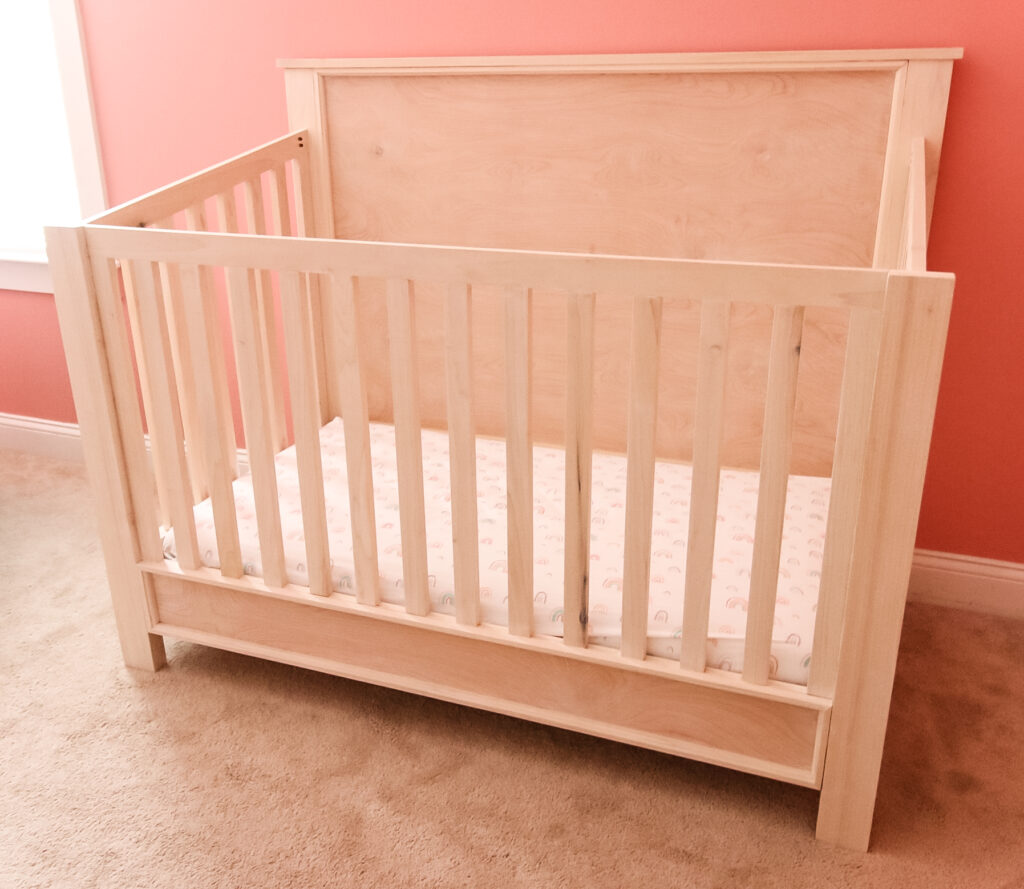
The idea for this crib is to be modular, creating five pieces that all come apart and can easily be put together in place.
This makes it easy to build in the garage and assemble in the nursery, and easier to disassemble if you need to move it down the line!
Step one- build the back
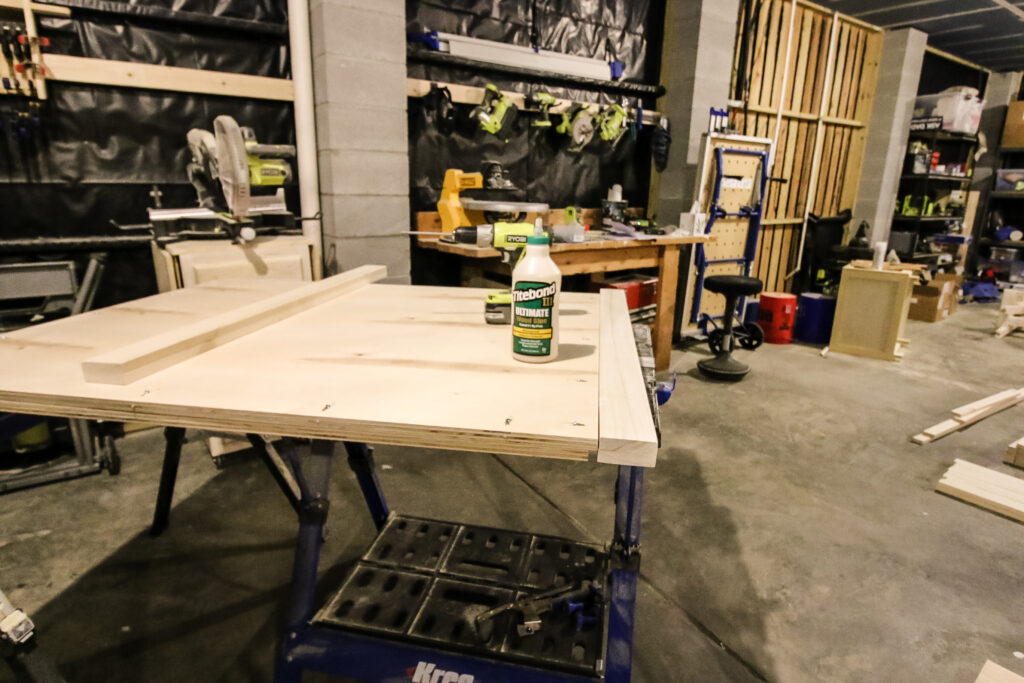
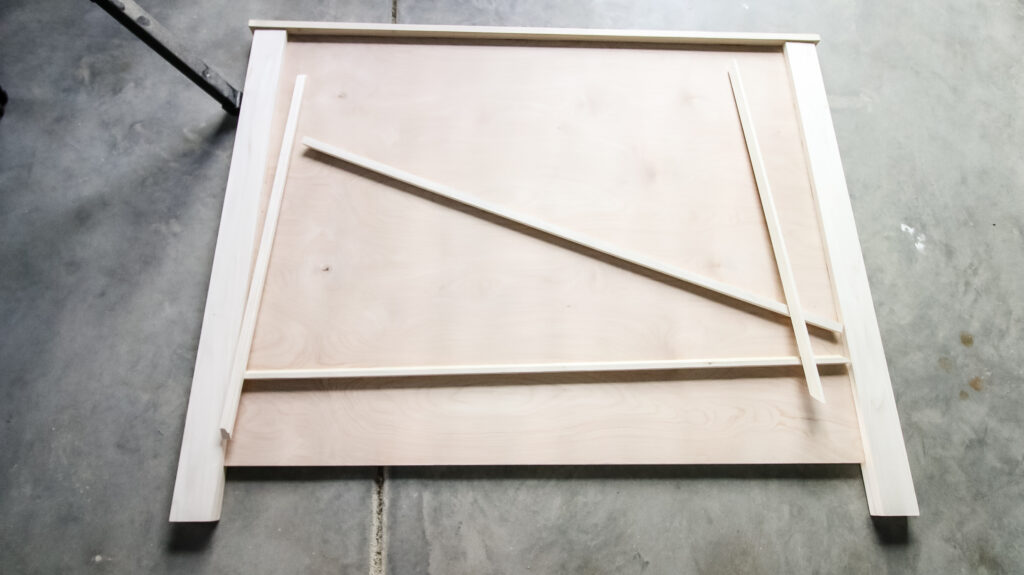
The back of this crib is built with ¾" plywood, two legs and molding.
To make the legs (for the front and back), we glued together ¾" thick poplar to make sturdy posts.
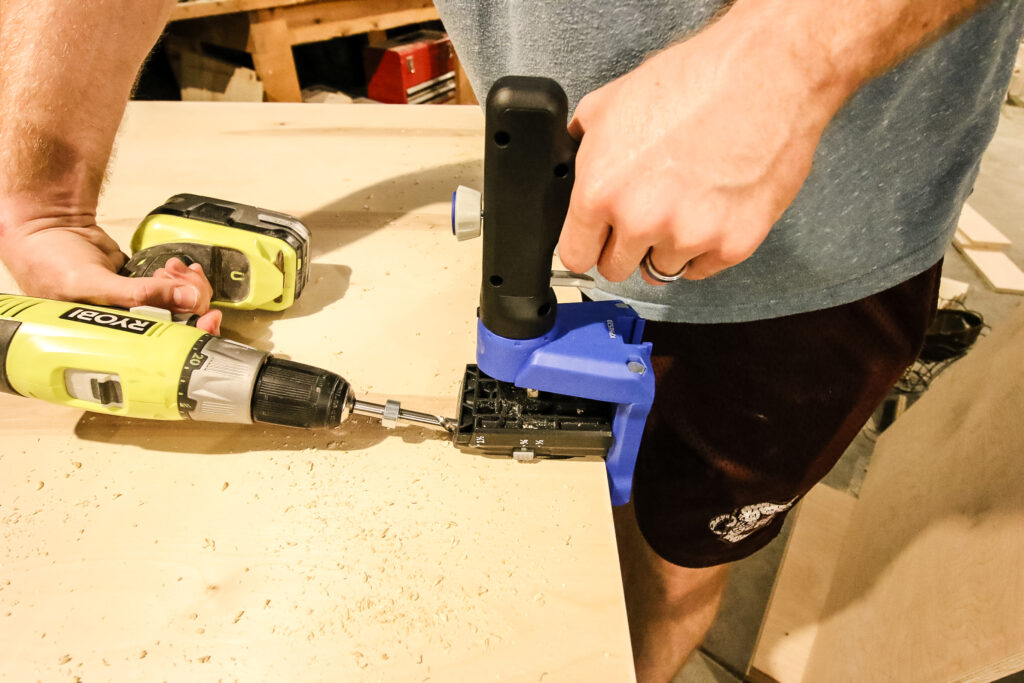
For the back section, we used a Kreg Pocket Hole Jig 520 to drill pocket holes into the sides of the ¾" plywood to attach it to the legs and top piece.
The Kreg Jig 520 is perfect for this because it clamps directly onto a piece of wood. This is very handy for using with a large sheet of plywood.
We attached the backer to the legs and top piece, then added a frame of hand-routed molding to give the traditional look we were going for.
Step two- build the front
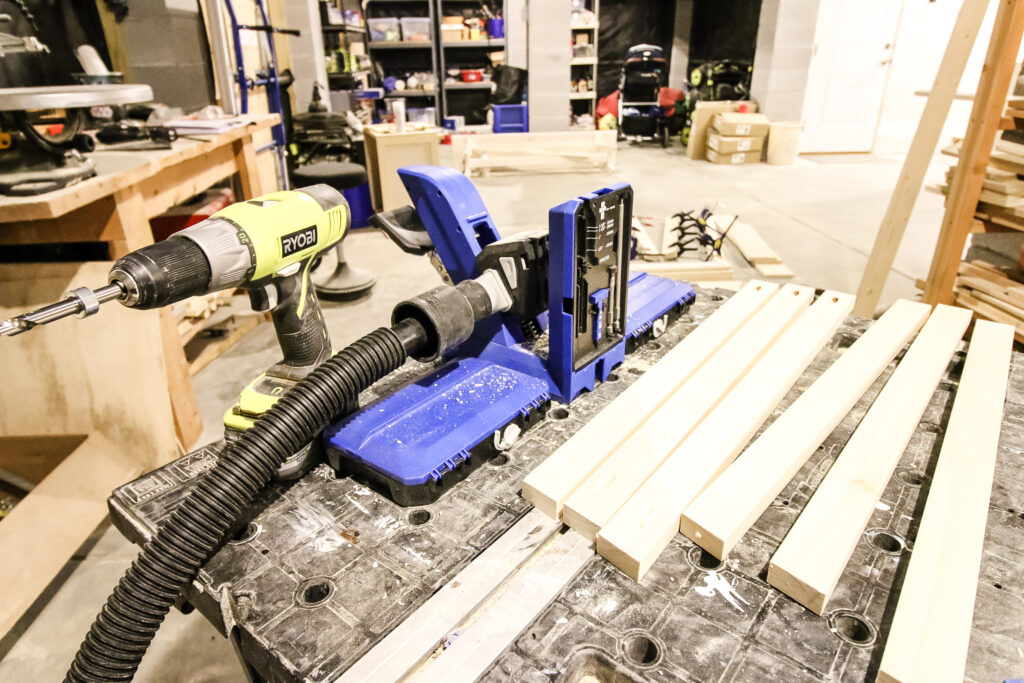
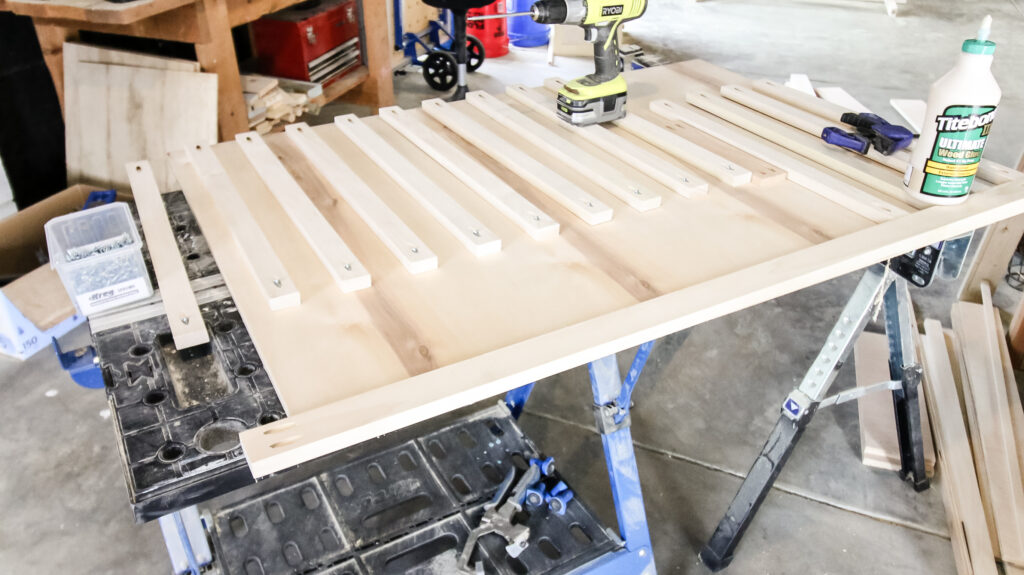
The front of this DIY crib is made from two legs, a strip of plywood and a whole bunch of slats.
For the front and sides, we buzzed down 30 bars from poplar boards. These bars are by far the most annoying part of this crib, mostly because of all the sanding.
The slats were spaced out 2 ¼" apart, which is slightly smaller than the recommended minimum. We did this for our son's crib as well and the spacing has worked out well.
Each bar was attached into a top rail and the plywood on the bottom and that was attached to the legs.
For these bars, we used the Kreg Pocket Hole Jig 720 Pro to drill pocket holes. We wanted to make sure that each bar was super secure.
Since we only used one pocket hole on each end of each bar, adding wood glue when connecting is critical to ensure stability.
Each bar also got two Kreg pocket hole plugs so that there wouldn't be visible holes for our daughter to stick her fingers in.
Again, we added ornamental molding within the plywood for the traditional look.
Step three- build the sides
The sides of this crib are by far the hardest part to complete.
The sides have the same basic concept as the front, but with angled cuts instead of straight cuts.
Each of the bars on the side pieces is incrementally different in size in order to account for a 10 degree angle on the top railing.
Again, the spacing between the bars is the same, and each side has a top rail and base plywood with molding, but the angle is difficult.
Each side is a mirror image of each other and completes the look.
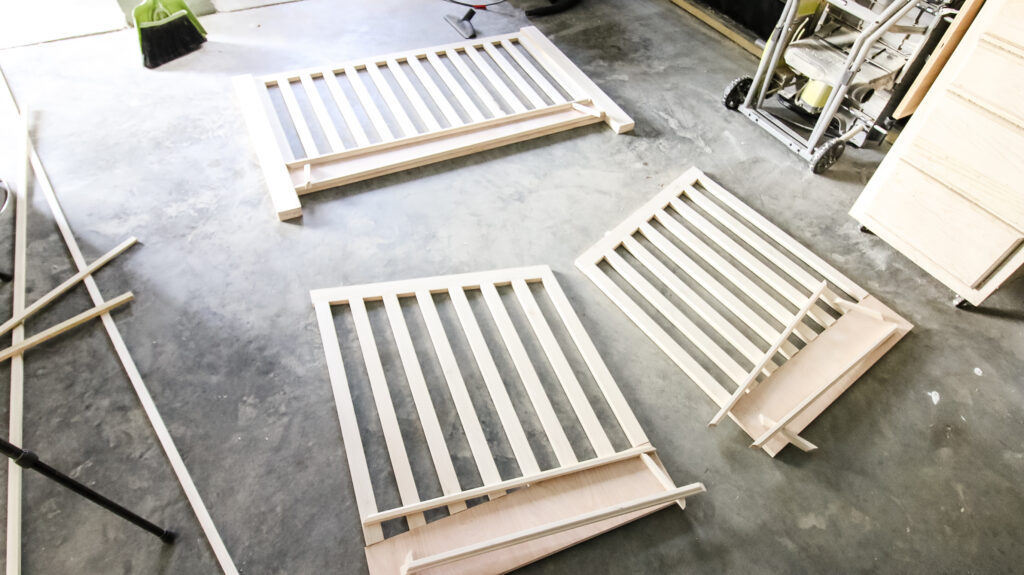
Step four- build the base
The last piece was the base. The standard crib mattress is 28"x52", so the base was sized to fit this exactly.
It's important not to have any gaps around the sides of your crib mattress that a baby can get a body part stuck in.
The base was straight cuts, with two long rails and five short boards that stretch between it.
All of these boards were attached with pocket holes and wood glue.
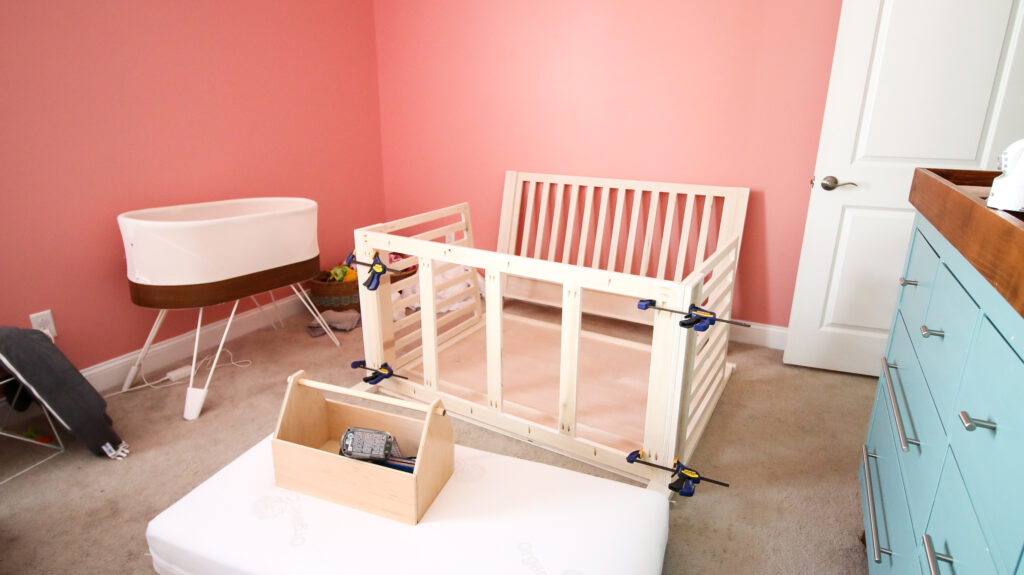
Step five- assemble
The last thing to do was to assemble all five pieces of the crib.
The best way to do this was to attach the base to the bottom of the side pieces and then attach that unit to the back piece.
Once all that was attached, it was easy to put the front piece on top and add screws to pull it all together.
Then we flipped it onto its legs, pushed it into place and added the mattress and sheets.
Eclipse Wellness 2-Stage Hybrid Pure Baby Crib Mattress
We opted to use the Eclipse Wellness 2-Stage Hybrid Pure baby mattress.
This came in a standard crib mattress size of 28"x52".
Some of the features that I love about this mattress:
- It's double sided with one side for infants and the flip side for toddlers!
- The infant side is firmer for safe baby sleep.
- The toddler side has an additional pad for comfort once they are old enough!
- Naturally water repellant - water beads up instead of absorbing (it's been tested already and it really worked!)
- Made from organic cotton with a washable cover.
- Coils designed to encourage the baby to stay centered on the mattress.
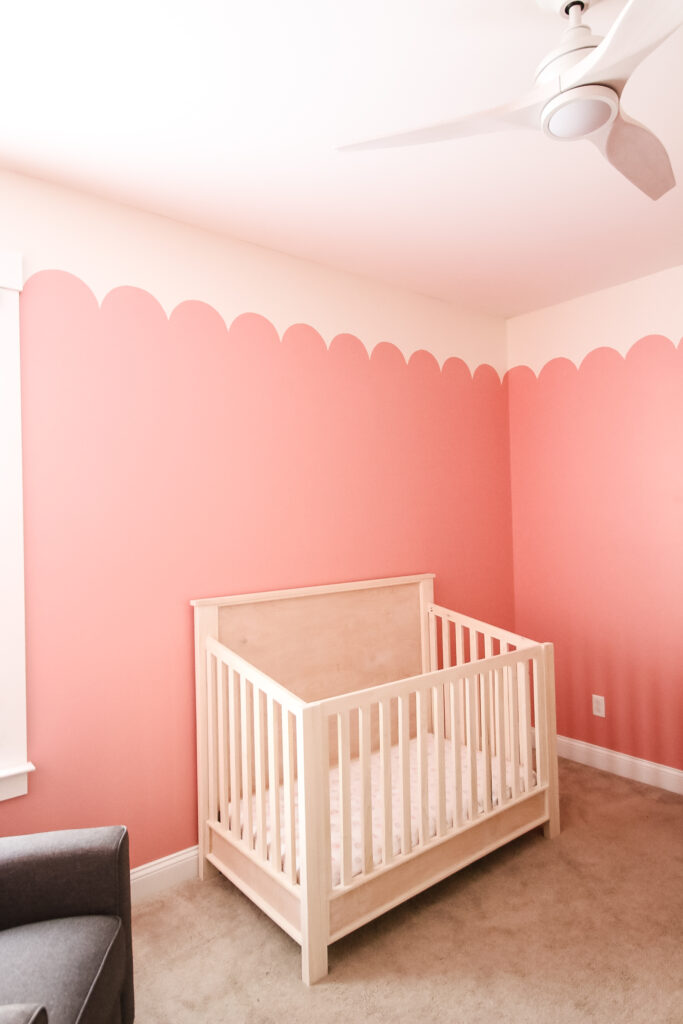
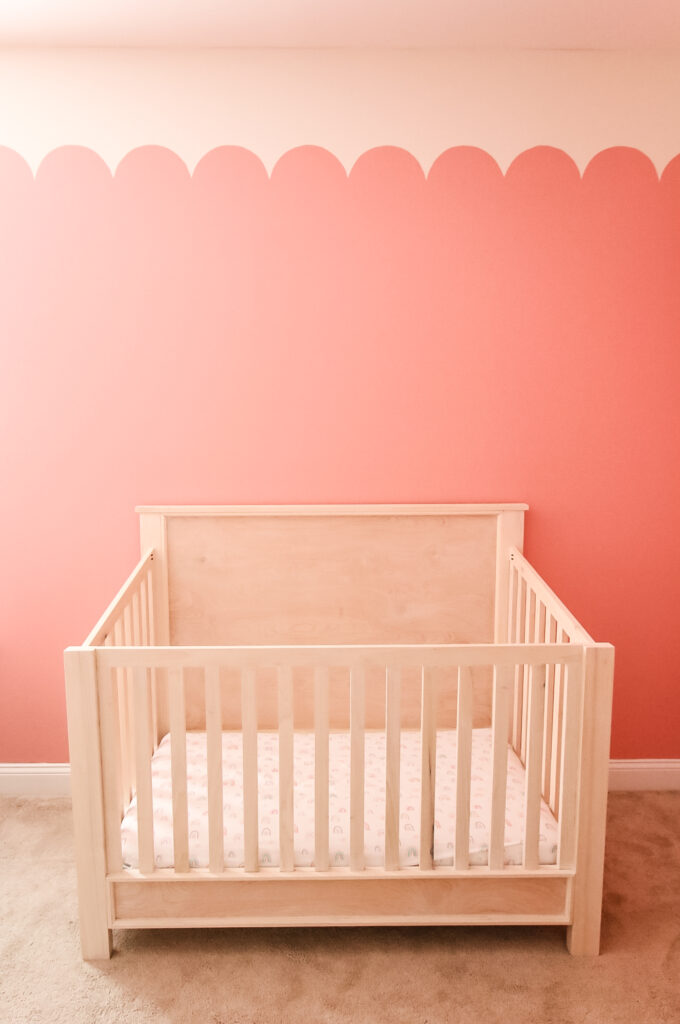
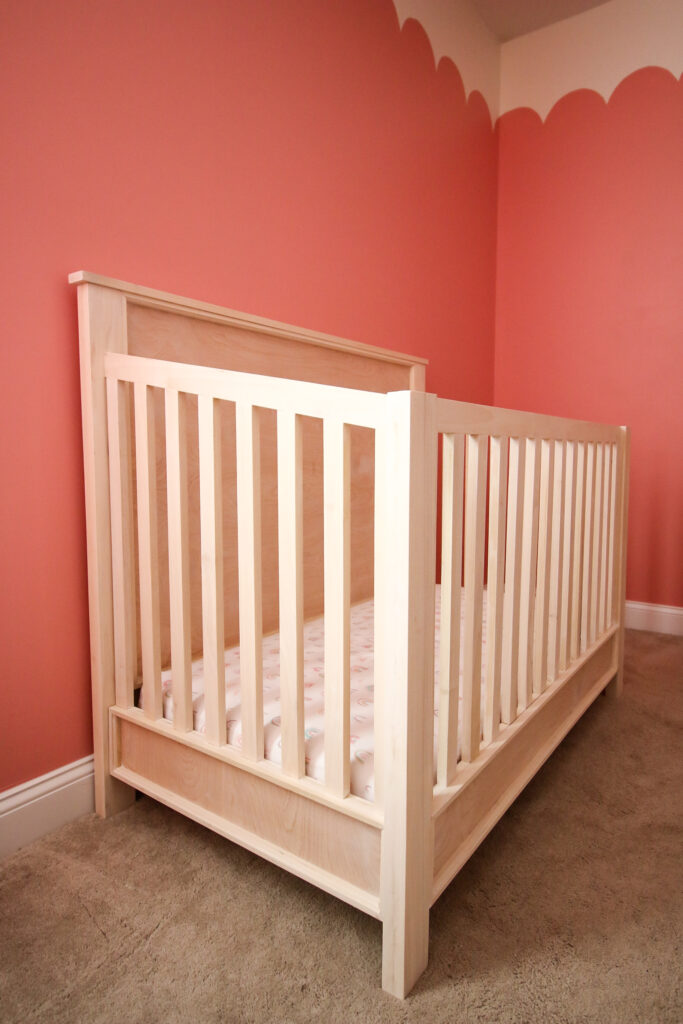
Final DIY traditional style crib with PDF crib building plans
We absolutely love how this crib turned out! It looks incredible in our daughter's room.
The traditional style works really well with the scalloped paint pattern on the walls and seems to fit better for a girl.
The crib looks elegant and regal and is clearly the focal point of her room.
This DIY traditional style crib is truly simple to build by following our downloadable, printable PDF plans.
In our DIY crib plans, you'll find the full material list, cut list and step-by-step instructions, accompanied by computer model images, to build this crib for yourself.
Be the envy of all your friends and family when you brag to them about how you built your child's crib from scratch, just like we did!
Be sure to check out all of the nursery decor from our son's jungle themed nursery!
Video tutorial
If video tutorials are your thing, make sure to check out how we built this crib on video!
Frequently Asked Questions about our DIY baby crib
All of these answers are fully-dependent on your skill level, tools you have on hand and the confidence you have in yourself as a woodworker. Before you attempt a project like this, make sure you feel comfortable with your situation.
Right now, this is a really difficult question to answer. Lumber prices are insane and volatile.
The wood for this crib should cost you around $150-200. Different designs will cost you more or less.
It is definitely safe to build your own crib. If you are using clear plans (either of your own design or from someone else) and can follow them properly, they will be safe.
You also need to be confident in your woodworking abilities to build a crib. If you don't feel confident, it might be best to purchase a crib.
It is best to use a hard wood for a crib to ensure that it is stable and will last. Hardwoods are stronger and will be better for the weight of a child as they grow. We use poplar for our cribs.
The dimensions of a baby crib can vary, depending on the design, but they inner dimensions should be the size of the crib mattress so that there are no gaps. In this case, that size is 28"x52".
Depending on the design, you will need various tools. For this crib, we used a table saw, miter saw, pocket hole jig, sander, drill and clamps.
Any more questions about how to build a baby crib?!

Looking for something?
We've been doing this since 2012 so we have a LOT of blog posts!
Search stuff like: Ceiling Projects | DIY Plant Stands | Thrift Flips

Hello, I'm Morgan, half of the creative force behind CharlestonCrafted.com! With a passion for DIY that dates back to 2012, I've transformed three homes and now I'm dedicated to helping others craft their dream spaces. Let's turn your house into a home together!


[…] Do you want to have a unique and traditional crib for your newborn baby and search in the market but could not find your desired one yet? If so, then how about spending some time and building it yourself the way you want. Doesn’t it sound amazing? You need to have materials like a tape measure, pocket hole screws, level, miter saw, wood boards, etc. charlestoncraft […]