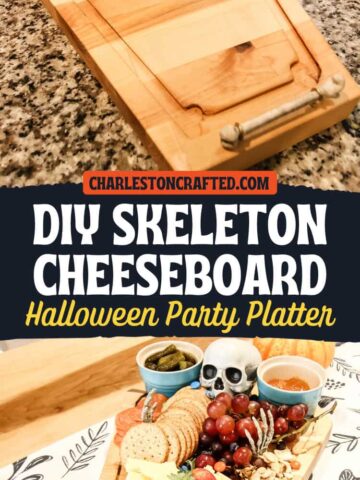
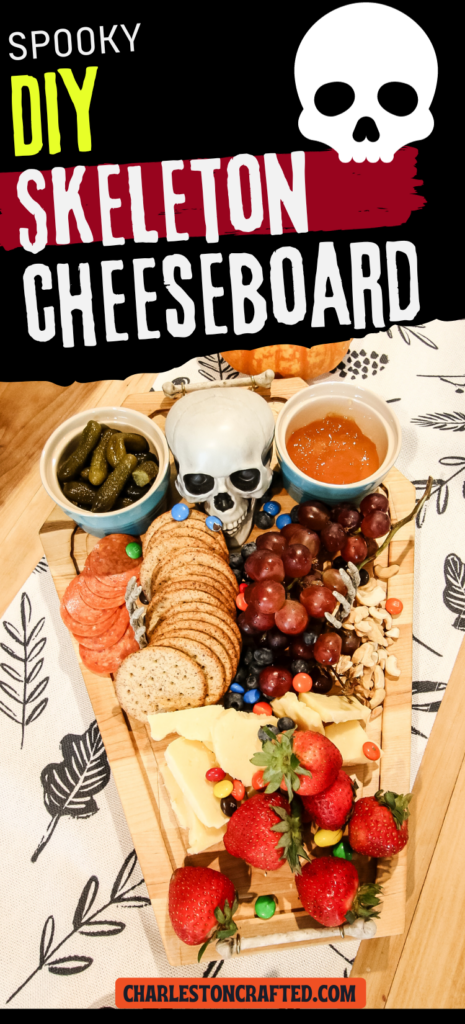
Getting ready to throw a Halloween party? Impress your guests by serving charcuterie on this DIY skeleton cheeseboard!
Raise your hand if you like a good Halloween party? I'll assume you said yes, even though you probably didn't actually raise your hand.
What's a party without good food presentation, am I right?
Well get ready to impress (and spook) your guests by serving your Halloween charcuterie on this DIY skeleton cheeseboard!
This silly and spooky Halloween cheeseboard is sure to be a huge hit at a party or serving food any time during spooky season.
We were inspired to make this by the Pottery Barn skeleton cheeseboard that they have listed for $99. We used scrap butcher block and a couple of plastic skeleton pieces from Michael's, coming in way less than the one you can buy.
So, we're going to show you how to make a DIY skeleton charcuterie board that is going to be your favorite Halloween skeleton craft!
DIY skeleton cheeseboard
A skeleton cheeseboard is the perfect way to serve meat and cheese and other charcuterie items with a Halloween theme.
This is a really fun Halloween craft to make and can be used over and over again year after year!
How to make a skeleton cheeseboard
We're going to show you how to make a skeleton cheeseboard using minimal supplies.
Please keep in mind that you can obviously adjust this however you'd like. If you found a different skeleton or have a different piece of scrap wood, go for it.
You can replicate this Halloween cheese board however you see fit using the general instructions here, but this should get you going and will give you a good idea how to make it!
Materials needed to make a skeleton charcuterie board:
- Piece of wood at least 18"x12"
- Glue
- Small 3 ½" skeleton head
- Small skeleton hands
- Small skeleton bones
- Cutting board oil
Tools needed to make a skeleton charcuterie board:
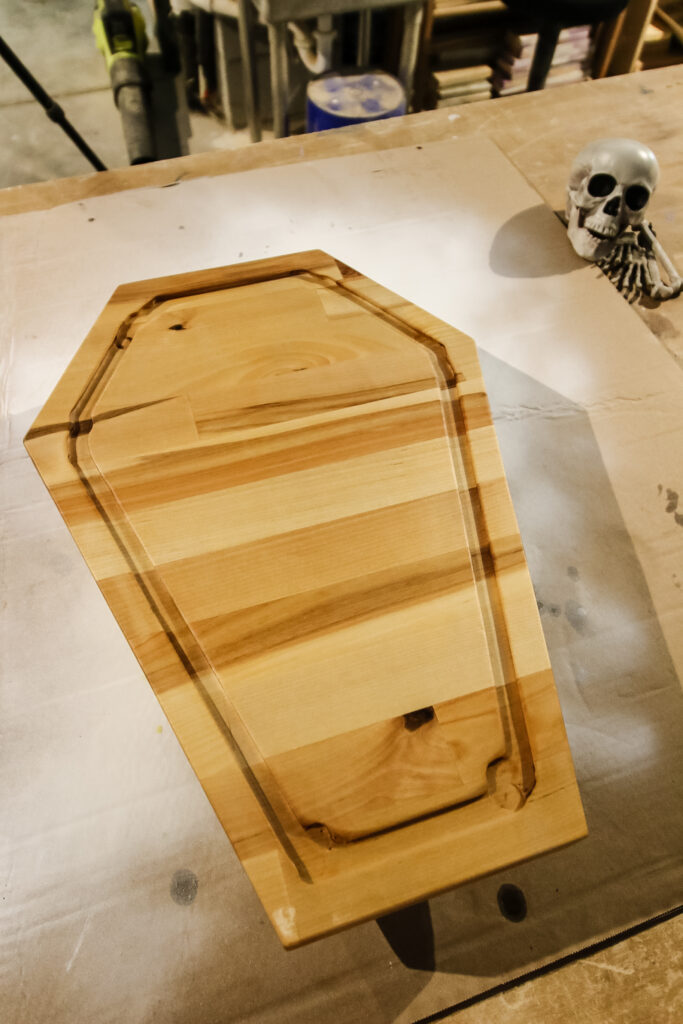
Step one: cut board
Start our by cutting down your board into a coffin shape.
Our board was 18"x12", so we marked in 3" from each corner on the 12" sides. Then, we marked down 5" from the top two corners.
After drawing lines from the top and bottom marks to the side marks to make the coffin shape, we cut out those corners using a circular saw.
Always be very careful using a saw, especially if you are free-handing following a line and not using a fence of any kind.
You should be left with a good coffin shaped piece of wood after this step!
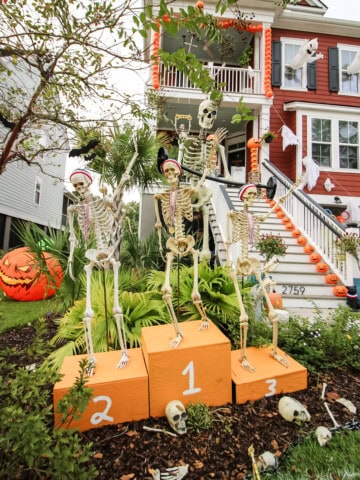
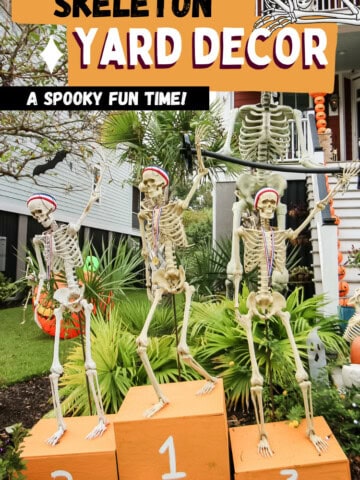
Here's how to pose skeletons in your yard!
Step two: route grooves
Next, we routed some drainage grooves around the outside edges of the board. Technically, this step is completely optional and if you don't have a router, I don't think you need to go buy one for this project.
But, if you do have a router, this step adds a little extra finish and adds that groove that catches any drips or anything that runs off the cheeseboard when you have it filled.
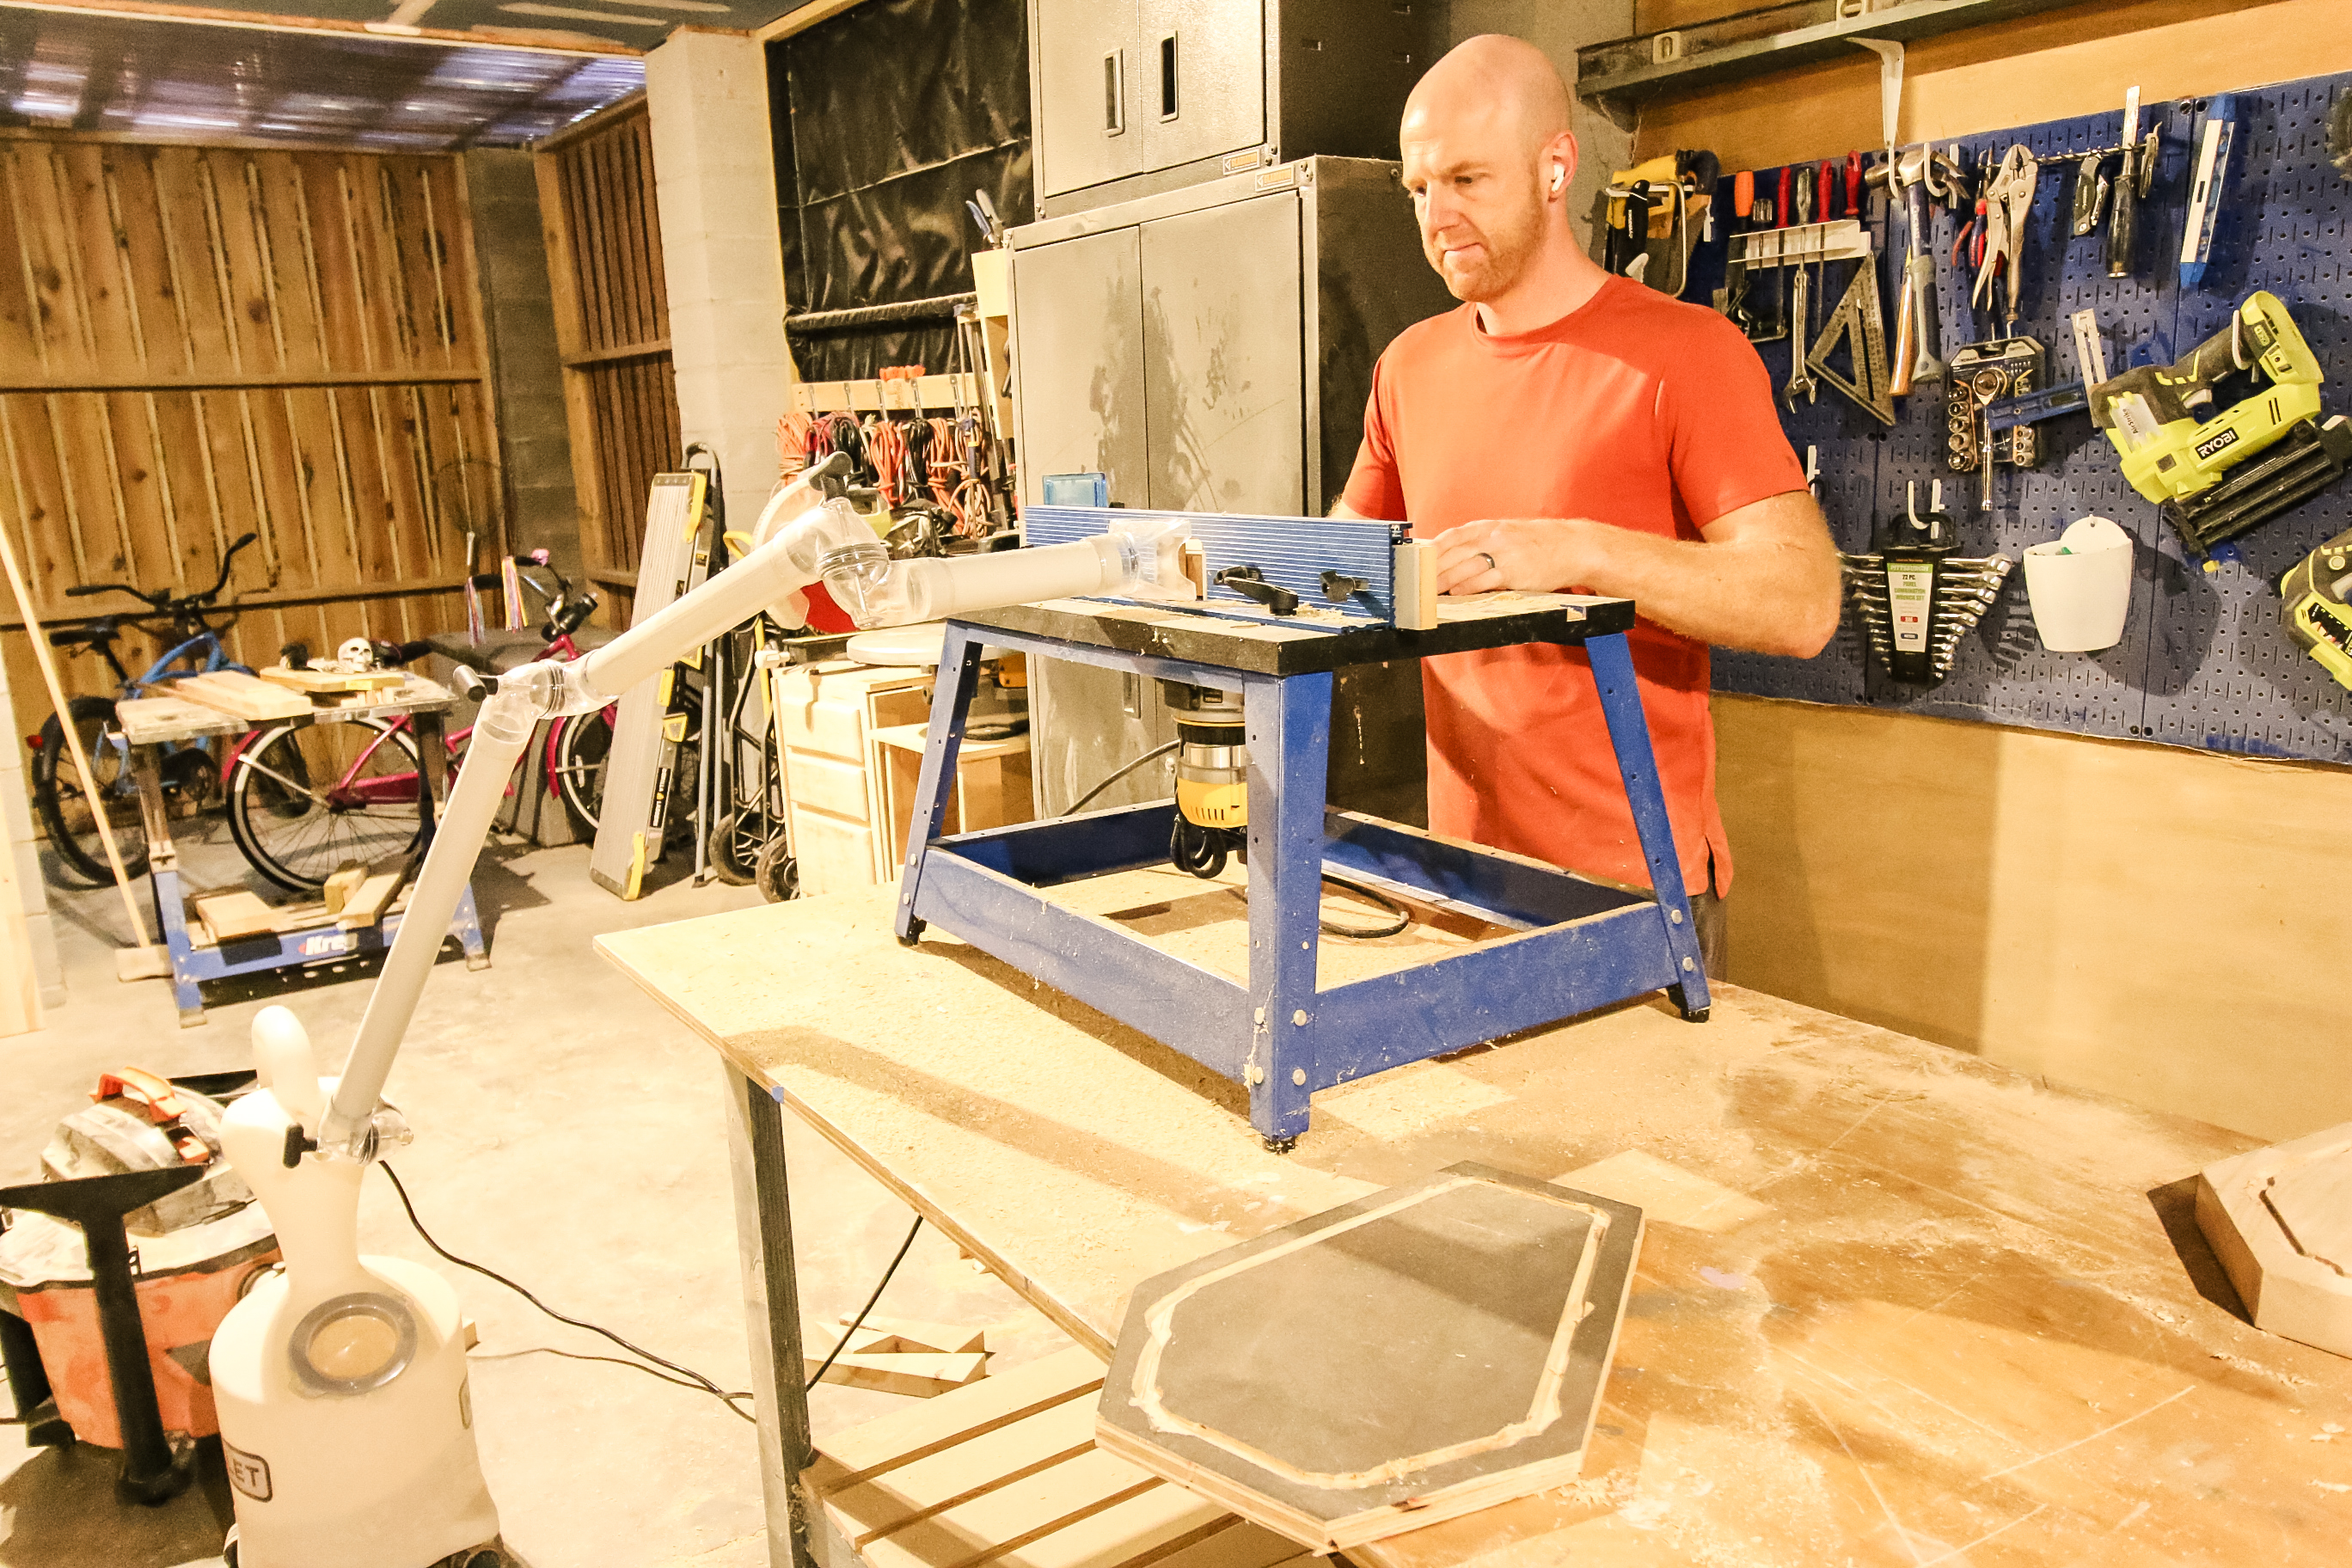
We used our Kreg Benchtop Router Table, but I actually think a palm router would be a little easier. I was impatient because I didn't want to take my router off the table, but it meant I was routing my groove blind upside down on the table.
Basically, set your router so it's about ½" away from the edge and follow the same path as the edge of the table and make a shallow groove all the way around.
Step three: sand and oil
Alright, since this is a piece you'll be putting food on that you're going to eat, make sure you sand it really really smooth.
We used a couple different grit sandpapers to get to a super smooth finish at 400 grit.
Read more about proper sanding here!
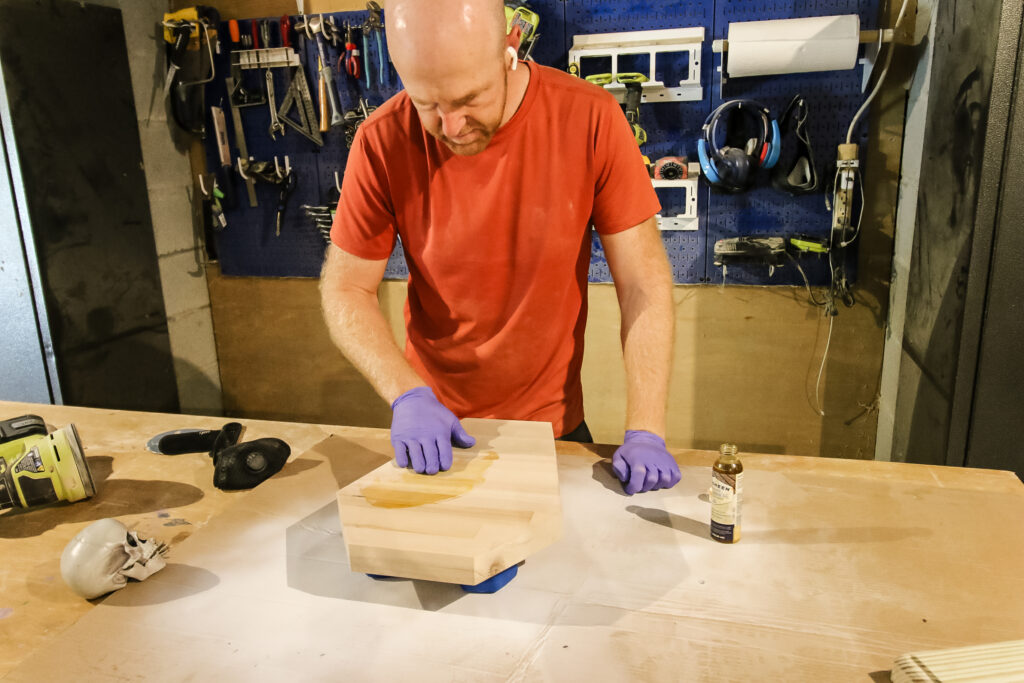
Then, add a good coat of food safe oil on the board. We were using butcher block, so we knew it was a food safe wood already.
We just added a coat of linseed oil to the whole board and let it fully dry and cure.
Read about all of your food-safe oil options here!
It's amazing how much oil will bring out the color of your wood and change the look of it! Our son asked why the wood wasn't dark (like all portrayals of coffins he's seen), but we liked the lighter look to make it look more like a true charcuterie board.
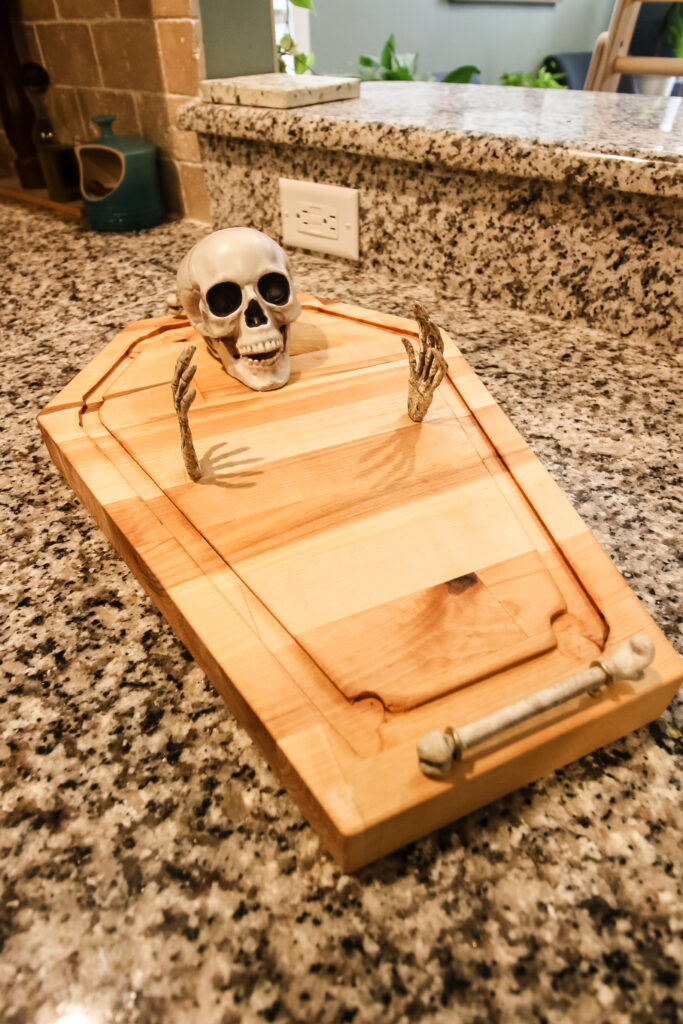
Step four: attach skeleton pieces
Now it's time to really make this Halloween snack board look spooky by adding the skeleton pieces!
We started by using glue to attach the small skeleton skull near the top end of the coffin.
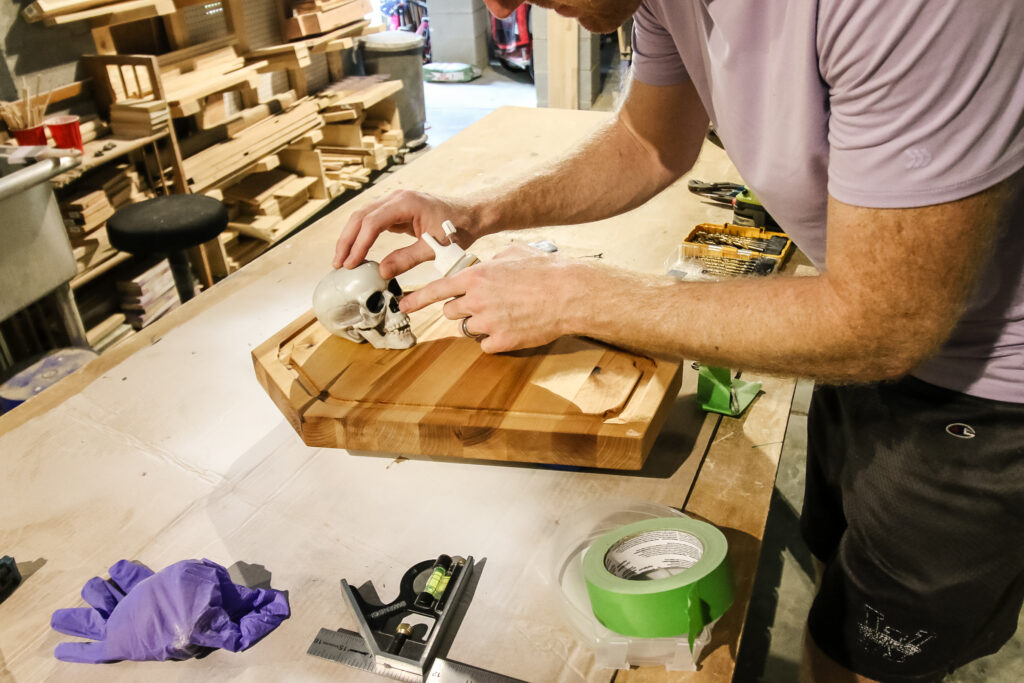
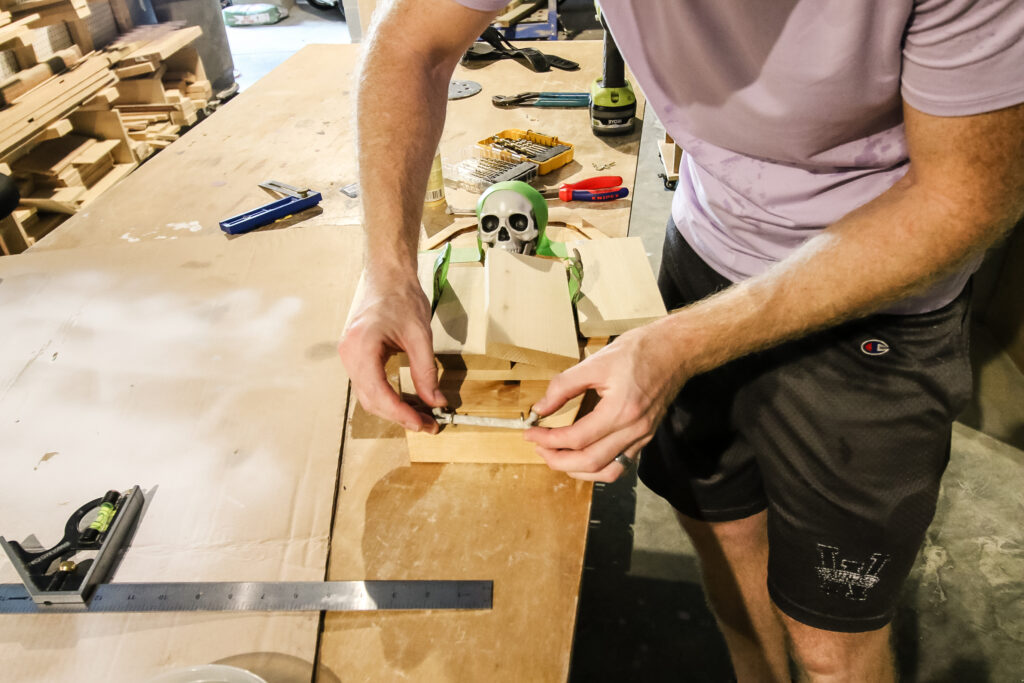
Then, we used glue and tape to attach the two hands. This was tricky because they wouldn't stand up by themselves, so we had to use a couple of boards on both sides of each hand to hold them in place while the glue dried.
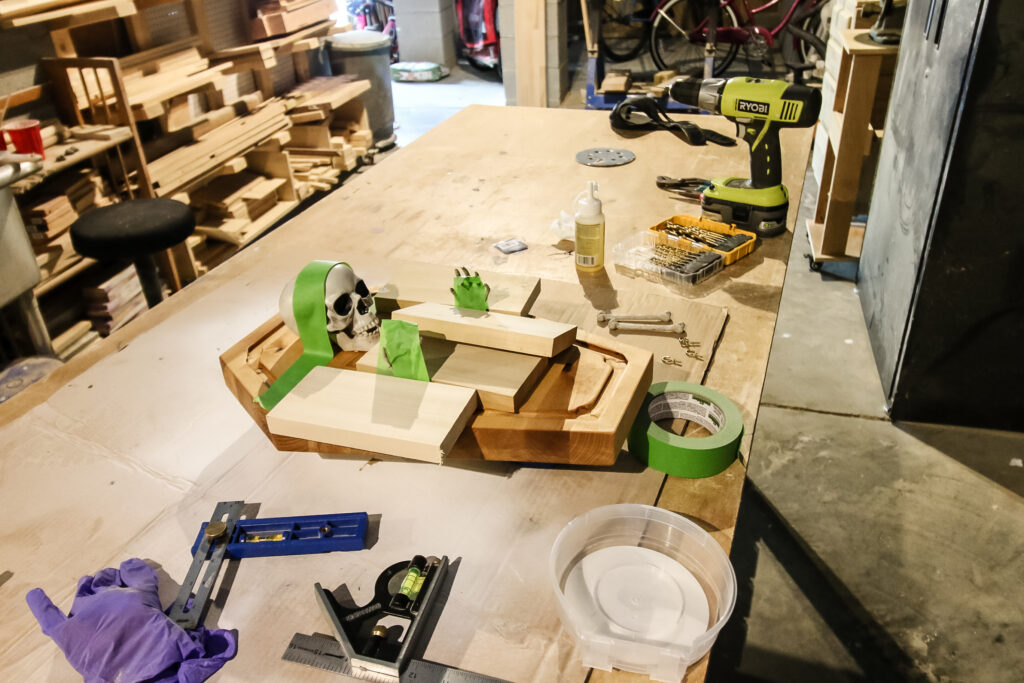
The glue didn't do a great job of holding the hands because they were small, so we actually ended up drilling a hole and attaching a small screw and gluing the hands onto that. This made them stand up a lot better.
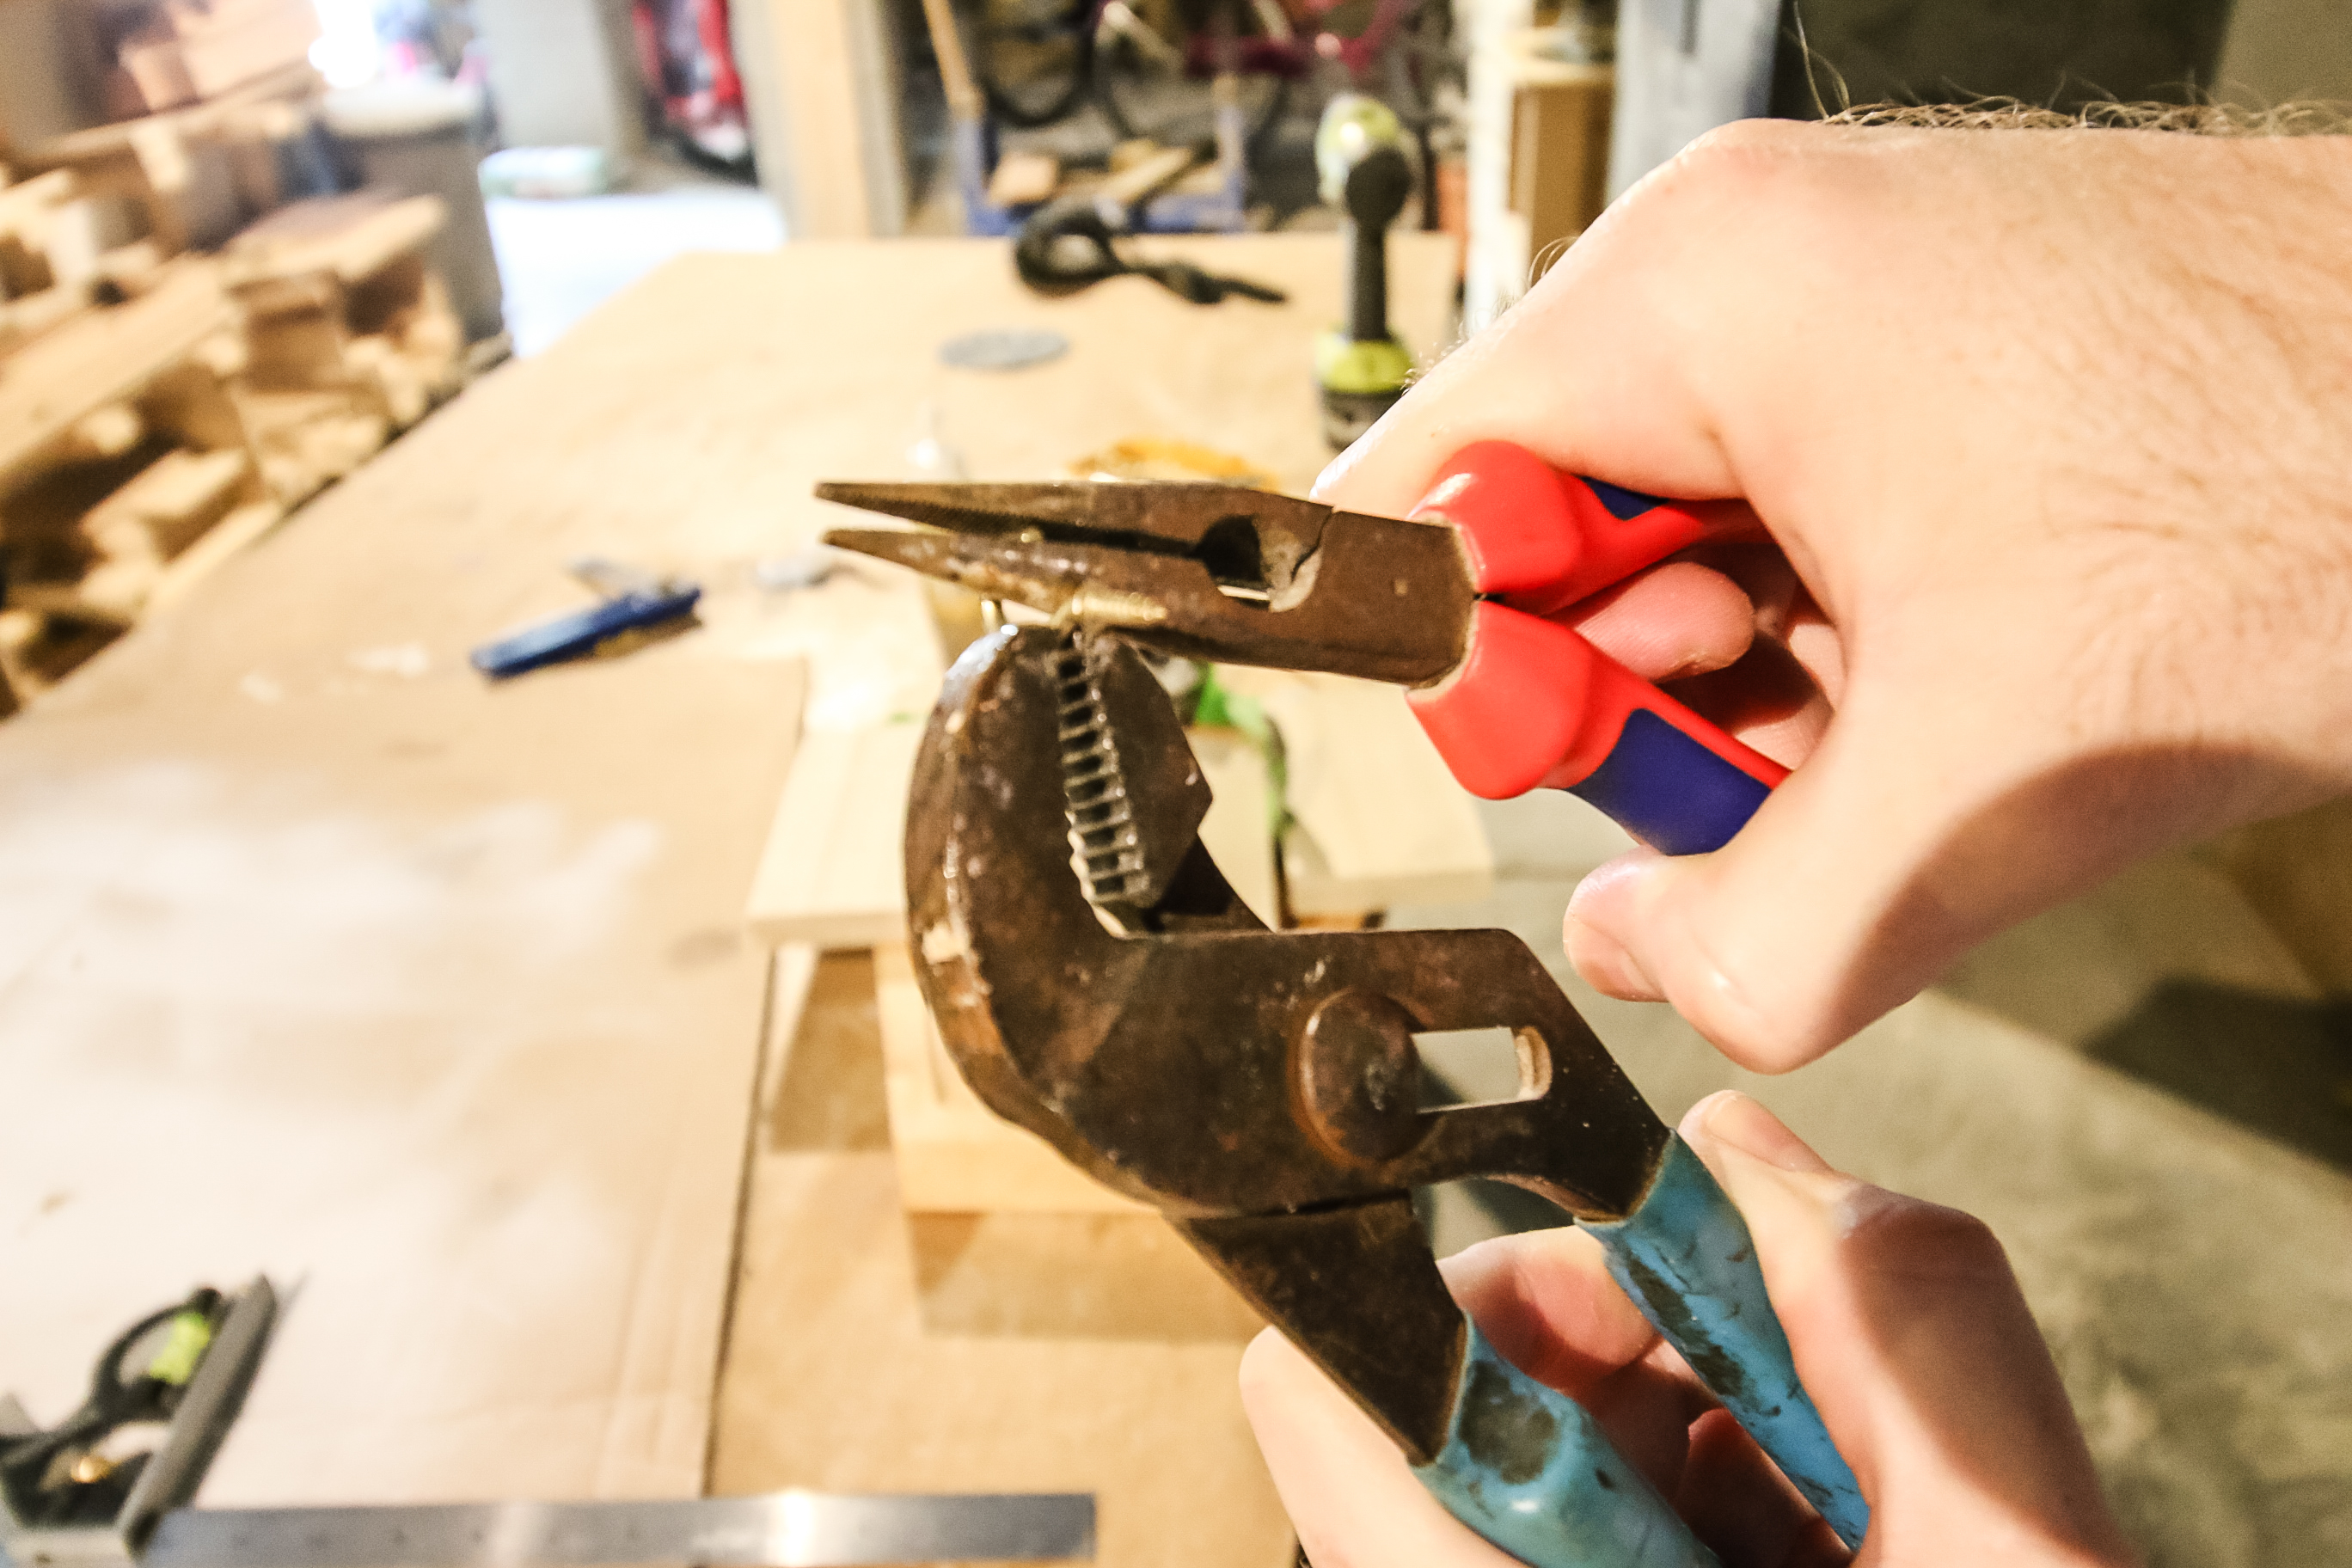
Finally, we wanted to add some handles, so we drilled two small holes on each end and screwed in a hook into each. Then we hooked a small plastic skeleton bone across the two hooks and used pliers to clamp the hooks tight closed around the bones.
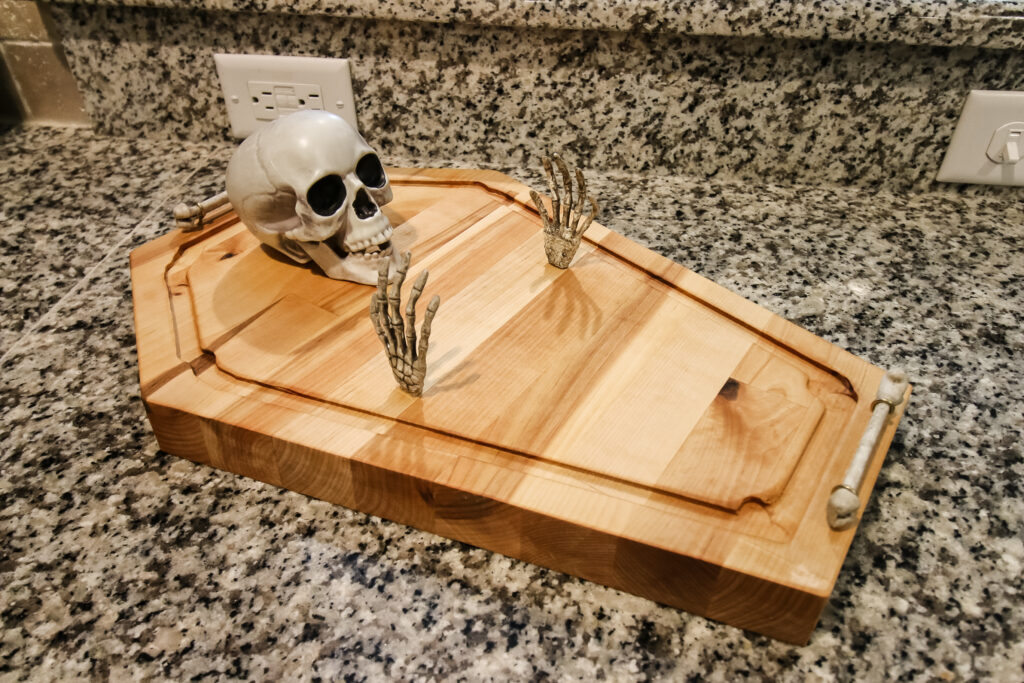
DIY Halloween skeleton cheeseboard
We absolutely love how this Halloween charcuterie board turned out! Our DIY skeleton cheeseboard brings all the spooky while also being super functional and cute!
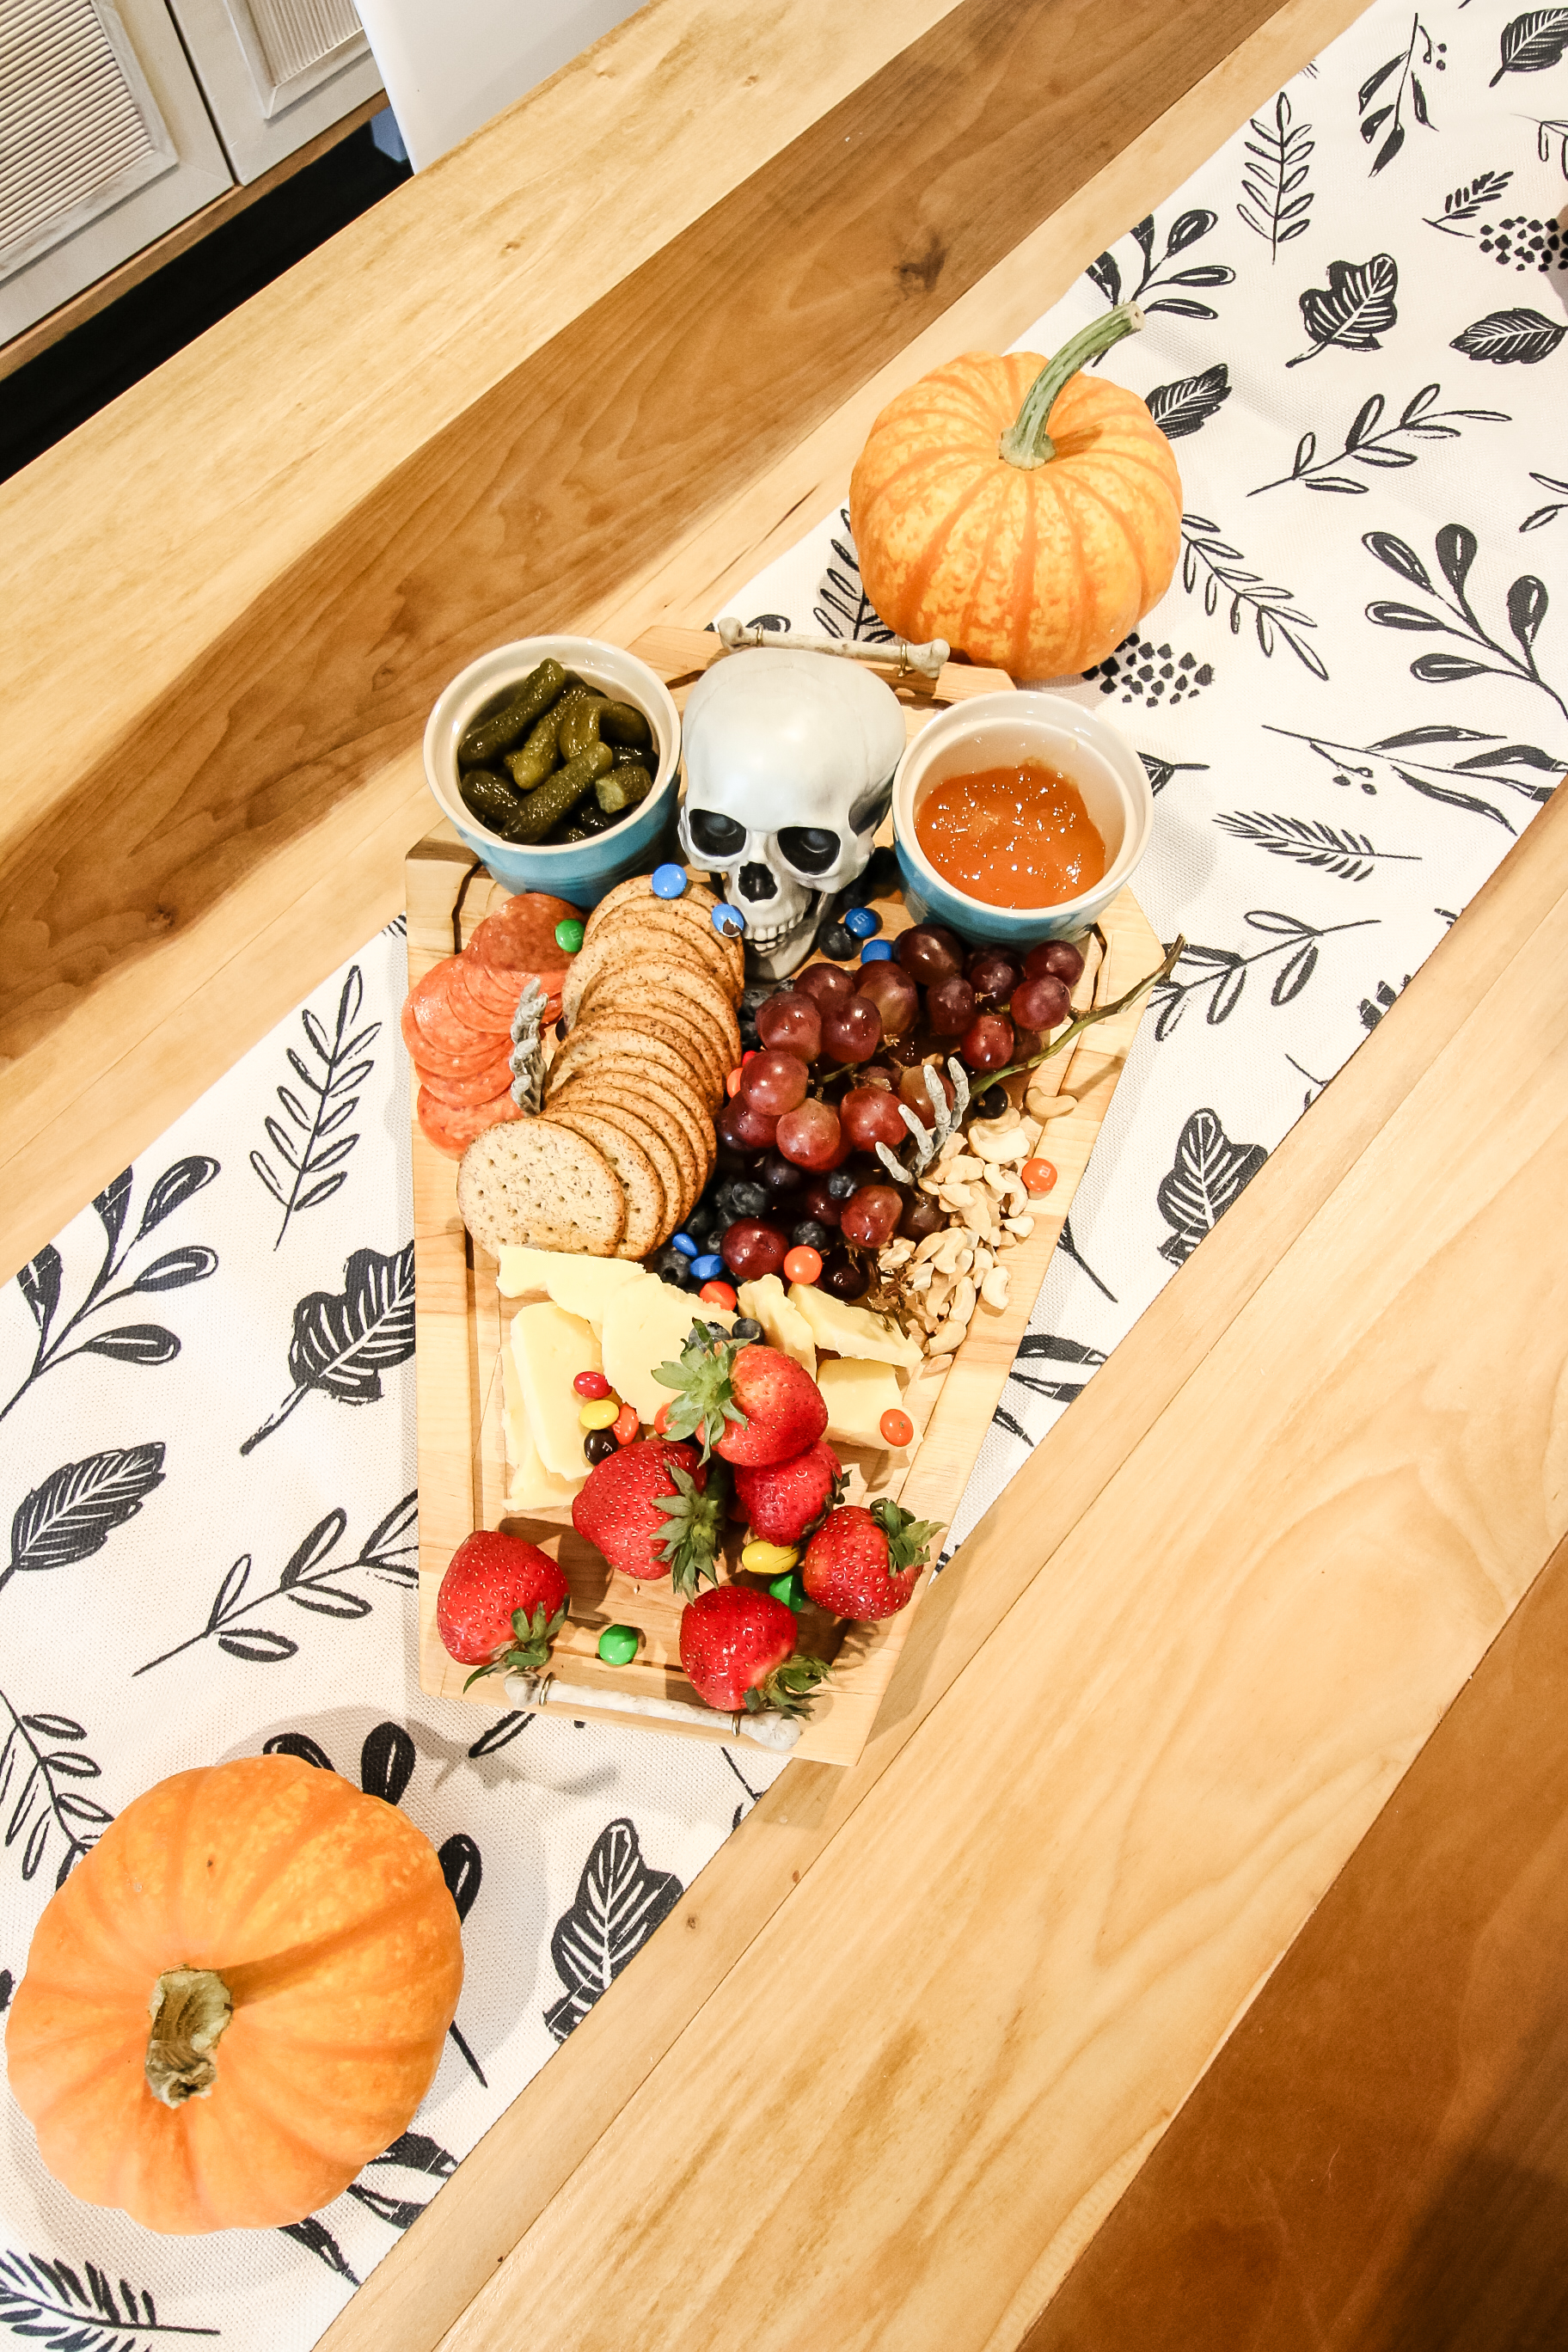
Once you have this skeleton cheeseboard made, you can load it up with all of your favorite charcuterie board items!
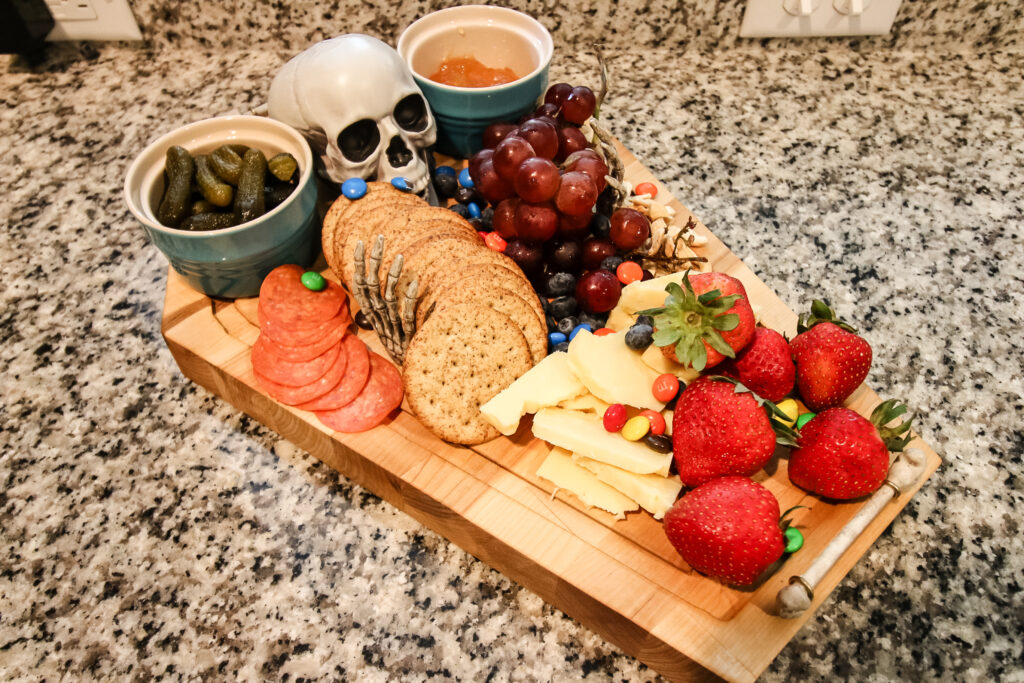
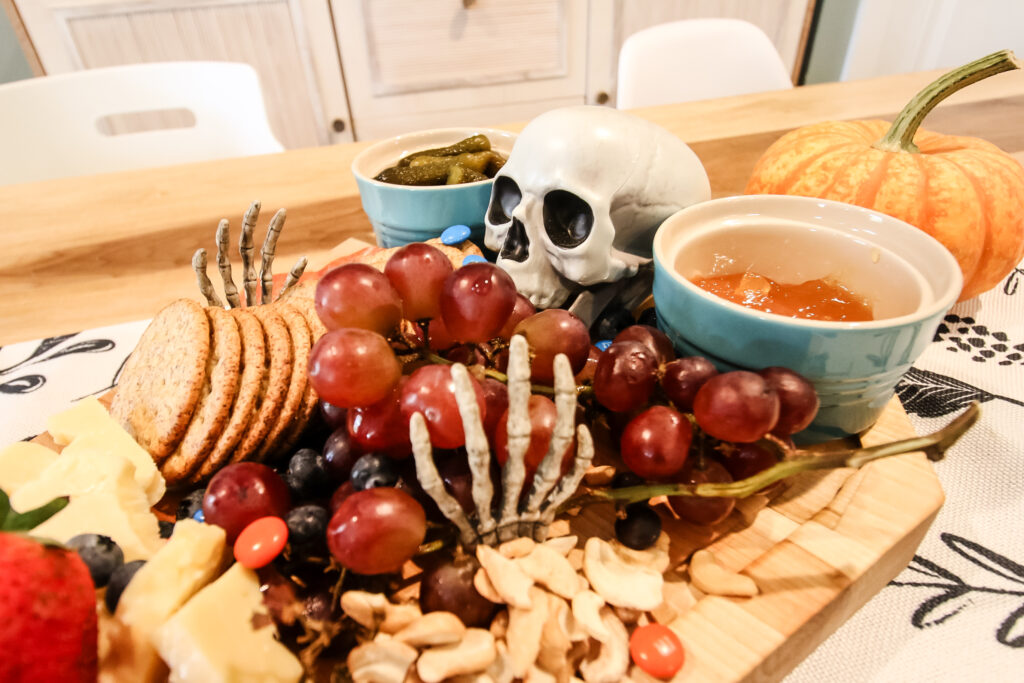
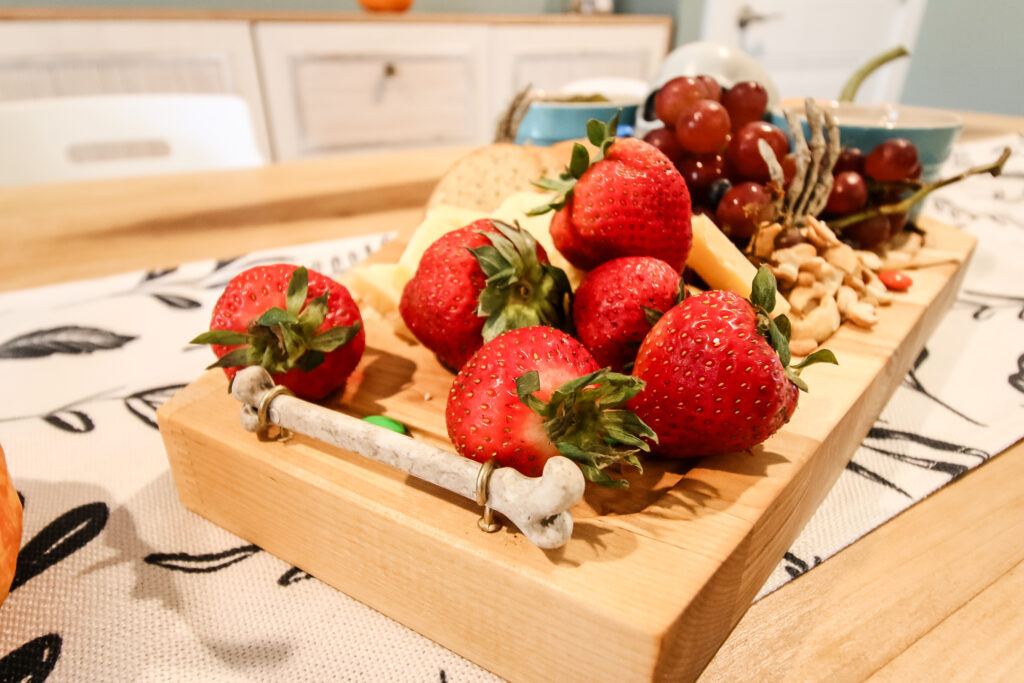
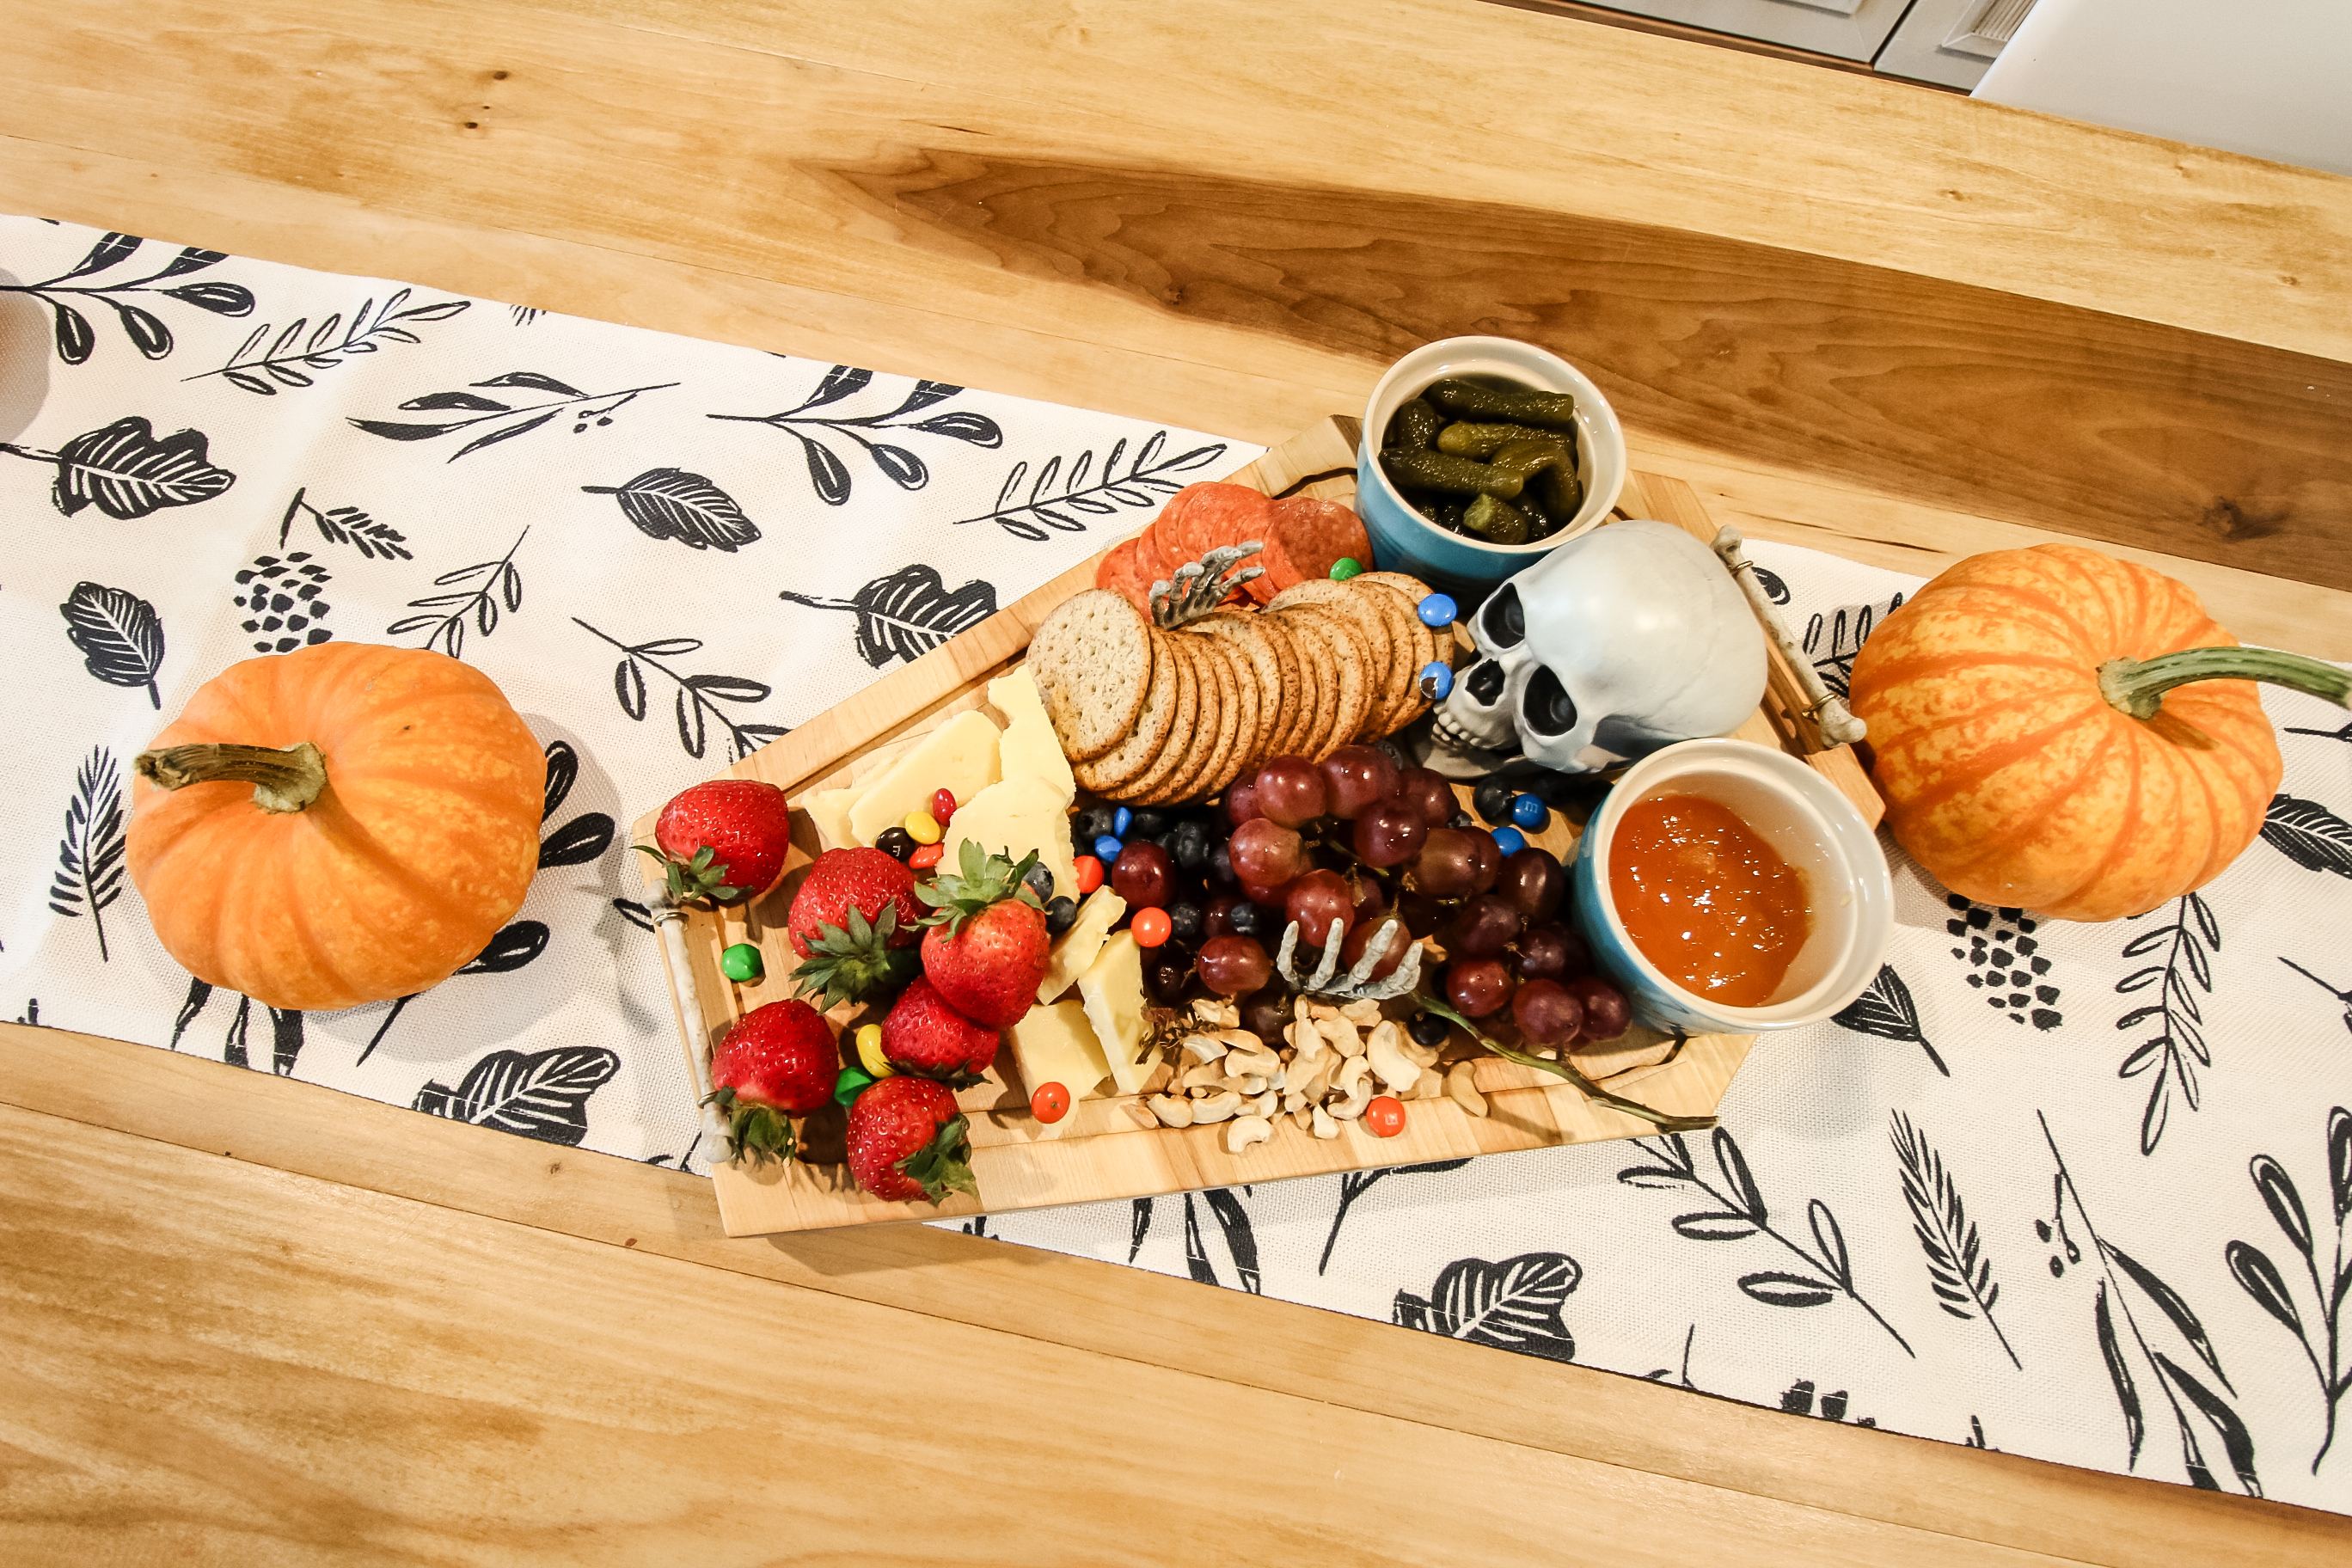
Great choices for a charcuterie board spread are always goat cheese or sliced cheese, crackers, cured meat, pickles and berries, but you can also add some Halloween candy if you're having a party, like candy corn or candy eyeballs. Sprinkle in some plastic spiders for ambience and you'll be spooking all your guests!
This DIY skeleton cheeseboard is bound to be one of your favorite Halloween craft projects this year!
Our favorite Halloween projects
Here are some of our favorite Halloween DIYs from the past!
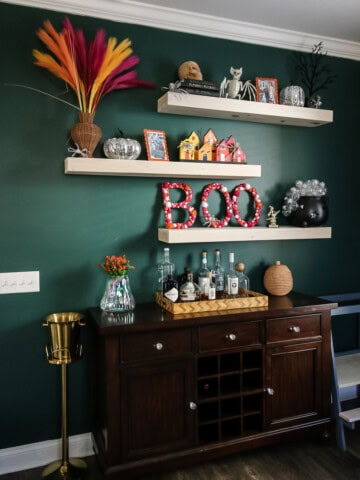
Indoor Halloween Decor
- How to put up fake spiderwebs the right way
- Spider staircase
- DIY halloween village display
- Embroidery hoop Halloween wreath
- Spiderweb Halloween mantel
Outdoor Halloween Decor
- DIY concrete pumpkins
- How to pose skeletons in your yard
- DIY plastic pumpkin topiaries
- How to make a light up pumpkin arch
- Skeleton beach day yard display
- Skeleton pirate yard display
- Skeletons being chased by dogs yard display

Looking for something?
We've been doing this since 2012 so we have a LOT of blog posts!
Search stuff like: Ceiling Projects | DIY Plant Stands | Thrift Flips

Hey there, I'm Sean, the woodworking enthusiast and builder behind CharlestonCrafted.com! Since 2012, I've been sharing the magic of turning raw materials into beautiful creations. I love teaching others the art and satisfaction of woodworking and DIY. I try to inspire fellow crafters to make something extraordinary out of nothing at all.