Have some scrap wood laying around before the holidays? This DIY wooden Christmas tree is a quick and easy project that looks great on a porch or entryway and can be made from whatever wood you have laying around!
Today looking at a super cool holiday decorating project that works great as porch decor or anywhere in your house!
We have been cranking out projects since we moved to our house and we have lots of scrap wood stacked against the wall (gotta get that under control sometime soon). So for a couple of our holiday projects, we tried to use scrap wood to work down the pile.
At our old house, we built a plant stand shaped like a Christmas tree for holding poinsettias that fit right into the corner of our porch. Here, we don't have a corner, but we still wanted a tree to be part of our outdoor Christmas decorating plans.
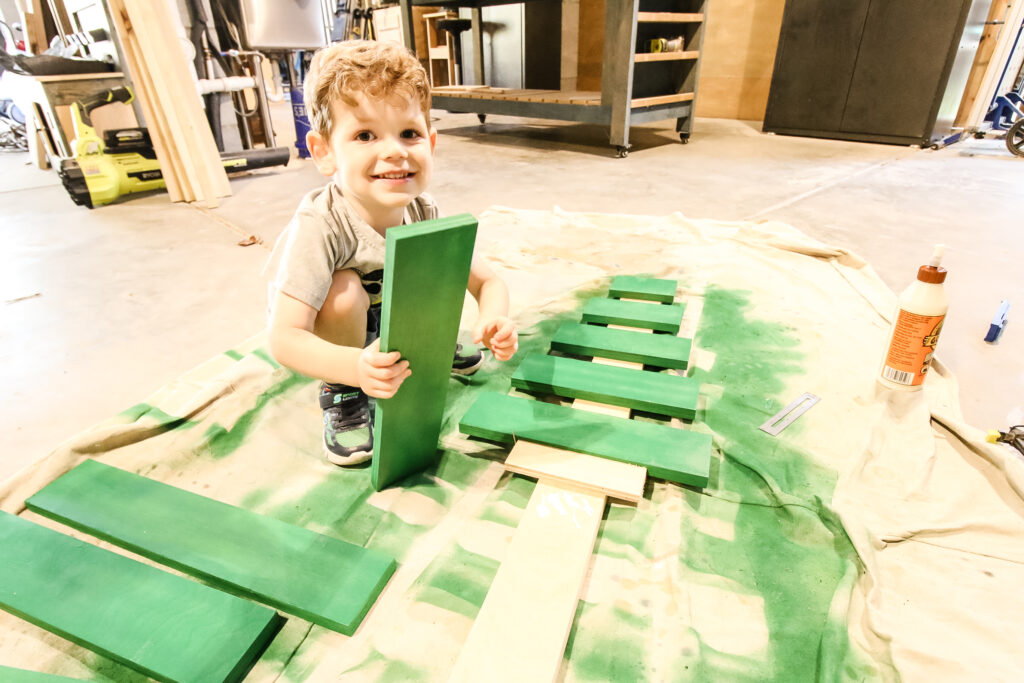
So, we used scrap wood to build a DIY wooden Christmas tree that looks so so cool on the porch! We absolutely love how this project turned out and how simple it was. Seriously, our 3 year old helped us with this.
Let's dive into how we built this project so you can get on your way to building one too with the woodworking plans below!
DIY wooden Christmas tree
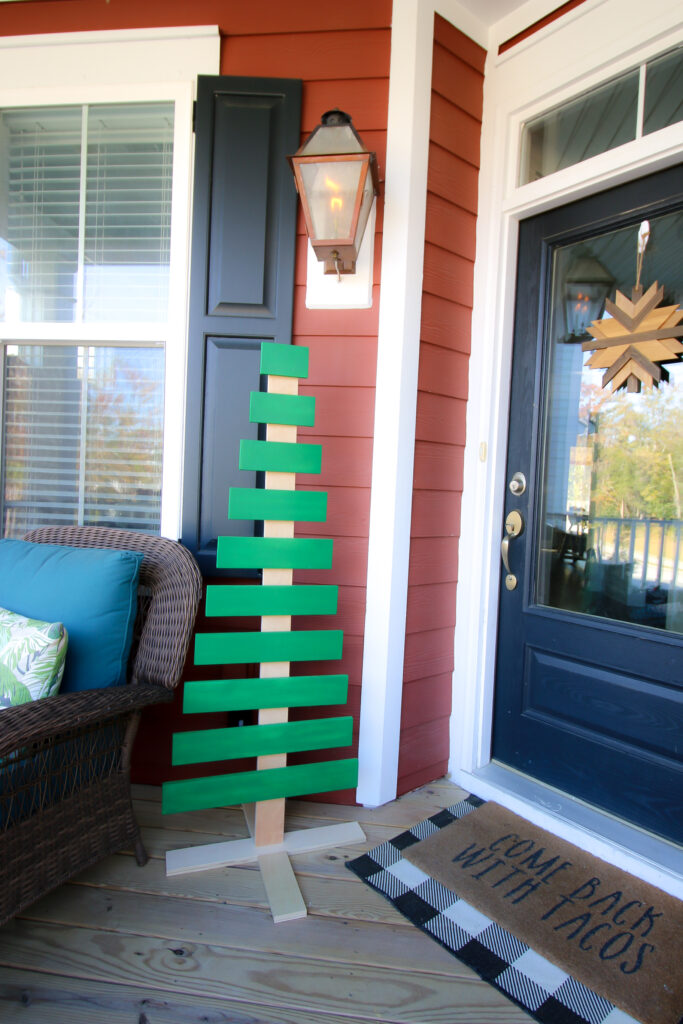
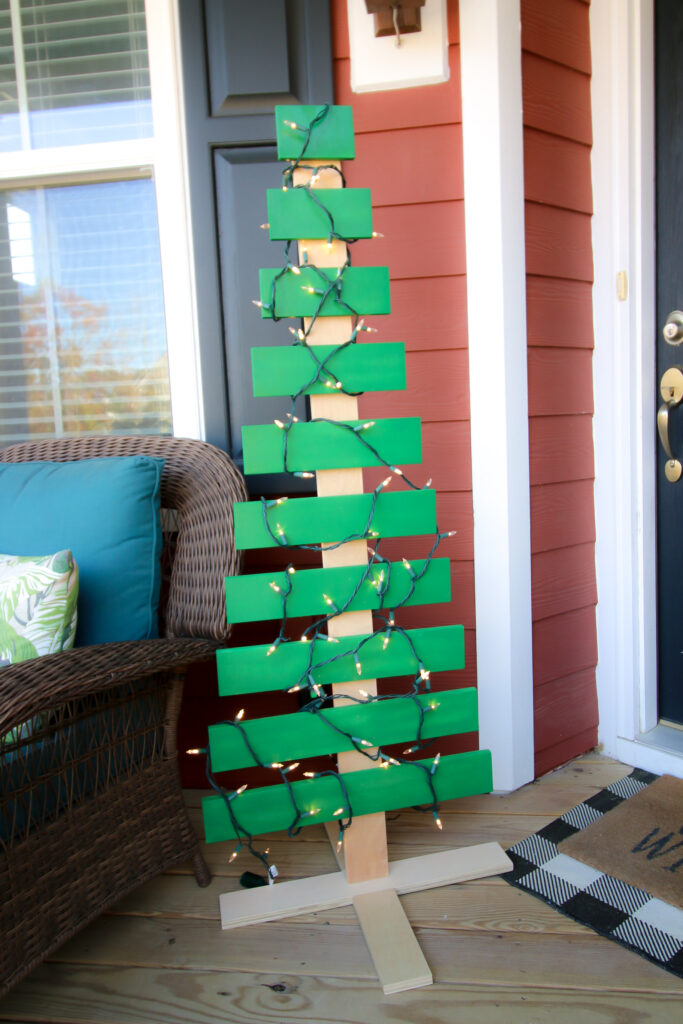
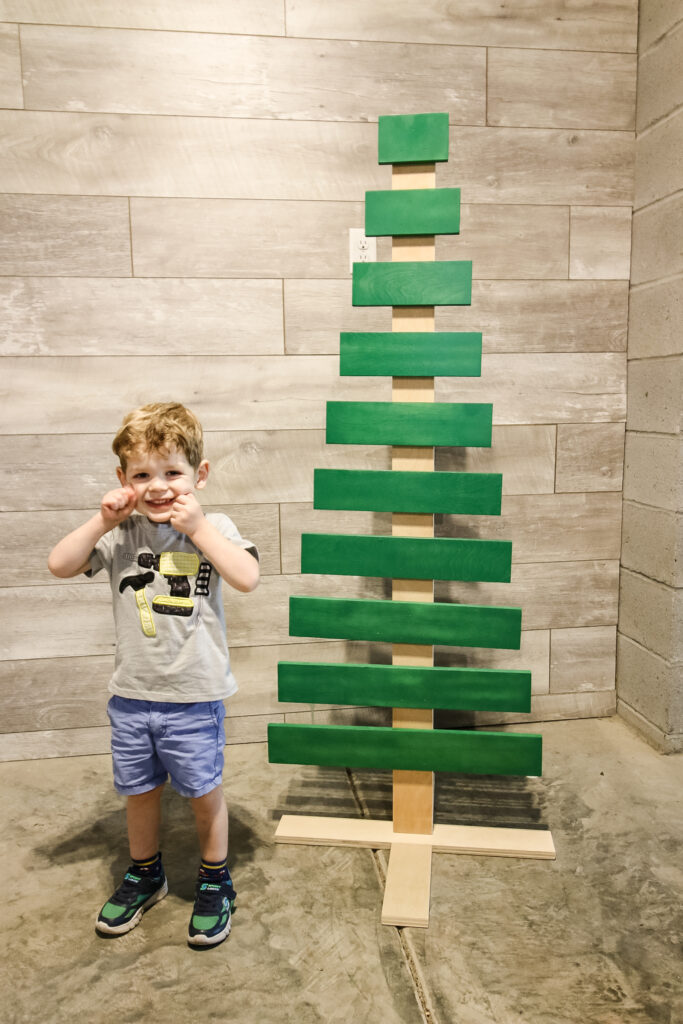
We had a lot of scrap plywood, so we made this tree to be FIVE FEET TALL. It's really a statement piece!
This DIY tree is going to be the highlight of our outdoor decor for sure.
The great thing about this design is that it has a perfect tree shape thanks to the lengths for each slat and we didn't have to use anything too long.
Hopefully you have enough wood laying around already, but you can easily buy a plywood sheet or 1x4s to make this without breaking the bank!
Last year, we made these wooden tabletop Christmas trees with inset wrapping paper!
Other DIY Christmas tree shaped decor ideas
Don't miss some of our other tree-shaped DIY Christmas decor ideas to keep you busy this holiday season!
- DIY wooden tabletop Christmas trees
- DIY outdoor slatted Christmas tree
- DIY dowel Christmas tree
- Boho wall hanging Christmas tree
- DIY Christmas tree poinsettia stand
- DIY Christmas tree shaped card holder
What kinds of wood can I use to build a Christmas tree?
This project can be done with several different types of wood. The most important thing is to use whatever you'd like!
For our wooden tree, we used scrap plywood cut off from our geometric laundry counter.
We designed the plans to be for 3 ½" wide wood, which is the standard width of a 1x4 board and roughly that of pallet wood.
You can make a DIY wooden Christmas tree from:
- Pallet wood
- Scrap wood
- Plywood
A pallet wood Christmas tree, scrap wood Christmas tree from boards, or a plywood Christmas tree would all turn out roughly the same and would look great.
How to build a DIY wooden Christmas tree
Here's and overview of how we built our simple wooden Christmas tree. It may look fairly simple to guess how we built it, but we have already done the hard work for you creating measurements.
This is a tried and true design, so trust us with what you need to do!
Get the full plans and everything you need in the woodworking plans below!
Step One: Make Cuts
All the cuts are fully mapped out in the downloadable PDF plans, but the tree cuts all go down in descending order, making them a nice tree shape.
The base stand is extremely secure with the right amount of support to hold up the entire tree.
This is important, because you don't want it tipping over in the wind.
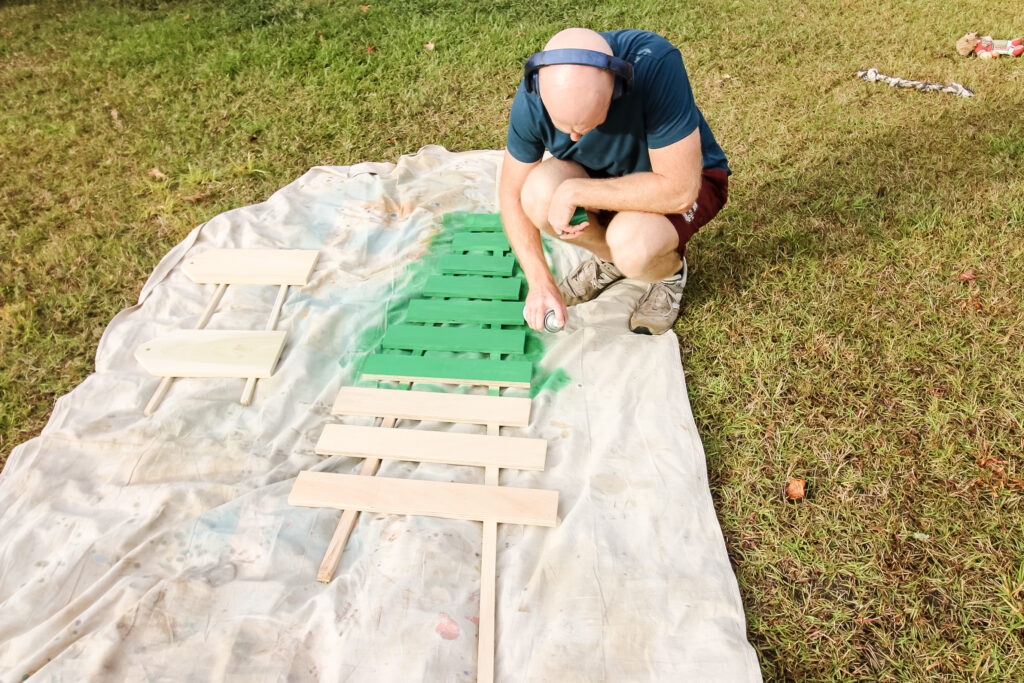
Step Two: Stain or Paint
You could choose to leave your wood tree natural, depending on the color of the wood you're using or the place you'll be using it.
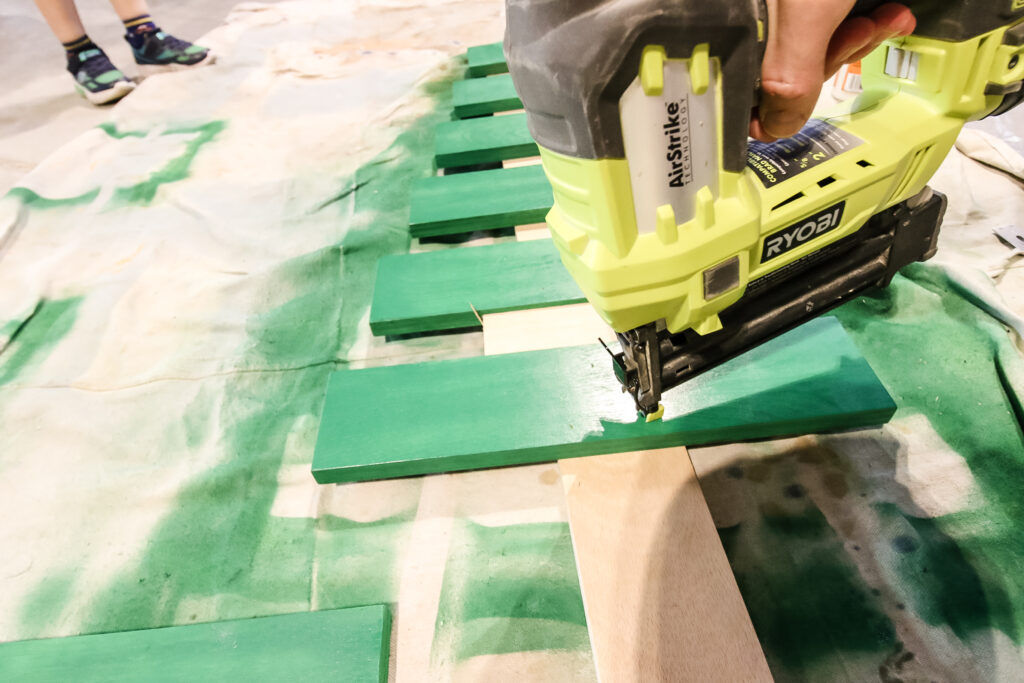
For us, we opted to use spray paint to paint all the tree slat pieces green.
We wanted it to look like a tree from the road (we live in a raised house) so the green helps.
If you choose to stain or paint the tree, make sure you go with something that is a "tree-like" green, and not something totally off.
Step Three: Assemble Base
The base is put together using pocket holes.
We drilled all our pocket holes using our Kreg Pocket Hole Jig 720 Pro and it was quick and simple.
The exact placement of the pocket holes can be found in our woodworking plans below.
The base was easy to put together and keeps everything stable.

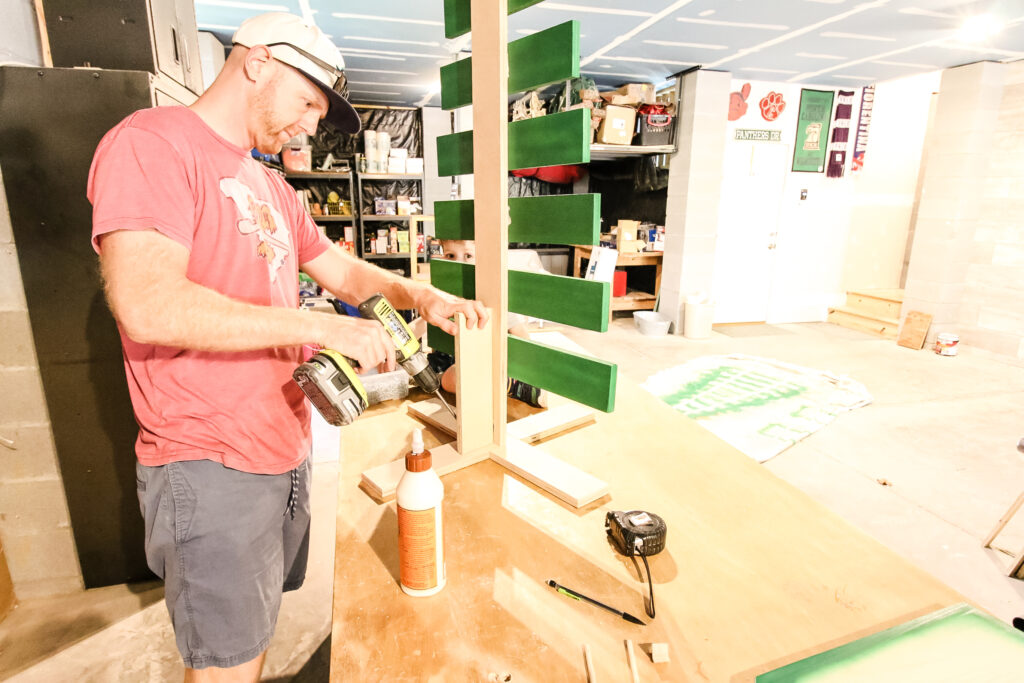
Step Four: Assemble Tree
Once the paint was dry, it was time to build out the tree portion of our project!
For this, we used wood glue and a brad nailer with 1" nails to attach all of our green tree slats to the "trunk" of the tree.
These were evenly spaced down the middle and on the angle to make sure we got the perfect tree shape.
Don't get the pieces out of order!
Step Five: Put it all together
With the base assembled and the tree body put together, we hooked it all together using our pocket screws!
We didn't use wood glue here so that the screws could be removed, making it easier to have two flat pieces for storage.
Putting the tree together was so easy and brought it all together!
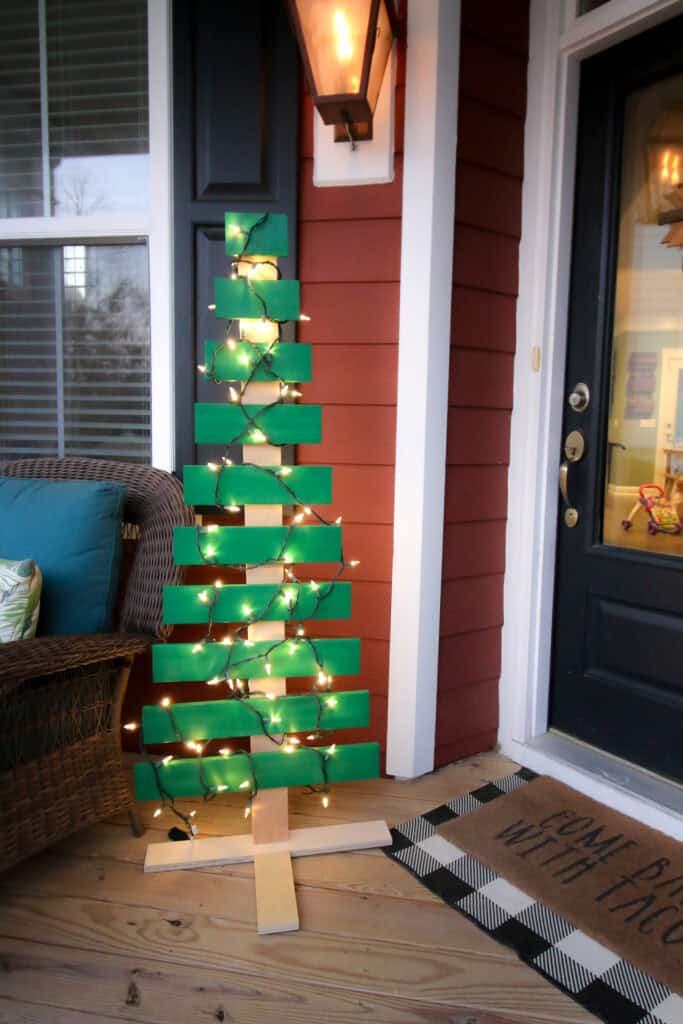
Step Six: Light it up!
More on this in the next section, but it's really easy to hang lights from a wooden tree!
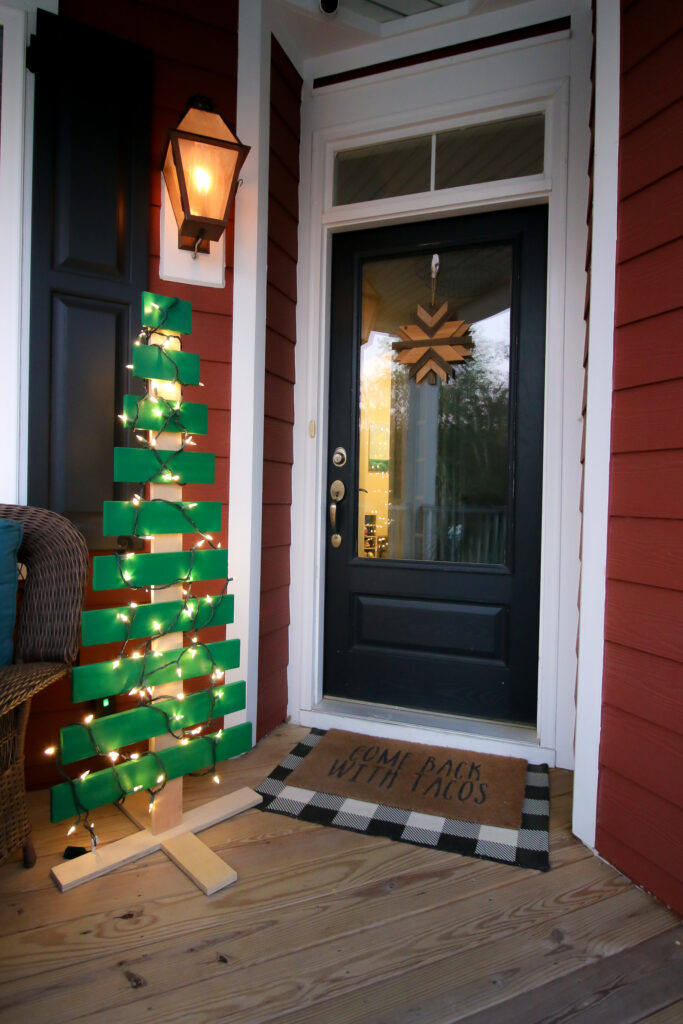
The lights bring it all together at night!
How do you put lights on a wooden Christmas tree?
It's easy to add Christmas lights to a wooden slat Christmas tree!
For starters, make sure you have the correct plug end at the base of the tree so you can plug it in.
From there, just wind a strand of Christmas lights around the bottom slat and then up to the next slat and so on and so forth.
It doesn't have to be perfect and uniform, just wrap them up until you get to the top. With any excess, wind the lights back down the post in the middle.

DIY wooden Christmas tree woodworking plans!
If this post has lit up some interest in you to build this DIY wooden Christmas tree yourself, you're in luck!
We have downloadable PDF plans available for you!
Our plans come with a full material list (but remember you can substitute the wood for whatever you have), cut list, and step-by-step instructions with computer models to help make sure you get this project done right!
It's as simple project and will really shine bright on your porch this holiday season!
Other DIY wood Christmas tree ideas:
- Tabletop wooden Christmas trees
- Christmas tree shaped adult advent calendar
- Corner Christmas tree shaped poinsettia plant stand
- Mini Christmas tree porch planters
- Wooden dowel Christmas tree
- Driftwood Christmas tree
Basic woodworking information for every project
Here are some of our most popular woodworking articles!
Shopping for wood:
Woodworking project ideas
- 100+ of the best woodworking project ideas!
- 62 easy beginning woodworking projects
- Woodworking project ideas to make and sell
See all our printable PDF woodworking plans!
Our favorite tools + supplies
- See all our favorite tool reviews
- How to use a Kreg jig
- The ultimate wood stain guide
- The best wood fillers for your project
Remember to also always use safety equipment while woodworking and using tools. Make sure you have proper eye protection, ear protection and a good mask to keep yourself safe.

Looking for something?
We've been doing this since 2012 so we have a LOT of blog posts!
Search stuff like: Ceiling Projects | DIY Plant Stands | Thrift Flips

Hello, I'm Morgan, half of the creative force behind CharlestonCrafted.com! With a passion for DIY that dates back to 2012, I've transformed three homes and now I'm dedicated to helping others craft their dream spaces. Let's turn your house into a home together!


