
Transform your pine wood projects with our expert staining guide! Learn how to stain pine wood for a flawless, professional finish every time.
Pine is a super popular wood for beginners to work with. This is because it is often the cheapest and most frequently in-stock wood available for sale.
For the first five years or so of woodworking, most of our projects were made from pine wood. So, we have a lot of experience.
Since then, lumber prices have skyrocketed and we’ve learned that it can sometimes be less cost-prohibitive to buy “nicer” hardwoods compared to construction grade pine.
Read our tips for getting good prices on lumber here!
Anyways, pine is not the prettiest wood, unless you are going for a farmhouse or rustic style of decor. It’s a soft wood with a lot of dark knots and variation. So, you probably want to stain your pine wood projects.
Let’s talk about how to stain pine wood so you can do it right the first time!
Is pine wood easy to stain?
Pine wood is easy to stain but not necessarily easy to stain with a consistent finish.
This is because it is a very soft wood with a big variance in color between the light wood and the dark knots. These differences cause differences in how the stain color is taken by the wood.
There is also often a variation in the dryness of the wood, which can lead to stain being absorbed more or less in certain spots, causing splotches.
What kind of stain do you use on pine?
You can use any kind of stain on pine – water-based, oil-based, gel stain, or even a DIY natural wood stain.
Click here to see how you can stain wood with coffee!
How do you darken pine naturally?
You can use household items to naturally stain pine wood! We have tested a bunch of methods:
- How to stain wood with coffee
- How to stain wood with tea
- DIY colored wood stain from watered down paint
- How to dye wood with food coloring
- How to stain wood with vinegar
Is gel stain good for pine?
Gel stains are thicker than more watery stains. Gel stains tend to take more evenly on soft wood, including pine wood!
How do you prepare pine wood for staining?
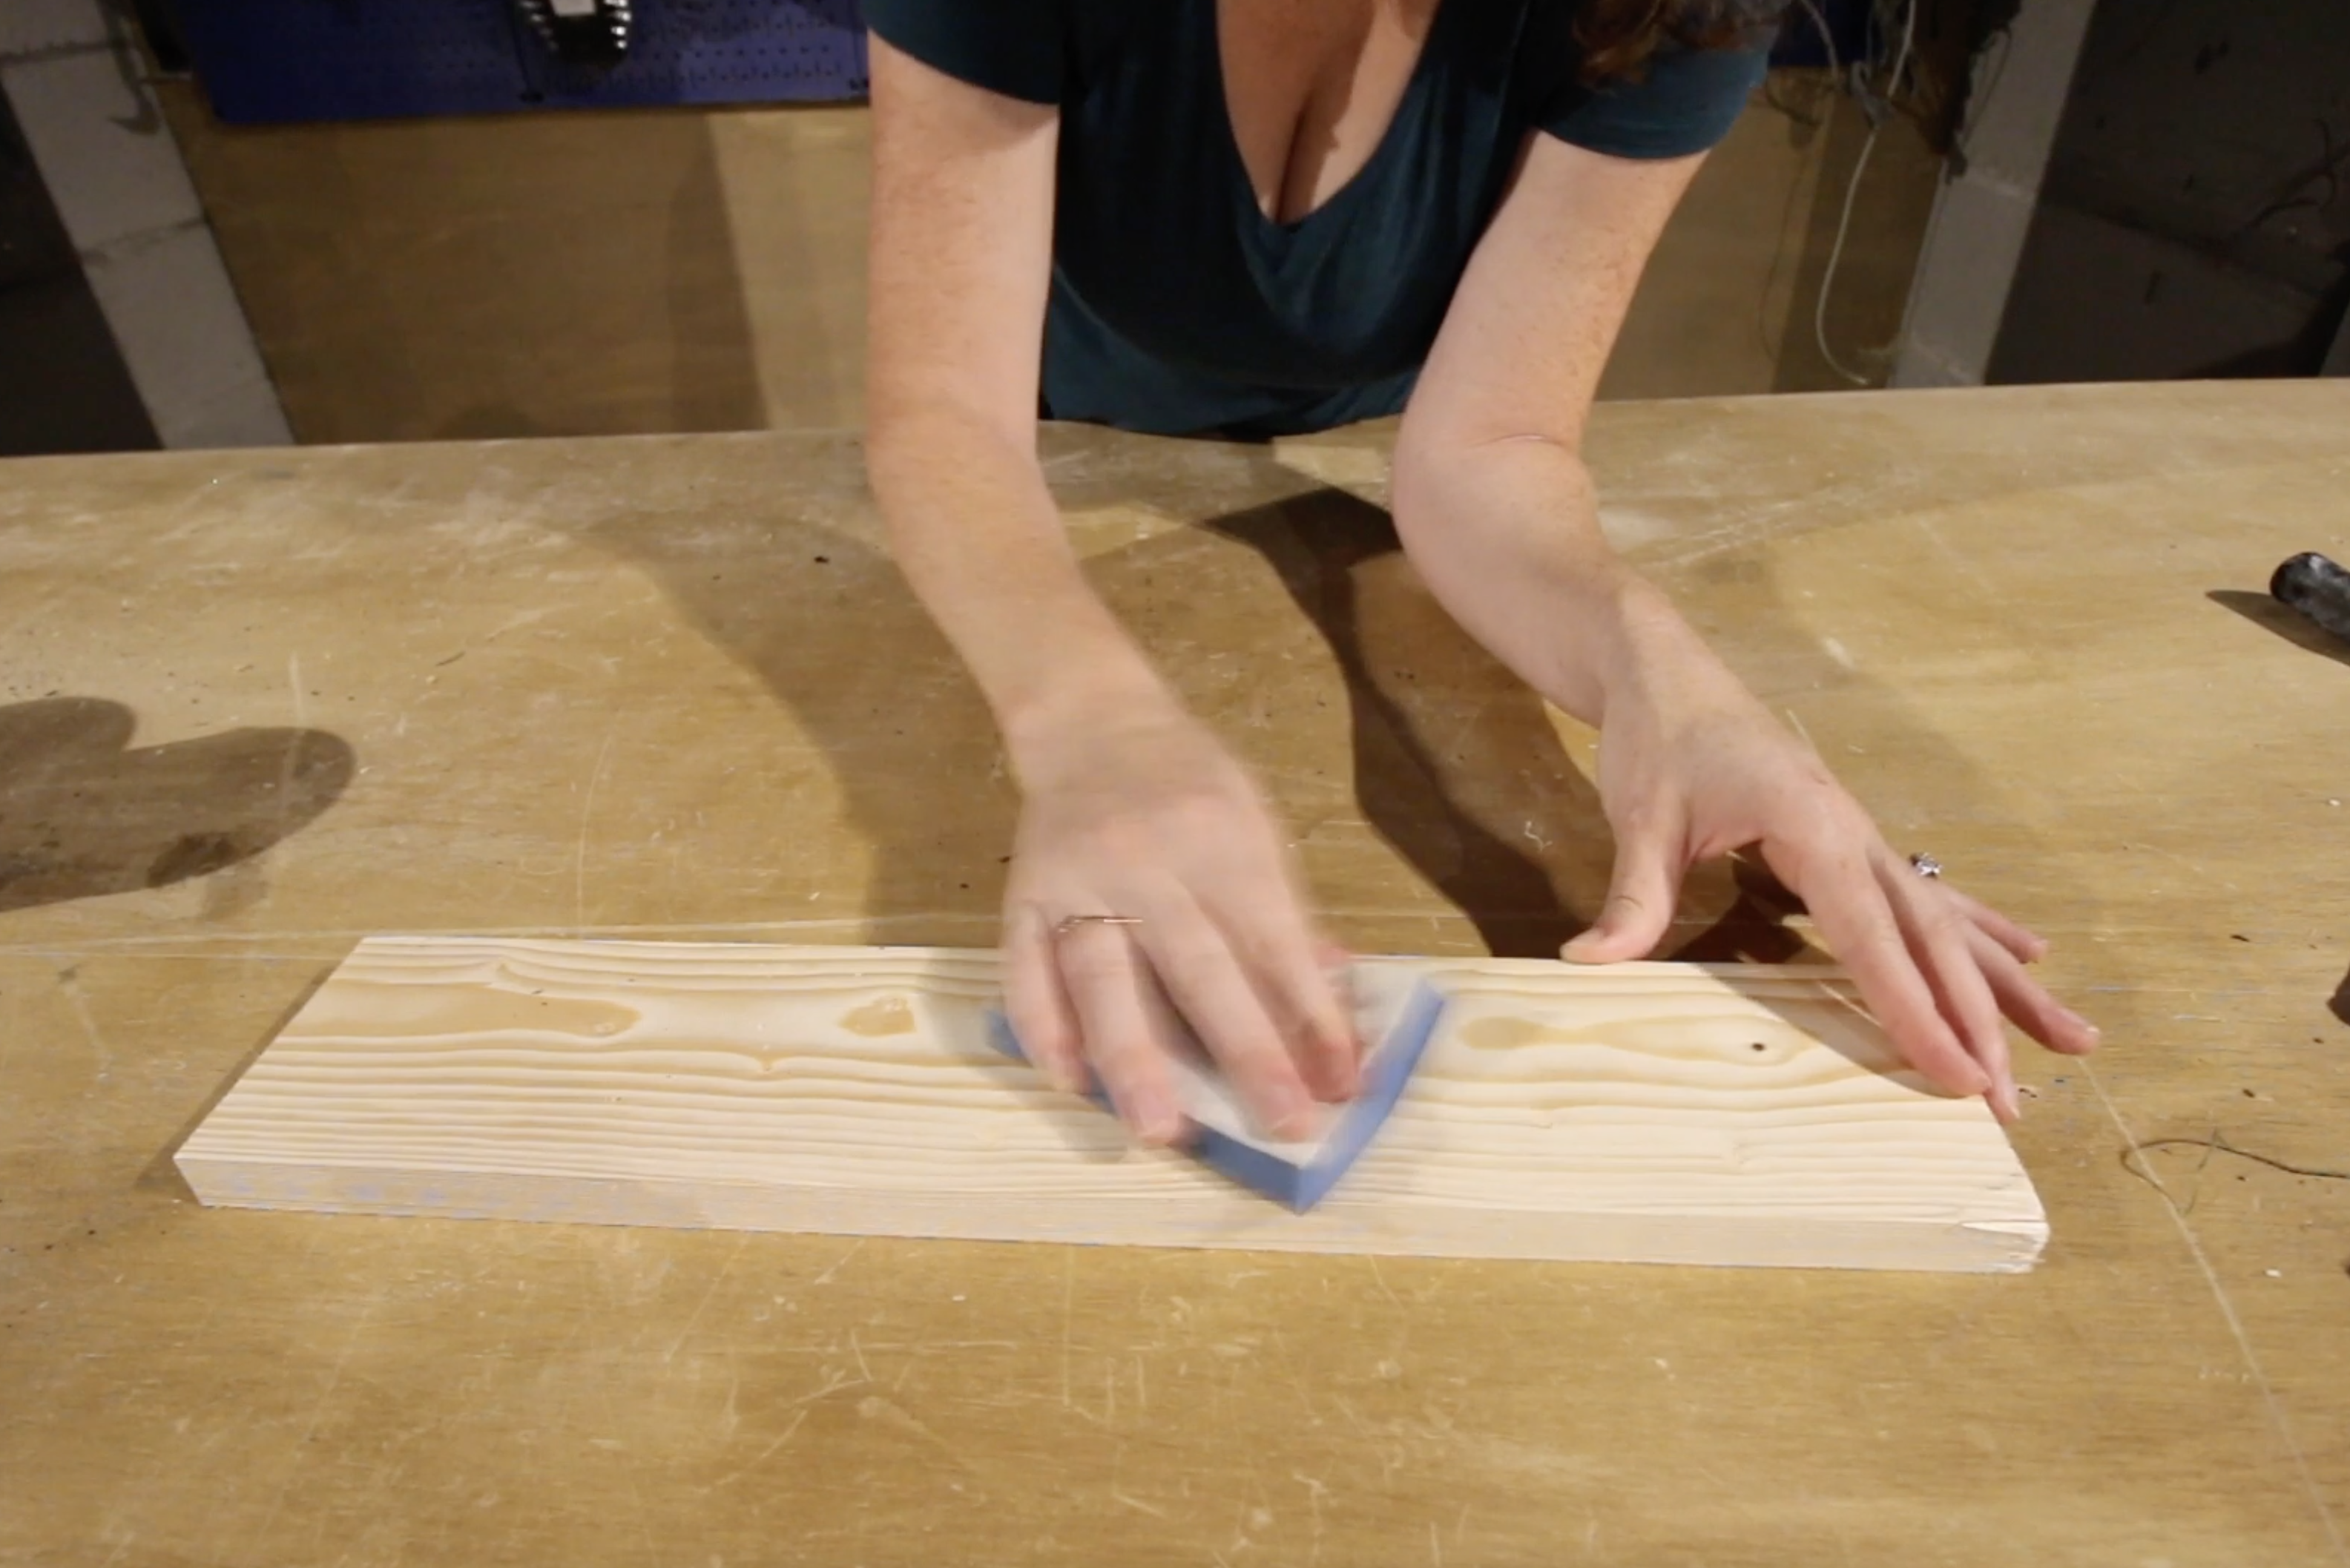
You will want to sand your wood well before staining it. Most wood has a slight coating on it straight from the store or is uneven, which can make it hard to absorb stain evenly.
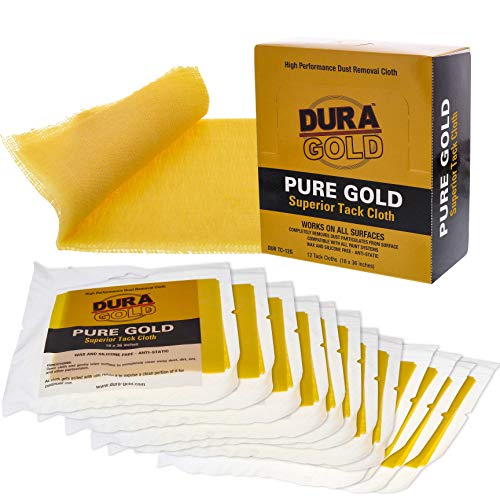
Then, wipe your wood clean of any dust or debris.
If you plant to have exposed end grain (the cut ends of the wood), sand them with a higher grit sandpaper than the rest of the project. Get them as smooth as possible to have the stain take the same as it does on the other faces of the board.
Do you need to treat pine before staining?
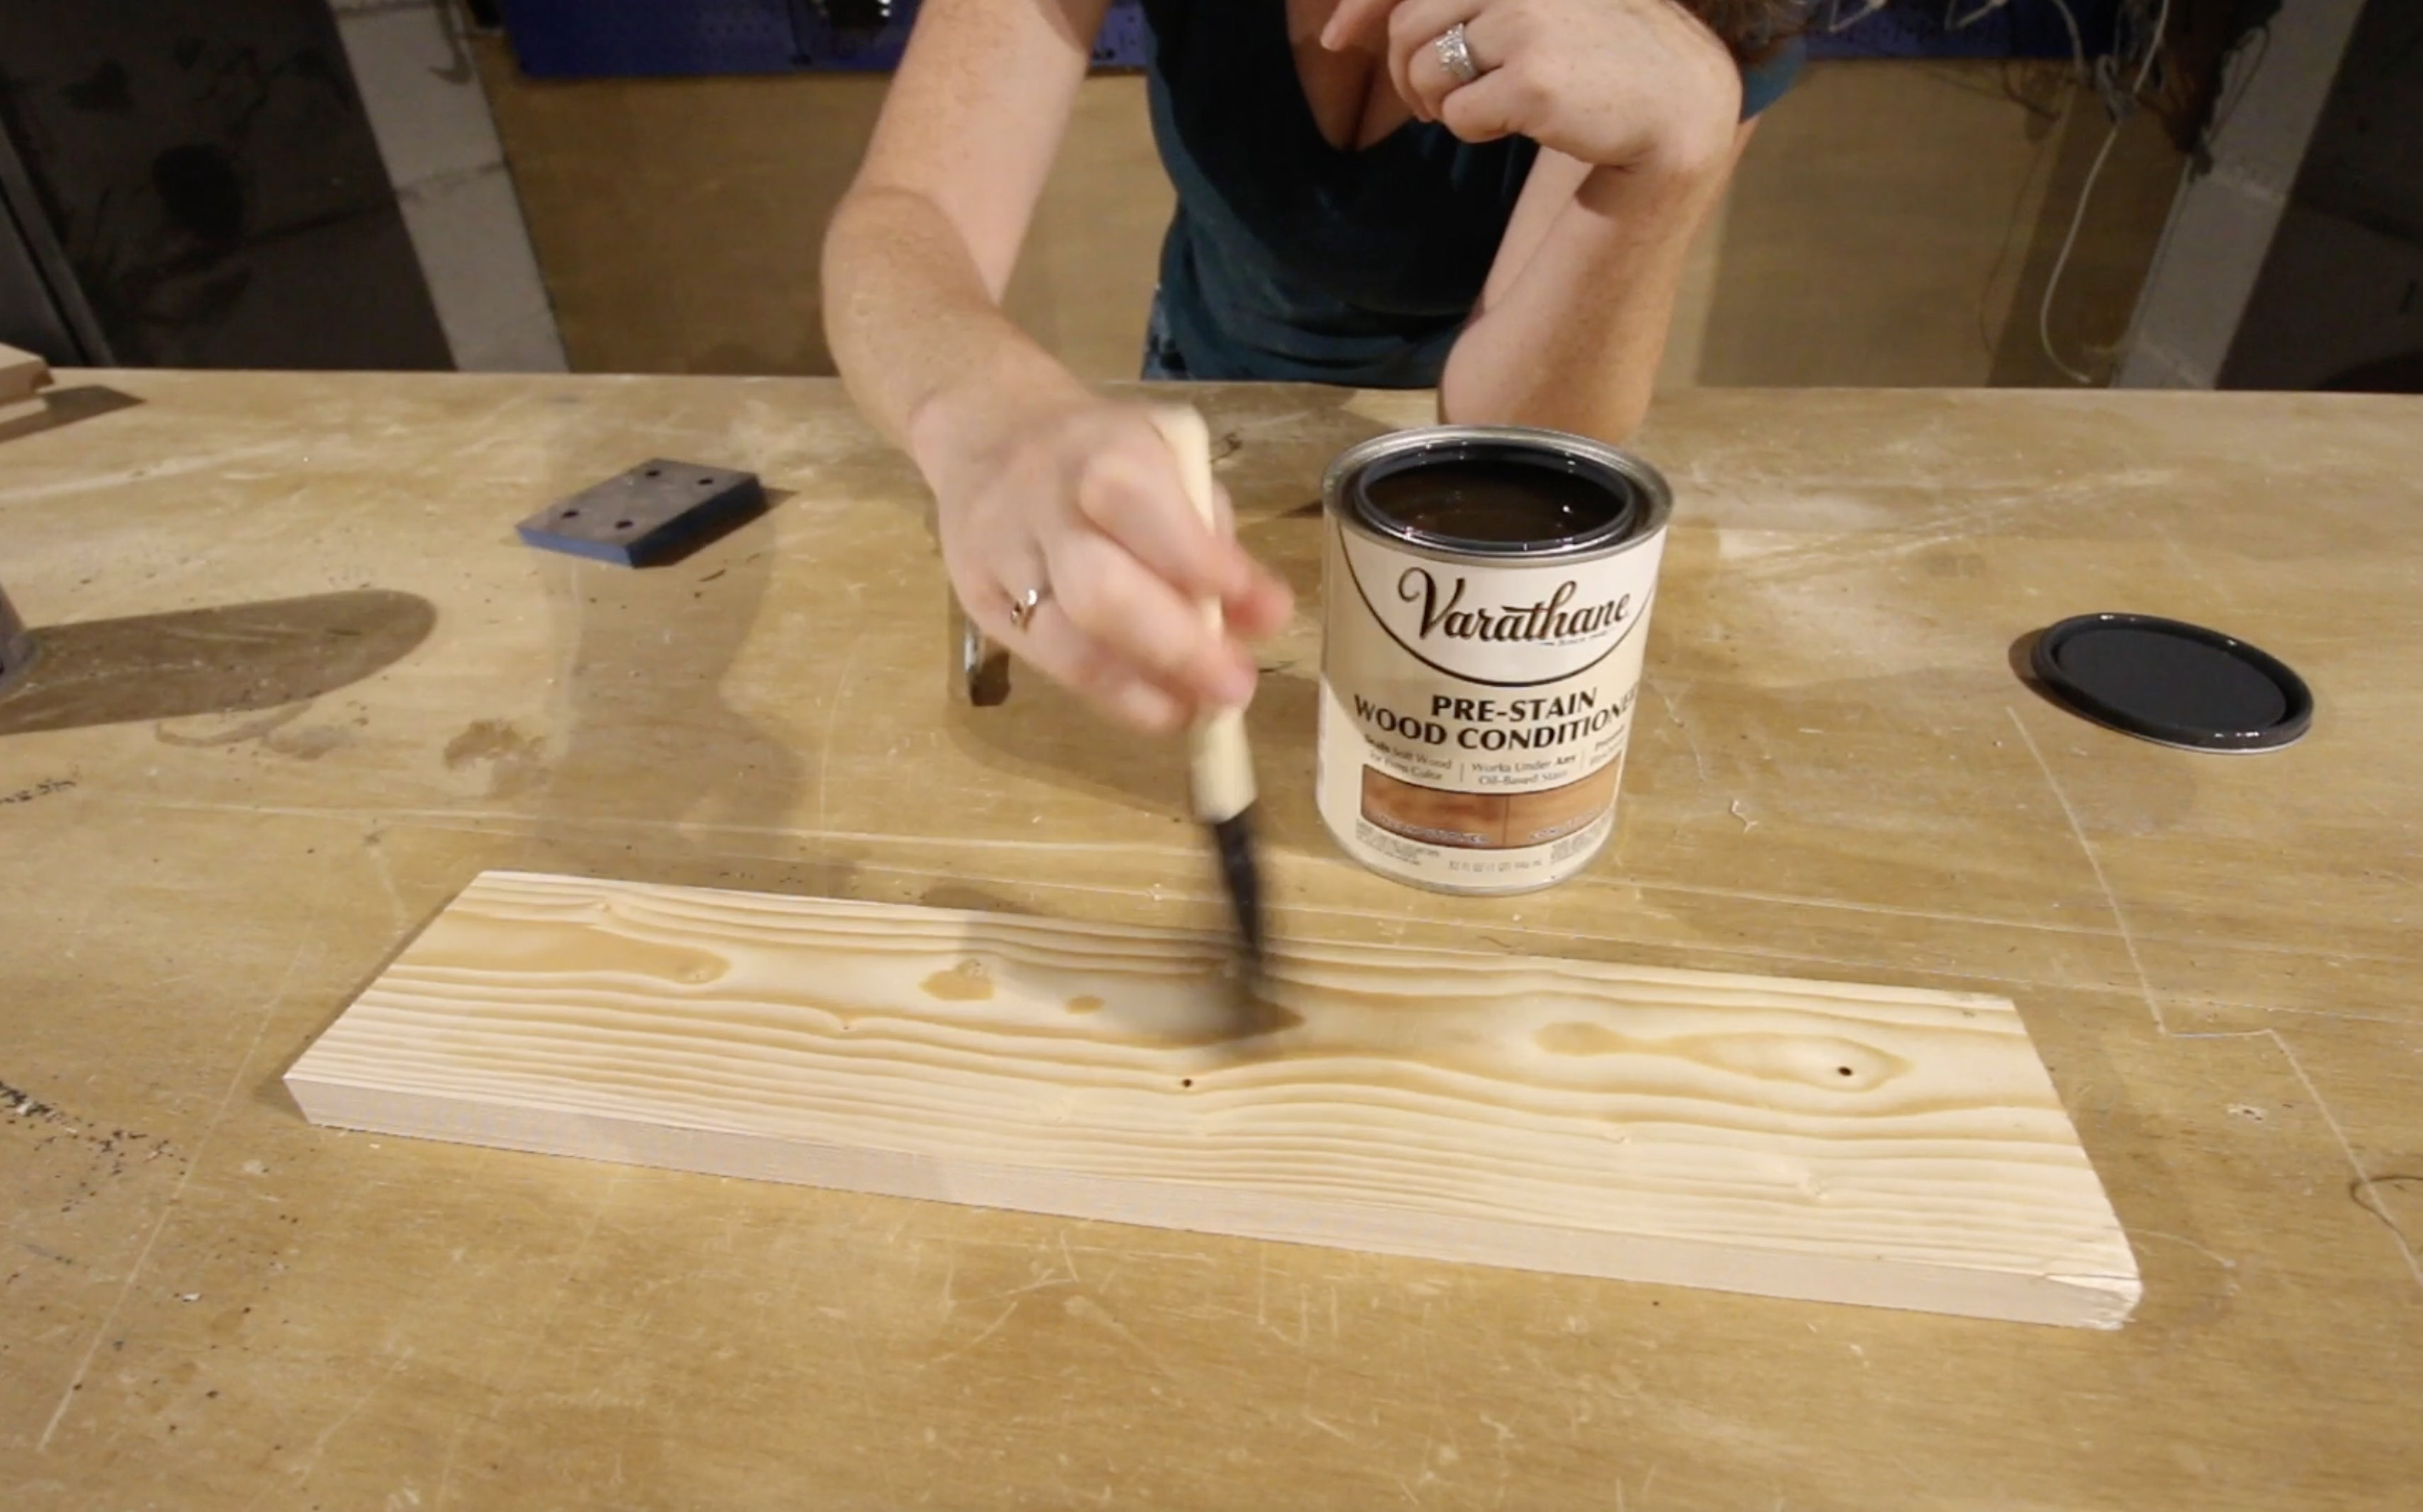
You can 100% stain the bare wood of a pine board as-is. However, this wood tends to take stain in a more splotchy way. So, applying a pre-stain wood conditioner can help to even out the absorbtion of the wood stain.
Think of it like your skin – if you’ve ever gotten a spray tan (haha), you will know that the fake tan absorbs darker into areas of dry skin – like knees and elbows.
That makes those areas splotchy looking.
If you apply a lotion first, it will even out the base skin (AKA unfinished wood) layer. Then, there aren’t dry spots to absorb more color, and you get a more even finish!
Read our complete guide to wood conditioner here!
Wood staining essentials!
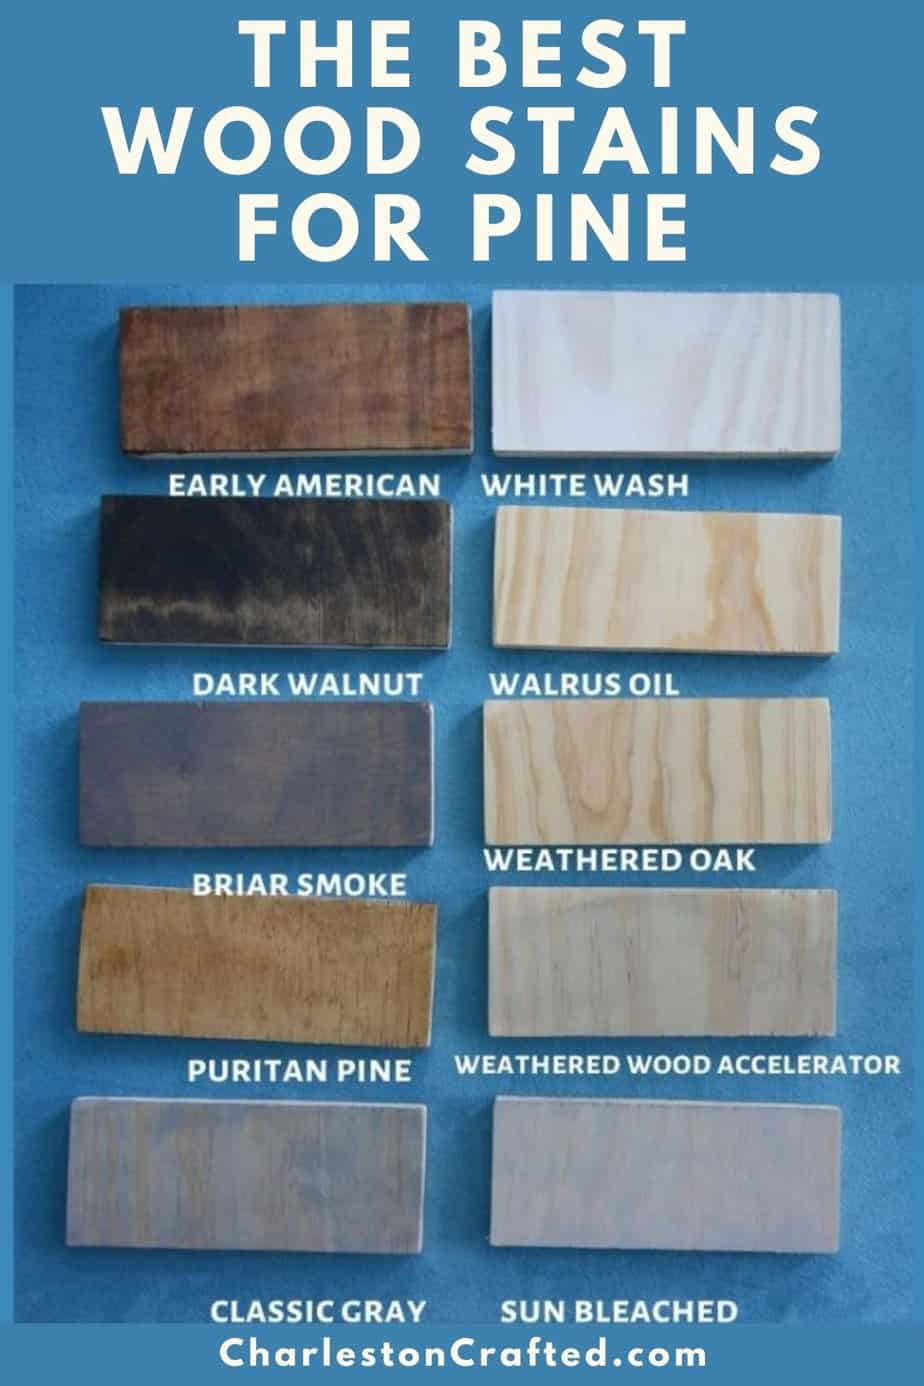
What is the best wood stain for pine?
The best wood stain colors to use really depends on your style and the look you are going for. In general, I prefer something with more coverage – more opaque – on pine.
We have tested TONS of wood stains and laid them out for you to decide what you prefer.
Check out the best wood stain colors on pine wood!
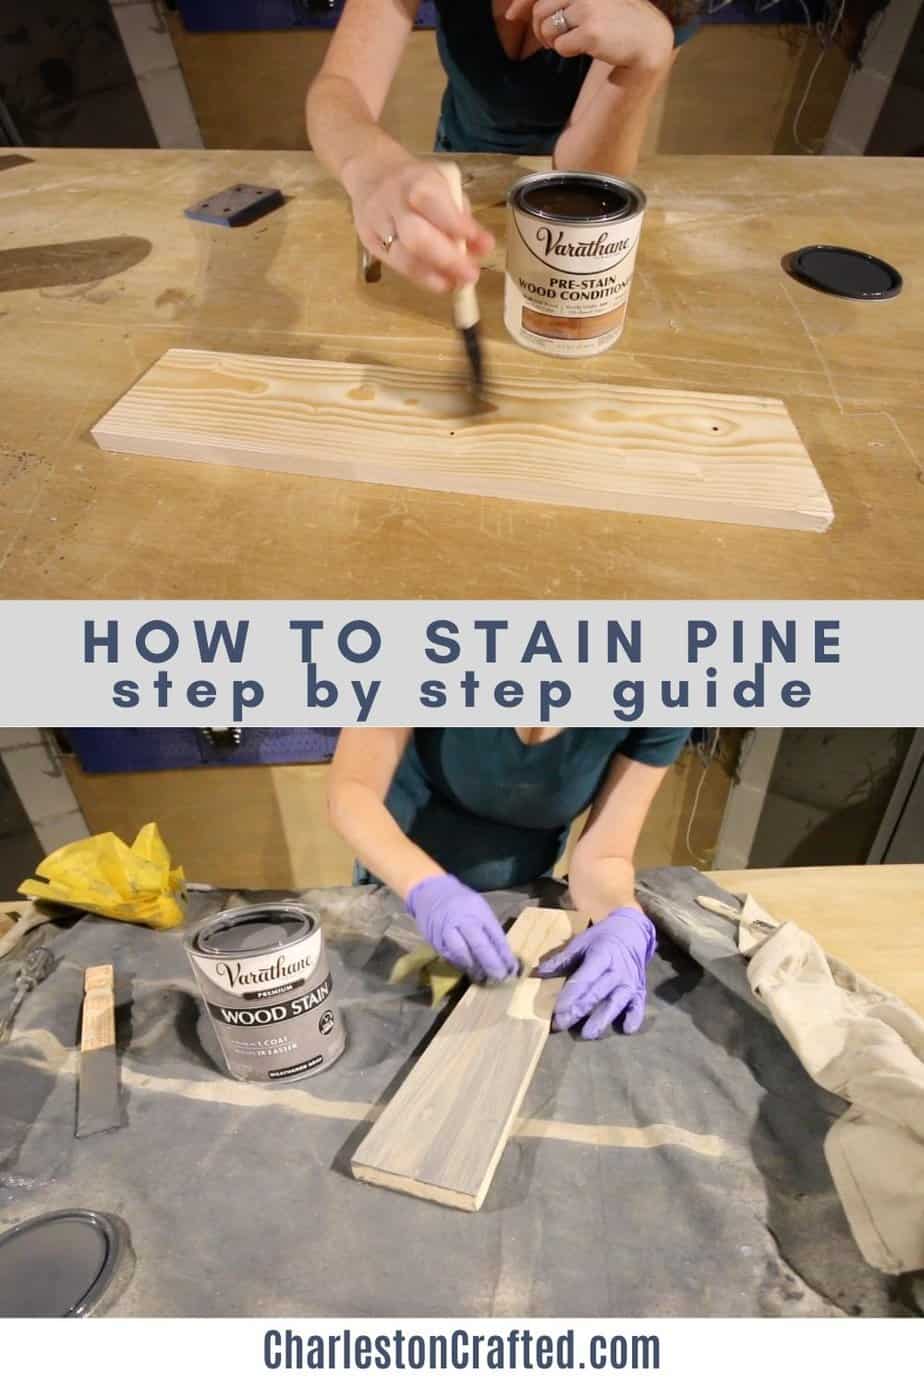
How to stain pine wood
- Sand wood with fine grit sandpaper until smooth
- Wipe clean with a tack cloth or other clean cloth
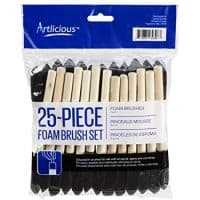
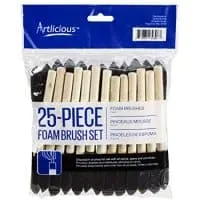
- Apply pre-stain wood conditioner in the direction of the grain with a clean cloth or paint brush
- Let sit for 30 minutes
- Wipe off any excess conditioner
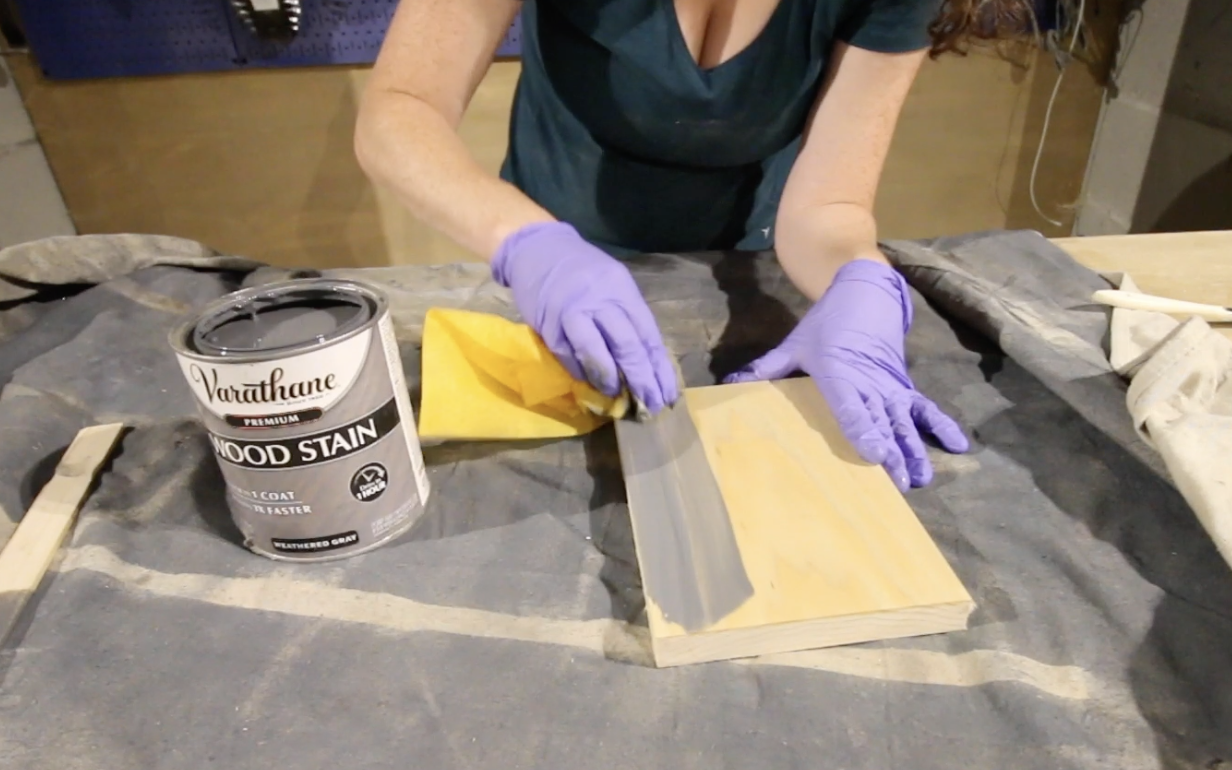
- Stir your stain to be sure the pigment is evenly mixed in.
- Apply stain directly on top of the conditioner
- Wipe off excess (wiping sooner will result in less color coverage versus letting it sit for longer)
- Let dry
- Apply wood sealant
How do I stain pine a consistent color?
If you are having trouble with your pine wood coming out splotchy, you most likely have an uneven wood. Sand it well, with a fine grit sandpaper, then apply a wood conditioner. Follow the directions on the can and follow up with the stain of your choice.
If the stain still looks splotchy, choose something a bit more opaque with fuller coverage rather than something more transparent. This usually helps!
How many coats of stain is necessary?
I usually only do one coat of stain on my wood projects. However, you can easily do two coats if you prefer a darker color or more coverage.


How to stain pine wood
Here is a step by step guide on how to get the best finish when staining pine wood.
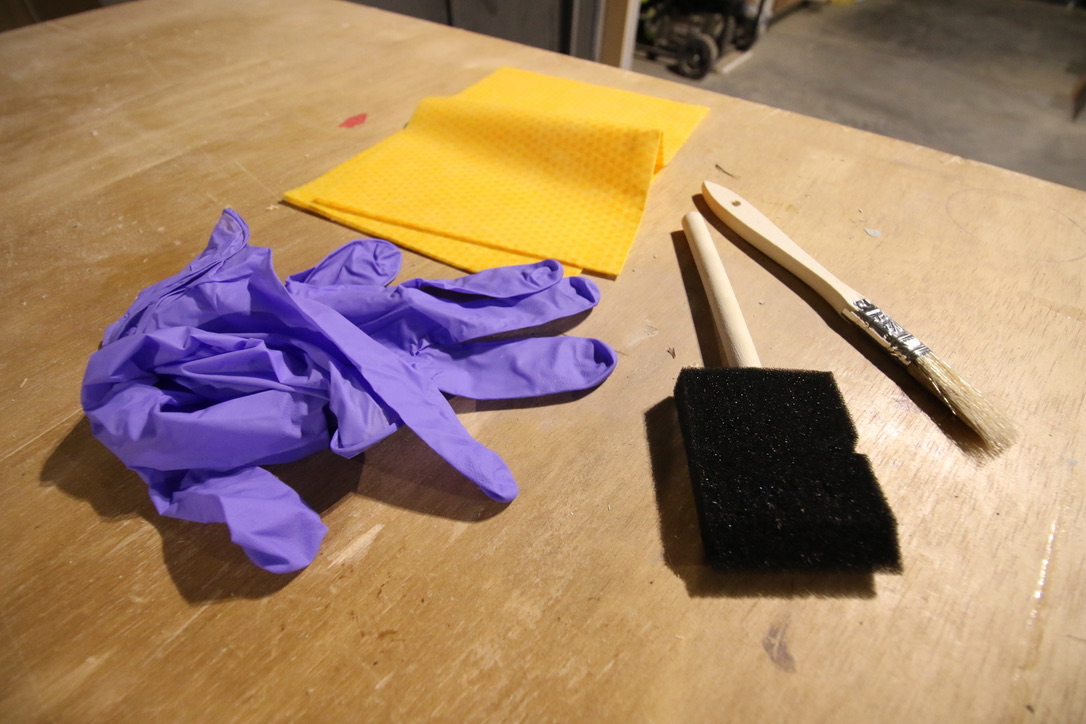
Materials
- Pine wood
- Wood stain
- Pre-stain wood conditioner
- Sanding paper
Tools
- Paint brush
Instructions
- Sand wood with fine grit sandpaper until smooth
- Wipe clean with a tack cloth or other clean cloth
- Apply pre-stain wood conditioner in the direction of the grain with a clean cloth or paint brush
- Let sit for 30 minutes
- Wipe off any excess conditioner
- Stir your stain to be sure the pigment is evenly mixed in
- Apply stain directly on top of the conditioner in the direction of the grain
- Wipe off excess
- Let Dry
- Apply wood sealant
Recommended Products
As an Amazon Associate and member of other affiliate programs, I earn from qualifying purchases.


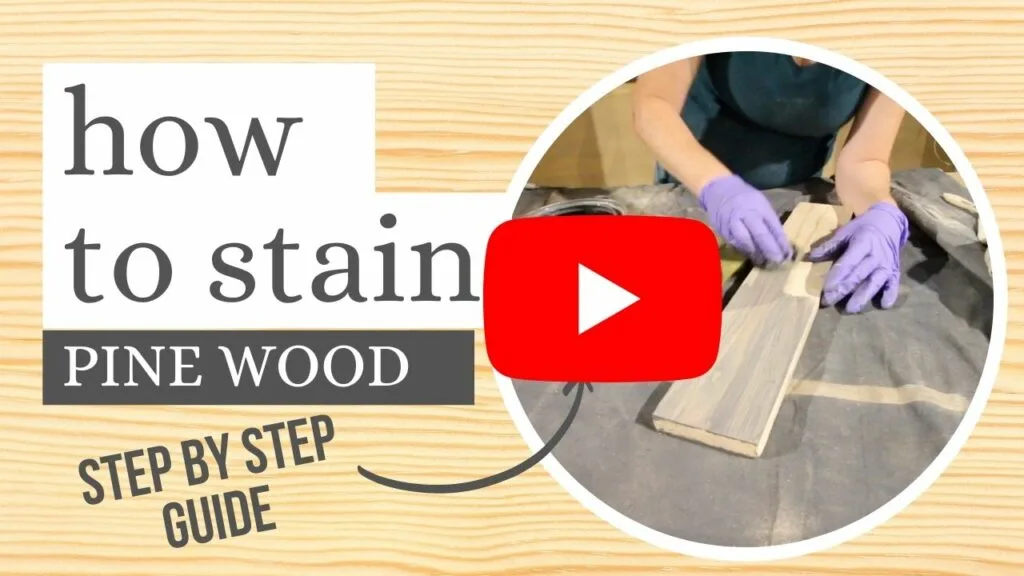
Video demonstration
Check out our video showing step-by-step how to stain pine wood!

Once your stain has completely dried, don’t forget to seal it! Here are our tips for sealing stained wood.
Need to fill a project? Here are our favorite wood fillers compared!
Before you stain, learn about pre-stain wood conditioners and if you should use one!
We tested these ten stains on five different wood species!
Check out our favorite white wood stains and black wood stains and gray wood stains!
Here are our favorite light wood stains + dark wood stains!
Be sure to watch my video on how to open a can of wood stain.


Looking for something?
We’ve been doing this since 2012 so we have a LOT of blog posts!
Search stuff like: Ceiling Projects | DIY Plant Stands | Thrift Flips


Hello, I’m Morgan, half of the creative force behind CharlestonCrafted.com! With a passion for DIY that dates back to 2012, I’ve transformed three homes and now I’m dedicated to helping others craft their dream spaces. Let’s turn your house into a home together!