Want to add color and texture to your Christmas tree? Here's how to make matte and glossy DIY metallic dipped ornaments balls!
I've been loving all things texture in home decor lately. Texture - or, more specifically, the contrast of textures - is fun to play with.
Bringing a variety of textures can make a space feel interesting without having to bring in lots of colors or patterns.
So, I thought that it would be fun to play around with texture with Christmas ornaments this year.
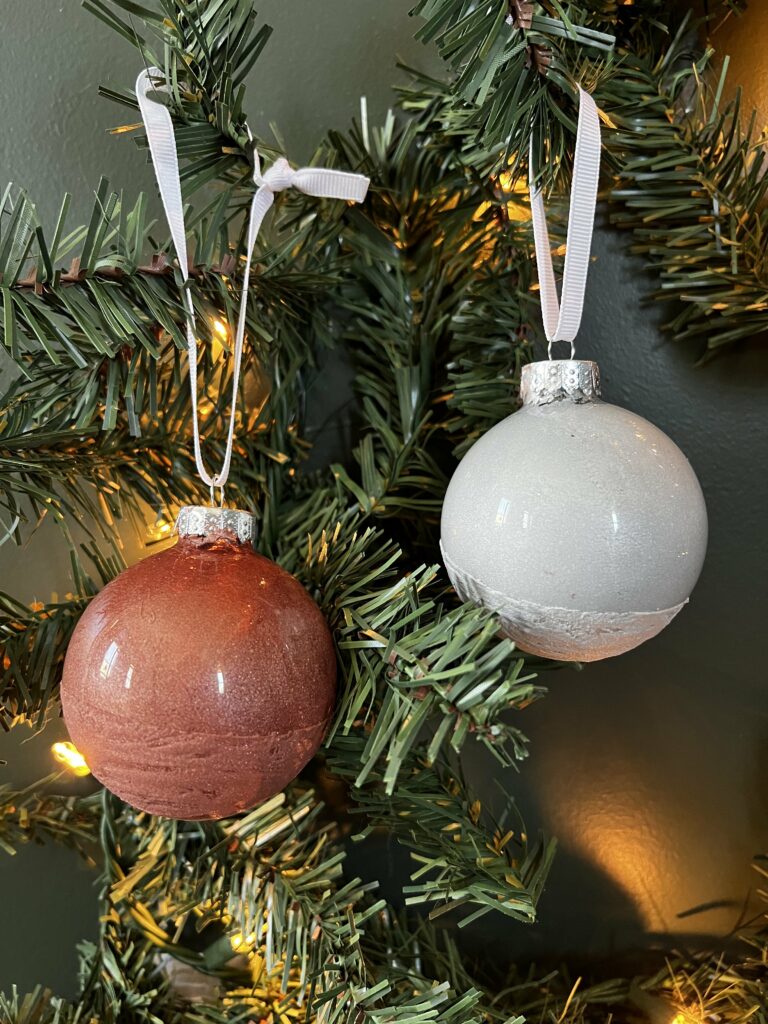
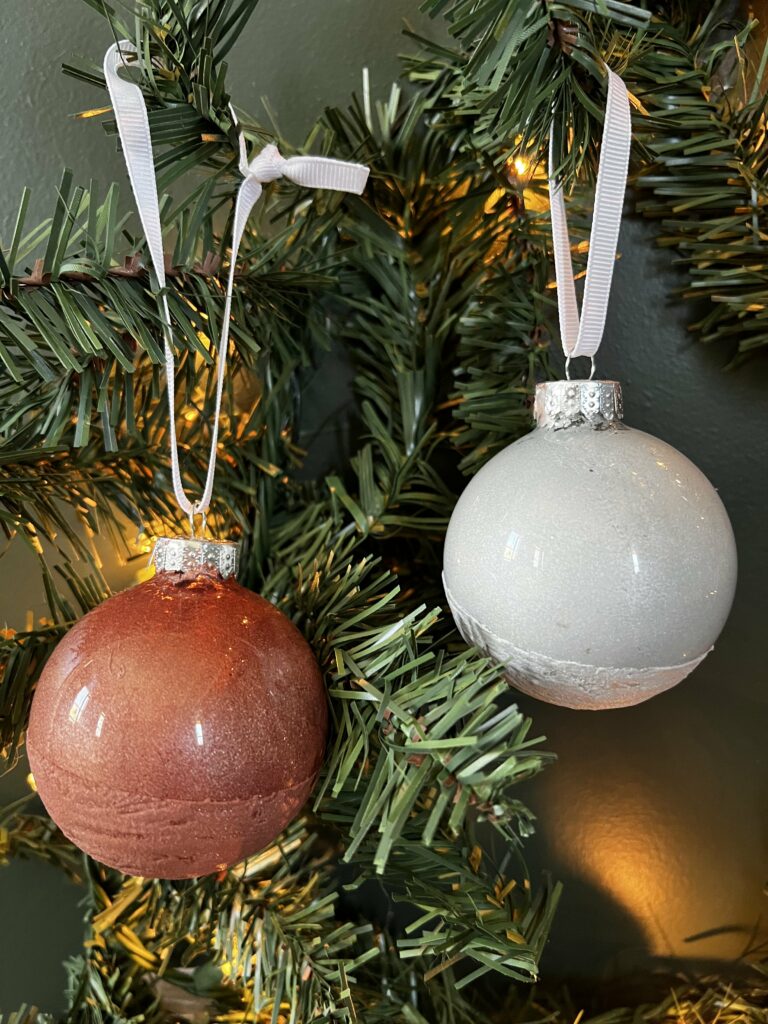
Glass ball ornaments are glossy. I wanted these ornaments to have the contrast of super glossy to super matte paint.
So, I played with metallic paint within the ornament, and used that exact same color of paint to create a matte, chalky "dip" finish on the bottom half of each ornament.
How to make acrylic paint matte
To make craft paint look matte, you can simply mix it with baking soda. You might need to experiment a bit to get the ratio just right - test it to be sure you are happy with the look!
To make the metallic paint look extra glossy, I painted it on the inside of the ornament. This sort of topped it with the glossy glass of the ornament for super shine.
I then painted the matte paint on the outside for the ultimate in contrast.
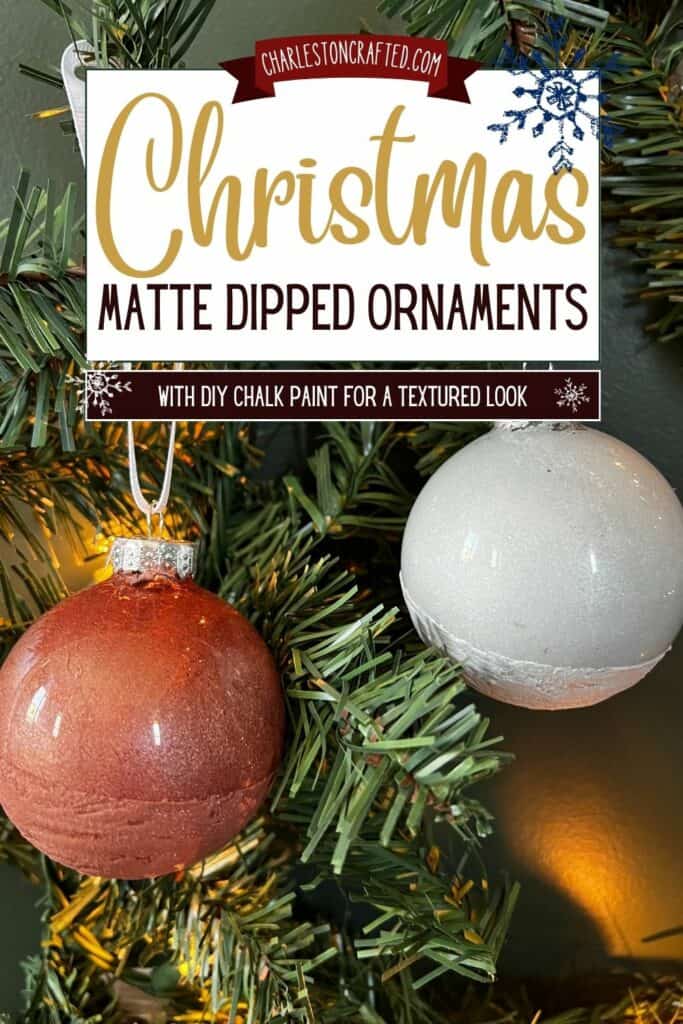
DIY metallic dipped ornament balls
Supplies needed:
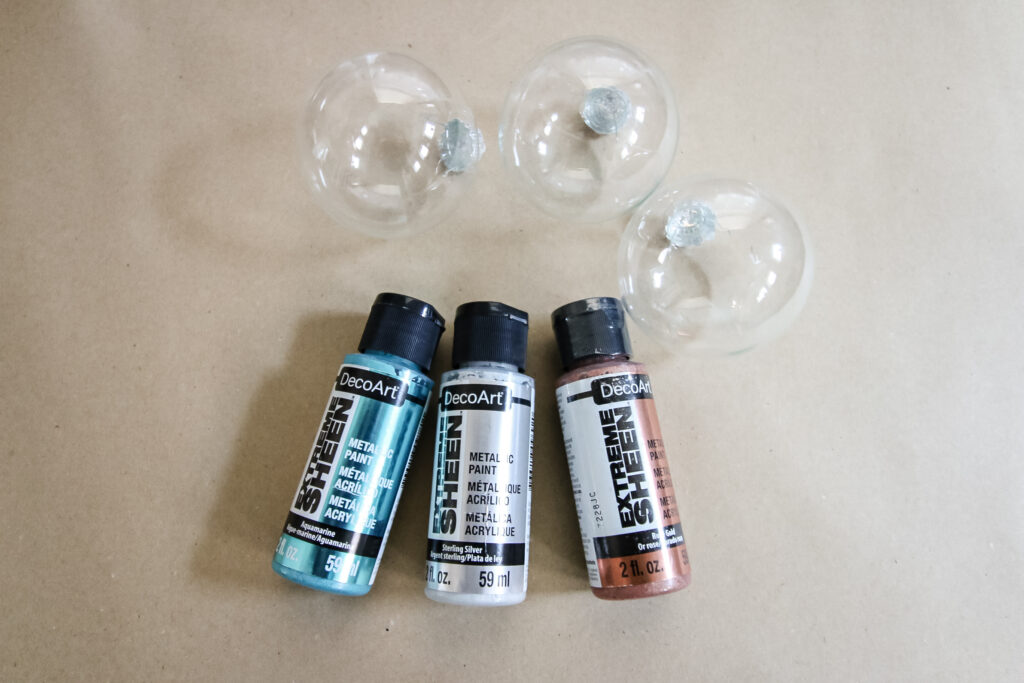
- Clear glass or plastic ornament balls
- Metallic paint
- Painter's Tape
- Paint brush
- Baking soda
- Ribbon, twine, or hanger of choice
Steps to make:
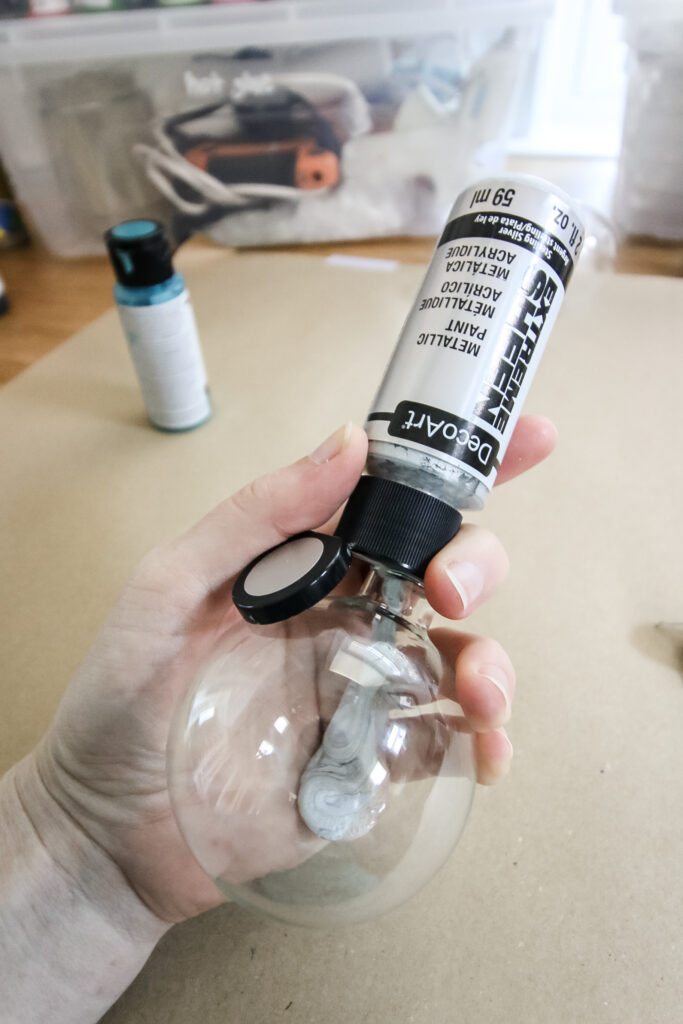
STEP 1: Paint ornaments
Remove the metal top from each ornament ball. Squirt craft paint inside and swirl around until you get full coverage. Turn upside down and let dry.
STEP 2: Tape off your line
Decide where you want your dip line and use painter's tape to tape that line on the ornament. Take your finger and firmly press the tape into the ornament so there is no where on the line for paint to leak.
This will be thick paint that is unlikely to leak, but pressing the tape is still important.
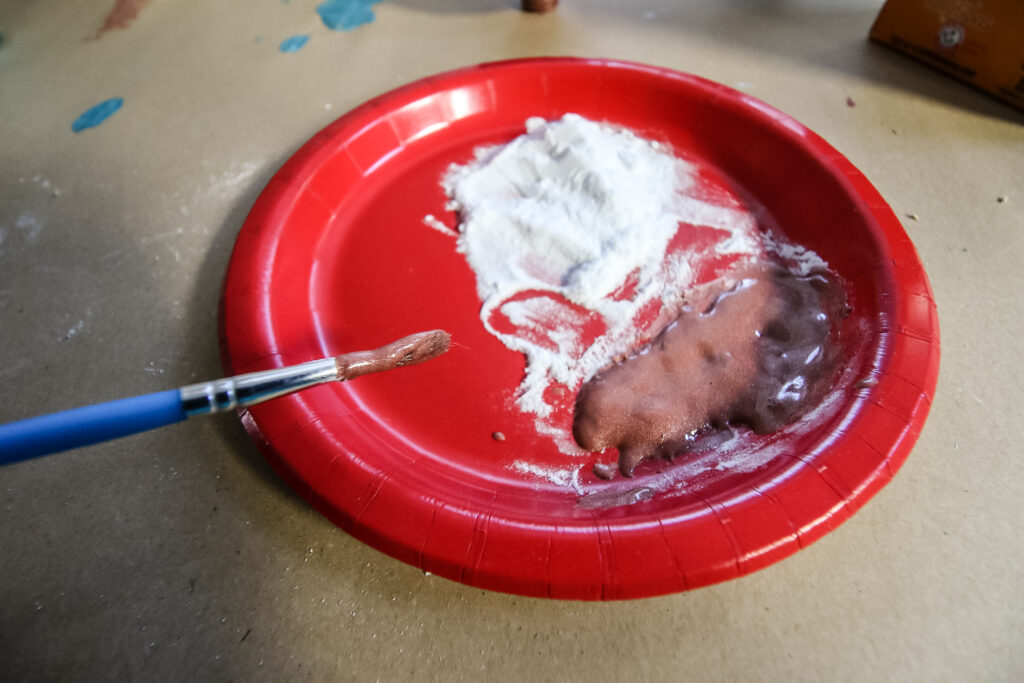
STEP 3: Mix your paint
Mix your same paint color with baking soda. Aim for a 1:1 paint to baking soda ratio. It will be thick as peanut butter and more matte looking.
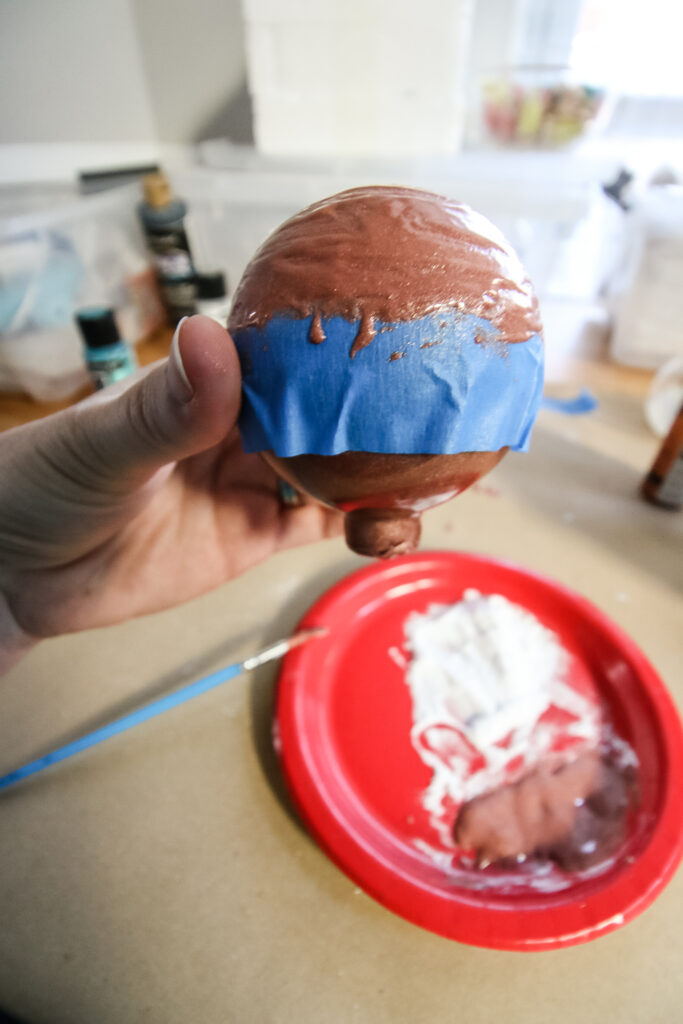
STEP 4: Paint the ornaments
Paint the lower half of the ornament with the mixed tape. You can go for a more dabbled, textured look or smooth it more with the brush. You can also use a damp brush to smooth out the paint further when in place.
Let the paint dry completely.
STEP 5: Peel the tape
Carefully peel your painter's tape to reveal the crisp "dip" line.
STEP 6: Put the lid and hanger on the ornament
Once fully dry, pinch the metal of the cap and place it back on the ornament. Add a loop of ribbon or twine to use as a hanger.
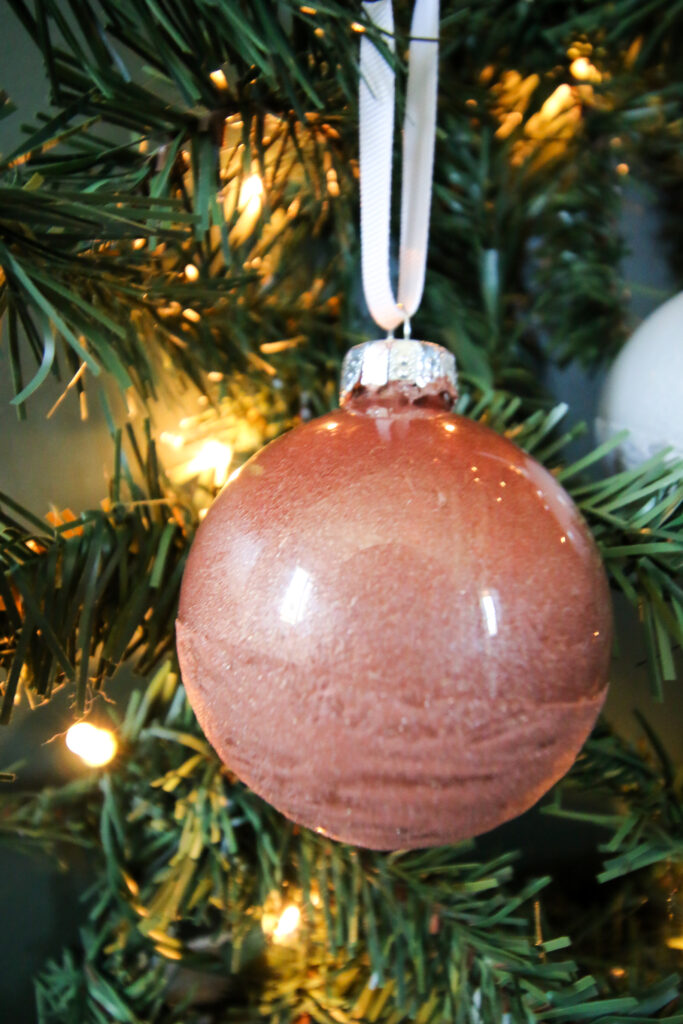
STEP 7: Hang and enjoy
Hang on your tree and enjoy the view!
See all of our handmade ornament ideas:
- How to make photo ornament balls
- DIY sea glass ornaments
- Sand ball ornaments
- How to make beach ornaments
- DIY pier post nautical ornaments
- Fur ball pom pom ornaments
- DIY snowball ornaments
- Citrus felt ornaments
- Mink snowman ornament
- Deviled egg felt ornament
- Metallic dipped textured ornaments
- Paper ball 3D ornaments
- Toilet paper roll starburst ornaments
- Bottle brush tree terrarium ornaments
Simplify your crafting journey and eliminate guesswork with our free ornament crafting cheat sheet – your essential guide to selecting the right materials and tools with ease! Click here or the image below for the free download!
Any questions about these ornaments?

Looking for something?
We've been doing this since 2012 so we have a LOT of blog posts!
Search stuff like: Ceiling Projects | DIY Plant Stands | Thrift Flips

Hello, I'm Morgan, half of the creative force behind CharlestonCrafted.com! With a passion for DIY that dates back to 2012, I've transformed three homes and now I'm dedicated to helping others craft their dream spaces. Let's turn your house into a home together!


