Applying wood stain is an essential part of finishing any wood project. But, the prep work can be just as important as the actual stain. Here's how to properly prepare wood for staining!
Wood stain can totally transform the finished look of a woodworking project or wood item.
That's why it is so important to do a good job when staining.
And, if we are being honest, the actual act of staining wood is pretty simple. Rub stain on, let it sit, wipe off excess. That's it!
But, there is more to it than that. Like so much of DIY, the prep work is 90% of the work.
Without proper prep work, you might not get a flawless finish. And we want to make your wood project shine with the perfect coat!
So, today we want to talk all about prepping for staining wood. Here's what you need to know!
Factors to consider when preparing to stain wood
Here are some factors that will effect your prep work for staining a wood project.
Wood species
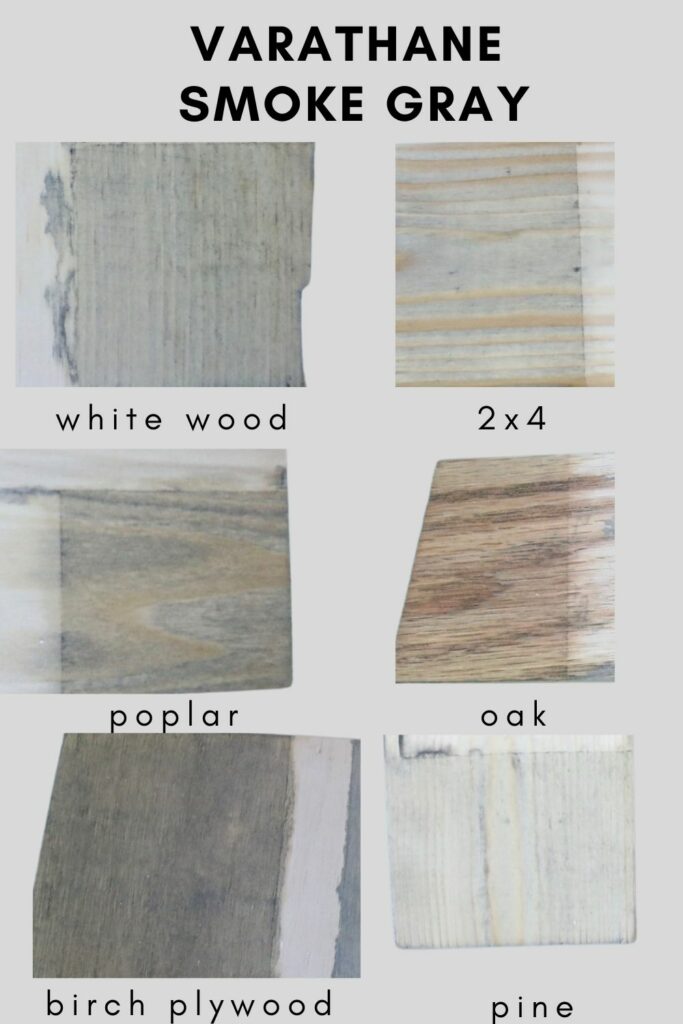
Different wood species absorb stain differently. Softer woods tend to absorb more stain compared to hardwoods, which can almost repel it sometimes.
Additionally, the natural color of a piece of wood will drastically change how the wood stain color looks. A stain will look very different on white pine vs red oak!
Always test your stain on your wood species to be sure you like the combination - before committing to it.
This means using a scrap piece of wood from your actual build if you are building or a section of the wood that is tucked away - like the underside or back - if you are refinishing something.
The test spot can almost always be sanded away if you don't like it!
Age of wood
Lumber tends to dry out over time. Old wood - especially the really old stuff like reclaimed lumber - can be very dry. This can effect how it absorbs stain.
Think of it like a sponge - a very dry sponge will soak up more liquid than a slightly wet one.
For this reason, wood that is very dry or has very dry spots can end up darker than anticipated from absorbing more stain.
This is why it's so important to test stain on your actual wood to see how it absorbs!
Condition of wood
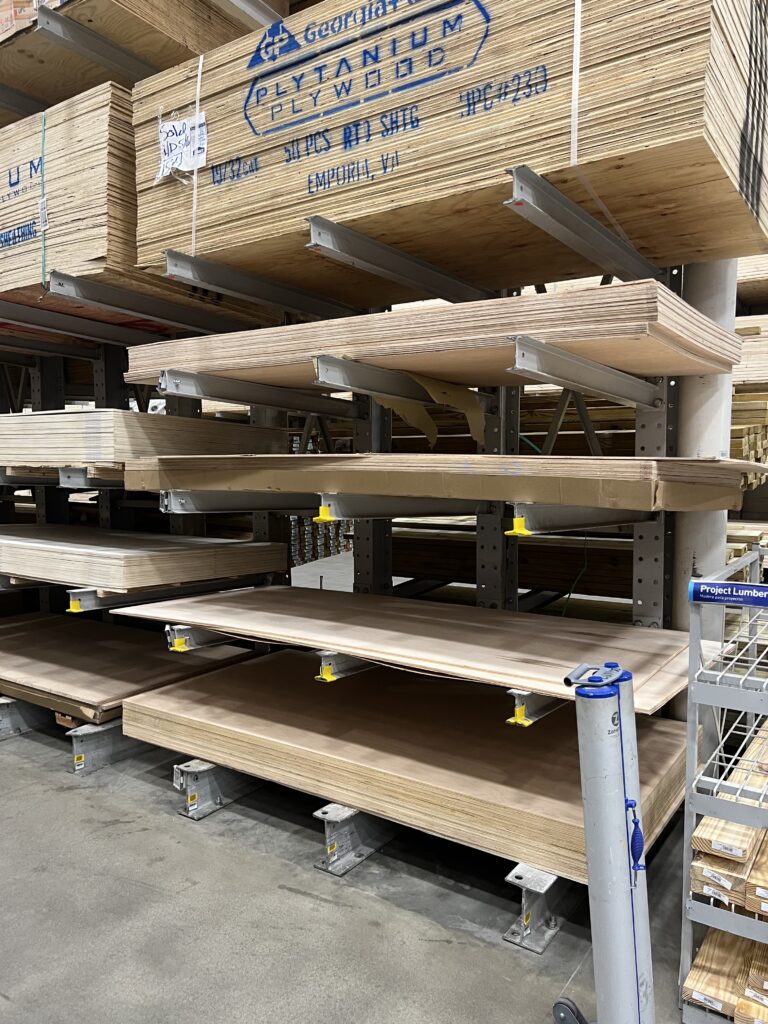
Check the condition of your wood. If it is damaged or cracked, it might not be the best piece to work with. Lumber stores will really sell any board - even a twisted mangled one. That's why it's important to be diligent when shopping for lumber.
Wood with minor holes and dings can be repaired and stained. Check out our guide to the best wood filler for large holes in wood!
Dryness of wood
Lumber fresh from the store is often wet - like, literally wet to the touch. Lay it out, preferably in the sun, and let it dry out before working with it.
Wet wood can shrink or twist as it dries, so it's really important not to make any cuts or measurements before it is fully dry.
Stain also does not absorb as well in the wet wood, so letting it dry out is better for several reasons!
Does wood need to be bare before staining?
For best results, wood should be completely sanded and cleaned prior to staining. This will give you the best chances of even absorption without splotchiness.
You can stain over paint or stain - but that's a whole different aesthetic. It will not cover it opaquely like paint - you will see whatever is under the stain!
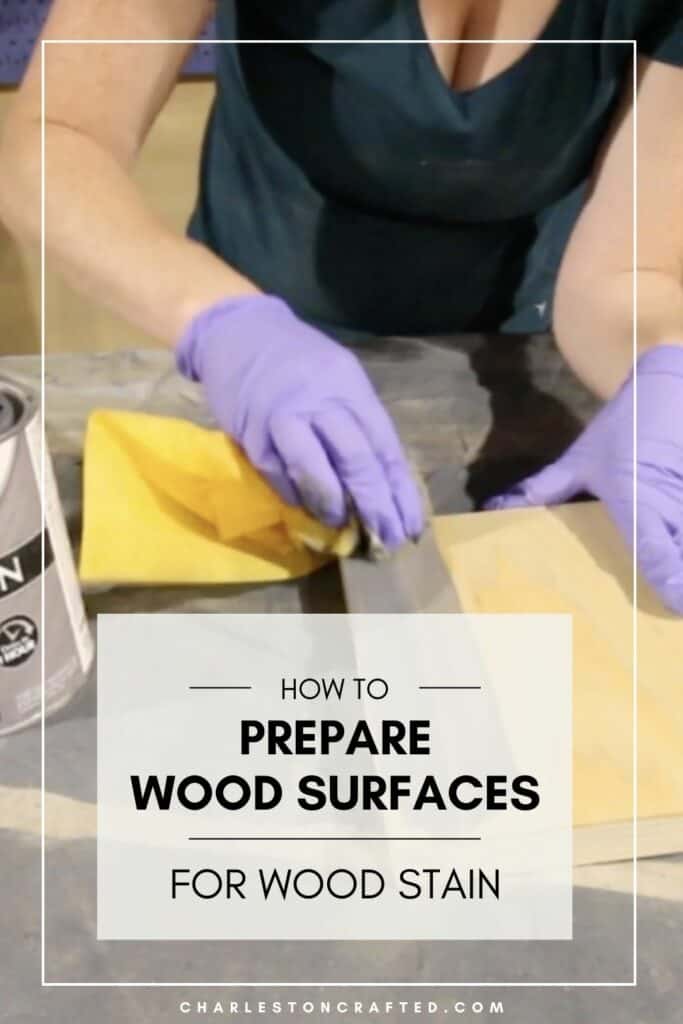
How to properly prepare wood for staining
Here's how to get your wood surface as ready as possible to absorb wood stain.
STEP 1: Sand the wood
Start by sanding your wood until it is smooth. You will want to start with a coarse grain sand paper and work your way to a fine grit sand paper.
Coarse grit sandpaper feels rougher to the touch and will remove any large damage or imperfections. Focus on any areas that are damaged.
Finer grit sandpaper is smoother and will make the wood surface as smooth as possible. We typically work up to a 220 grit sand paper.
If you are using an orbital sander - be careful of making swirl marks on the wood. This often happens if you press hard on soft wood with a coarse sandpaper. These will be accentuated by stain, so try to avoid pressing too hard if you can!

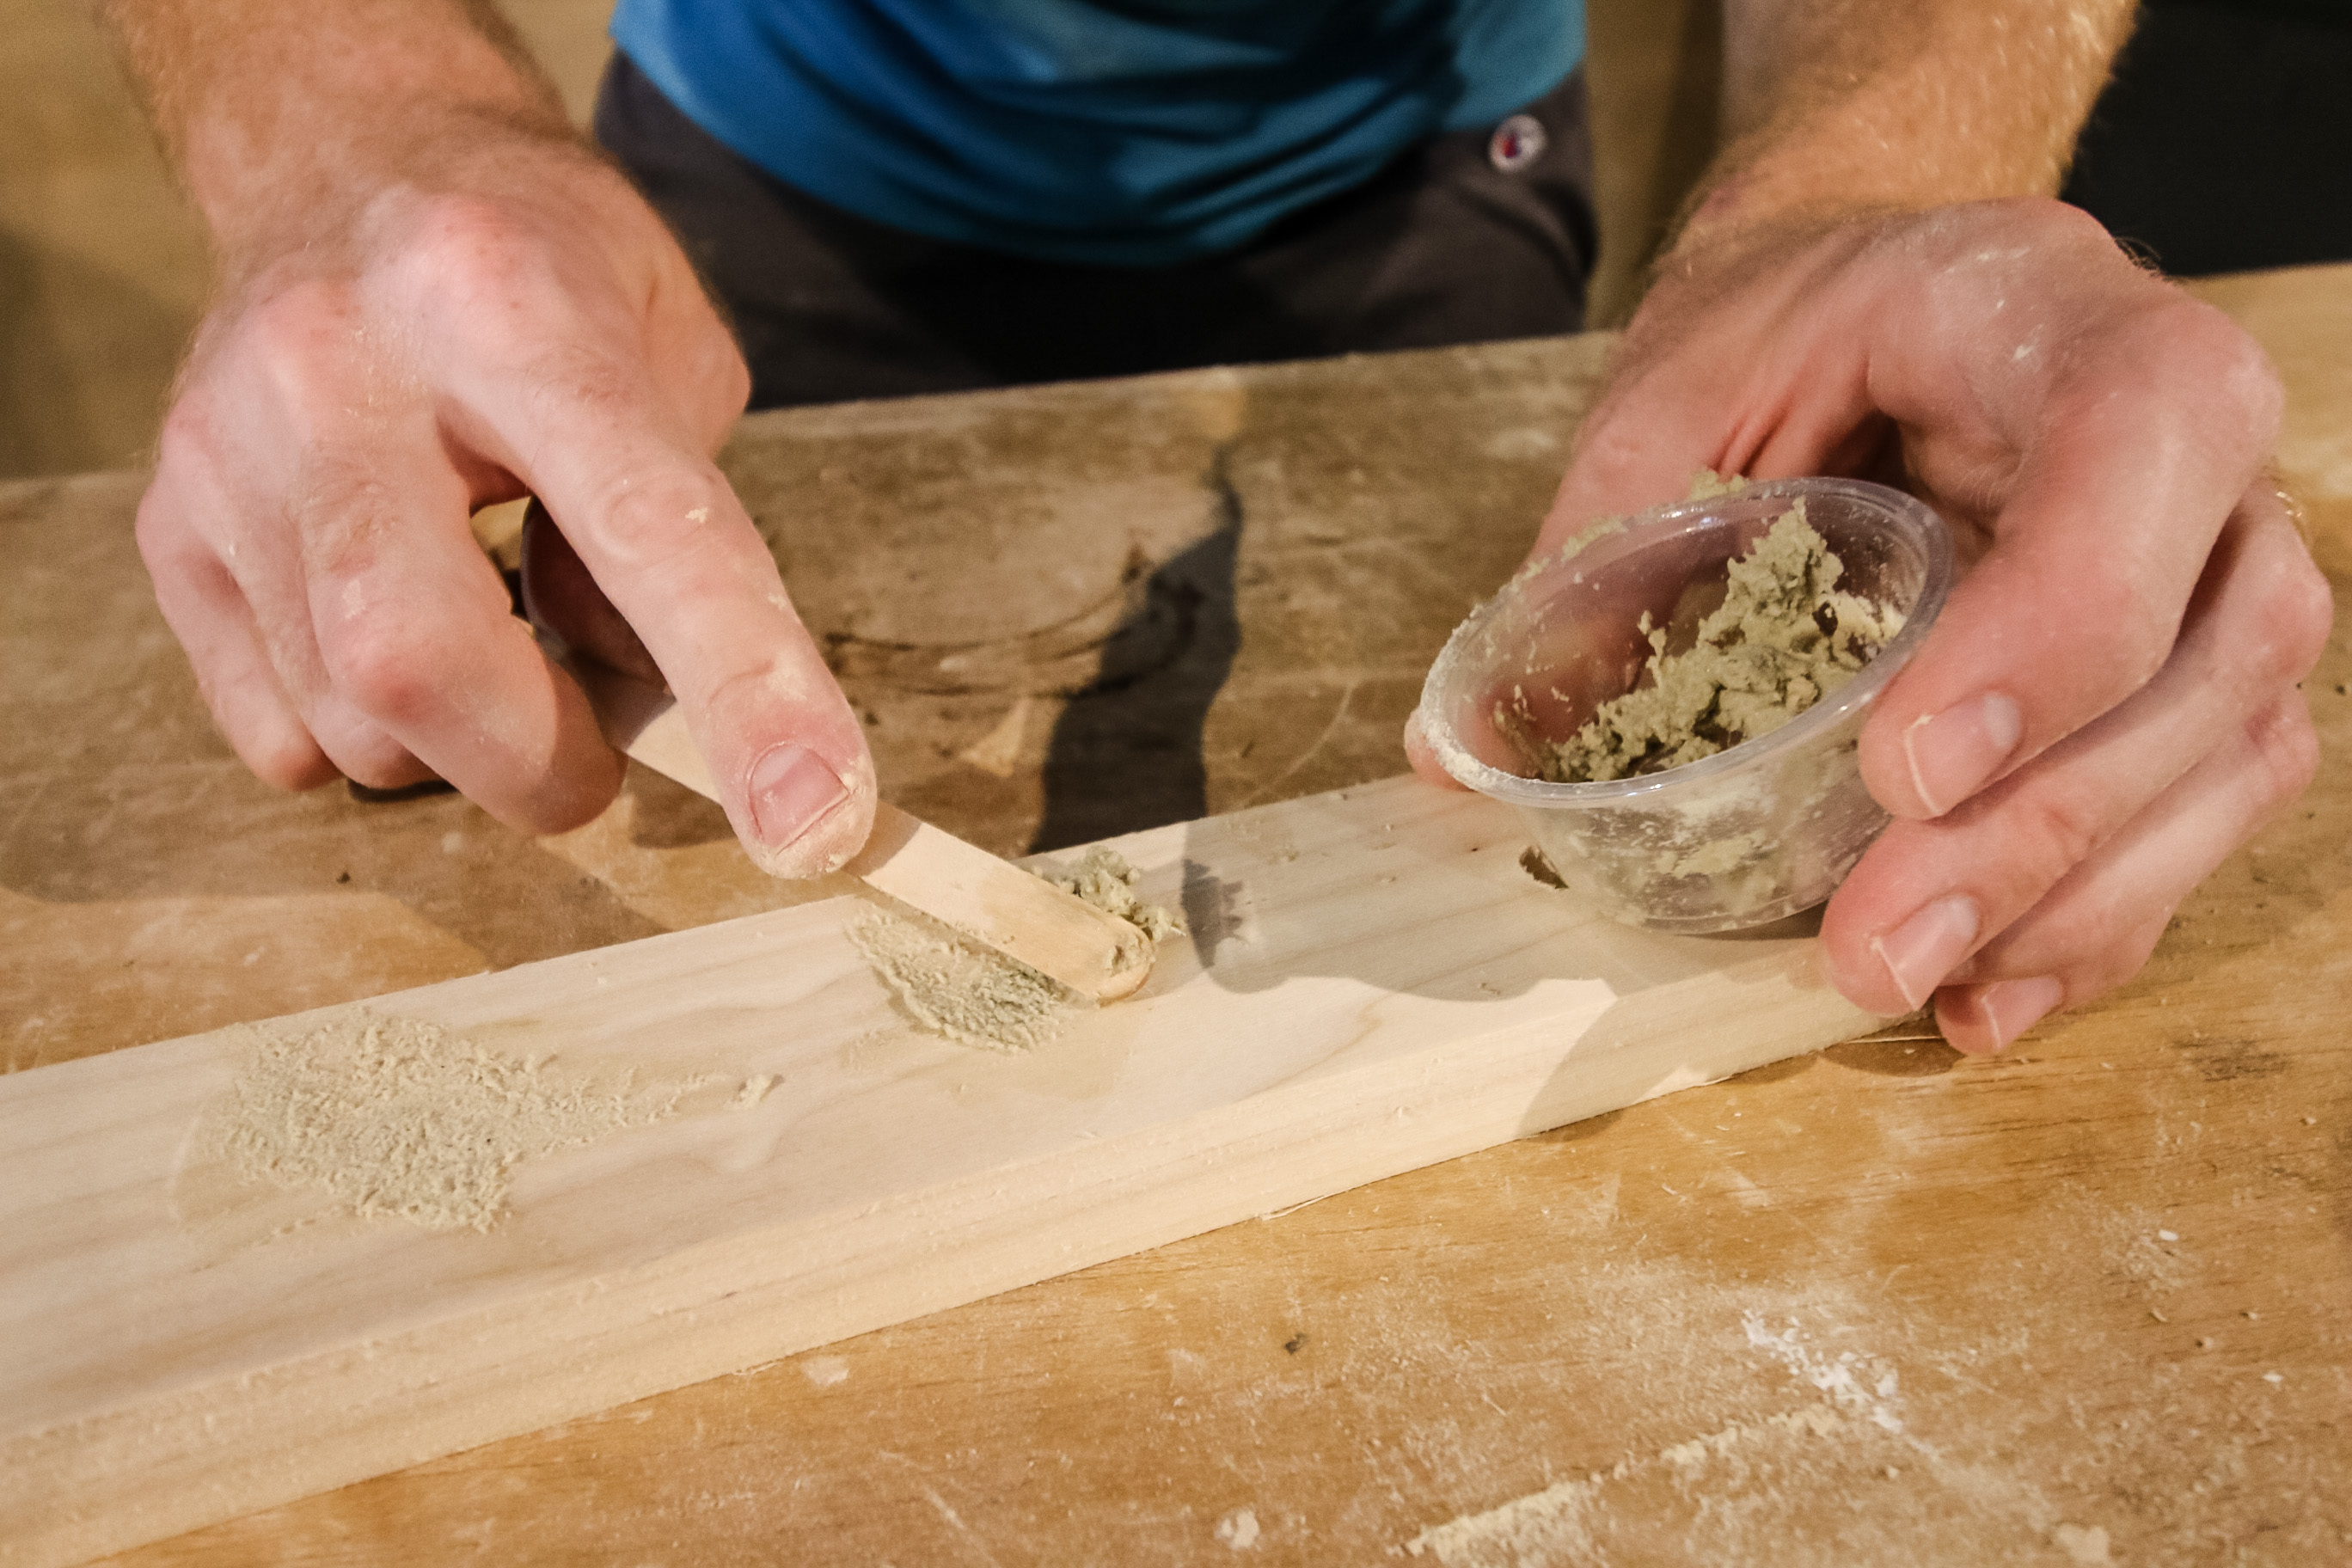
STEP 2: Repair the wood
Now, examine your wood for any holes or dings that will need to be filled. Apply wood filler, let it dry, and sand it smooth.
Be sure to check out our complete guide on how to use wood filler.
STEP 3: Clean the wood
Once your wood is sanded and repaired, it is often pretty dirty. Use a shop vac to suck up any large chunks of debris. Then, wipe it clean with a tack cloth.
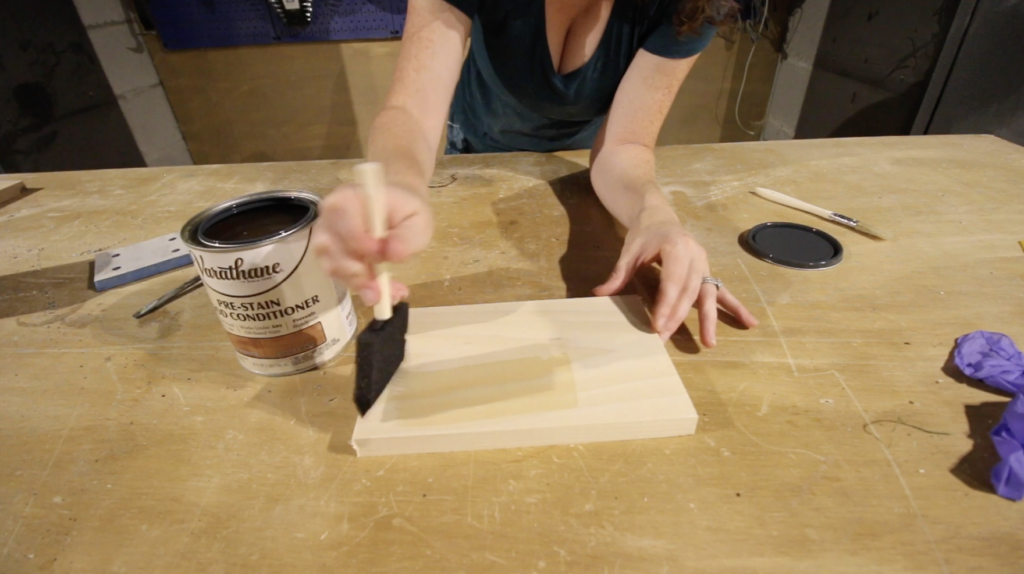
STEP 4: Apply conditioner
This step is optional, but I recommend applying a wood conditioner to your wood surface before staining. This will help to even out the moisture level of the wood surface and help it to absorb stain evenly.
Some people instead wipe their wood down with a slightly-wetter-than-damp cloth. This can have a similar effect of evening out the wood surface.
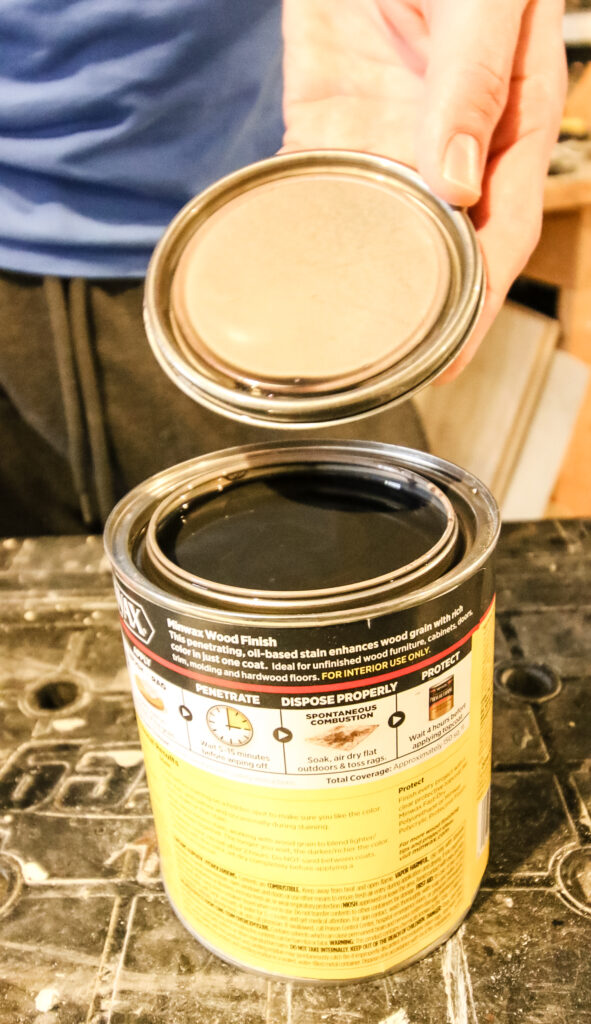
STEP 5: Stir the stain
Wood stain should be stirred and not shaken. The color can really settle in the bottom of the can, so scrape the edges well and stir it until it feels well mixed!
Can't get the can open? Here's how to open a can of wood stain!
STEP 6: Test the stain
I always recommend testing your wood stain before going all in on it. Test it on a piece of your exact wood, because stain can take differently even on 2 boards of the same species.
Need help choosing a wood stain? Check out how we tested the 10 most popular wood stains on 5 types of wood!
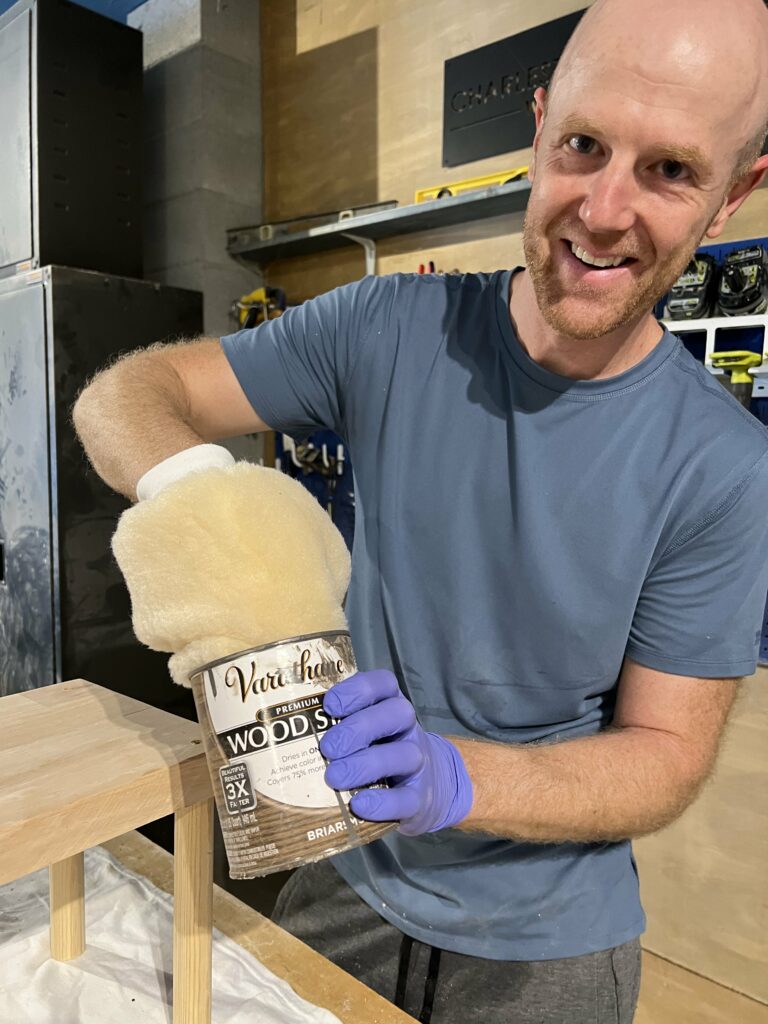
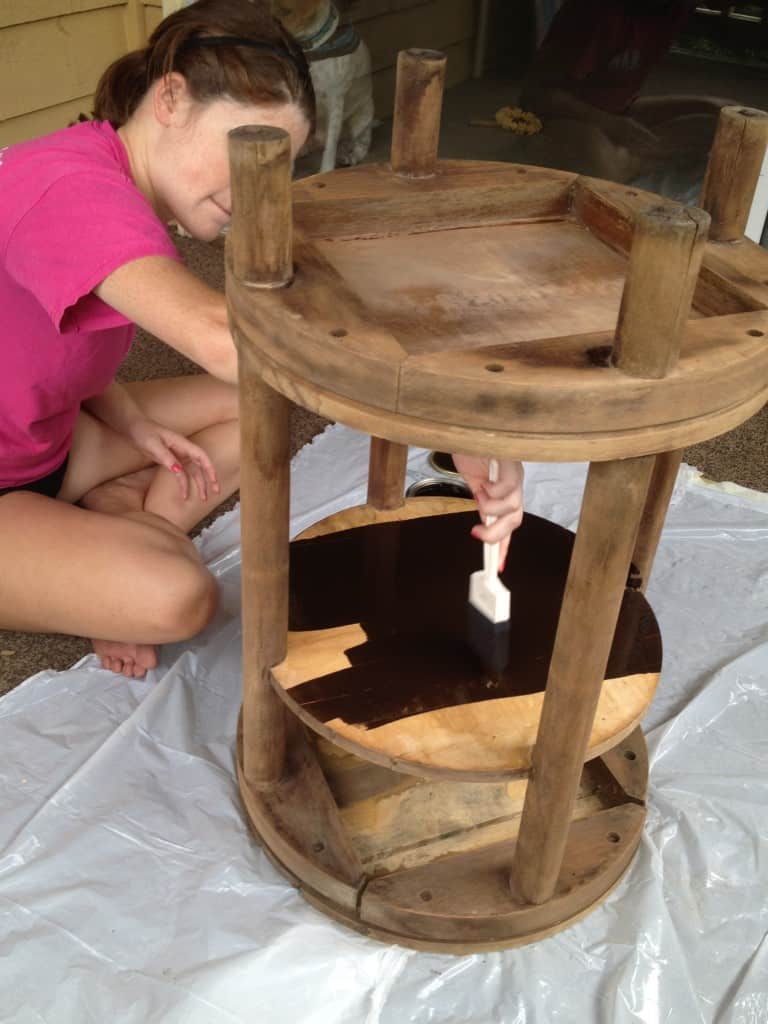
STEP 7: Apply stain
Now, you are finally ready to apply your wood stain. Apply it in the direction of the grain and wipe off excess that does not absorb after 10-15 minutes.
How long do you leave stain on wood before wiping off?
Stain will generally absorb within 10-15 minutes. If anything is pooling at that point, it is unlikely to soak in. It's best to wipe off excess to avoid stickiness or rings and splotches. Then, you can re-apply a second coat if you'd prefer a darker finish.
You can read our complete guide on how to apply wood stain for more detailed instruction.
Once the stain is dry, we highly recommend sealing your stained wood!
Be sure to check out our other DIY wood stain ideas!

Looking for something?
We've been doing this since 2012 so we have a LOT of blog posts!
Search stuff like: Ceiling Projects | DIY Plant Stands | Thrift Flips

Hello, I'm Morgan, half of the creative force behind CharlestonCrafted.com! With a passion for DIY that dates back to 2012, I've transformed three homes and now I'm dedicated to helping others craft their dream spaces. Let's turn your house into a home together!