Have a large hole to fill? Here are the best wood fillers for large holes and tips and tricks to get the best possible finish when using wood filler for big holes.
I love repairing and updating old pieces of furniture. Some pieces really seem like they might be goners.
I am talking about very highly damaged wood furniture. Not the kind of damage that can just be sanded and painted. We are not talking about screw holes or nail holes.
This is where you can find really good deals on old furniture. Whether you are on a budget, trying to flip furniture, or just looking for a challenge, it could be really fun to upgrade these types of pieces.
today I want to talk about what is the best wood filler for large gaps in wood. When you were making these kinds of repairs, it is really important to select the wood filler that will have strong, adhesion, durability, and a seamless finish.
Let's dive into what it takes for wood filler to work on large gaps in holes and our recommendations for both specific word, fillers, and techniques.
Understanding Wood Fillers for Large Holes
The term large is subjective, but for the purpose of this article, we are going to consider that a nail or screw hole is a small hole and anything larger than that – larger than a dime, really - is a large hole in your wood.
In addition to having a large surface area, a hole in your wood could be very deep. For example, this could be a crack, or a gap that is not very wide, but is very deep.
You are going to handle these differently.
Large (in surface area) holes in the wood
The truth is that holes in your wood that have a large surface area are going to be really really very hard to disguise.
You can use a stainable wood filler that you can get to pretty well color match your wood. But it's going to be very very difficult to match the texture or grain of actual wood.
For this reason, if you are patching a large hole in a wood surface, I highly suggest that you plan to paint it. I just think you were going to be happier with the end results.
As long as you don't skip out on the sanding process and get it perfectly smooth, then there's no reason that you cannot completely disguise wood damage once it is filled and painted.
Assuming that you plan to paint your project, you can use a water-based wood filler, epoxy-based wood filler, wood putty, or even Bondo to patch your project. But, we will get into that in just a minute.
Deep Cracks/Gaps in the Wood
On the other hand, if your hole is more of a crack or a gap, and it is just deep, you can totally stain it.
I suggest adding wood filler in layers, so that it can dry completely as you go.
Gooping on really thick wood filler can lead to air bubbles that leads to more cracks down the road. It's definitely better to do many thin coats when filling a deep hole or crack.
Then you can either stain or paint it depending on your desired finished luck.
If you plan to stain your project, you will need to use a stainable wood filler, which is almost always a water-based wood filler.
If you plan to paint your wood project, you will have more options and can use an epoxy-based wood filler or even Bondo if you want a super strong finish.
Keep reading to learn more about the differences in these products.
Criteria for Choosing the Best Wood Filler
Here are a few essential factors to consider when selecting a wood filler for large holes:
Maximum Hole Size: Determine the size of the holes the filler can effectively fill.
Material Composition: Compare different wood fillers, such as epoxy, cellulose-based, or wood fiber fillers, and their properties.
Strength and Durability: Assess the filler's ability to withstand pressure and resist cracking or shrinking over time.
Ease of Application: Consider the ease of application, spreading, and shaping to fill large holes effectively.
Sandability: Evaluate how well the filler can be sanded to achieve a smooth and flush finish.
Stainability: Determine whether the filler can accept stain to blend with the surrounding wood.
One of the biggest factors that effects how wood fillers work is the type of wood filler that you choose.
Here are the most common types of wood fillers and their characteristics.
| Property | Water-Based Wood Fillers | Solvent-Based Wood Fillers | Epoxy-Based Wood Fillers |
|---|---|---|---|
| Strength | Moderate strength, suitable for most repairs | Durable, suitable for structural repairs and load-bearing surfaces | Exceptional strength and durability, ideal for structural repairs and load-bearing surfaces |
| Stainability | Can be painted or stained | Can be painted or stained | Can be painted but not stained |
| Environmental Friendliness | Environmentally friendly, low VOC | Contains solvents, higher VOC levels | Typically contains VOCs |
| Odor | Low odor | Higher odor | Typically has a strong odor |
| Durability | Moderate durability | Durable | Highly durable, resistant to weathering |
| Indoor/Outdoor Use | Suitable for indoor use | Suitable for both indoor and outdoor use | Suitable for both indoor and outdoor use |
| Two-Part System | No | No | Yes |
| Shrinkage | Some shrinkage | Minimal | None |
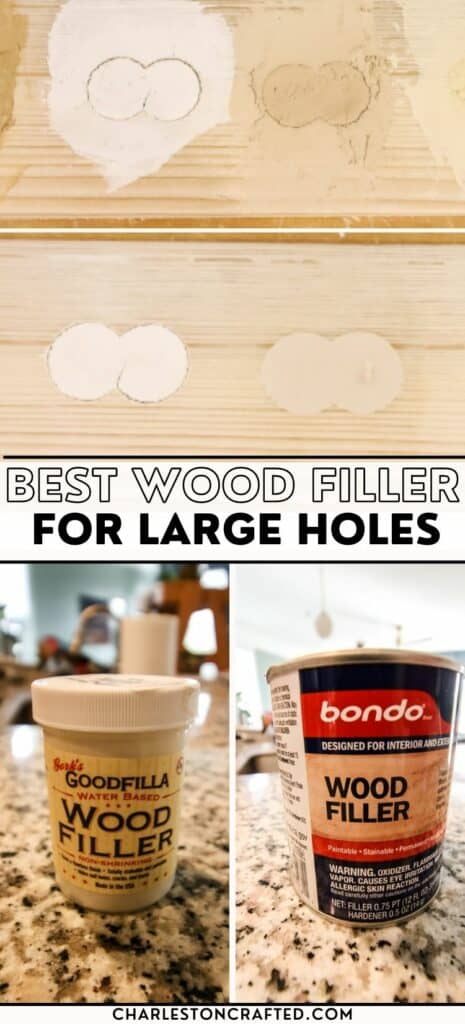
Top Wood Fillers for Large Holes
As I have mentioned, if you want to stay in your wood project, you were going to have to use a wood filler to patch it.
If you plan to paint your wood project, which I highly suggest that you consider if the wood surface is highly damaged, then I suggest that you look into Bondo. Bondo is going to give you a very strong finish, it's just not stainable.
Click here for our full comparison of wood filler versus Bondo.
Here are our favorite large hole wood fillers.
GoodFilla Wood Filler
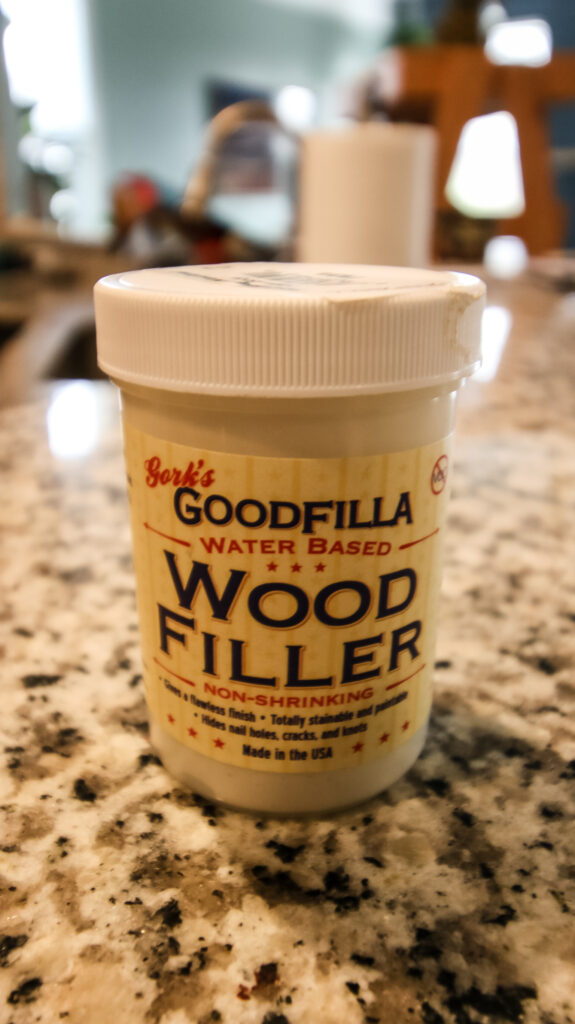
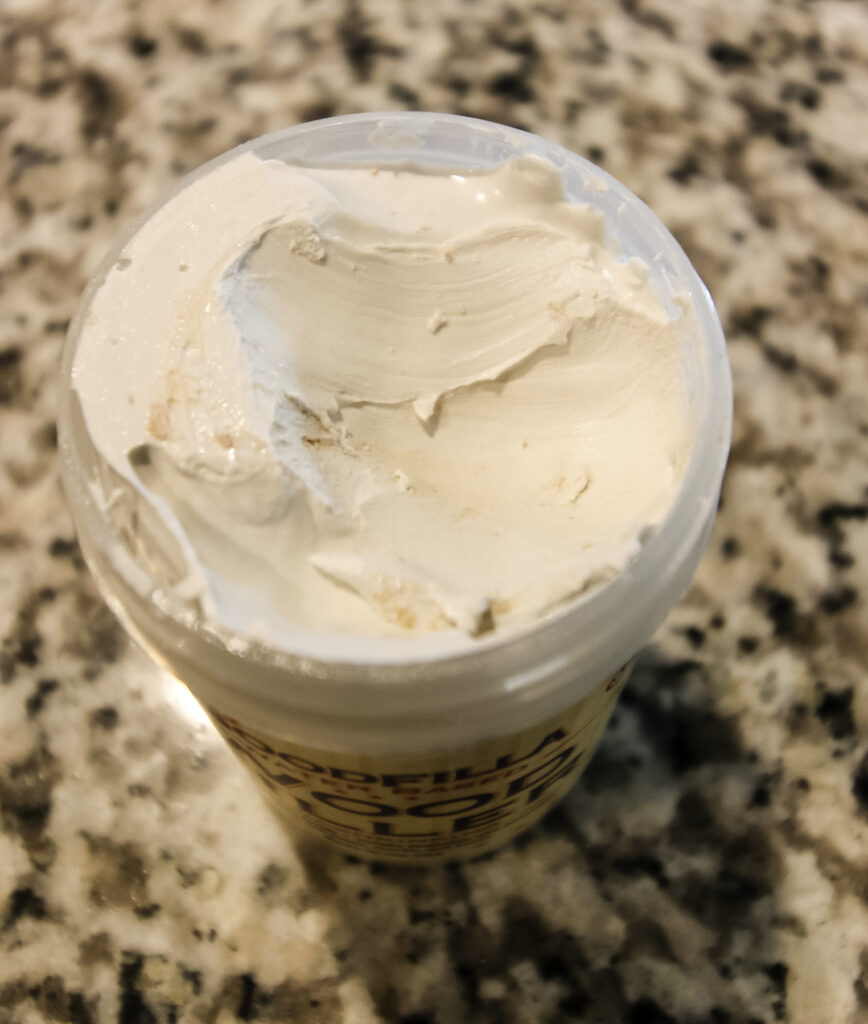
Base: Water based
Consistency: Smooth and tacky
Best used for: Grain filler, shallow hole filler, filling in larger grooves in floors or furniture.
Dry time: 15 minutes to dry, 24 hours to fully cure.
Application: Interior
Color: White for the regular color, but specific colors available to match wood.
Pros: This is a tacky substance, but it spreads very easily and smoothly across surfaces. No shrinks or cracks and easily reconstitutes when dried out. However, twist top container makes it very easy to keep from drying out.
Cons: Smaller package for slightly higher cost per ounce.
Bondo Wood Filler
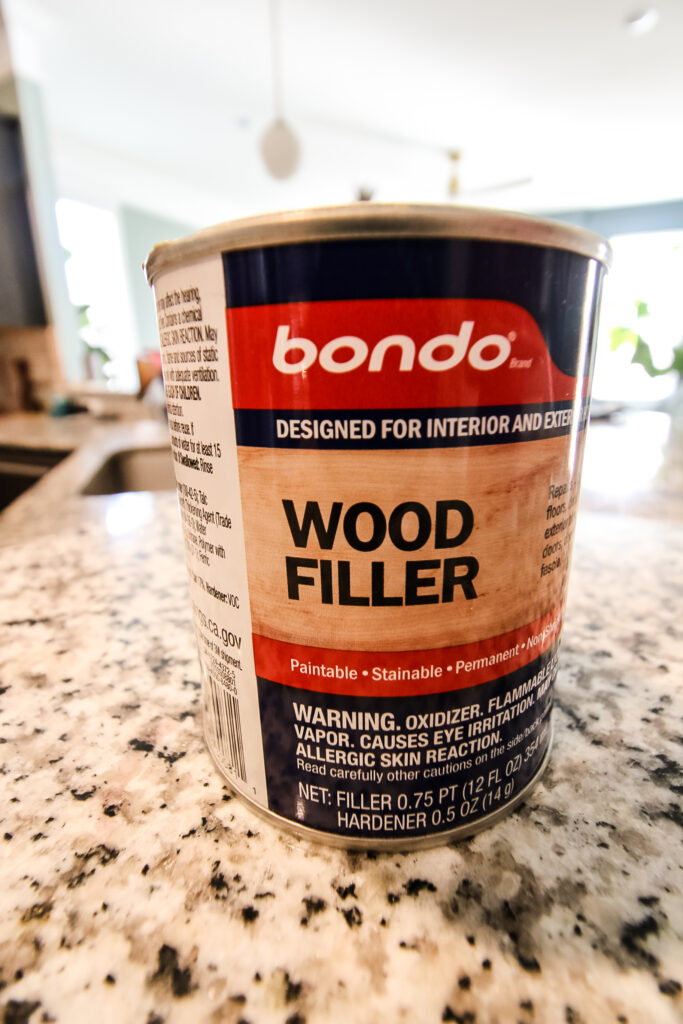

Base: Solvent based
Consistency: Very goopy
Best used for: Outdoor projects, deep holes
Dry time: 15-30 minutes
Application: Claims interior and exterior, but don't use indoors.
Color: Tan
Pros: Bondo Wood Filler is extremely hard and firms extremely quickly.
Cons: Bondo Wood Filler smells so bad that it is impossible to use indoors, even though it says it can. It also hardens too quickly to use much, which means you have to make the mix several times to do even a fairly small project. Bondo doesn't work into small holes very well due to it's goopy texture and is hard to sand because it is so hard when set.
Application Tips for Large Hole Repairs
Here are the steps that we follow to apply wood filler to fill a large hole in wood:
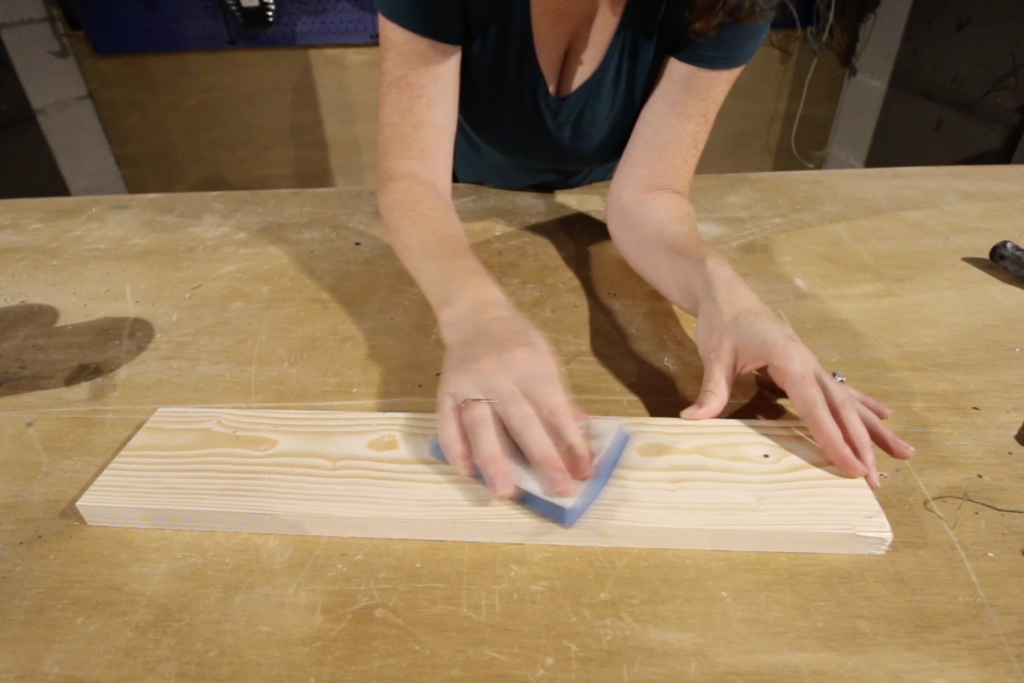
- Prep the surface by sanding it with up to 220 grit sandpaper.
- Wipe the surface completely clean.
- If you are using a 2-part wood filler, follow the instructions on the label to mix it at the right ratio.
- Use a putty knife to apply the filler to fill the wood holes. Work the filler into the hole so there are no air bubbles below - which can lead to cracks.
- For deeper holes and cracks, plan to do several thin coats. This gives better results and faster dry time overall compared to one very thick layer.
- Once you are done, use your putty knife to smooth the top of the wood filler as much as possible.
- Allow to dry according to package instructions.
- Once dry, sand with 220 grit sandpaper in the direction of the wood grain. Feather outwards for seamless blending.
- Wipe clean of all dust and debris.
- Apply wood stain to the wood filled area. You can use a brush or lint-free cloth. Try to feather the stain outward to best blend with the surrounding wood.
- Once it is completely dry and you are satisfied with the color, apply a protective finish, such as varnish, lacquer, or polyurethane, over the wood filler to safeguard it from moisture, scratches, and UV damage.
Troubleshooting Large Hole Repairs
Here are some common challenges that you may encounter during large large wood hole filler repairs.
Difficulty in Filling Large Holes Evenly
Solution: Apply the wood filler in thin layers, allowing each layer to dry before adding more filler.
This prevents overfilling and ensures a flush finish.
Use a putty knife to level each layer for a smoother surface.
Shrinkage or Cracking of Wood Filler
Solution: Choose an appropriate wood filler with minimal shrinkage and cracking properties, such as epoxy-based fillers.
Apply the filler slightly above the surface level to compensate for any potential shrinkage during drying.
Consider using an epoxy filler, if it meets your needs. They typically do not shrink or crack.
Uneven Color Match with Surrounding Wood
Solution: Opt for a stainable wood filler and carefully feather your wood stain out to blend it into the surrounding wood. You may need to mix two or more stain colors to get a good match.
Remember when mixing - it's better to go slightly light - you can do multiple coats - than slightly too dark. Also remember that stain often dries darker than it appears when wet.
Test the color on a small, inconspicuous area before applying it to the repaired surface.
Difficulty in Sanding Large Hole Repairs
Solution: Use an orbital sander with a medium-grit sandpaper (80 grit) to sand the filled area.
The orbital sander helps even out the surface, making it easier to achieve a smooth finish.
Sand the filler gently in the direction of the wood grain to avoid damage to the surrounding wood.
Filler Not Adhering Properly to the Wood Surface
Solution: Ensure the wood surface is clean, dry, and free from any oils, wax, or finish before applying the filler.
Roughen the area around the hole with sandpaper to improve adhesion.
Visible Divots or Dips in the Repaired Surface
Solution: Divots often appear after wood filler dries and shrinks a bit. Overfill the large holes slightly with wood filler and then sand the excess filler once it dries.
Sanding in a circular motion helps blend the filler with the surrounding wood and smooth out any imperfections.
Stainable Wood Filler Not Absorbing Stain Properly
Solution: Apply wood stain carefully and evenly to the repaired area, ensuring that it thoroughly covers the filler.
Wipe off any excess stain after a few minutes to prevent uneven color absorption.
Filler Drying Out Prematurely During Application
Solution: This is a common problem with quick-drying wood fillers like epoxy.
If using a two-part epoxy-based filler and it is drying quickly, work in small batches to prevent the filler from drying out before you can finish applying it to the wooden surface.
Follow the manufacturer's recommended mixing ratio and work quickly to ensure even application.
Filler Slumping or Sagging During Drying
Solution: When filling large vertical holes, provide temporary support, such as tape or masking tape, to hold the filler in place until it dries.
This prevents the filler from sagging or slumping before it sets.
Safety Precautions
It is important to use safety gear, especially when working with epoxy or solvent-based wood fillers. Wear safety glasses, use a respirator, and always wear gloves.
Work in a well ventilated area and always follow safety instructions on the packaging.
Store your unused wood filler in a cool, dry place out of the sun. Make sure it is sealed completely and out of reach of kids and pets.
Wood Filler Maintenance
Once you finish your wood project, it's important to keep an eye on it and notice any chips or scratches. The sooner you fix them, the less likely they are to spread.
For small damaged areas you can simply sand them and reapply the finish to the area.
For larger areas, it's usually easier just to sand down the entire surface of the wood, so if it's on a table top the entire table top. Otherwise, it's just really hard to blend a patch job.
When cleaning wood surfaces with filler, use mild cleaning agents like a mixture of water and a gentle soap. Avoid harsh chemicals or abrasive cleaners that can damage the filler or surrounding wood.
Any questions about using wood filler on large holes?

Looking for something?
We've been doing this since 2012 so we have a LOT of blog posts!
Search stuff like: Ceiling Projects | DIY Plant Stands | Thrift Flips

Hello, I'm Morgan, half of the creative force behind CharlestonCrafted.com! With a passion for DIY that dates back to 2012, I've transformed three homes and now I'm dedicated to helping others craft their dream spaces. Let's turn your house into a home together!


