Want to add a plywood counter top to your home? Here's a step by step tutorial showing exactly how to make a countertop from plywood.
Plywood countertops are growing in popularity for many reasons: primarily functionality and affordability.
Plywood is extremely durable - even after getting wet. Plywood countertops are budget-friendly and a great way to bring interesting wood tones into your space.
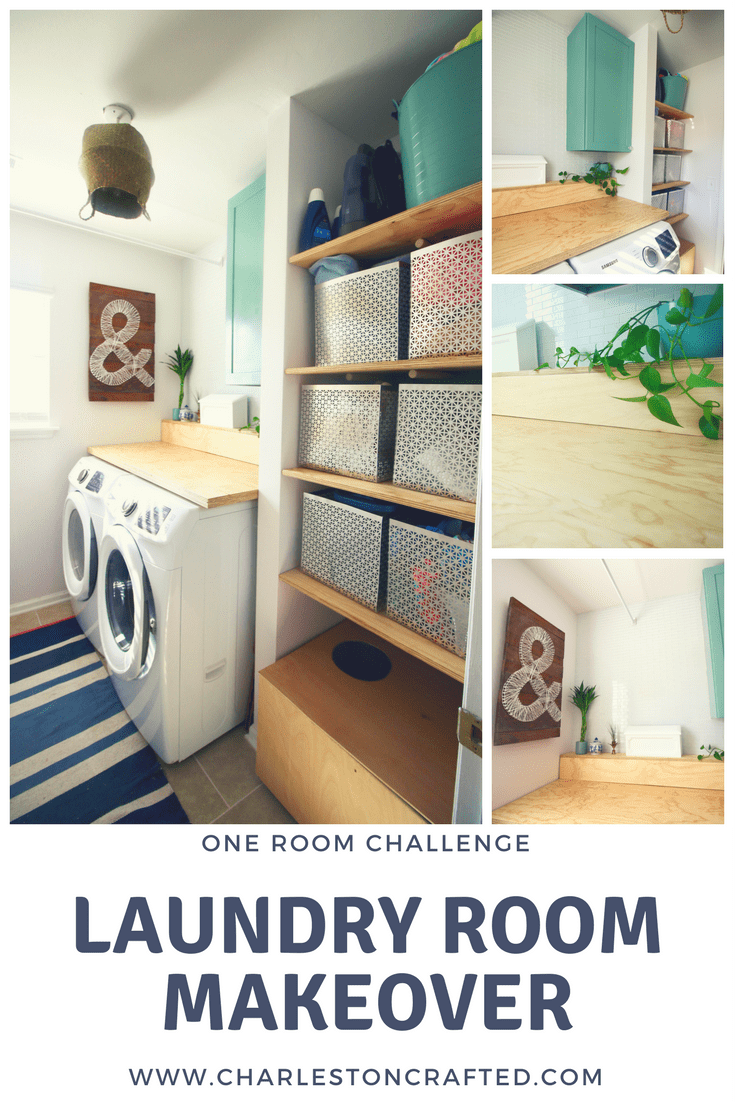
You might remember that we are making over our Laundry Room as part of the One Room Challenge (here's our design plan).
I am trying to bring a lot of the "natural" feel to this space - and to me that means a nice light colored natural, unstained wood and woven baskets.
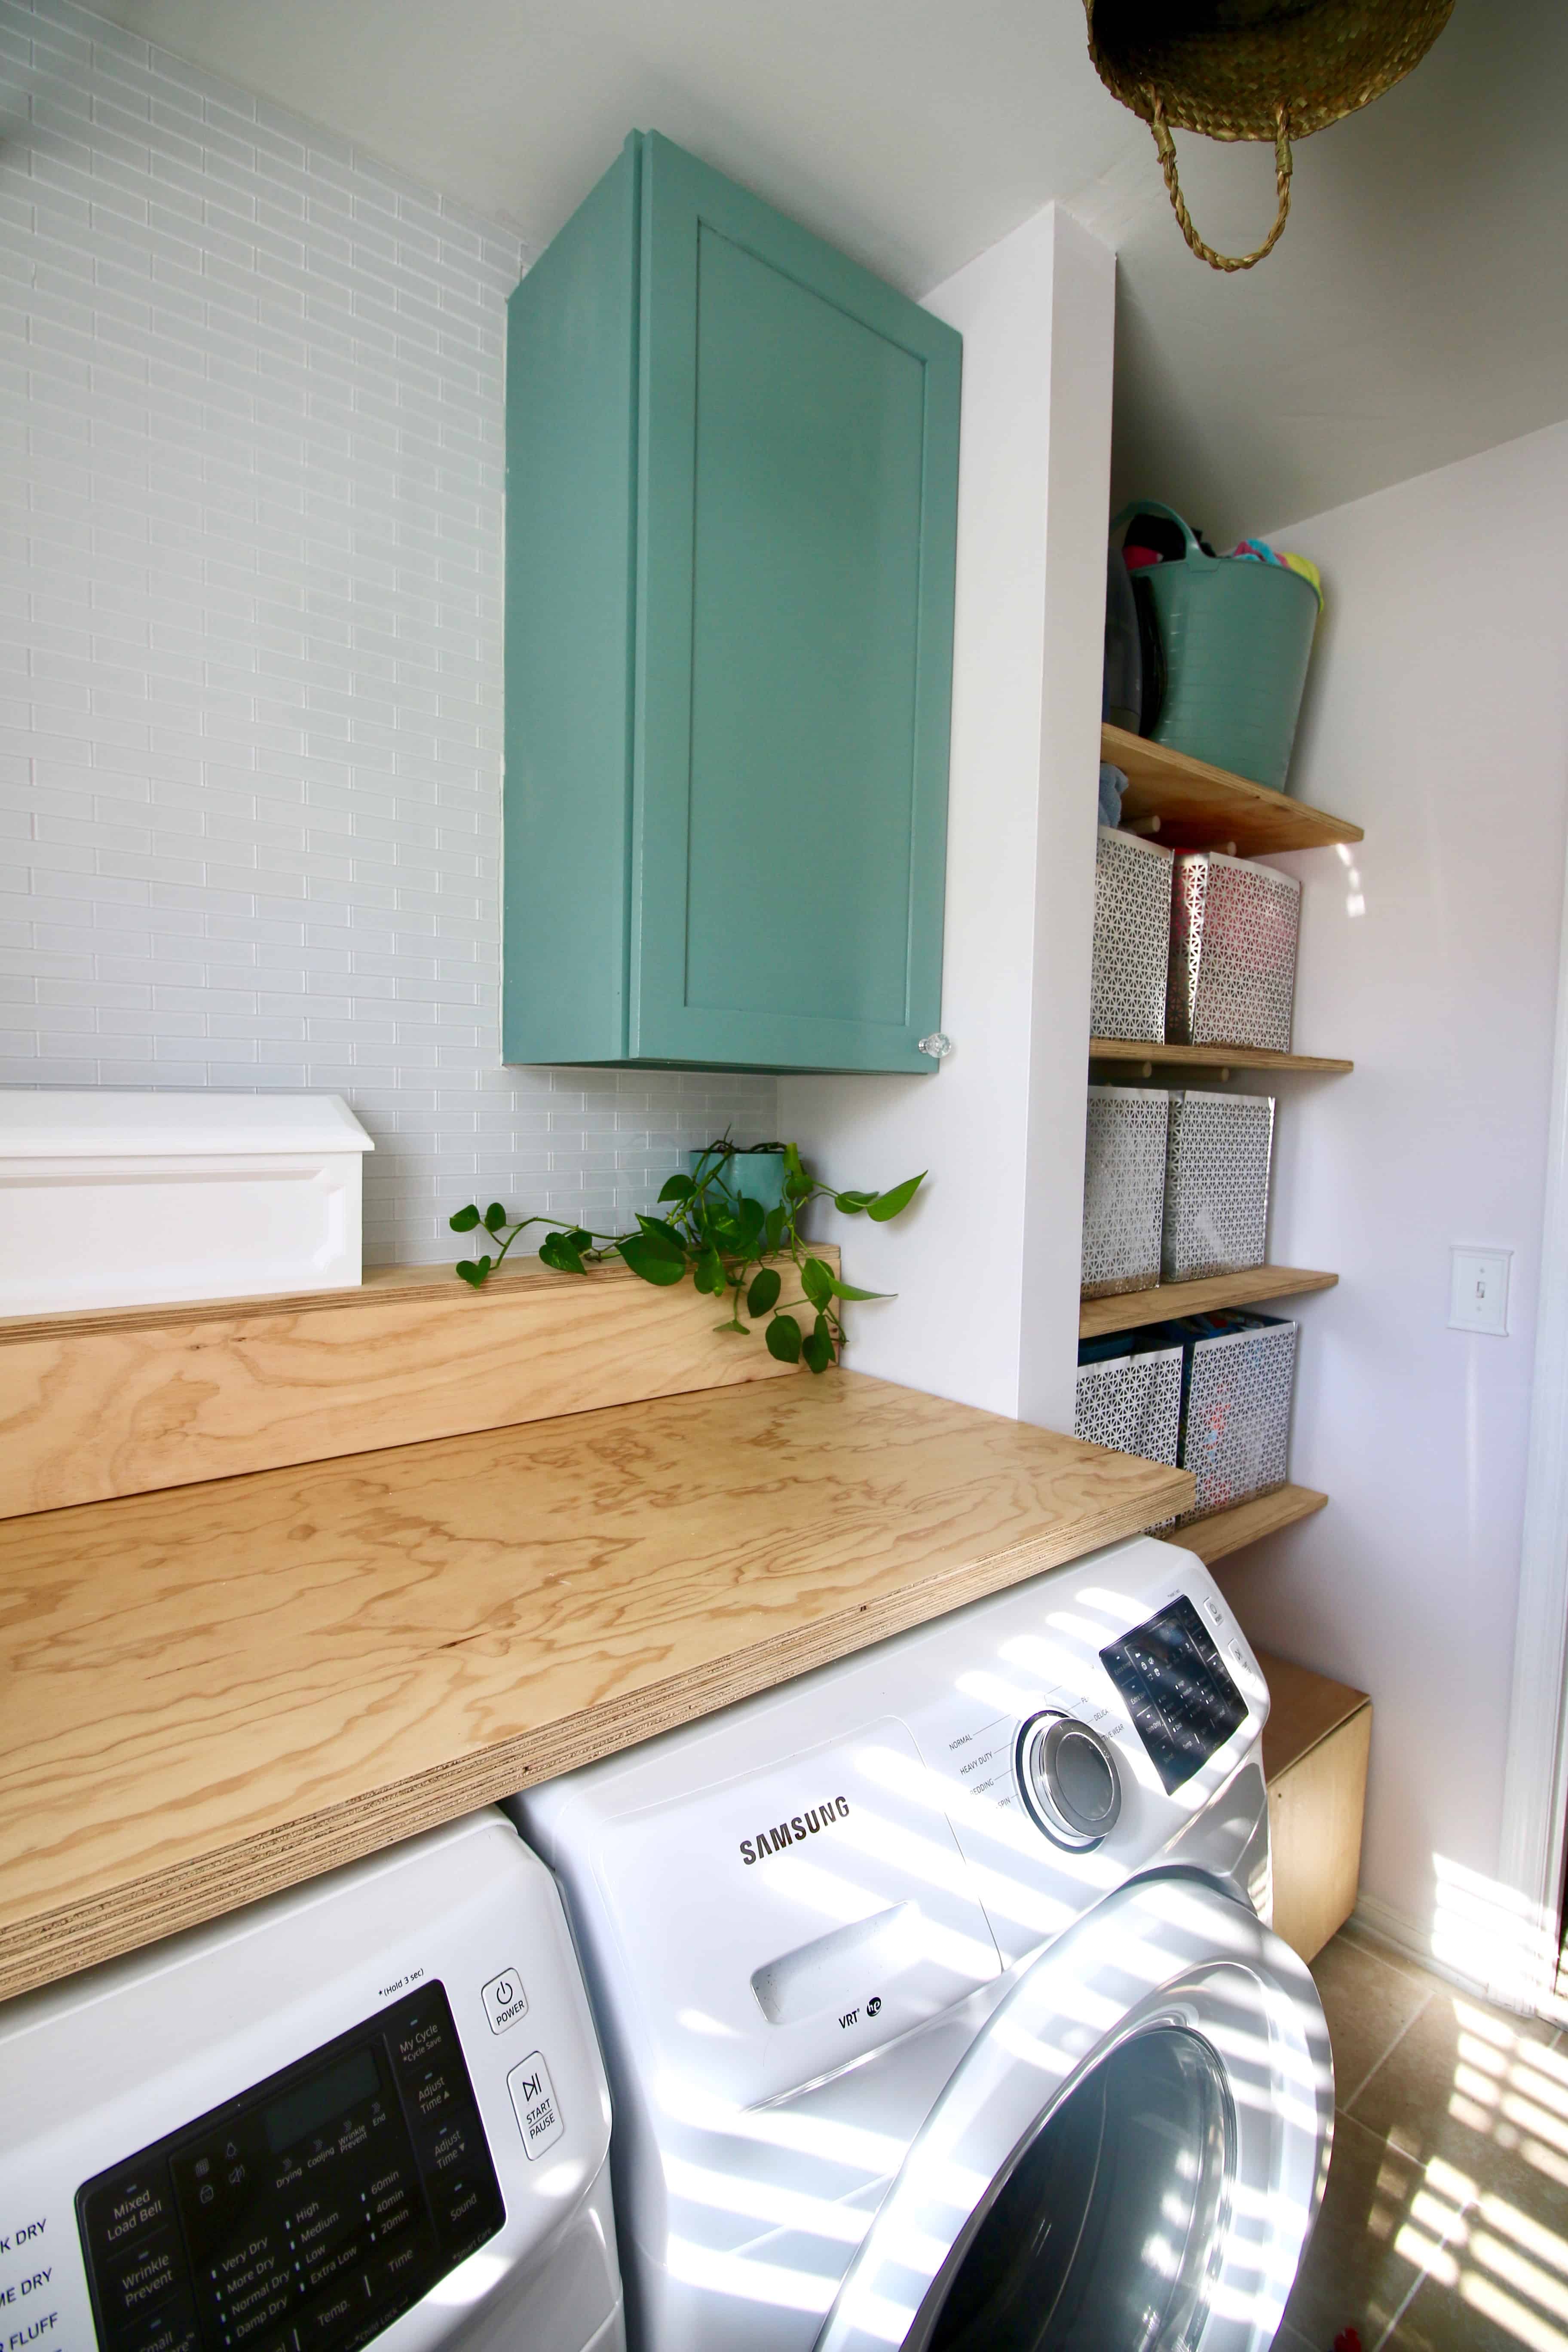
We researched plywood countertop ideas and decided to add a DIY plywood counter top for folding clothes over the washer and dryer.
Plywood would have the perfect natural effect we wanted. I didn't stain it or even cover up the layered edges - I really wanted to embrace that natural look.
Speaking of the machines, I wanted to talk a little bit about front loading washers.
We bought these machines when we bought the house in July and there was a lot of controversy over front loading washers - they have a tendency to get a little stinky.
We always keep the door at least slightly ajar (when not in use) and in a year have had zero issues with stink.
I really wanted front loaders for this purpose - so I could put on one continuous counter top for folding - and because I hate diving headfirst into a washer trying to get the last sock out of the bottom.
It's all personal preferences.
DIY Plywood Countertop
Click here to get this tutorial in a convenient printable PDF.
Supplies needed for DIY plywood countertops:
- 1 sheet of 4'x8' ¾" plywood (you can use any kind)
- Drill & screws
- Wood glue
- Clamps
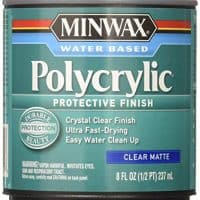
- Sealant of choice + a brush to apply it
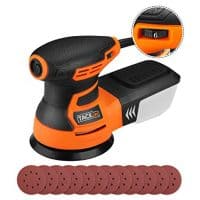
- Sandpaper or sander
Steps to make a DIY plywood countertop
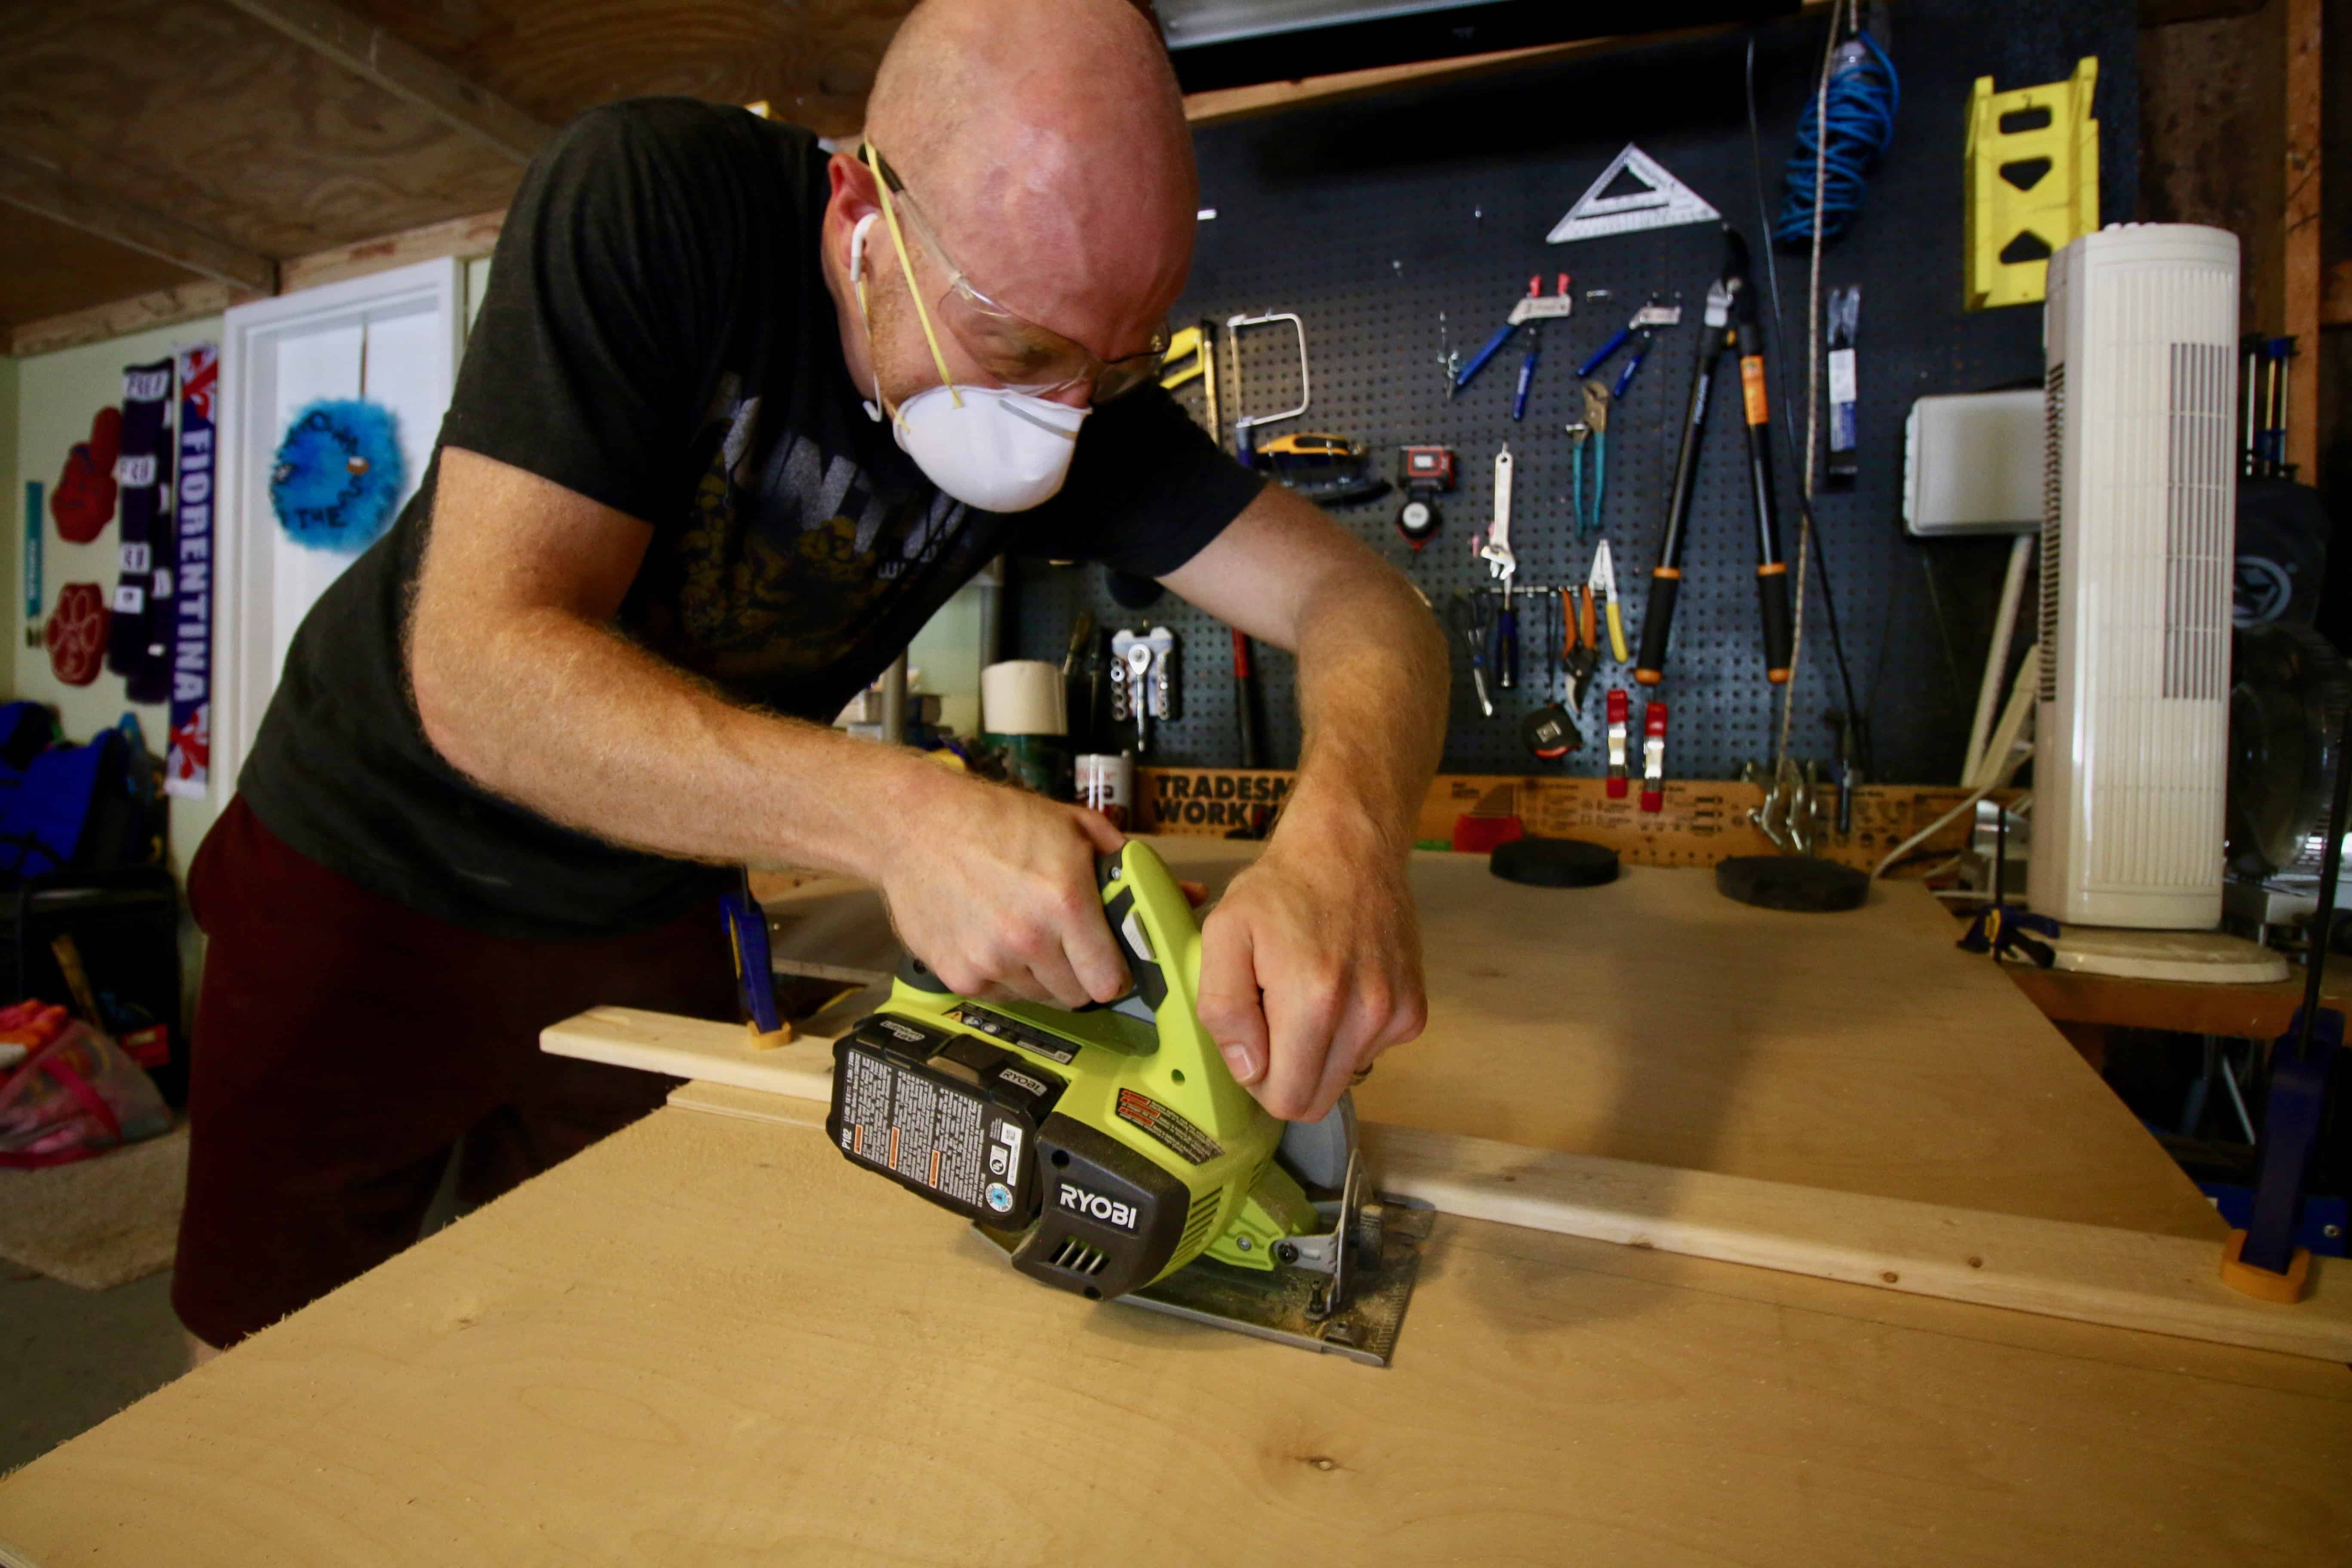
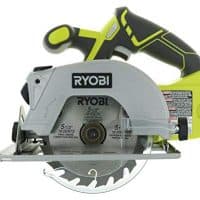
STEP 1: cut the board
The first thing we did was cut the board to the length of our space.
Then we cut the board in half to make two pieces that were 24 inches wide.
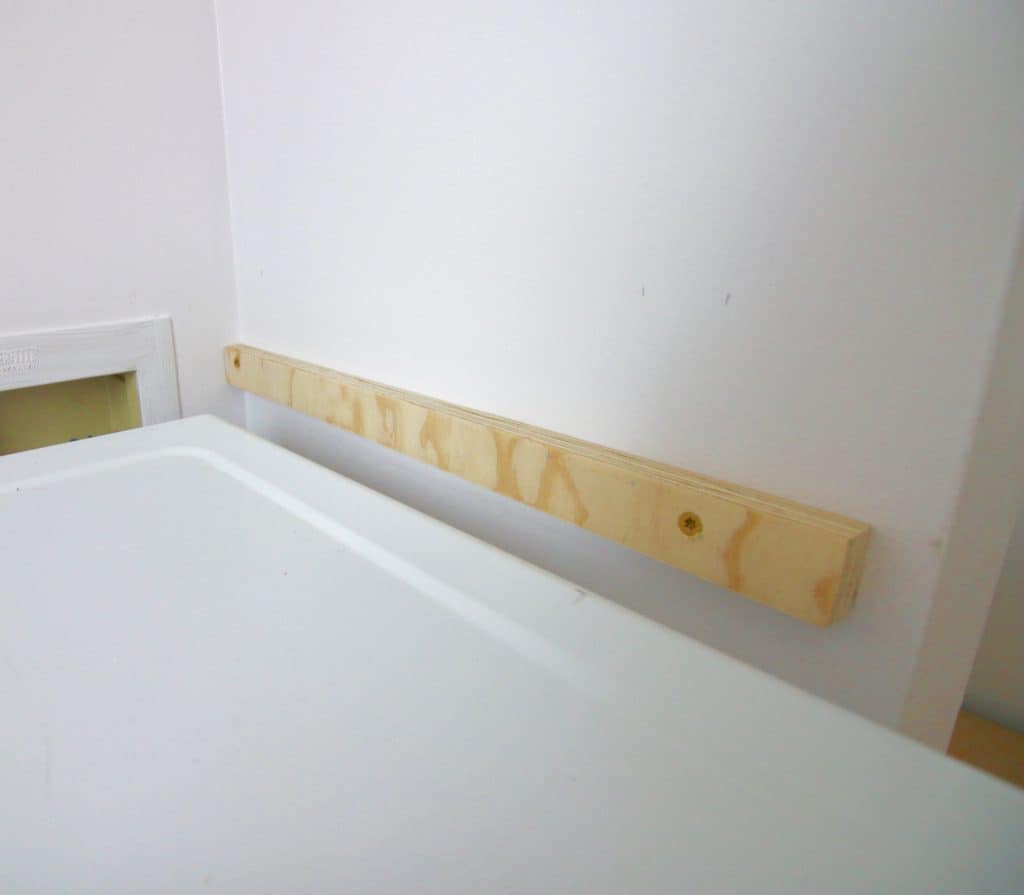
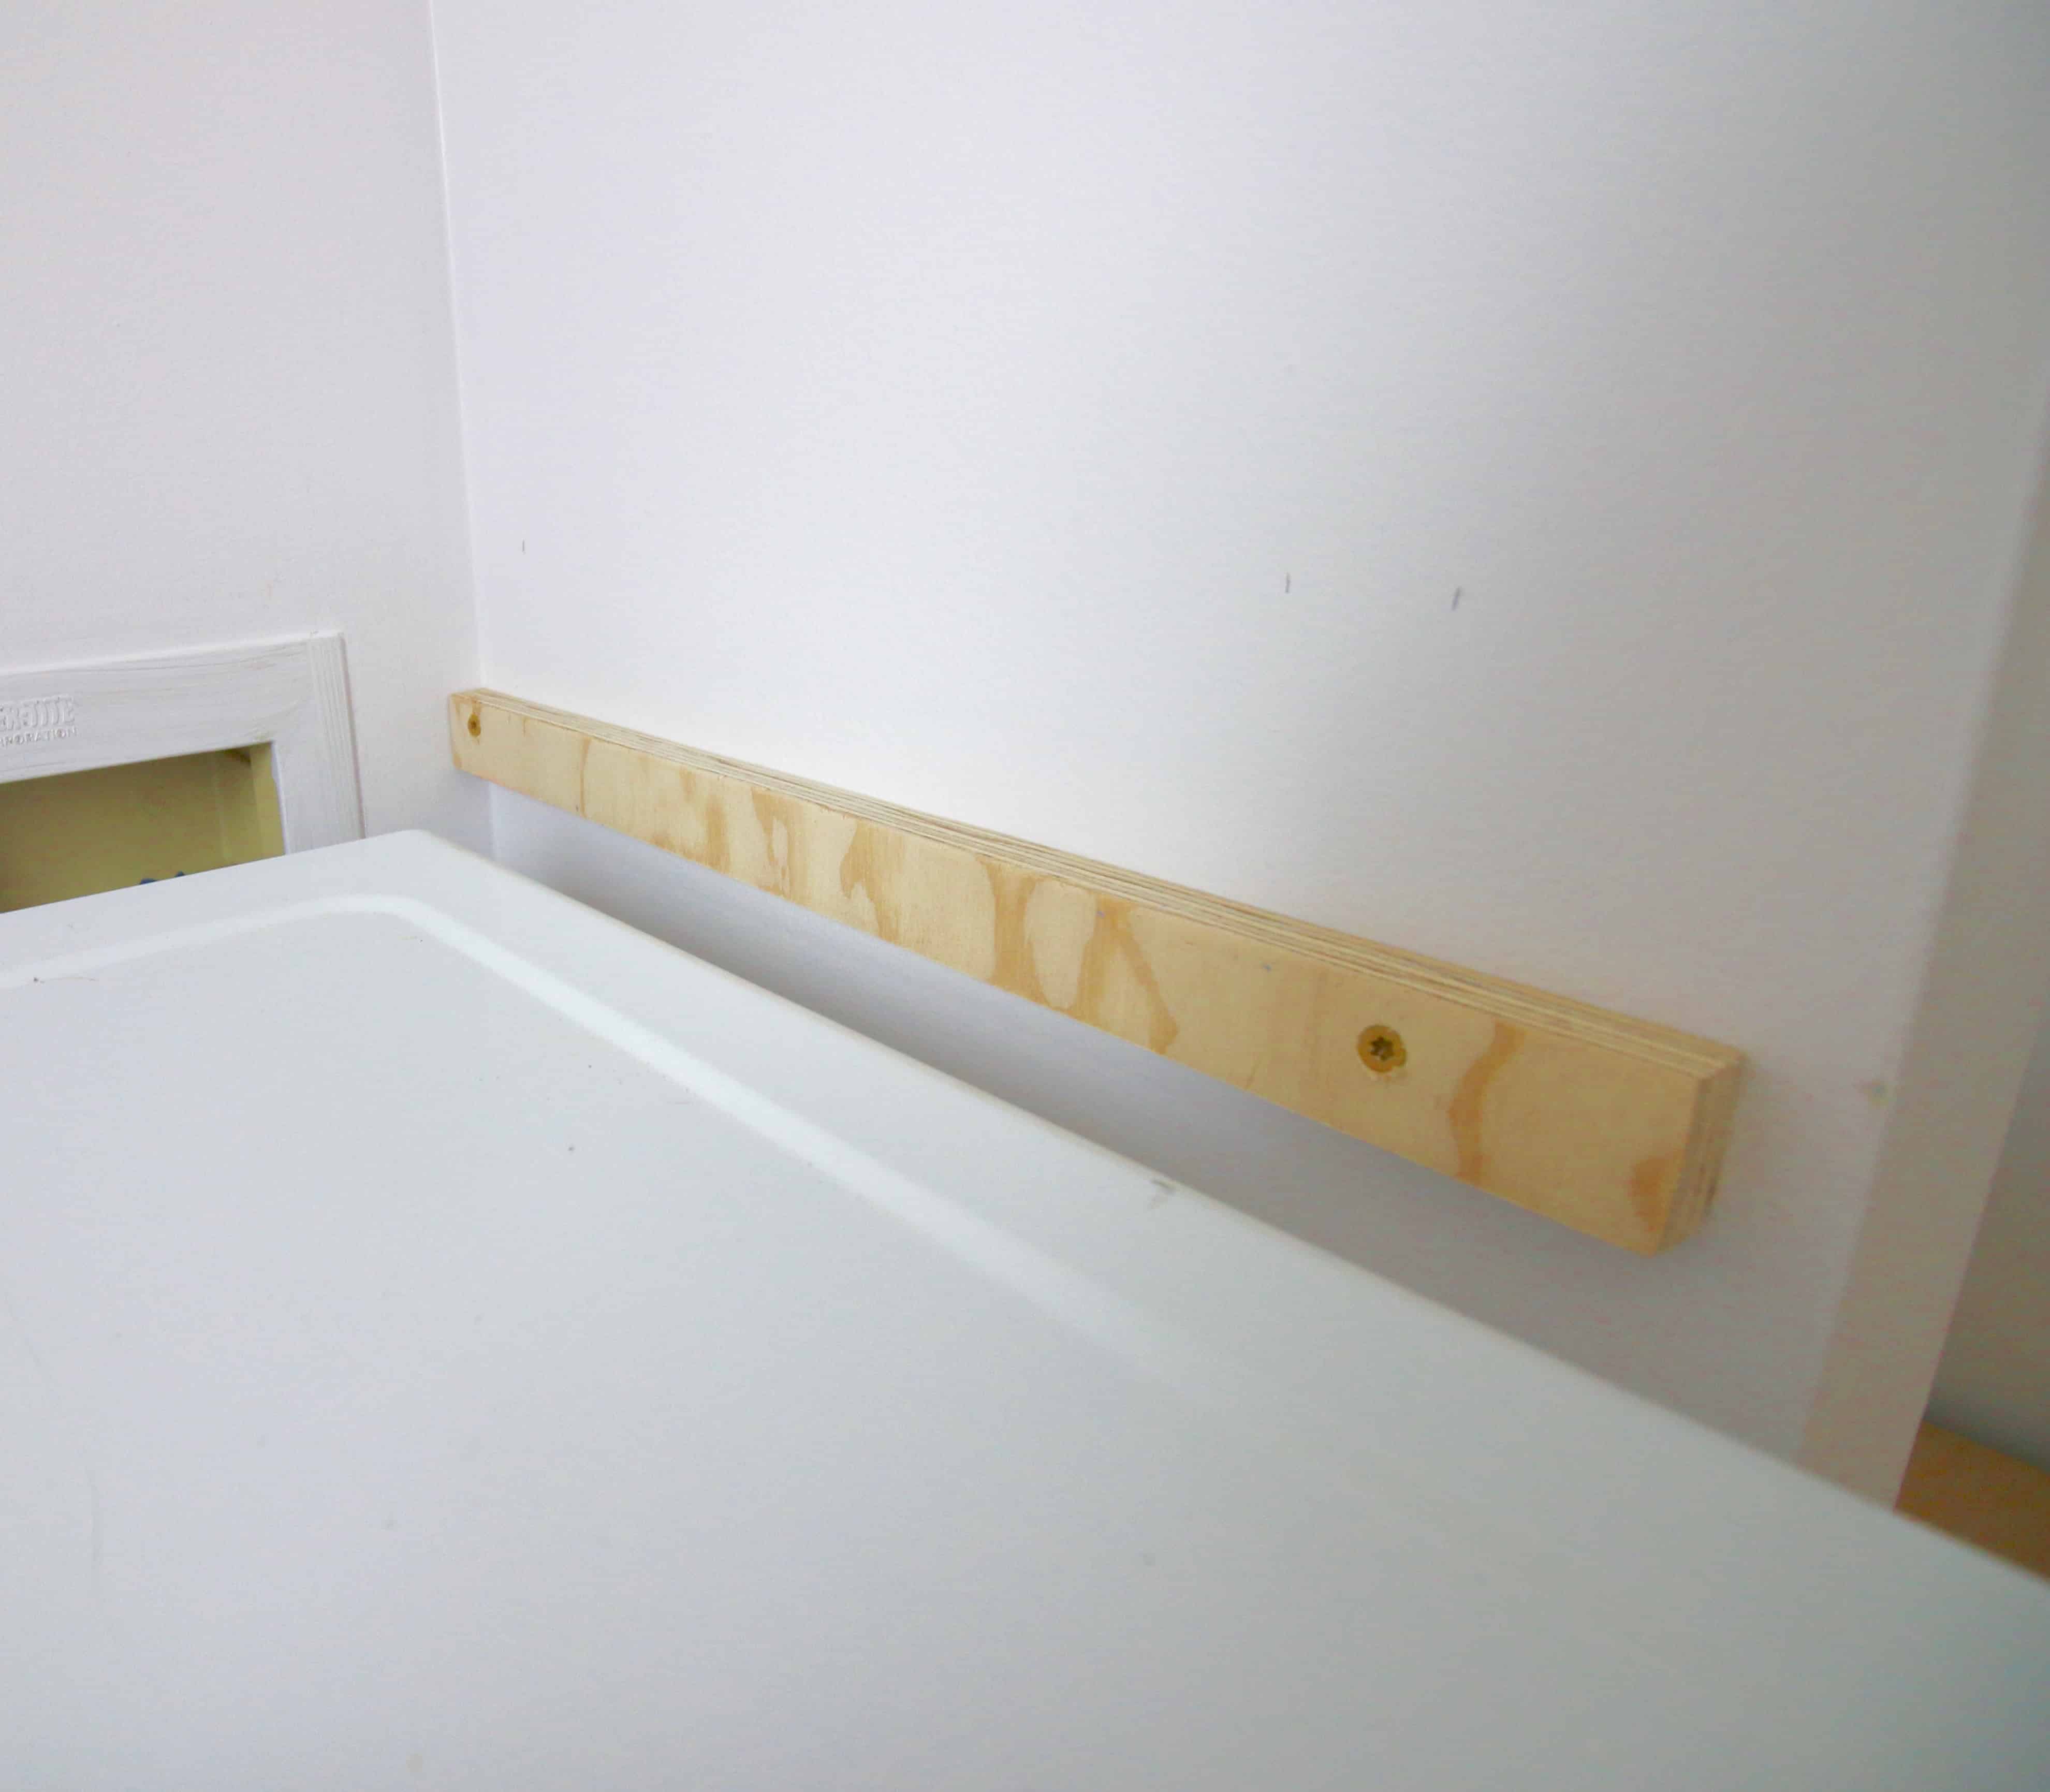
Using the scrap excess piece that we cut off to get it down to 24" wide, we cut thin strips and attached them to the studs in the wall on the left and right for the counter to rest on.
Measurements will vary depending on your space. If you're looking at this post for plywood countertop ideas, make sure you measure.
Know the width and length that you want for your counter top, and you will need to cut 2 pieces of plywood to that size.
Scrap pieces can be used for supports.
If you really want to do this project on a budget, or you are adding countertops to a large space, consider using a lesser expensive species of countertop on the bottom and a higher quality piece for the top layer!
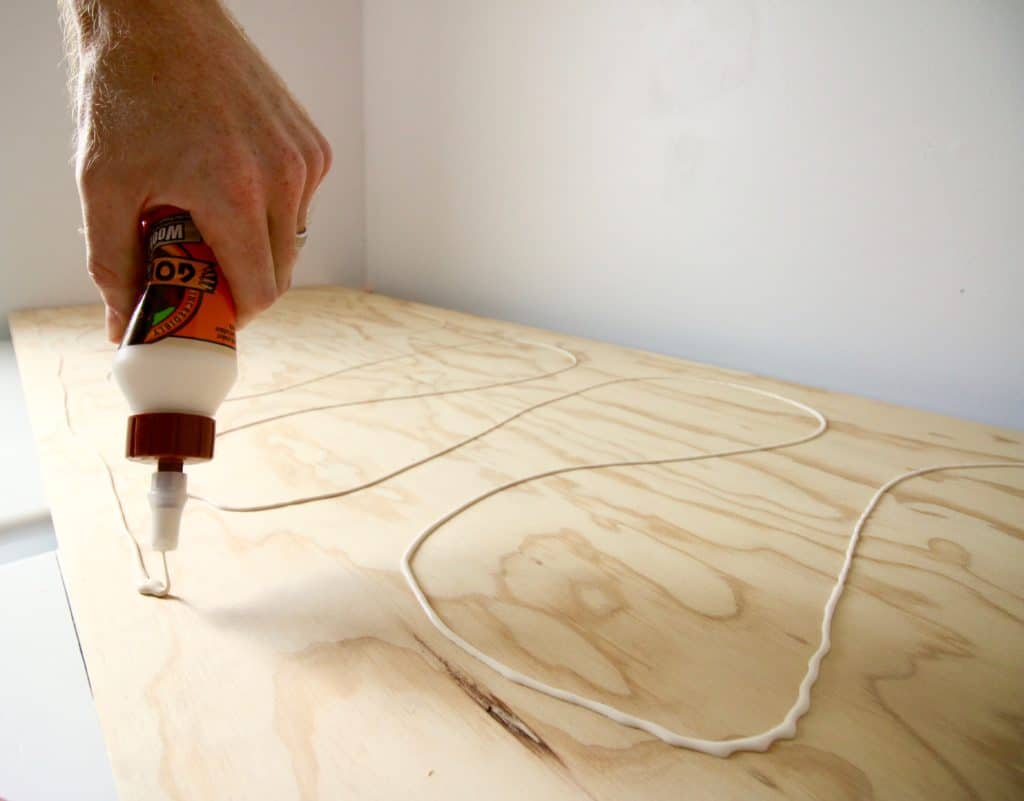
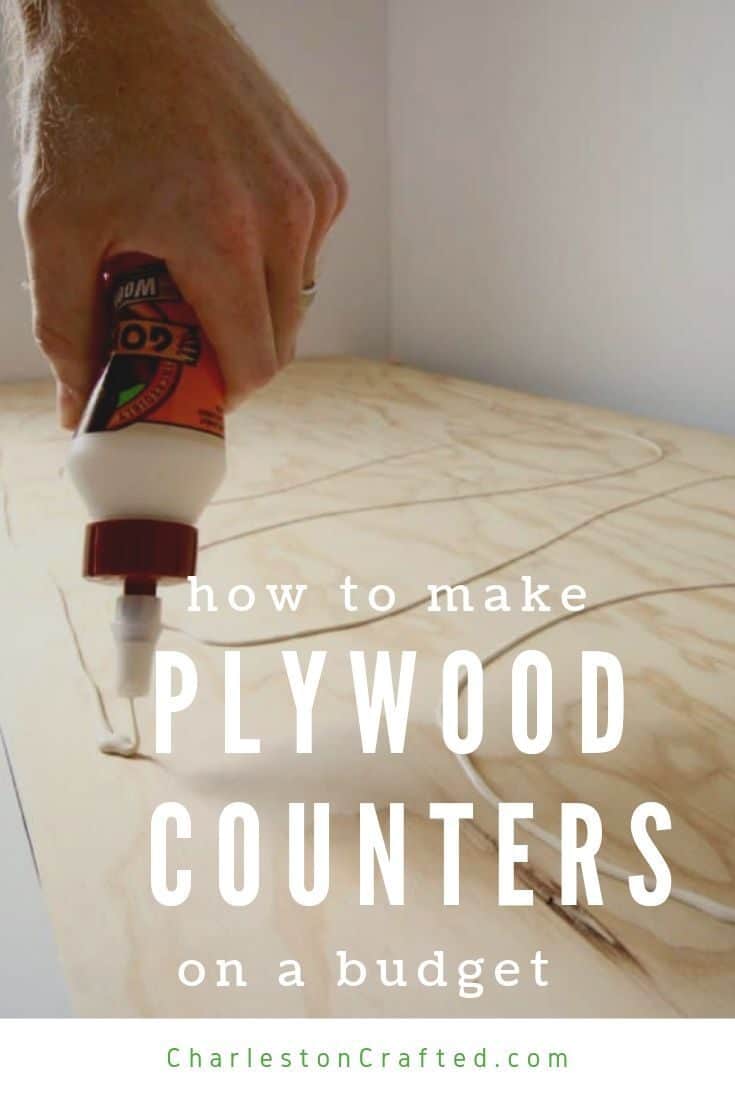
STEP 2: Glue
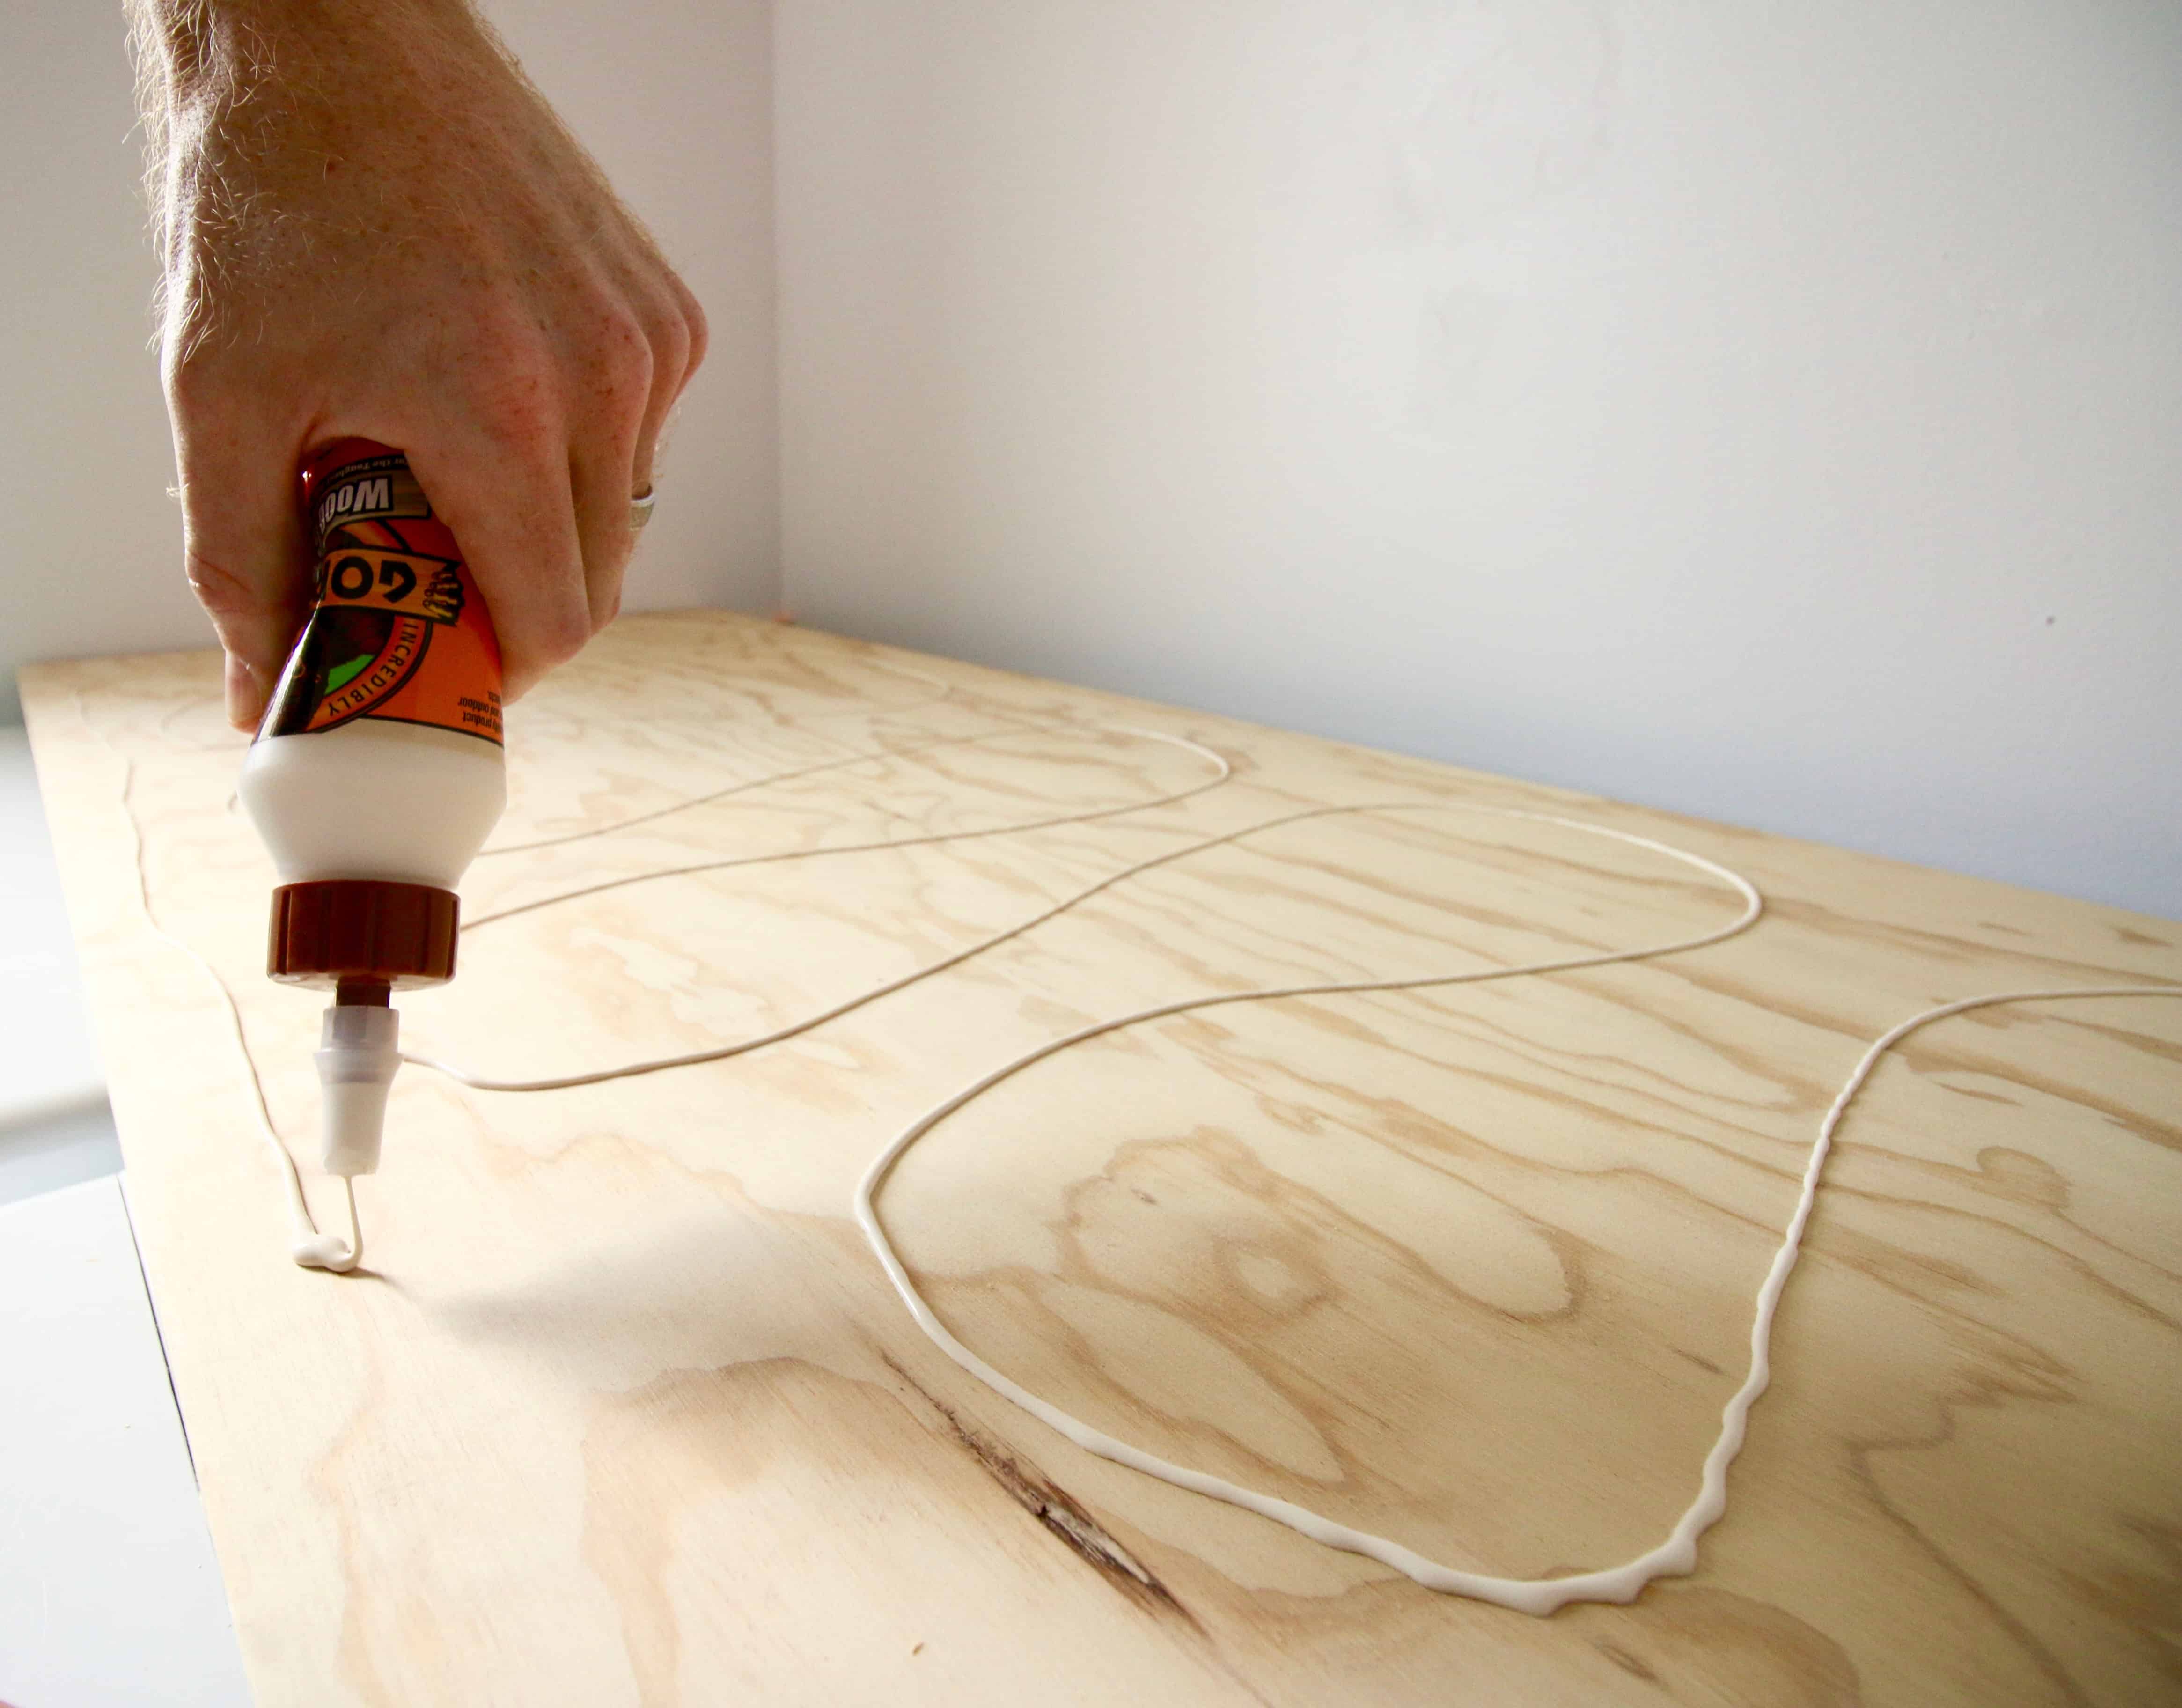
Next, we set one of the pieces on the two supports above the counter and covered it in Gorilla Glue's wood glue.
Get it around the edges - you can wipe up any spillage with a paper towel.
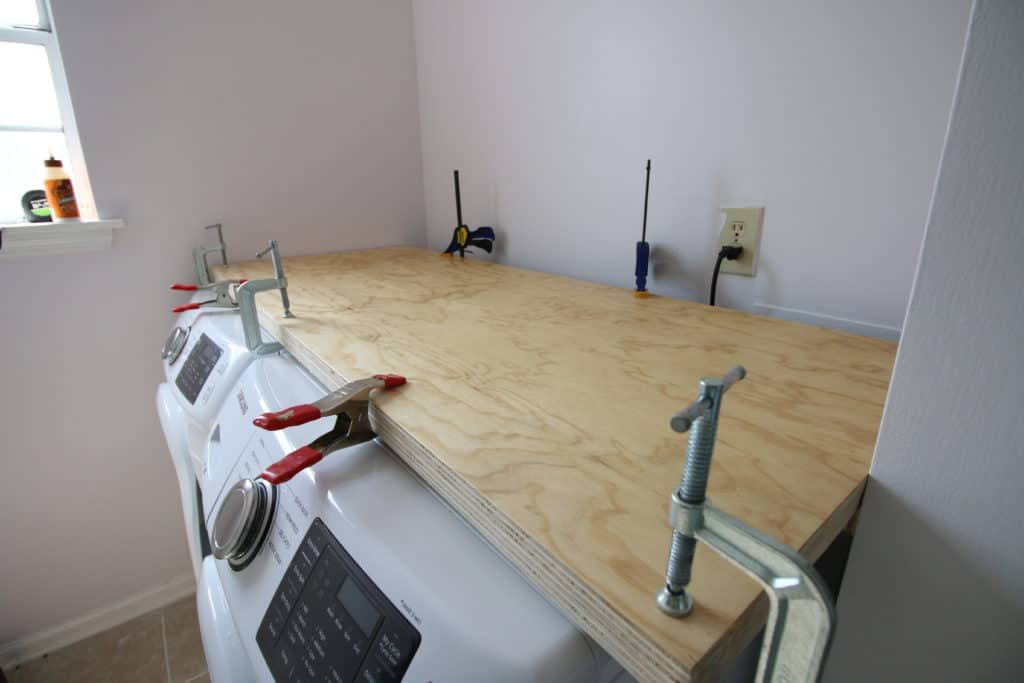
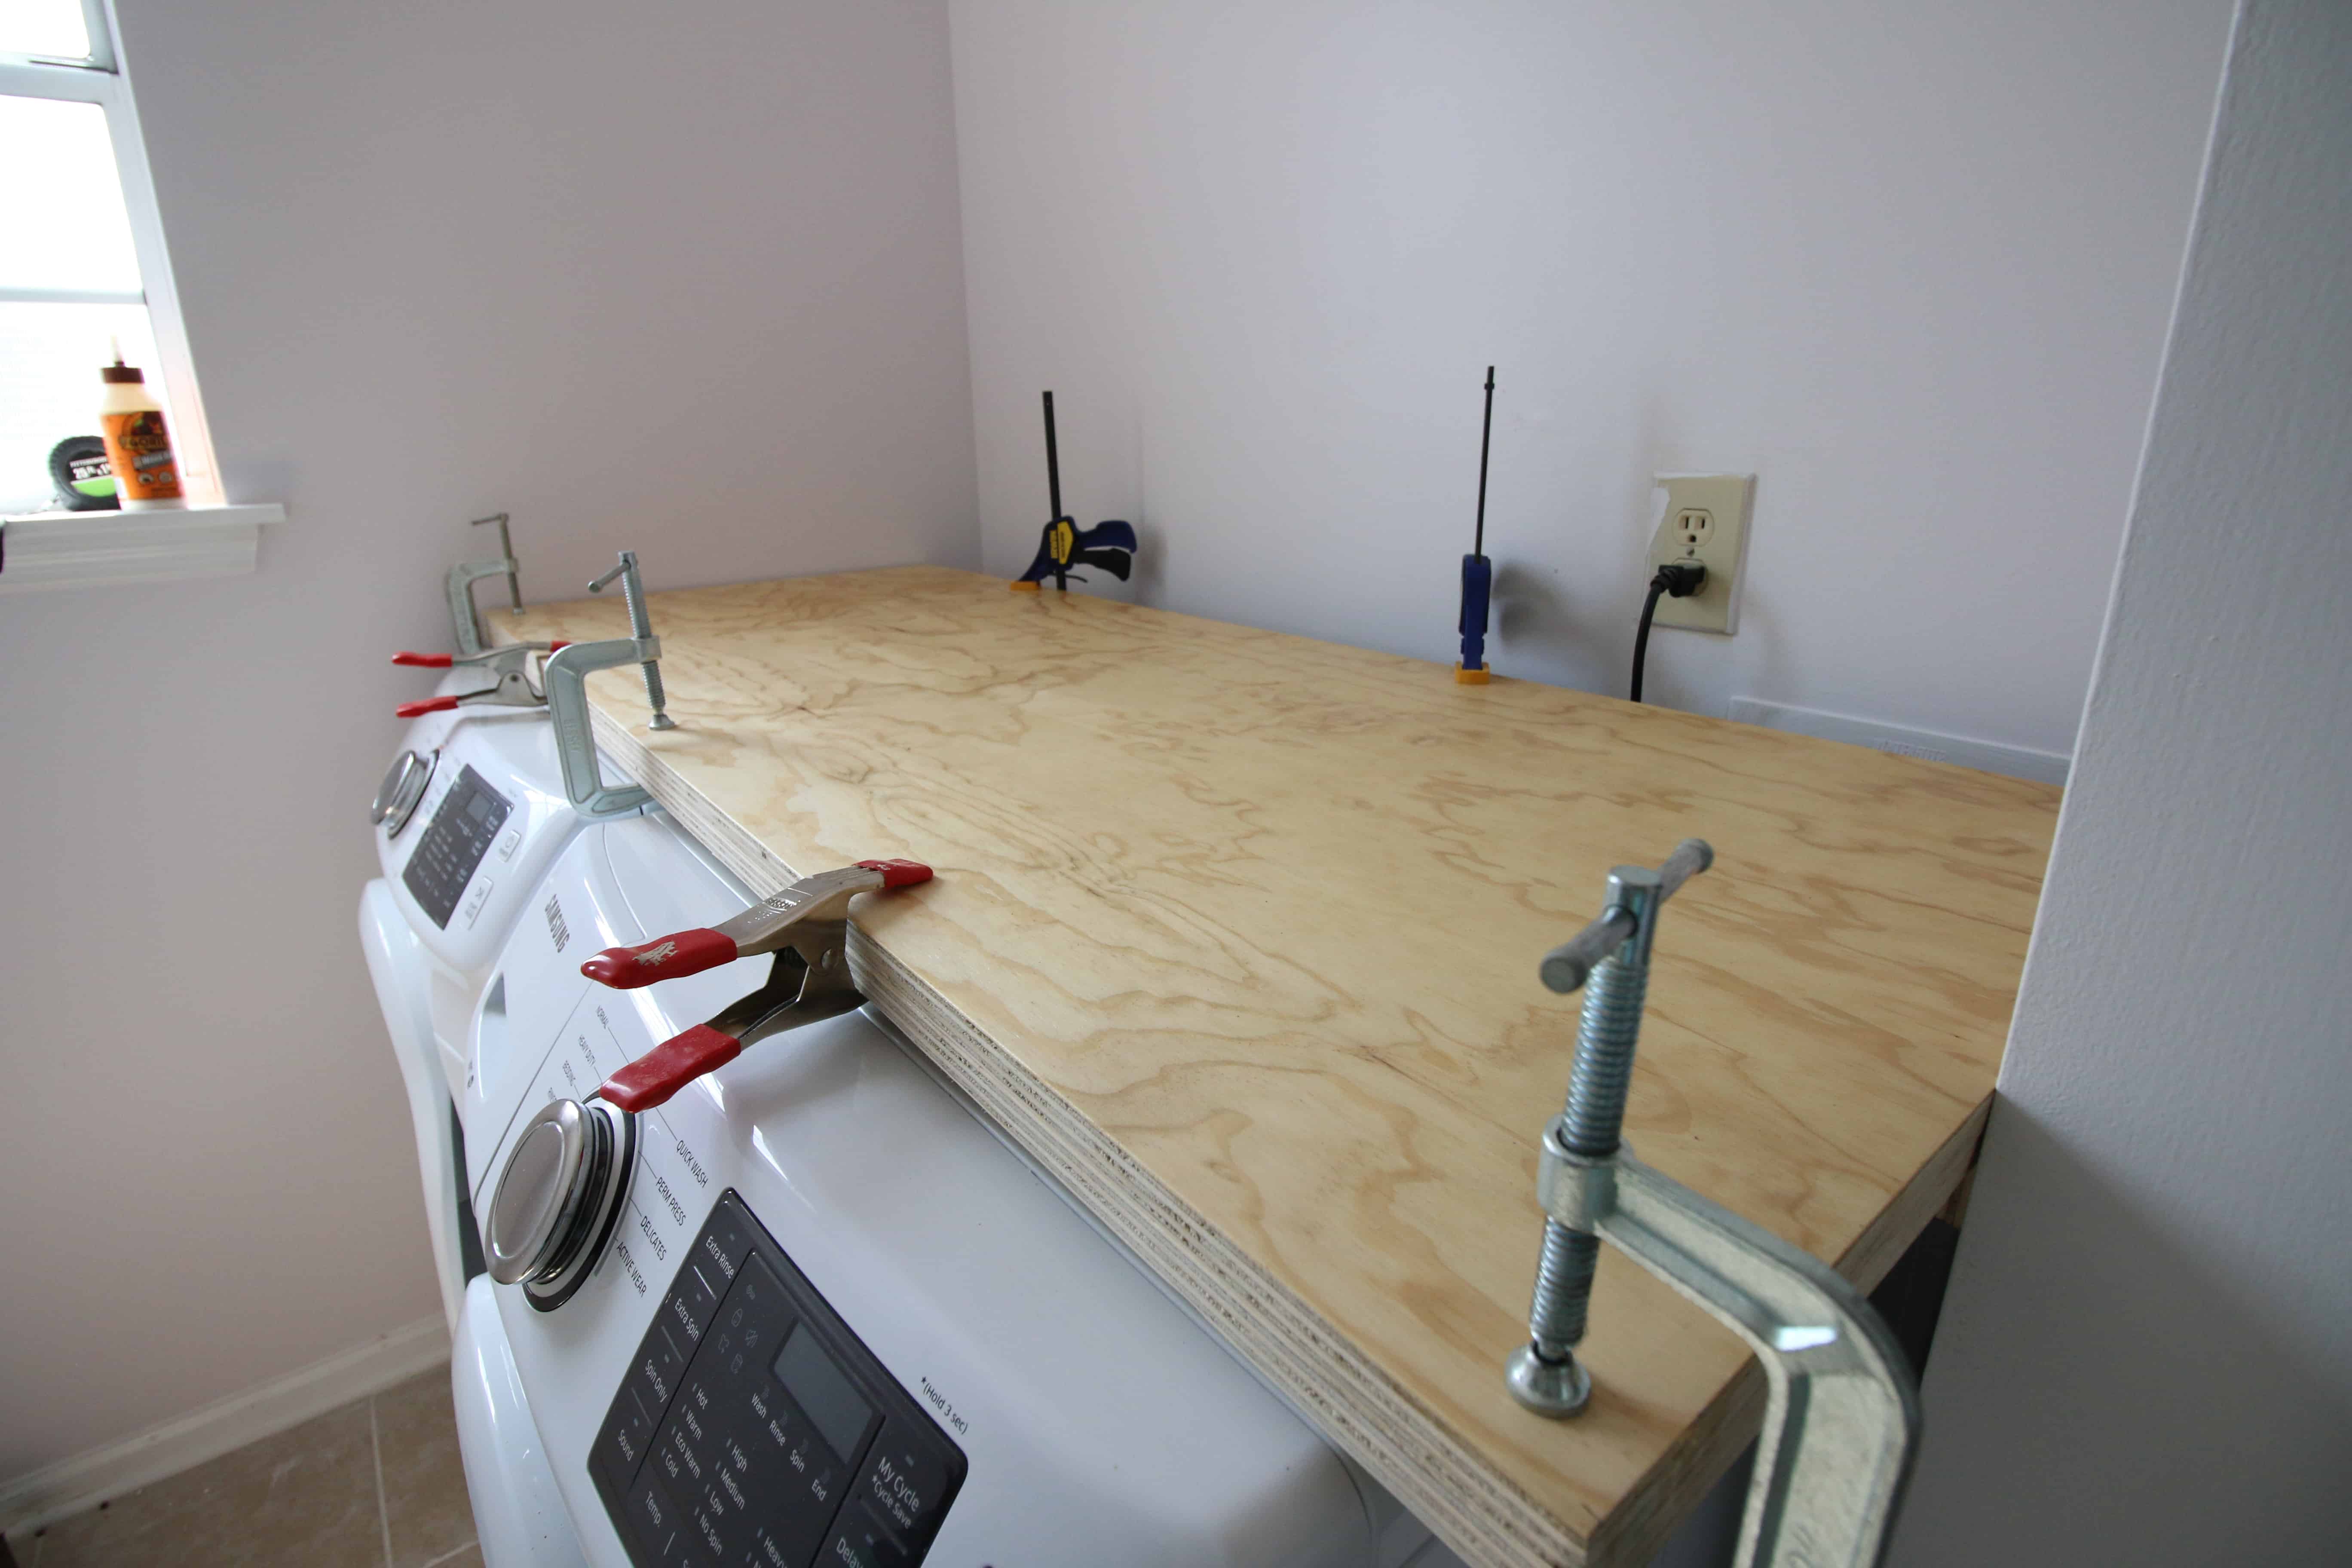
STEP 3: Stack
Then we set the other piece on top, lined it up perfectly on the front edge, then clamped it together for 24 hours.
This is when you want to wipe up any drips - before it dries.
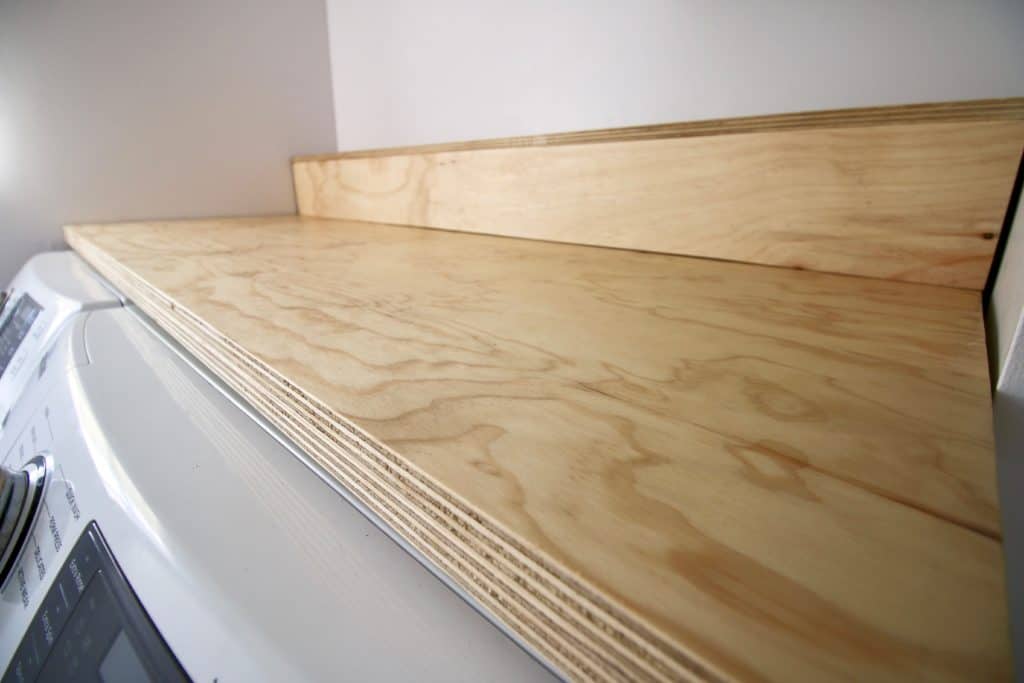
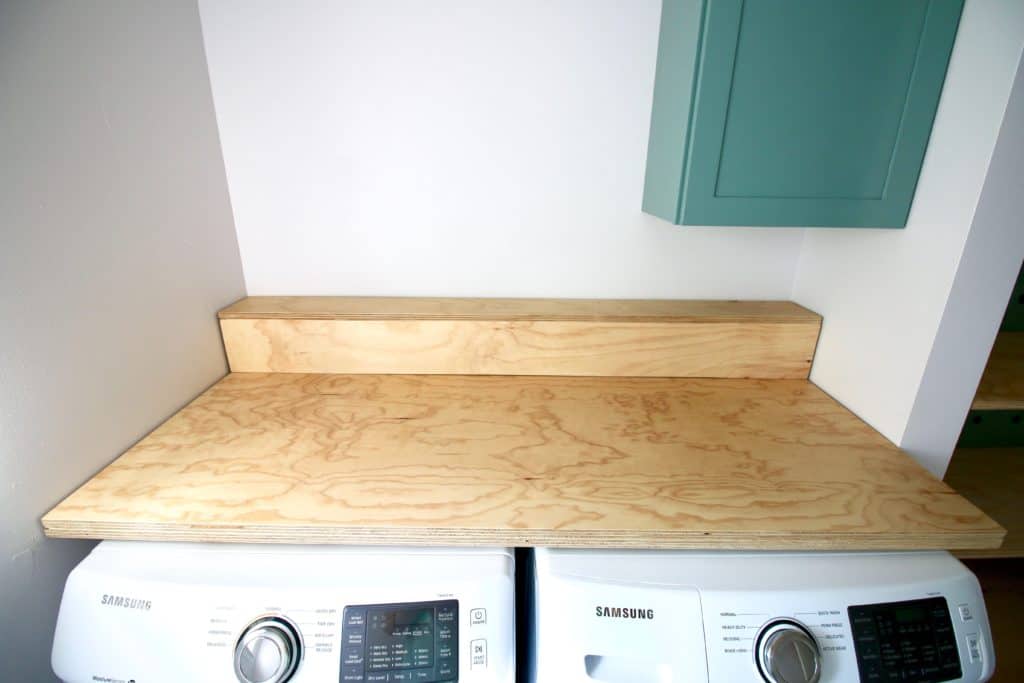
STEP 4: Add a shelf to cover the gap
We also created a little shelf that could cover up the water connections and the electrical outlet.
For this, we used a scrap piece of plywood that we had cut off from a sheet we used when we cut the shelves for the pegboard shelving we put up first.
We cut it to the length of the space, then cut it in half. It ended up being six inches high and six inches deep.
STEP 5: Seal
We applied 5 coats of sealant, sanding in between for a smooth finish.

For now, the DIY plywood countertop isn't screwed into place and doesn't seem like it needs to be.
It is just sitting on the supports and the weight of the shelf holds down the back.
Since it's pretty heavy plywood anyways, you really have to push down hard on the very front edge for it to move.
It would be easy to drive a screw straight down into each support to secure it permanently.
A note on edge banding
If you do not like the "stacked" or striped look of the stacked plywood, you can easily add iron on edge banding. We actually did that in our next laundry room!
You could also add a slat or piece of wood trim vertically to cover up the edges. You may need to use wood filler for a seamless look.
In this space, I left the bare plywood as I liked the modern look.
For now, we're actually glad we could remove it because of the next step in our makeover... tiling!
What is left? The main thing is the tile feature wall, which you got a sneak peek of on our Instagram story this weekend!
Also, I need to finish making the metal bins, hanging wall decor, accessorizing, and the overhead light. Plenty!
Click here to pin this project to your pinterest boards!
Click here to see the reveal of our laundry room makeover!
Click here to get this tutorial in a convenient printable PDF.
Frequently Asked Questions
Can I use plywood as a countertop?
Yes, plywood makes a great countertop option and is really growing to be a popular style.
Plywood is extremely durable - even after getting wet. It is also relatively inexpensive.
Adding a wood countertop is a great way to bring warmth and texture into your space!
What adhesive do you use for plywood countertops?
We used Gorilla Glue wood glue to adhere our plywood.
What sealant do you use for the plywood countertops?
You can use any kind of sealant. I like using polyurethane!
How much do plywood countertops cost?
Plywood countertops are very inexpensive! The main cost will be the plywood, which varies based off of store and species and size of your counters.
If you want them to be near food, they need to be sealed with something food safe like cutting board oil.
See all of my favorite budget-friendly countertop ideas here!
What size plywood do you use for countertops?
Be sure to read this post about what size plywood you should use to make your plywood counter tops.
How do I remove old countertops?
If your old countertops are laminate, they are likely just screwed in. Here's our guide on how to remove laminate countertops without damaging the cabinetry!
What if I need to have a seam?
If your area is too large for one sheet of plywood, you will need to have a seam. Push the pieces together as tightly as possible. I would add wood filler and then sand to make the gap look as seamless as possible!
How to make plywood countertops
It is so easy to make DIY plywood countertops! Here is how we made the plywood counter in our laundry room.
Materials
- 1 sheet of 4’x8′ ¾″ plywood (you can use any kind)
- Wood glue
- Sealant of choice + a brush to apply it
Tools
- Sandpaper or sander
- Clamps
- Drill & screws
- Saw
Instructions
- Cut the board to the length of your space

- Cut that board in half so you have 2 identical pieces. Our board went from 48" wide to 2 24" wide pieces.
- Use scrap plywood to cut 2" wide strips.
- Screw the strips into the wall on the sides and back to create a place for the counter top to rest.

- Set one piece of plywood on the supports. Check to be sure it is level. Top the plywood with wood glue.

- Set the second piece on top, being sure it lines up perfectly. Clamp.
- You can seal or paint once dry. We left ours natural.

Notes
Measurements will vary depending on your space. If you’re looking at this post for plywood countertop ideas, make sure you measure. Know the width and length that you want for your counter top, and you will need to cut 2 pieces of plywood to that size. Scrap pieces can be used for supports.
Recommended Products
As an Amazon Associate and member of other affiliate programs, I earn from qualifying purchases.

Click here to check out everyone participating in the One Room Challenge.
Click here to get this tutorial in a convenient printable PDF.

Looking for something?
We've been doing this since 2012 so we have a LOT of blog posts!
Search stuff like: Ceiling Projects | DIY Plant Stands | Thrift Flips

Hello, I'm Morgan, half of the creative force behind CharlestonCrafted.com! With a passion for DIY that dates back to 2012, I've transformed three homes and now I'm dedicated to helping others craft their dream spaces. Let's turn your house into a home together!


mary says
I love this simple idea! We just built a laundry room, and I wish I had the space to do this, but we have an old school washer. Maybe one day though!!
Jillian Jusko says
Looking good, nice job with that counter a perfect folding surface!!!
Kelly says
From one plywood lover to you; it looks fantastic! So fun and creative 🙂
Best,
Kelly
Jeanie says
Having a counter is definitely a benefit of a front loader!
Tee @ Beauteeful Living says
I prefer front loader washers too. Yeah, I'm not looking to dive down for the last balled up sock either ;). Good luck with the rest of your projects. Look forward to seeing the tile!
Emy says
The plywood counter looks so cool! I love the pretty grain!
Leanna says
You must love this new counter, so handy for folding and sorting. I look forward to the next update.
We also have front loading washer and dryer and like you we keep the door on the washer open a little bit and have had no issues.
Jennifer says
The counter top is going to be so handy. I have been wanting one in my laundry room too. I look forward to seeing the rest of what you do in this space, 🙂
Jen says
That counter is awesome and it will be a great place to fold laundry!!
Susanne says
We have front loaders too, but we put in a cabinet with a counter top on the other side of the room. I wish we would have done it the way you did. You will love your folding area!! Can't wait to see that tiled wall!!