
If you want to make pegboard shelves for your home, you will love this simple DIY tutorial!
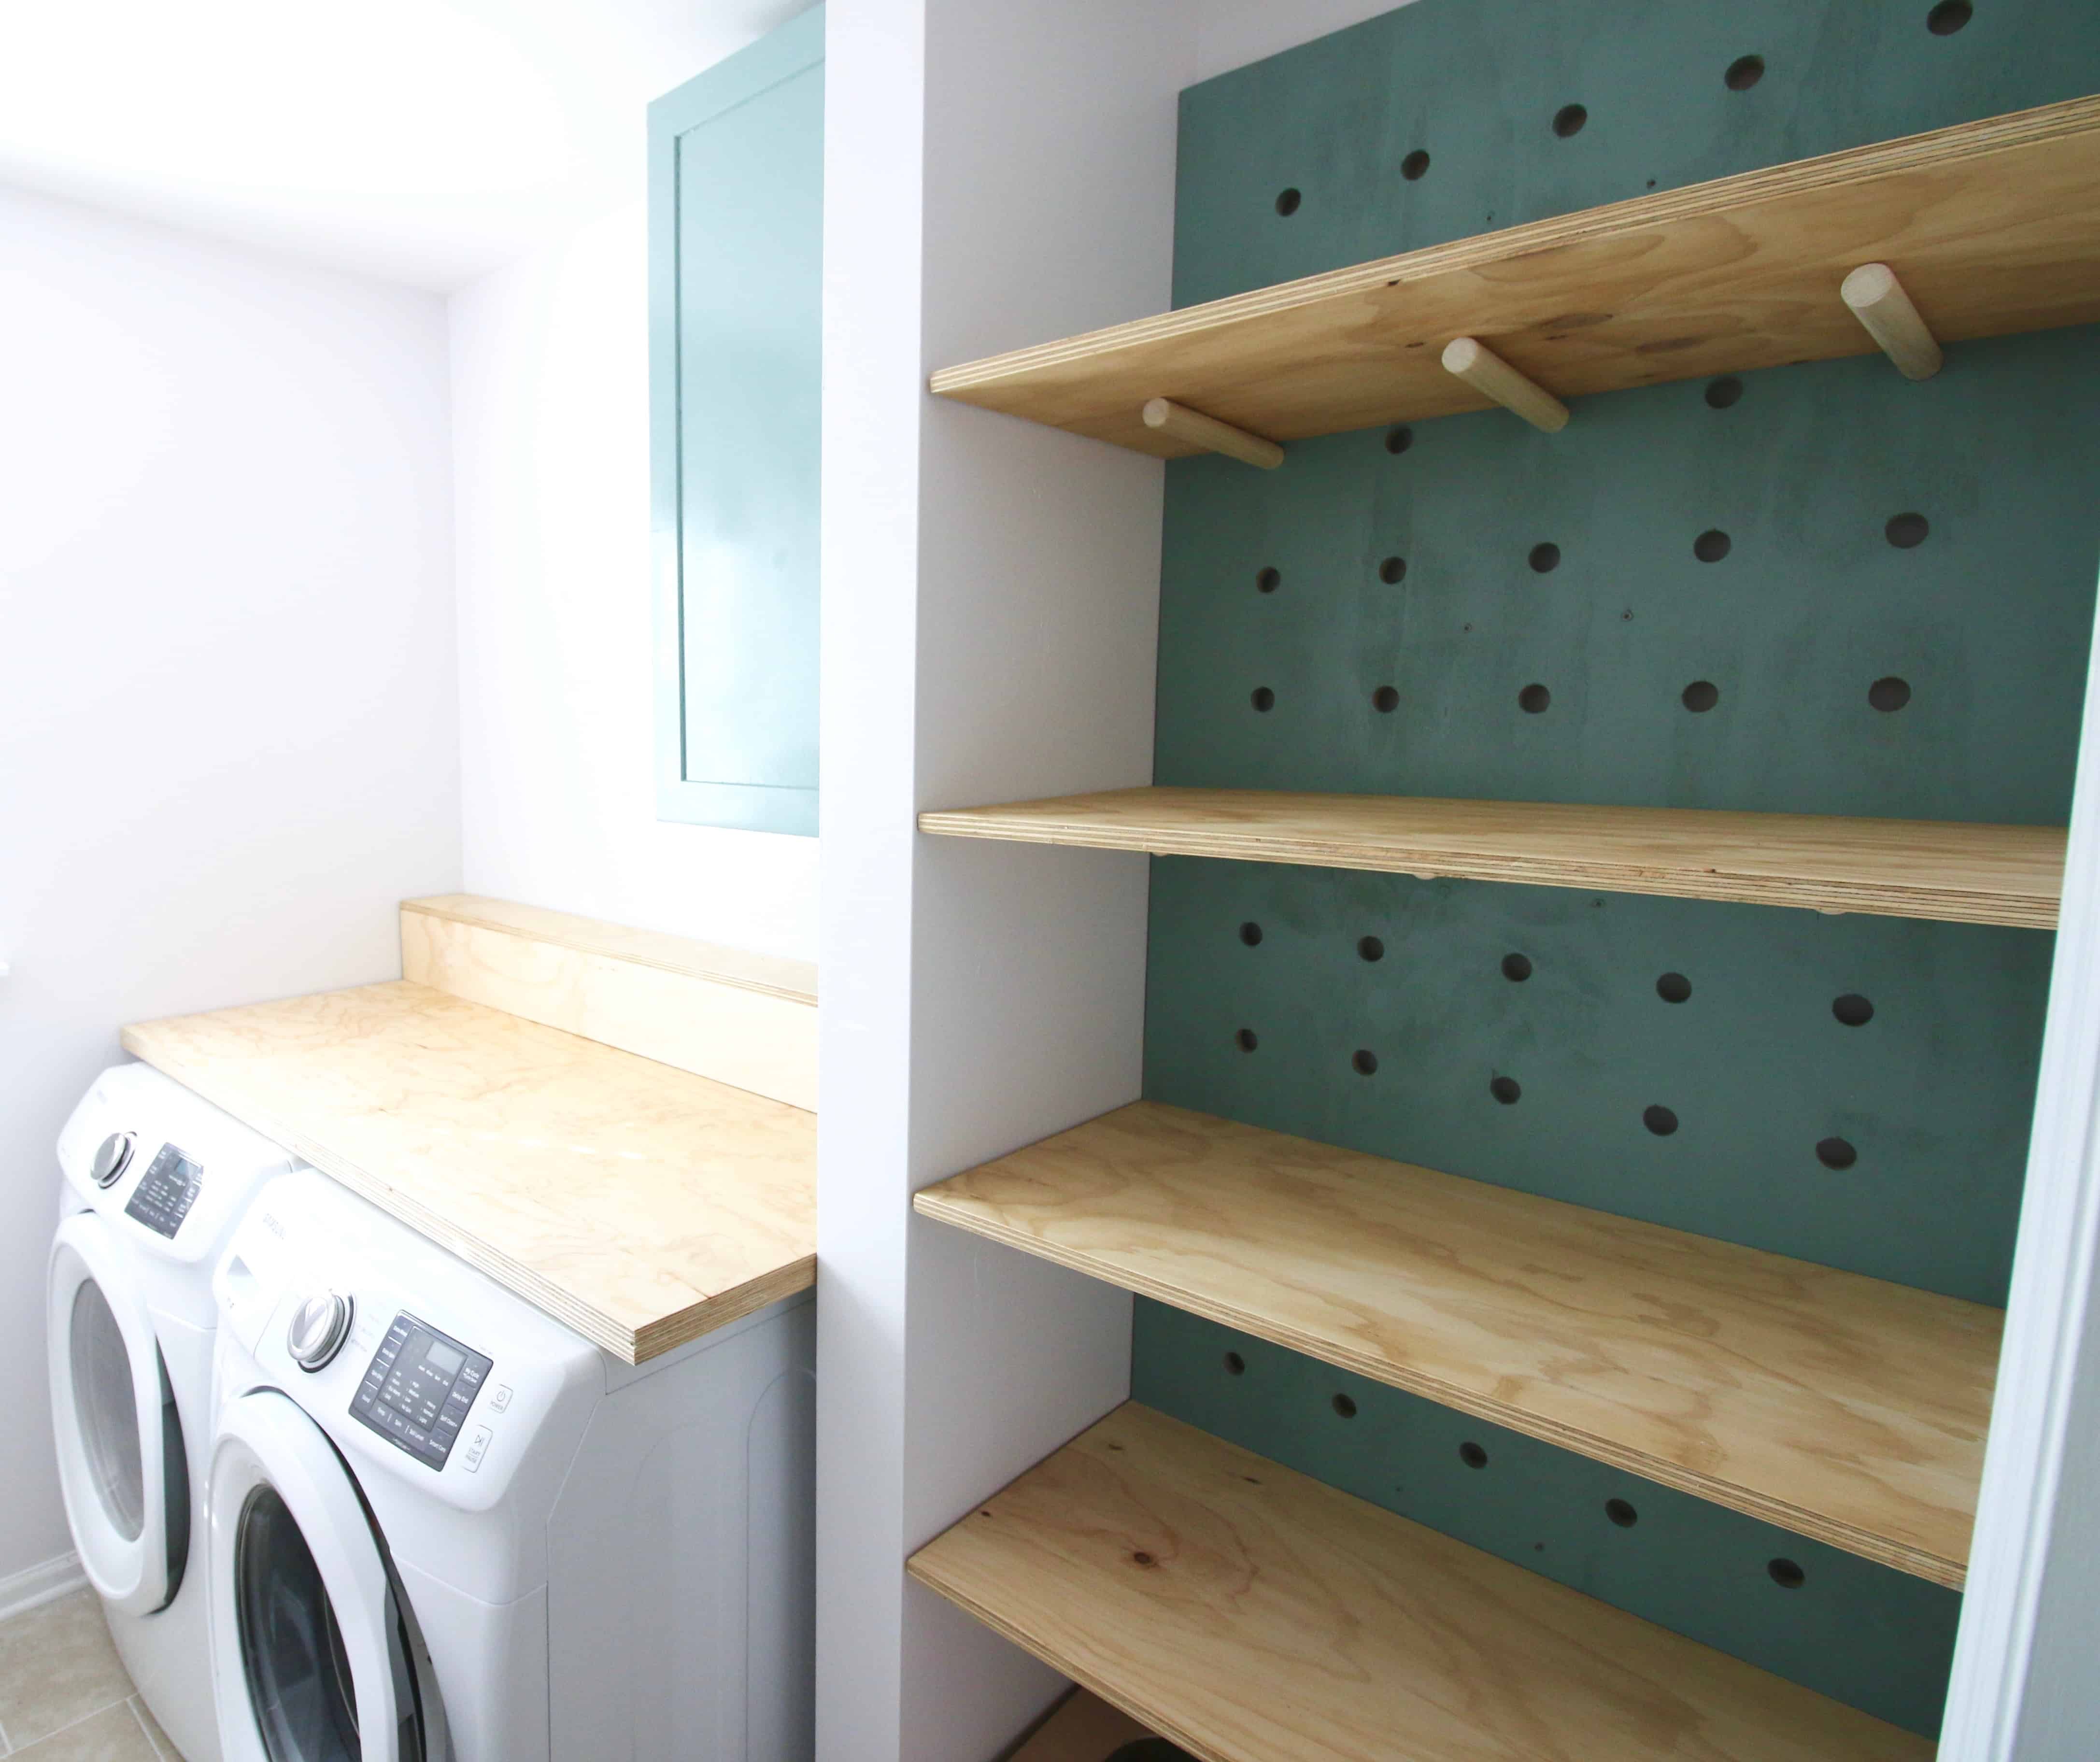
One of my biggest pet peeves that seems to be the normal for everyone else is metal, wire shelving. Why is this such a thing? Things don’t sit on it right and it’s so flimsy and cheap looking. We have added wood shelving to a lot of closets (our condo pantry, our condo laundry room, our current pantry, our current closet) and it just makes a world of a difference in feeling more luxurious and custom.
But it is an easy DIY! For this space I wanted to do something a little different and attempt some over-sized pegboard shelving. I love the concept of easily adjustable and really love how well this project turned out.
Love doable DIY? Sign up for our FREE weekly newsletter!
Laundry room makeover details:
Hanging and painting a reclaimed cabinet
Basket wall hangings
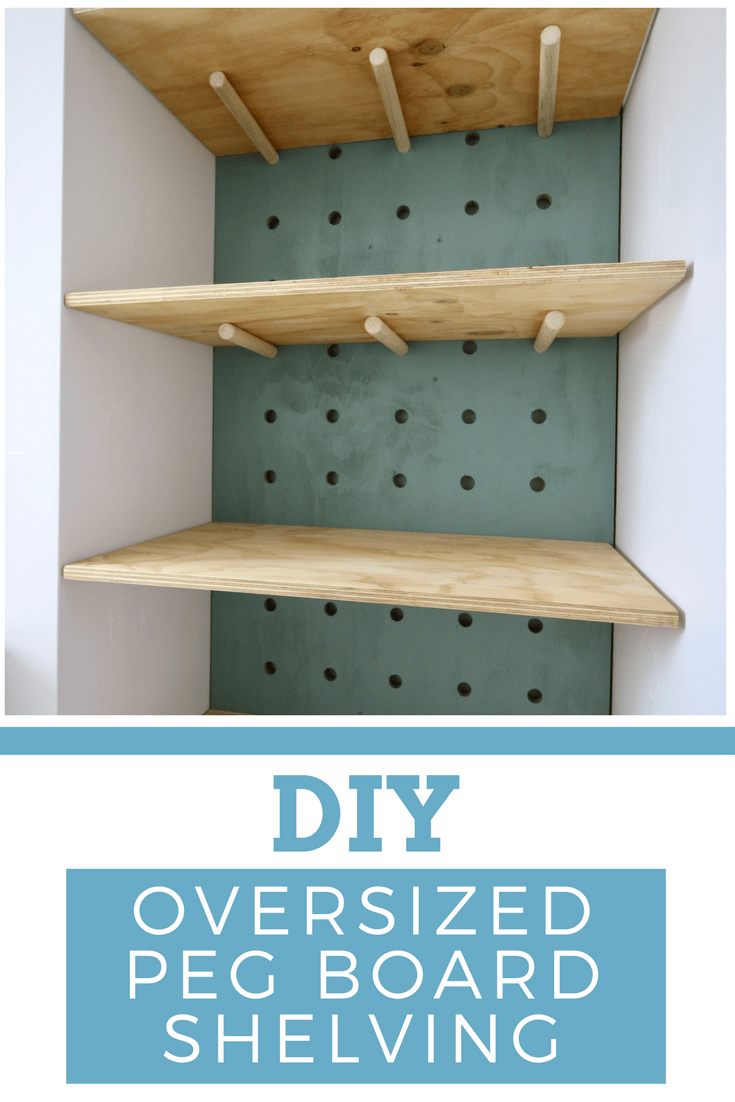
DIY Oversized Pegboard Shelving

Click here to pin this project to your Pinterest board!
What You Need:
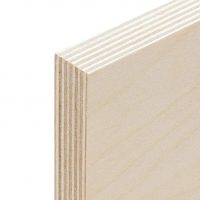
- 1 sheet of 3/4 inch plywood for the back of your wall
- 1 sheet of 3/4 inch plywood for shelves
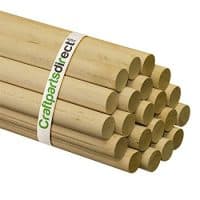
- A one-inch thick, four foot dowel per shelf
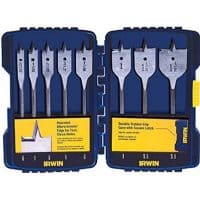
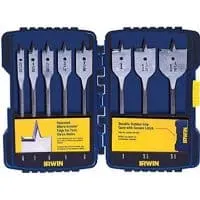
- 1 inch spade drill bit
What You Do:
The sizing of your space will be custom, so I won’t worry about measurements, just make sure you cut yours to fit what you’re looking at.
The first thing we did was make all our cuts. First, cut the first sheet of plywood to the size of the back of our space. Then we cut four shelves out of the second sheet of plywood. Ours were 18×32. Last set of cuts was for the dowels, which is what the shelves will sit on. I cut each dowel into thirds.
If you are wondering how to make a pegboard, pay attention to this next step!
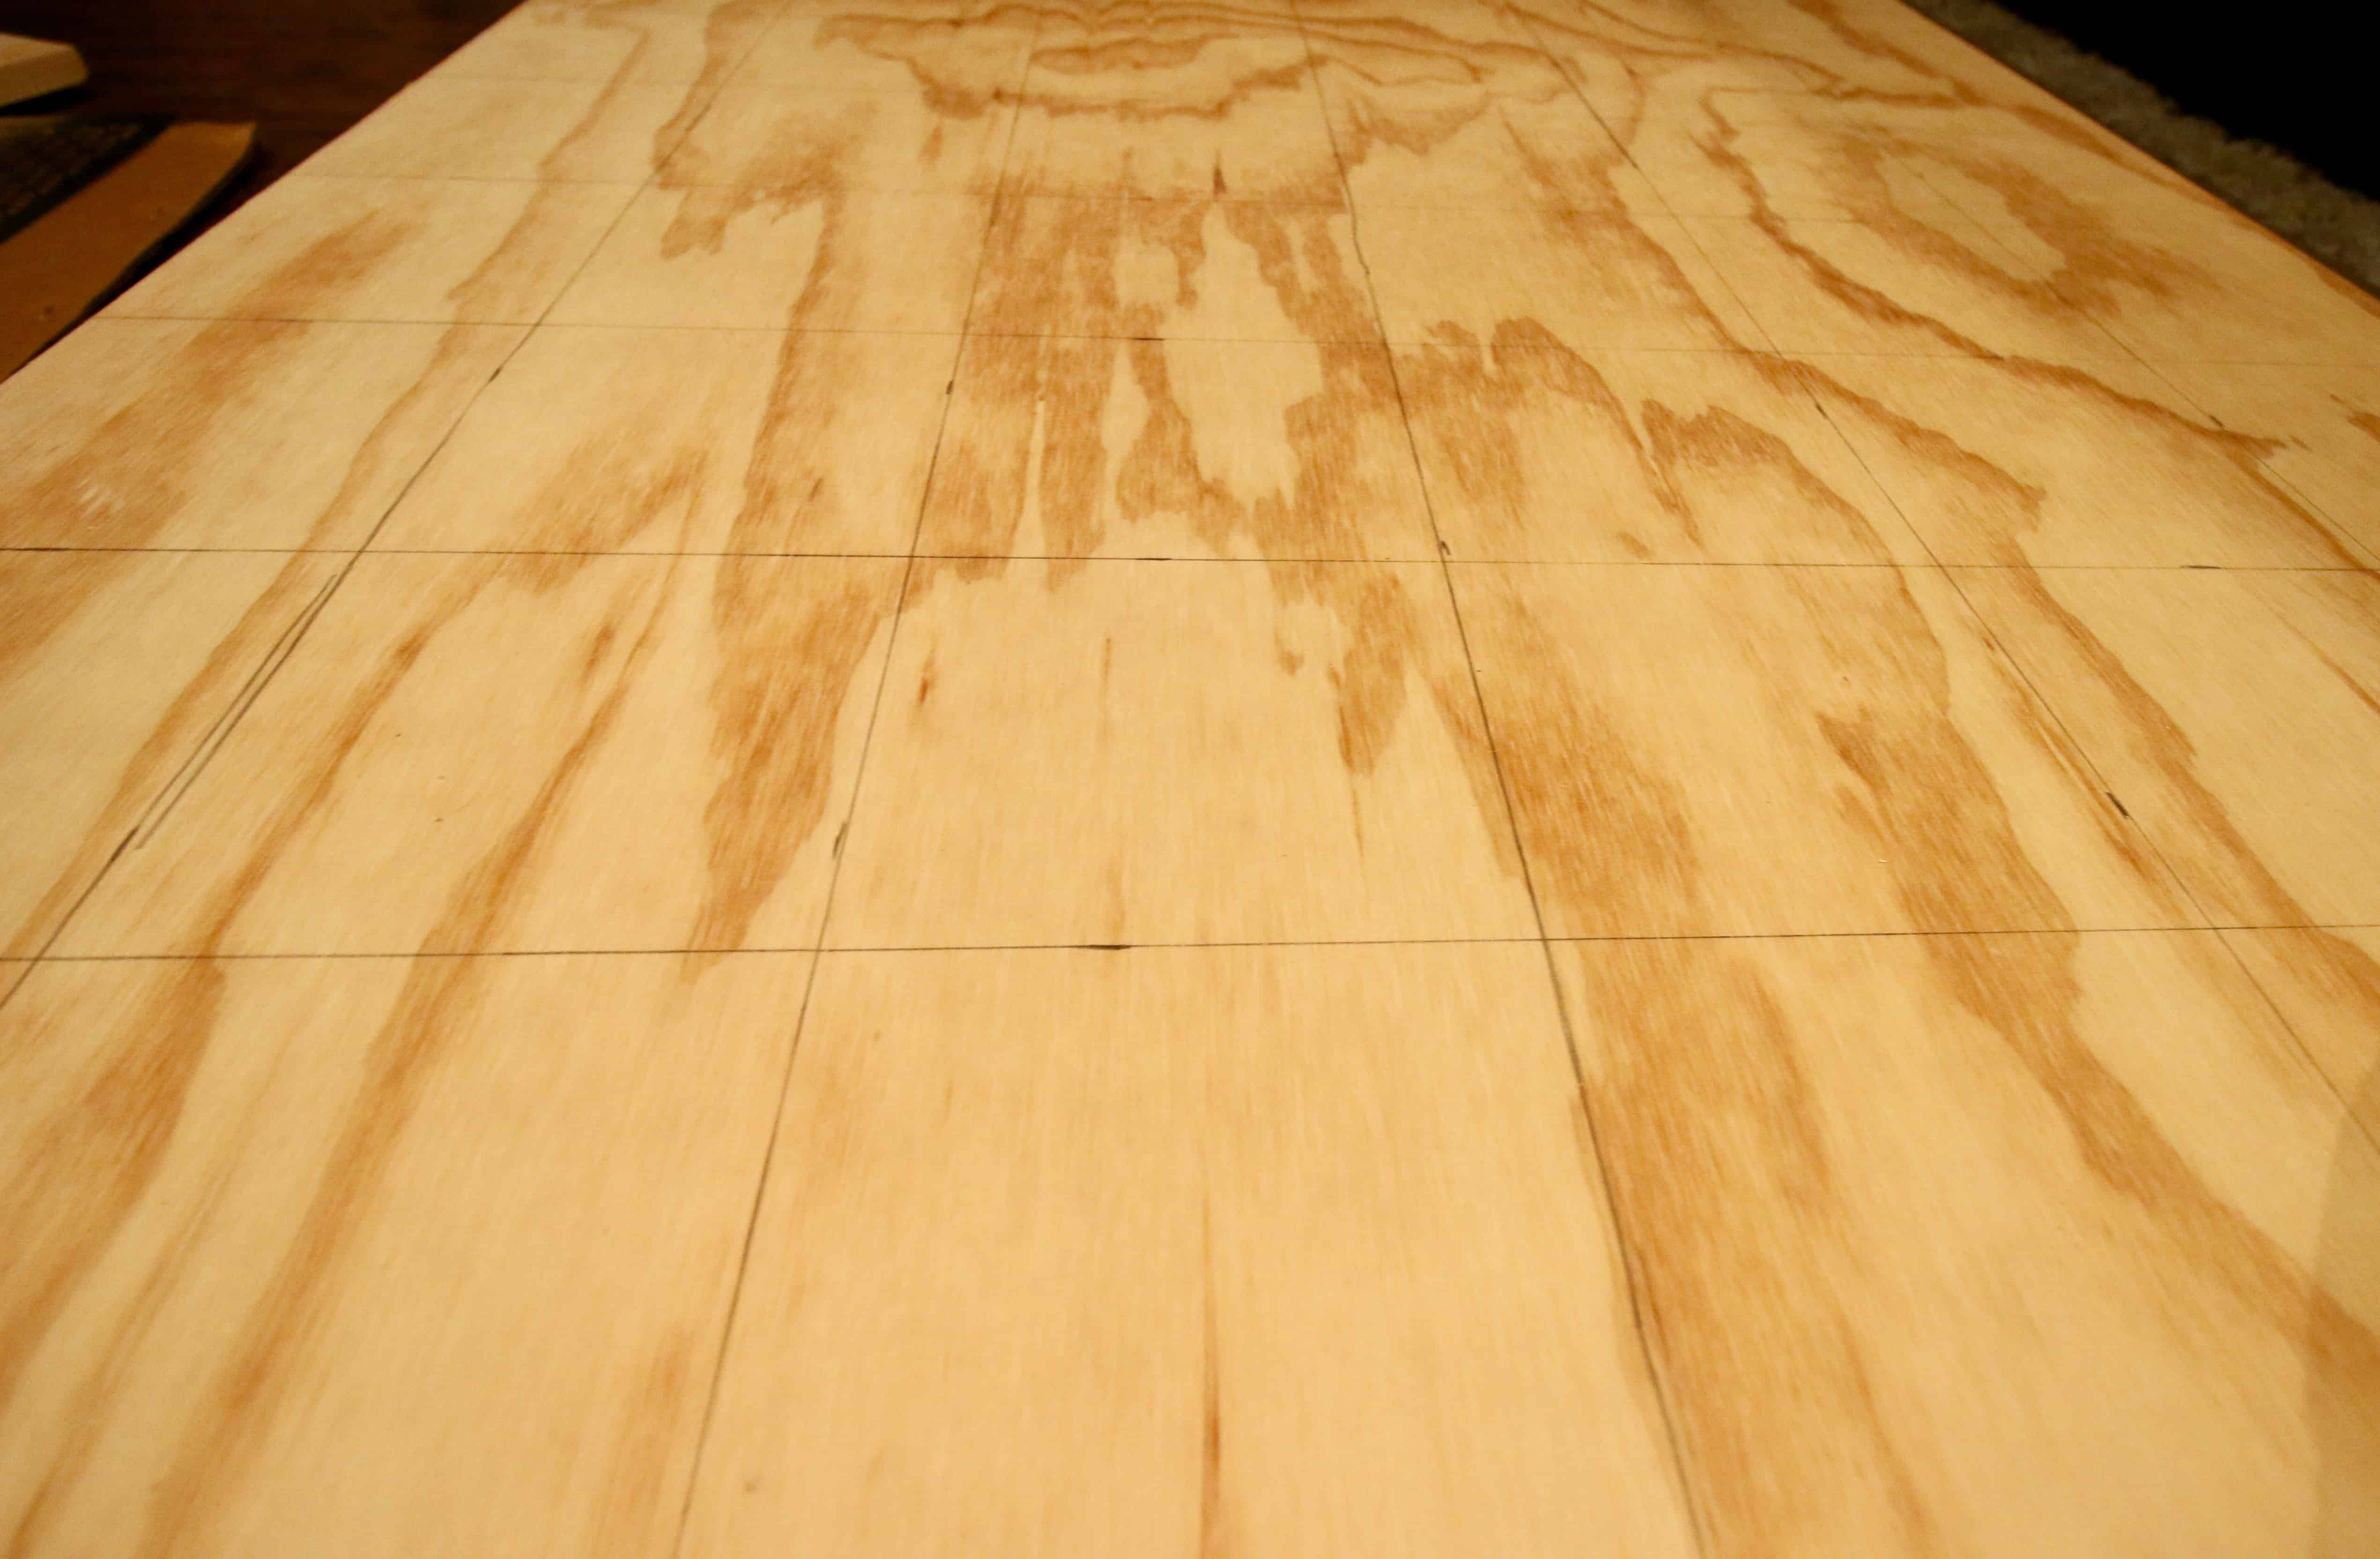
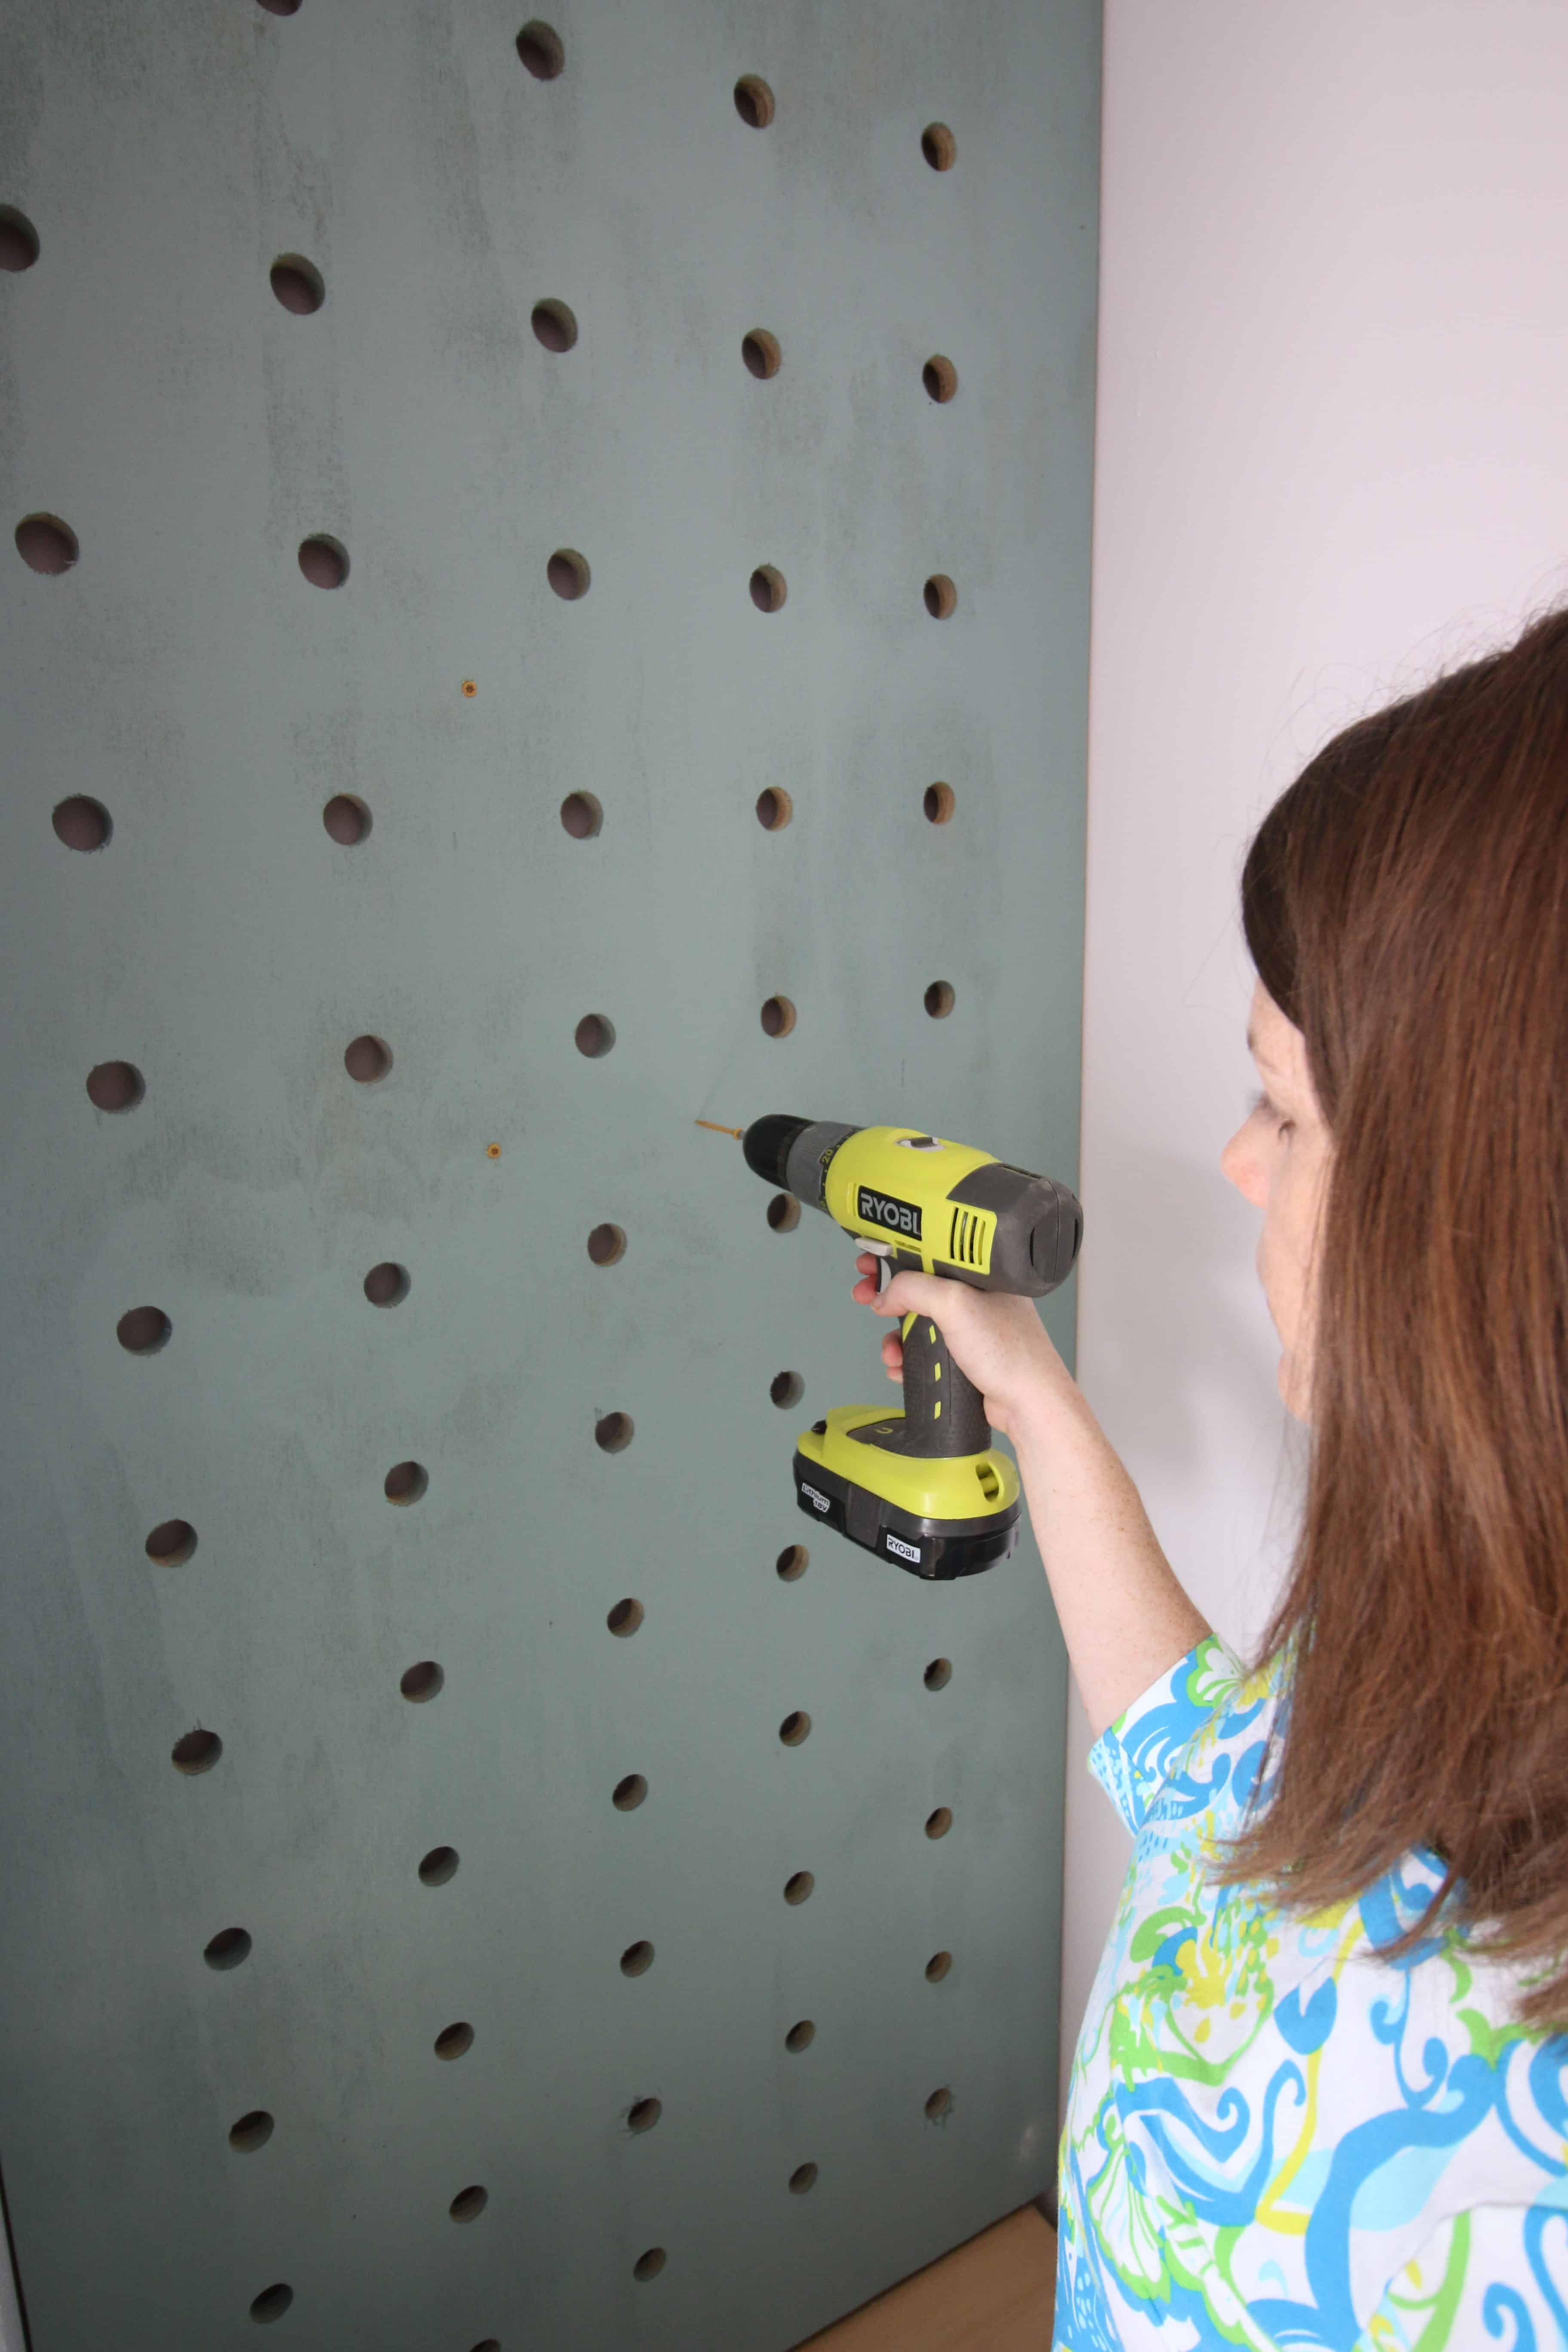
The next step was to drill the holes for the pegboard. We decided to do five holes per row, so what what we did was draw a line down the center of both the height and width, then drew lines ever five inches in each way to make a grid.
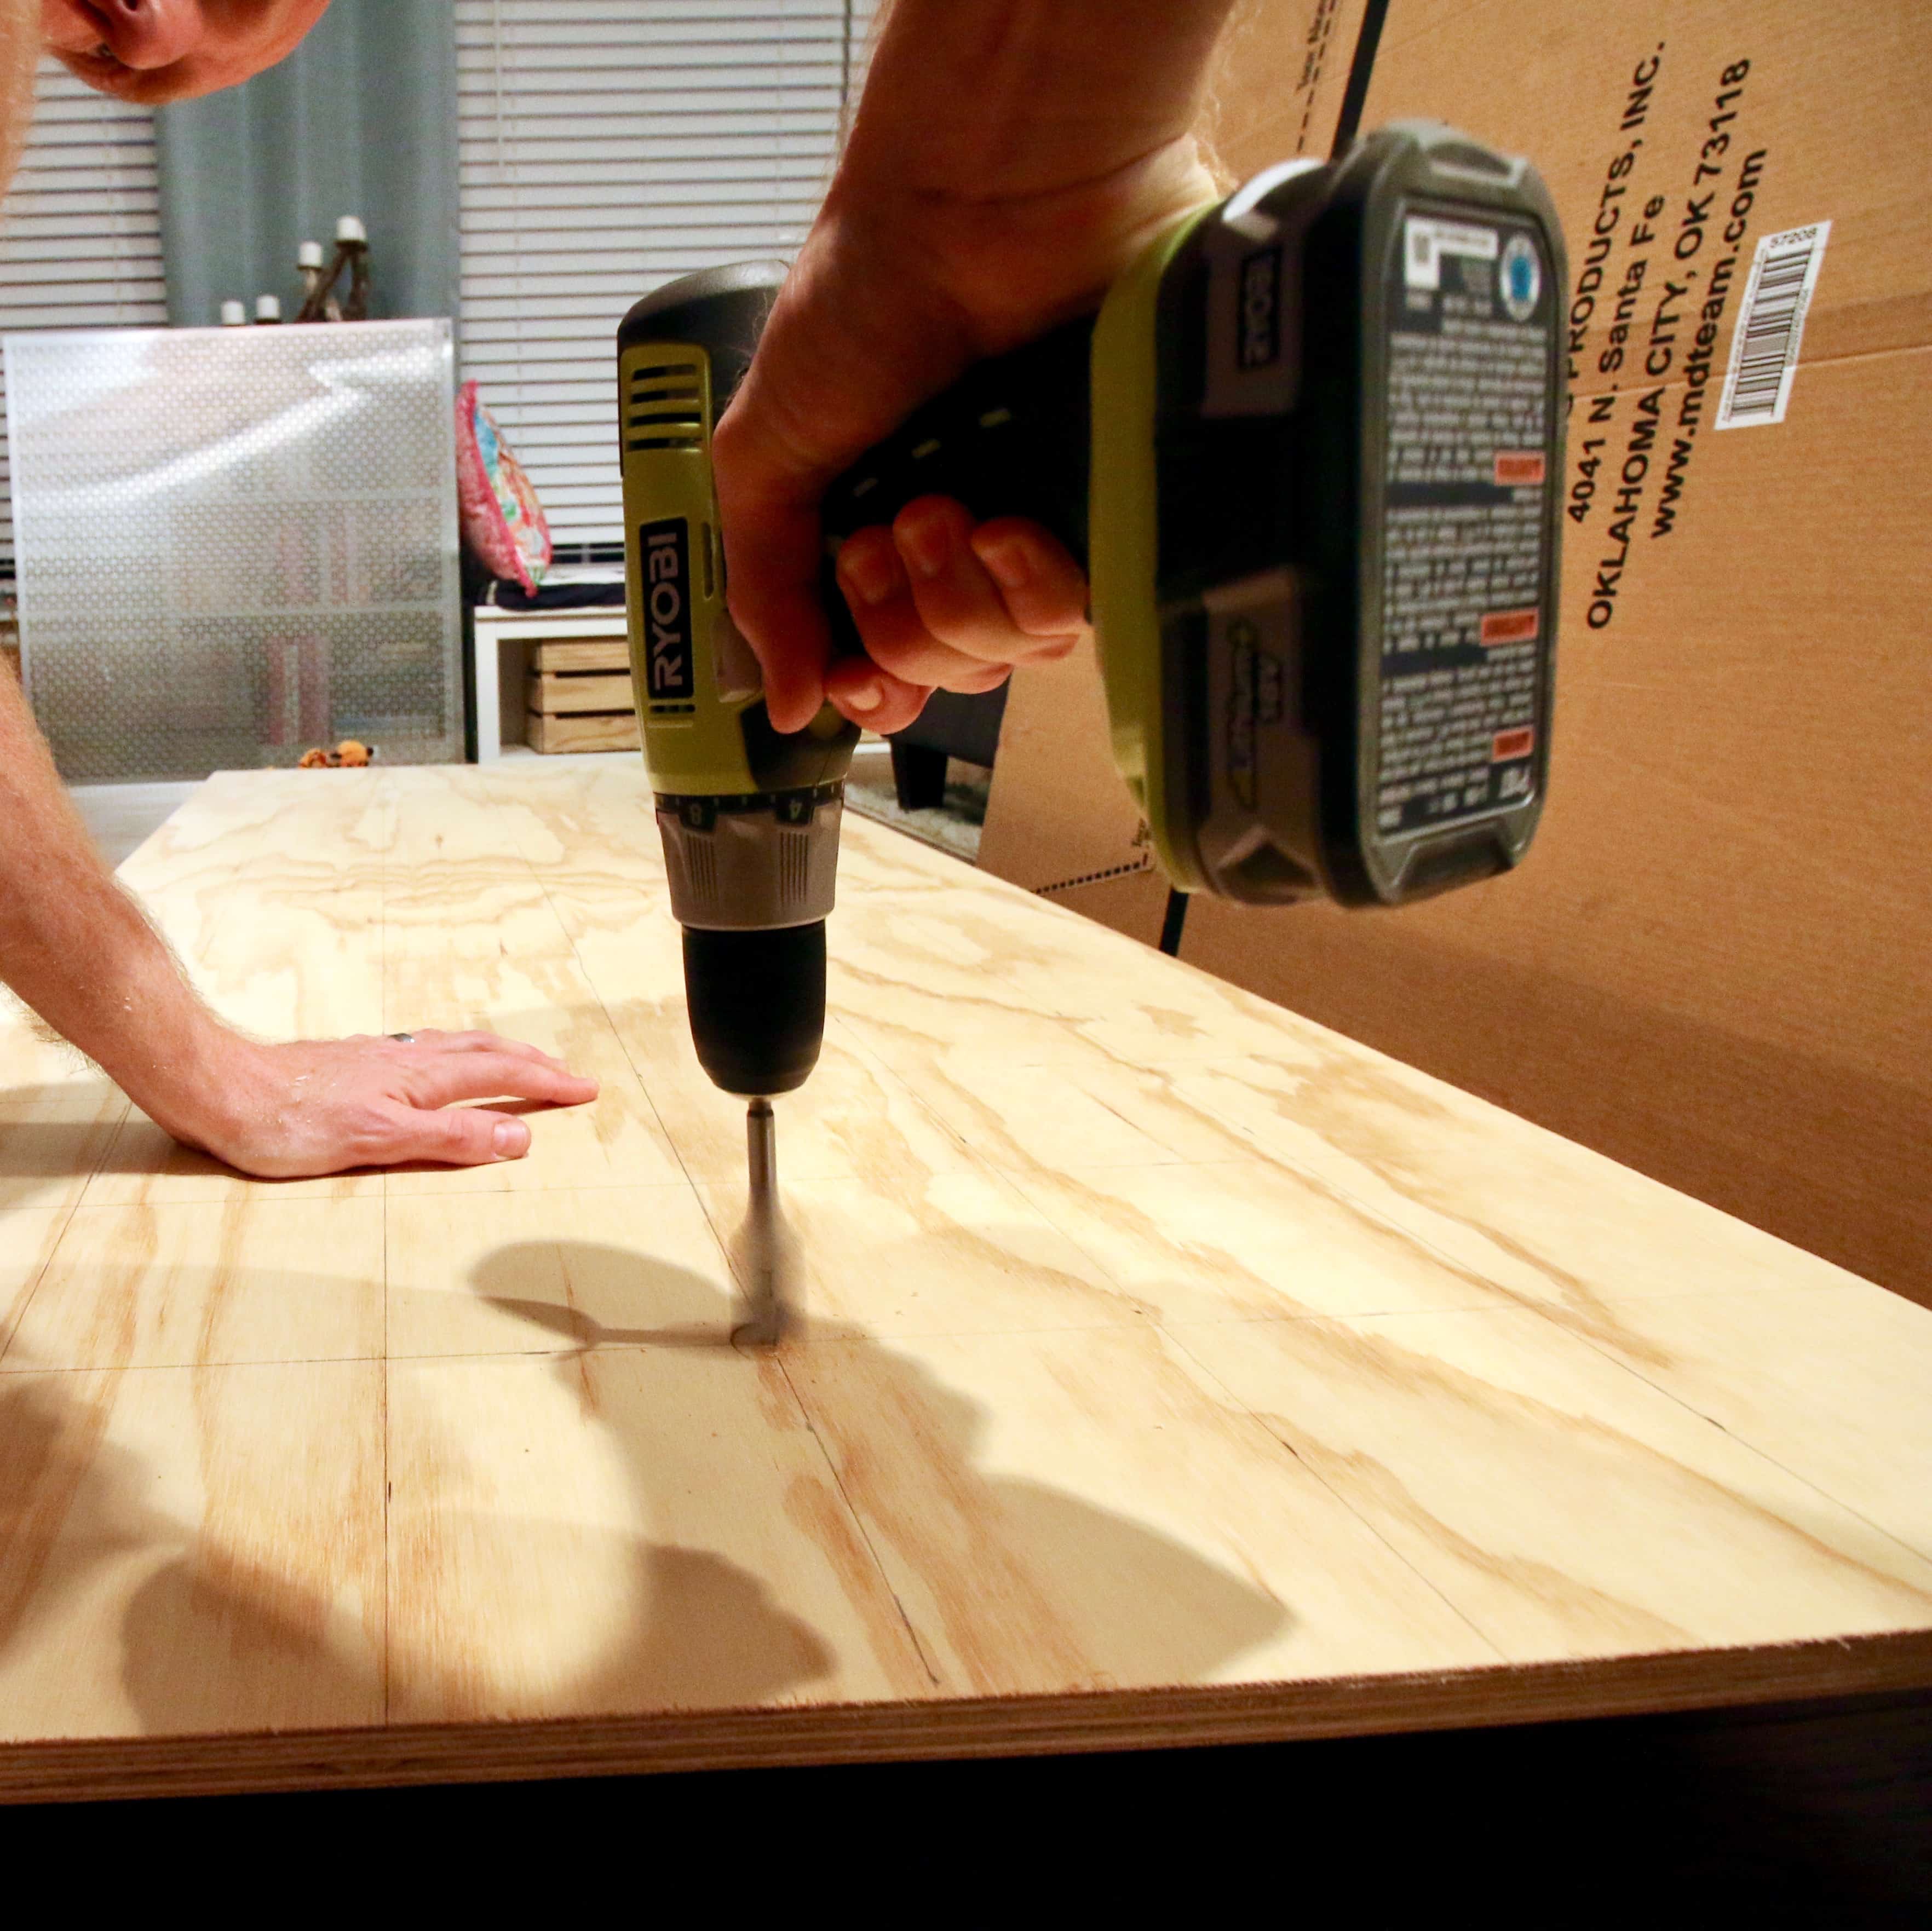
We used a 1 inch spade bit to then drill a perfect hole through the plywood at each of the cross hairs that we had drawn.
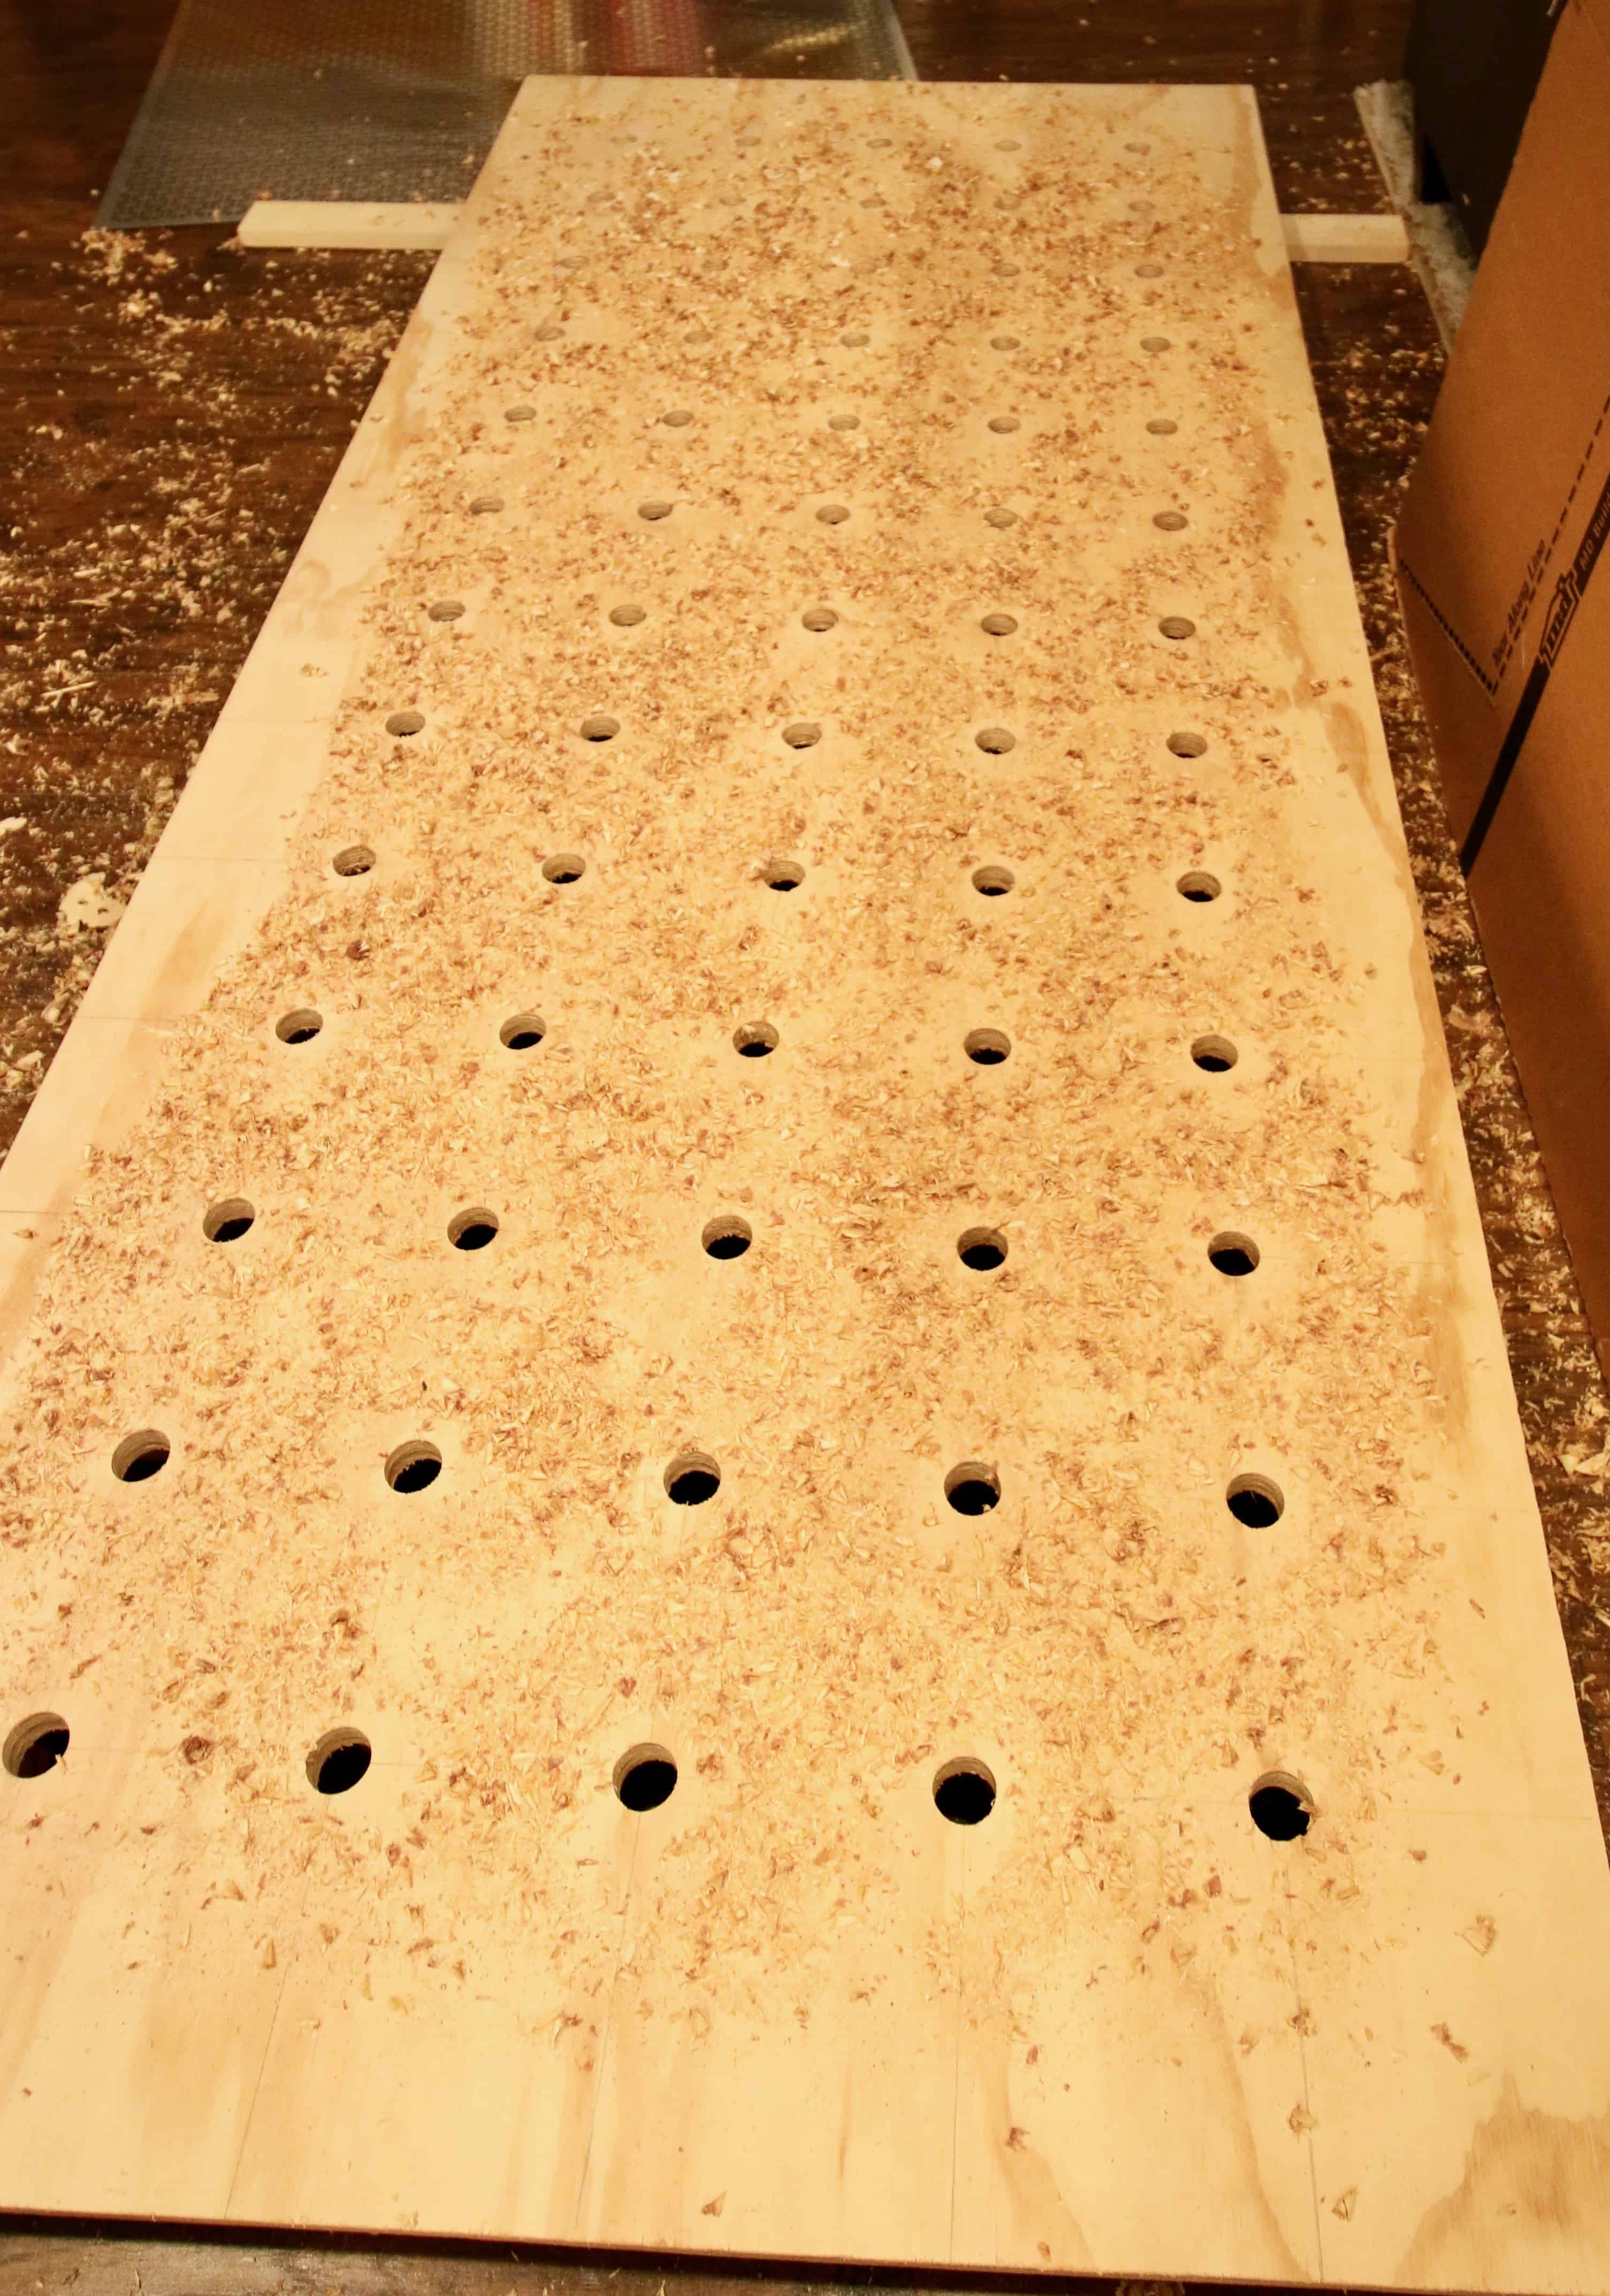
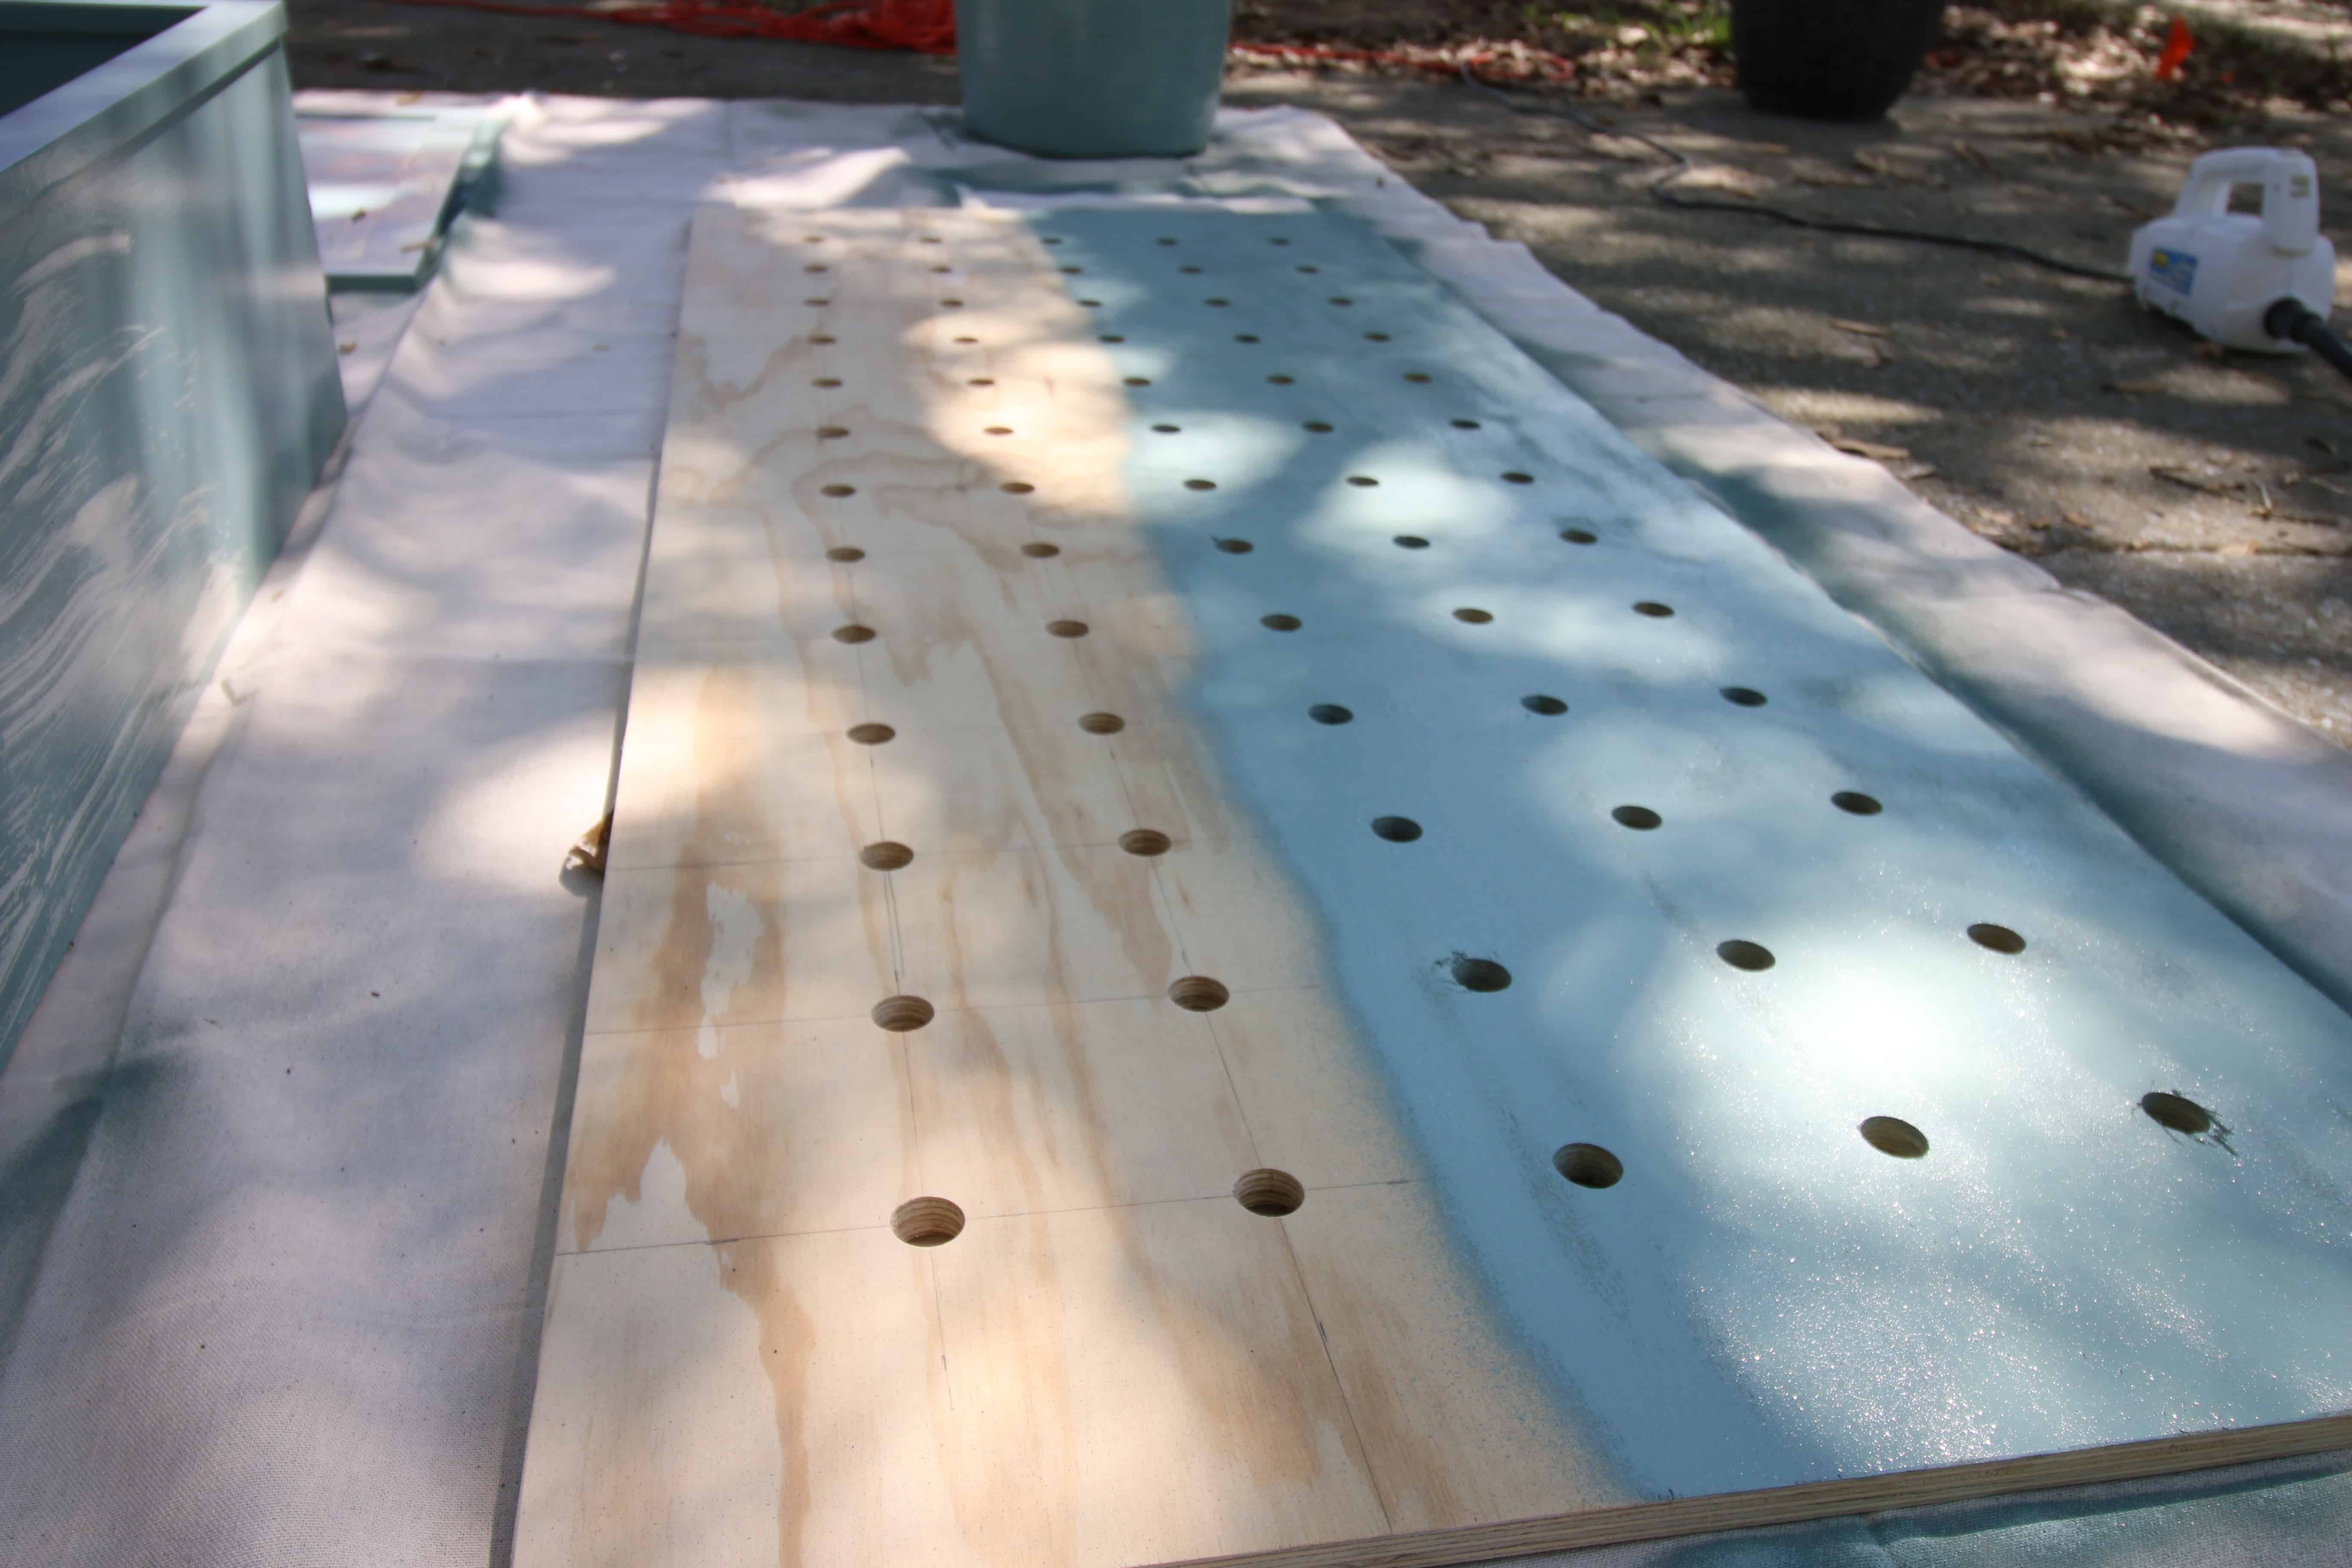
After all 65 (!) holes were drilled, we sanded everything down, sealed the shelves and dowels, and painted our pegboard with BEHR’s Color of the Year “In the Moment.”
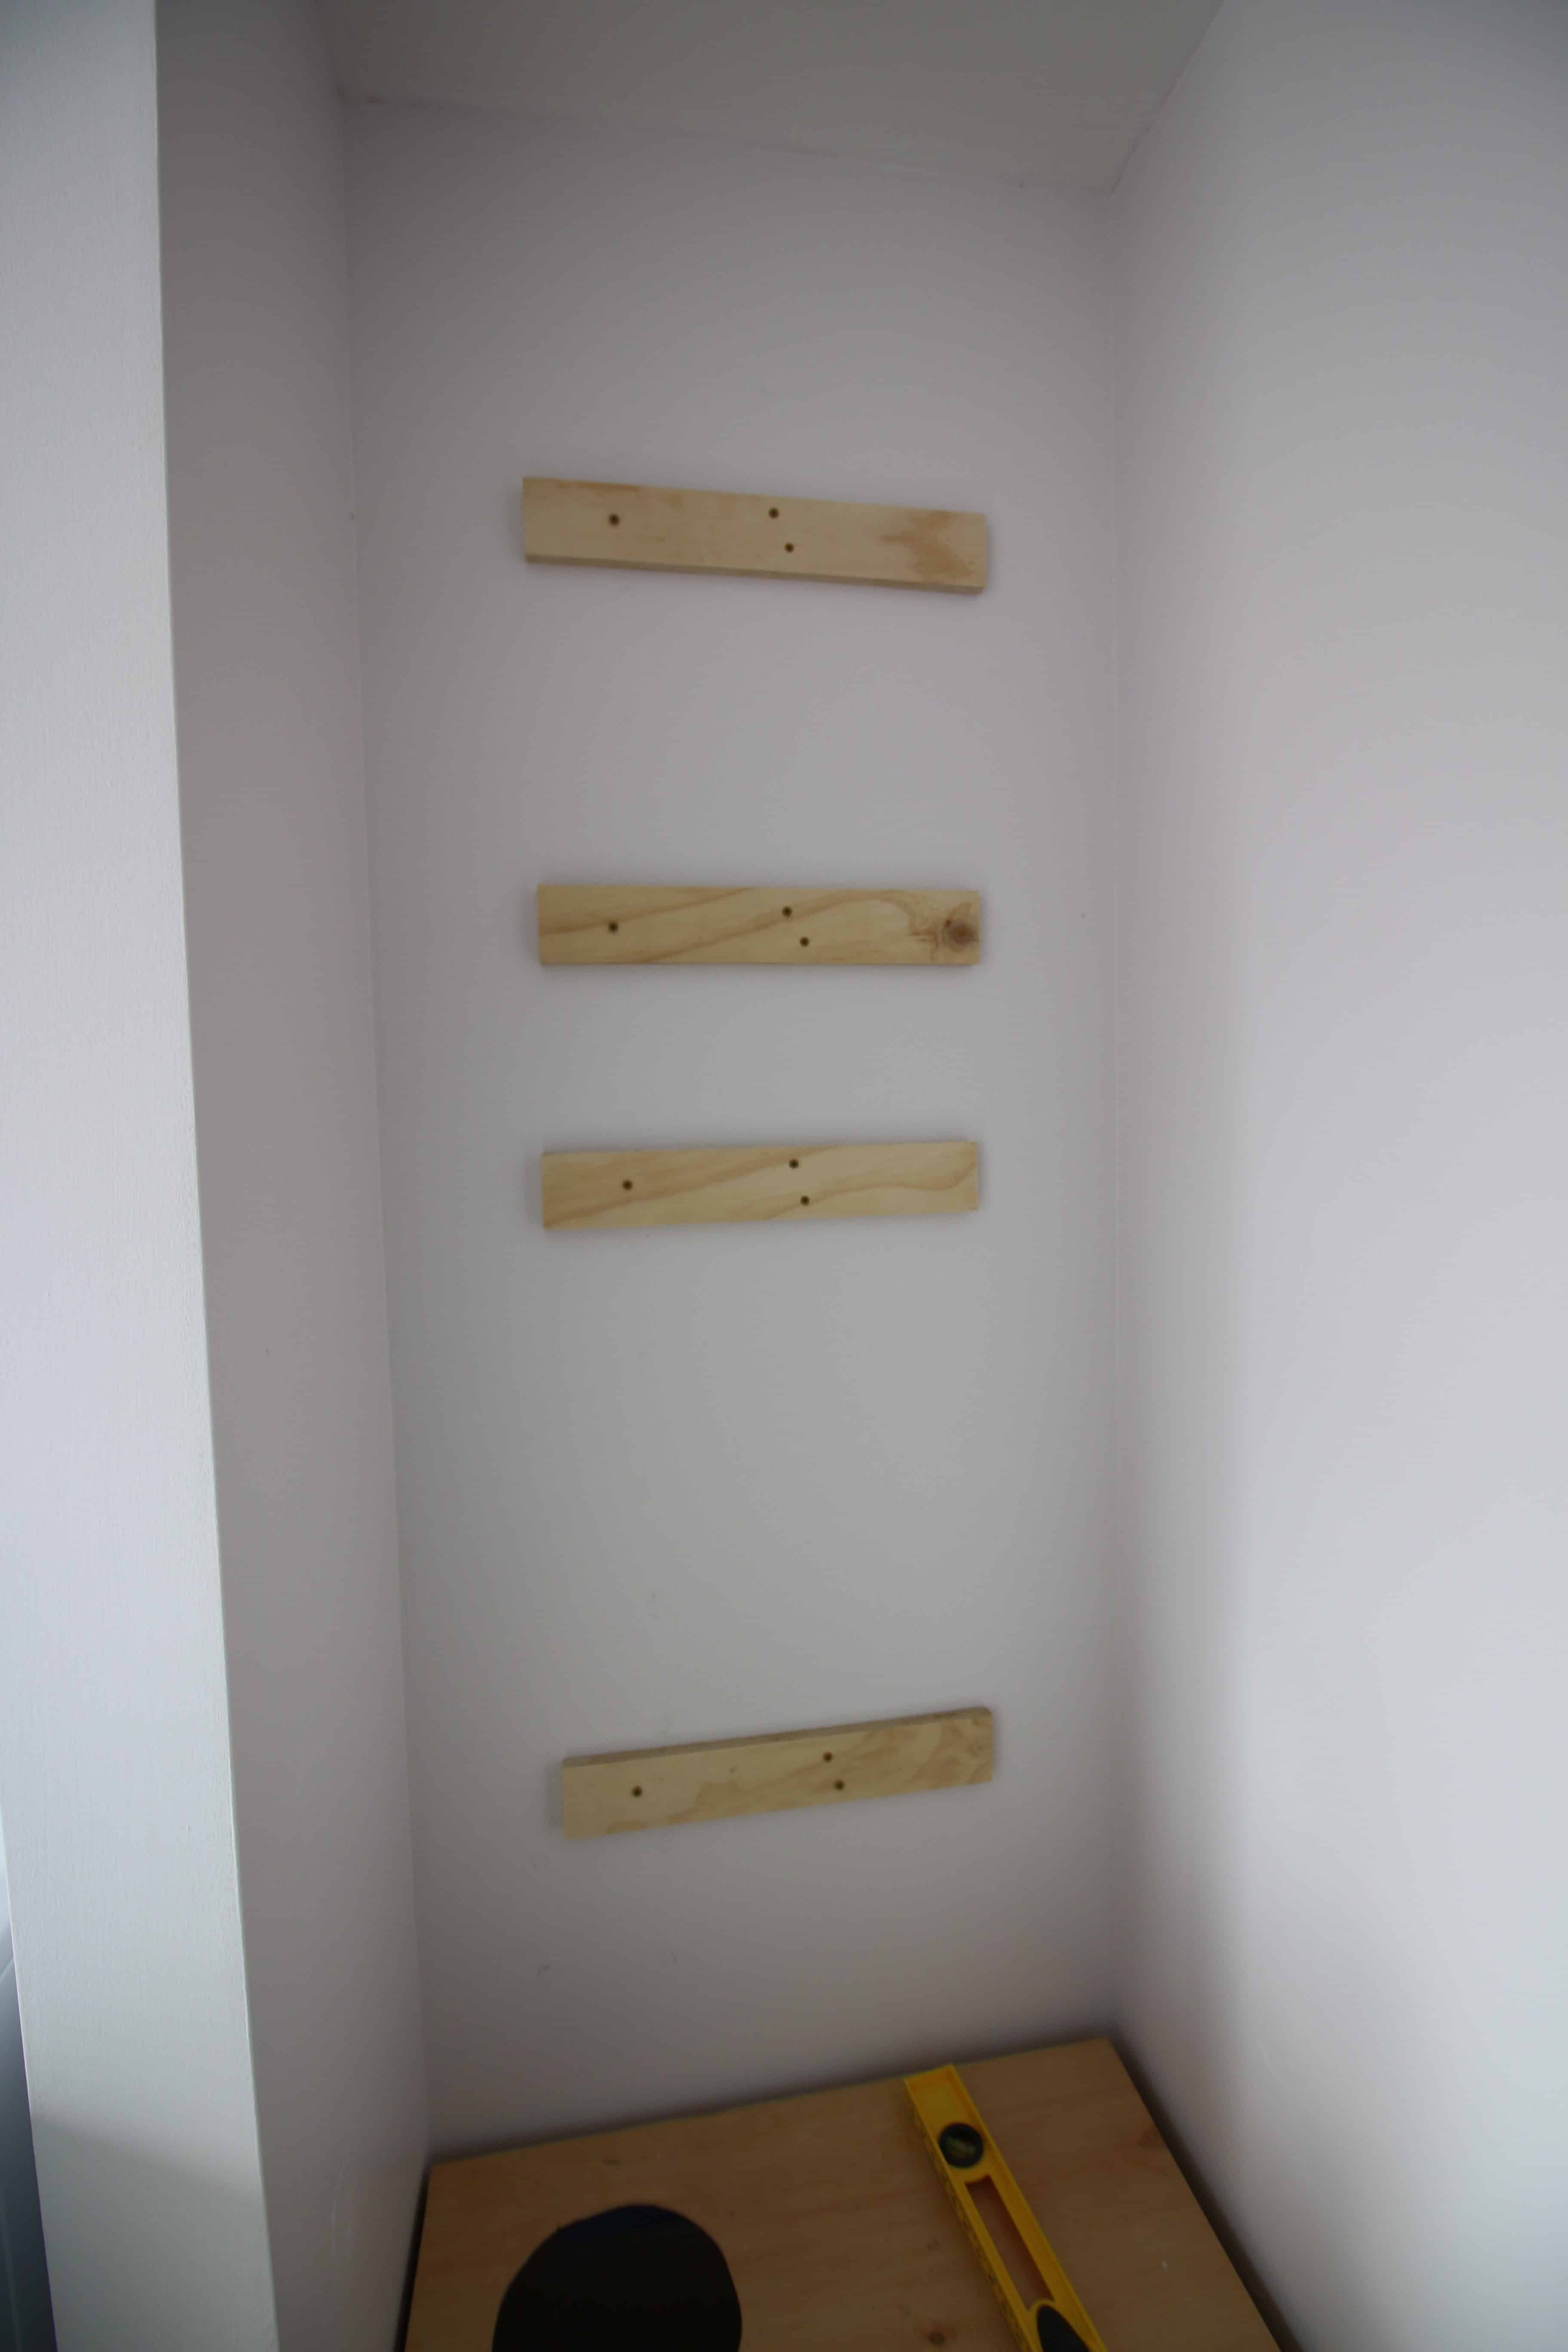
After everything was dry, it was time for assembly. We drilled two pieces of scrap wood into the studs of the wall, making sure it was in spots that wouldn’t show through the peg holes. Then, we attached the pegboard to the wood on the wall.
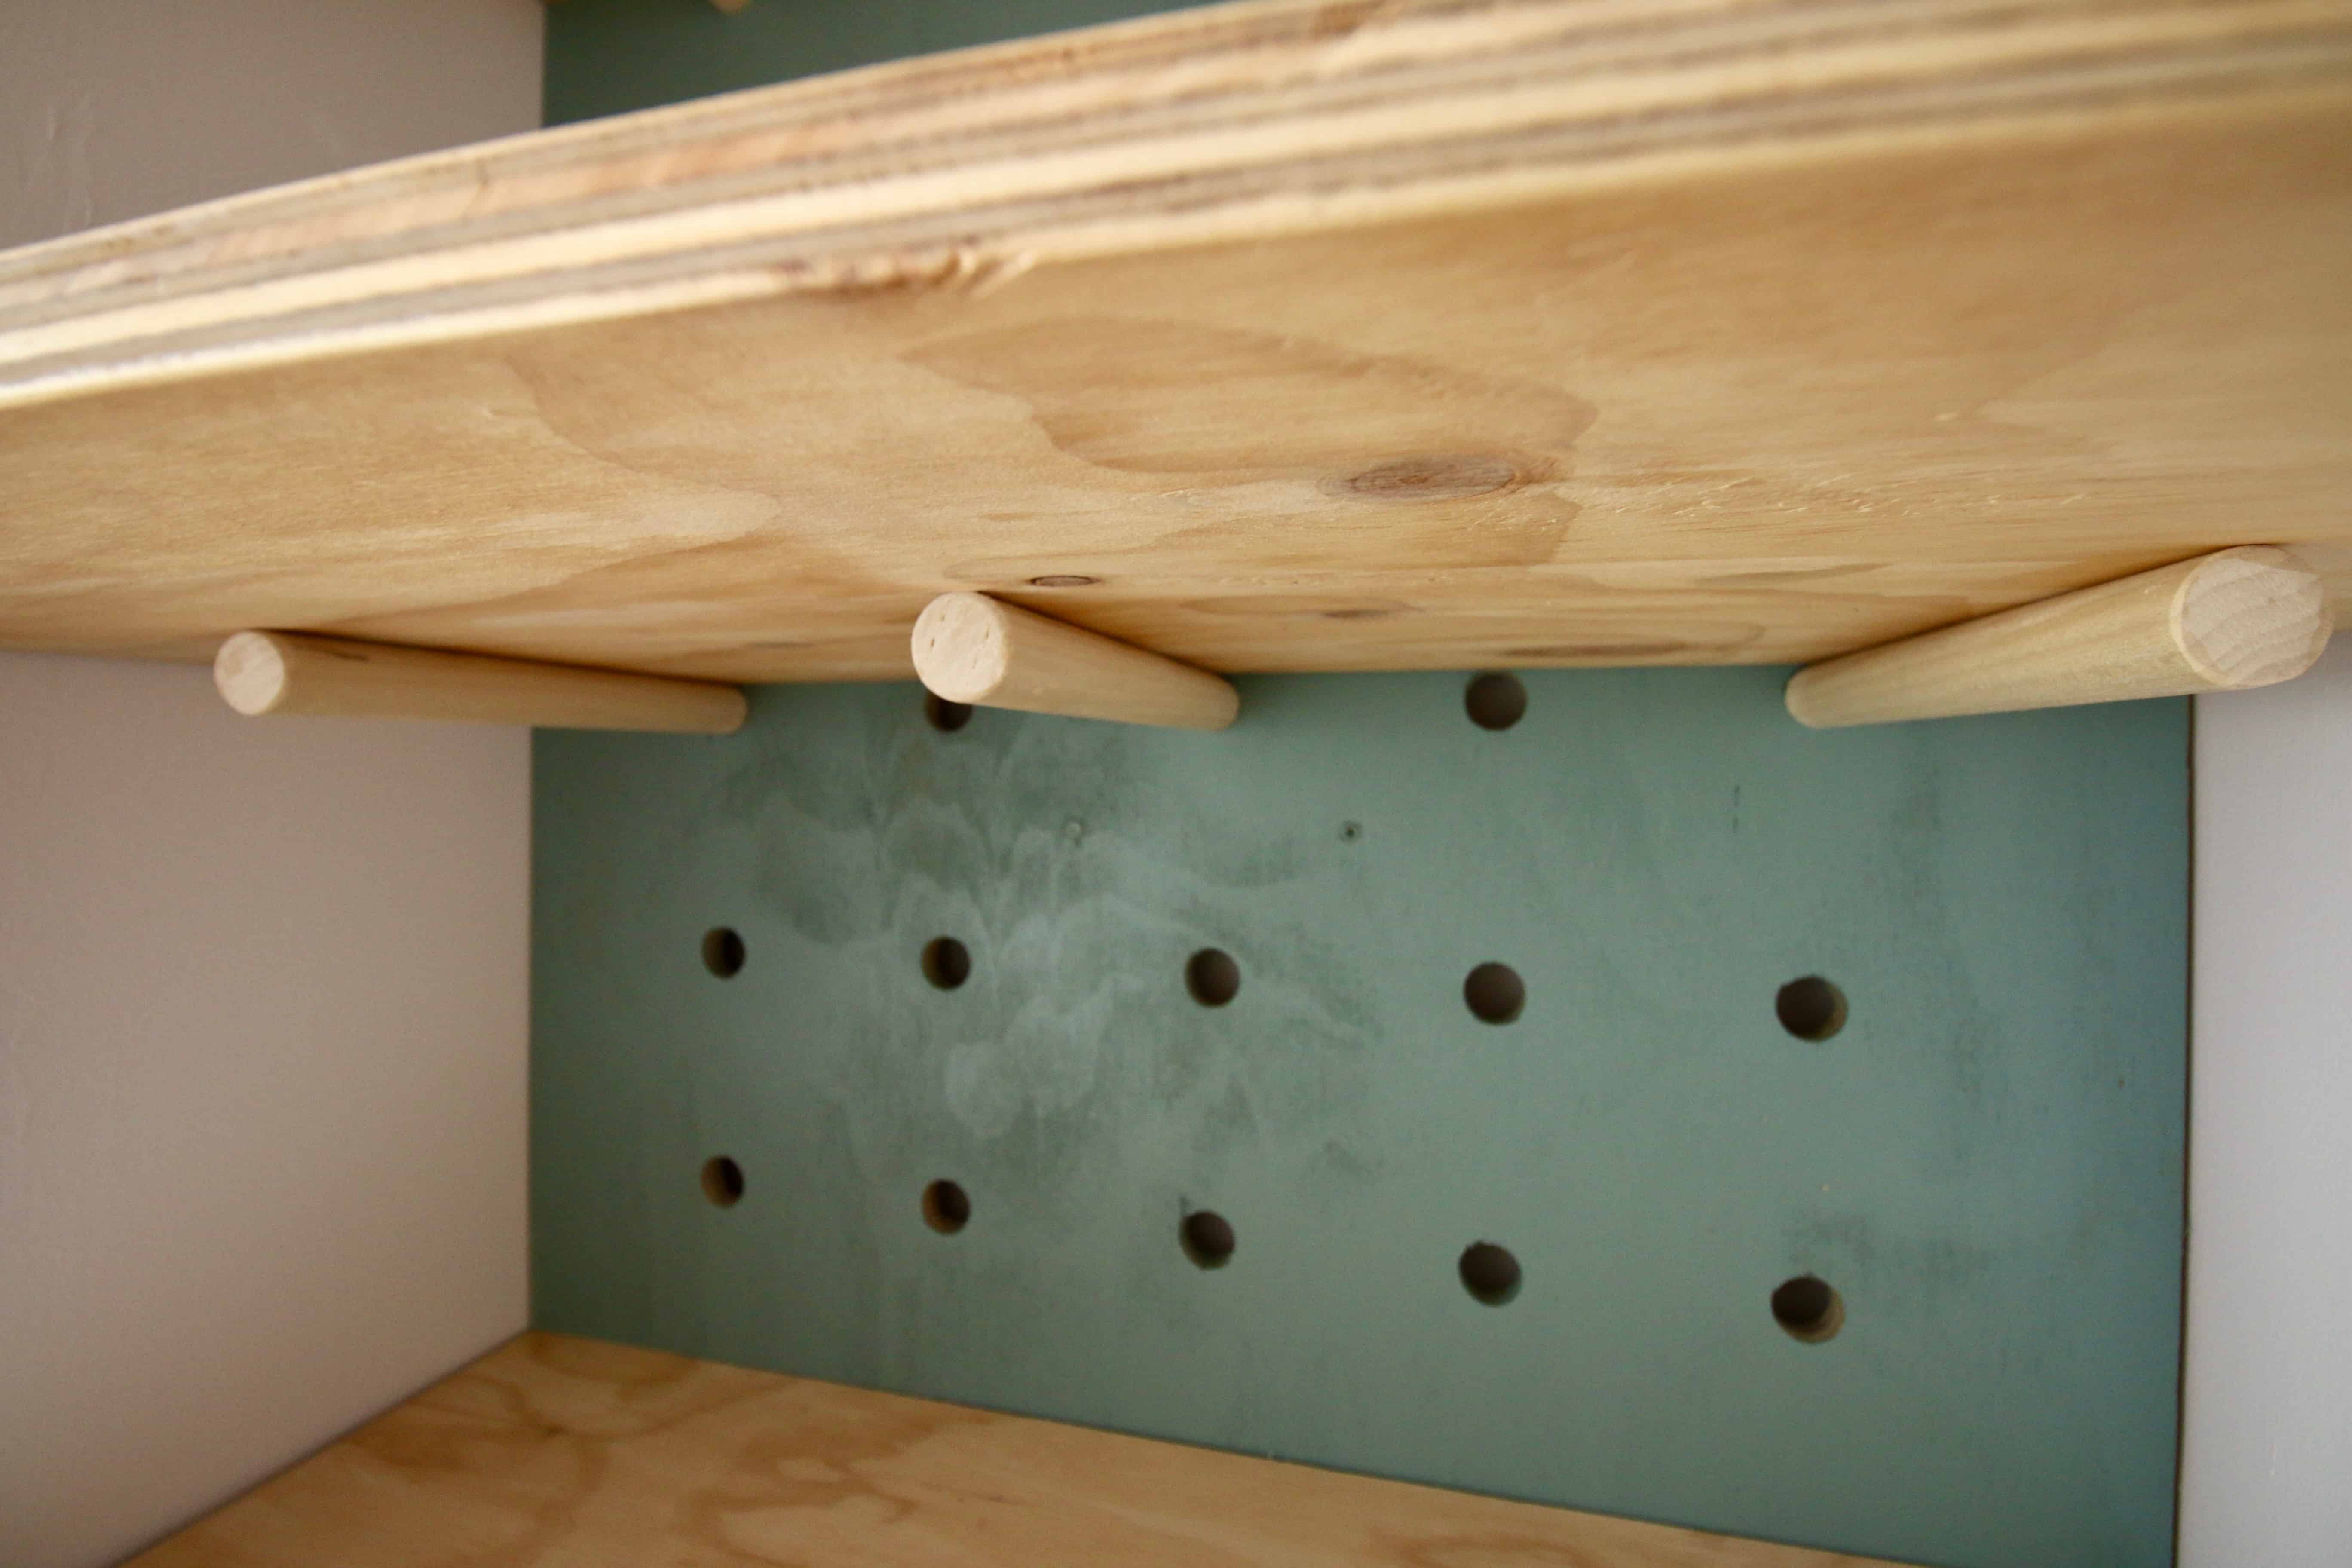
The rest was easy. We inserted the dowels three to a row at each height we wanted the shelves. Then we just set the shelves on top of the dowels.
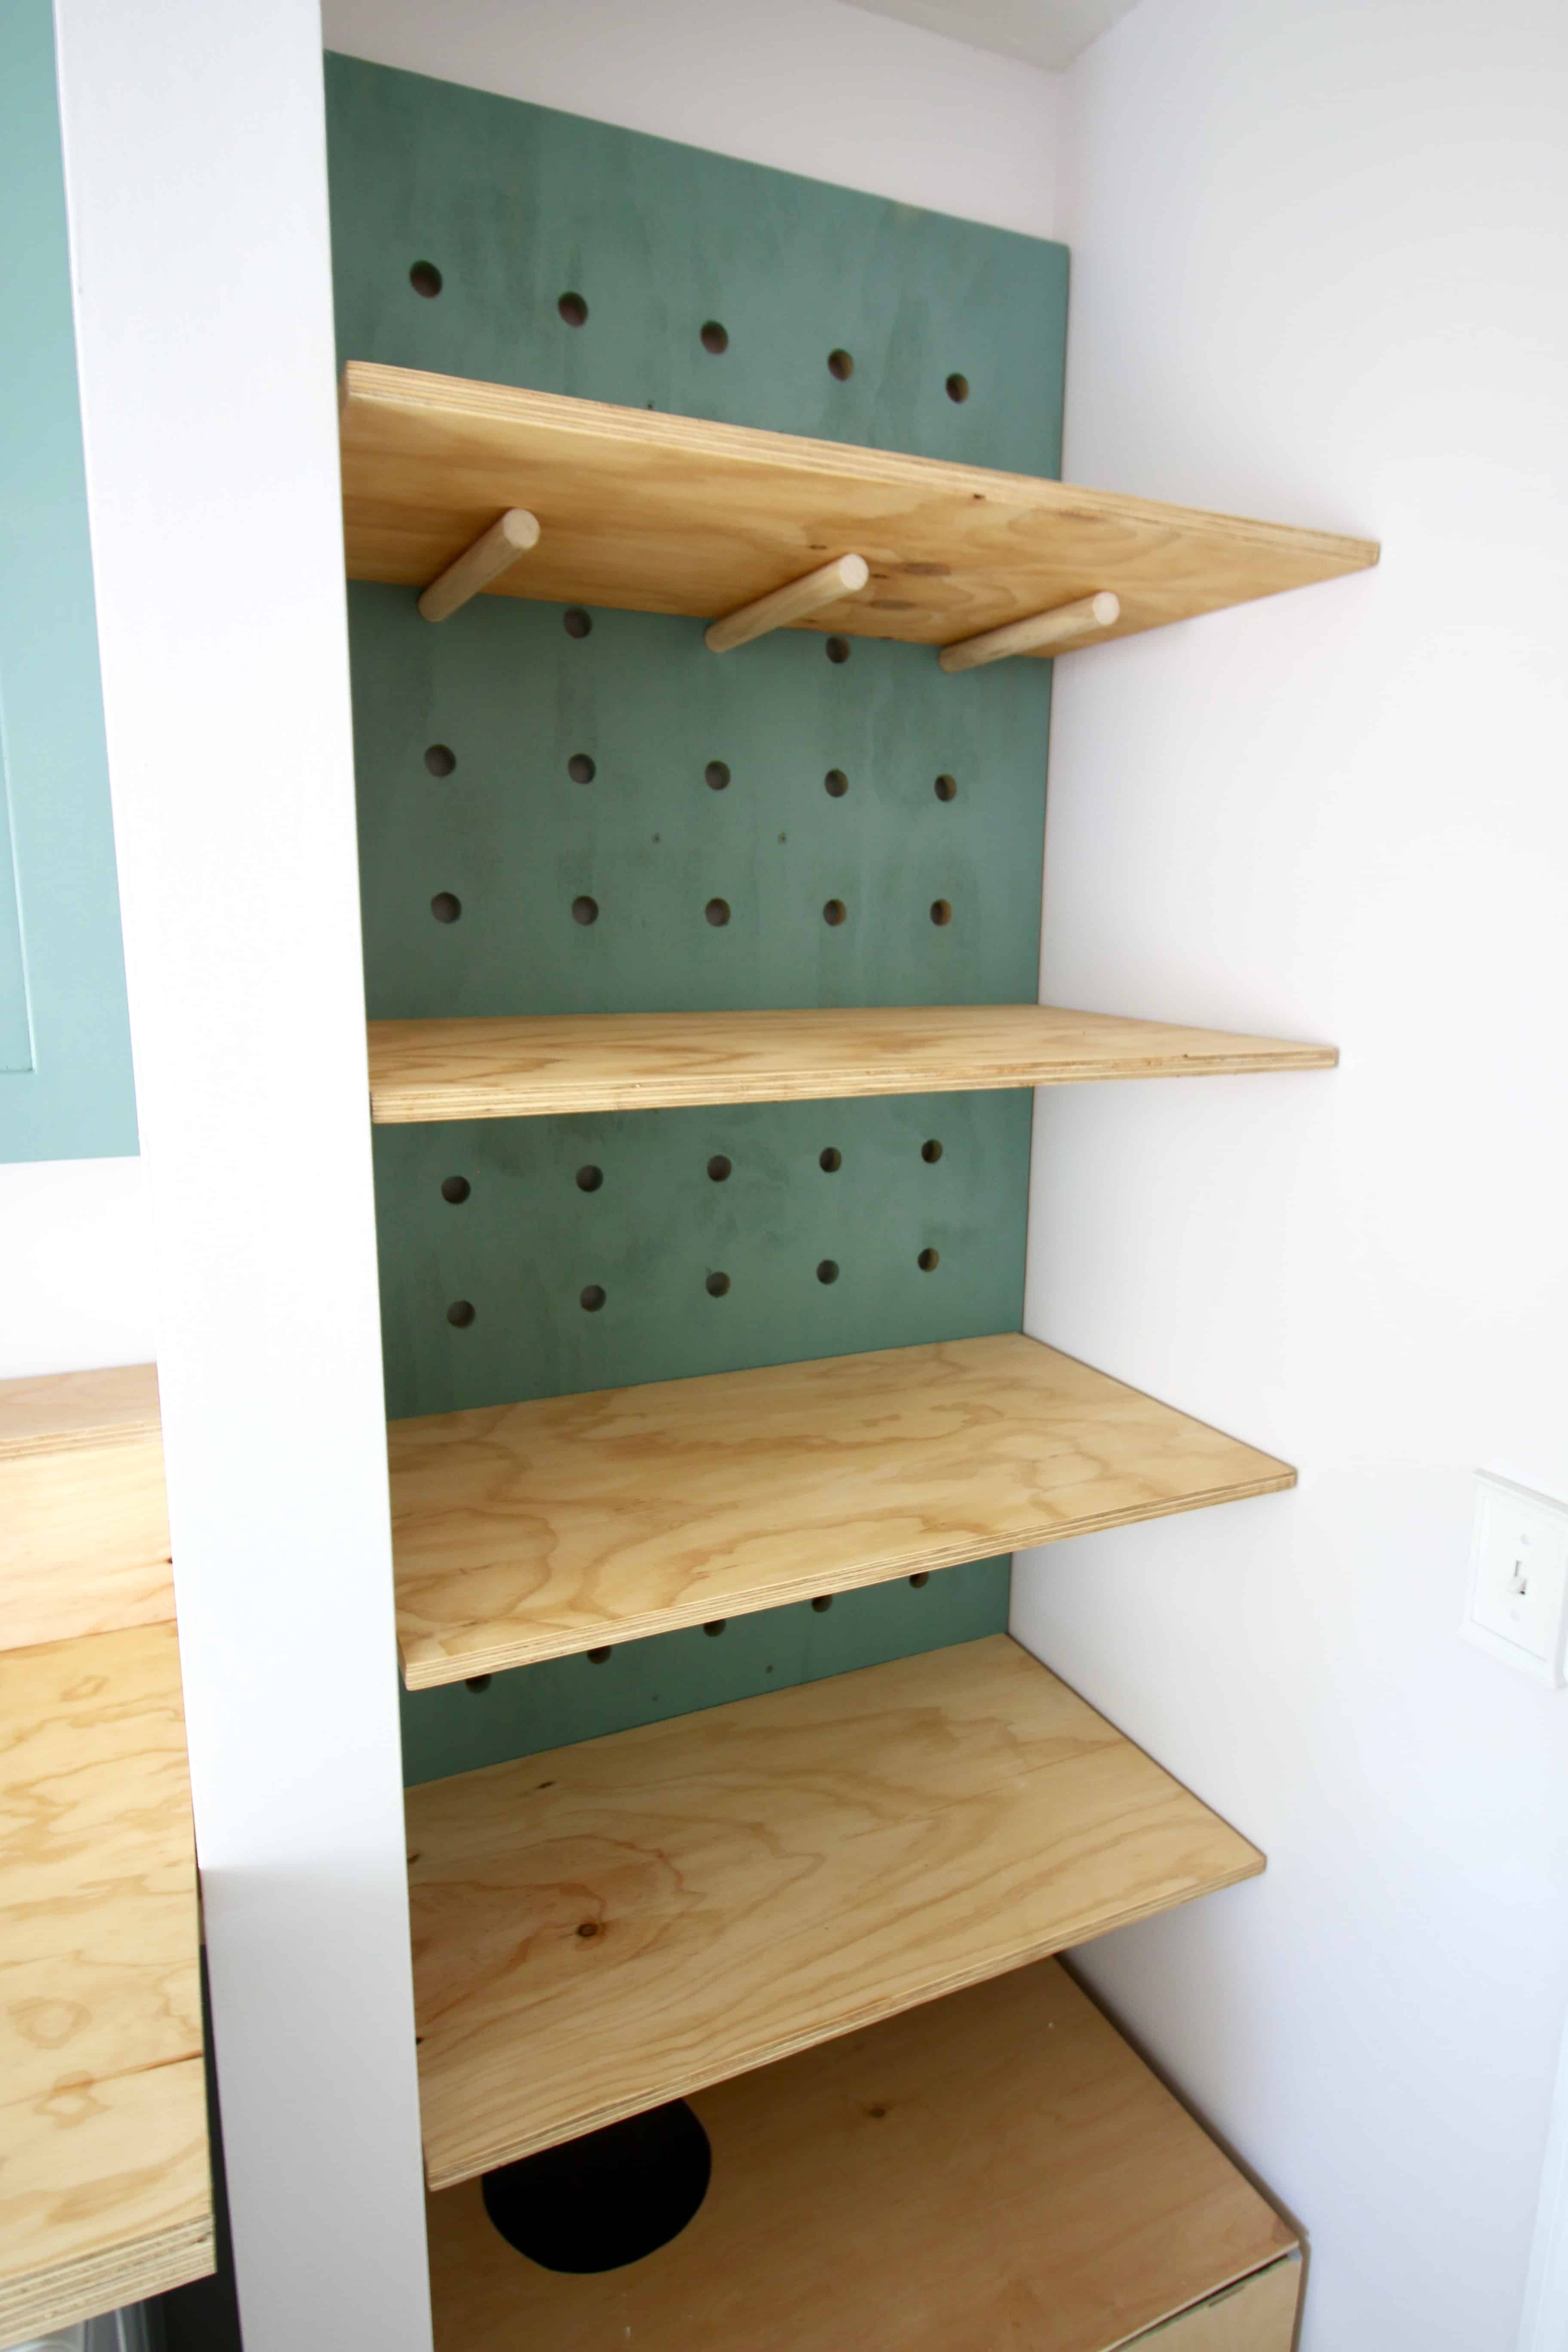
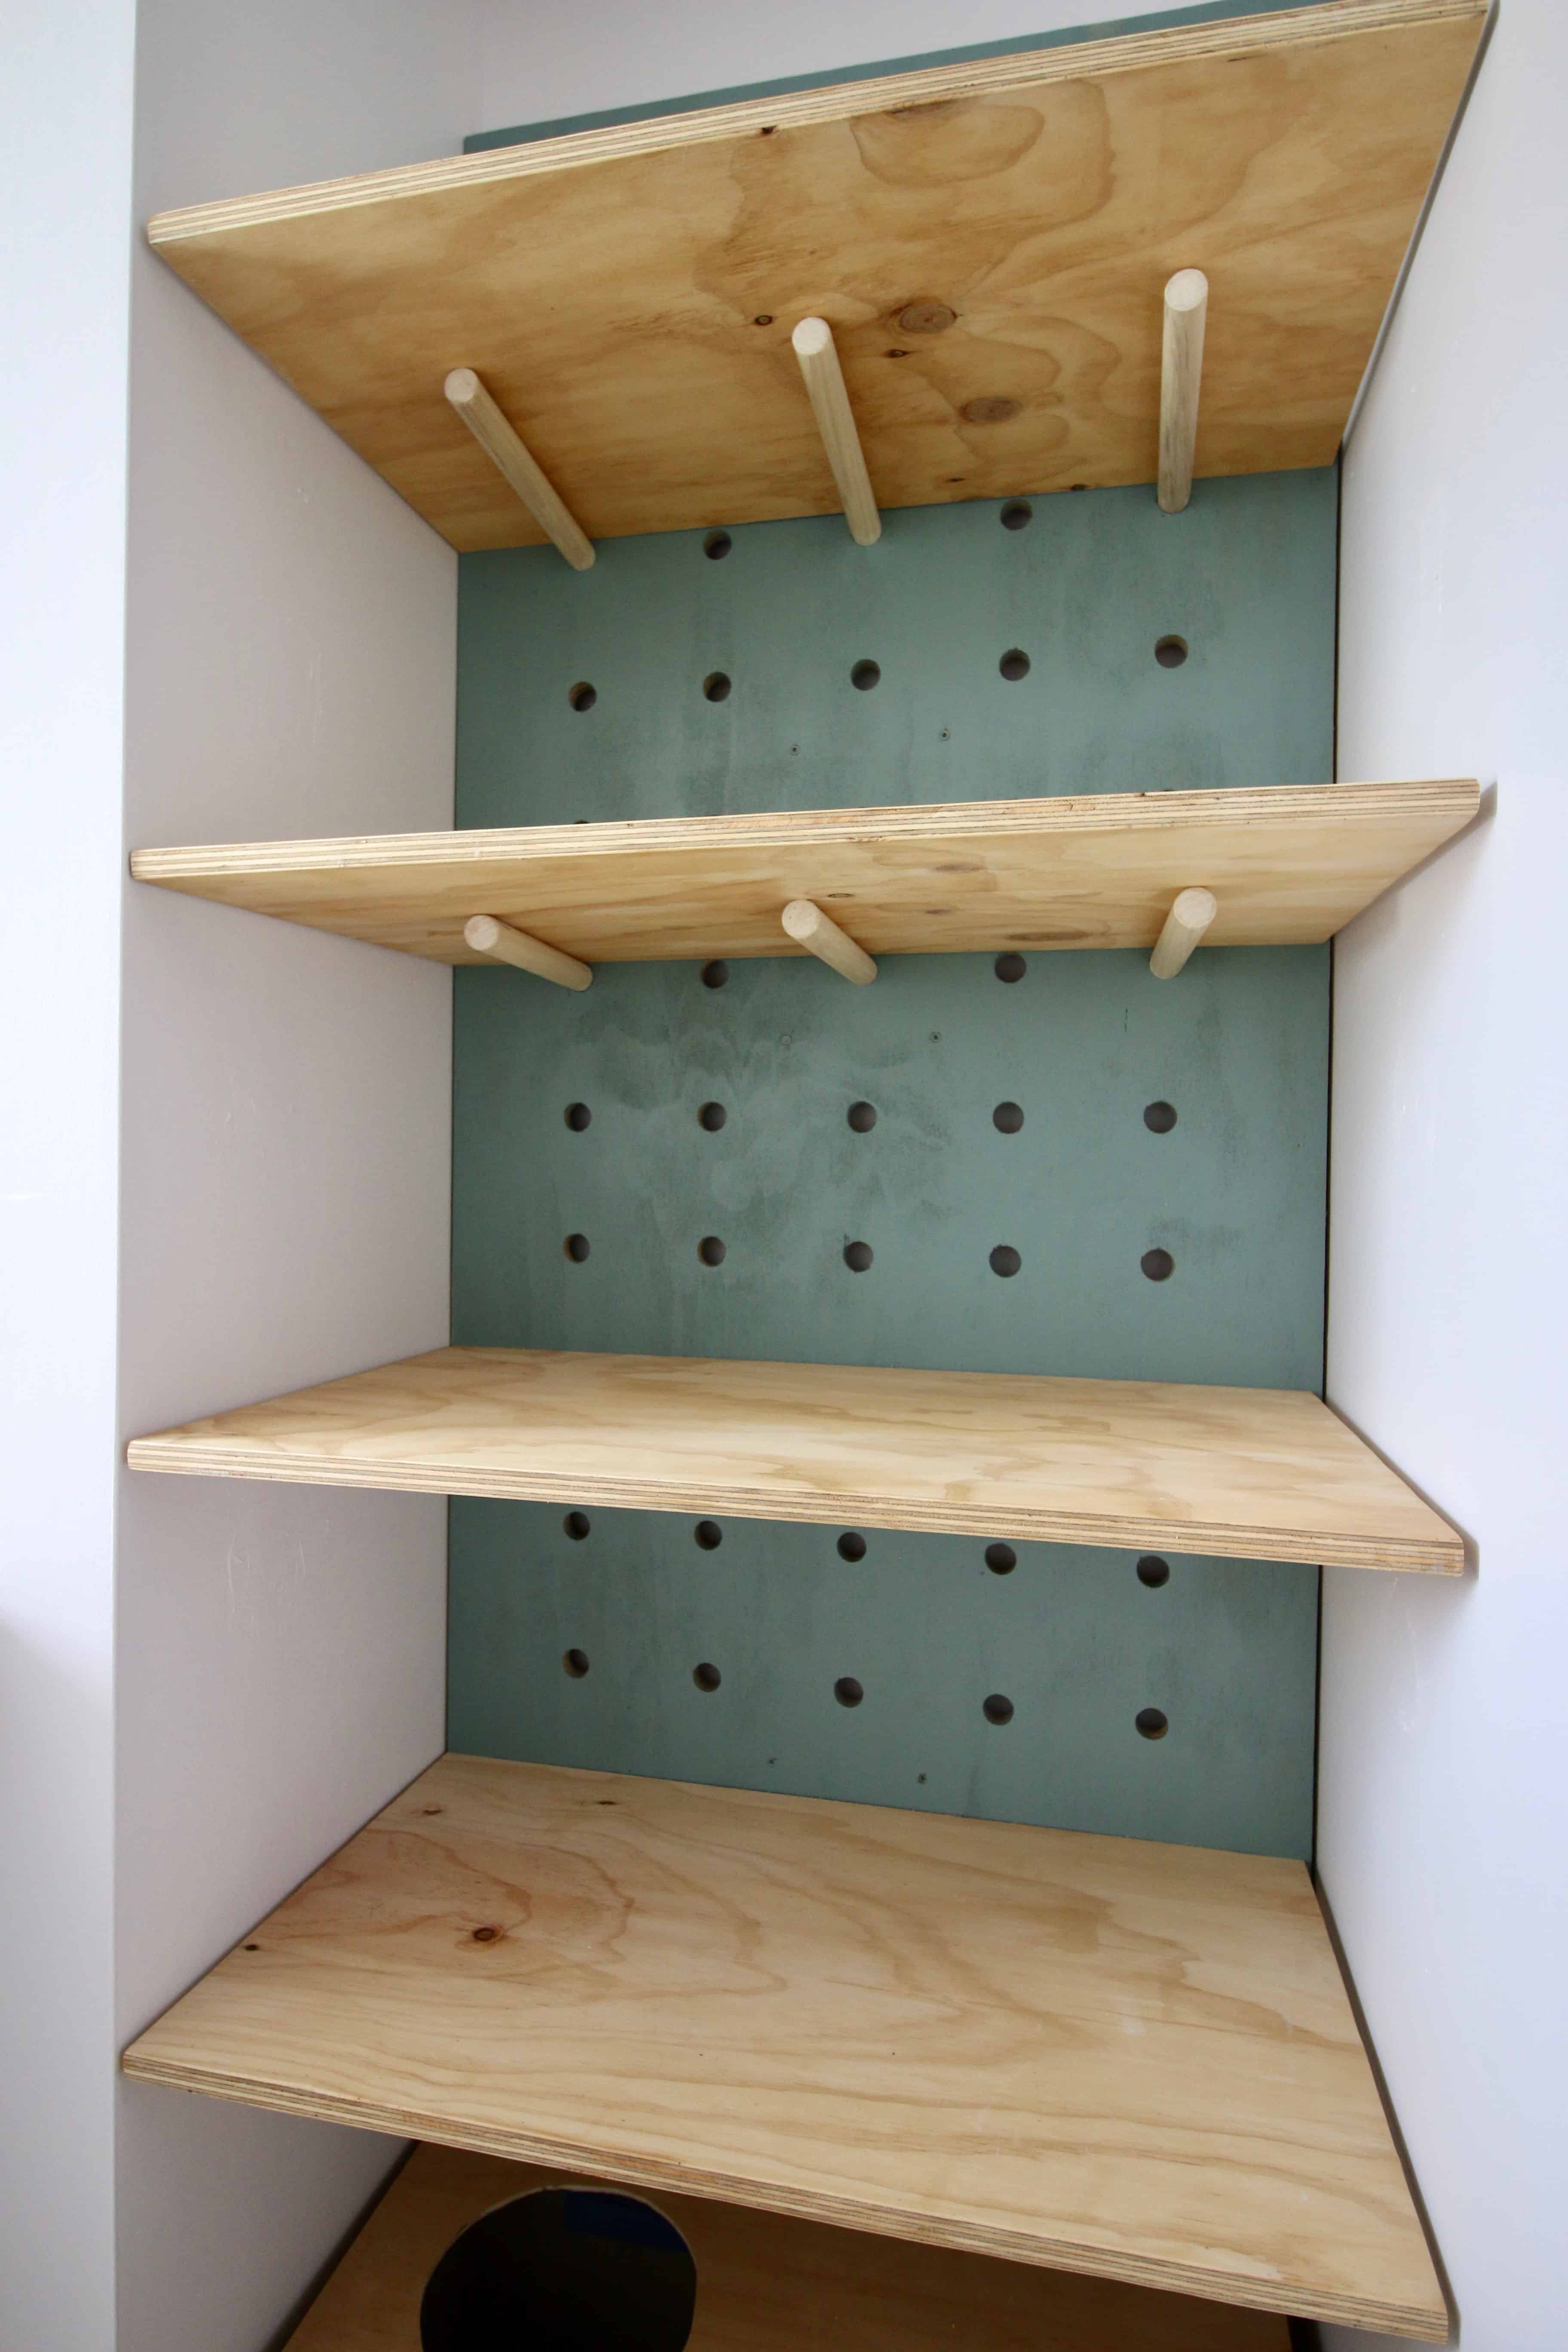
The shelves are now totally adjustable if we need to move them around depending on what we put on them. They look great and are extremely custom and unique.
Click here to pin this project to your Pinterest board!
Wooden shelves add a lot of function to any space. Make something a little different with these whimsical DIY oversized pegboard shelves! As an Amazon Associate and member of other affiliate programs, I earn from qualifying purchases.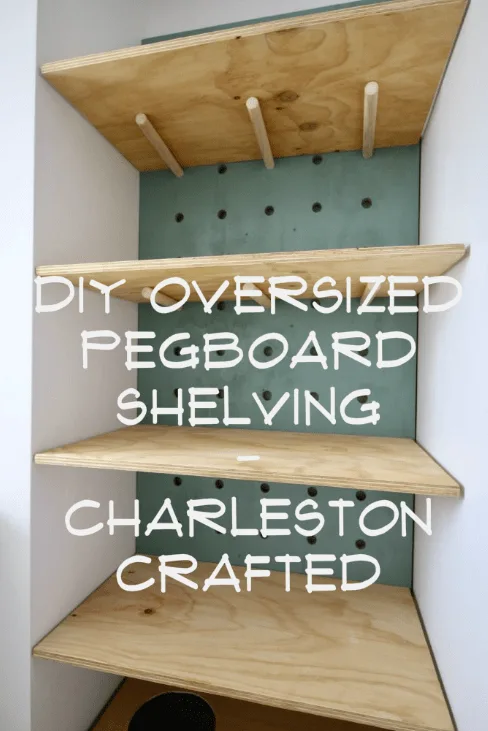
How to make Oversized Pegboard Shelves
Materials
Tools
Instructions
Notes
Recommended Products


Can’t wait to show you what we put ON the shelves and how we matched them somewhere else!
Be sure to check out our final Laundry Room reveal here!
| |
|||
| |
|
|
|


Hello, I’m Morgan, half of the creative force behind CharlestonCrafted.com! With a passion for DIY that dates back to 2012, I’ve transformed three homes and now I’m dedicated to helping others craft their dream spaces. Let’s turn your house into a home together!
Marilla
Thursday 18th of April 2019
Hi there, How much weight would you say these peg board shelves can hold? I'm considering them for a retail space to hold large glass jars.
Sean
Monday 22nd of April 2019
Hey Marilla. I think these would look awesome as a display shelf. They hold a pretty good amount of weight. I don't have an exact measurement, but on the lowest shelf is a full bag of cat food, plus all our pet supplies. One shelf is all towels. One is several sheet sets. The top shelf has a steam cleaner plus a bin of beach towels. Overall, I think it would hold a lot. As long as the pegboard is secured to studs and the dowel rods are fully through the holes, they should hold a large amount of weight as they are very solid pieces of wood. If you have any other questions, please let me know, and if you do build this out PLEASE share it with us as we'd love to see how it turns out!