Want to build some DIY closet shelves? You will love this simple and inexpensive tutorial!
We are fully making over our walk in master closet to maximize the use of storage space and to make it more beautiful. If you need a flashback, here is our progress so far:
Week 2: How to design a closet system in Excel
Week 3: How to remove a wire closet system - demo, patching, & painting
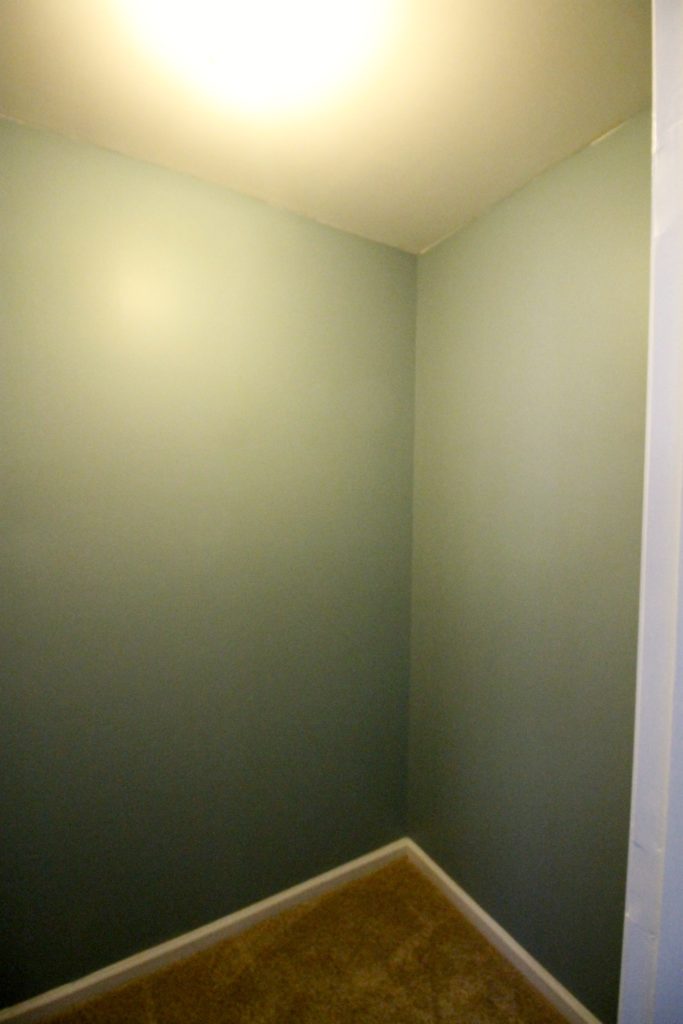
When we last left off, we had completely demo-d the space. We removed the old system, patched the walls, and painted. We were left with a rather blank canvas. Now came the fun part - building! I wanted a wooden closet system.
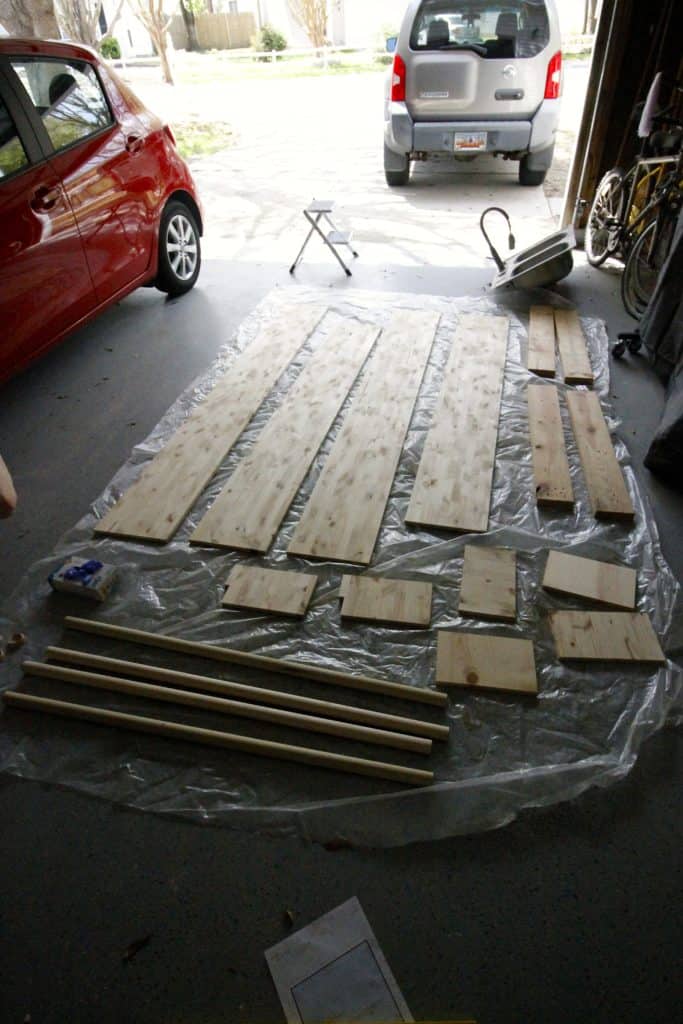
I initially planned to paint all of the wood white, but since we have 0 natural elements in here, I decided that a stained wood would bring in that warmth that I was looking for. Luckily, I had already designed the closet system, so Sean just had to translate that design to a wood shopping list and pick up all the pieces.
Here are 26 DIY wooden closet organization systems to inspire you!
DIY Closet Shelves
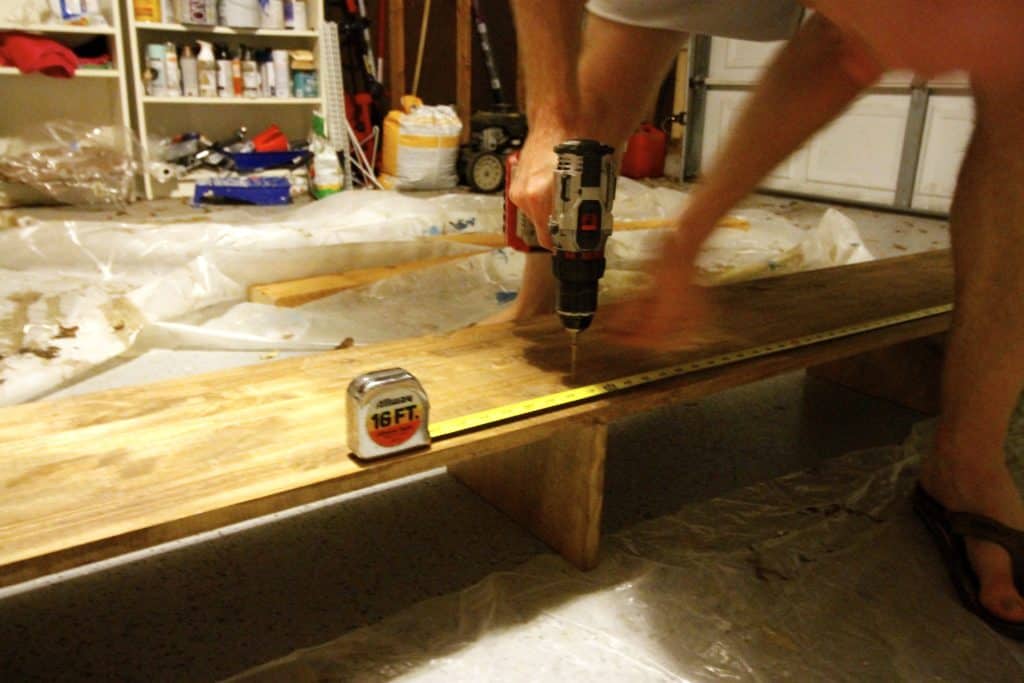
To build the system, we opted to get 40 feet of 1x10 pine boards. Being only 10 inches wide, we knew that clothes on hangers wouldn't fit entirely into the structure, but to get wider pieces of wood was going to add about $60 to our cost so we decided it didn't matter.
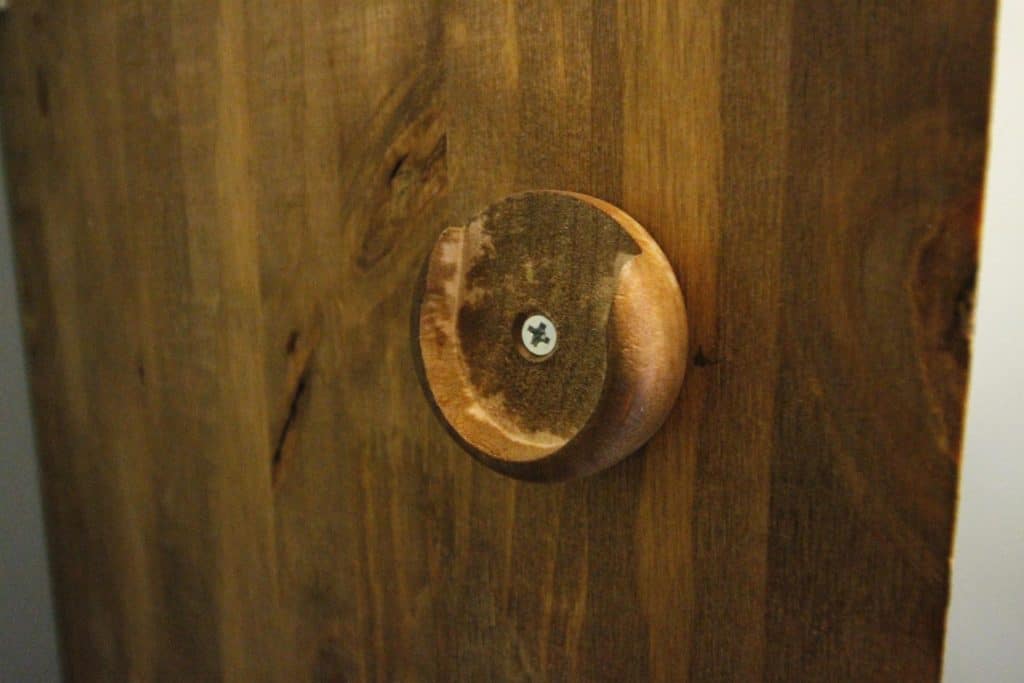
The main point was to create sections that were the right size. We started out by cutting one to the length of the closet. Then, we cut four 7 inch tall pieces to create a base for the structure and screwed them together perpendicular to the long board. We took that section into the closet and attached it to the wall with small L-brackets.
I stained all of the pieces with Minwax Early American stain. This actually ties really nicely with the barn door leading to the bathroom about 3 feet from this closet. I am so glad that we went with the stained wood finish! Here are my best staining tips if you are a novice.
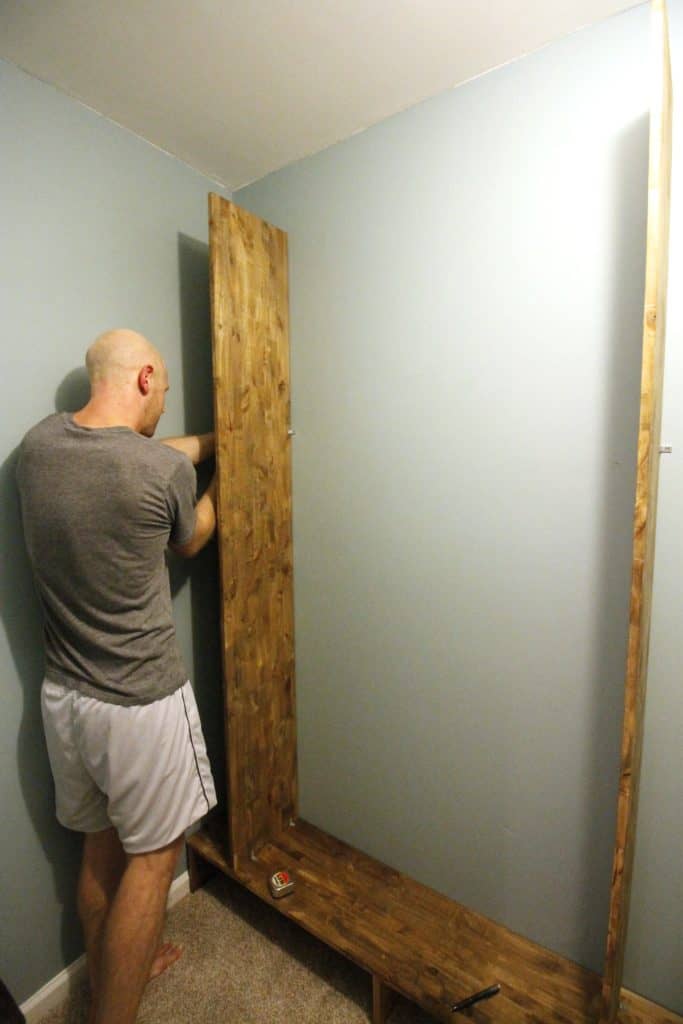
Next up with construction was to add two vertical boards. We attached these to the base section and the wall using L-brackets.

Next, we attached one more section horizontally to the top, with a long board and two more 7 inch boards, creating three sections on the top.
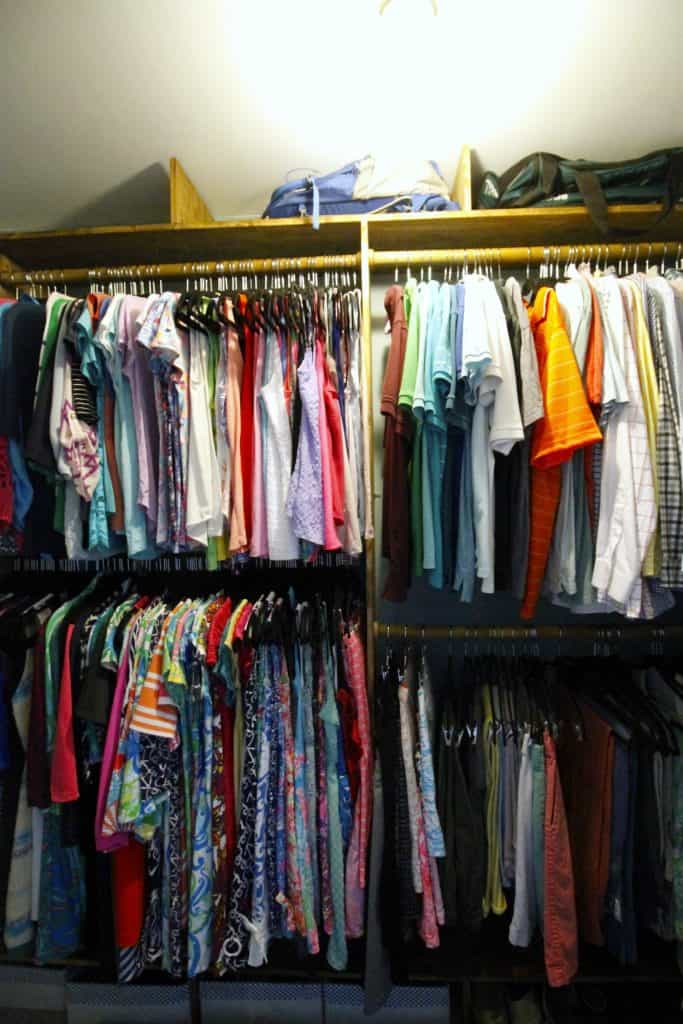
Finally, we added wooden rods at the appropriate heights. We made sections for man shirts, lady shirts, dresses, maxi dresses and all pants. The rods were put at the right heights to accommodate those types of clothing.
We also added 2 major decor pieces at this time. The first is the 18 light chandelier. It is really bright and dramatic! I actually got this at Christmas and hung it in our hallway, but the arms blocked the opening to our air vent!
This fits much better in this space - the touch of glam is great & it is seriously bright! It can get really hot so it is important to use LED bulbs with this kind of light - I got these & love the vintage vibe and that they are LED 2 watts! It has 18 light sockets but I only used 12.
We left the ones closest to the closet system empty because Sean was worried about knocking them with hangers/clothes. I think that it looks totally fine without those bulbs.
The other accessory is the rug. It is actually 3 bath mats from Home Goods in a row. I couldn't find a runner to fit the space so I had to fake it. You might remember that I wanted a (faux) fur rug, but Sean vetoed it. This brings in the blue color, covers the tan carpet (that I clearly did not pick) and brings in that texture I was looking for.
What do we have left? Sean just finished building a slanted shoe rack, but I want to add some purse storage to it before sharing. We are re-purposing the linen closet this week and should have an update for you on that next week.
We need a solution for belts + ties that is a little more sophisticated than the current situation. Then we just need a few accessories and final touches and we will be finished!

Looking for something?
We've been doing this since 2012 so we have a LOT of blog posts!
Search stuff like: Ceiling Projects | DIY Plant Stands | Thrift Flips

Hello, I'm Morgan, half of the creative force behind CharlestonCrafted.com! With a passion for DIY that dates back to 2012, I've transformed three homes and now I'm dedicated to helping others craft their dream spaces. Let's turn your house into a home together!


Tee @ Beauteeful Living says
You guys are so awesome for doing this DIY all yourself! Looks so much better than the old closet set! Nice job!
Ariel says
Looking good! So many people buy the closet systems, but I would have never thought of making my own!
Sarah says
The closet system looks SO good! You can't beat a custom closet made exactly for your needs.
Emy says
The stained wood looks so pretty! Great job!
Lora says
I love the look of wood closet systems -- and I bet you saved TONS compared to purchasing one.
Kelley @ Coastal Kelder says
I love the stained wood! Can't wait to see the finished product!
Cassie Bustamante says
this looks awesome! i love the wood and the customization!
Lisa J Wood says
A well-built closet is priceless! Well done Morgan and Sean!
Erin says
Well done! This is a great use of the space! (And yes - purse storage...haha.)
Brittany Goldwyn says
Awesome job! We are thinking about doing something like this in our bedroom closet. It's a decent size but isn't really functional at all. It's either that or an Ikea system...we'll see!