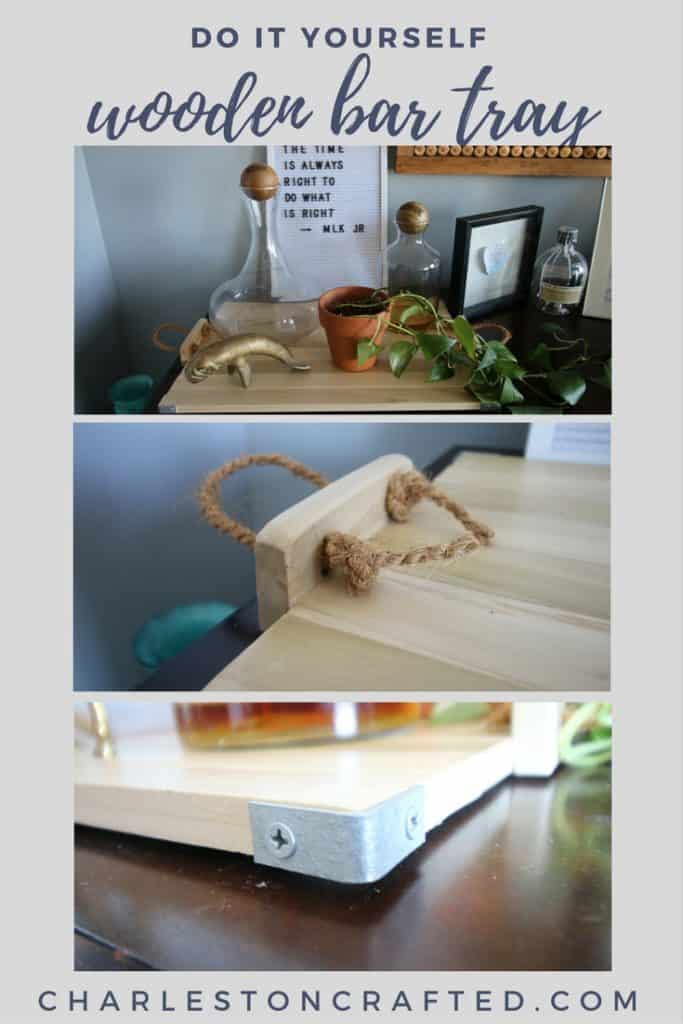
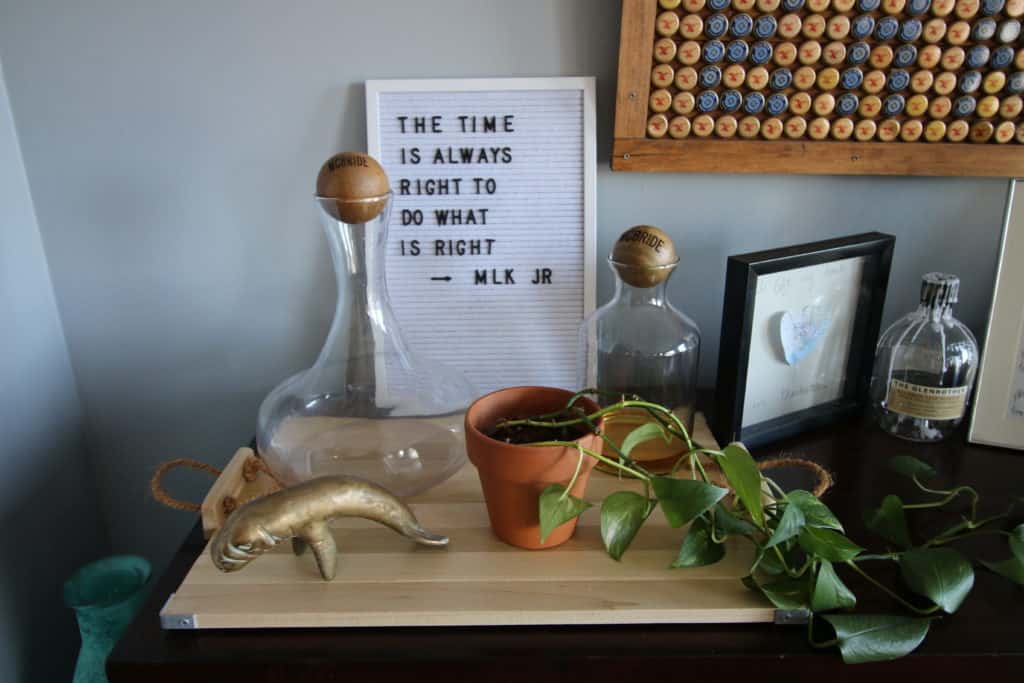
Wondering how to make a wooden tray? Here is a simple tutorial featuring cute rope handles!
Trays are great decor to add to any area of your home. They work to protect lower surfaces, corral decor together, and add detail and interest to any shelf or tabletop.
Trays also make a great gift - I particularly love to give them as host/hostess gifts!
Today we want to share a tutorial for how to make a wooden tray with rope handles. It's a simple build but a totally cute result!
How to Make a Wooden Bar Tray
This is a simple way to make a wooden bar tray. You don't have to have fancy equipment or a lot of skill to make a simple bar tray.
Working with simple lumber from the hardware store and tools you definitely have around the garage, you can make a really functional, beautiful bar tray.
Supplies needed:
- Lumber of choice - we used 1"x2" poplar
- Wood glue
- Bar clamps
- Saw
- Sander
Steps to make a wooden bar tray:
Here are the steps to follow to make a simple wooden bar tray.
Step 1: choose your wood
Start out by getting some nice wood, like poplar or oak, something with a nice grain.
If you want things done for you or you don't have a table saw, pre-cut, four foot long 1"x2" boards actual size ¾"x1 ½") are great for this project. If you feel like ripping some boards down, power to you.
When we originally built this project, we used the pre-cut 1x2s, but now we would definitely rip it down as we've gained more tools and experience.
Learn more about actual vs common dimensions in lumber here!
Step 2: Make your cuts
Here's the cuts you'll need to make a good sized wooden bar tray:
- (9) Slats- 20" x 1 ½" x ¾"
- (2) Handles- 5 ½" x 1 ½" x ¾"
If you're using pre-cut slats, you can just cut these down with a miter saw. If you need to cut them down from a 1x4 first, you can use a table saw to do that.
Then, sand all cut edges for a smooth finish.
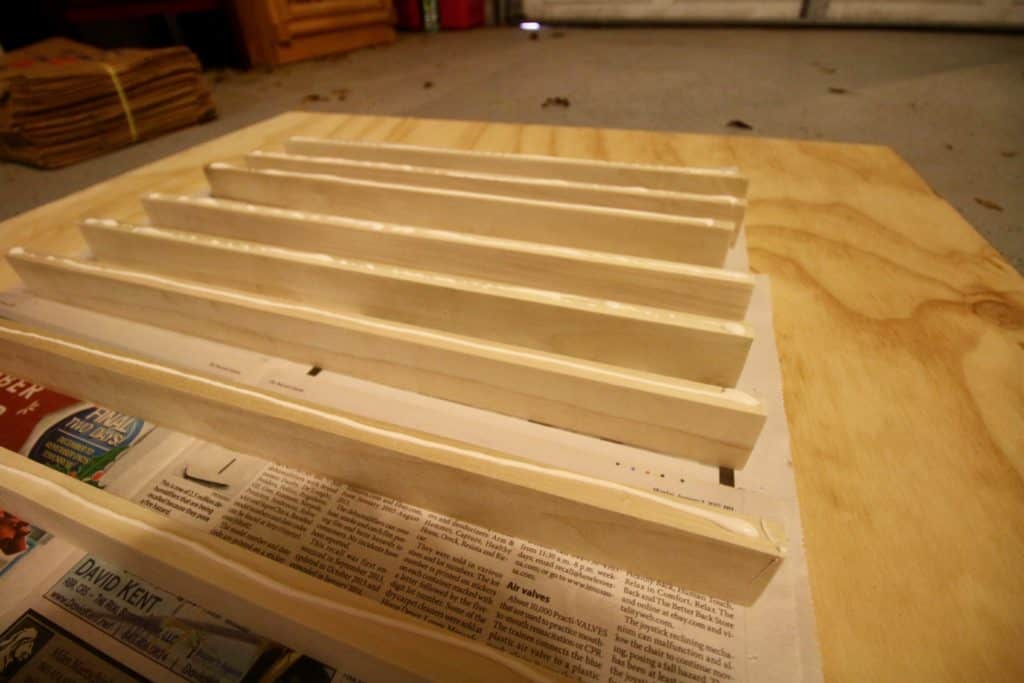
Step 3: arrange the boards
After sanding them all down, we arranged them based on how we liked the grain. The light grey undertone to the poplar we chose was actually going to work perfectly for our space to balance out the dark walnut bar top.
If you want a stain, now would be be the time to do it. Here are the best food-safe wood stains, if you plan to put food on it!
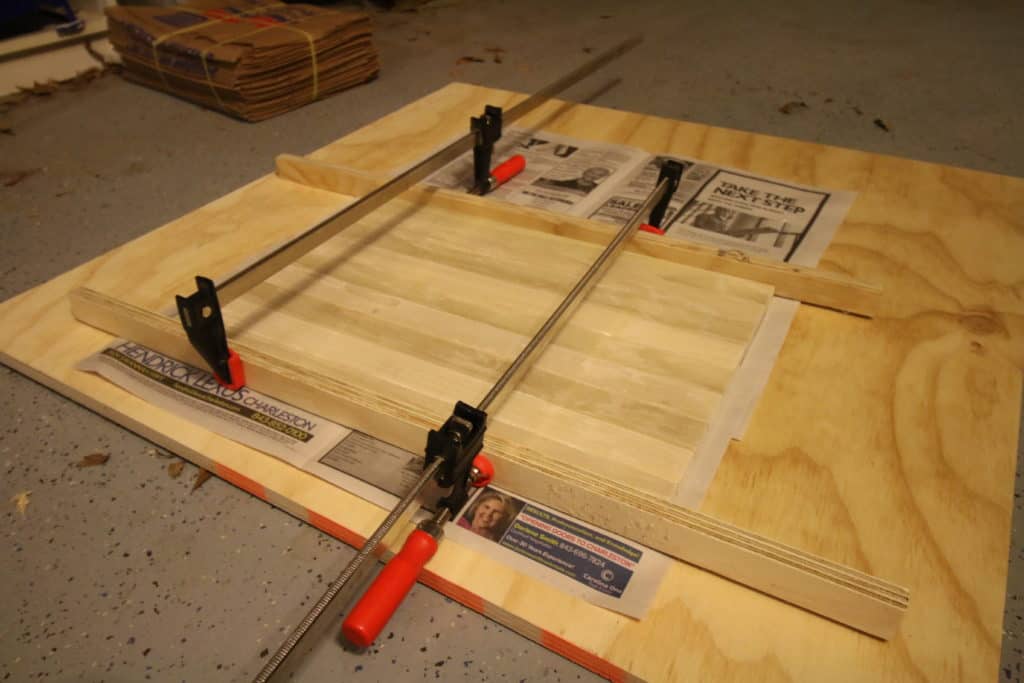
Step 4: Glue the boards
We then stood each board on its side and put a line of Gorilla Glue down on each edge.
Then we turned them down, pressed them together, and clamped them tight with two long bar clamps.
Step 5: Make the handles
While the glue dried, we took two of the scraps cut off of the boards and used our RYOBI One+ jigsaw to cut a half moon on one edge of each piece.
We drilled two holes in each piece to thread rope through as a handle later.
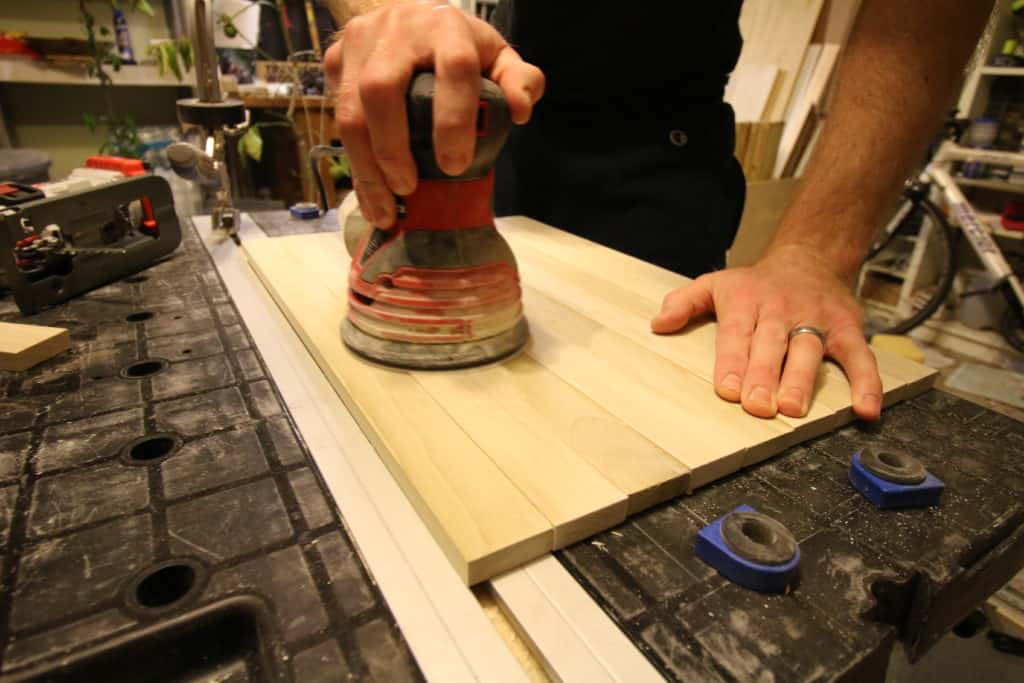
Step 6: Final sand
After the glue was dry, we sanded down the entire tray to make sure all the glue was gone and the edges were flush.
Then, we used the Gorilla Glue again to attach the two curved pieces to the two sides and clamped them down.
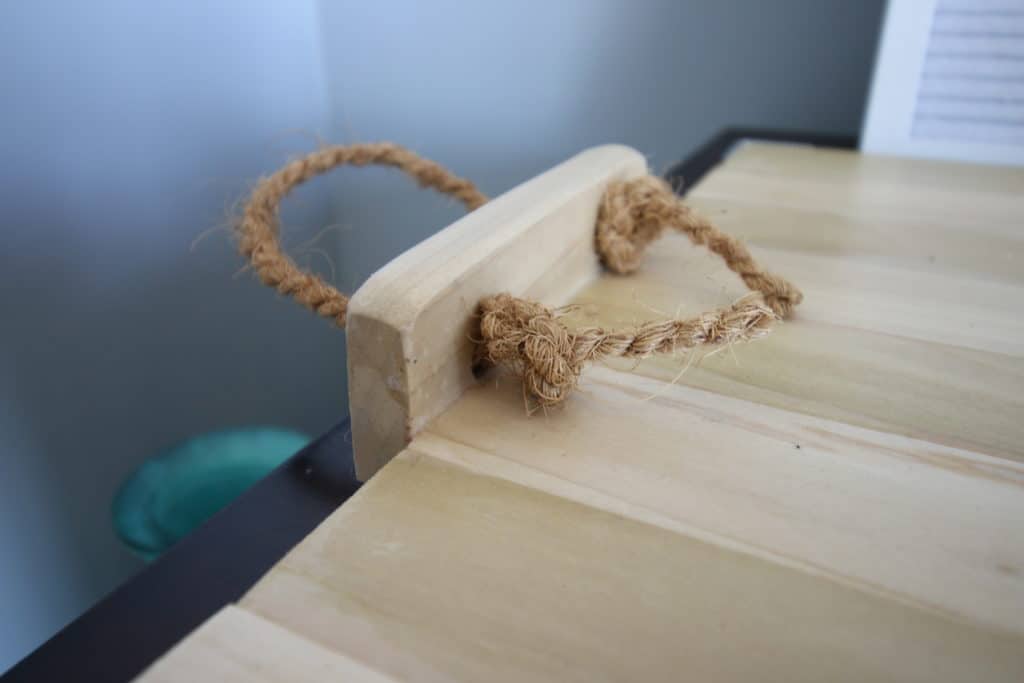
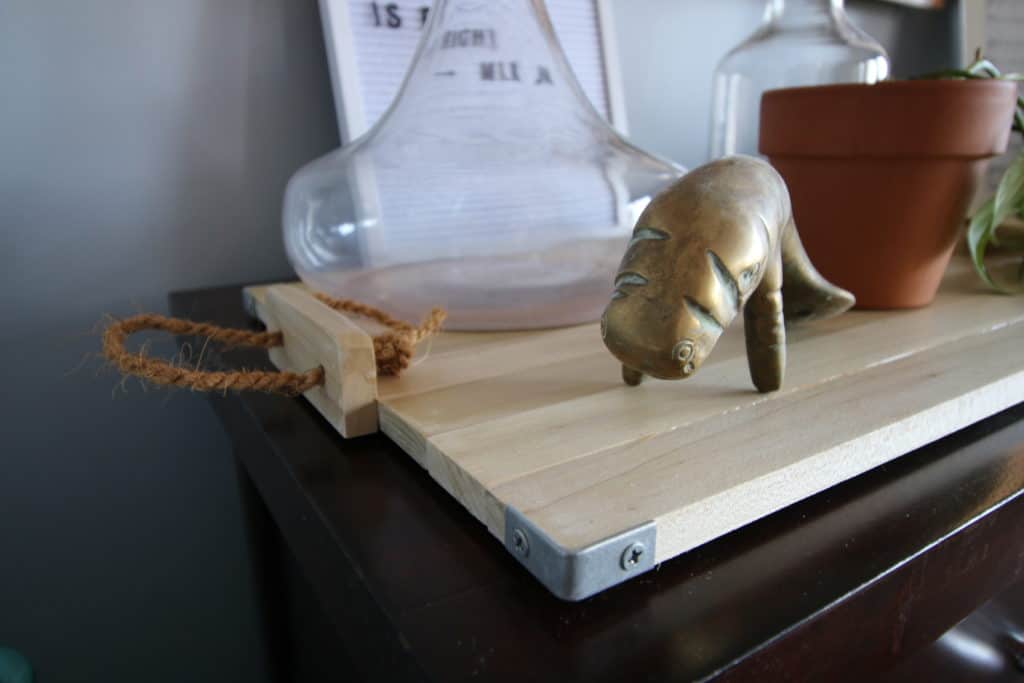
Step 7: Add handles
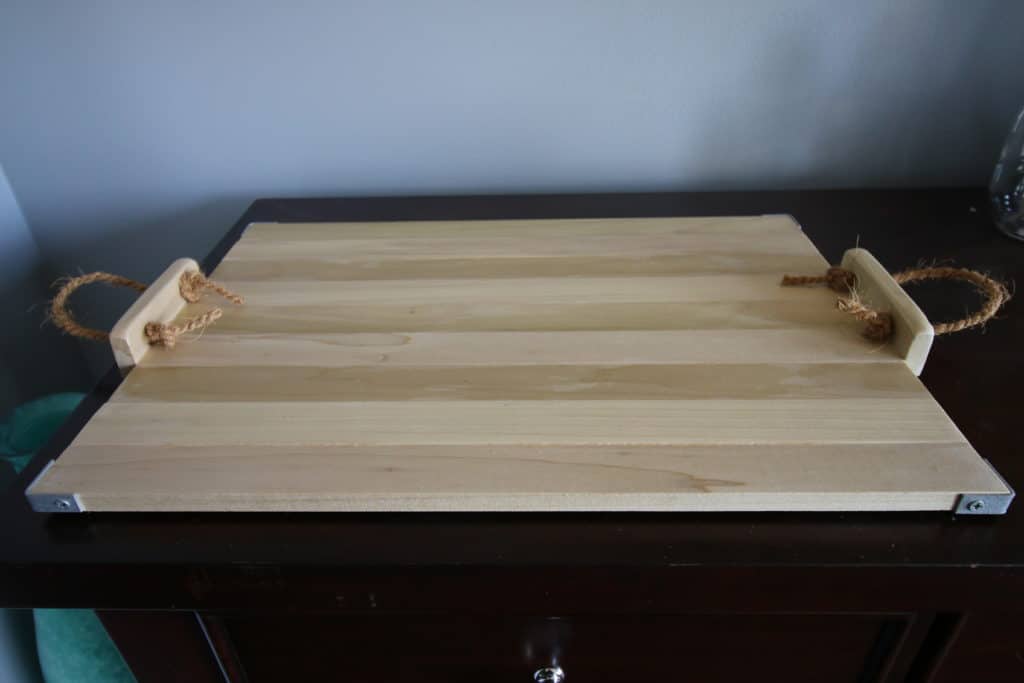
Once everything was done, we threaded the rope through the holes and tied knots off on each end. Then we added 1" corner braces to each corner to finish off our rustic look.
How to attach rope handles to wood
The easiest way to attach rope handles to wood is to drill 2 holes into the wood and thread the rope through, knotting in place. If you don't want to drill holes, adding eye screws can work as well.
You can use super glue or hot glue to attach rope to wood as a decorative accent, but it will likely not hold it strongly enough to work as a handle. Hardware is necessary for that secure of a connection.
DIY wooden bar tray
If you're looking for how to make a wooden bar tray, there are lots of levels and ways to do it, but this is a quick and simple method for doing it.
This project is highly customizable and we would love to see what you do with it. You can make a beautiful wooden bar tray with just a few pieces of wood, wood glue and rope.
You can do anything!

Looking for something?
We've been doing this since 2012 so we have a LOT of blog posts!
Search stuff like: Ceiling Projects | DIY Plant Stands | Thrift Flips

Hey there, I'm Sean, the woodworking enthusiast and builder behind CharlestonCrafted.com! Since 2012, I've been sharing the magic of turning raw materials into beautiful creations. I love teaching others the art and satisfaction of woodworking and DIY. I try to inspire fellow crafters to make something extraordinary out of nothing at all.