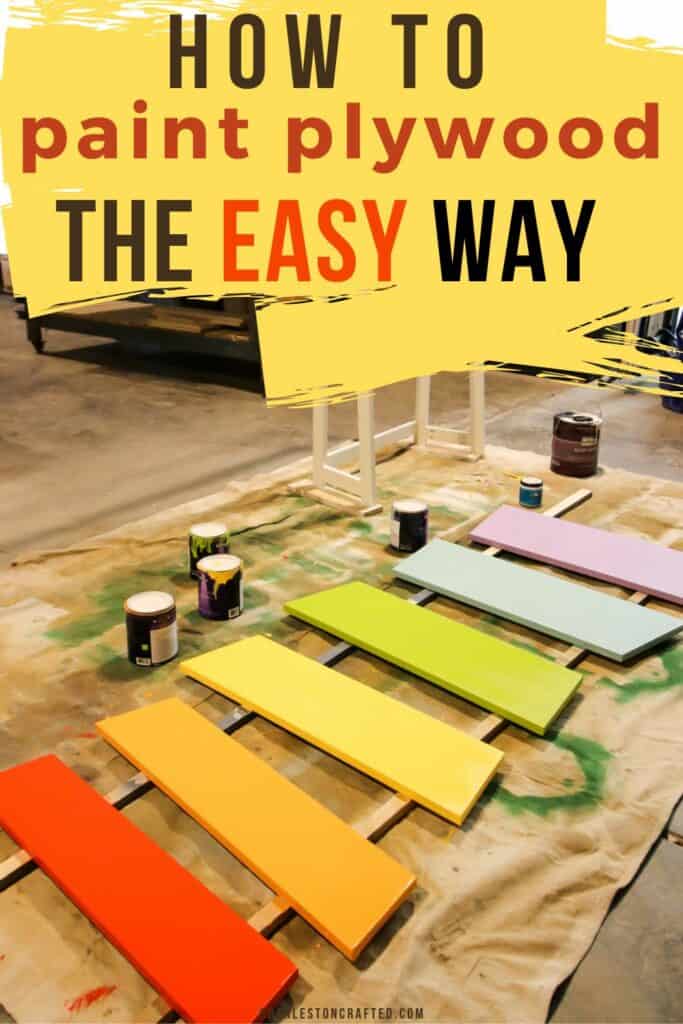
Have a plywood project that you would like to paint - the easy way? Here is a step by step tutorial on how to paint plywood!
We love building projects with plywood because it is easy to cut into custom pieces and is often cheaper than buying a lot of individual boards.
It's a super versatile and affordable building material!
But, if you aren't used to working with plywood, you might have some questions about the process!
Today we wanted to chat about how to paint plywood, with a step by step tutorial and some common questions and concerns!
What Kind of Paint Do You Use on Plywood?
It is important to choose the right type of paint to paint on plywood.
We typically use latex wall paint to paint our plywood projects. It is affordable, accessible, and comes in tons of colors.
Go for a high quality paint and primer in one for best results.
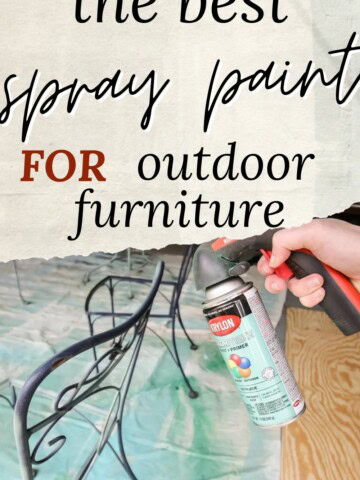
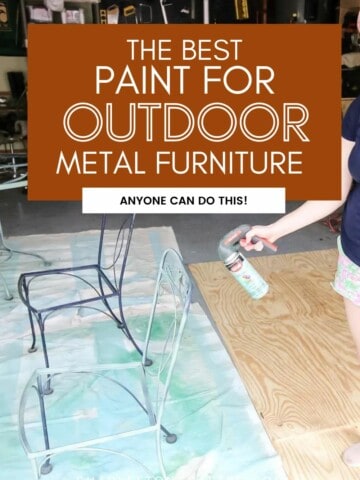
You can also use an aerosol spray paint to paint plywood. This is best for small projects, but is a super cheap and easy option that also comes in a ton of options.
Or, consider dying your plywood! I have used food coloring on small plywood projects - just know that it takes a LOT of food coloring to make a larger amount of dye and you might be better off $$-wise buying paint.
Can I Just Paint Over Plywood?
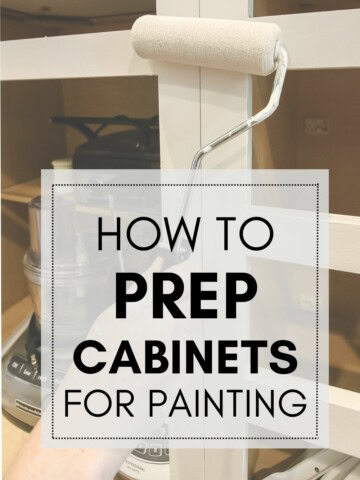
You can paint directly onto a sheet of plywood, but for best, long-lasting results, it's ideal to do a little bit of surface prep.
If your plywood surface isn't prepared properly, the paint might not adhere well, which can lead to a frustrating process and potentially to peeling paint.
To prepare your plywood for paint, you want to:
- Fill any holes with a paintable wood filler and sand until smooth with the surface of the plywood.
- for an ultra-smooth, solid wood look, fill the edges with wood filler, too!
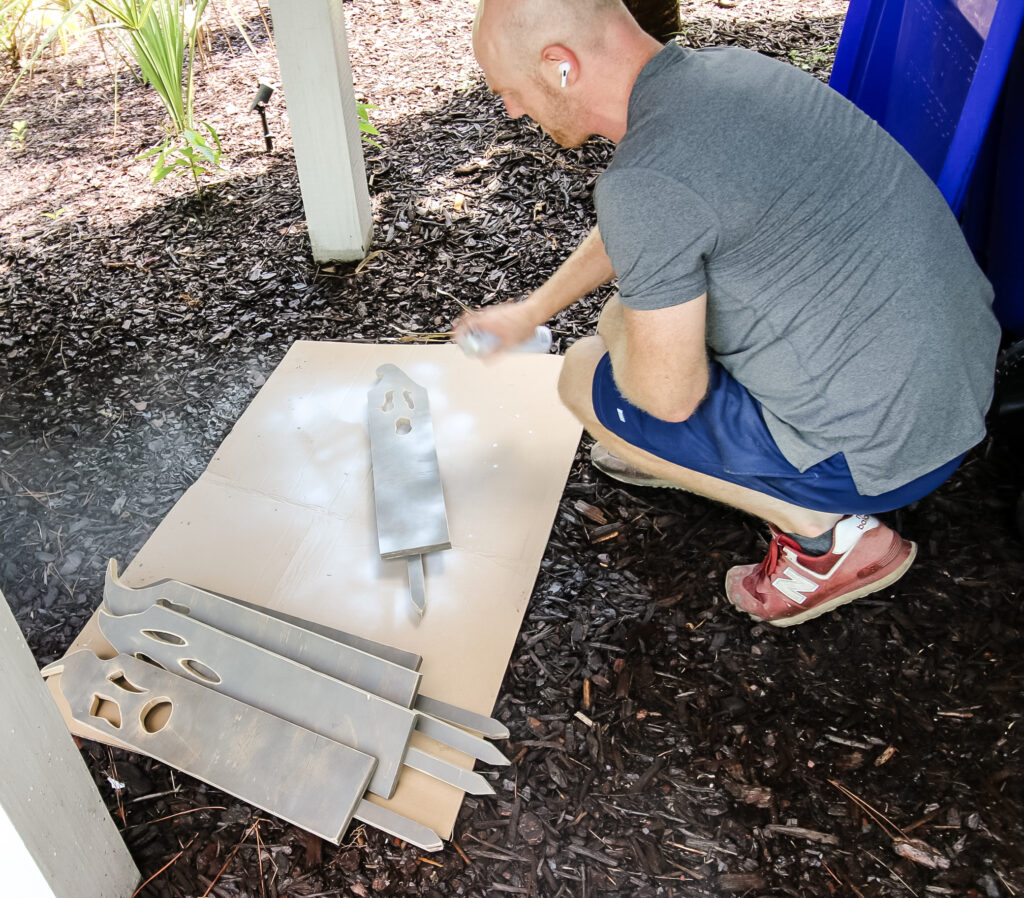
- Sand with 220 grit sandpaper across the entire surface. This removes any coating that might prevent paint from sticking.
- Wipe clean with a cloth to remove all dust and debris.
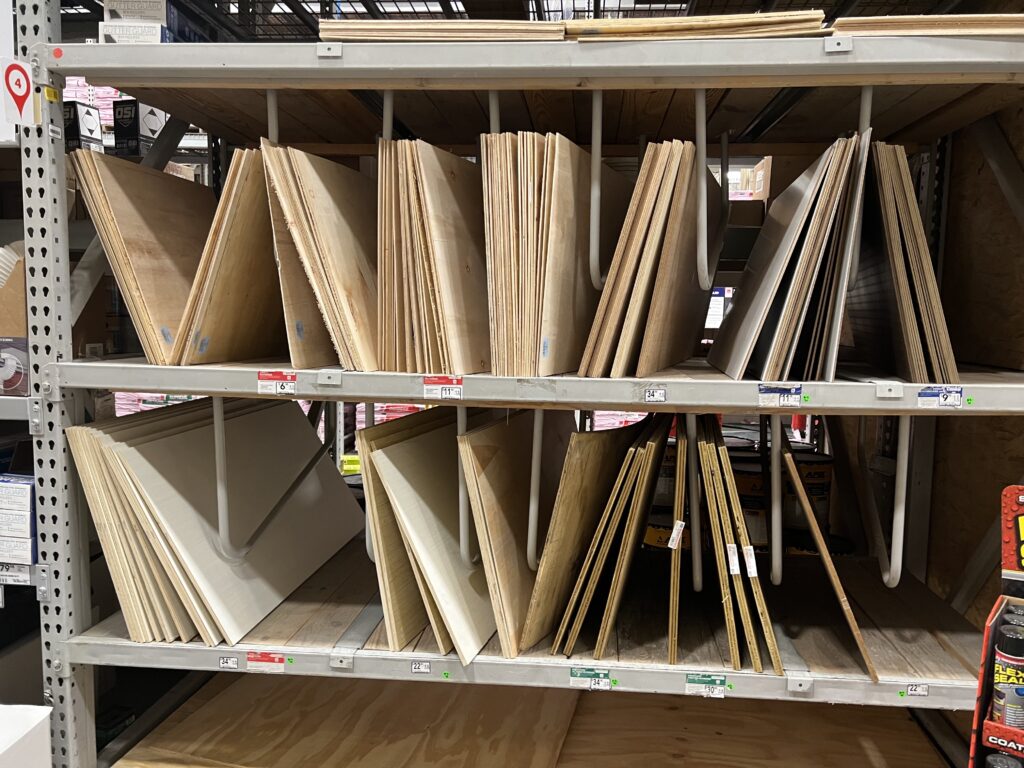
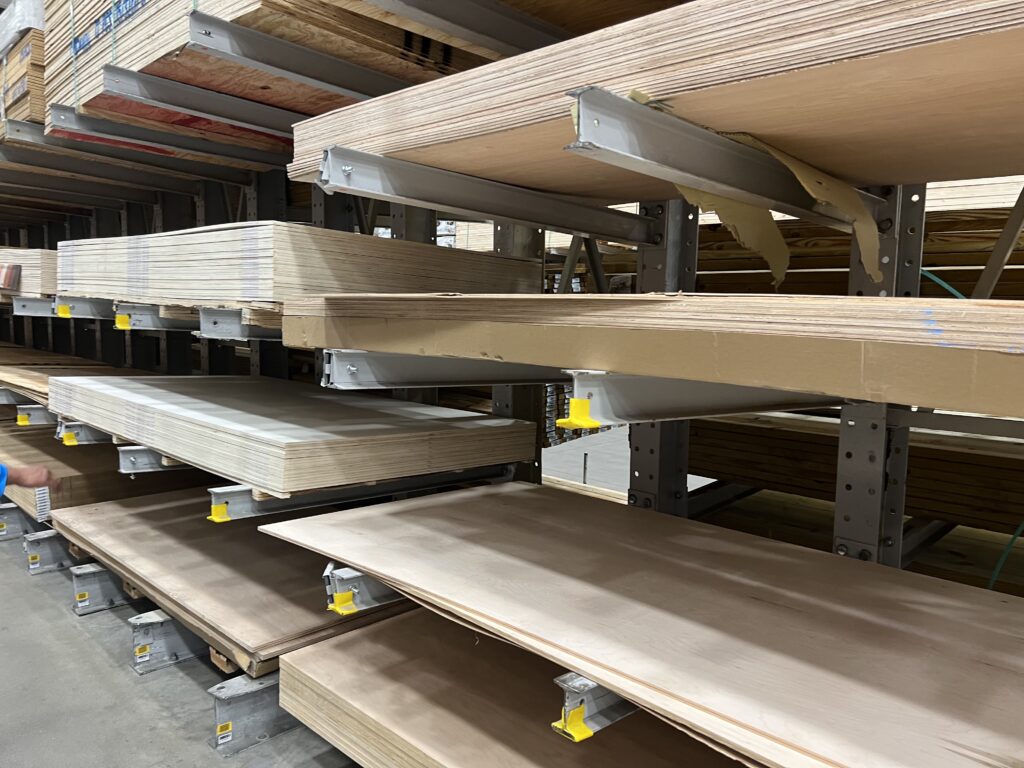
What plywood is best for painting?
Generally, plywood with a hardwood veneer is going to look the smoothest as possible after painting. go for the cheapest option if you plan to just cover it with paint (no need to splash for oak!)
Particle board is never going to get a smooth look!
Do I Need to Prime Plywood Before Painting?
You do not have to prime plywood before painting it, though primer can help to cut down on the number of coats of paint needed for full coverage.
If your plywood has dark knots or markings in the grain and you want to paint it a light color, using a primer can help you to get full coverage easier.
Additionally, if your plywood piece will be handled a ton and you expect a lot of wear and tear, using a good primer can be a part of a very durable painting process.
We personally prefer to use a latex paint or spray paint that is a paint + primer in one. But, I have used Kilz primer on a wood with particularly dark knots.
Is It Better to Paint or Spray Paint Plywood?
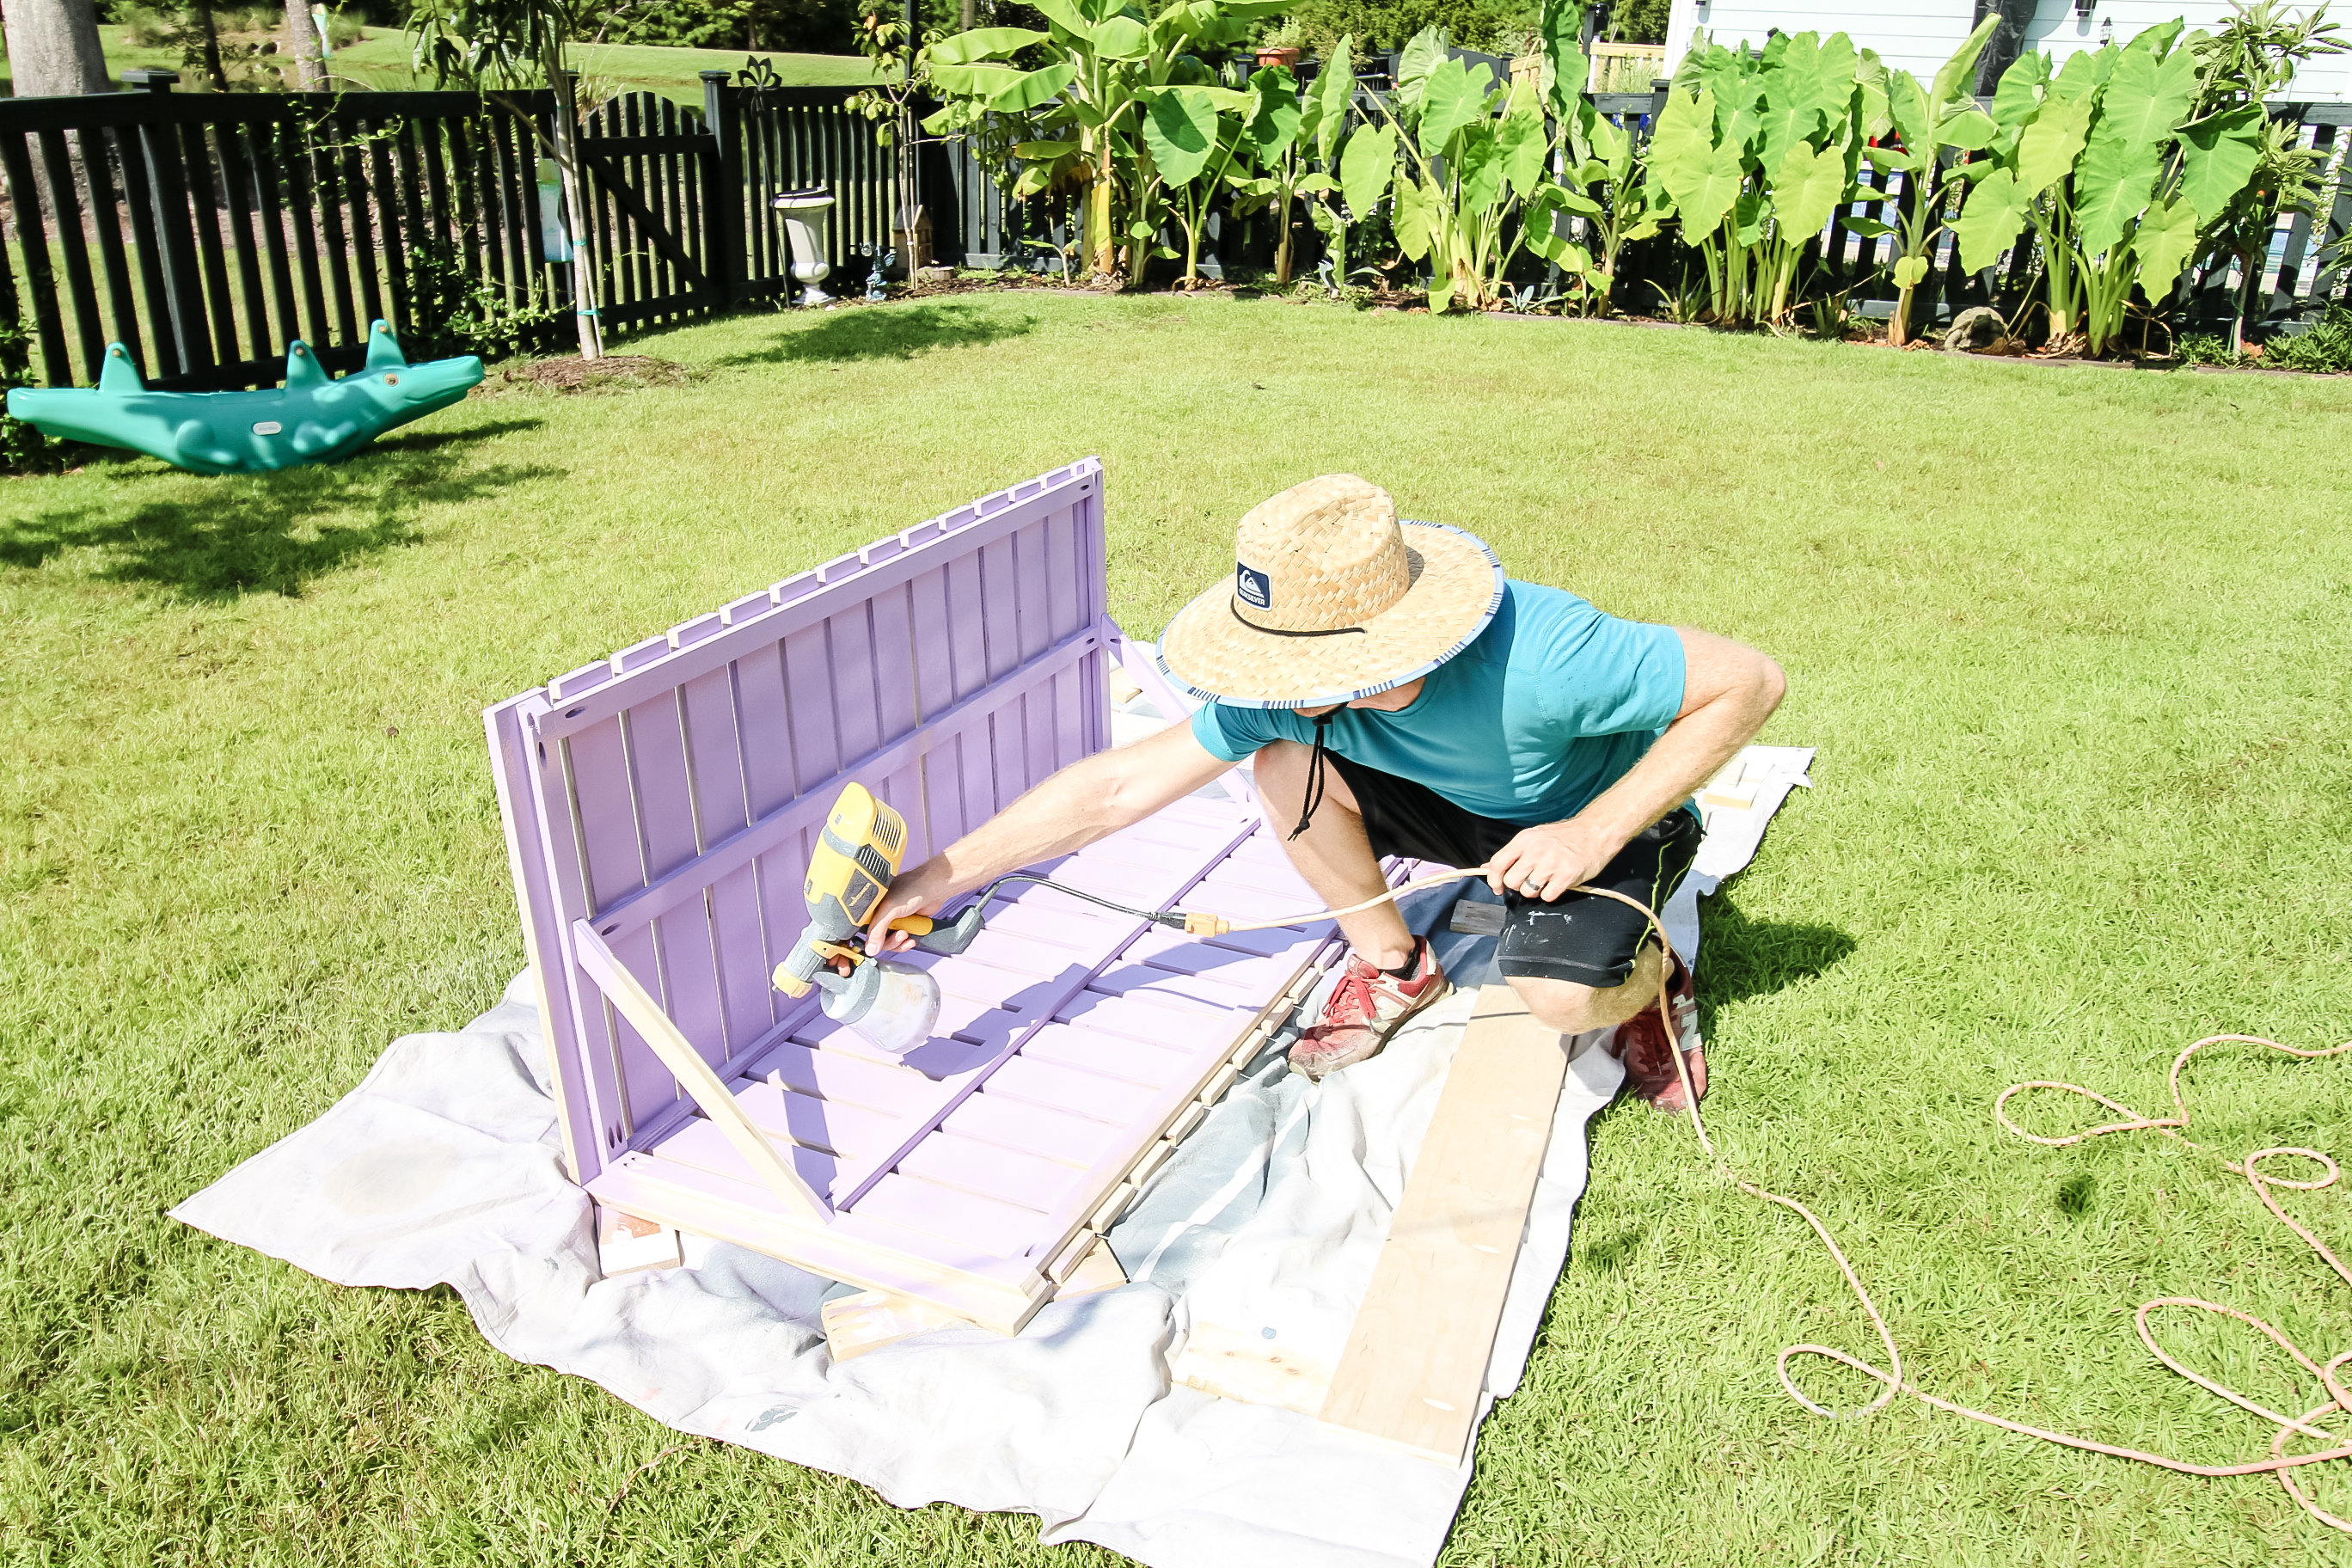
You can use either a paint brush/roller or a paint sprayer to paint plywood. We've even used a can of spray paint on plywood! Here's what to consider.
When to spray paint plywood
We prefer to use a paint sprayer to paint plywood when it is an intricate build with a lot of edges. For example, a crib with a lot of slats.
This could be a nightmare to paint by hand, but the paint sprayer makes it easy to do pretty quickly.
With a paint sprayer, do you spend more time doing prep, work and clean up then you do actually painting. Just go slowly and do a few thin coats to avoid drips that come with thick coats of paint.
We also have used just like a regular can of spray paint on plywood, too. This is best when you have a small more crafty type project.
Spray paint comes in so many colors. It is cheap and easy and requires very little set up or clean up, so it is always my go to for a small crafty project.
When to paint plywood by hand
I prefer to paint plywood by hand when you have a simple project maybe mostly one big flat sheet of plywood without too much detailing.
The benefit of painting by hand is that you don't have as much set up, you can do it indoors easier without making a mess, and it can be faster overall for a small to medium simple project.
Do You Paint Plywood with a Roller or Brush?
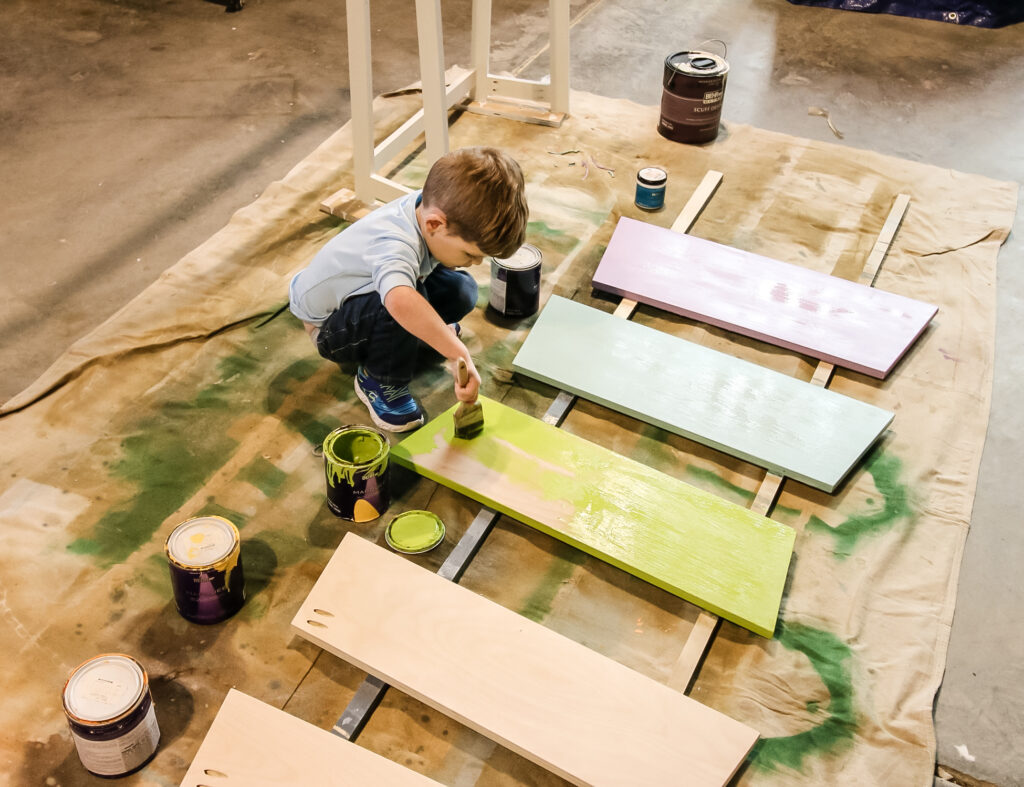
We prefer to use a roller for large, flat sheets of plywood and a brush for any detail or edge work.
A roller - particularly a mini foam roller - is going to give you the smoothest possible finish. But, they are hard to get into small inner corners and tight areas.
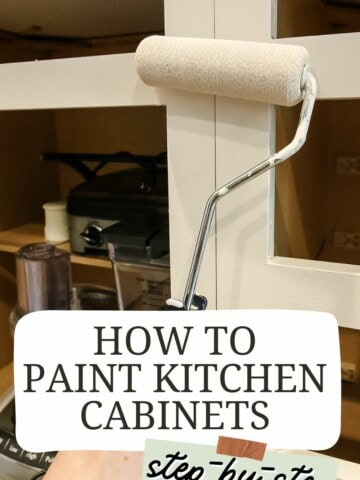
How to paint plywood
Here are the steps to follow to paint plywood with a flawless finish.
Materials needed:
- Plywood or plywood project to paint
- Mini foam paint roller + tray
- Angled paint brush
- Latex paint
- Polyurethane
- Drop cloths or tarp to protect your space
Always work in a well ventilated space when painting!
Steps to paint plywood:
- Lay out drop cloths to protect your floor
- Sand your project with 220 grit sand paper and then wipe clean with a cloth
- If there are dark spots or knots, consider coating with a primer first
- Use a paint brush to apply paint to any edges, corners, or tight spots.
- Coat the rest of the piece with a mini foam roller.
- Lightly sand with 220 grit sandpaper in between coats to improve adhesion.
- Repeat for a second coat.
- Allow to dry fully before flipping to do the backside.
- Finish with a polyurethane top coat for the most durable possible finish!
How to paint plywood
Here's how easy it is to paint plywood at home!
Materials
- Latex paint
- Sand paper
- Optional - primer
- Cloth
- Polyurethane
Tools
- Mini foam paint roller + tray
- Angled paint brush
Instructions
- Lay out drop cloths to protect your floor
- Sand your project with 220 grit sand paper and then wipe clean with a cloth
- If there are dark spots or knots, consider coating with a primer first
- Use a paint brush to apply paint to any edges, corners, or tight spots.
- Coat the rest of the piece with a mini foam roller.
- Lightly sand with 220 grit sandpaper in between coats to improve adhesion.
- Repeat for a second coat.
- Allow to dry fully before flipping to do the backside.
Finish with a polyurethane top coat for the most durable possible finish!
Any more questions about painting plywood?

Looking for something?
We've been doing this since 2012 so we have a LOT of blog posts!
Search stuff like: Ceiling Projects | DIY Plant Stands | Thrift Flips

Hello, I'm Morgan, half of the creative force behind CharlestonCrafted.com! With a passion for DIY that dates back to 2012, I've transformed three homes and now I'm dedicated to helping others craft their dream spaces. Let's turn your house into a home together!