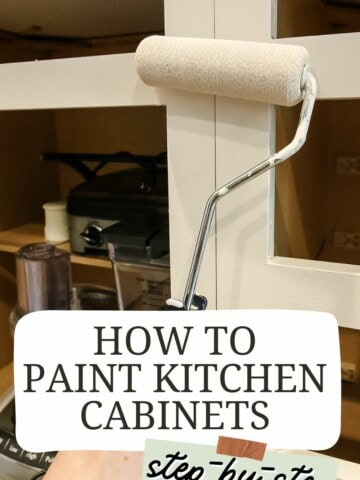
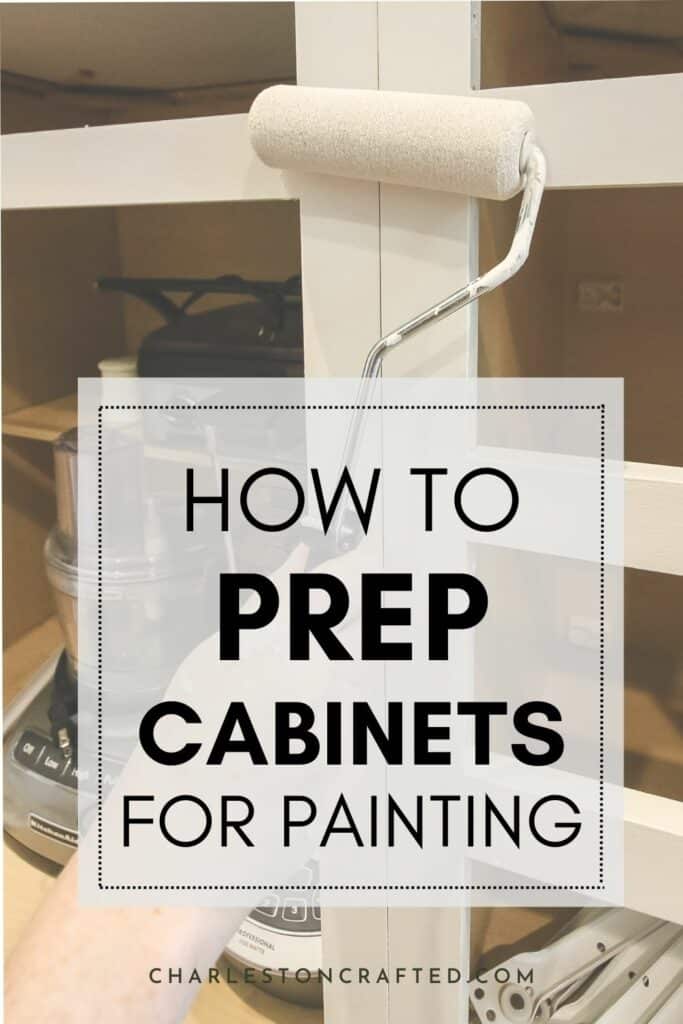
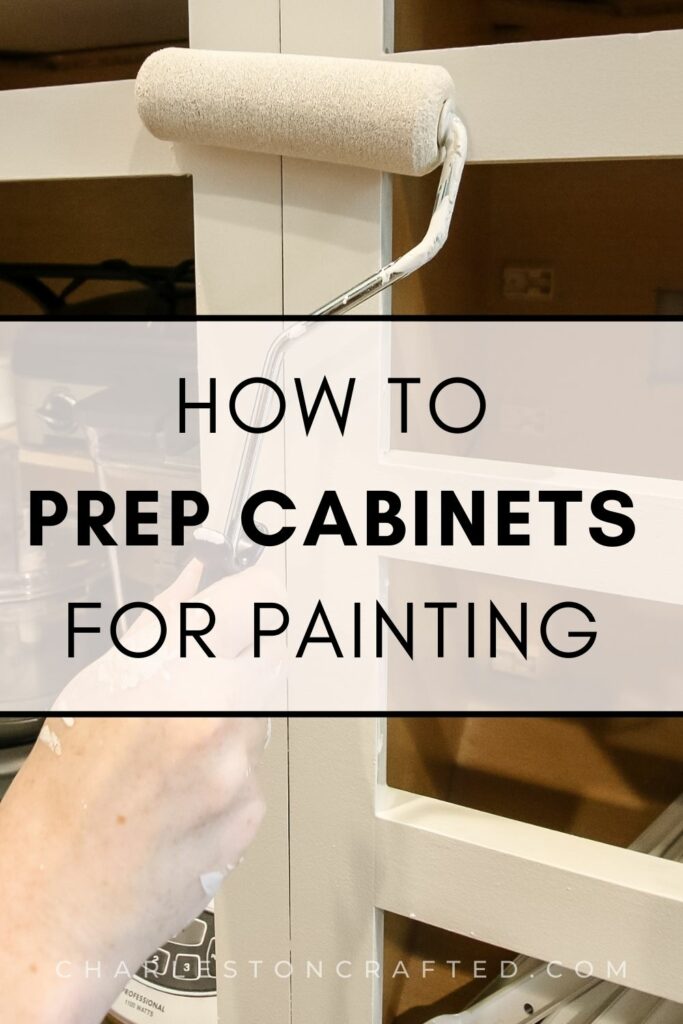
Want to get the perfect finish when painting your cabinets? Here are the exact steps you need to follow to prep cabinets for painting!
We are in the middle of our kitchen renovation. And, finally finally, it is starting to look like a real, cohesive kitchen!
The big thing making it look "finished" even if we have a lot to still do?
Paint!
I spent last week painting the wall of cabinets and the island (we still have to do the cabinets around the fridge, but we are getting there!)
Having a cohesive color looks more finished and means that my design is really coming to life.
So many people on instagram shared that they want to paint their cabinets but are nervous about this big project.
So, I wanted to take a day to talk about the steps that you should take to prepare to paint kitchen cabinets. By following these steps, you are much more likely to get a beautiful and durable finish on your paint!

Click here to grab our Home Renovation Planner and FINALLY get your next big DIY project organized!
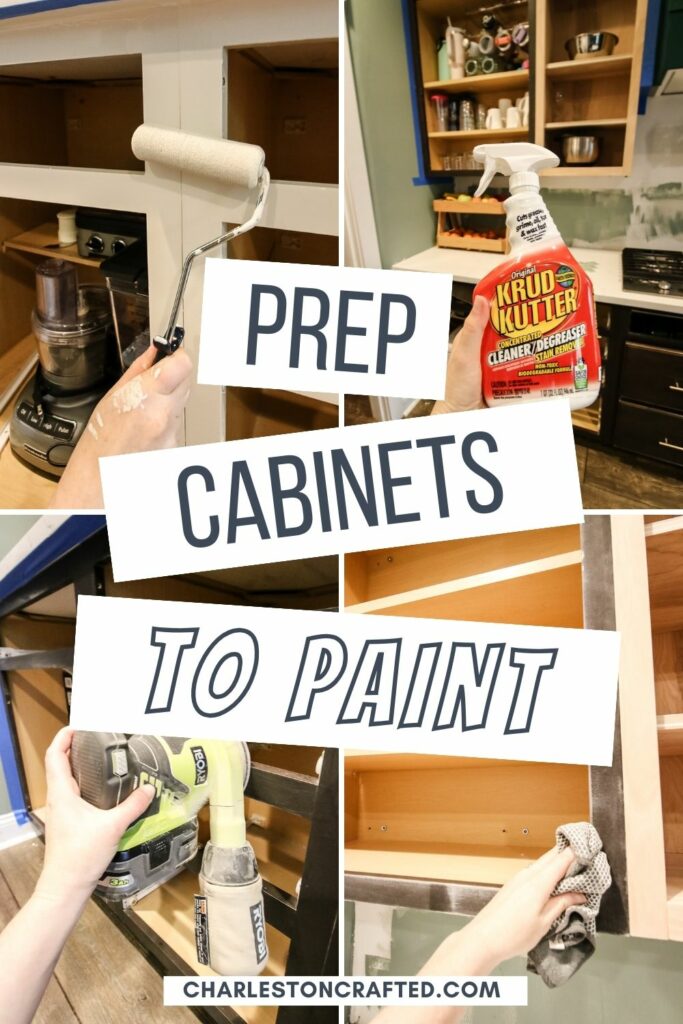
How to prep cabinets for painting
When it comes to painting cabinets, the prep work is almost as important as the actual painting. Here are the essential steps to follow to set yourself up for a successful paint job!
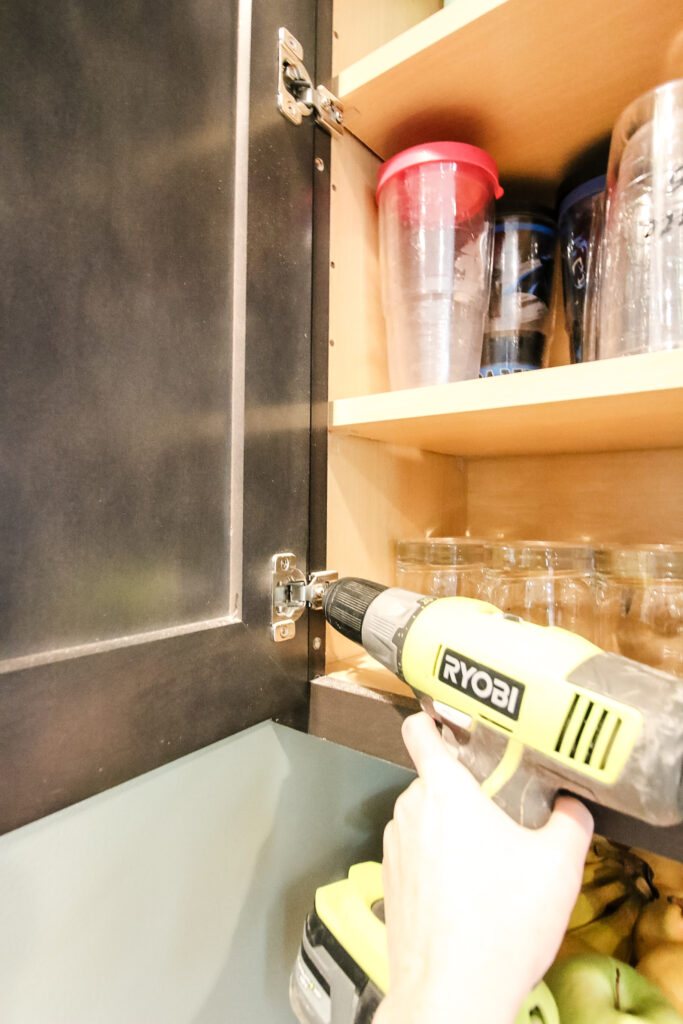
STEP 1: Remove Hardware
The first thing that you want to do is to remove all of the doors, drawers, and hardware from your cabinets. This makes it so you have easy access to the actual cabinet boxes to paint them.
Remove all hardware with a drill or screwdriver. If you are re-using doors and drawers, remove the knobs and pulls from there, as well.
Put it somewhere safe, and group screws with their hardware in baggies or - my favorite - in an old empty egg carton to keep them all sorted. Label everything so you don't forget what goes where!
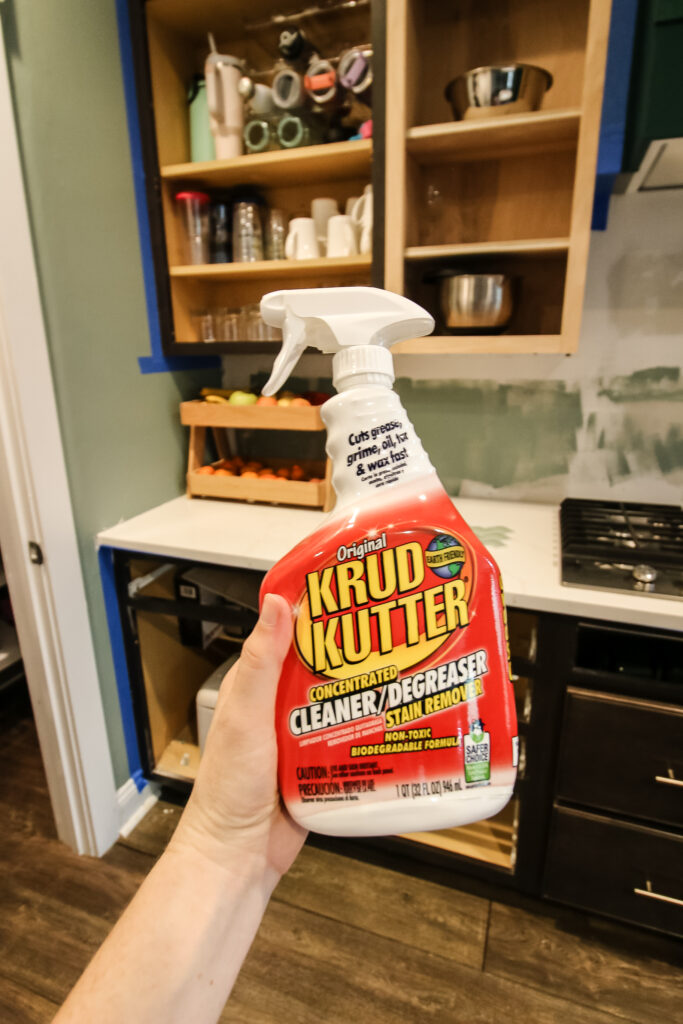
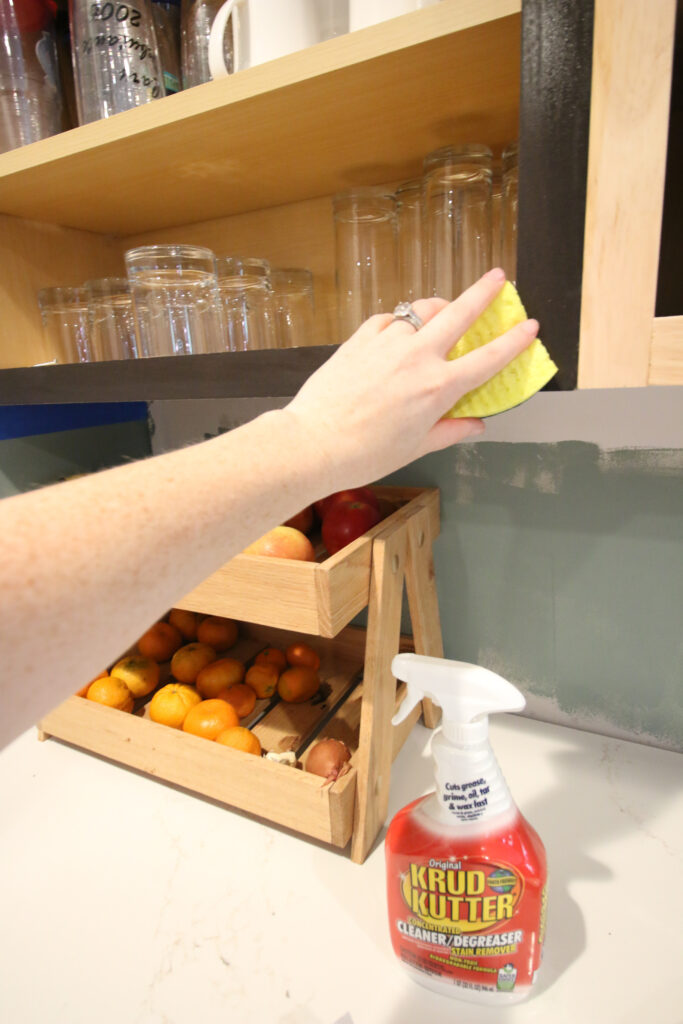
STEP 2: Clean
Now you will want to clean your cabinets very well. If they are brand new, this is less necessary. But, cabinets that have been cooked on and around can get greasy. The cabinet around our pull out trash can was particularly gross.
I like to use the Krud Kutter degreaser to easily remove greasy gunk. Spray it on a damp clean sponge and scrub away at all of the cabinet boxes, doors, and drawer fronts.
It's really a quick process if your space isn't too dirty - just plan to scrub a bit harder in the dirtier areas.
I do 1 cabinet as a time, then take a paper towel or clean cloth and wipe off any drips as I go. This way you are all dry and ready to sand when you are finished!
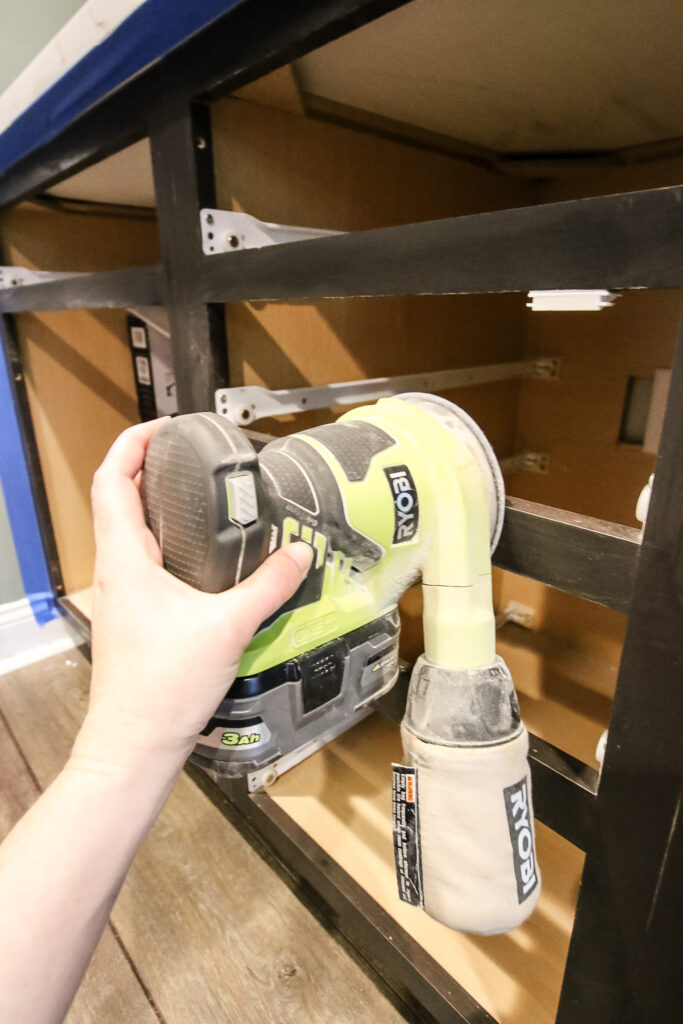
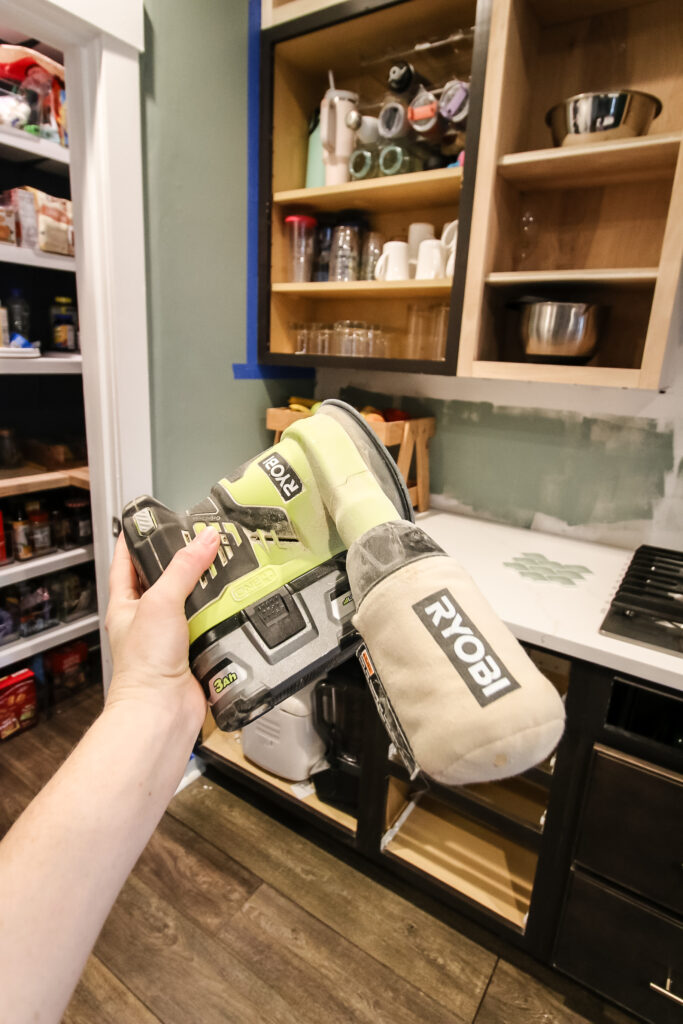
STEP 3: Sand
Now, you are ready to sand your cabinets. A lot of people want to paint cabinets without sanding. Unfortunately, I have never gotten good, long lasting results that way - except when painting unfinished cabinets.
If your cabinets have a finish on them already (paint or stain) you should really sand them well before painting.
I prefer to use an orbital sander, but you can sand by hand with a sanding sponge.
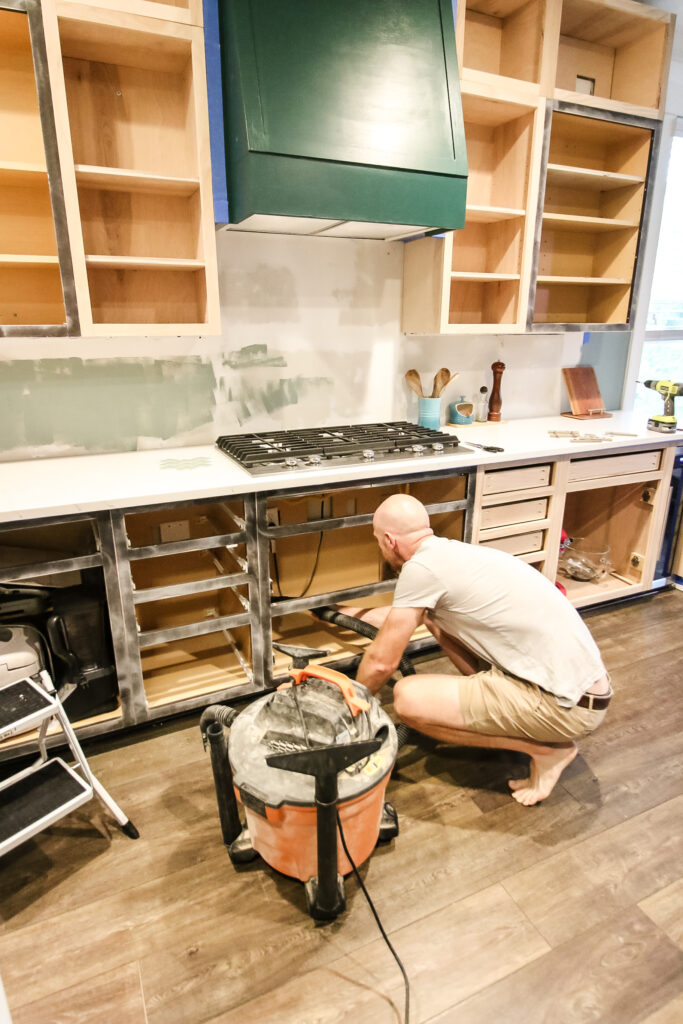
STEP 4: Clean again
After sanding, you will need to wipe everything down to get the dust off. I just use a cloth to do this.
Sean also took it as a chance to vacuum out the cabinets with the shop vac, to clean up all of the construction debris that might have gotten in there this month.
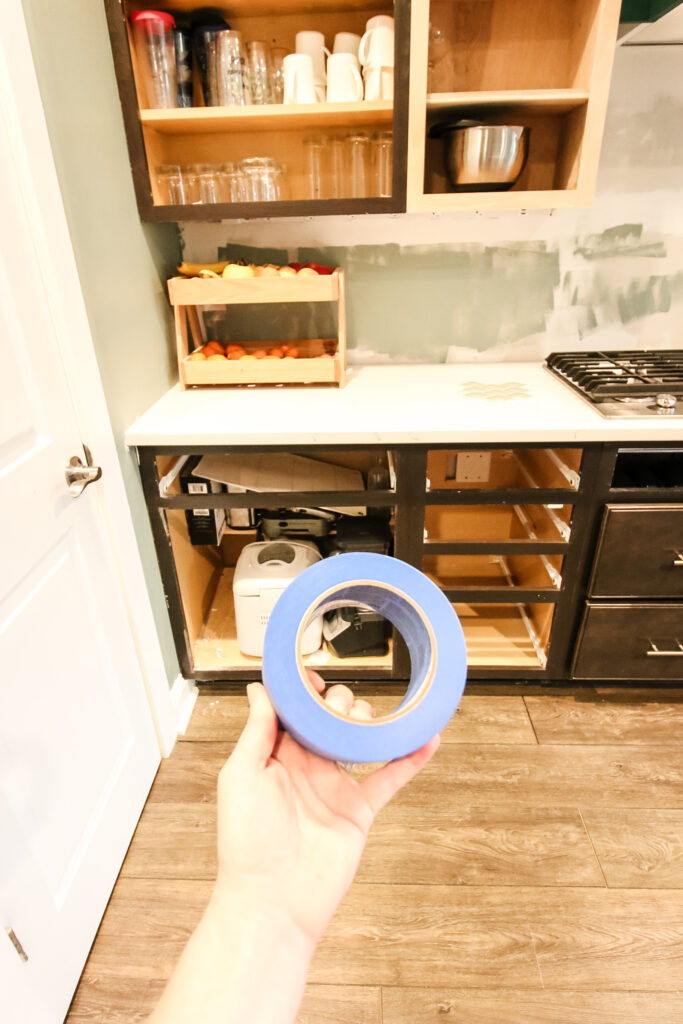
STEP 5: Tape + Drape
Next, you will want to tape off your cabinets. This means to use tape to protect surfaces near where you will be painting and to get a crisp tape line between the cabinets and the walls.
Put tape not on the cabinets but up against the edge of them - on drywall and the underside of the counters.
I prefer to use 1.5-2" wide tape for best possible coverage. Press firmly. You can even go over the tape with a warm damp cloth, this can help get the best possible seal.
STEP 6: Prime
Finally, you are ready to prime your cabinets. I prefer BIN brand primer - it really is the best!
Apply it using the same foam mini roller that you will use to paint your cabinets.
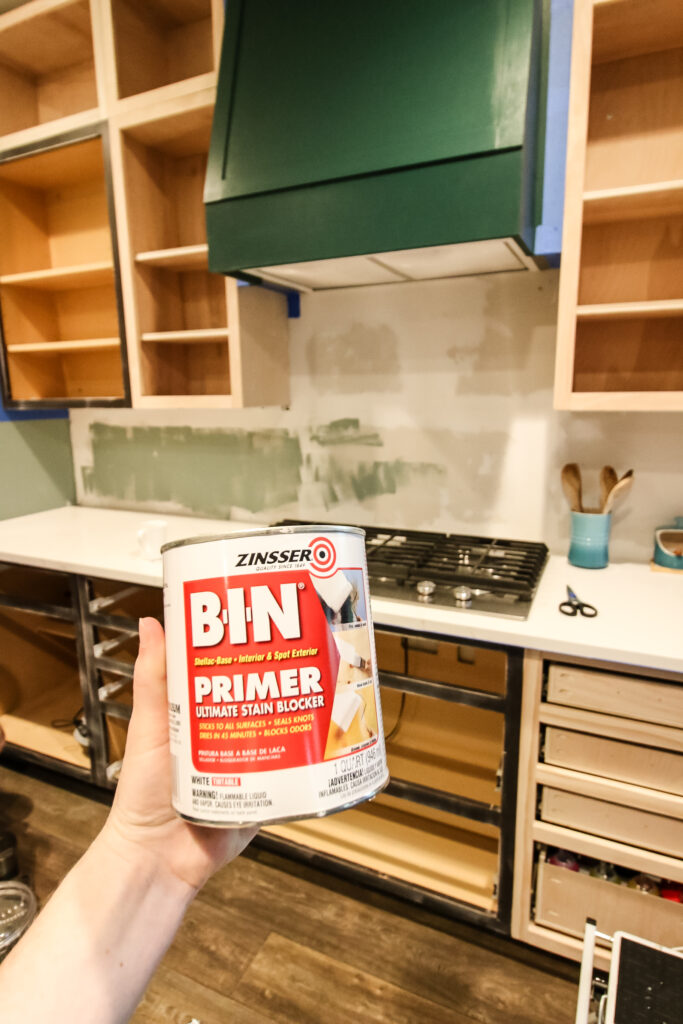
You may need 1 or 2 coats of primer. On my darker cabinets, I went with 2 coats.
Note that if you are painting your cabinets a dark color, you can get the primer tinted gray at the paint desk. This will make it a lot easier to get full coverage with less coats later!
How to clean cabinets for painting
It is essential to clean your cabinets thoroughly before painting, so that you aren't painting grime into the cabinet and so that the paint will adhere for the most durable possible finish.
Want more of an in depth look at how to clean your cabinets? Here's all the details on this super important step!
- Remove all hardware, doors, and drawers from the cabinet boxes.
- Get a small dish or bowl of warm water and a clean sponge.
- Either add Krud Kutter degreaser to the warm water OR if it's the spray bottle, spray it directly on the sponge.
- Scrub the face frame of the cabinet box. Get all angles and directions.
- Optional: if the inside is dirty, empty the cabinet and scrub inside, as well.
- Once you have scrubbed 1 cabinet, go back with a dry cloth or paper towel and dry everywhere you just scrubbed.
- Repeat for each cabinet box, drawer front, and cabinet door (both sides).
- Know that dirtier areas - near the stove, oven, microwave, and trash especially - will need more scrubbing.
- Allow to dry completely before moving to the next step.
Best kitchen cabinet degreaser before painting
Krud Kutter degreaser is the best way to clean grease off of cabinets and appliances. Just like Dawn dish soap, its designed to remove grease in a way that will need a lot less scrubbing compared to just soap and water!
How to sand kitchen cabinets before painting
Here is a more in depth look at how to sand cabinets before your painting project!
- Start with clean cabinets, with all hardware, doors, and drawers removed. Dirty, greasy cabinets will gunk up your sander and be so annoying to work with. Don't skip cleaning!
- Start with a coarse sand paper - I prefer 90 grit. Use a sanding block or orbital sander and press against the vertical surface of the cabinet face frame. Apply pressure as you sand, enough to remove the existing finish.
- You do not need to remove all paint or stain down to the natural wood - just remove enough so that the surface is scuffed up and will be more absorbent of the paint. Make sure that you remove any loose paint and focus on any areas with damage or loose paint.
- If you have doors that have molding, you might have trouble getting into the grooves with an electric sander. I suggest switching to sandpaper or a sanding block to get these tight spots.
- Once you are satisfied, change to a higher grit sandpaper - I prefer 220 grit. Repeat this all over your whole surface to get a very smooth finish, ready for paint.
- Wipe everything down with a clean cloth to remove any dust and be fully ready to paint!
What grit sandpaper do you use on cabinets?
If your cabinet has an existing finish (paint, stain) you will want to use a coarse grit sandpaper - under 100 grit - to remove it. Then, finish it off with a 220 grit for a smooth finish.
If you are sanding unfinished cabinets, simply use 220 grit sandpaper to lightly sand and smooth away any imperfections in the surface.
Once your cabinets are fully sanded, you are ready to move on to paint!
Free printable project planner
Need help getting organized? Our free printable DIY project planner will help you get it all organized and planned on one page!

Looking for something?
We've been doing this since 2012 so we have a LOT of blog posts!
Search stuff like: Ceiling Projects | DIY Plant Stands | Thrift Flips

Hello, I'm Morgan, half of the creative force behind CharlestonCrafted.com! With a passion for DIY that dates back to 2012, I've transformed three homes and now I'm dedicated to helping others craft their dream spaces. Let's turn your house into a home together!