Want to give your plywood the look of a solid piece of wood? Here is a step by step guide on how to use wood filler on plywood edges as well as tips on picking the perfect wood filler!
We love building with plywood. Because it comes in big sheets, it makes it so easy to cut very custom, seamless pieces of wood to build with.
We have a ton of furniture plans that are made using primarily or entirely plywood.
But, there is one thing that is less than ideal about working with plywood. OK maybe two things.
Obviously, it can be kind of physically difficult to sling around a giant sheet of plywood. But other than that, the most annoying part is dealing with plywood edge finishing.
So, let's back up.
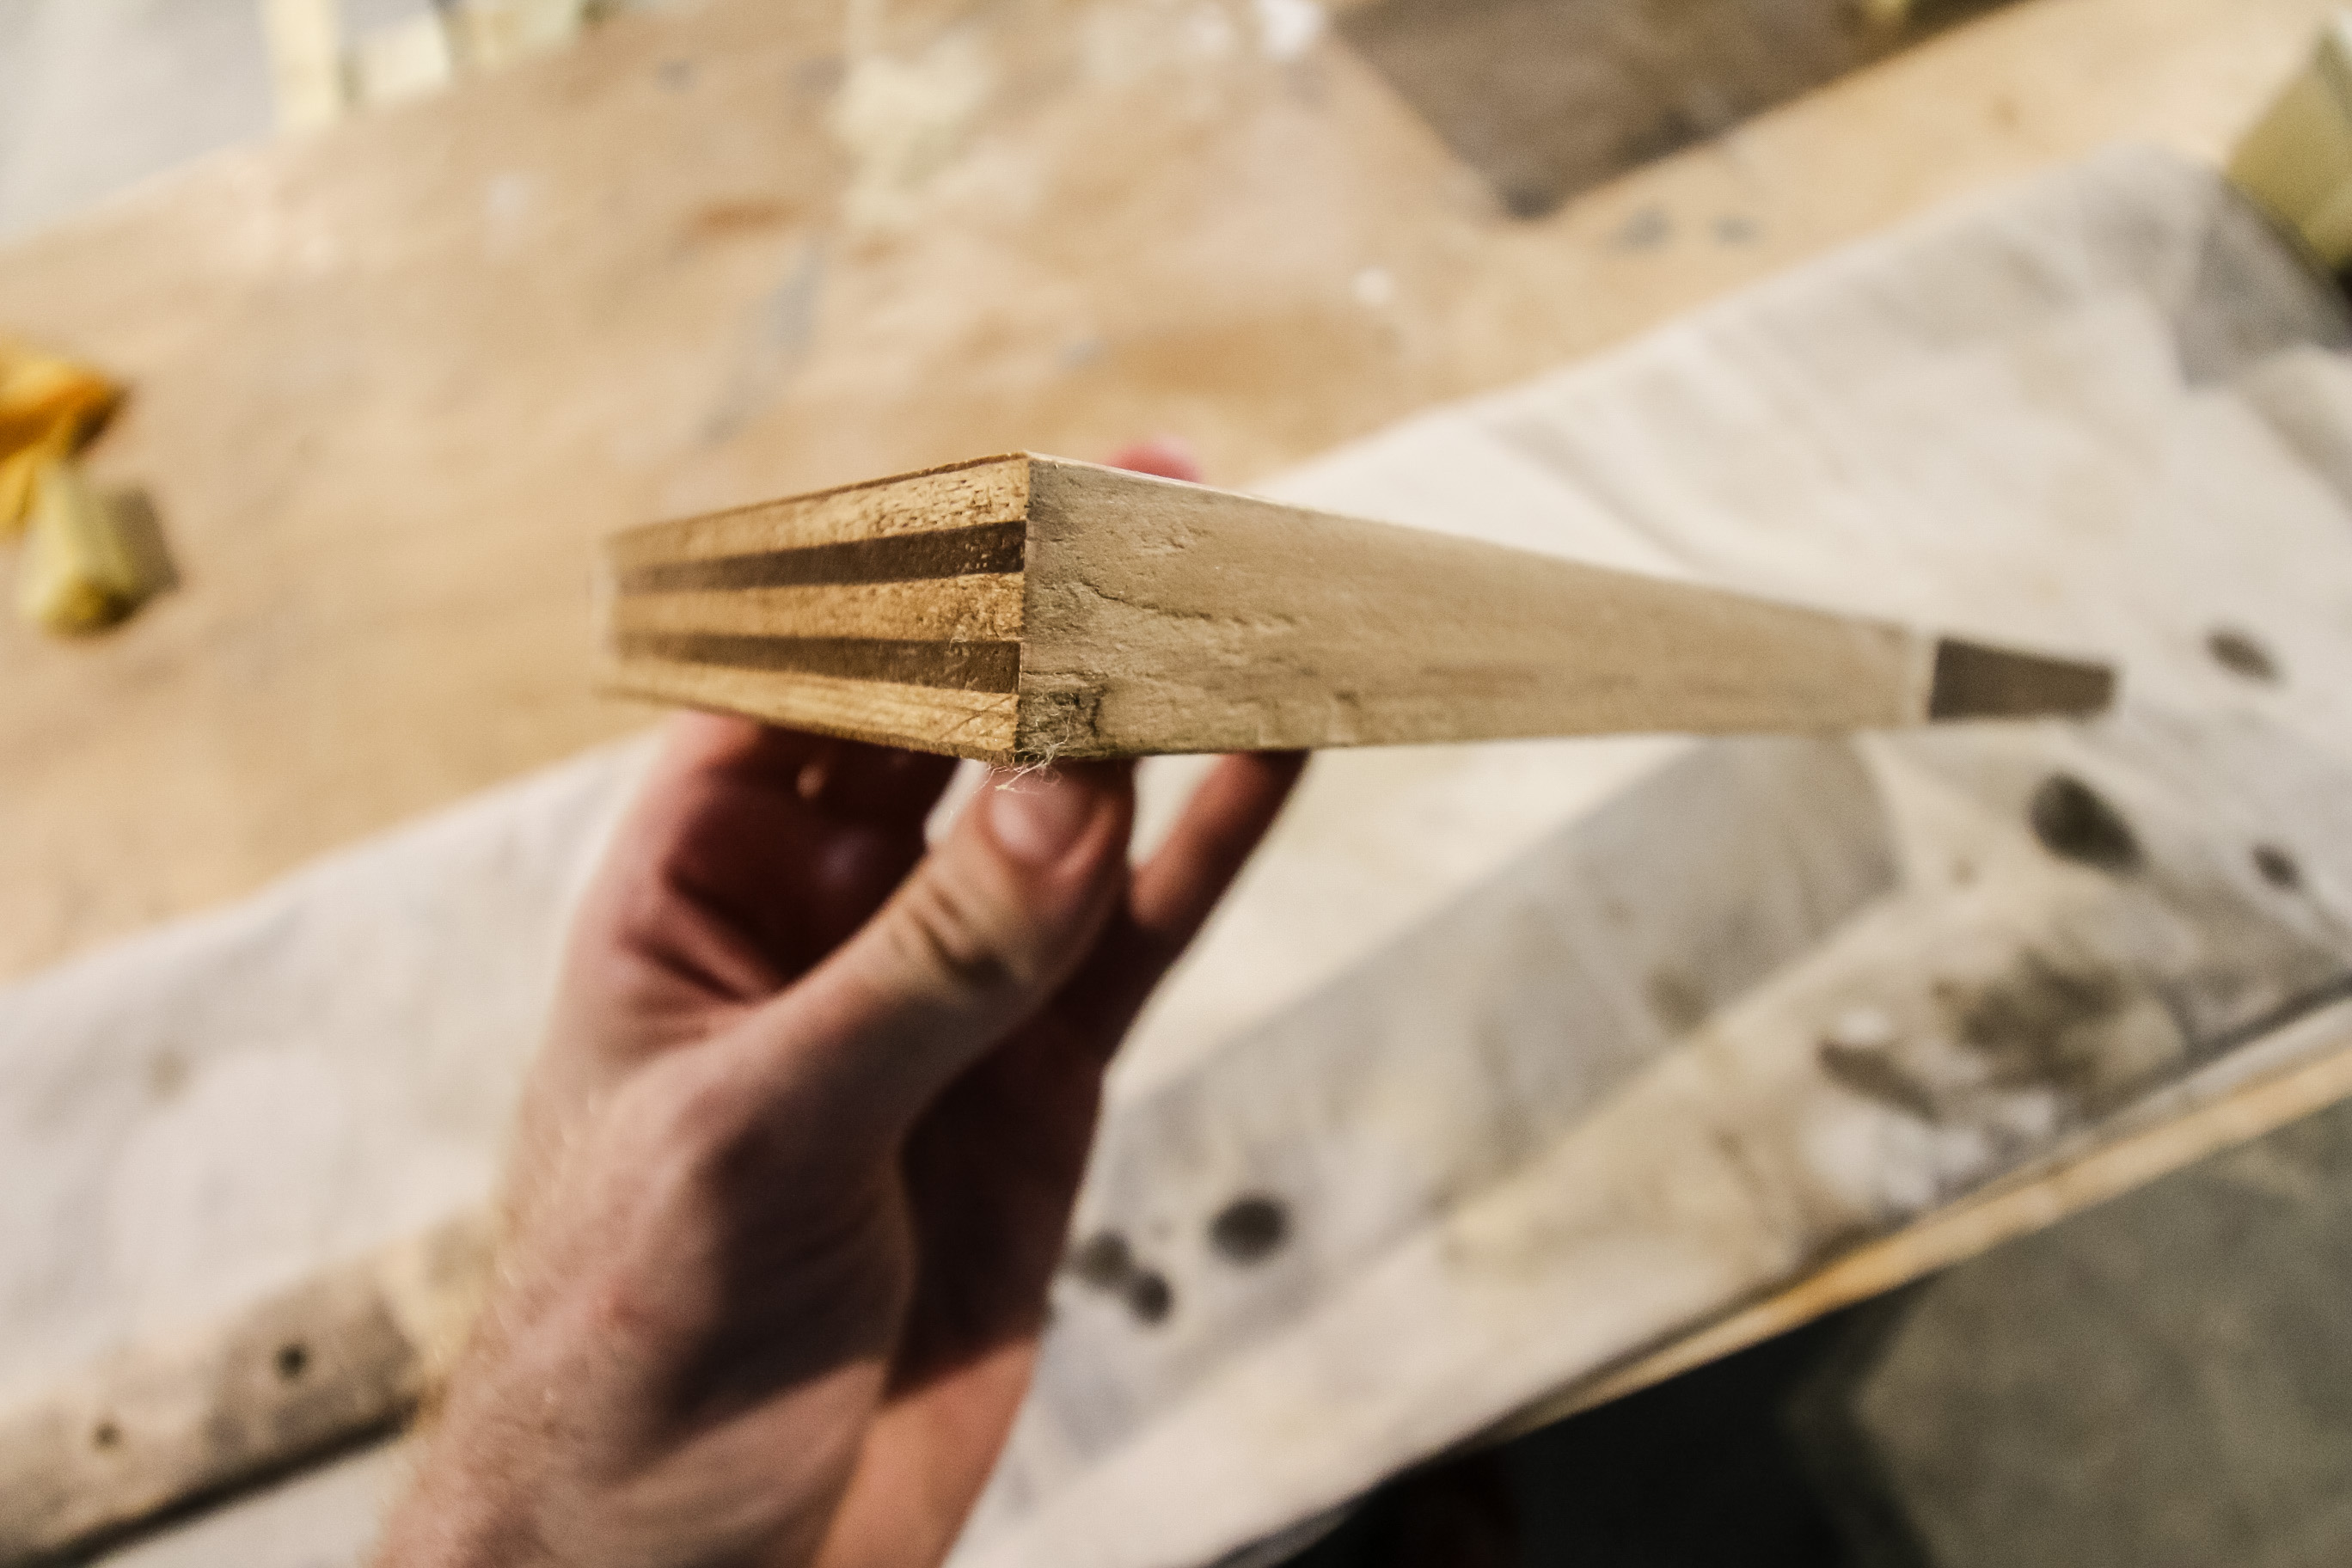
Plywood is made up of very thin sheets of wood sandwiched together.
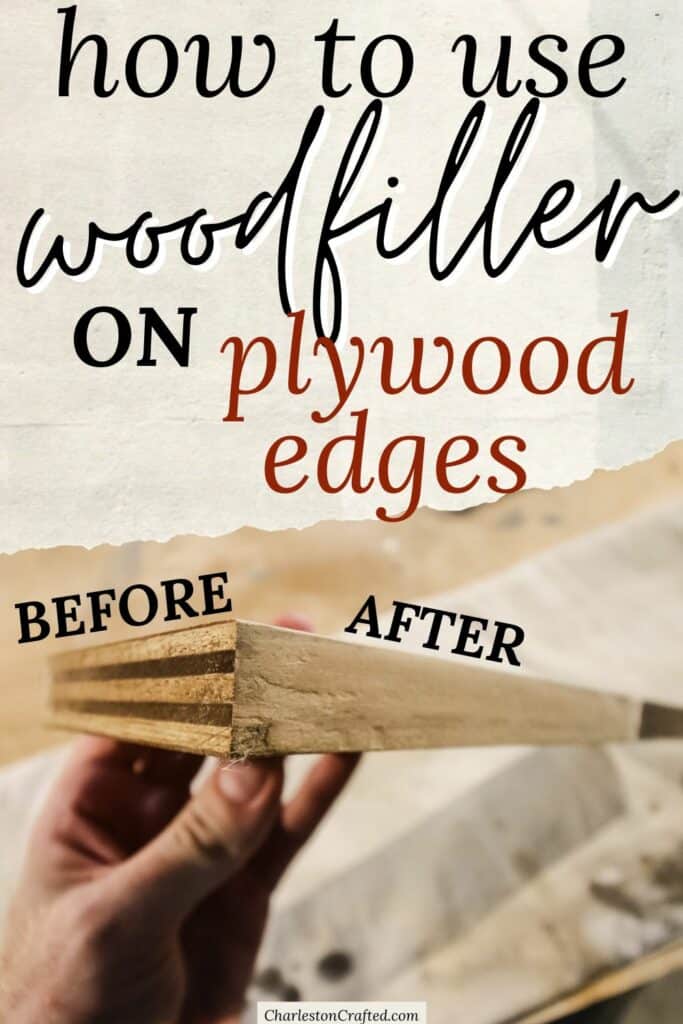
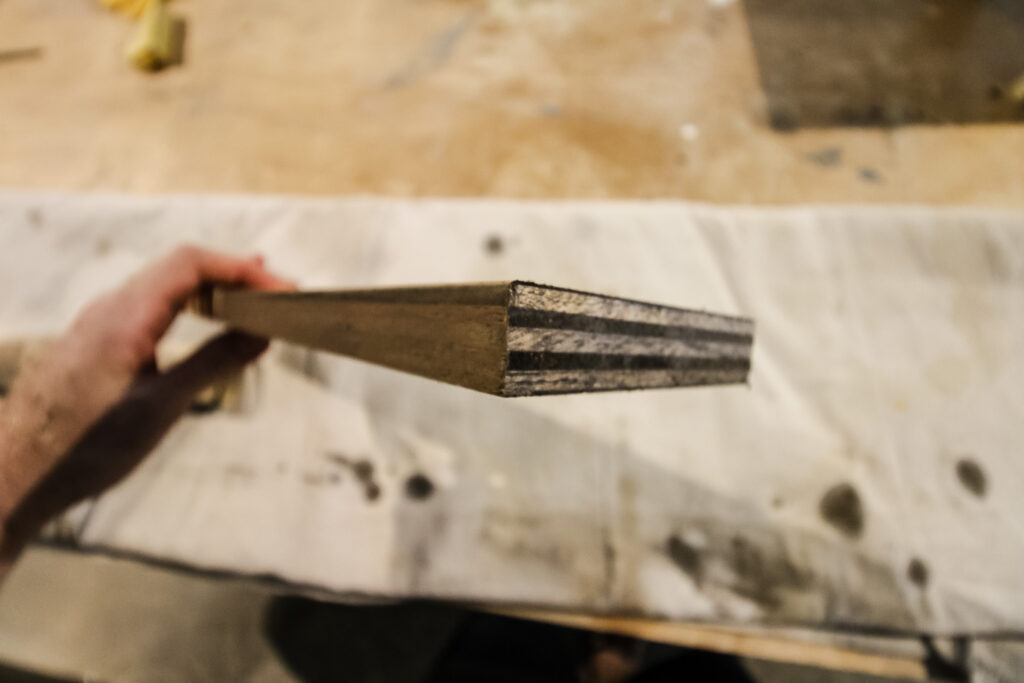
This can make plywood very strong, but it also means that it has a striped edge where you can see those layers like a slice of lasagna. Or maybe like a wedding cake? You get the gist.
When we first started working with plywood, we honestly just left most of our plywood edges raw. In the right applications – like in the stacked plywood countertop in our old laundry room – the stripes can actually look pretty modern and cool.
Of course, this comes down a lot to shopping well and picking plywood with a beautiful edge, without a ton of voids or weird overlapping lumpy spots
But, as we have gotten more confident with our woodworking, we have started finishing plywood edges to give pieces a more finished, solid-wood look.
Today we want to talk about one of the easiest and cheapest ways of how to fill plywood edges - with wood filler!
Best wood filler for plywood edges
Of course, an important part of filling plywood edges is picking the best filler for plywood! Some criteria for selecting the best wood filler include:
- Stainability: Opt for a stainable wood filler to match the plywood's color and achieve a seamless finish.
- Adhesion: Look for a wood filler that adheres well to plywood edges and prevents cracking or shrinking.
- Sandability: Choose a filler that sands easily and smoothly for a flush and polished surface.
- Durability: Prioritize fillers with high durability to withstand wear and tear over time.
- Drying Time: Consider the filler's drying time to plan the project accordingly. Quick drying can be great when you are in the middle of a project!
Top Wood Fillers for Plywood Edges
Here are the wood fillers that we suggest using on your plywood projects.
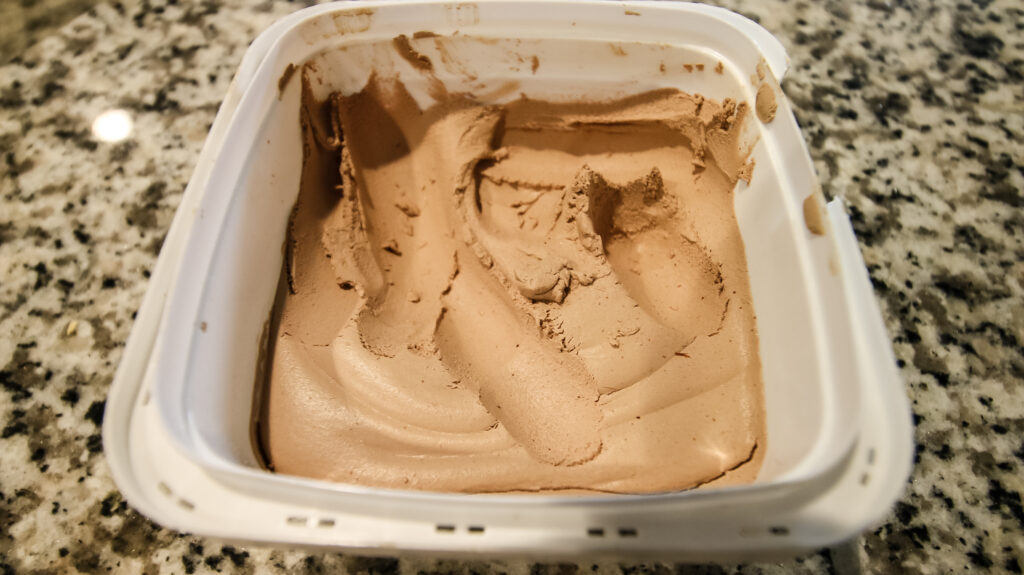
1. DAP Plastic Wood-X
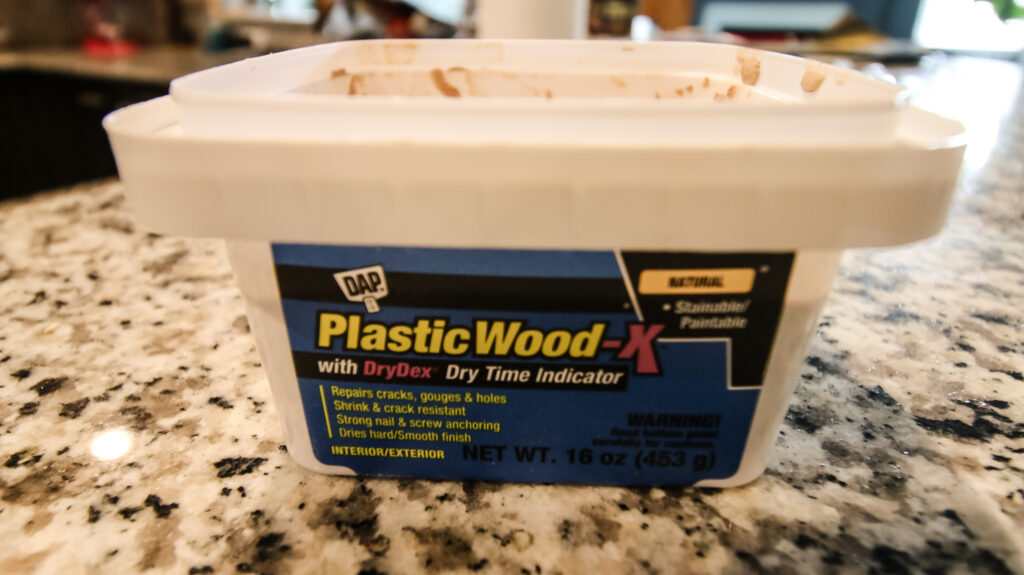
Base: Solvent based
Consistency: Very "putty" like, goes on like thick pancake batter.
Best used for: Rubbing into smaller holes and sanding smooth.
Dry time: One hour
Application: interior/exterior
Color: Goes on pink, turns tan when dry.
Pros: Color change is nice to determine when dry, however it isn't totally necessary. Easy apply with a nice consistency.
Cons: Feels less natural. Says it works on exterior applications, which is ok in small batches, but not on a large hole.
2. GoodFilla Wood Filler
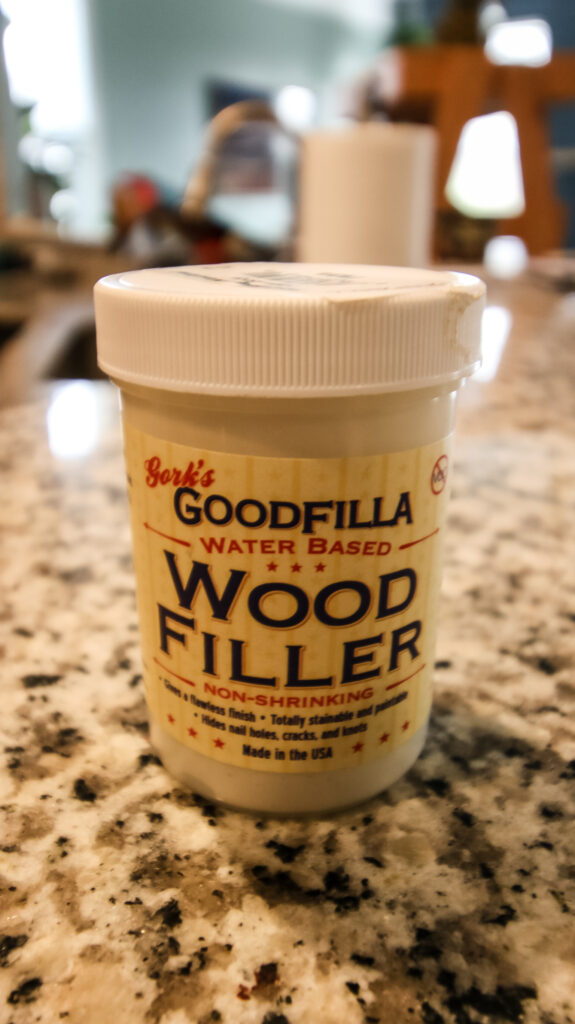
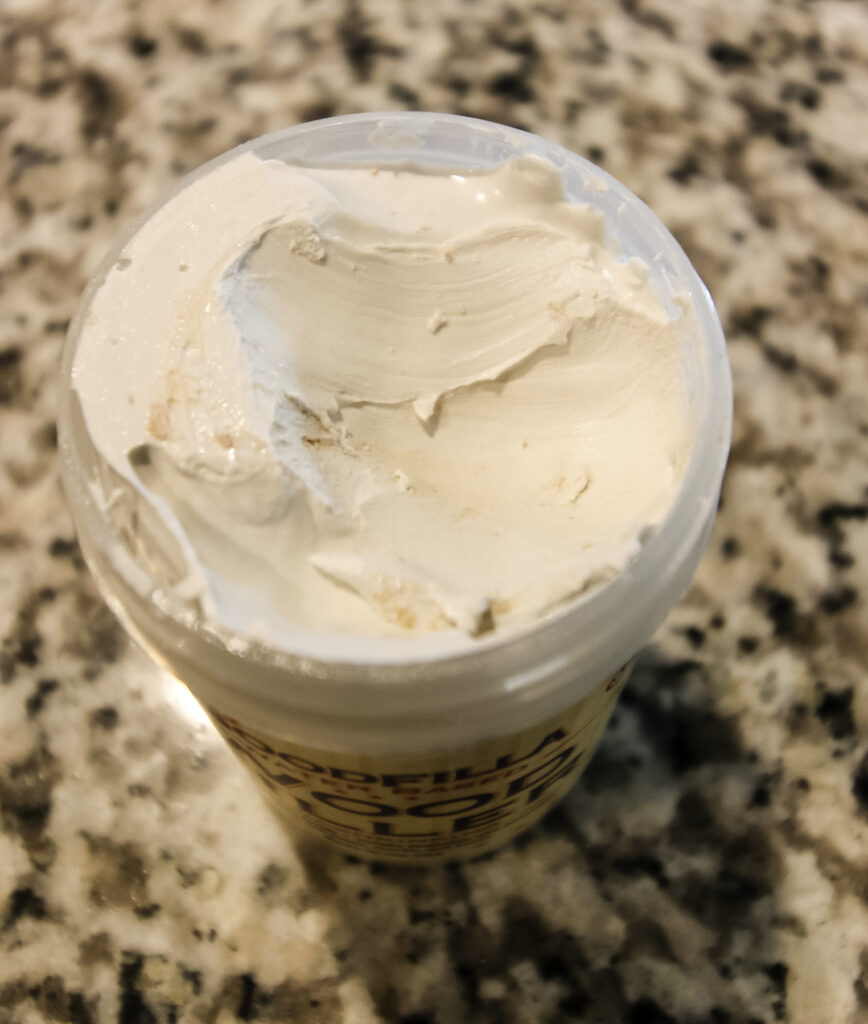
Base: Water based
Consistency: Smooth and tacky
Best used for: Grain filler, shallow hole filler, filling in larger grooves in floors or furniture.
Dry time: 15 minutes to dry, 24 hours to fully cure.
Application: Interior
Color: White for the regular color, but specific colors available to match wood.
Pros: This is a tacky substance, but it spreads very easily and smoothly across surfaces. No shrinks or cracks and easily reconstitutes when dried out. However, twist top container makes it very easy to keep from drying out.
Cons: Smaller package for slightly higher cost per ounce.
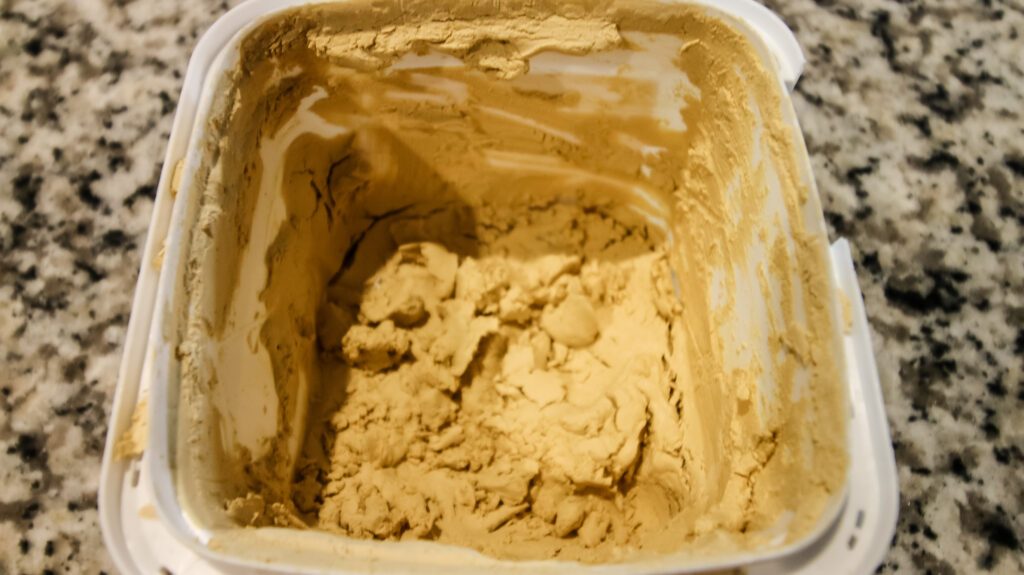
3. Elmer's Carpenter's Wood Filler
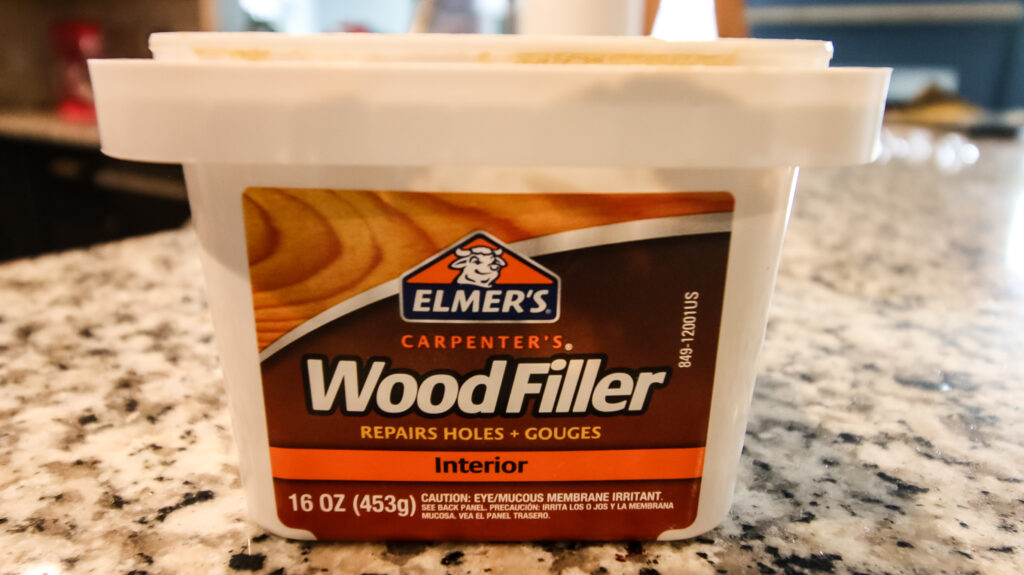
Base: water based wood filler
Consistency: Thicker, like grout and more dry
Best used for: Rubbing into smaller holes and sanding smooth.
Dry time: One hour, full in 12-24 hours
Application: Interior
Color: Yellow
Pros: Can be rubbed in smoothly but is a little drier than other applications. Ideal for wiping into small holes but not spreading over large cracks.
Cons: Dries out very easily in packaging, so don't plan to store over a long period of time.
4. Bondo Wood Filler
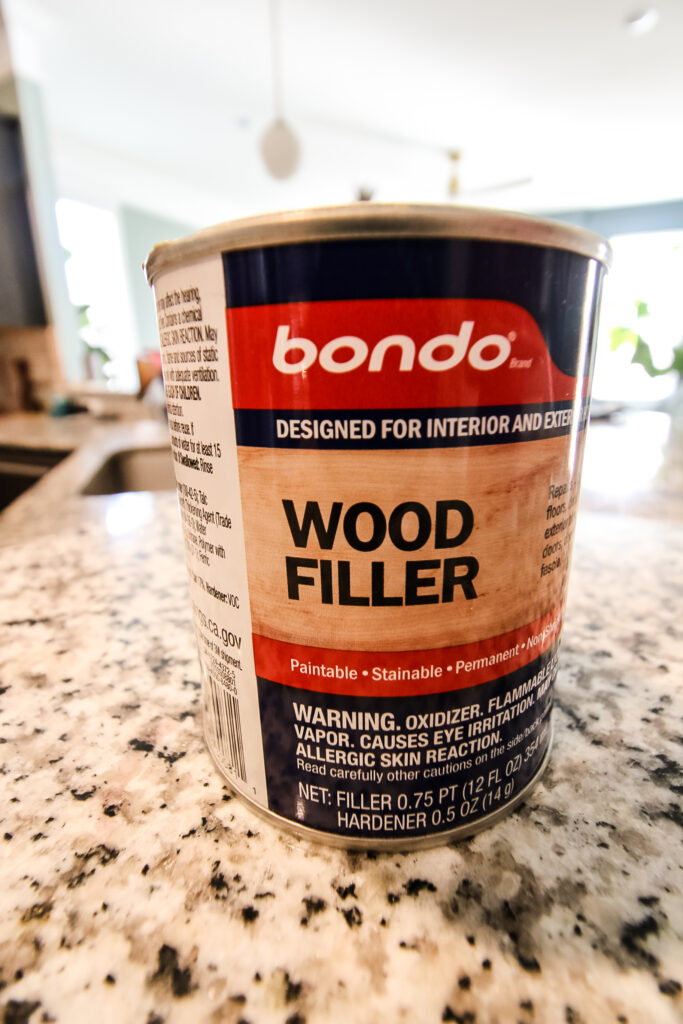

Base: Solvent based
Consistency: Very goopy
Best used for: Outdoor projects
Dry time: 15-30 minutes
Application: Claims interior and exterior, but don't use indoors.
Color: Tan
Pros: Bondo Wood Filler is extremely hard and firms extremely quickly.
Cons: Bondo Wood Filler smells so bad that it is impossible to use indoors, even though it says it can. It also hardens too quickly to use much, which means you have to make the mix several times to do even a fairly small project. Bondo doesn't work into small holes very well due to it's goopy texture and is hard to sand because it is so hard when set.
Safety first!
Remember to always follow safety procedures when working with power tools. That means wearing protective gear such as safety glasses, gloves, hearing protection, and dust mask and using appropriate tools to ensure safe construction.
How to use wood filler on plywood edges
Here are the steps to follow for how to finish plywood edges with wood filler!
Step 1: Gather Supplies
- You will need:
- wood filler
- putty knife
- sandpaper (medium (80) and fine-grit (220))
- lint-free cloth
- clean, dry brush
- finish of your choice (if you will stain or paint)
Step 2: Prep the Plywood Edges
- Sand the plywood edges with medium-grit sandpaper to smoothen any rough or splintered surfaces.
- Wipe the edges clean with a lint-free cloth to remove dust and debris.
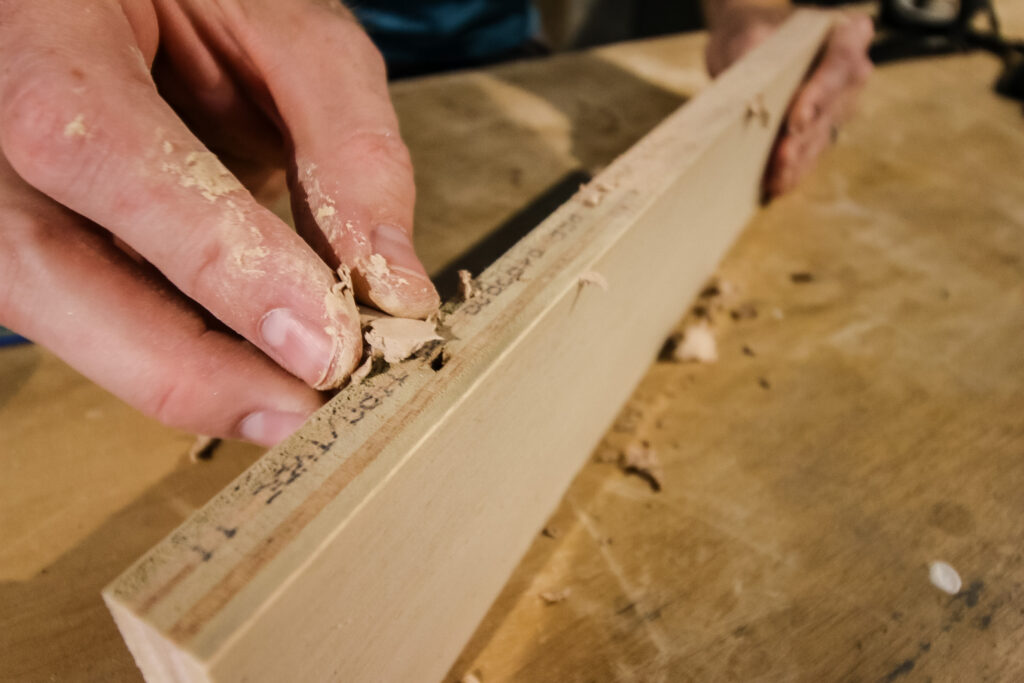
Step 3: Apply the Wood Filler
- Using a putty knife, scoop out a small amount of wood filler and apply it to the plywood edges.
- Press the filler into any gaps or imperfections in the edges, ensuring complete coverage. Push it in deep into any deep voids - air bubbles beneath can lead to cracking over time.
- Smooth the filler evenly along the plywood edges for a flush finish.
Step 4: Allow the Wood Filler to Dry
- Follow the manufacturer's instructions for the recommended drying time.
- Avoid touching the filler or handling the edges until it is completely dry.
Step 5: Sand the Plywood Edges
- Once the wood filler is dry, use fine-grit sandpaper (220 grit) to sand the edges smooth.
- Sand in the direction of the wood grain to avoid damaging the surrounding plywood.
- Continue sanding until the edges feel smooth and blend seamlessly with the plywood surface.
Step 6: Clean and Inspect
- Wipe the plywood edges with a clean, dry cloth to remove sanding dust.
- Inspect the edges for any remaining imperfections or uneven areas.
- At this point, you can either apply a second coat (repeat steps 3-5) or call it done and move on.
Step 7: Apply Finish (Optional)
- If you plan to stain or paint the plywood, this is the time to apply your chosen finish.
- Use a brush or cloth to apply the stain or paint, ensuring even coverage.
- Allow the finish to dry completely before using the plywood.
- I always suggest adding a matte topcoat like polycrylic to protect the edges from dings and damage.
Step 8: Final Touches
- Inspect the plywood edges once more to ensure a flawless finish.
- This is your last chance to make any necessary touch-ups with additional wood filler or sanding!
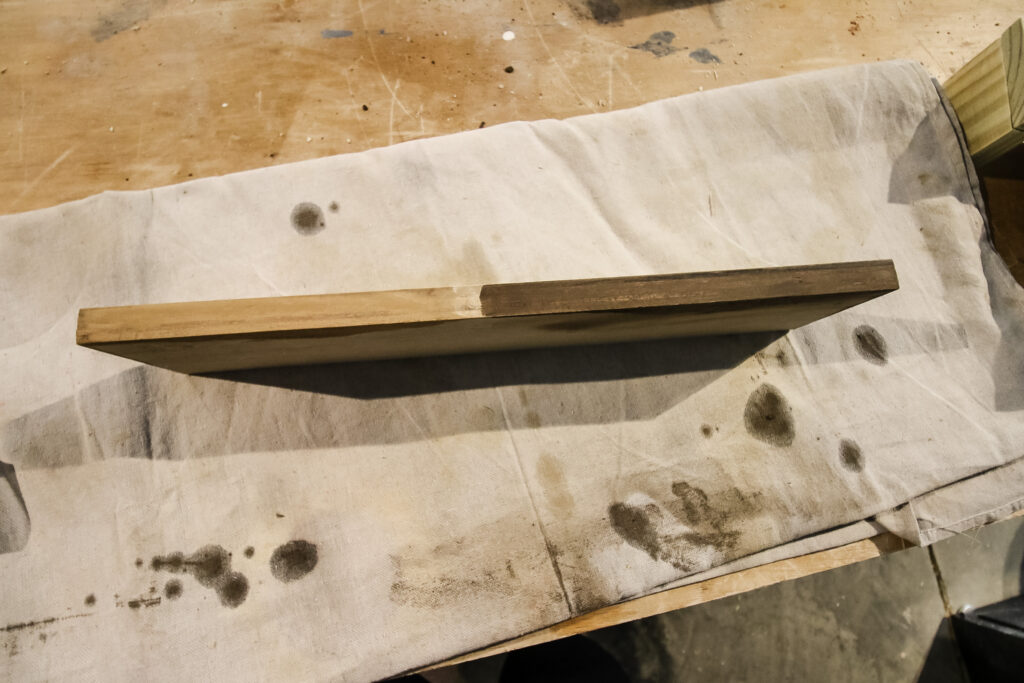
How to finish plywood edges with wood filler
Plywood edges can be unsightly. Wood filler is a cheap and easy way to fill the edges and give the piece of plywood a seamless look.
Materials
- Sheet of plywood
- Wood filler
- Paint or stain (optional)
Tools
- Putty knife
- Lint free cloth
- Sander or sanding block - medium and fine grit
- Paint brush
Instructions
- Gather supplies including a stainable wood filler if you plan to stain your project.
- Prep the edges by sanding with medium grit sandpaper and wiping clean.
- Apply wood filler with a putty knife. Press deep into the edges to get it fully into any voids, avoiding air bubbles.
- Smooth flush with your putty knife.
- Allow to dry.
- Once dry, sand with 220 grit sand paper and wipe clean.
- Inspect and if there are holes/imperfections, apply a second coat and sand again.
- Once you are happy with it, you can paint or stain it.
- Inspect it one more time and do any necessary touch ups!
Recommended Products
As an Amazon Associate and member of other affiliate programs, I earn from qualifying purchases.

Any more questions about using wood filler on plywood edges?

Looking for something?
We've been doing this since 2012 so we have a LOT of blog posts!
Search stuff like: Ceiling Projects | DIY Plant Stands | Thrift Flips

Hello, I'm Morgan, half of the creative force behind CharlestonCrafted.com! With a passion for DIY that dates back to 2012, I've transformed three homes and now I'm dedicated to helping others craft their dream spaces. Let's turn your house into a home together!


