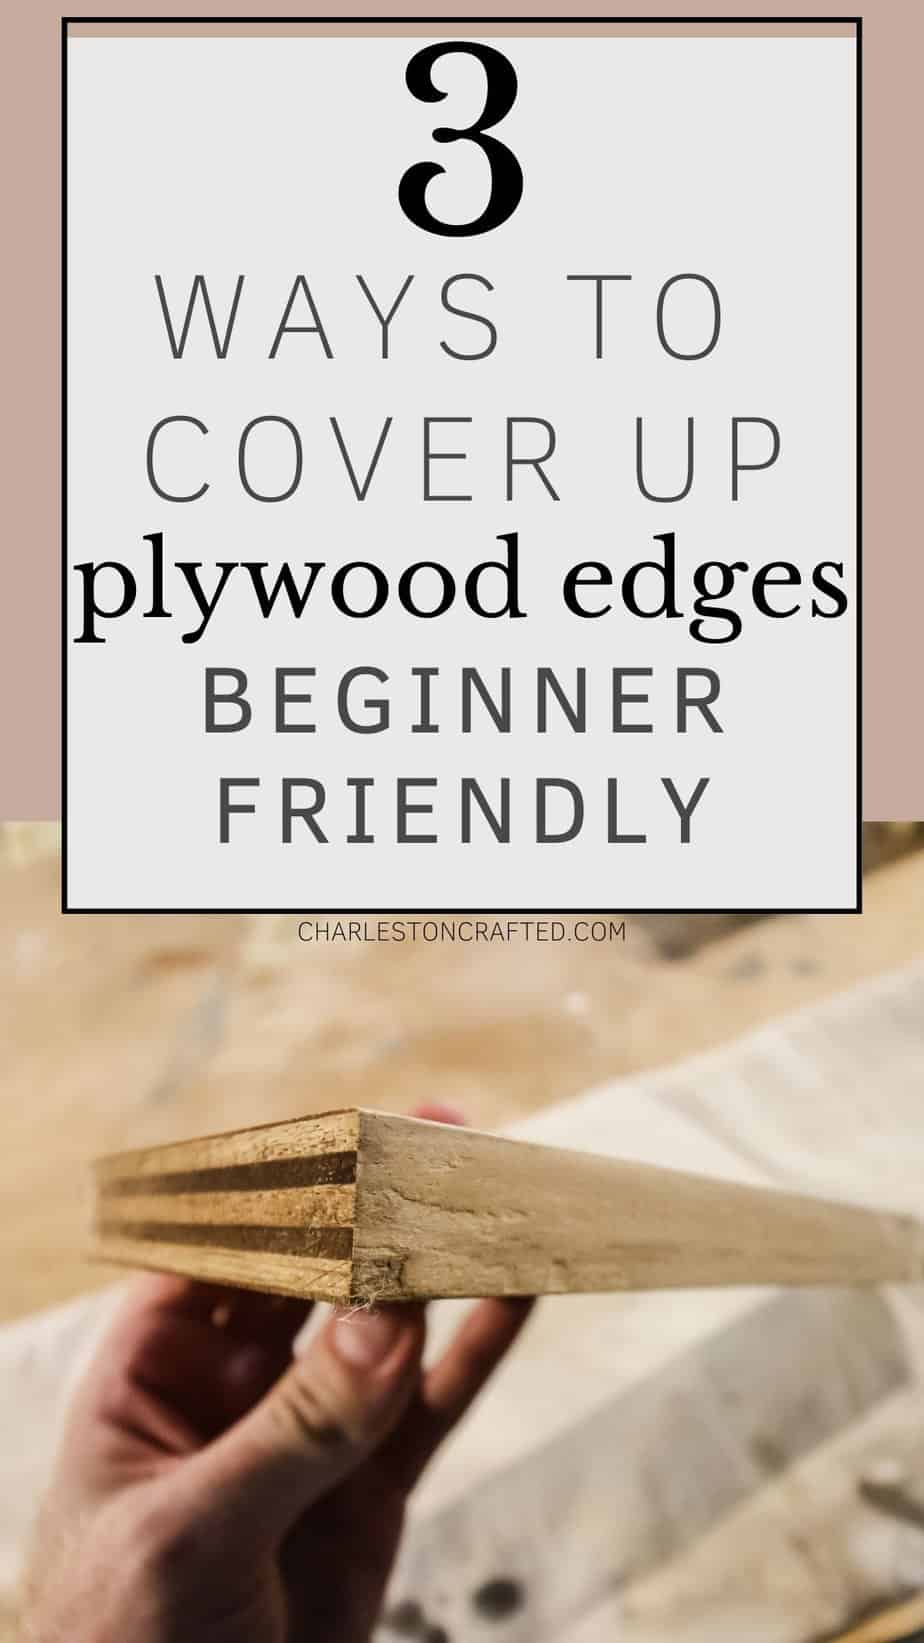
Want to give your plywood project a professional finished look? Here are 3 ways to cover plywood edges!
We love building with plywood because it is easy to cut to very specific custom measurements, is very straight and very flat, and often times is cheaper for building furniture compared to buying individual hardwood boards.
However, one thing that we don't always love about plywood is edging plywood. What I mean by that is covering up the natural edges that plywood has when it comes from the store.
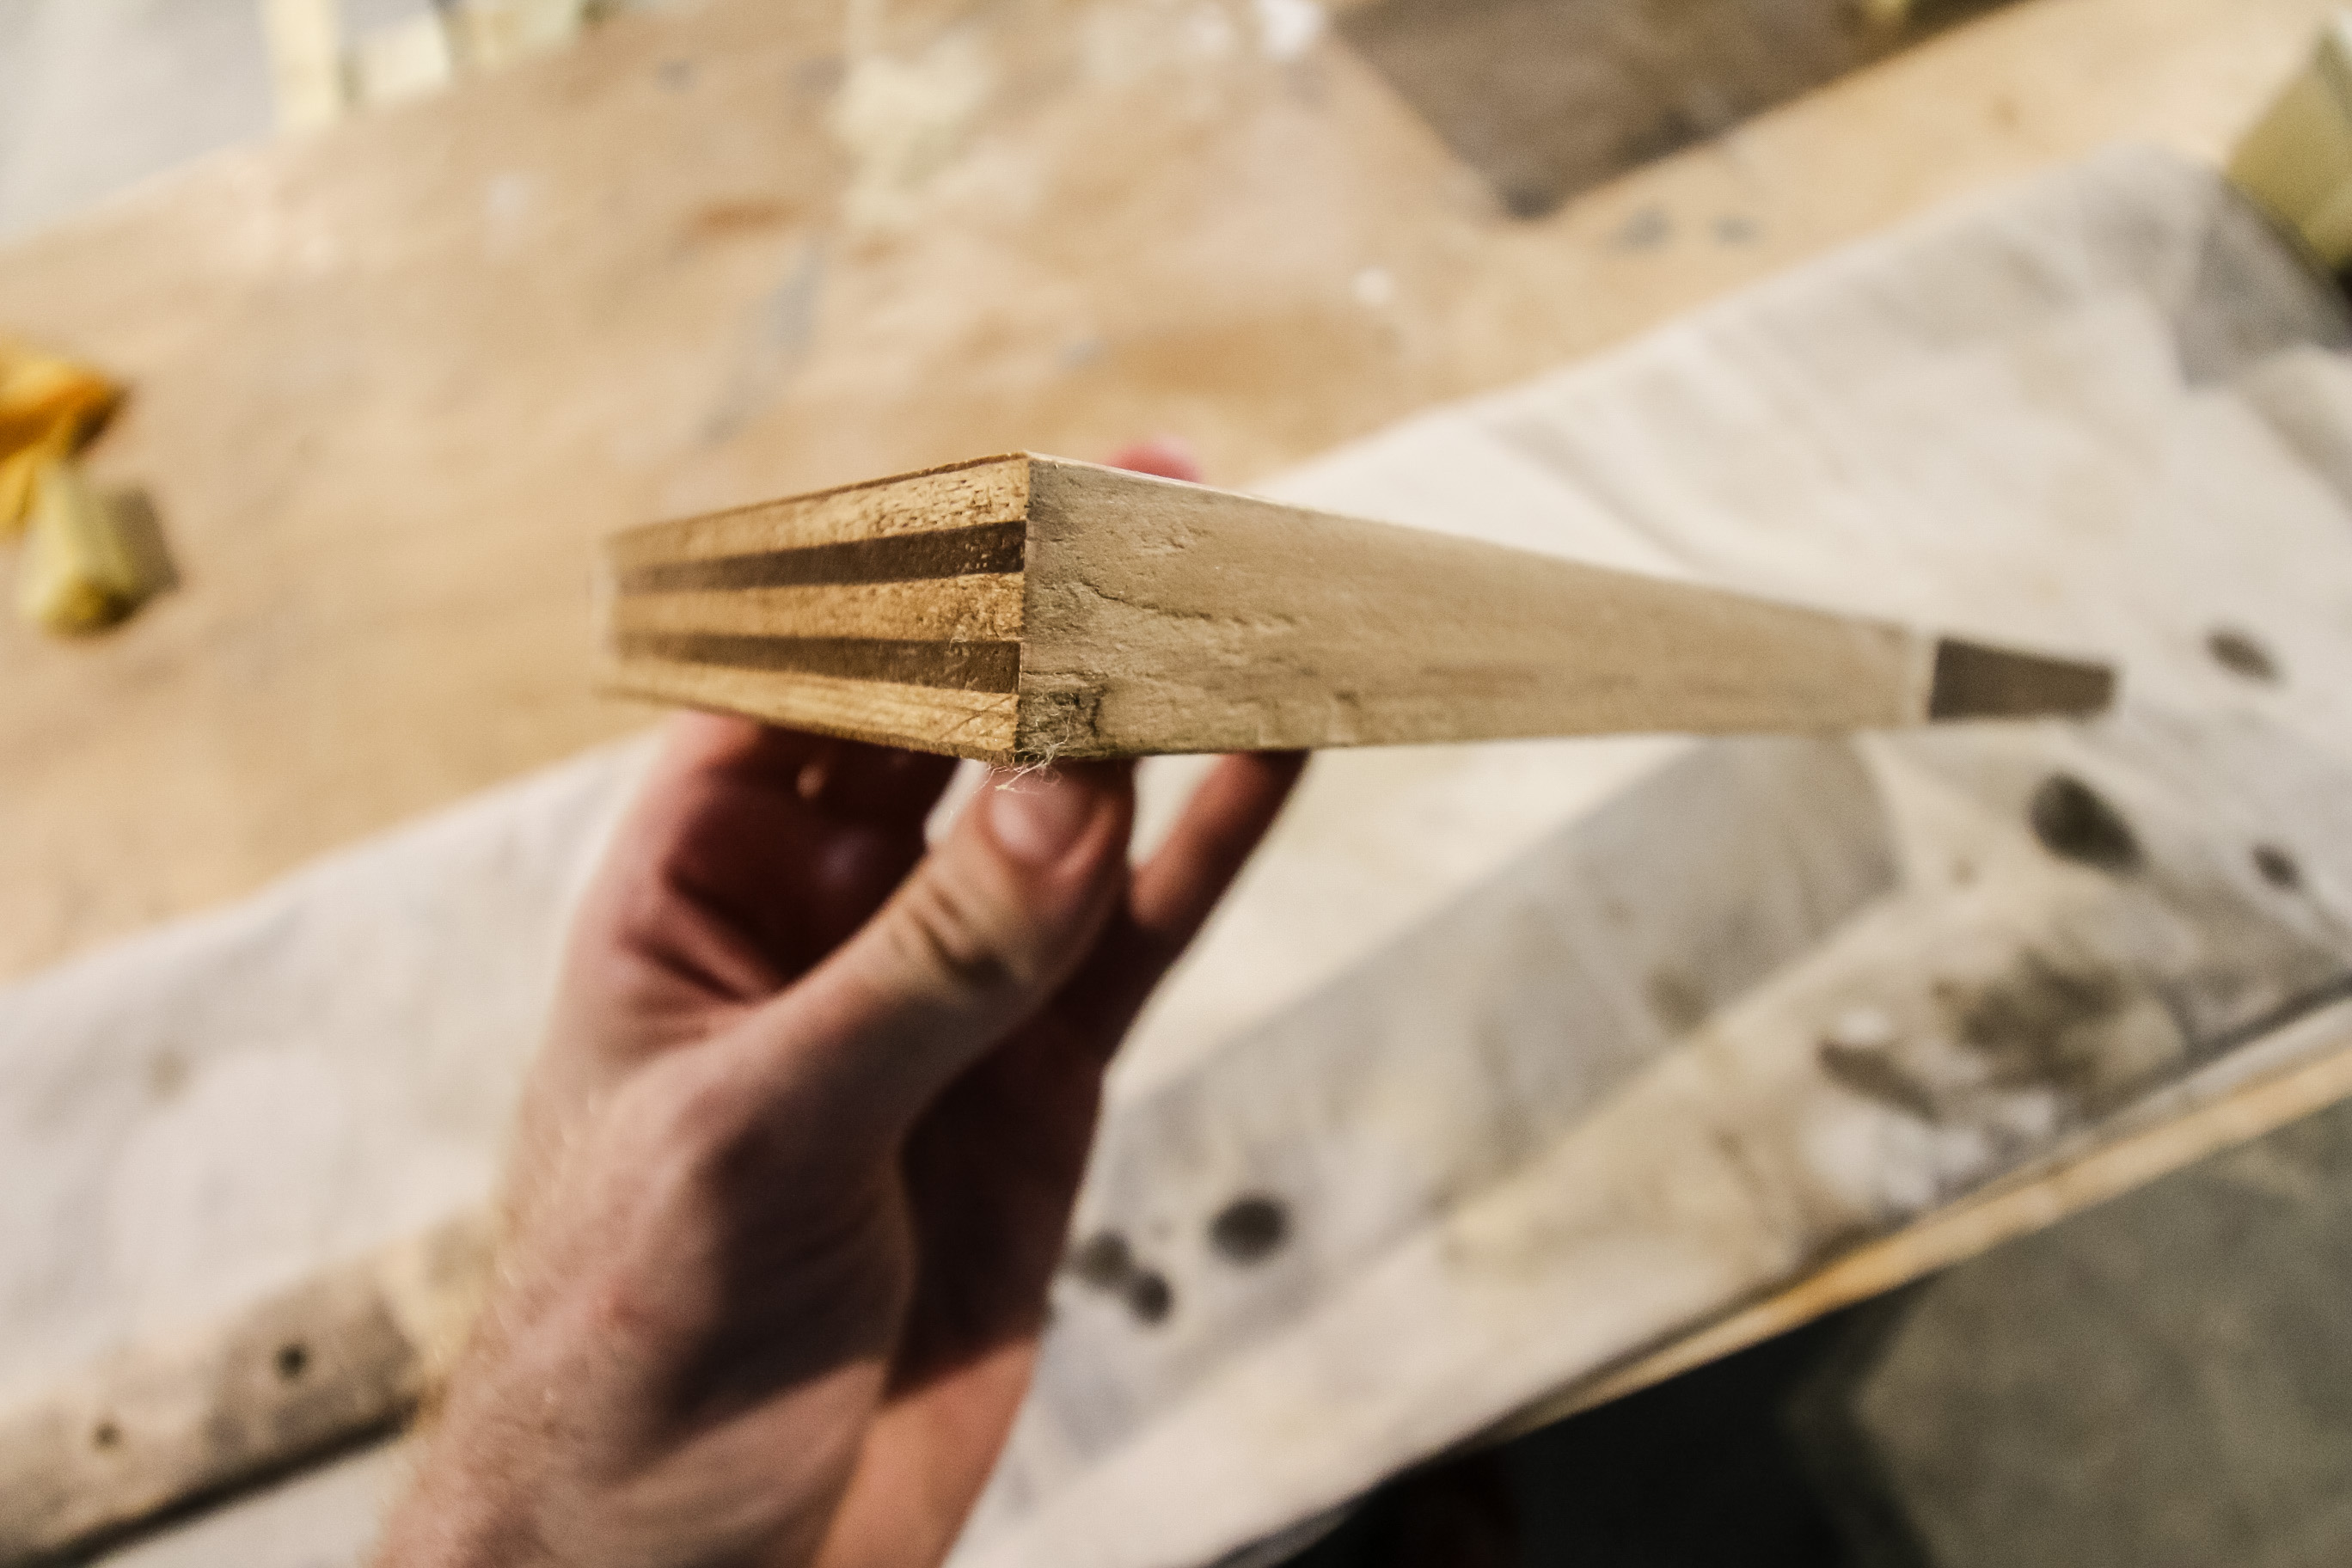
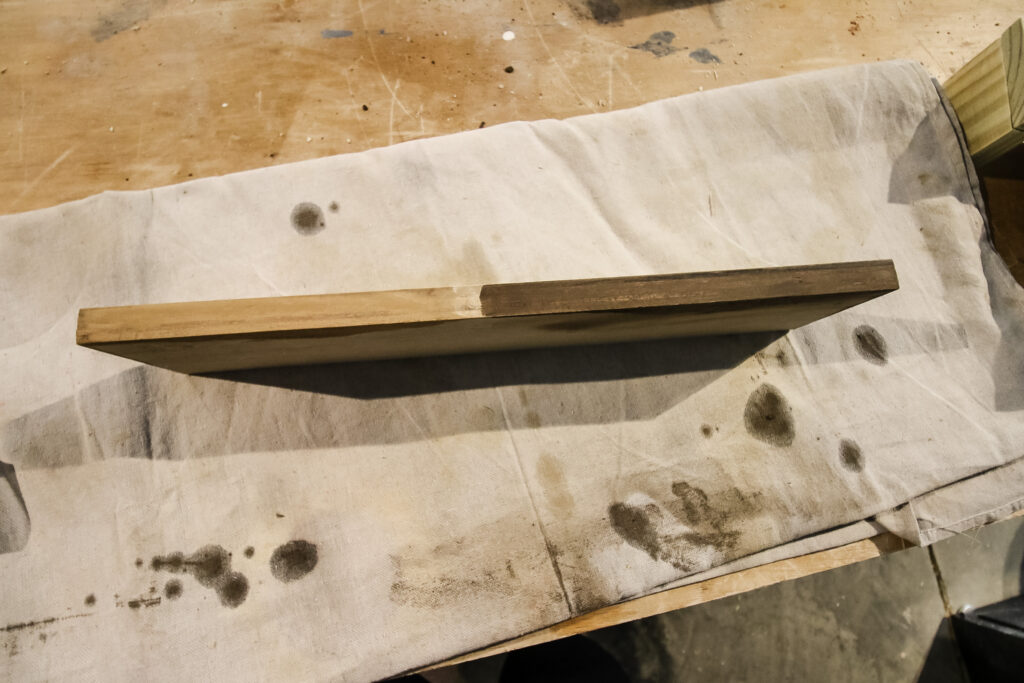
But let's back up – it's important to understand that plywood is made by sandwiching lots of very thin sheets of wood together. This makes it into sort of a wood lasagna and if you look at it from the side, it looks striped like a lasagna.
This can be fine sometimes – like when we did a stacked plywood countertop we just leaned into it and left the plywood edge, raw for a sort of modern striped work – but usually you want your plywood edge trimmed out.
If you are wondering how to hide plywood edges, look not further. We have 3 tried and true methods and ways to finish plywood edges to share with you today!
How should I cover my plywood edges?
First, you will ned to decide which method you want to use for finishing your exposed plywood edges.
The three methods are:
- wood filler
- plywood edgebanding
- solid wood trim
We will share full tutorials for each of these methods in just a minute, but I wanted to share a quick snapshot of the benefits of each.
| Method | Cost | Ease of Application | Durability | Appearance |
|---|---|---|---|---|
| Wood Filler | Affordable | Simple, suitable for DIY | Decent durability | Smooth and seamless, but may not match exact texture/grain |
| Edge Banding | Cost varies by selection, rolls start around $10 | Doable for a beginner, but takes some practice for perfect results | Excellent durability | Clean and professional, matches plywood surface |
| Wood Trim | Can be free with scrap wood, cost varies by selection | Intermediate to advanced | Exceptional durability | Decorative and elegant, enhances aesthetics and provides structural reinforcement |
How to cover plywood edges
Here are tutorials for the 3 main methods that we have used to cover plywood edges.
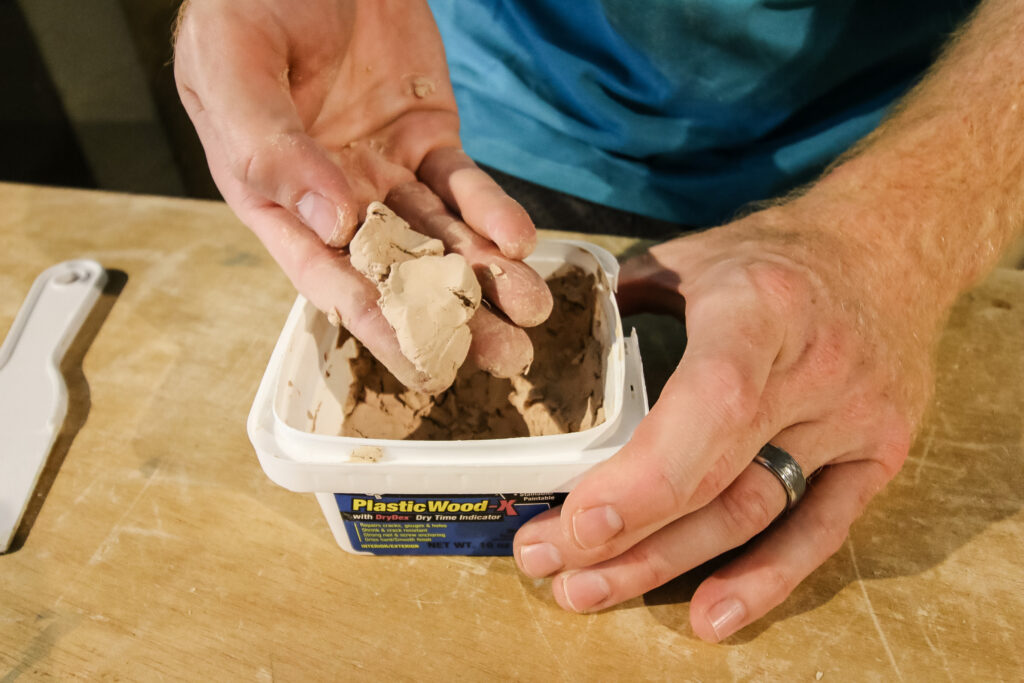
Method 1: Using Wood Filler
Wood filler is a putty that you can apply to the edges of your plywood to cover up any voids or gaps, as well as the texture.
The benefit of wood filler is that you likely already have it on hand, making this a very cheap or free option.
Wood filler can also be the easiest option to apply if you have a lot of corners or angles that can be hard to follow with edge banding or trim.
The cons are that it's not the most durable or the most perfect finish, usually.
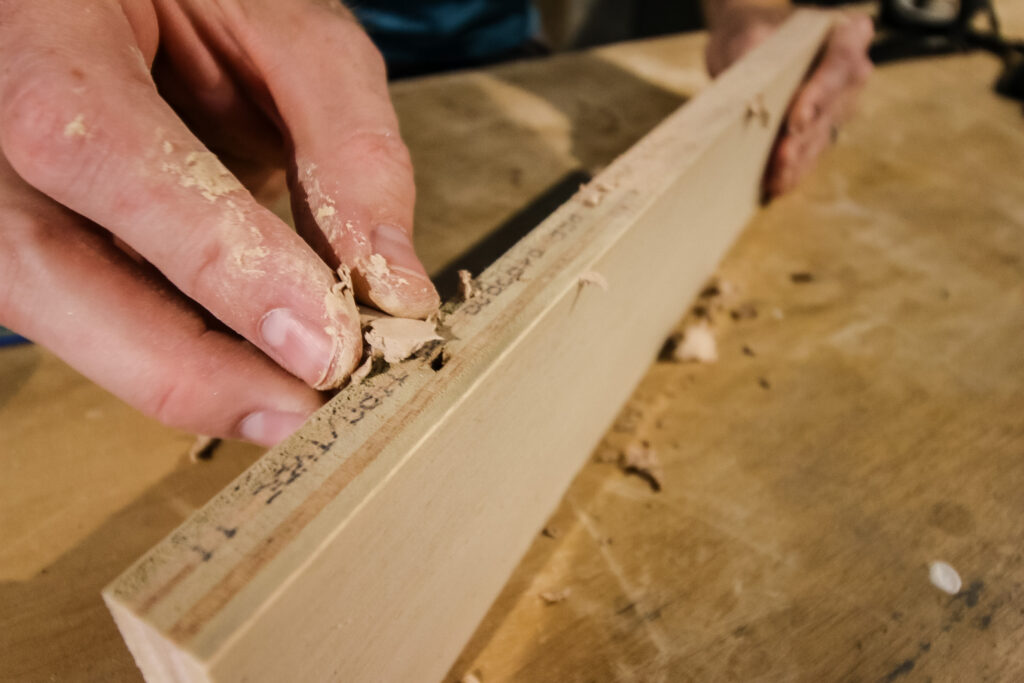
How to apply wood filler to plywood edges
- Sand the edges smooth with medium grit (80+) sand paper
- Use your finger or putty knife to apply wood filler, covering completely and getting into any deep holes
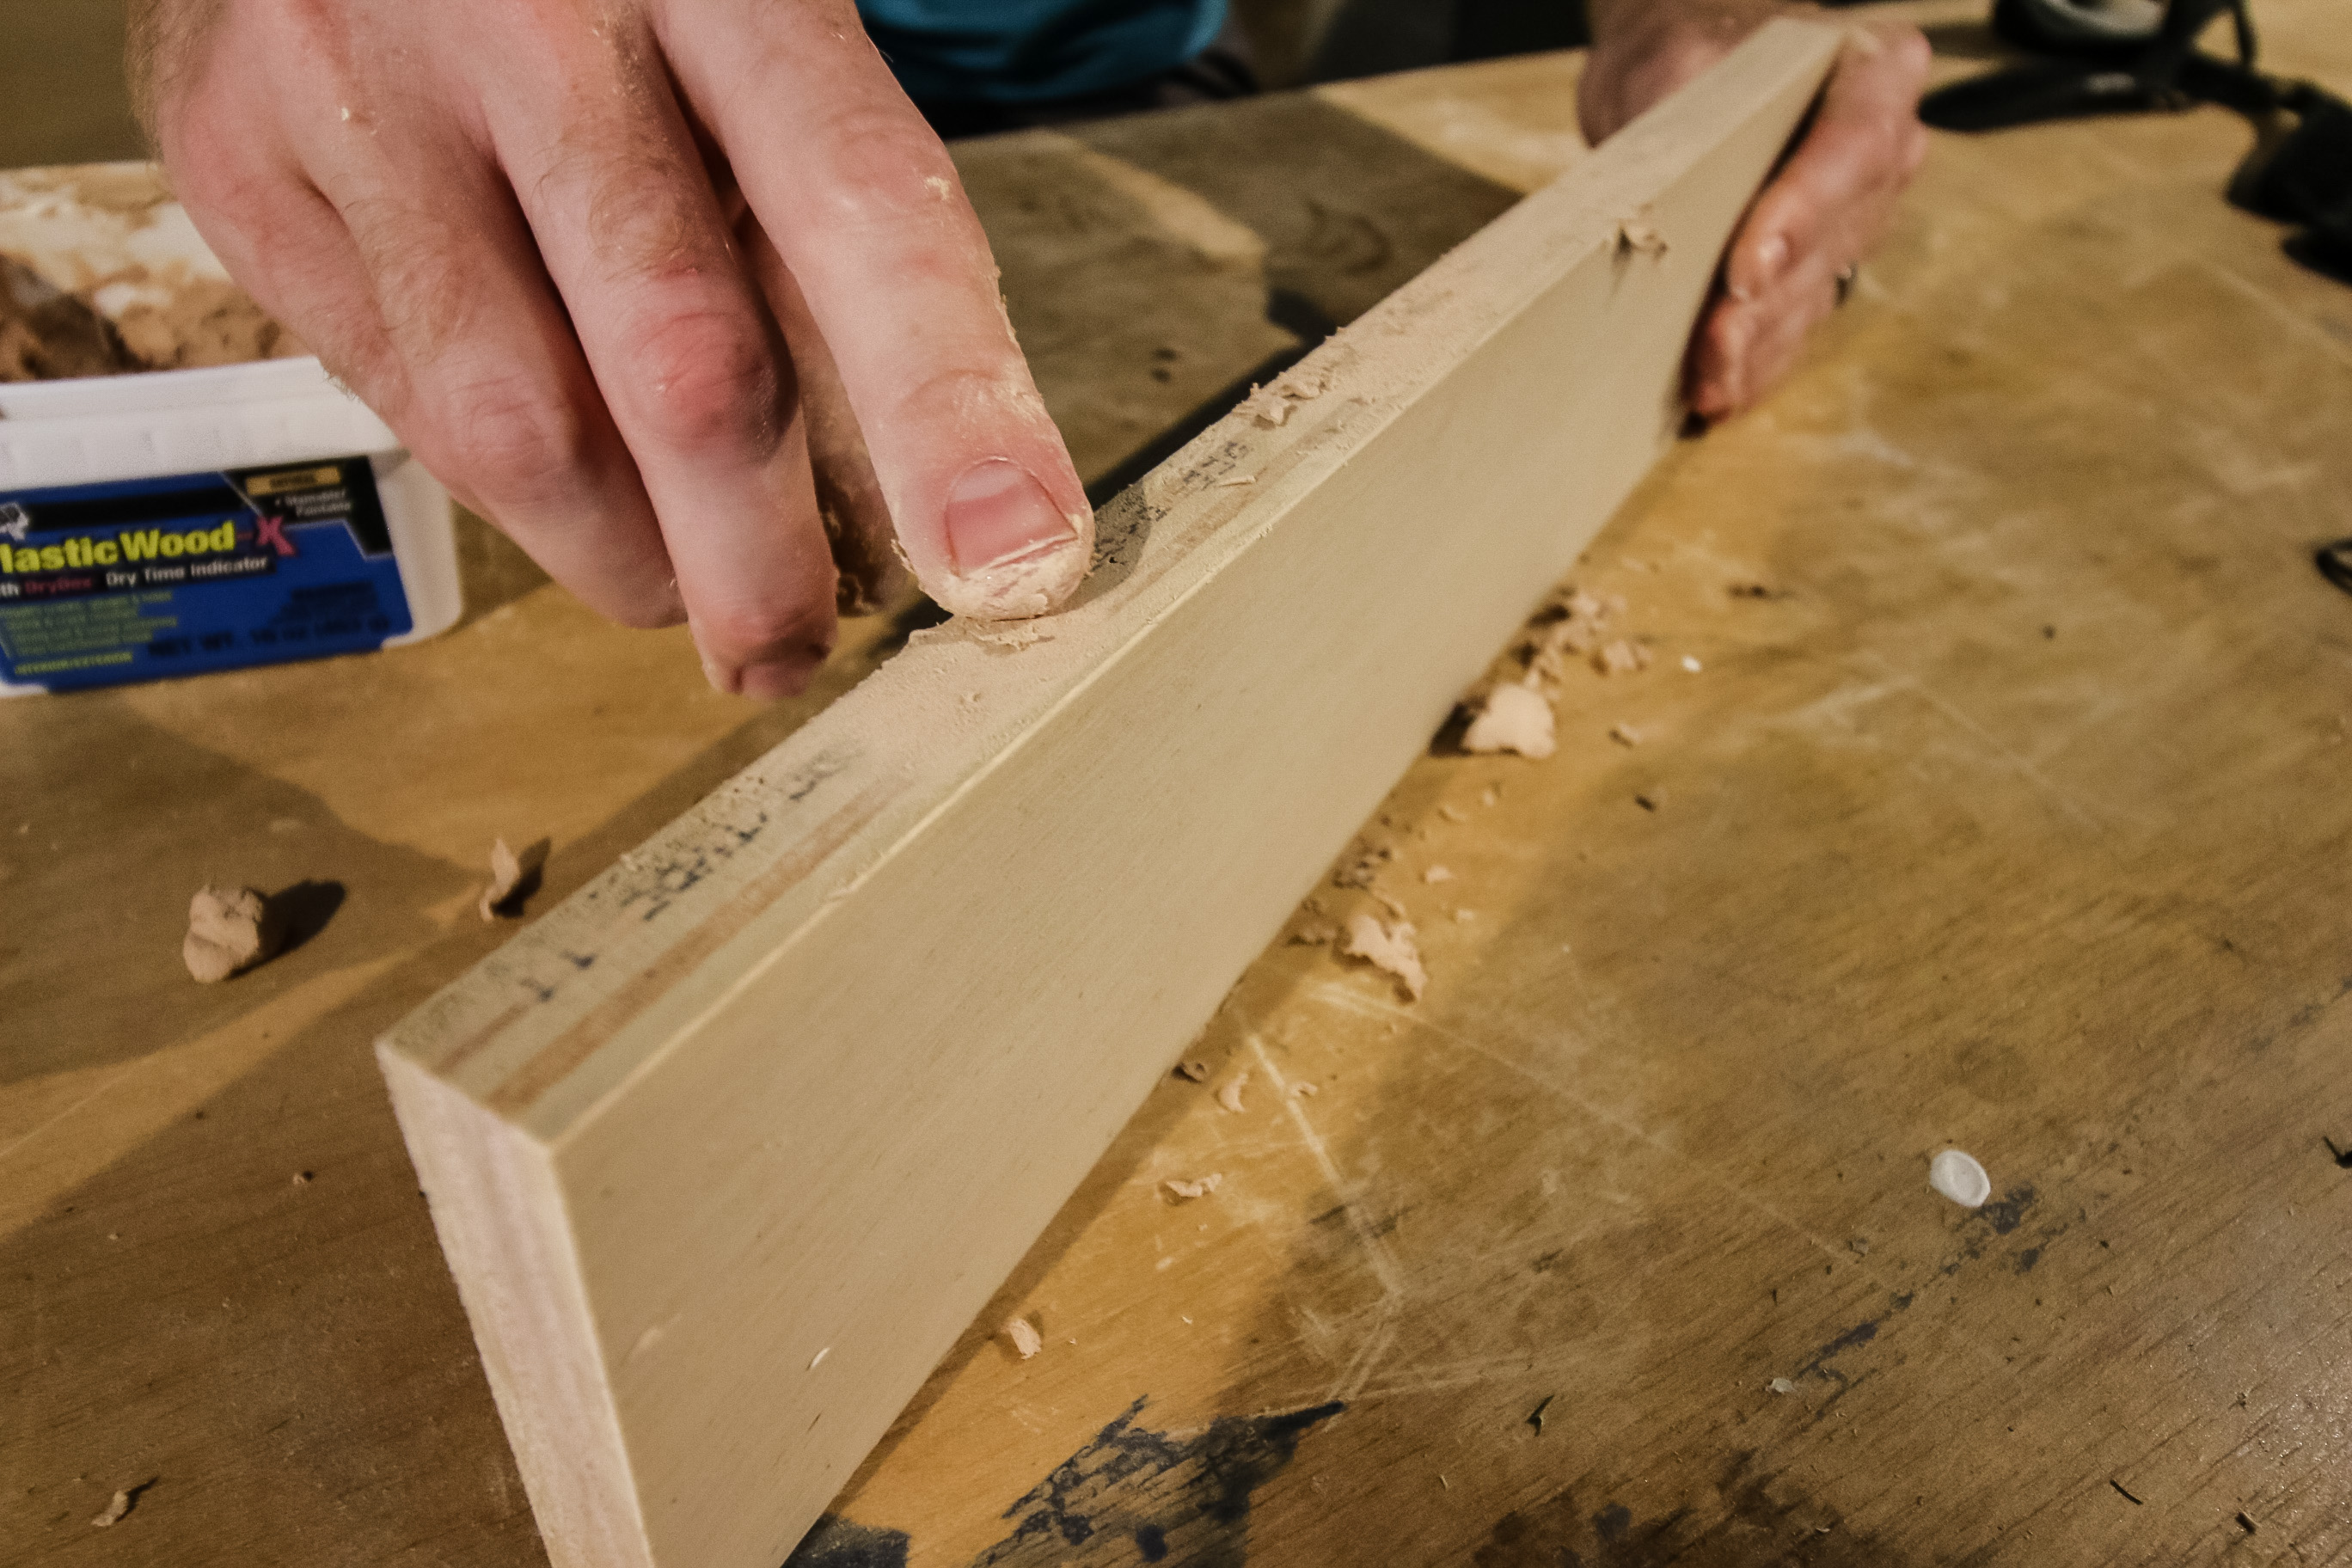
- Smooth as flat as possible
- Allow to dry
- Sand gently in the direction of the grain with 220 grit sandpaper
- Wipe clean
- Apply paint or stain as desired
- Finish with a matte top coat
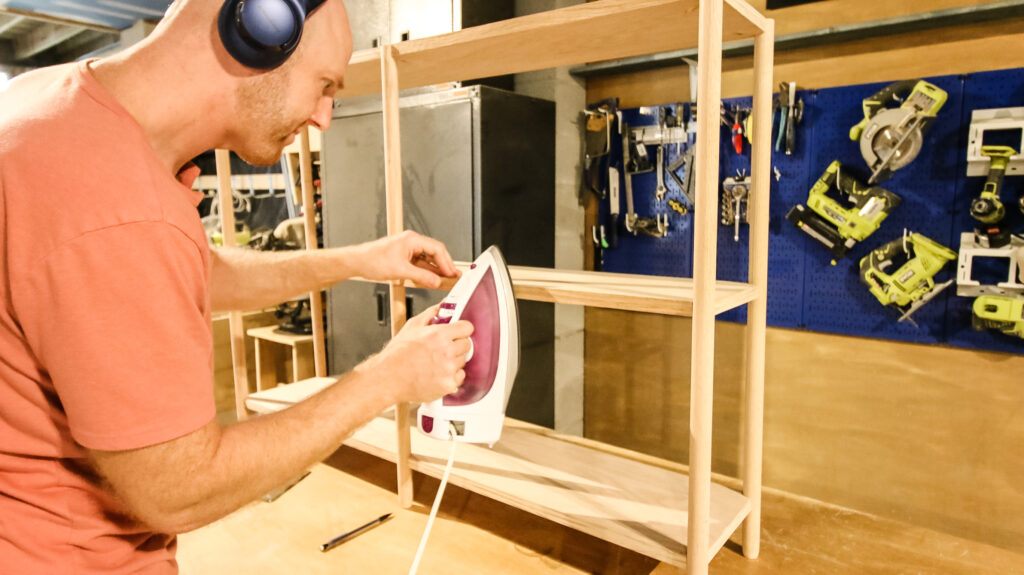
Method 2: Applying Edge Banding
Edge banding is probably the most popular way to cover plywood edges. Edge banding comes in iron on strips that are super easy to use.
You can buy edge banding in a wide variety of sizes and wood species.
In general, you want to select a edge banding size that is either the same size or slightly bigger than your plywood thickness. Slightly bigger gives you a little bit of wiggle room compared to the exact size you have to line up very precisely.
Generally you also want to pick the same wood species as your wood that you were working with so that it will look like a solid piece of wood in the end.
The cons of using edge banding are that it can get expensive if you have a more expensive wood type or need a lot of it.
The other big con is just that I think there's a bit of a learning curve to using edge banding. The first few times I used it it didn't turn out great, it looked a little crooked, and my trimming of the edges just wasn't super clean.
I highly suggest that you test on some scrap wood the first time that you use wood veneer edging to make sure you do as good as you possibly can on your actual project.
How to apply plywood edge banding
- Sand your project with 80 grit sandpaper to get it prepared. Wipe it clean.
- Unroll your edge banding and hold it up to your edge and use a pair of scissors to cut the amount that you need. I suggest adding another inch or half an inch extra just so you don't run out.
- Use your iron to gently iron the edge banding into place. Work your way slowly couple of inches at a time and make sure that the glue has melted, and that it is adhered and straight before you move onto the next section.
- Continue this down the whole edge until it is fully adhered.
- Then let it cool so that the glue is dry.
- Now you can trim any excess. They make fancy little edge banding trimmers for this but I have always just used a box cutter, or similar knife. Take your time on this do not get sloppy, this is where you can kind of mess it up and make it look jagged, if you are not attentive to details.
- When you are done, sand it all with a 220 grit sandpaper for a very smooth finish.
- Now you are ready to paint or stain!
- Don't forget to finish it off with a clear topcoat to protect your wood surface and seal the plywood.
Method 3: Adding a Piece of Wood Trim
The final option for covering your plywood edges is to actually cut a piece of wood trim. This works especially well if you are trying to do some thing ornate and want a little something fancy or if you have a lot of extra pieces of wood sitting around.
We've done this a few different times and honestly, it can be easier than edge banding.
It's definitely cheaper than edge banding if you have the scrap wood handy.
If you have to go purchase a lot of wood to do a large amount of this then it's going to quickly get expensive and probably not be worth it economically.
Also, if you'd like more of a sleek look, this might not be it for you.

How to add wood trim to plywood edges
- Measure the edges of your pieces precisely and take a moment to sketch out the trim dimensions that you were going to need.
- Cut them out using your miter saw. I highly recommend monitoring the edges for that 45° angle look, which looks the most professional look.
- Once you have your trim cut, send it with 220 grit sandpaper to get it smooth.
- Now you will want to attach it to the face of your plywood. Use wood glue to do so and then clamp it in place. We usually just glue trim like this but if you feel the need, you can always add a couple of brad nails in there.
- Now you can sand stain or paint your project.
- Don't forget to finish it off with a clear topcoat to protect your plywood.
Any questions about how to finish plywood edges?

Looking for something?
We've been doing this since 2012 so we have a LOT of blog posts!
Search stuff like: Ceiling Projects | DIY Plant Stands | Thrift Flips

Hello, I'm Morgan, half of the creative force behind CharlestonCrafted.com! With a passion for DIY that dates back to 2012, I've transformed three homes and now I'm dedicated to helping others craft their dream spaces. Let's turn your house into a home together!


