This wall-hanging test tube planter is a great DIY propagation station for growing roots on all your plant cuttings! Here's how to build it!
We love propagating plants and have so many different containers around the house full of cuttings!
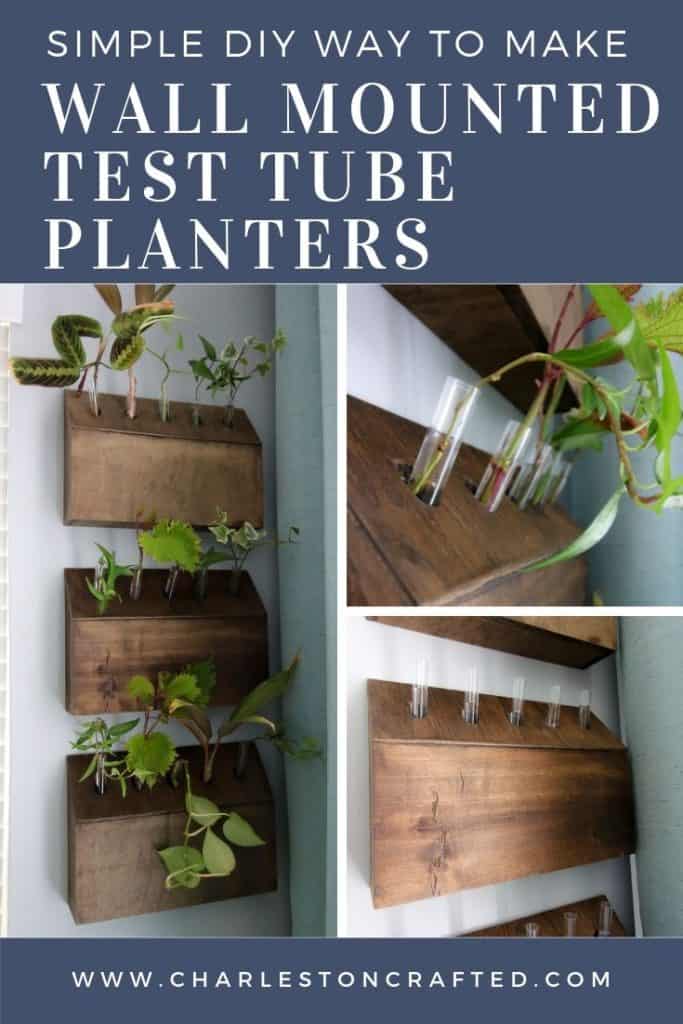
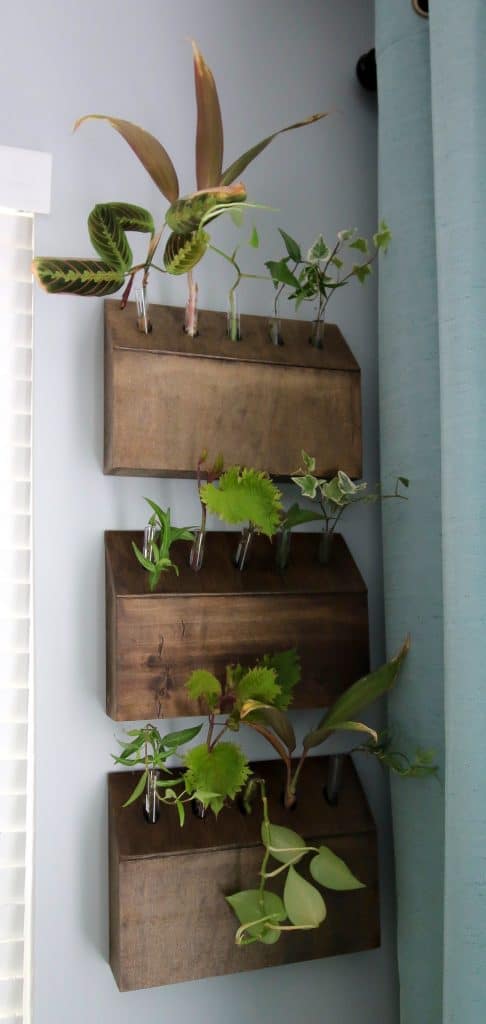
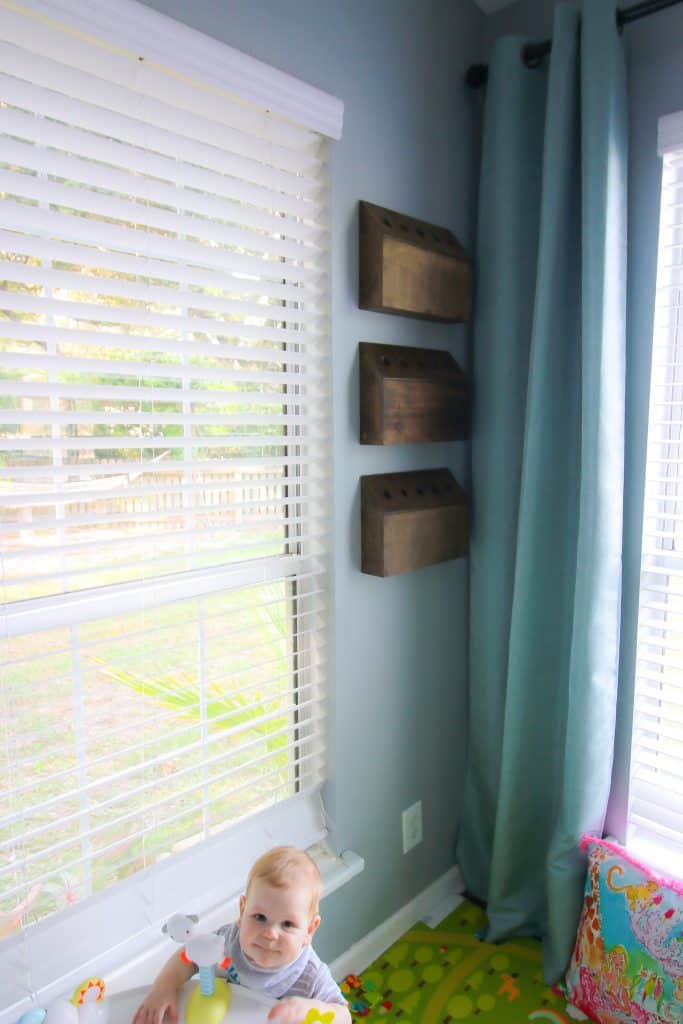
We decided to go vertical with some plant propagation and build a wall-hanging test tube plant stand. This planter is simple and effective for propagating a lot of plants at once and adds greenery to your wall.
Here are 44 easy DIY vase ideas!
Simple Plant Propagation Station
The basic idea is to use vertical wall space in a well-lit area to propagate plant cuttings. We are using test tubes for the plant stems to go in and building small containers to hang on the wall.
But, before we get any further...
What is plant propagation?
Good question. Plant propagation involves creating new plants from existing plants by taking cuttings from the existing plant and helping it grow roots.
This is done by cutting off a small branch of a plant directly above a node and then placing that cutting in water for it to grow roots. Once it has roots, you plant it in a small pot and continue to watch it grow.
Click here to download our FREE plant propagation eBook!
We've written about what kinds of plants are good for propagation and how to propagate, but some of the best plants to try are pothos and waffle plants.
See all of my favorite living wall ideas here!
How to Build a Wall-Hanging Propagation Station
We used ½" plywood to build each propagation station. Everything was connected using a brad nailer with 1" nails. For each box, we cut the following pieces:
- Front- 14"x6"
- Sides (2)- 2 ½"x9" (measure to 6" on one side and make a diagonal cut to 9" on the other side)
- Top- 14"x5" (with 45 degree bevels on each long end)
- Bottom- 13"x2 ½"
- Shelf- 13"x2 ½"
- Wall bracket- 13"x1"
Start out by attaching the sides to the inner edges of the front.
Next, attach the bottom inside the sides and flush with the bottom of the front.
Attach the sloped top along the angles of the sides and flush with the top of the front.
Add the shelf where you want the test tubes to rest and then add the wall bracket piece to hang it.
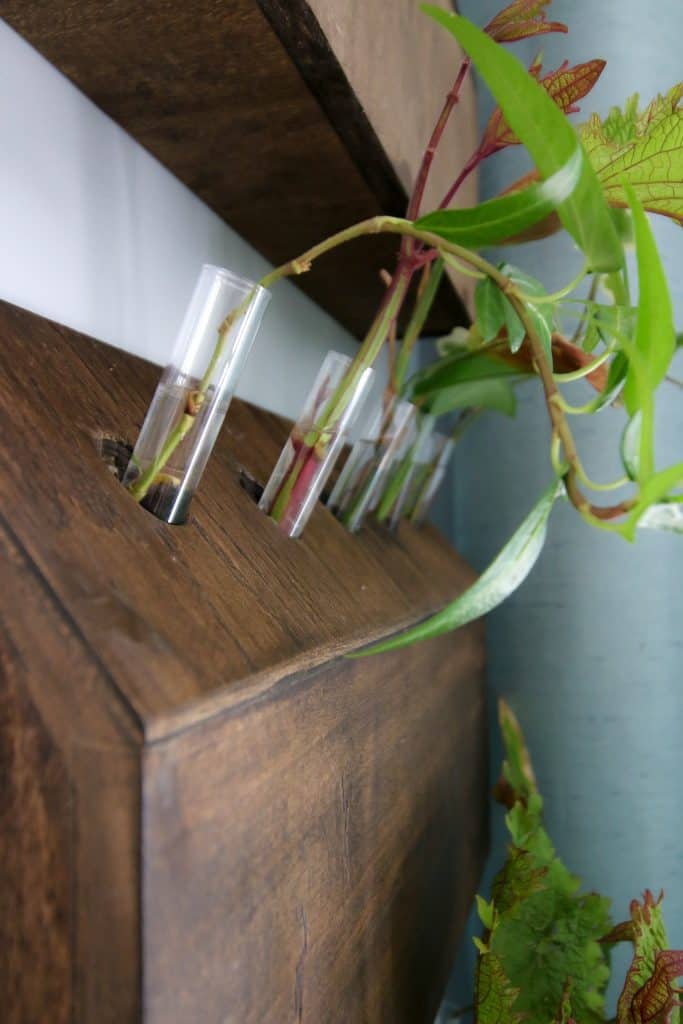
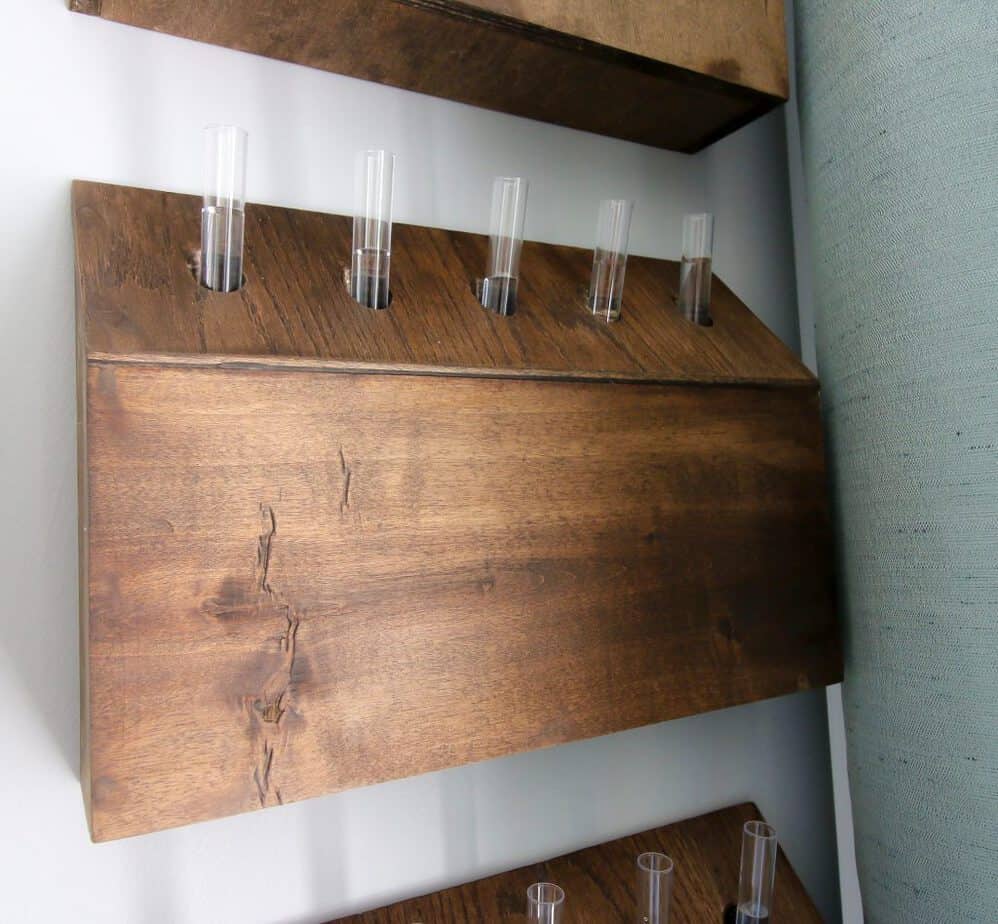
We then used a ¾" spade bit to drill the holes for the test tubes. To do this, we started the bit straight into the board and then rotated the drill up so it would plunge straight down.
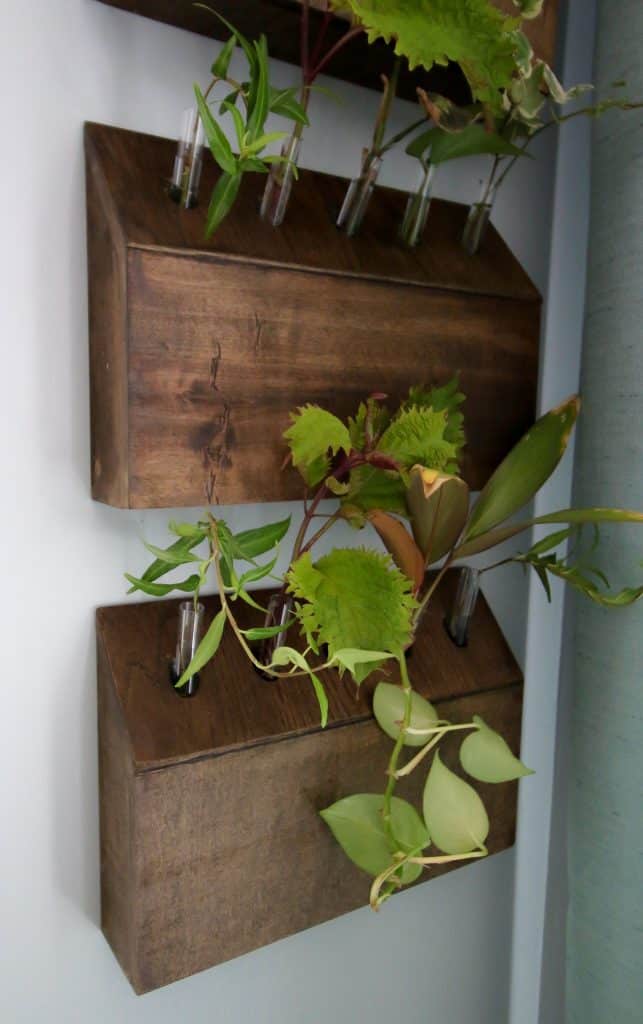
We stained it and hung them on the wall at even intervals, then filled with tubes of plants!
Check out how we made DIY wooden hoop hanging planters!
Wall-Hanging Propagation Station
We love how this turned out. Now we have 15 new spaces for propagating plants and it really adds a nice natural wall to a dead corner.

How to Build a Wall-Hanging Test Tube Planter
This wall-hanging test tube propagation station is perfect for adding vertical height to your walls with natural greenery. This planter can be built quickly and easily and is great for propagating all sorts of plants. Build more than one to add an interesting element to your space!
Materials
- Cuts to be made from a sheet of ½"plywood
- • Front- 14"x6"
- • Sides (2)- 2 ½"x9" (measure to 6" on one side and make a diagonal cut to 9" on the other side)
- • Top- 14"x5" (with 45 degree bevels on each long end)
- • Bottom- 13"x2 ½"
- • Shelf- 13"x2 ½"
- • Wall bracket- 13"x1"
Tools
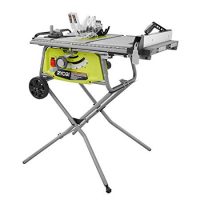
- Table saw
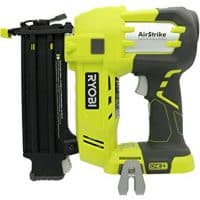
- Brad nailer
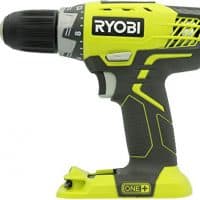
- Cordless drill with ¾" spade bit
Instructions
- Make all cuts listed and sand
- Start out by attaching the sides to the inner edges of the front.
- Next, attach the bottom inside the sides and flush with the bottom of the front.
- Attach the sloped top along the angles of the sides and flush with the top of the front.
- Add the shelf where you want the test tubes to rest and then add the wall bracket piece to hang it.
- Use a ¾" spade bit to drill the holes for the test tubes. To do this, start the bit straight into the board and then rotate the drill up so it would plunge straight down.
- Stain and hang on the wall at even intervals, then fill with tubes of plants!
Recommended Products
As an Amazon Associate and member of other affiliate programs, I earn from qualifying purchases.

Looking for something?
We've been doing this since 2012 so we have a LOT of blog posts!
Search stuff like: Ceiling Projects | DIY Plant Stands | Thrift Flips

Hey there, I'm Sean, the woodworking enthusiast and builder behind CharlestonCrafted.com! Since 2012, I've been sharing the magic of turning raw materials into beautiful creations. I love teaching others the art and satisfaction of woodworking and DIY. I try to inspire fellow crafters to make something extraordinary out of nothing at all.


[…] a set of wall mounted test tube planters using these free woodworking instructions. These are perfect for starting new plants from your […]