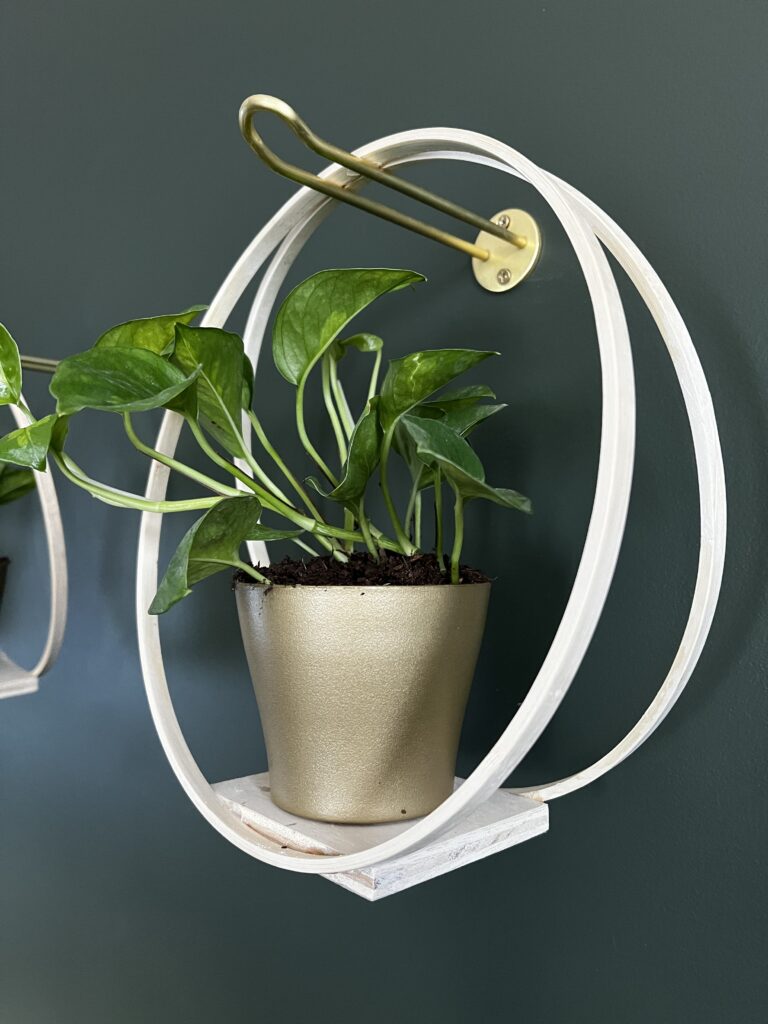
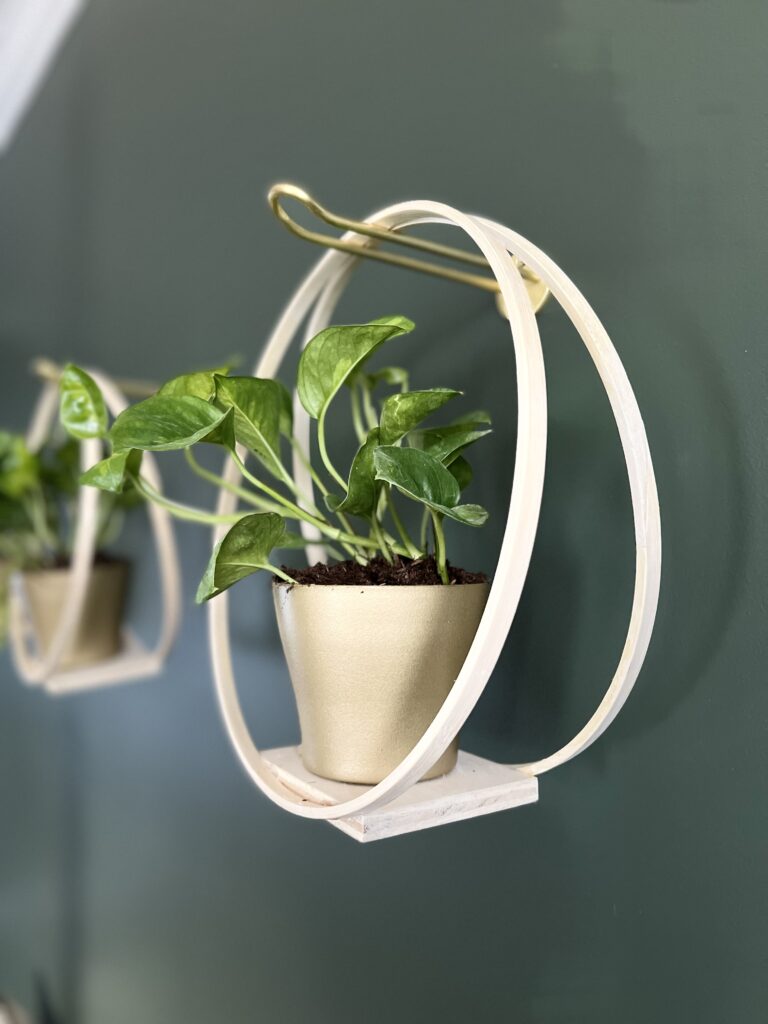
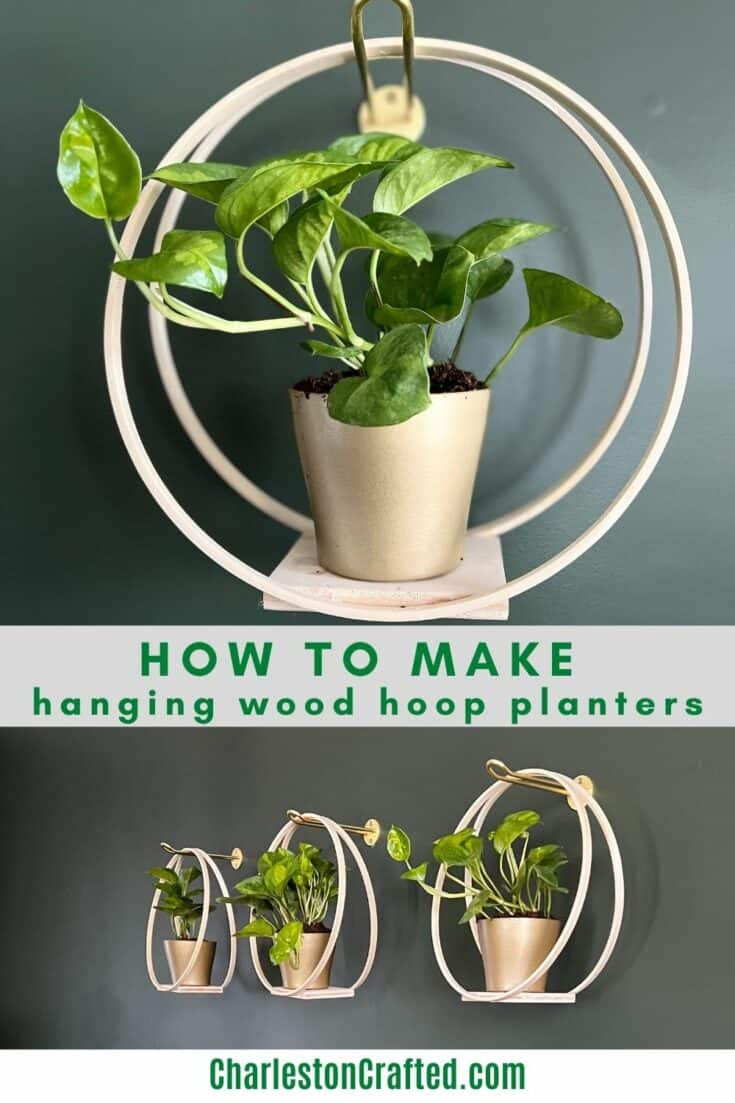
These DIY hanging wood hoop planters are easy to make and are a beautiful and simple way to display hanging plants in your home.
This post was sponsored by National Hardware. All opinions are our own. Thanks for supporting the brands that make Charleston Crafted possible.
We are working on our bedroom makeover and one thing that I really wanted to incorporate into our space was indoor plants.
There are actually already 2 large faux palms beside each bedside table - one that was here before and one I swiped from our guest bedroom.
See our primary bedroom makeover reveal here!

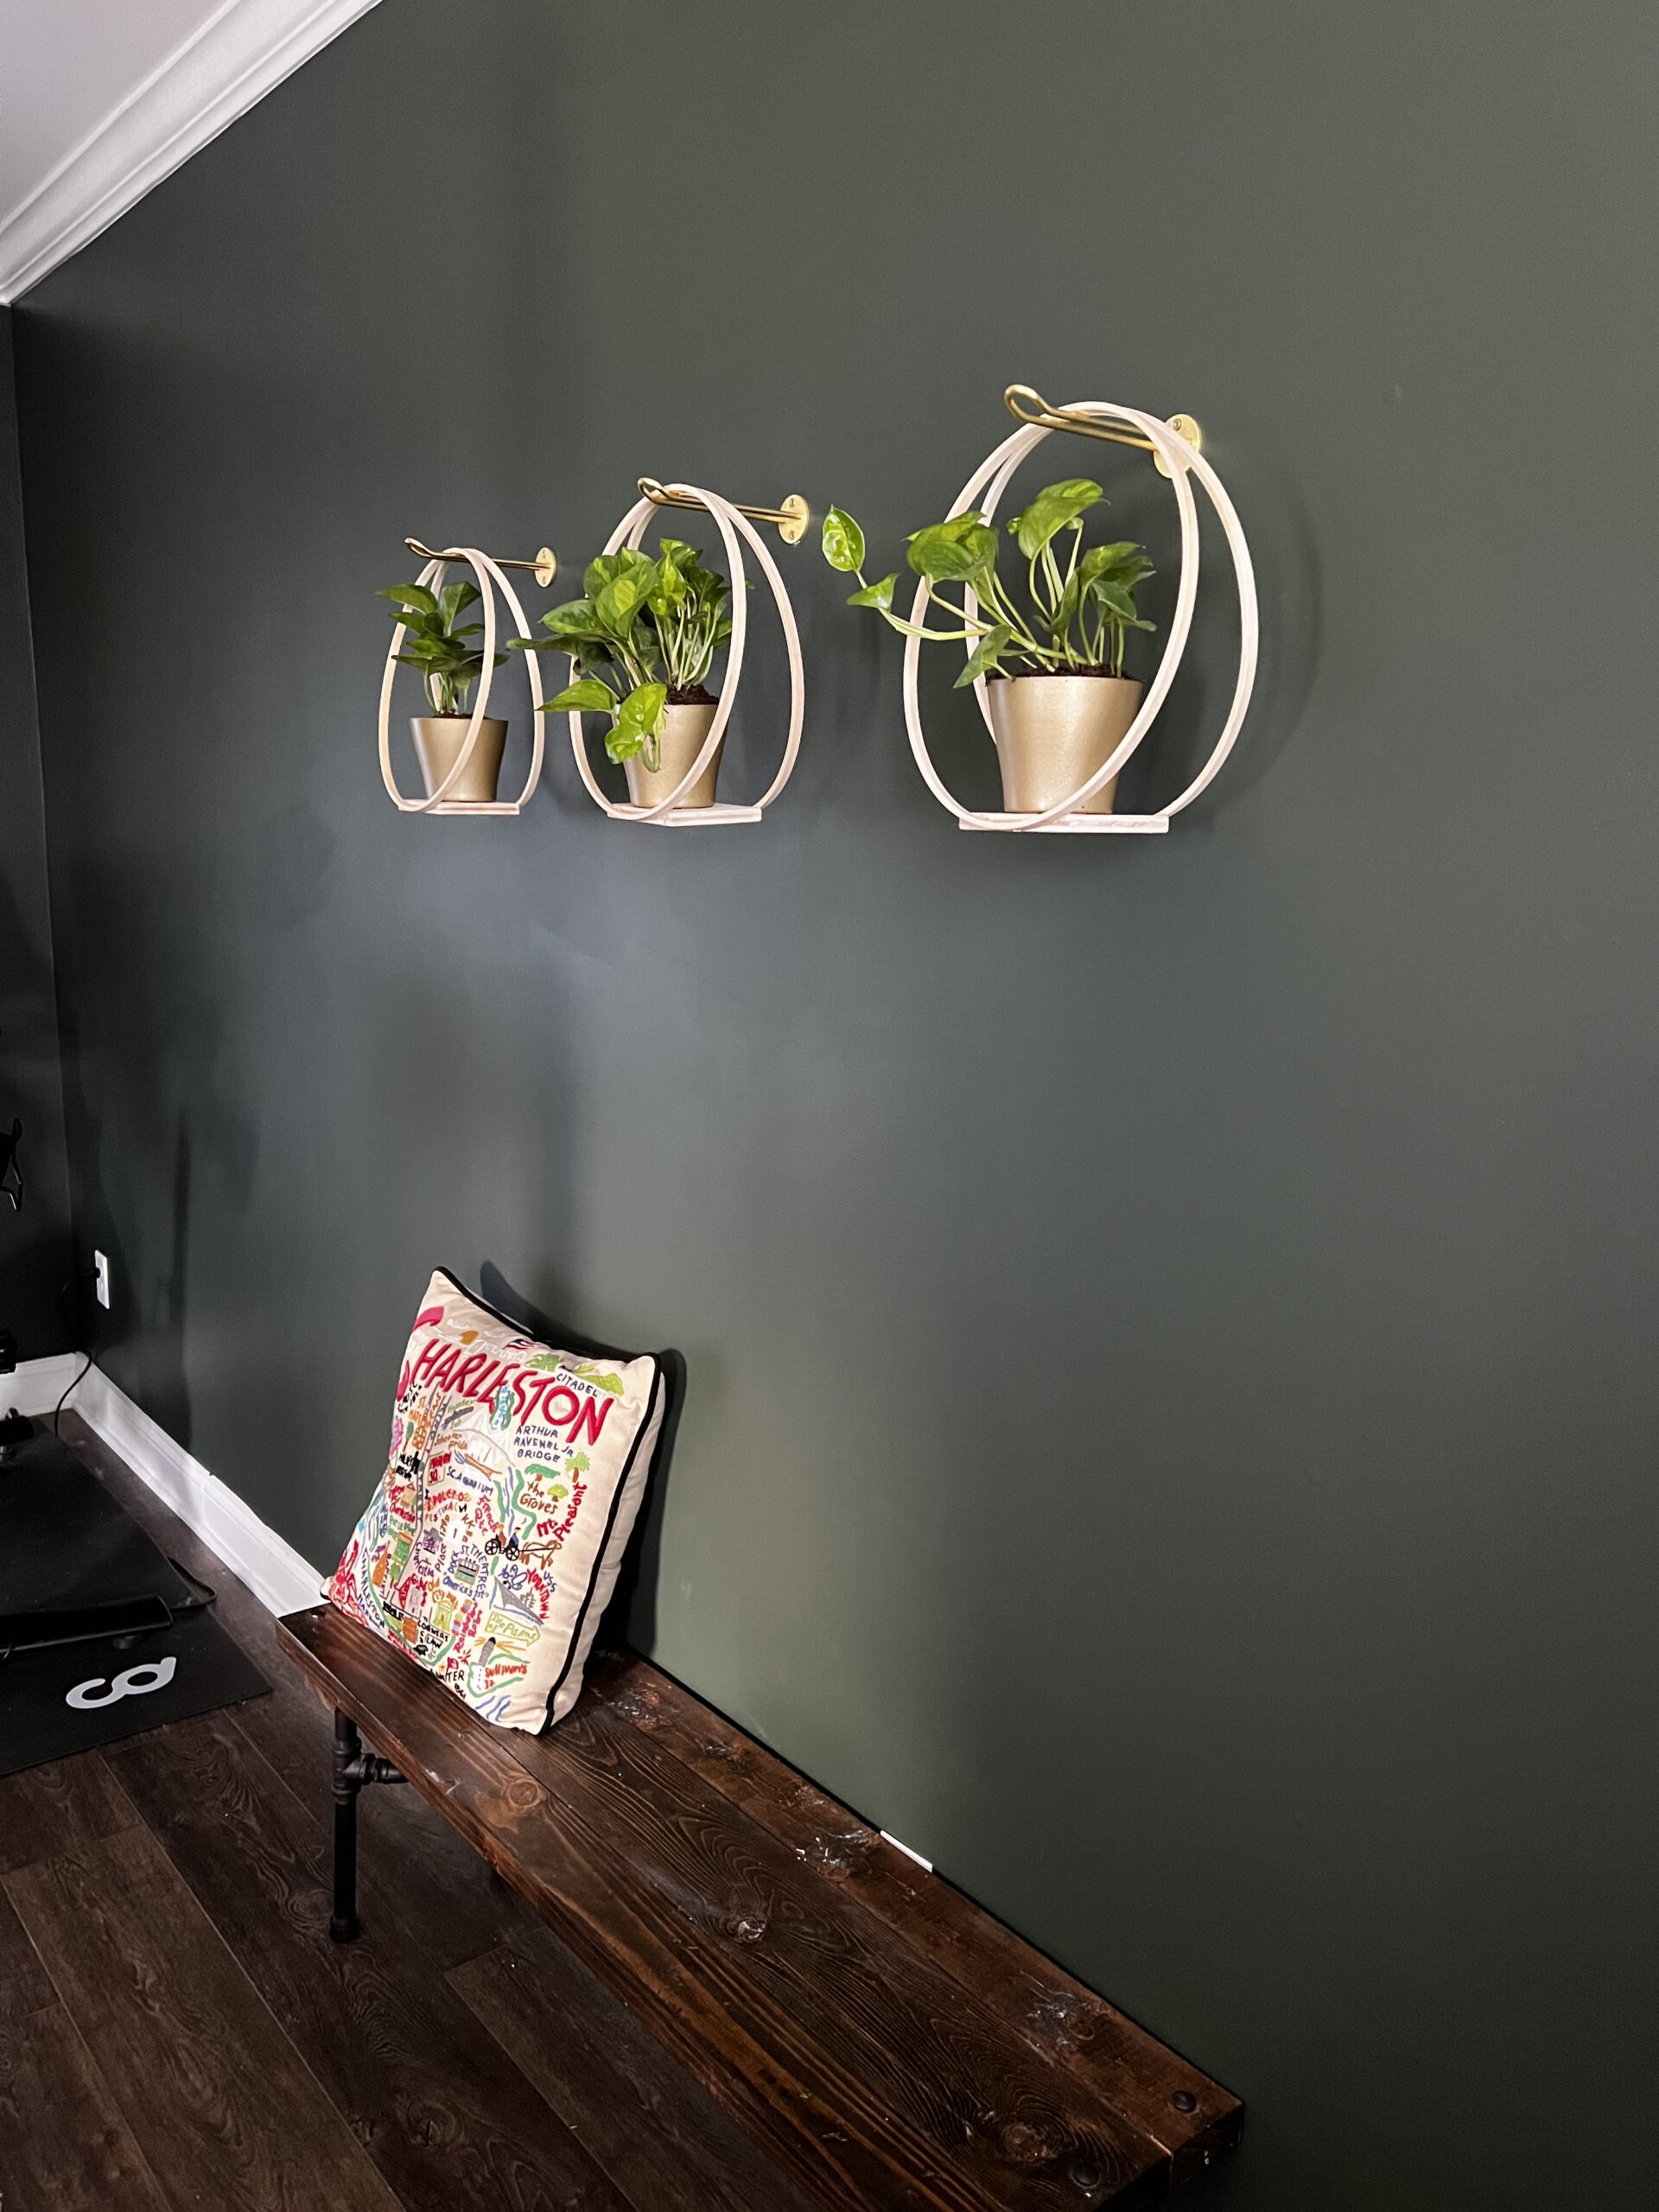
When we rotated the direction of our bed after we built a DIY four poster canopy bed with new bedside tables, this left a large blank wall where the bed used to be.
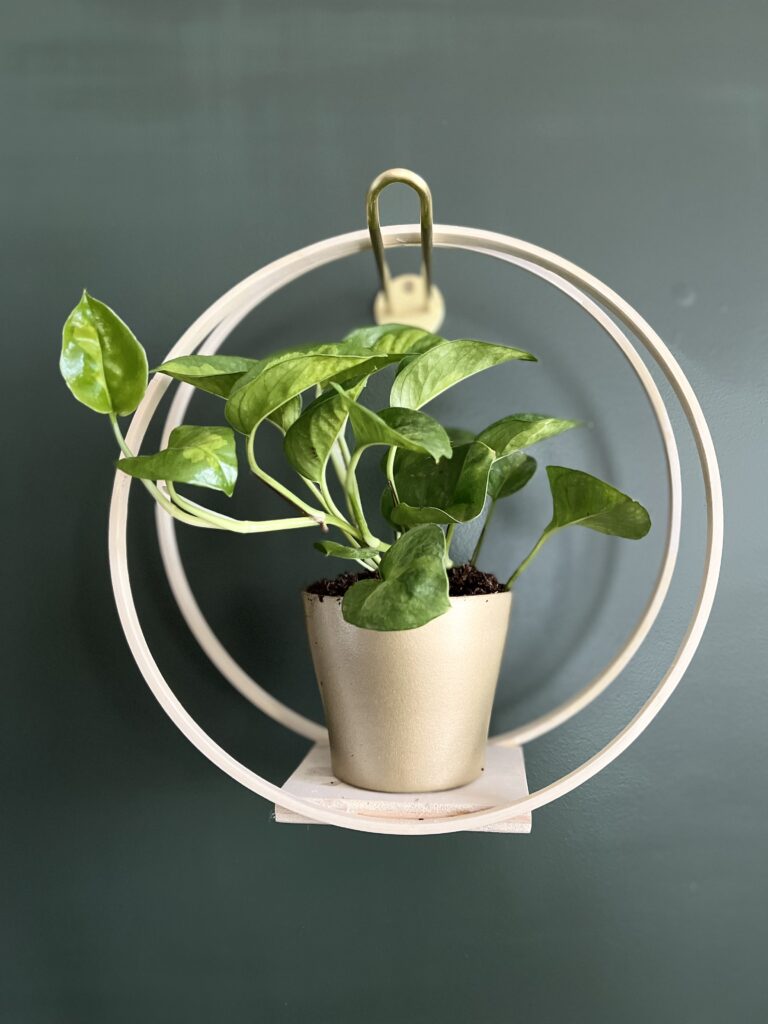
So, I decided to jazz up the big blank wall on the left with some hanging plants. They hang perfectly over our DIY wooden and pipe leg bench.
These planters bring a bit of wood texture to this side of the room. Plus, the gold hardware ties into our gold lighting. Win-win!
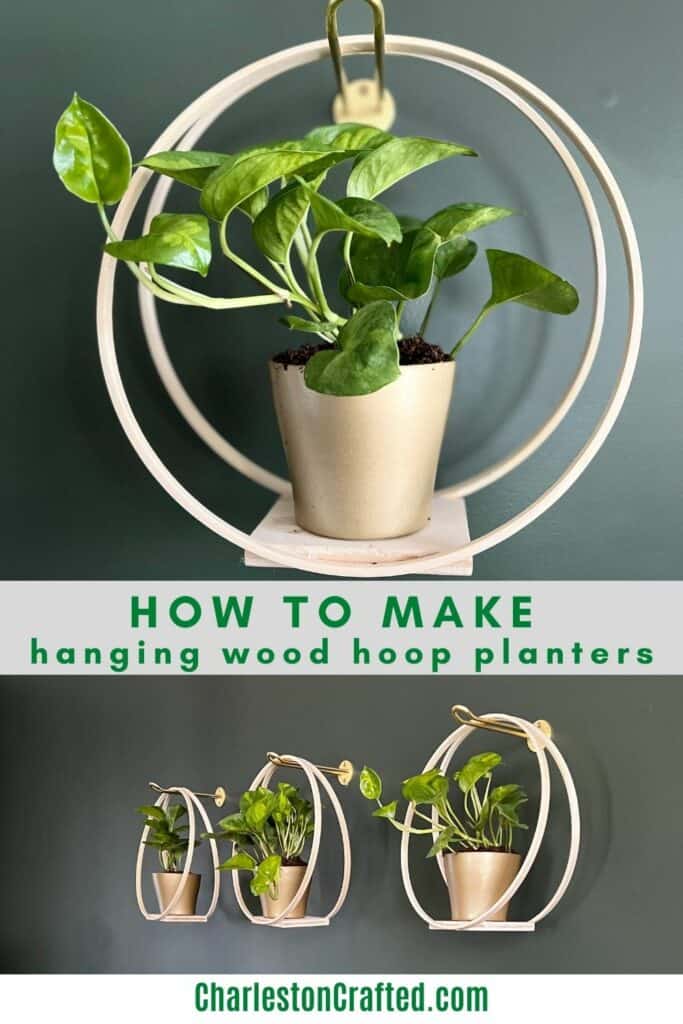
How to make DIY hanging wood hoop planters
Supplies needed:
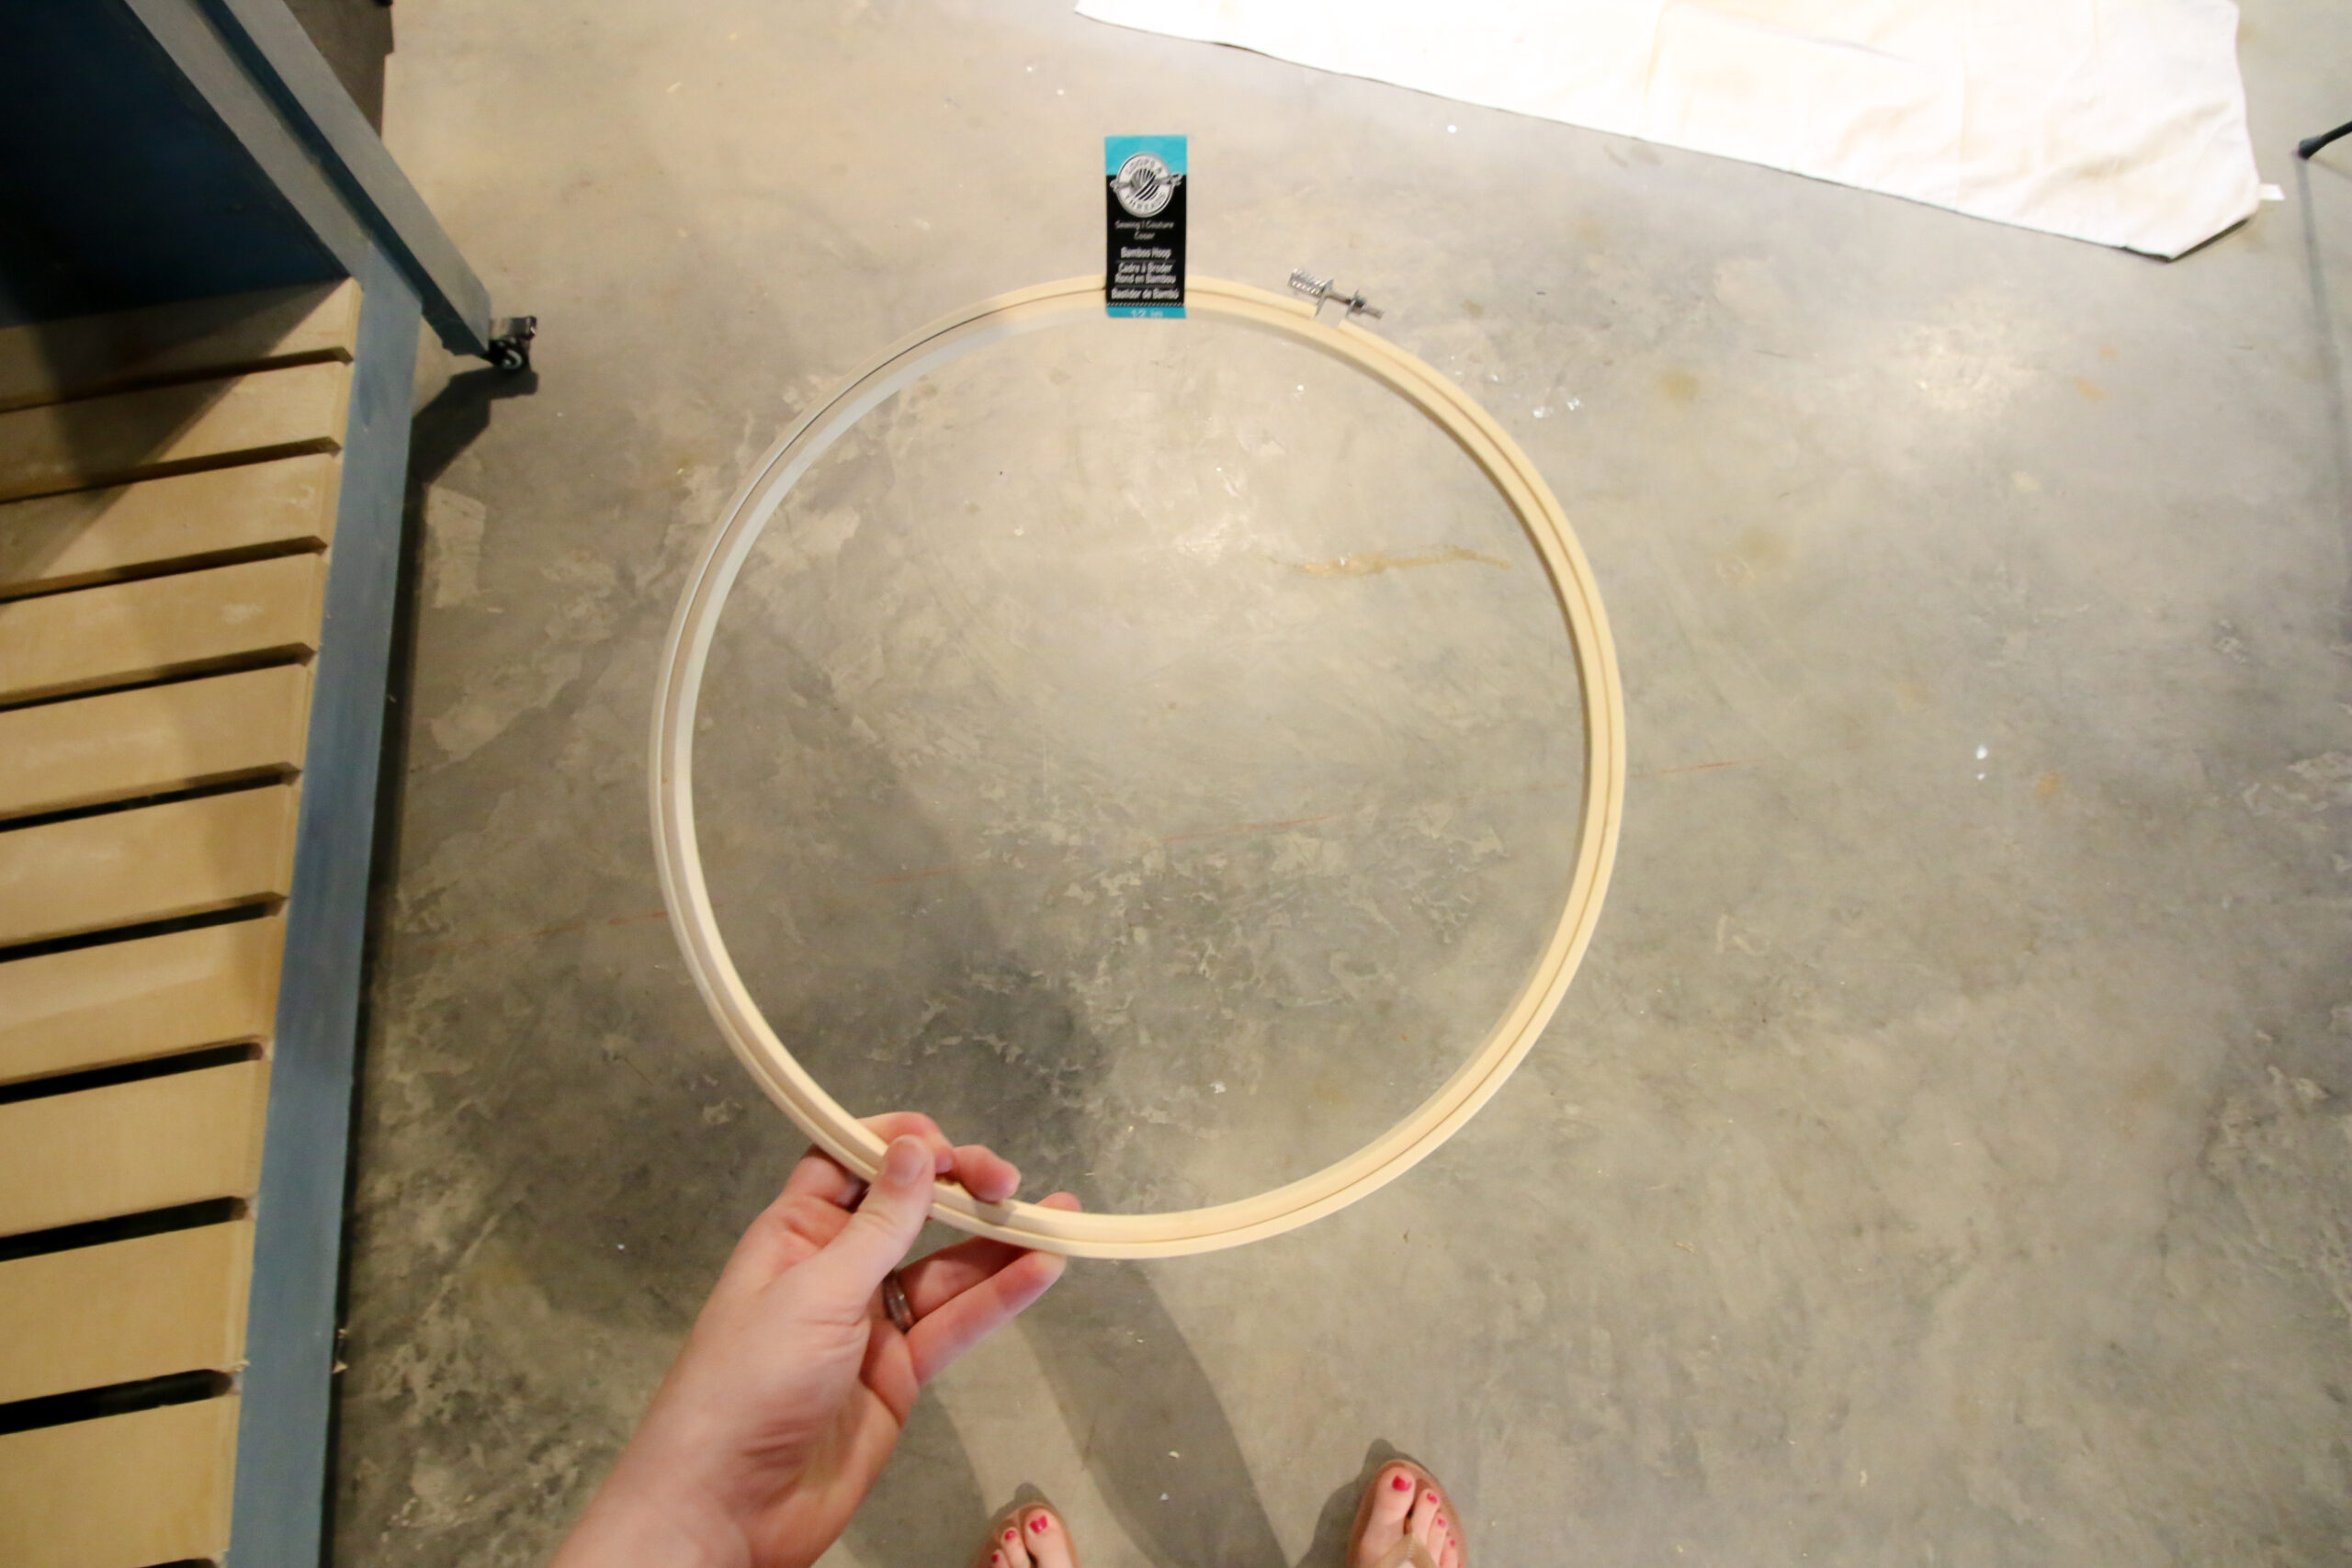
- 2 12" embroidery hoops
- ½" plywood cut to 4"x4.5"
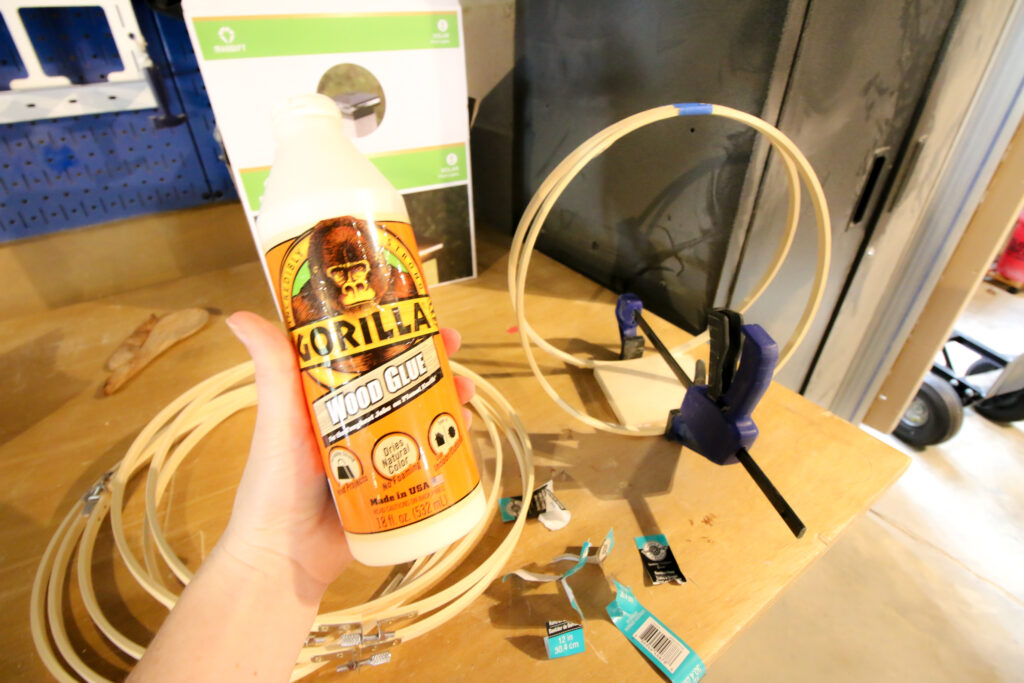
- Wood glue
- Painter's tape or masking tape
- Clamp
- 4" plastic pot
Steps to make hoop planters
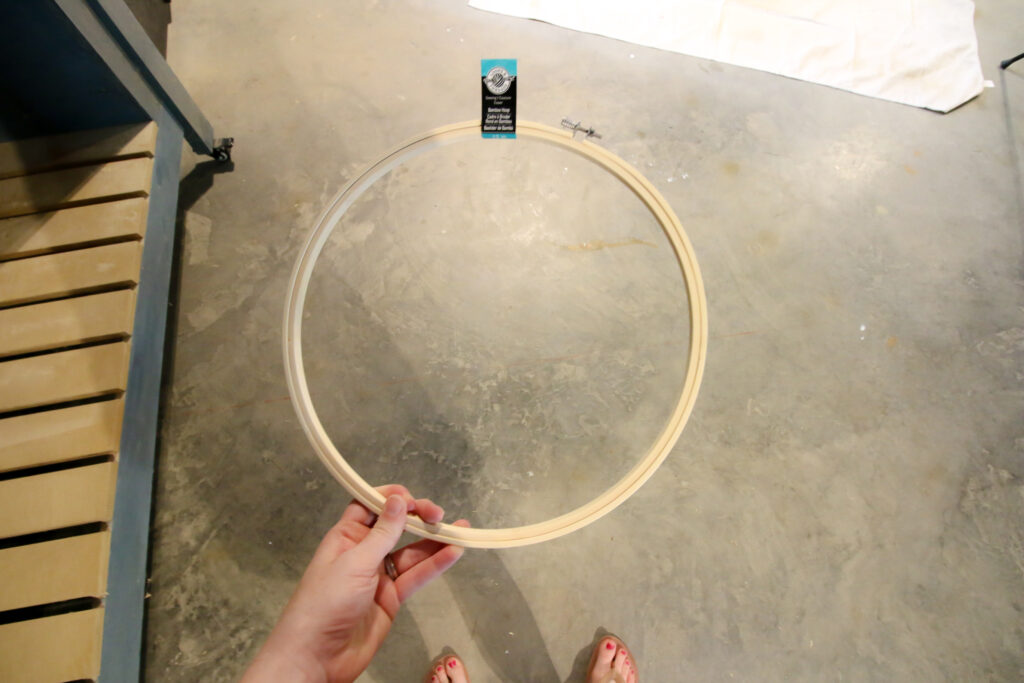
STEP 1: Separate the hoops
First, separate your embroidery hoops. Unscrew the metal clasp holding the outer hoop together and the two hoops should come apart easily.
Now, you can totally use both halves of this to make one hanger, but I didn't like the look of the metal hardware, so I just used 2 inner hoops from 2 separate embroidery hoop sets.
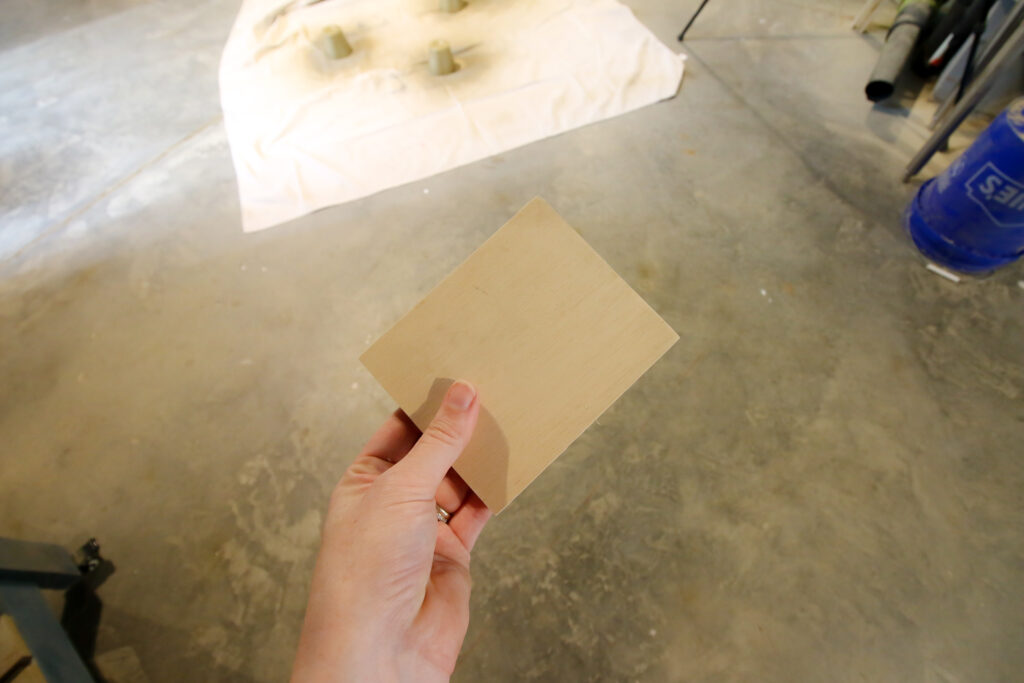
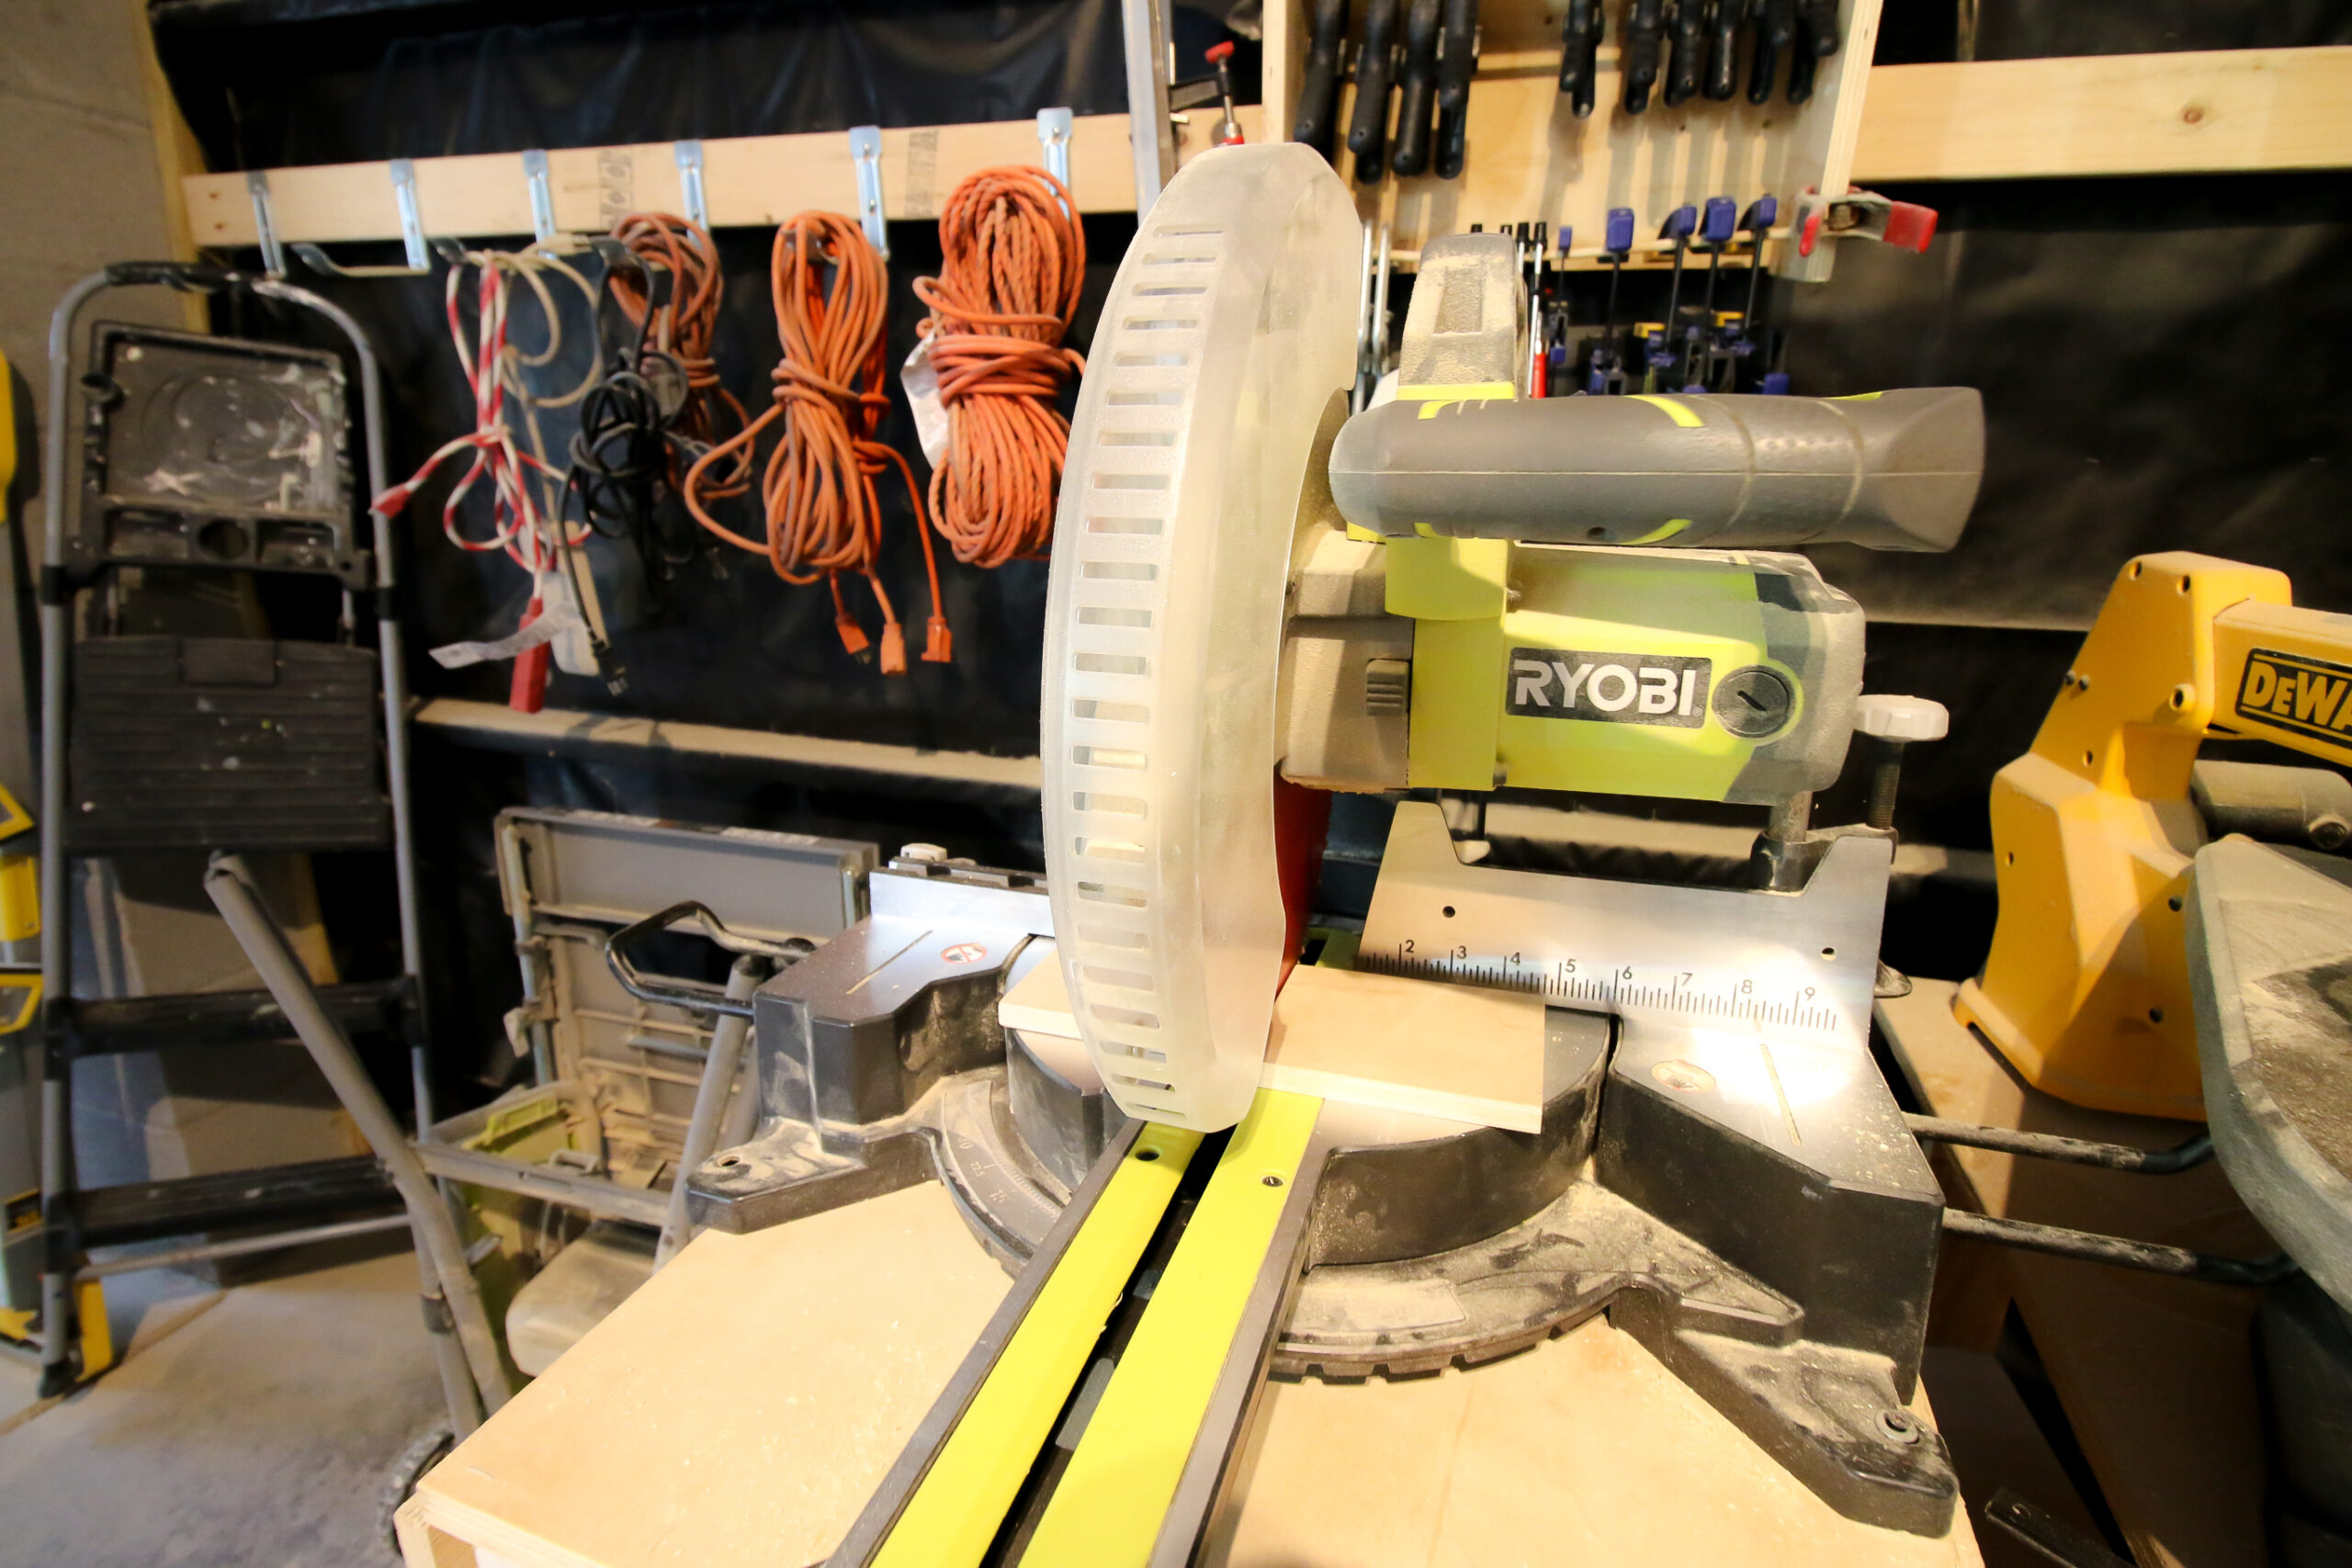
STEP 2: Cut the wood
Cut your base wood to size - approximately 4"x4.5". I used ½" plywood because I felt like ¾" hardwood looked too thick.
That being said, feel free to use any scrap wood you have on hand.
Instead of the flat base, you could also use a third, small hoop in this spot, and let the lip of your pot hang in the hoop. It's a matter of visual preference.
Once your wood is cut, sand it smooth.
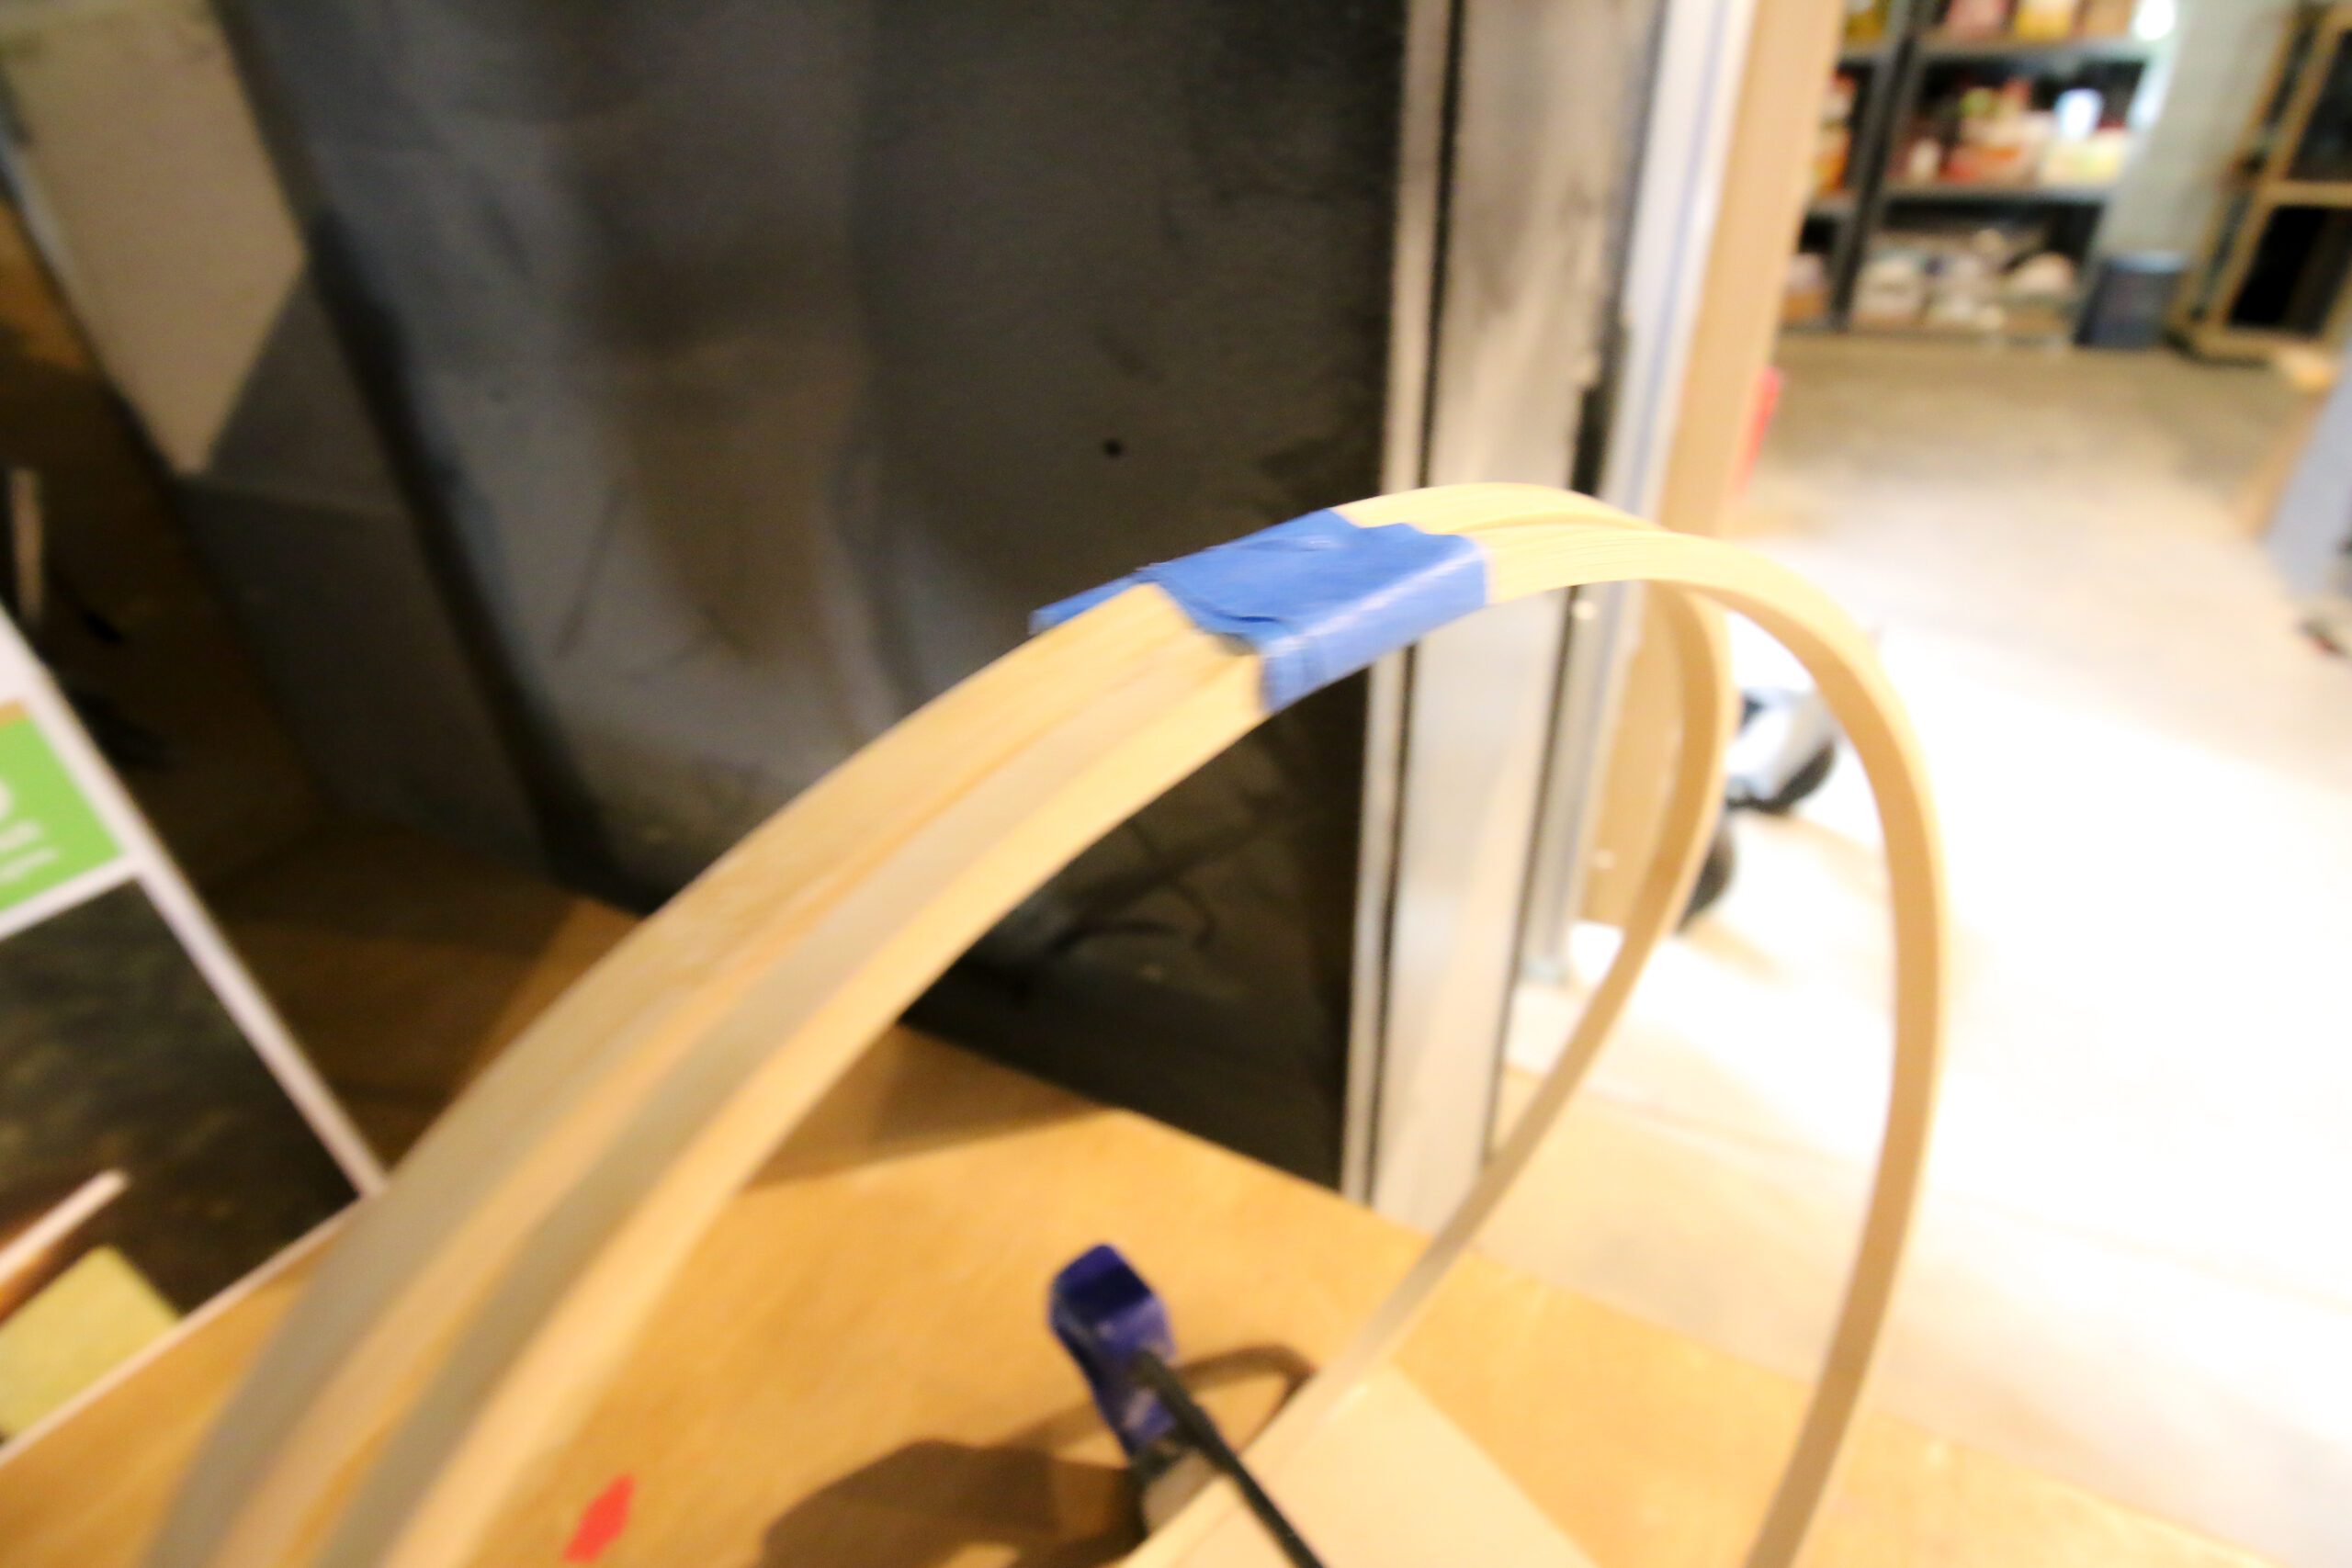
STEP 3: Assemble
Apply glue to the side of one section of hoop, push them together, and tape to hold in place.
Then, line up the base over the piece of wood. Apply glue to the sides of the hoop where it will hit the wood. Clamp in place.
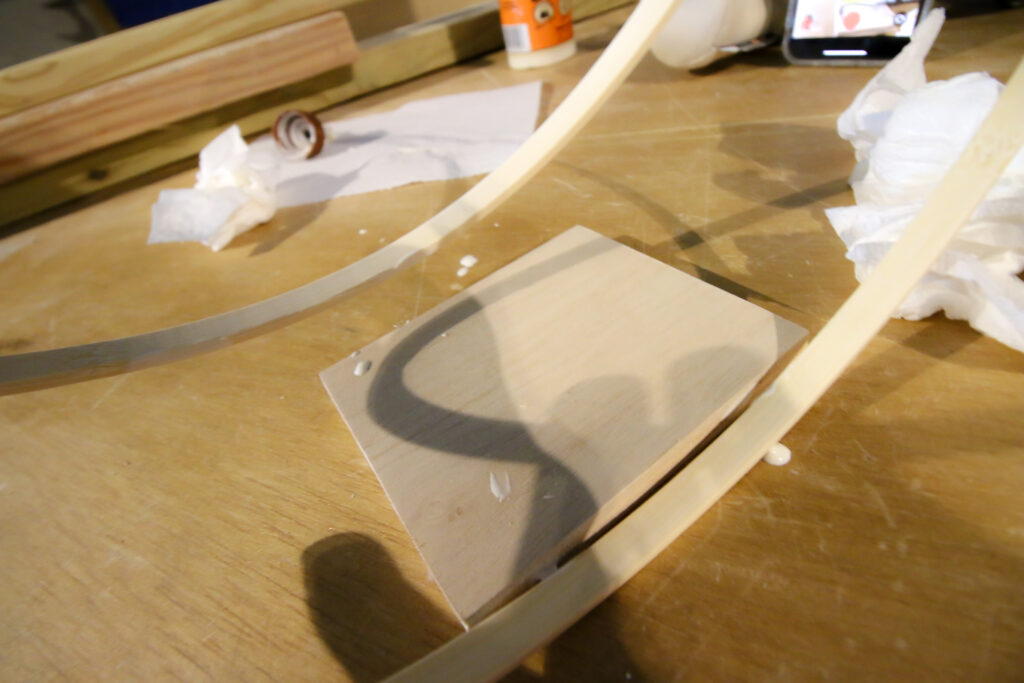
I just used my finger to spread the wood glue and then wiped off any excess glue with a paper towel.
Let dry.
STEP 4: Stain or paint
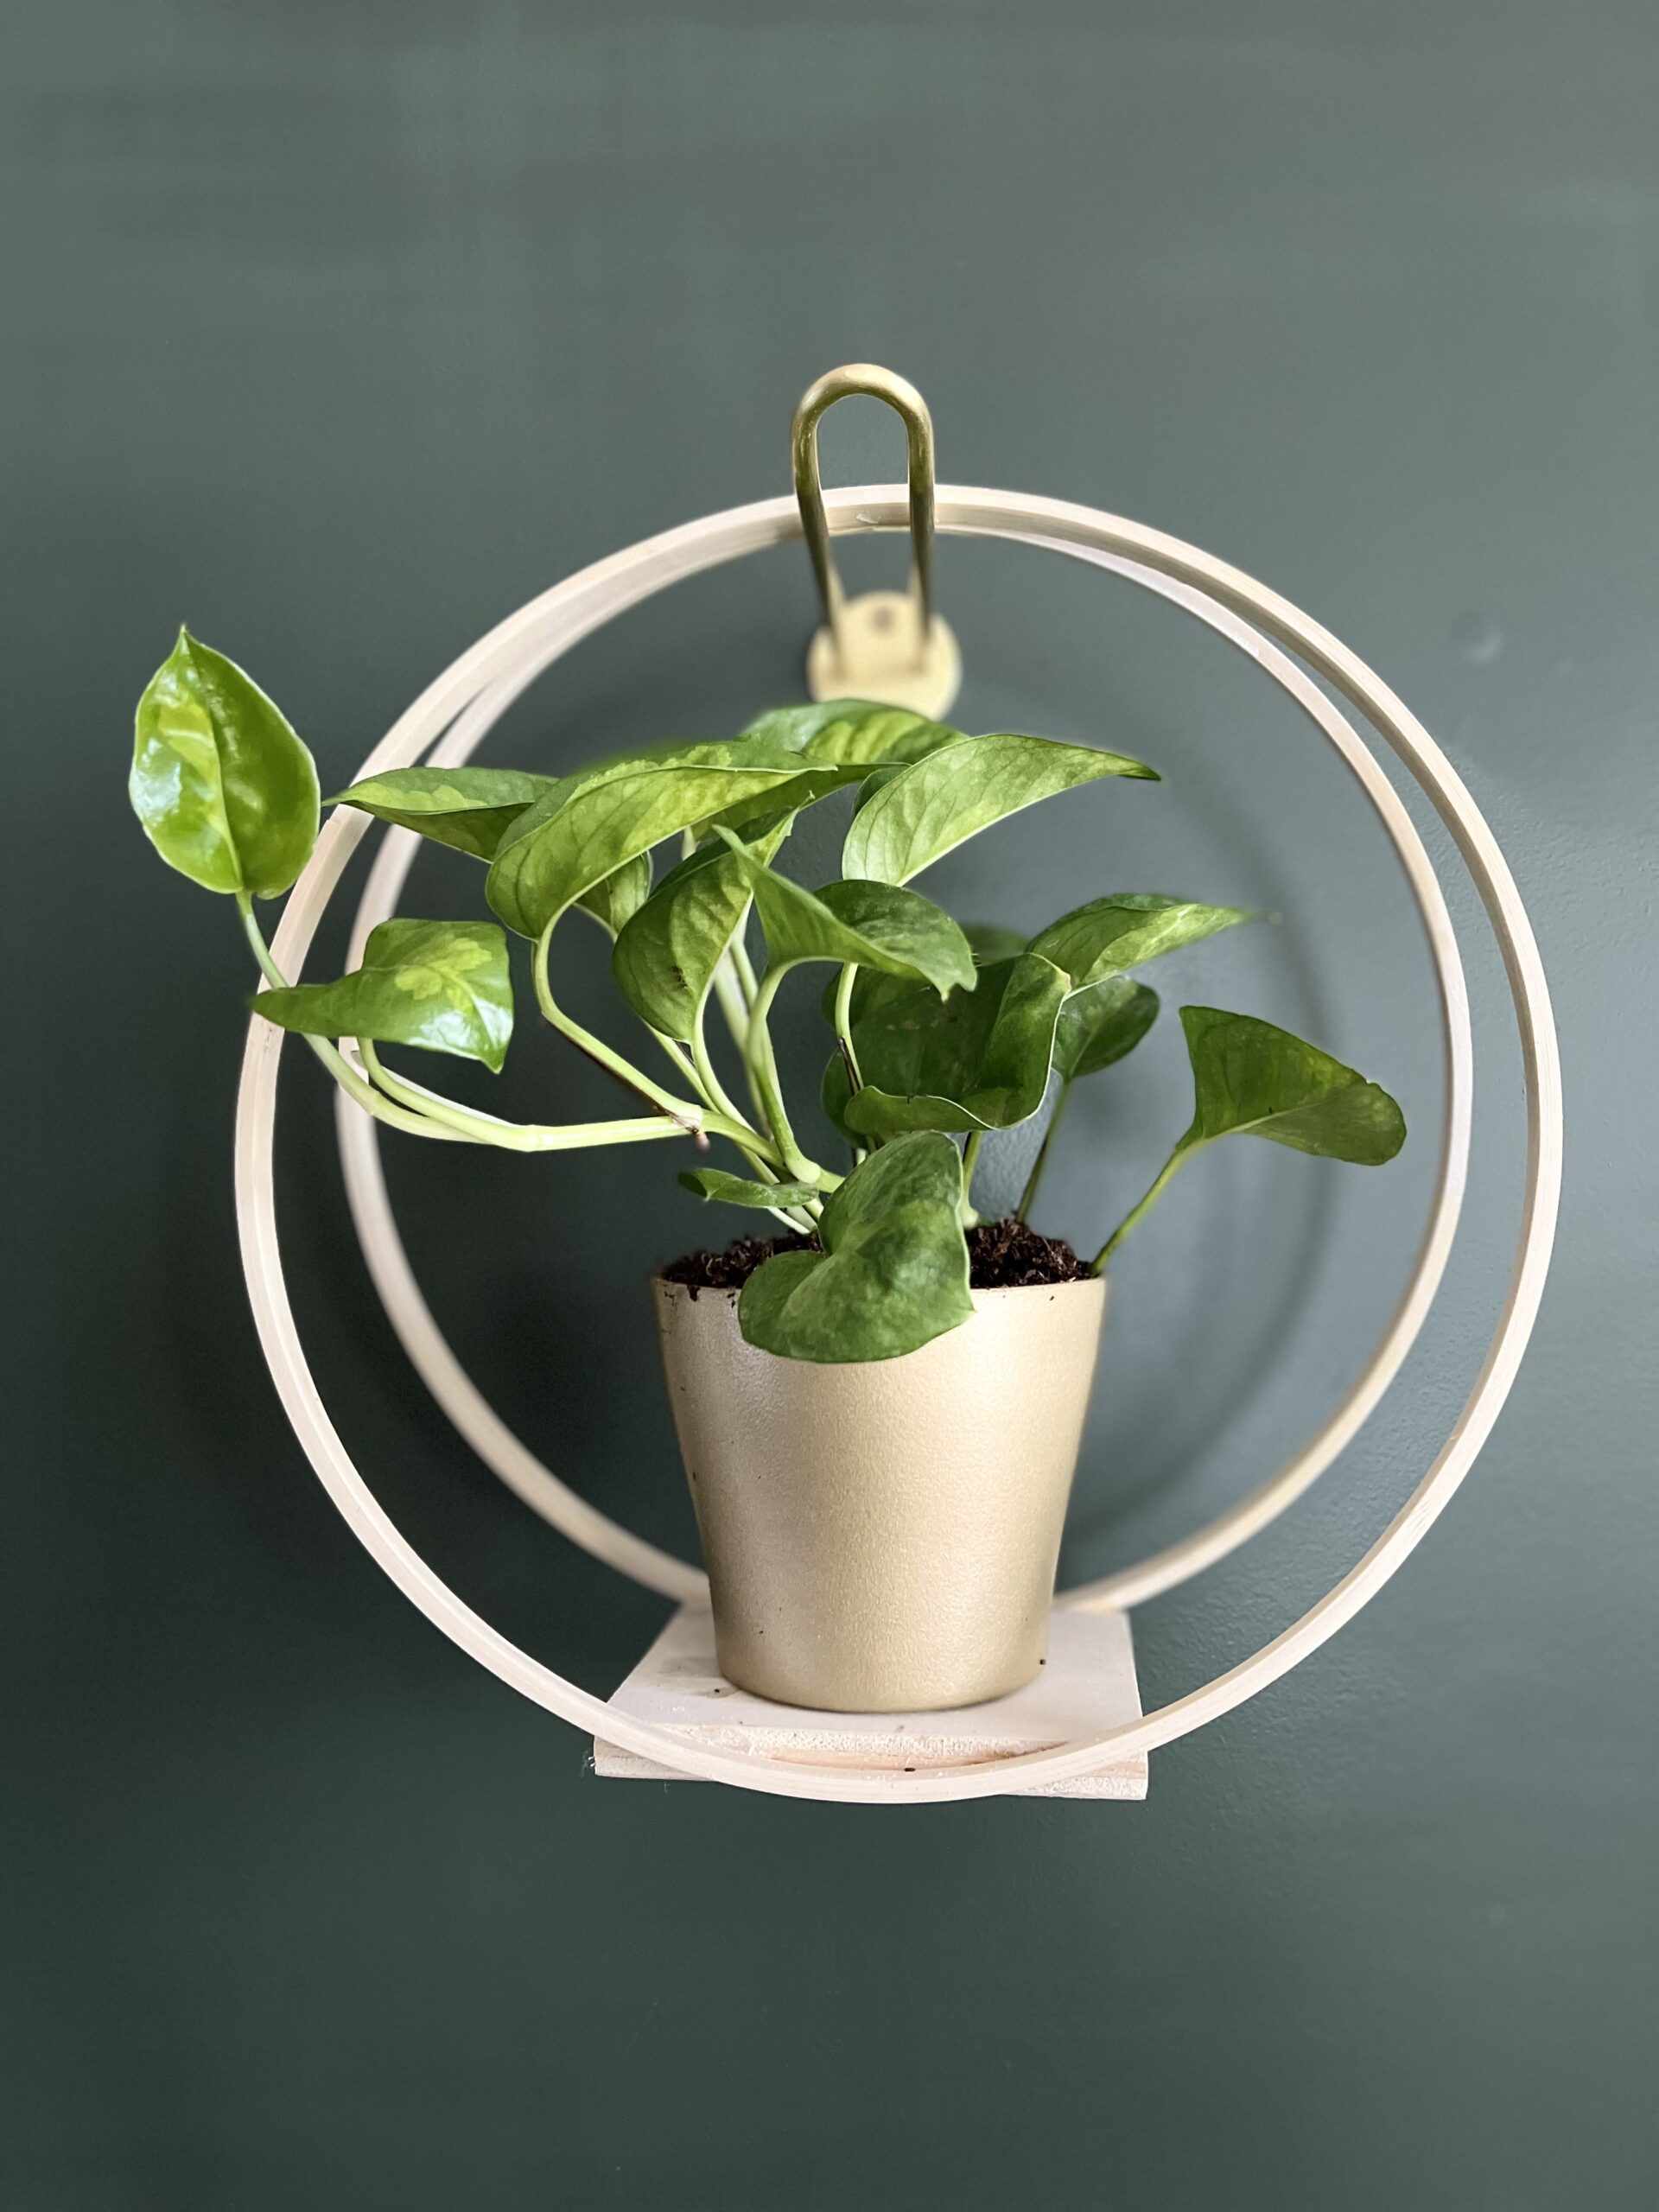
Once dry, you can stain or paint as desired, or leave natural wood. You might want to add a clear coat sealant in case of leakage to prevent wood water damage.
I chose to use a white wash on the planters to match our bedside tables.
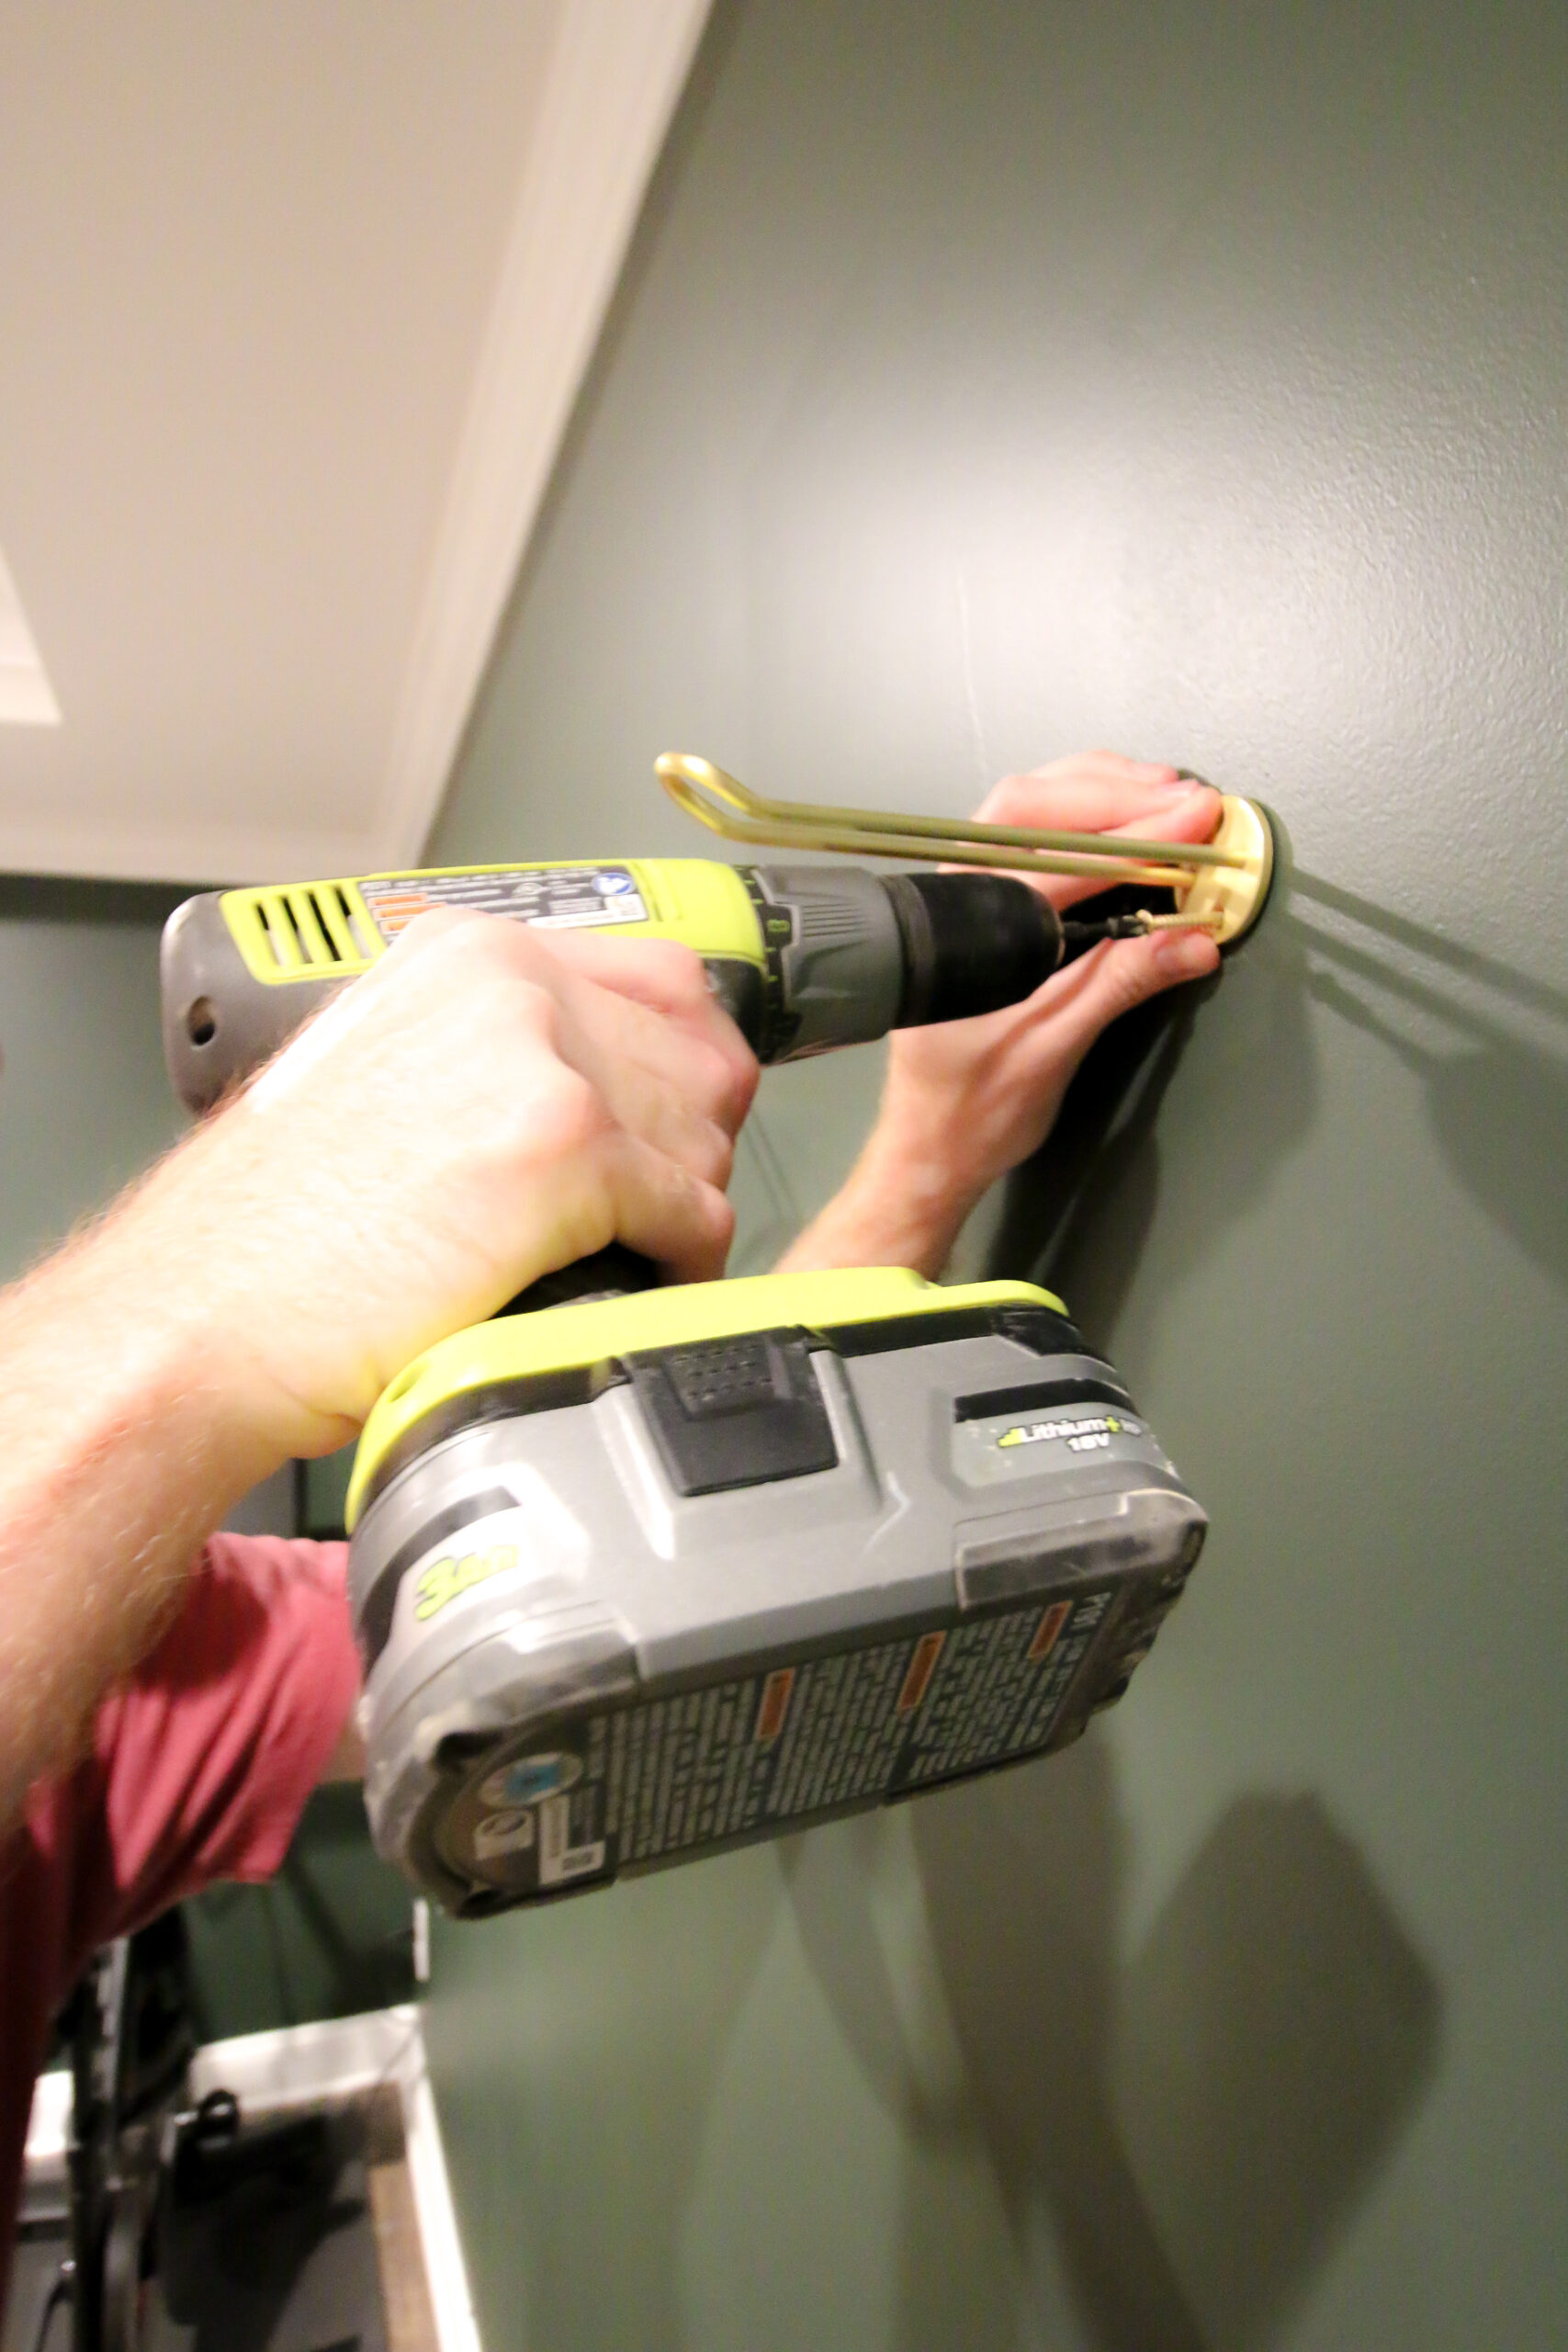
STEP 5: Hang
You can add embroidery floss or macrame rope and a hook or loop. I, however, wanted a cleaner, less boho look. So, I hung my hanger directly on the plant hook!
National Hardware plant hooks
These DIY hanging planters pair perfectly with the new hanging plant hardware from National Hardware.
We used three of the plant hanger wall bases in brushed gold.
This hanger is perfect for getting the planter up and off the wall with a modern, almost hairpin leg look. I love them!
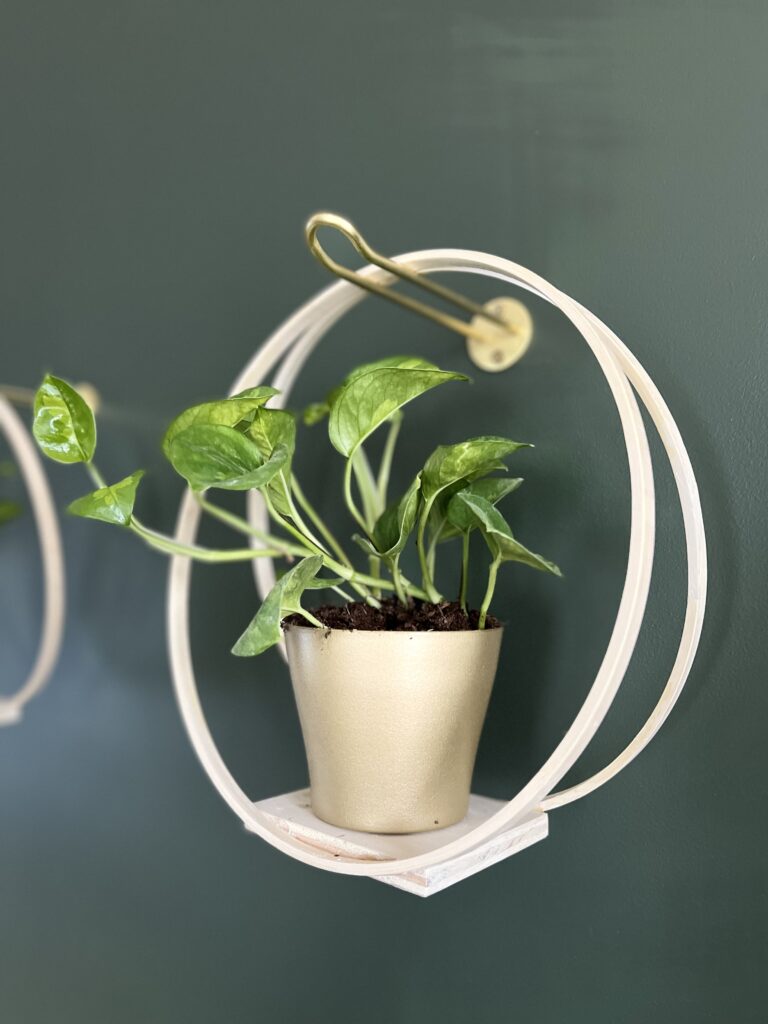
These hangers are also great because we were able to hang plants without putting holes in the ceiling drywall - this wall hanging option is easy to hang and looks perfect.
If you want a ceiling plant hook, National Hardware makes a beautiful modern one that we used in our bathroom makeover!
You could use any indoor plant, but I chose to put global greens pothos in these pots. I divided one full sized pot into these three 4 inch pots, which seems to be the perfect fit. Can't wait for these plants to grow and trail!
How to make embroidery hoop plant hangers
Add style and interest to your room with these beautiful DIY wooden hoop plant hangers.
Materials
- 2 12″ embroidery hoops
- ½″ plywood cut to 4″x4.5″
- Wood glue
- Painter’s tape or masking tape
- 4″ plastic pot
Tools
- Saw of choice (I used miter saw)
- Clamps
Instructions
- Separate the inner and outer embroidery hoops. You want 2 complete inner hoops.

- Use saw to cut wood into 4"x4.5" rectangle.
- Sand wood smooth.
- Use glue to attach top of 2 hoops together. Tape in place.
- Use glue to attach bottom of each hoop to each of 2 parallel sides of the wood. Clamp in place. Allow to dry
- Once dry, paint or stain as needed. Meanwhile, spray paint pot gold (if needed)
- Hang plant hangers using included screws and anchors

- Hang hoop on the hanger

- Pot your plant into the pot and place on the hanger
- Enjoy!

 Allow to dry
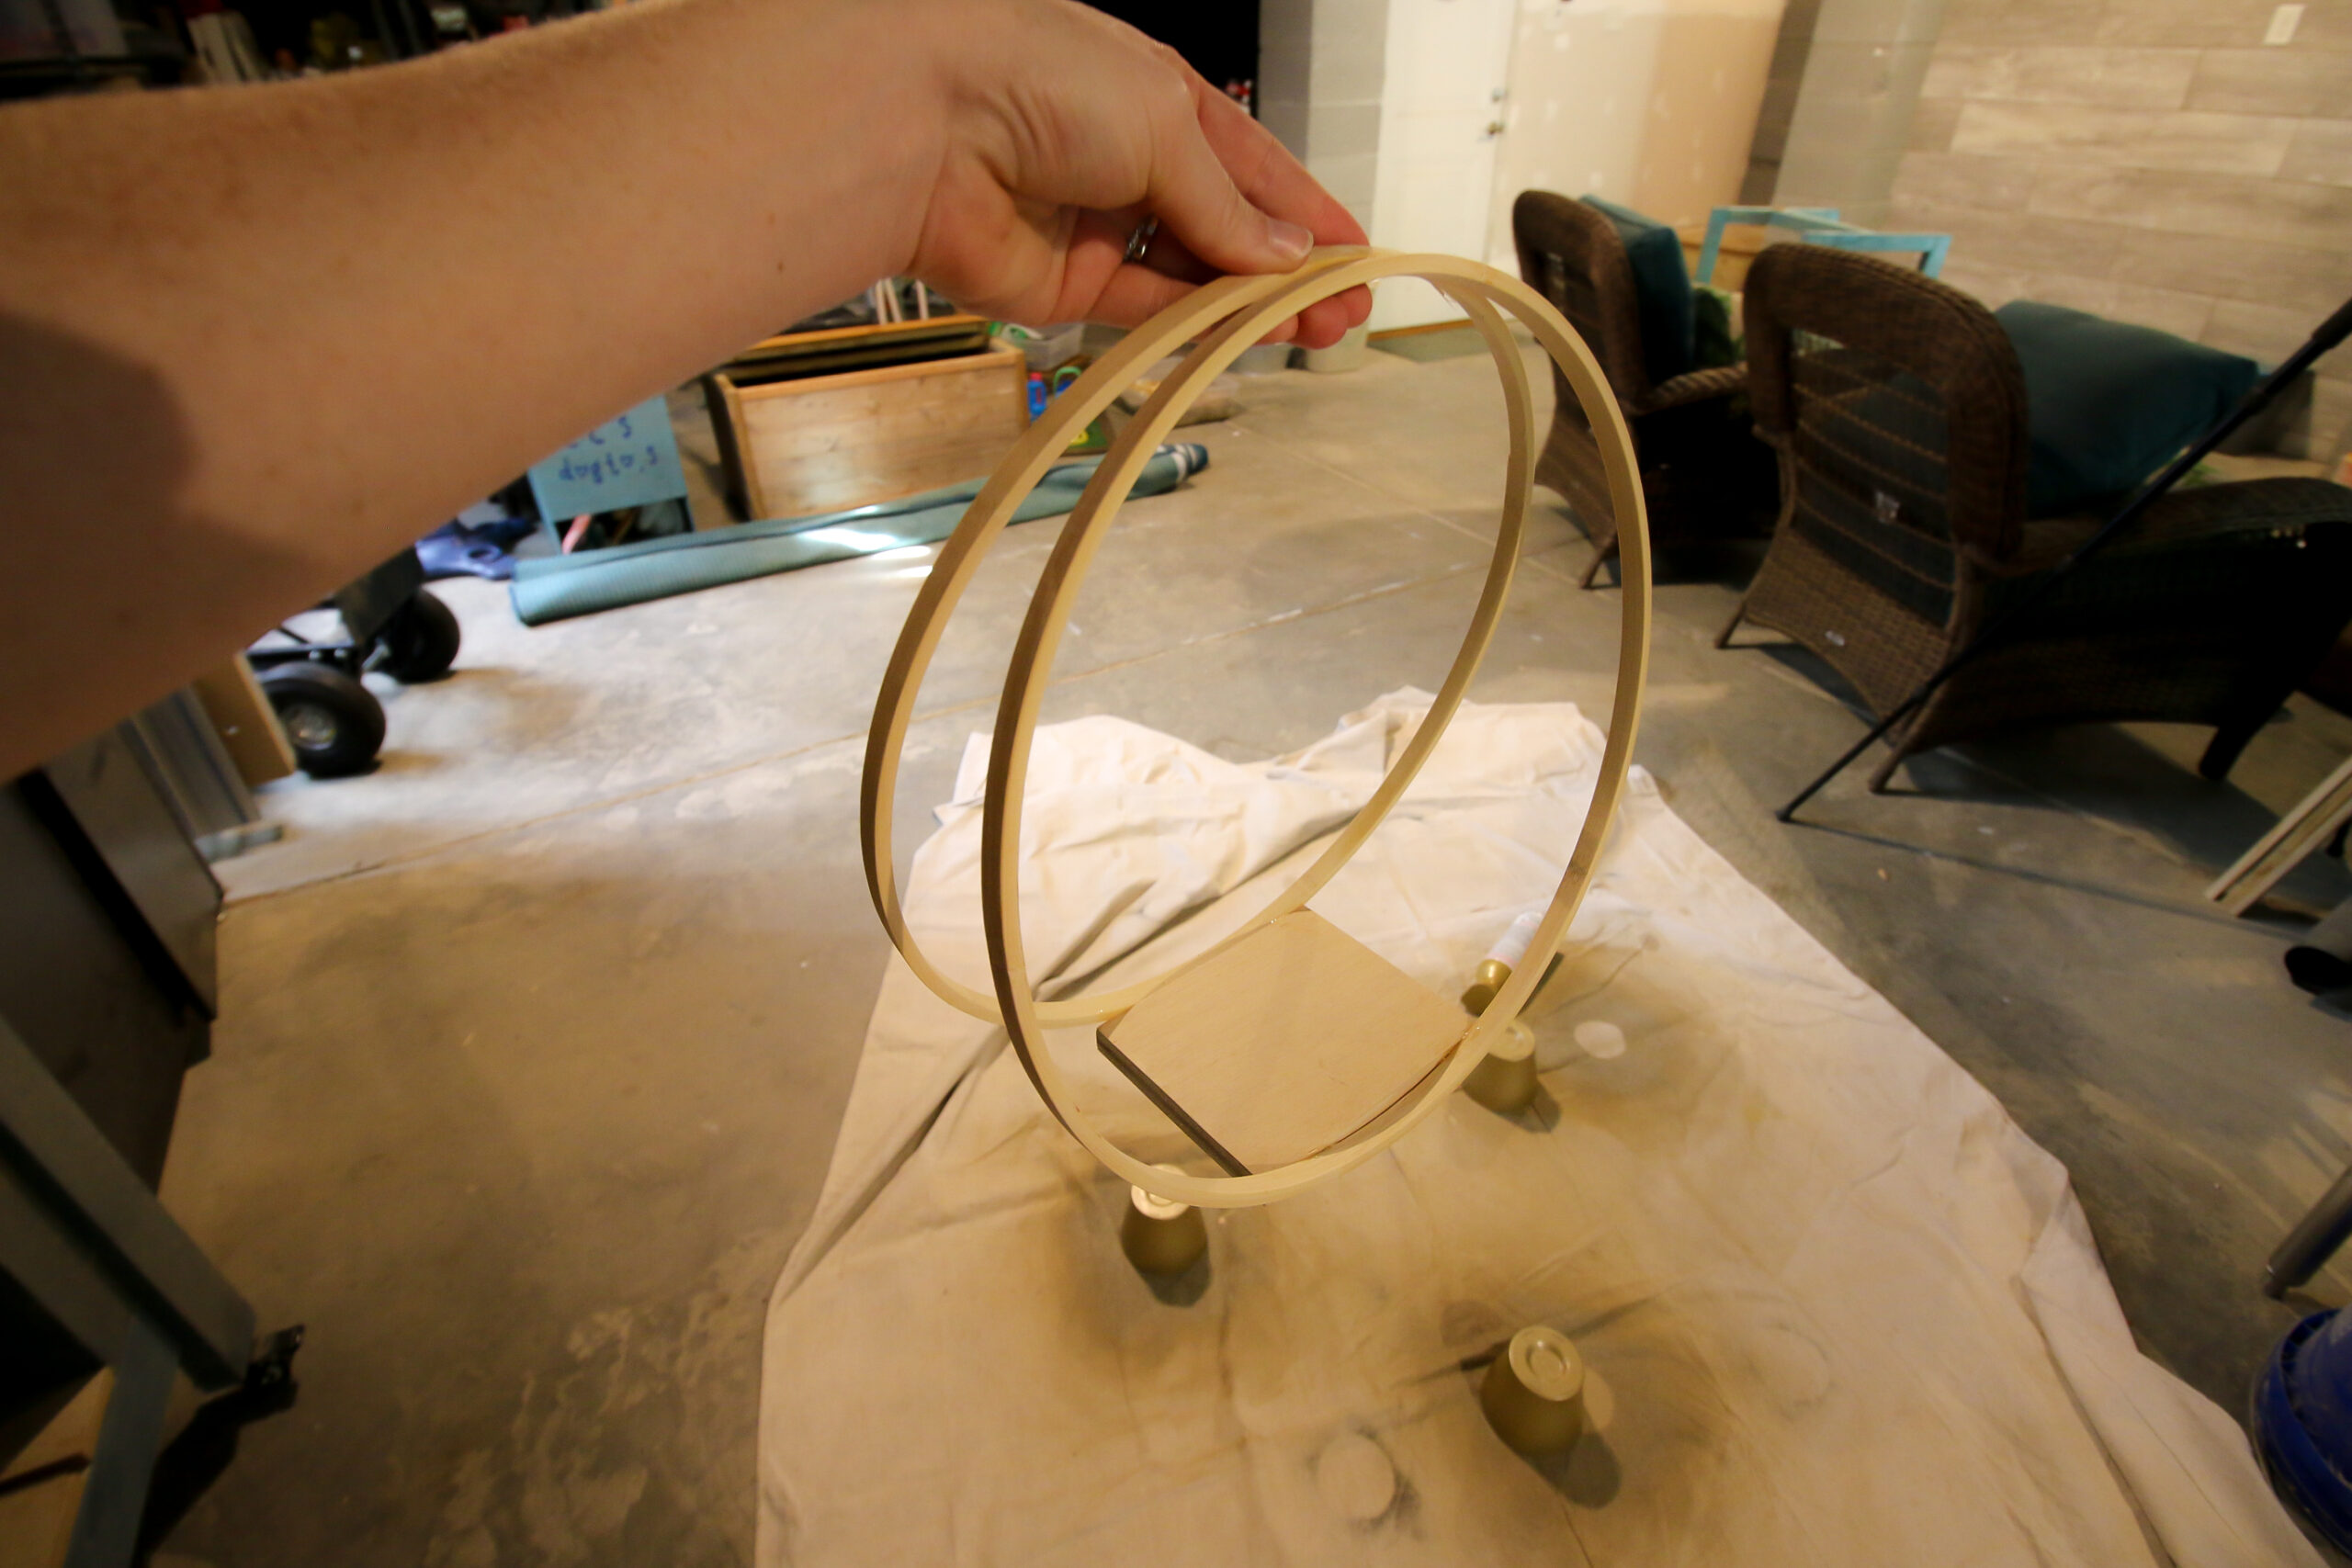

Any questions about making embroidery hoop plant hangers?!

Looking for something?
We've been doing this since 2012 so we have a LOT of blog posts!
Search stuff like: Ceiling Projects | DIY Plant Stands | Thrift Flips

Hello, I'm Morgan, half of the creative force behind CharlestonCrafted.com! With a passion for DIY that dates back to 2012, I've transformed three homes and now I'm dedicated to helping others craft their dream spaces. Let's turn your house into a home together!