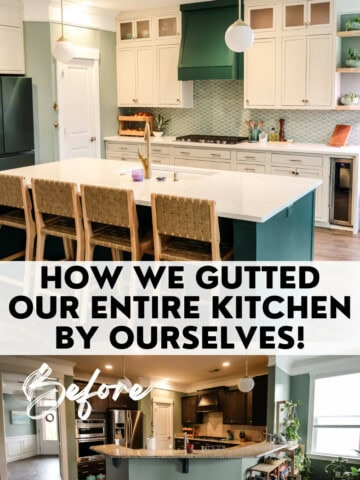
Check out how we renovated our 1990's orange, closed off kitchen and turned it into a modern, coastal kitchen oasis! And we did it ourselves!
After several hard months of DIY, we are finally ready for our DIY coastal kitchen reveal!
We have spent a lot of time on our kitchen and did the majority of the work ourselves. We came up with a lot of cool, innovative ways to make our kitchen more functional and look bigger without changing the layout at all.
We've shared our whole process with you, but here is the entire thing all in one place. Scroll through and go through the different projects we did and check out the before pictures at the bottom!
DIY Coastal Kitchen Makeover
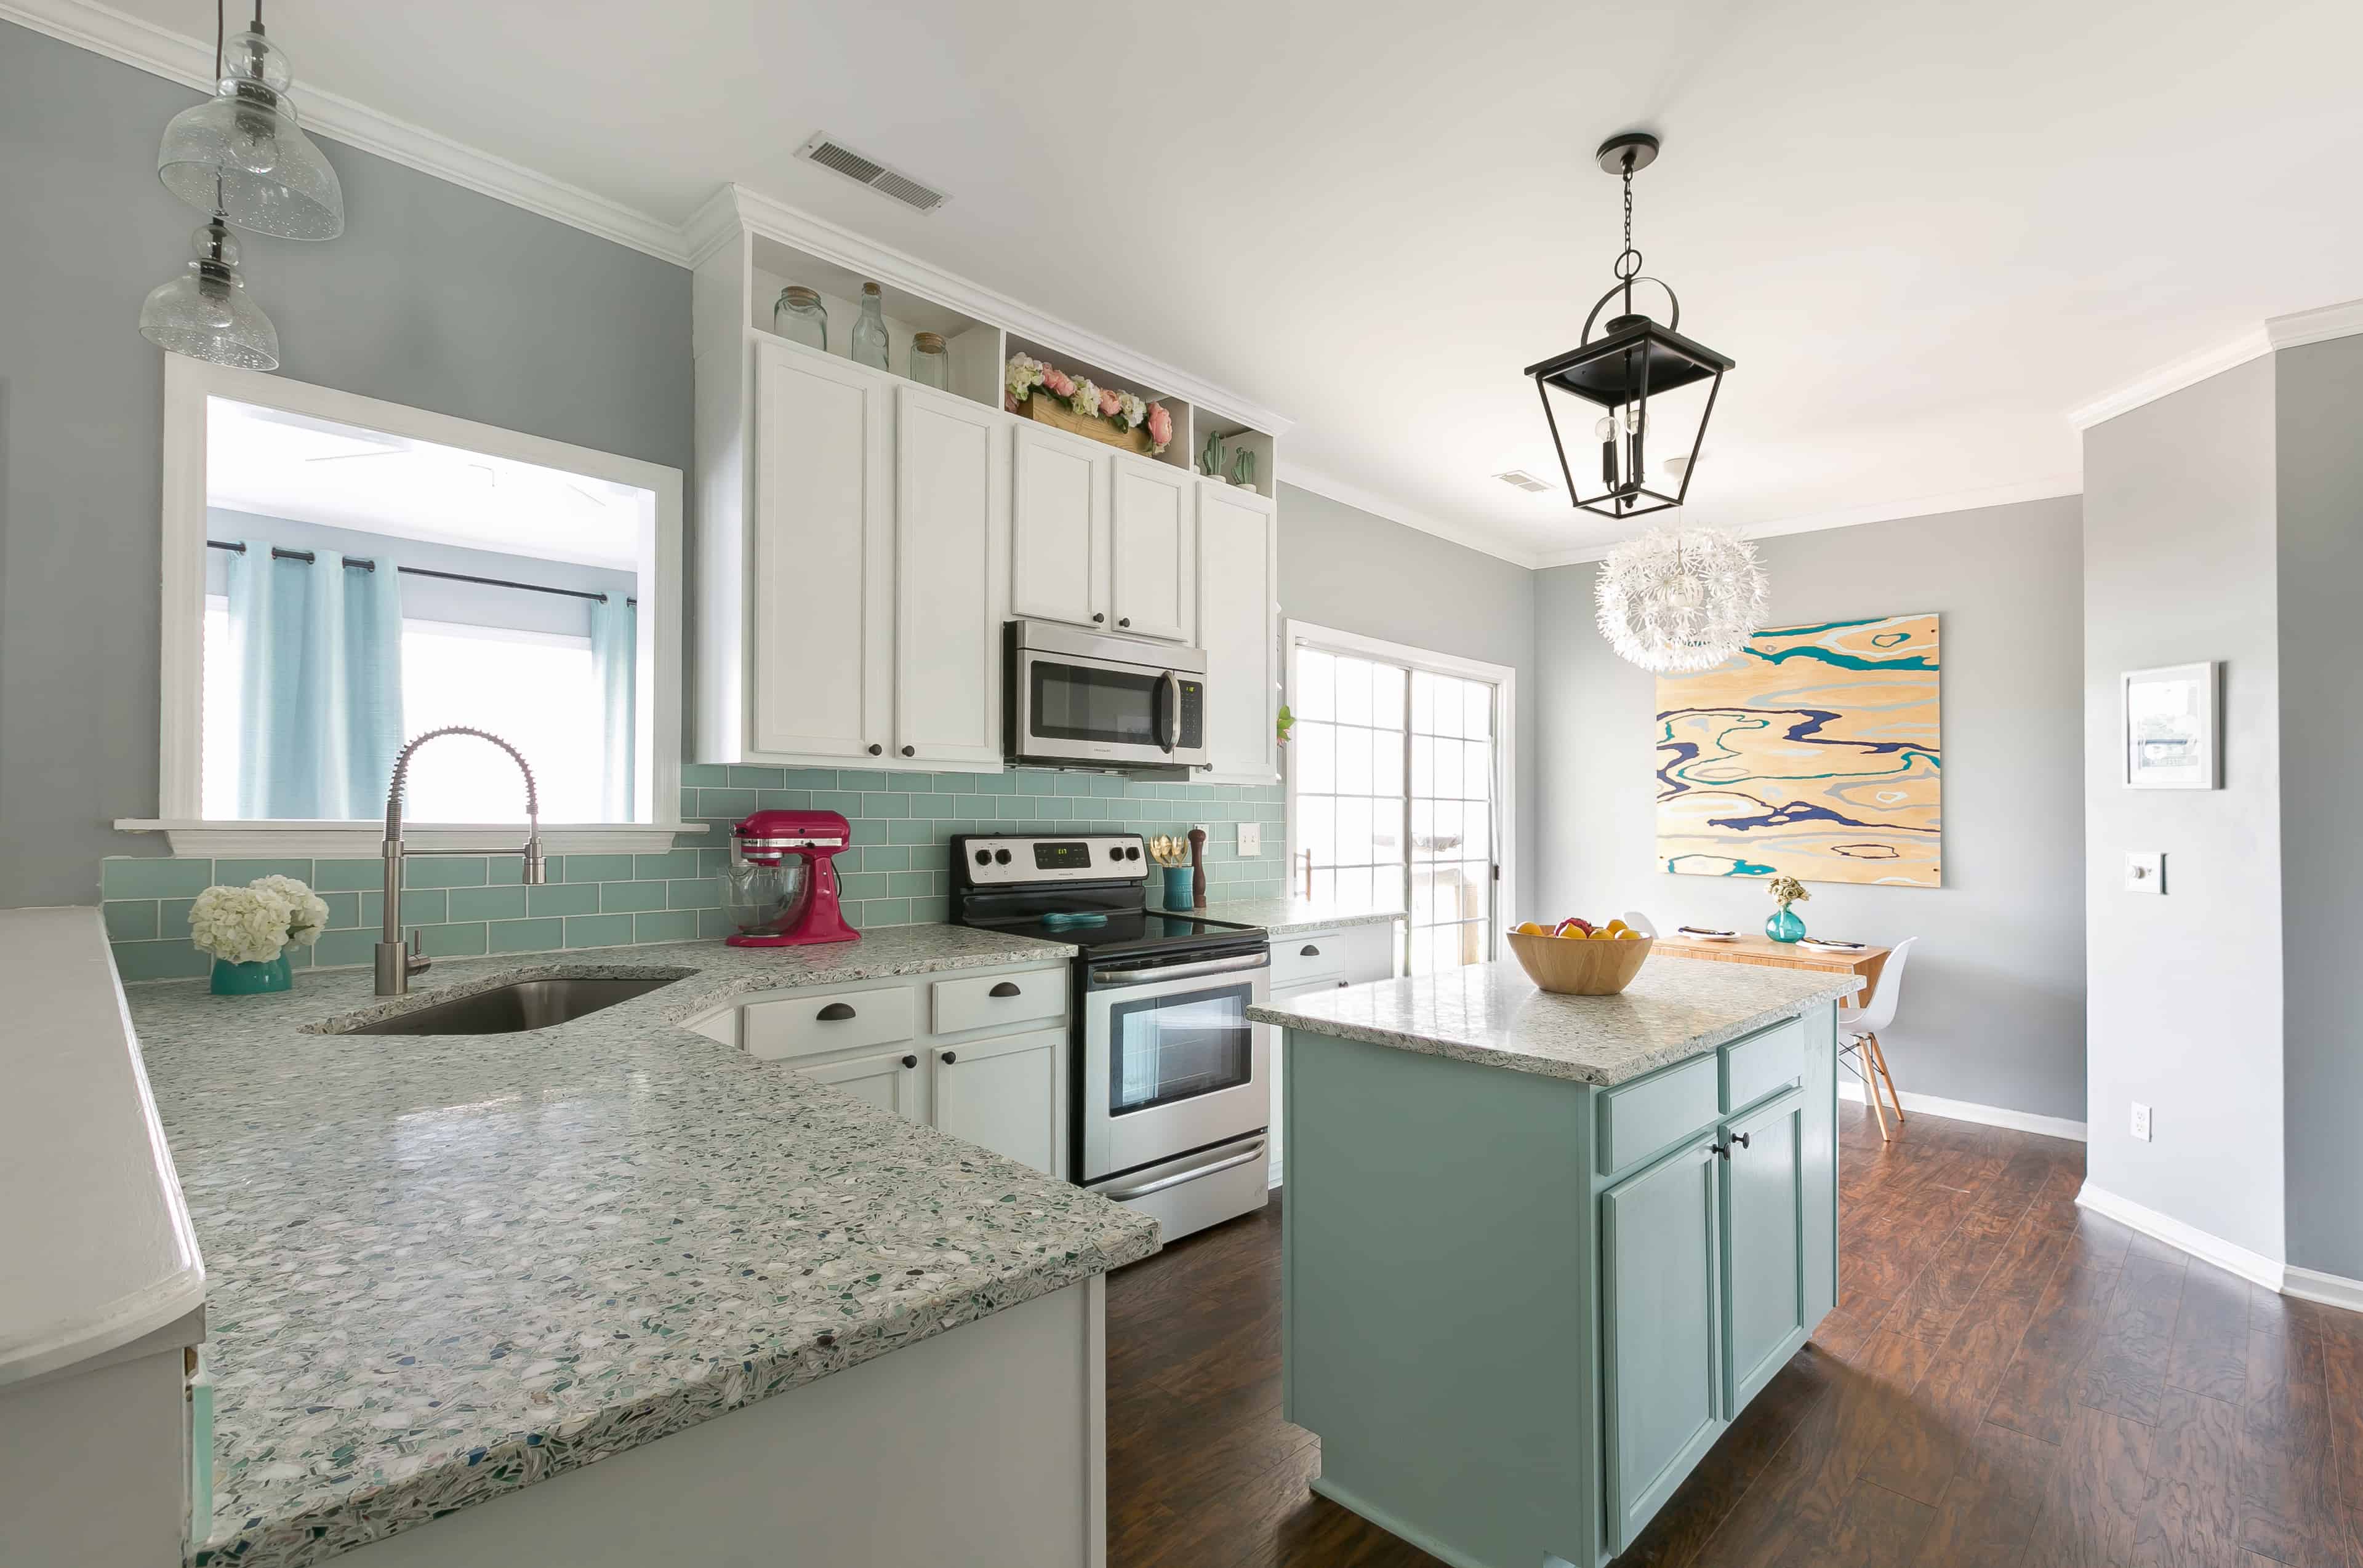
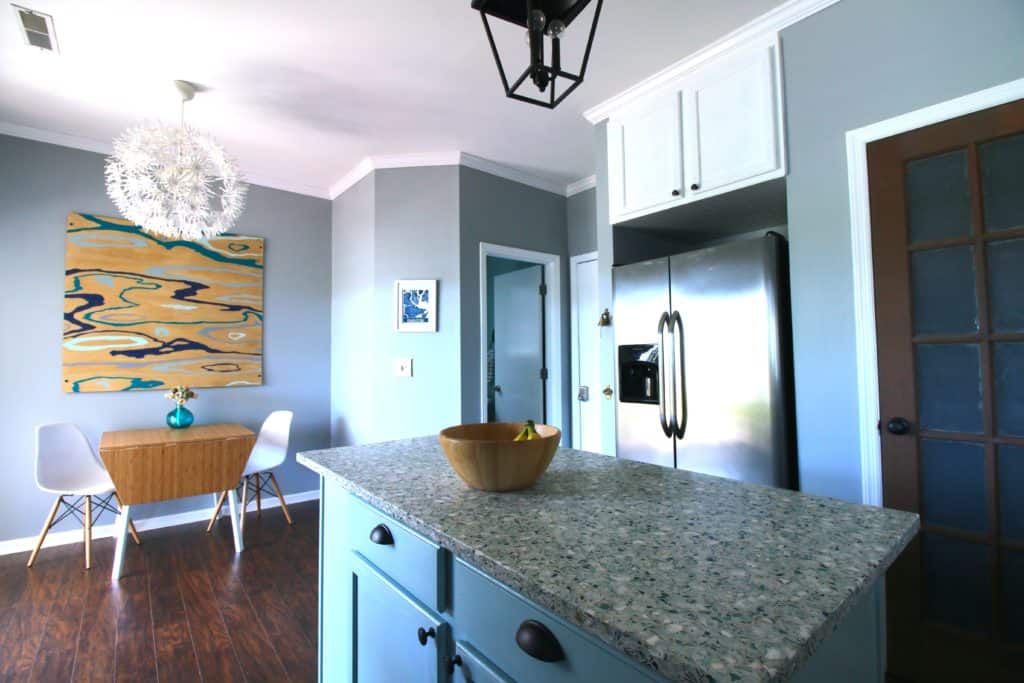
As you can see, the whole thing has been brought together with similar color tones and coastal patterns.
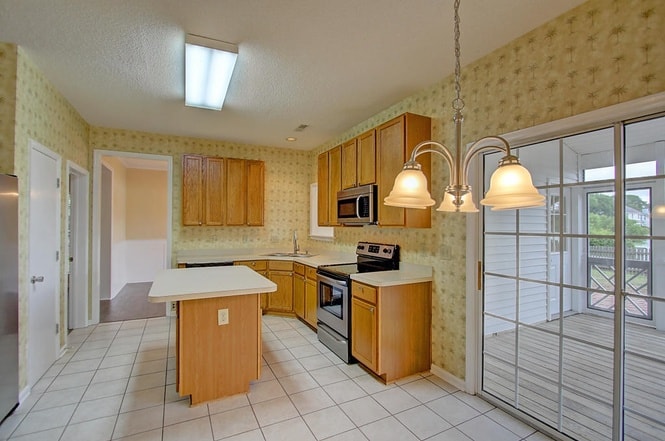
Our number one goal was to make our kitchen design look light and bright and open. The kitchen was so closed off until we had the walls taken down, but then it was still yellow and brown.
How we reused old upper cabinets
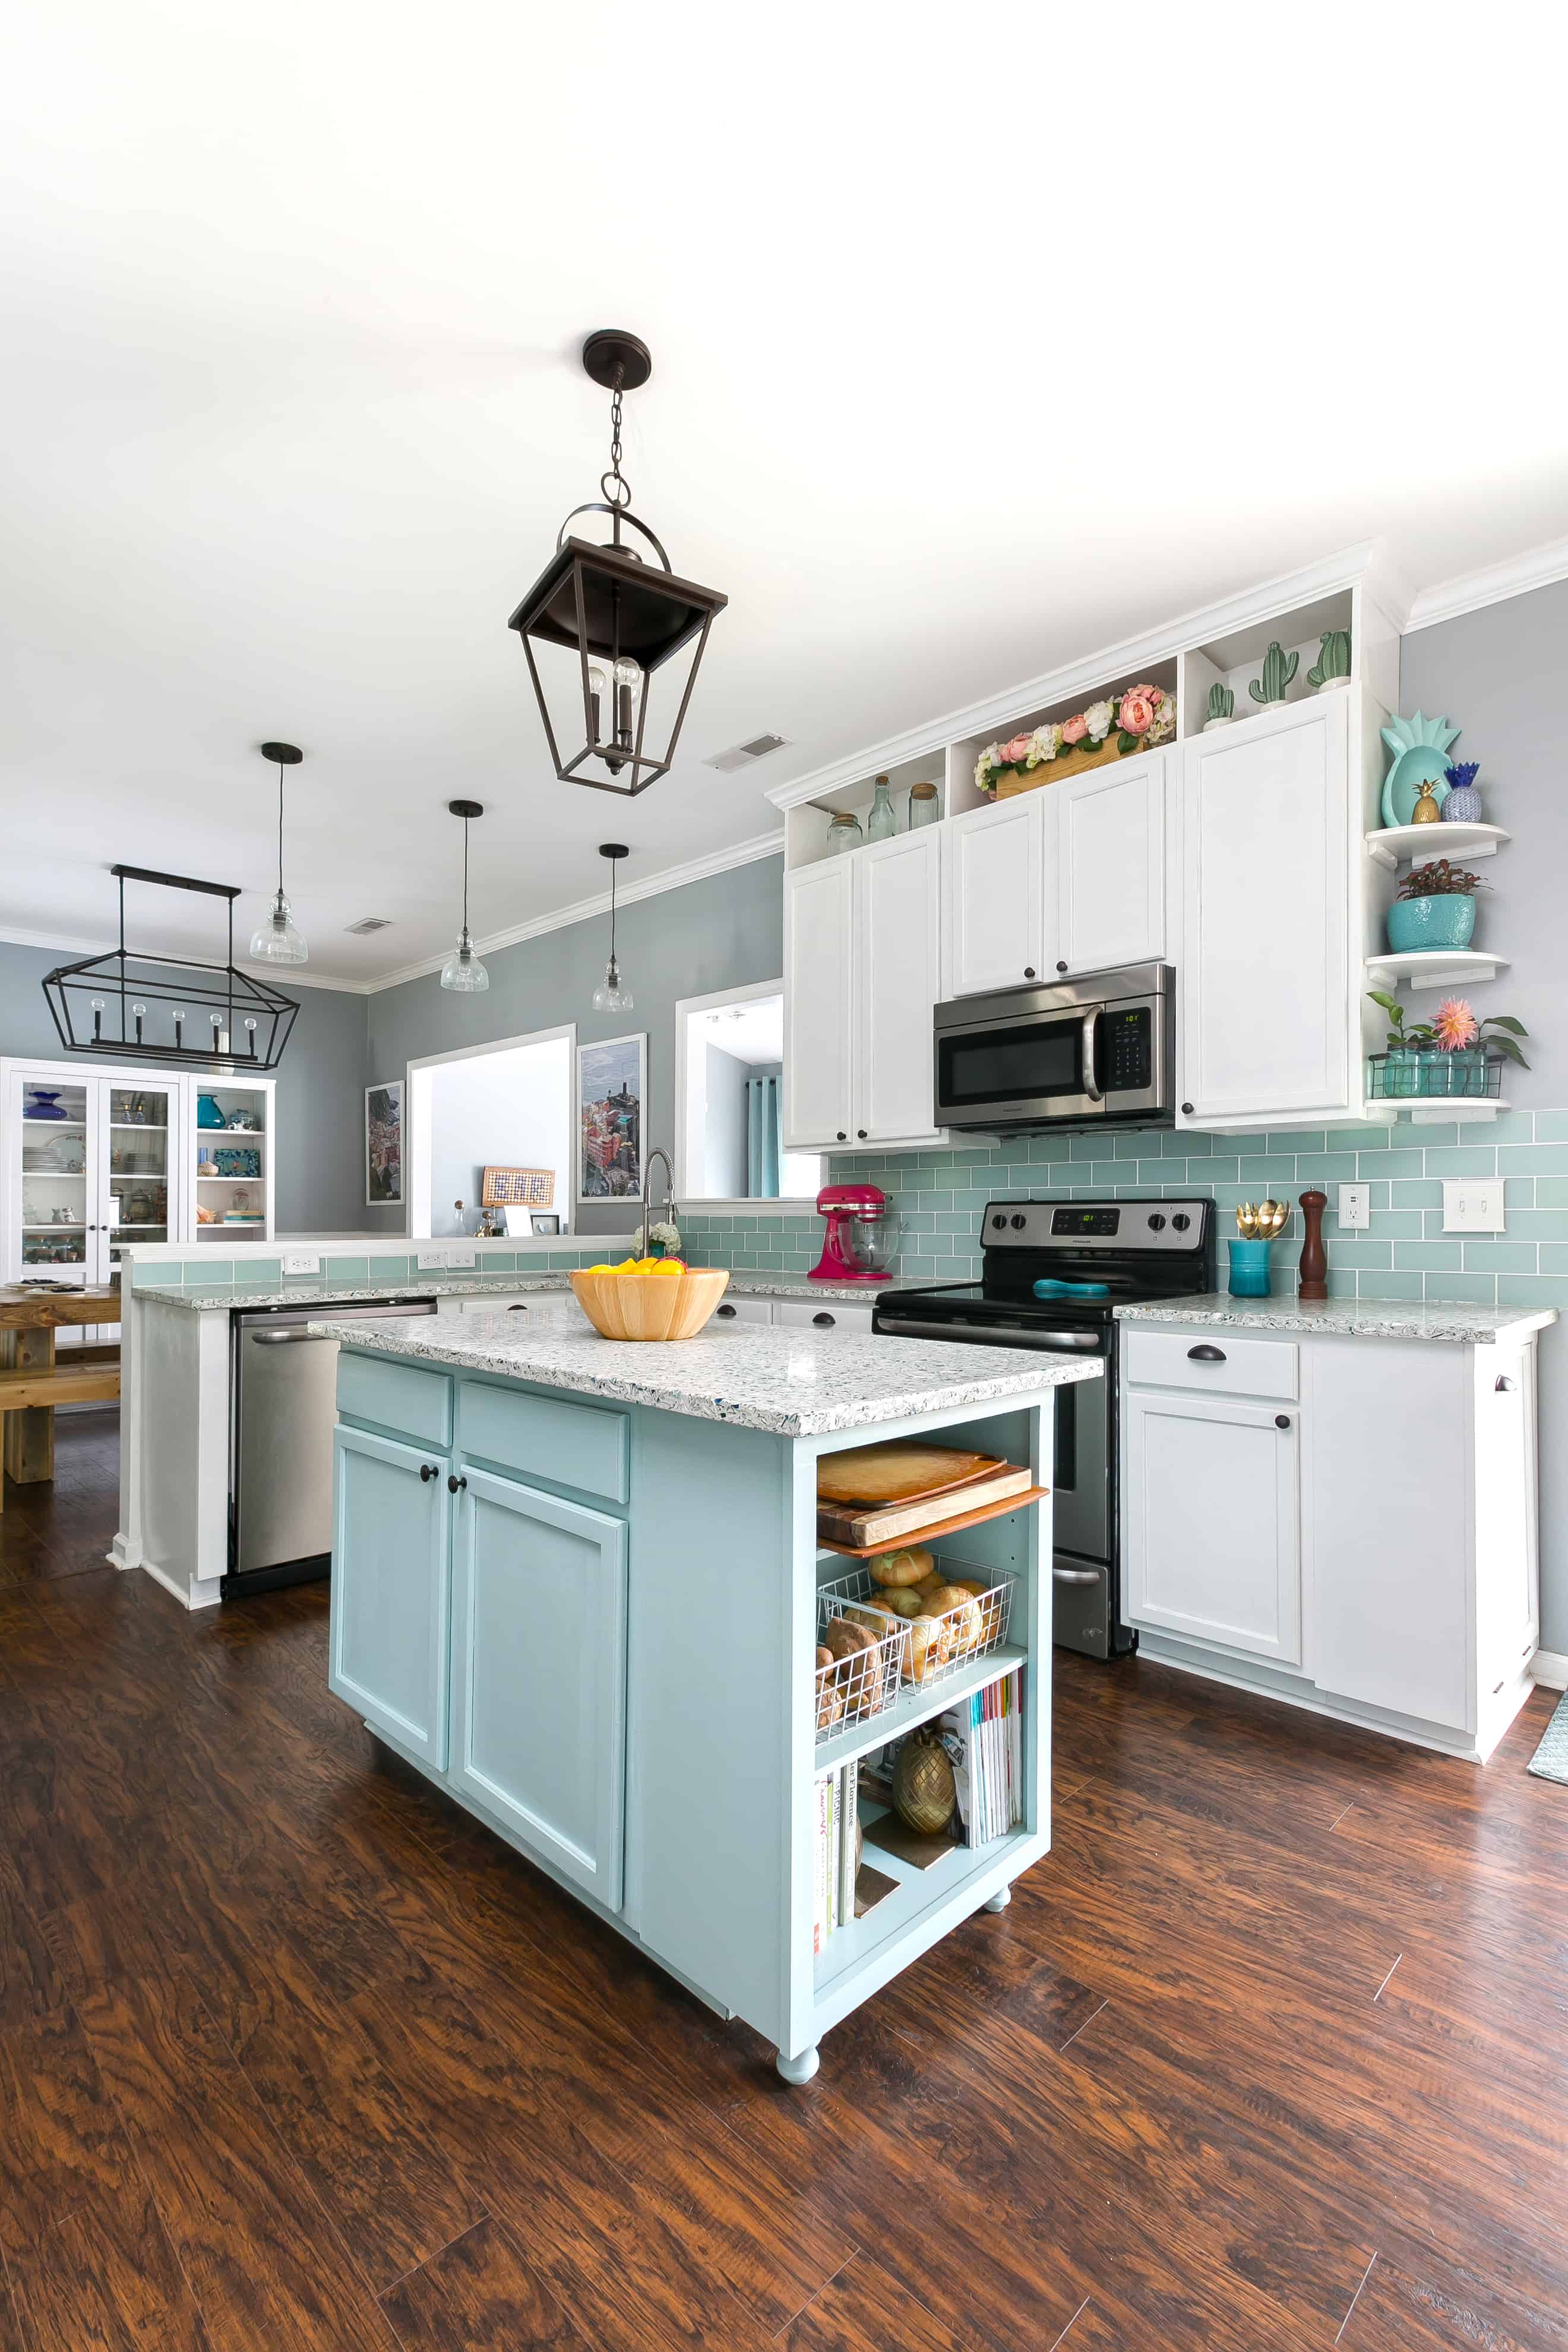
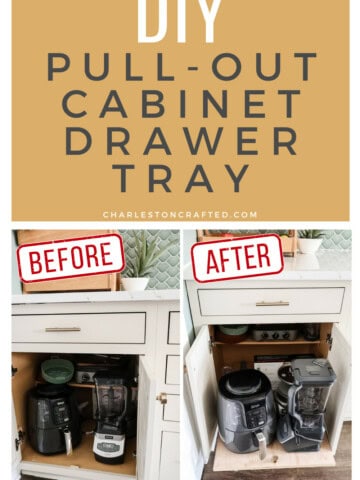
On the end of the island and the counters, you can see two of our unique projects that we started off with, where we used old upper cabinets to turn into open shelving on the island and a tilt out trash can. Then we got to work.
Removing the wallpaper and decorating
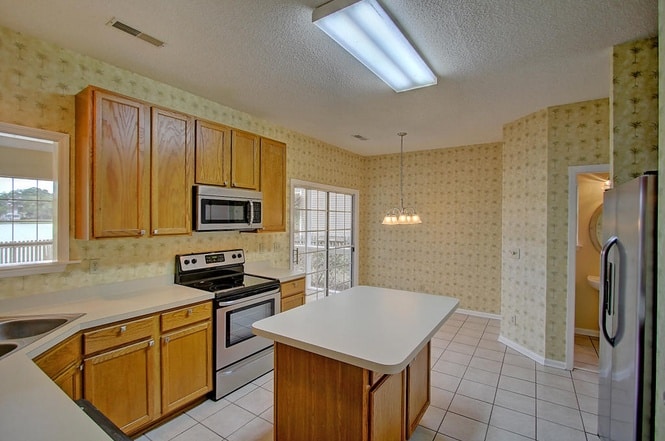
We started by tearing down the old palm tree wallpaper that was gracing our walls and carried in the Sherwin Williams Online (light grey) color into the room, which matched what we had done on the rest of the first floor.
Click here to get a peel and stick sample of Sherwin Williams Online!
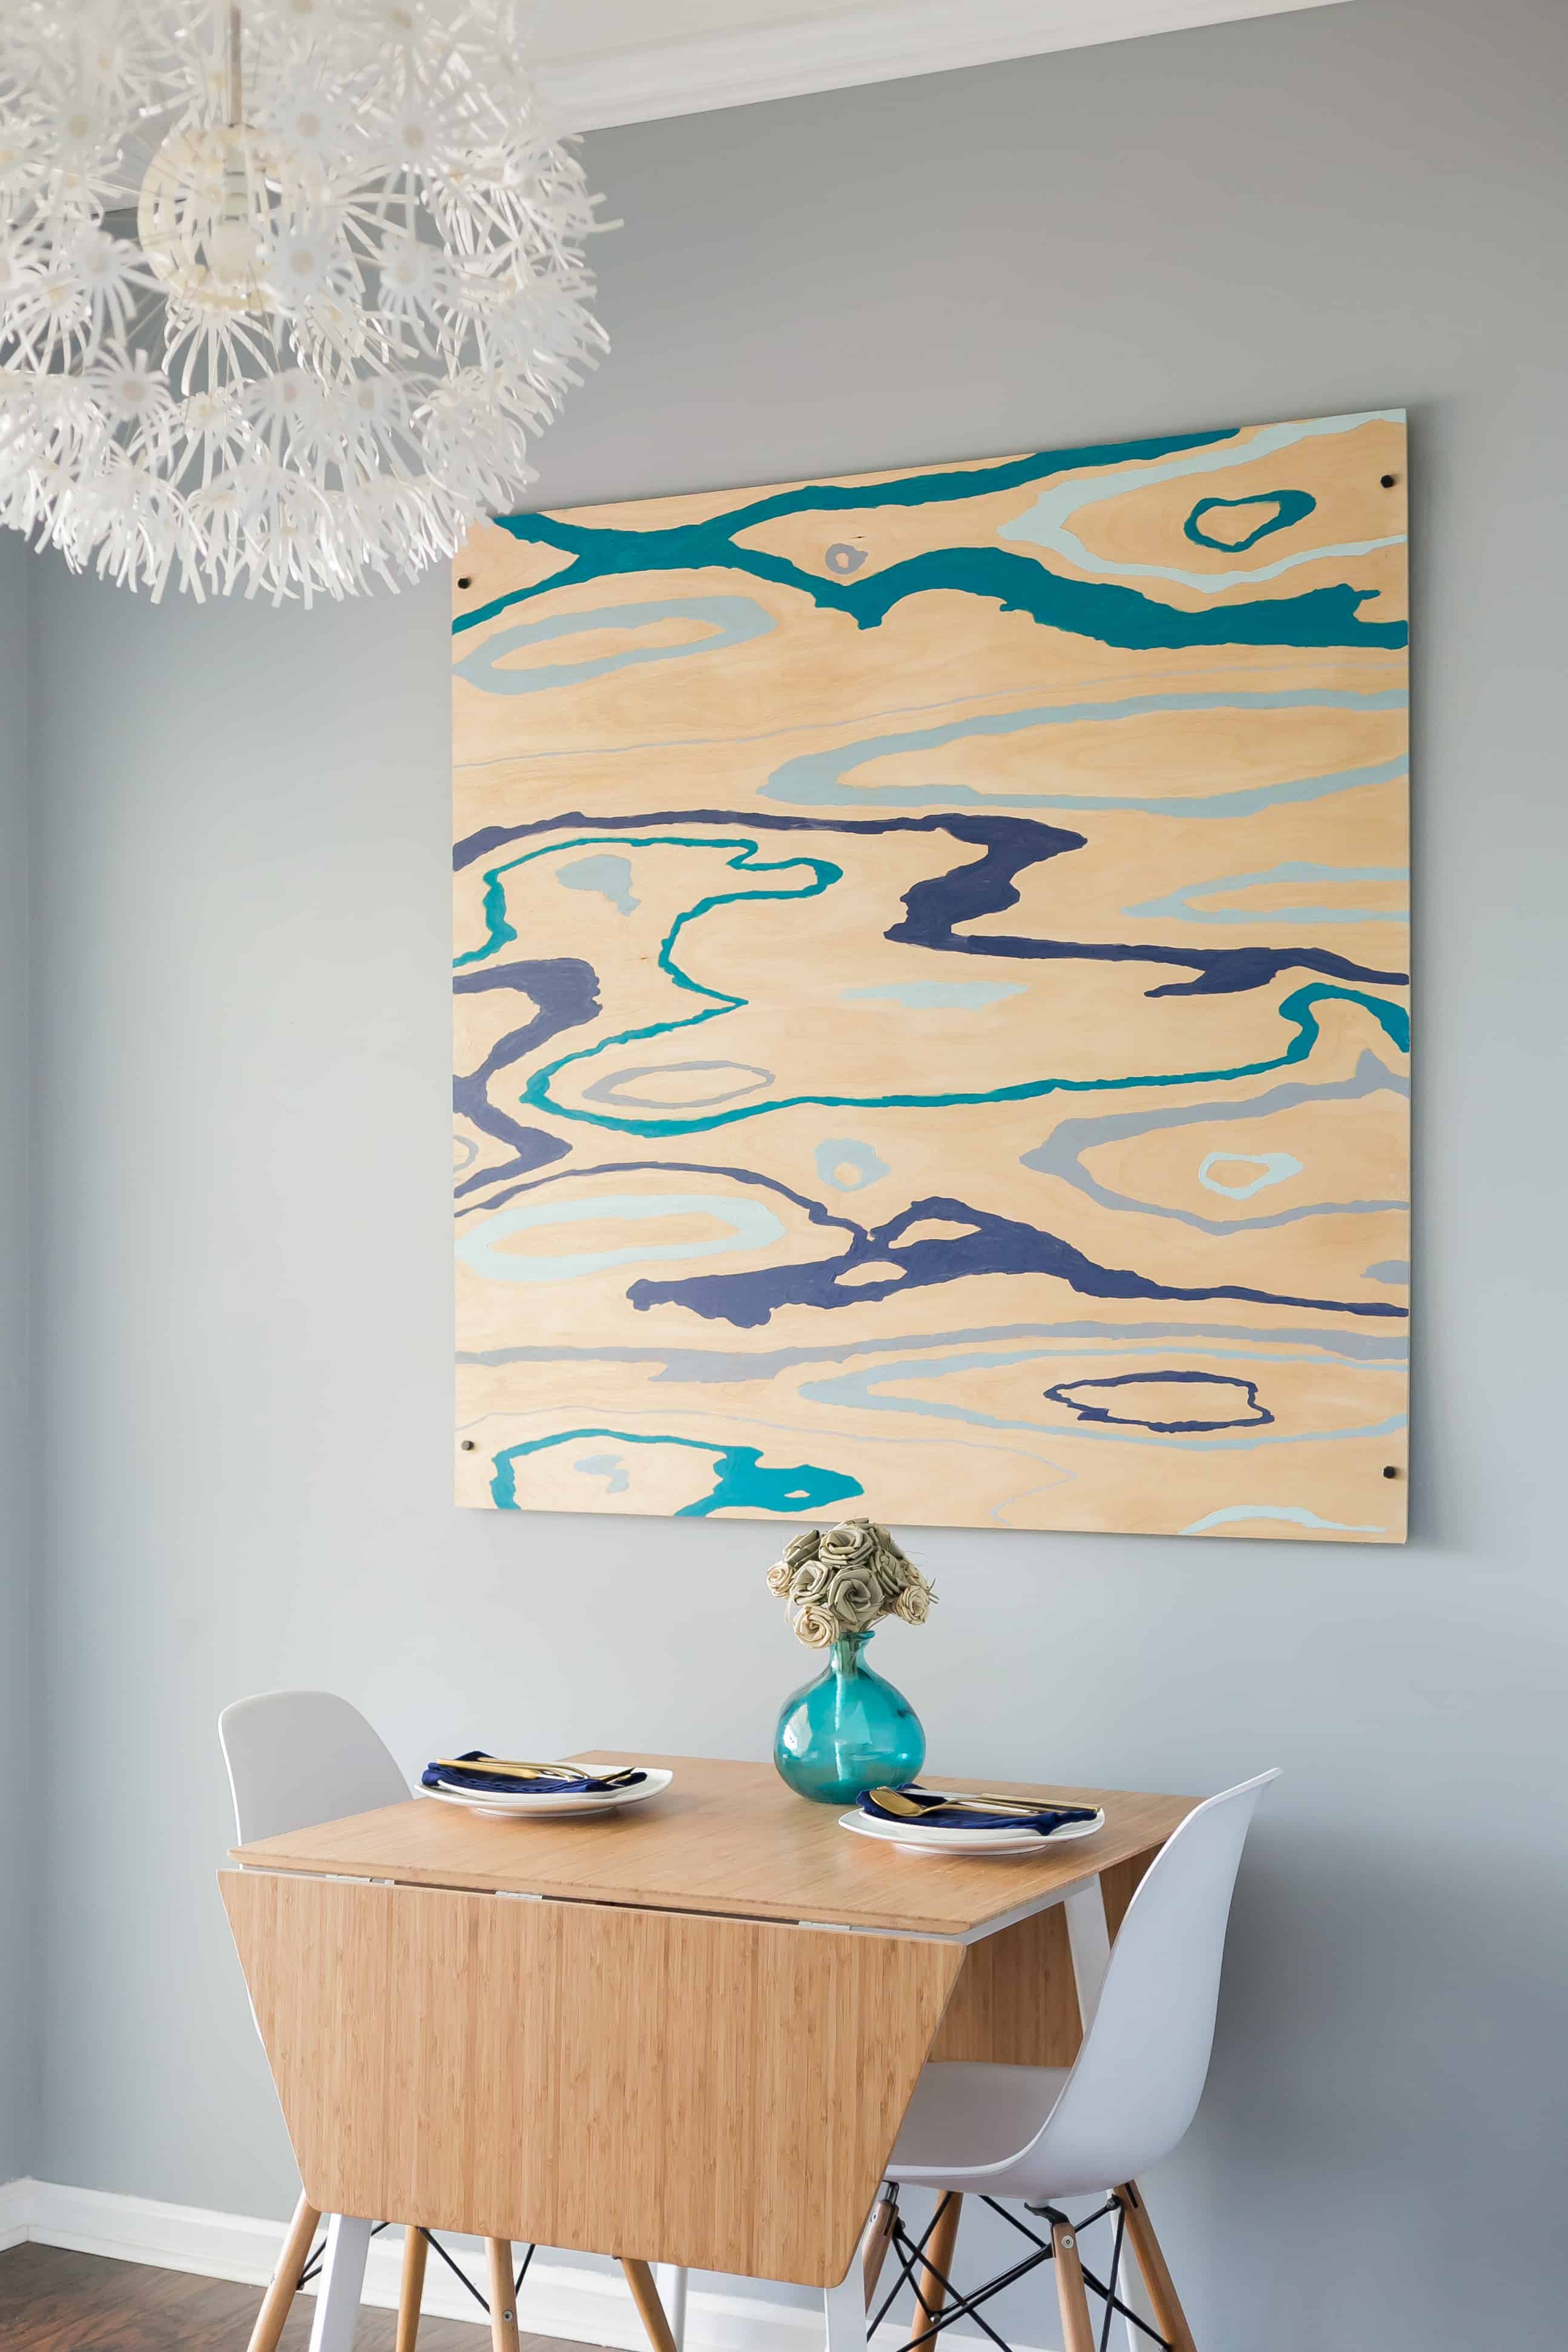
Morgan painted this incredible wood grain art using left over paint from lots of our other projects, really pulling in the colors from around our home.
Painting the cabinets
After that, we painted the cabinets. We did Sherwin Williams Extra White on the main cabinets and Sherwin Williams Watery on the island.
Click here to grab a peel and stick sample of Sherwin Williams Extra White or click here to get a sample of Sherwin Williams Watery!
When we decided we weren't going to change the layout of the kitchen, we decided to save thousands of dollars by just painting the cabinets and adding slow-close drawer and door hardware.
After the cabinets were done that were in place, we extended them to the ceiling to make open shelving above the cabinets. This is so incredibly simple by adding a few pieces of wood and running crown molding around the sides and front when we added that all around the kitchen.
We also added a little bit of open shelving to the right of the cabinets to fill in that space.

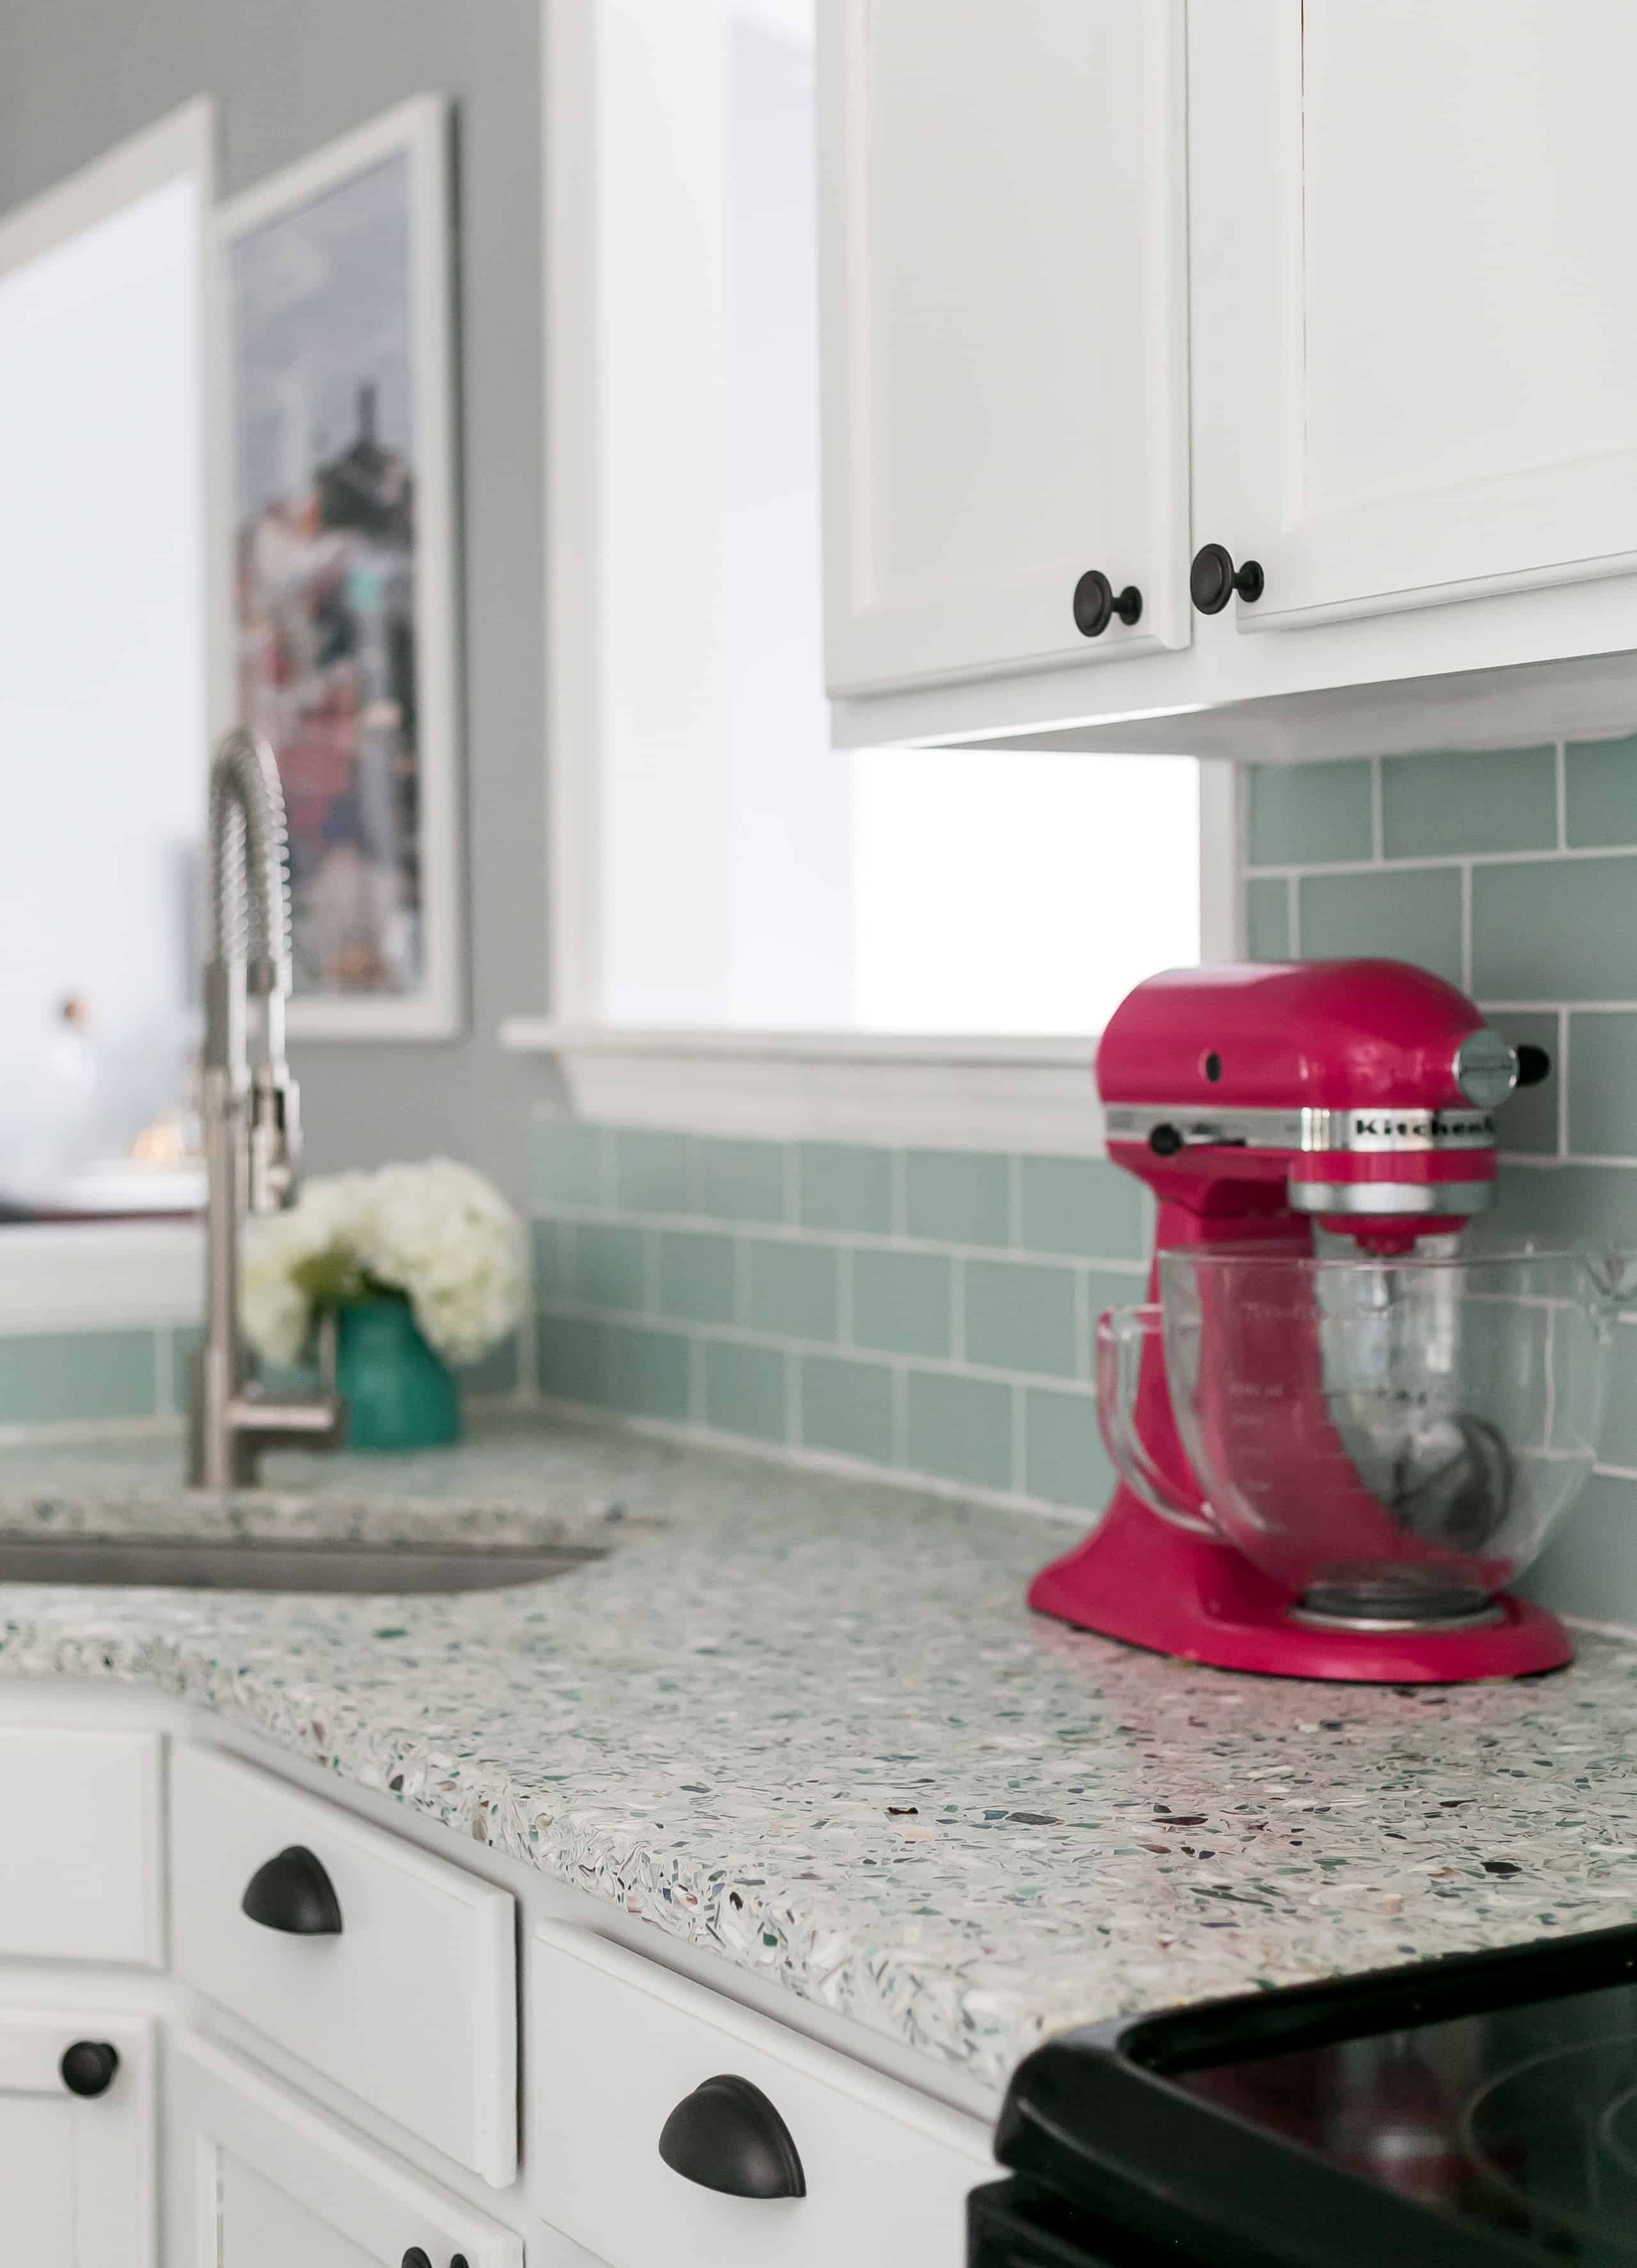
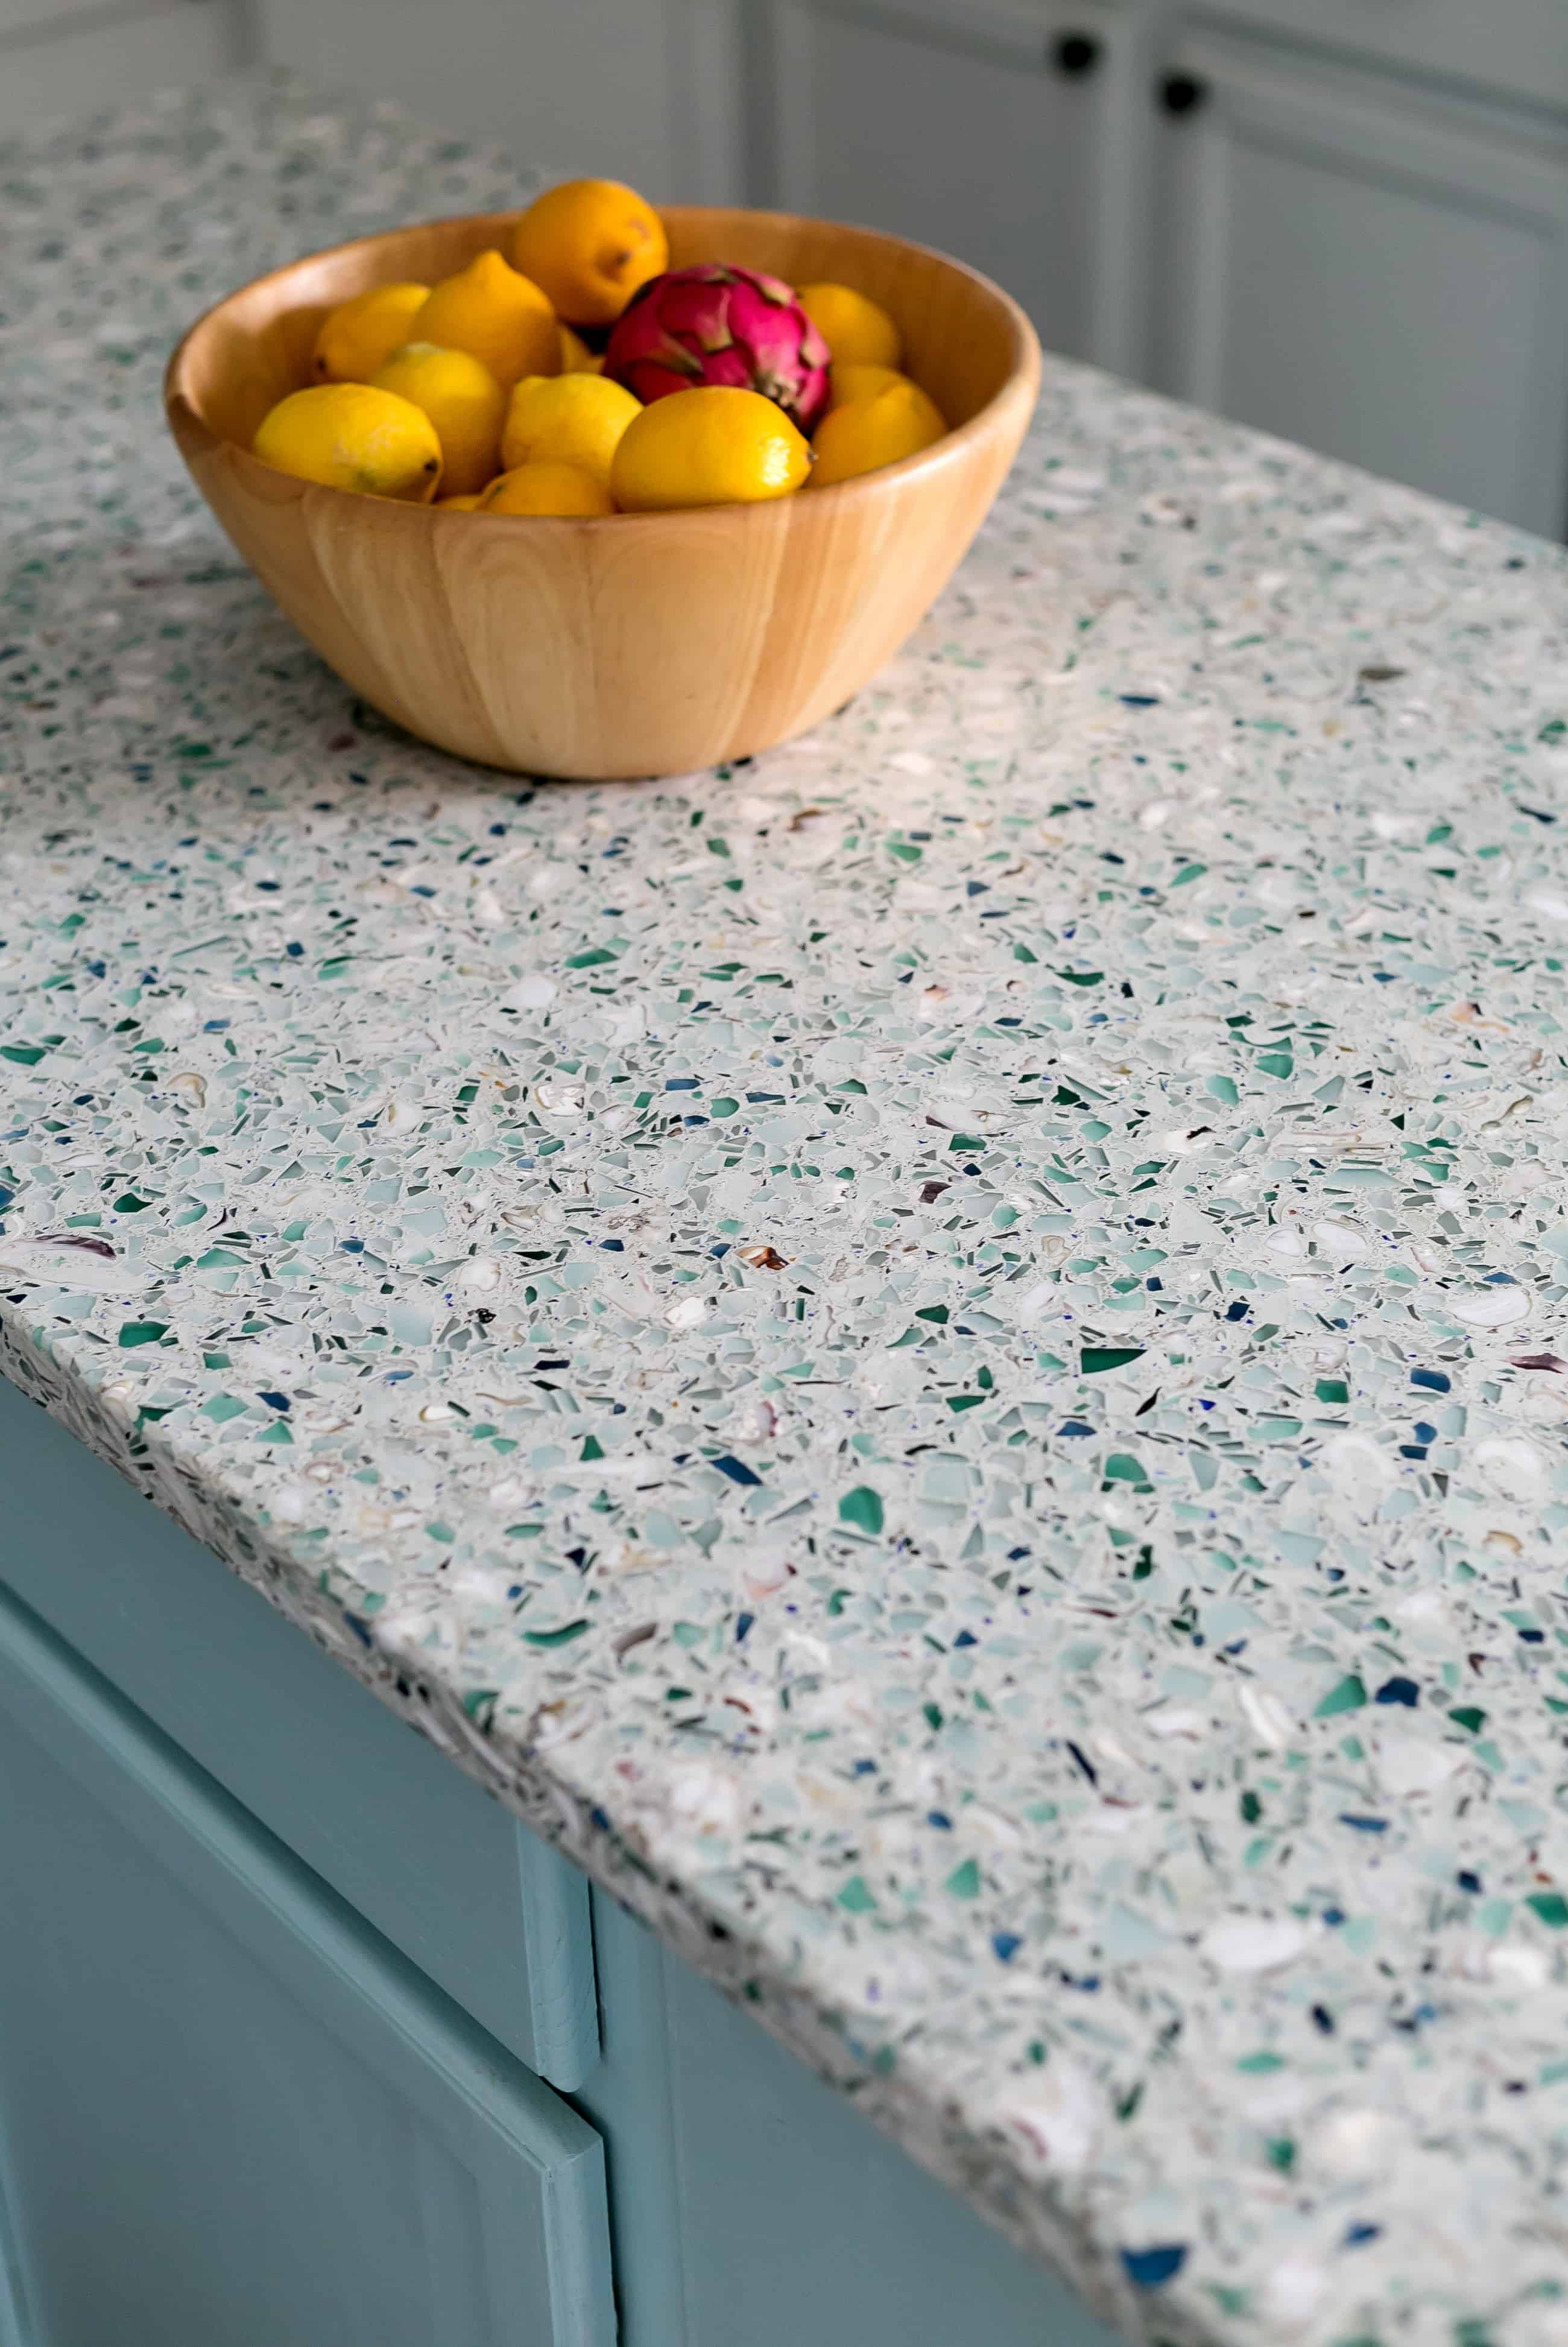
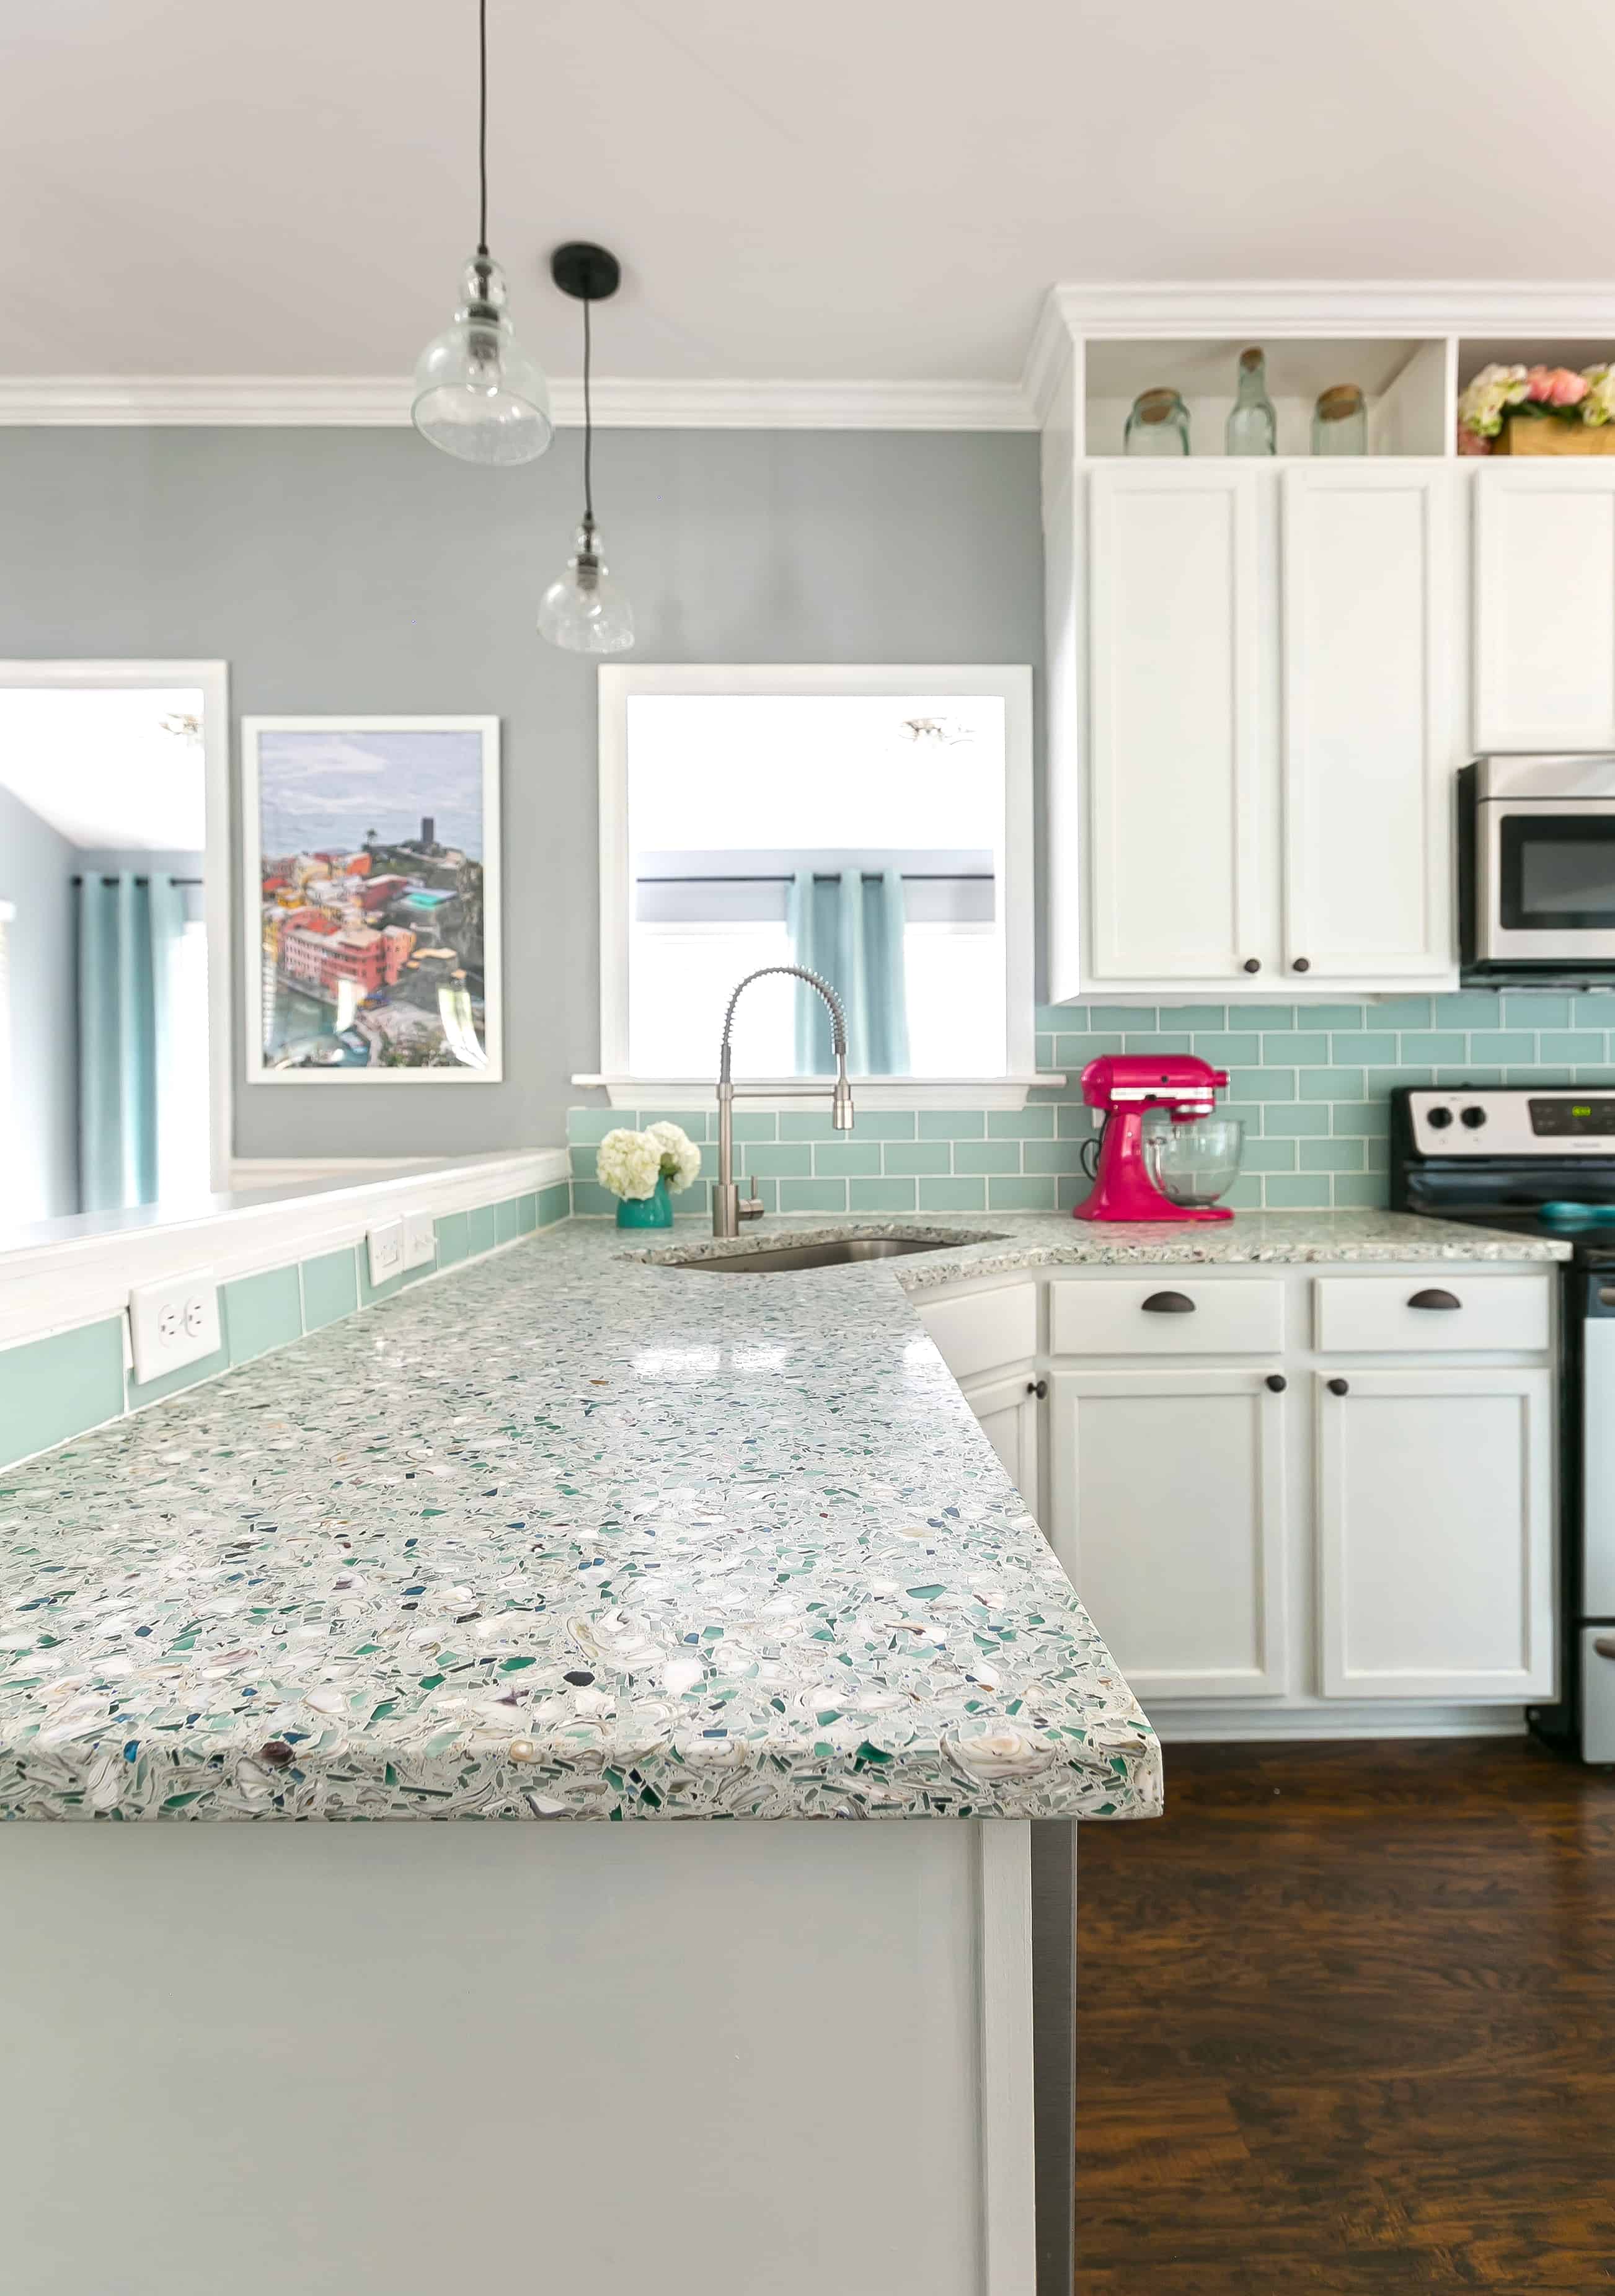
Recycled glass and oyster shell counter tops
Next up came the most beautiful and unique part of our kitchen.
We bought recycled glass countertops from Fisher Recycling and got to pick out our exact design. We took off the old laminate countertops ourselves and then had the new countertops professionally installed.
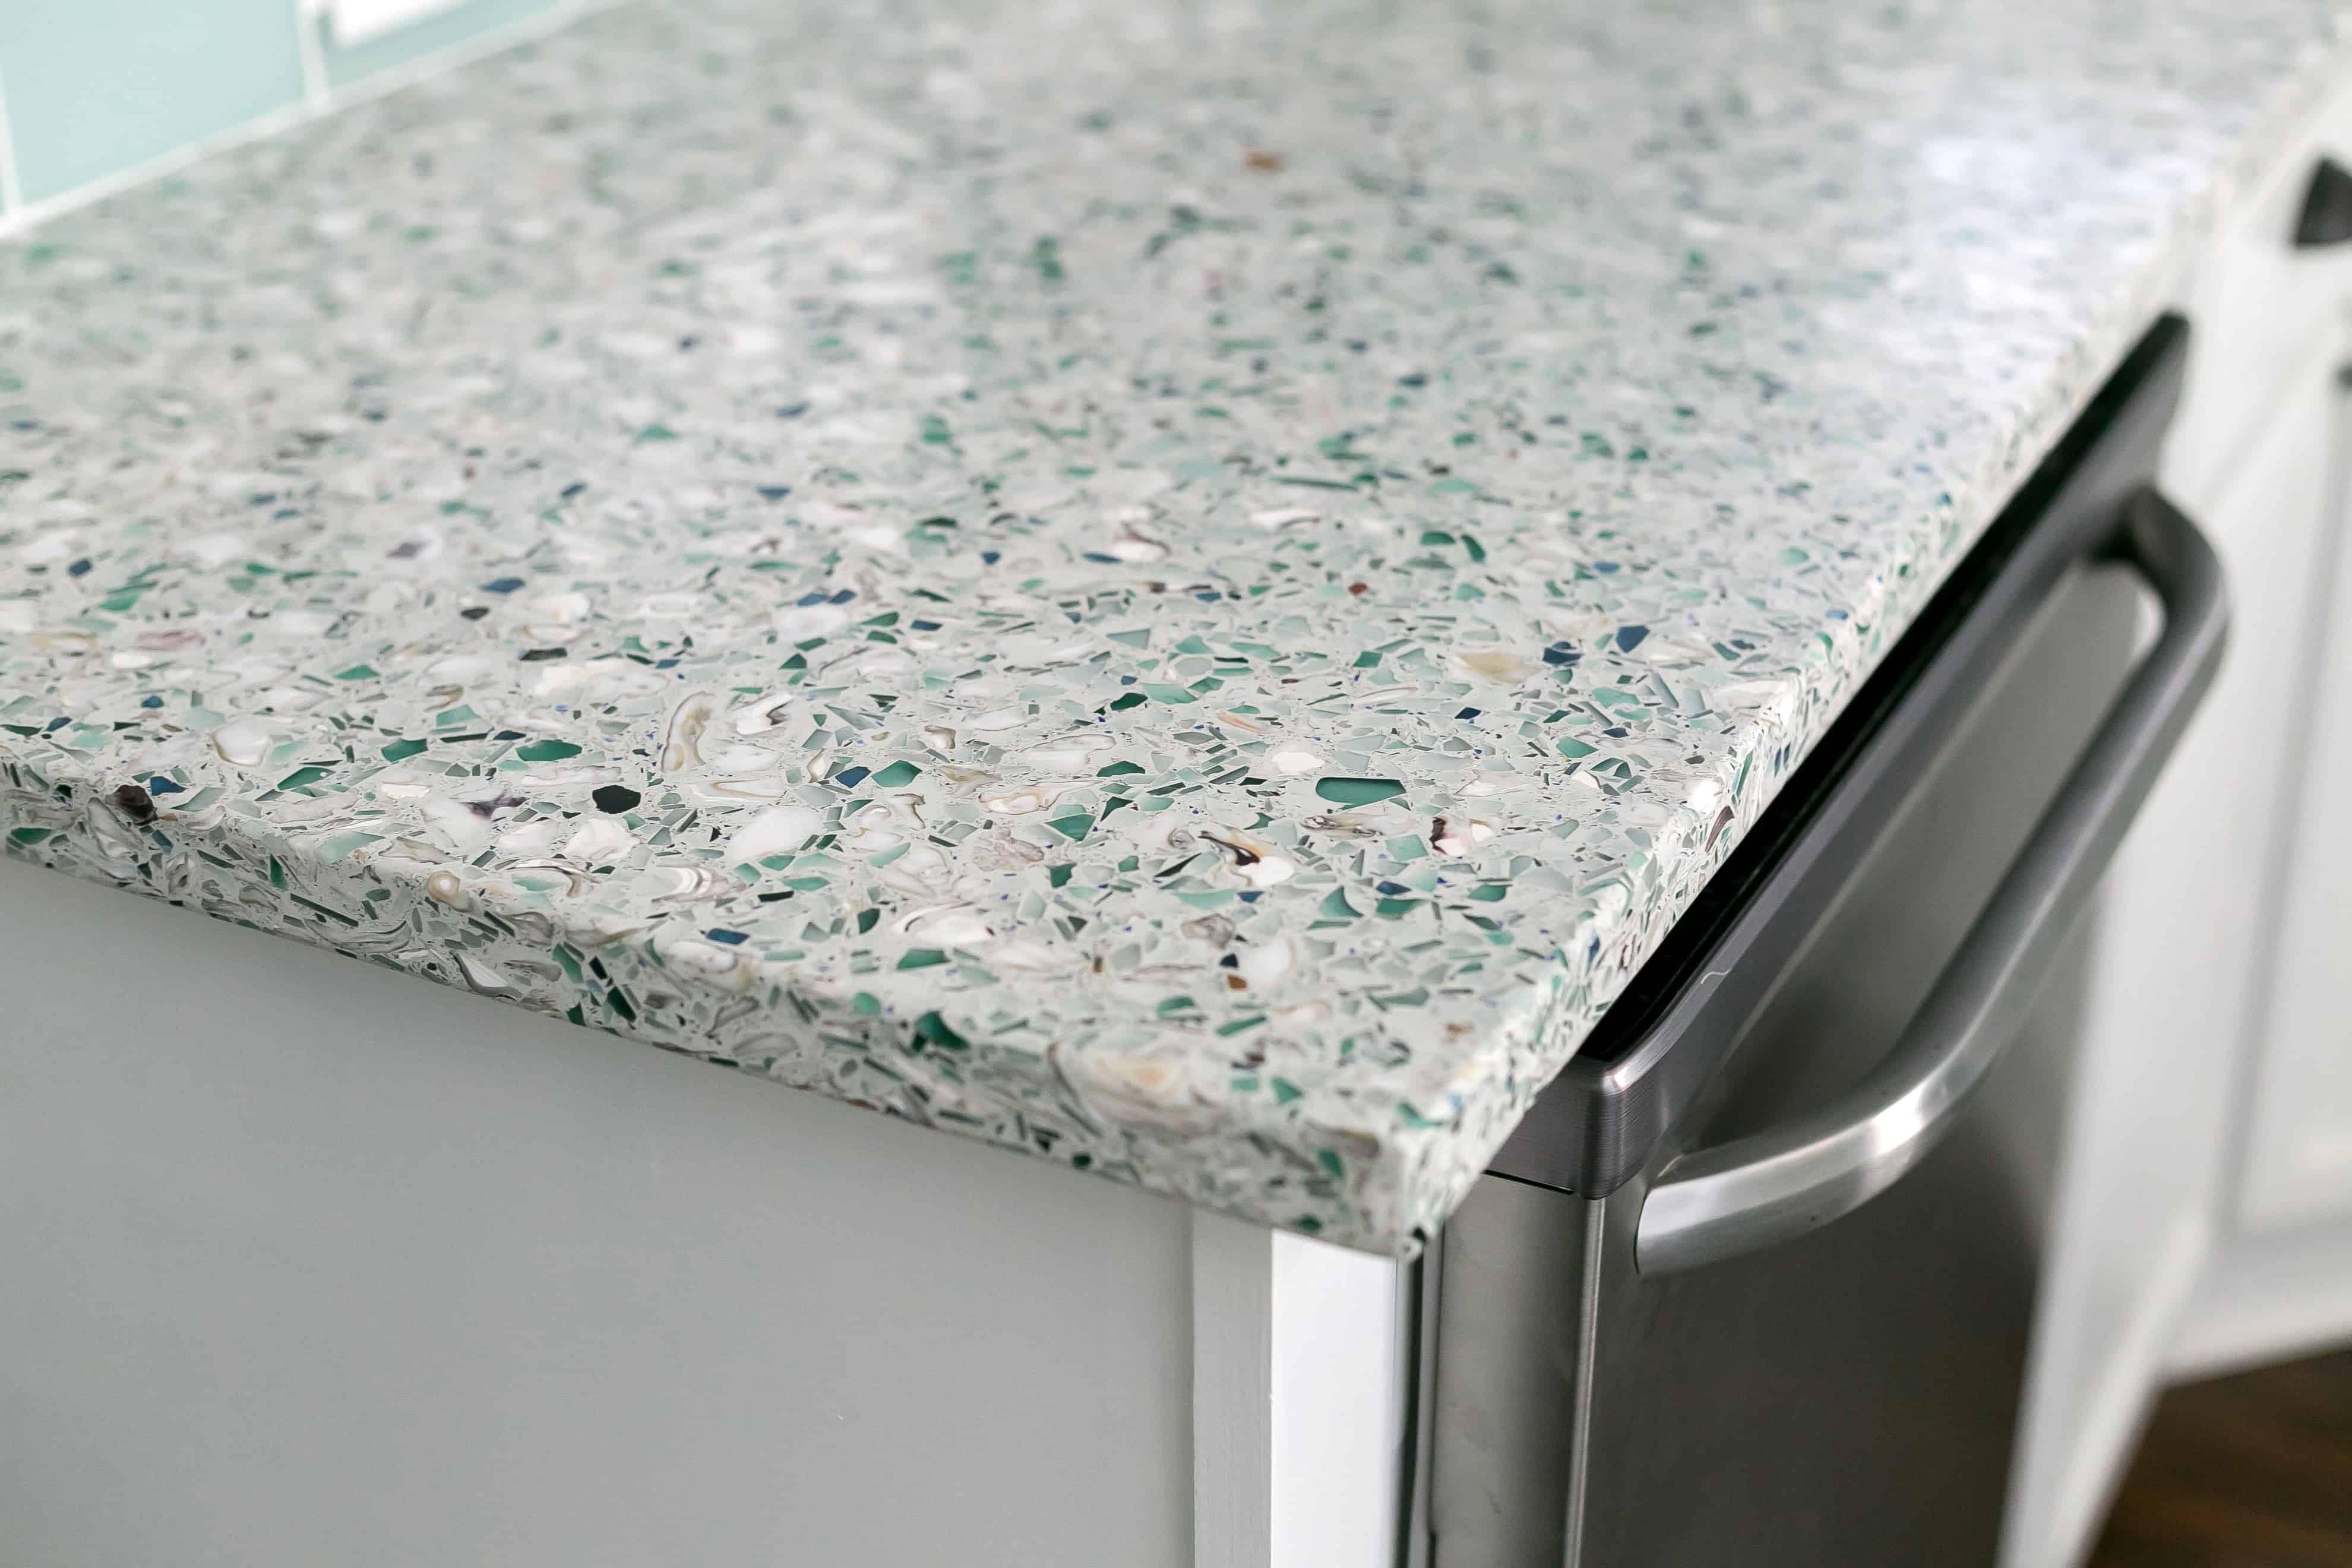
These counters are our unique design and are the most coastal thing we have in the kitchen. They bring together our whole vibe and were perfect for our DIY coastal kitchen.
DIY backsplash installation
We installed a custom backsplash of frosted sea glass subway tiles from Tile Bar. They match the glass in the countertops perfectly and really and truly make the space.
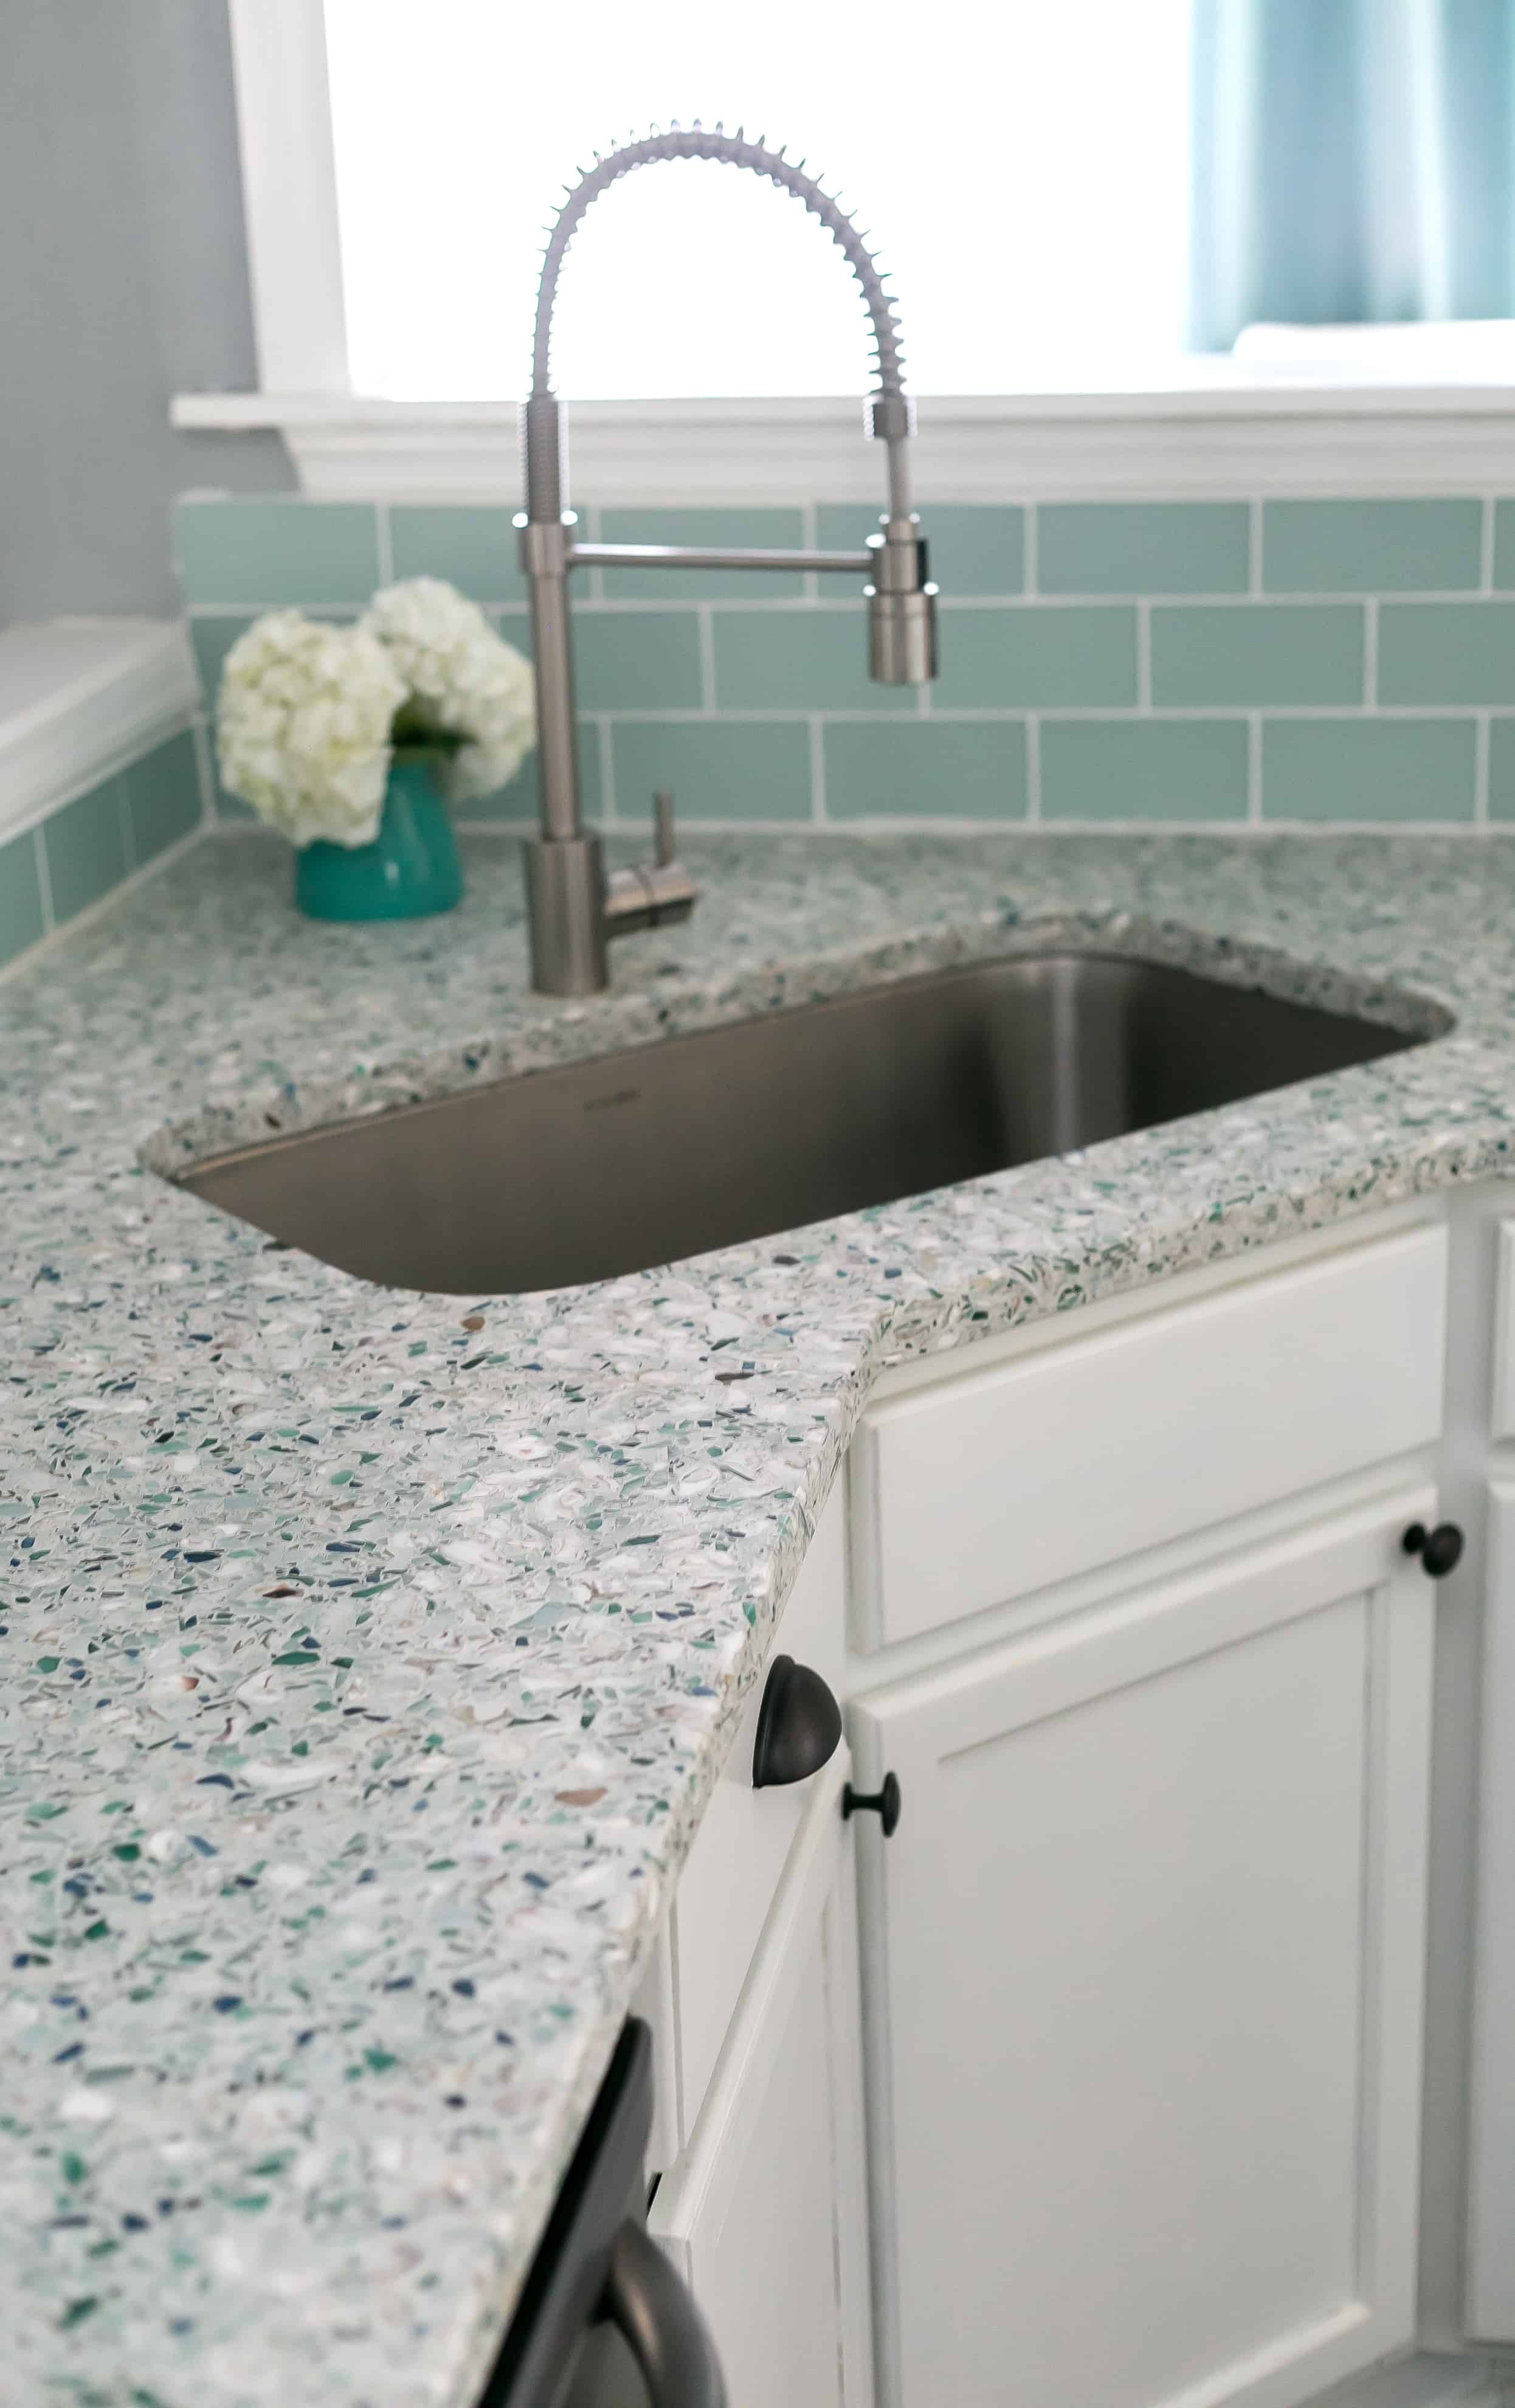
There is also a brand new faucet to go with our new design. We got a single bowl, under-mount sink from the countertop installers and ordered our chef's faucet from Costco.
Pantry remodel
We gutted out our pantry, creating custom wood shelving that fits all of our dry goods as well as our coffee maker and toaster inside.
Then we found an old wooden door and gave it an overhaul to really complete the space.
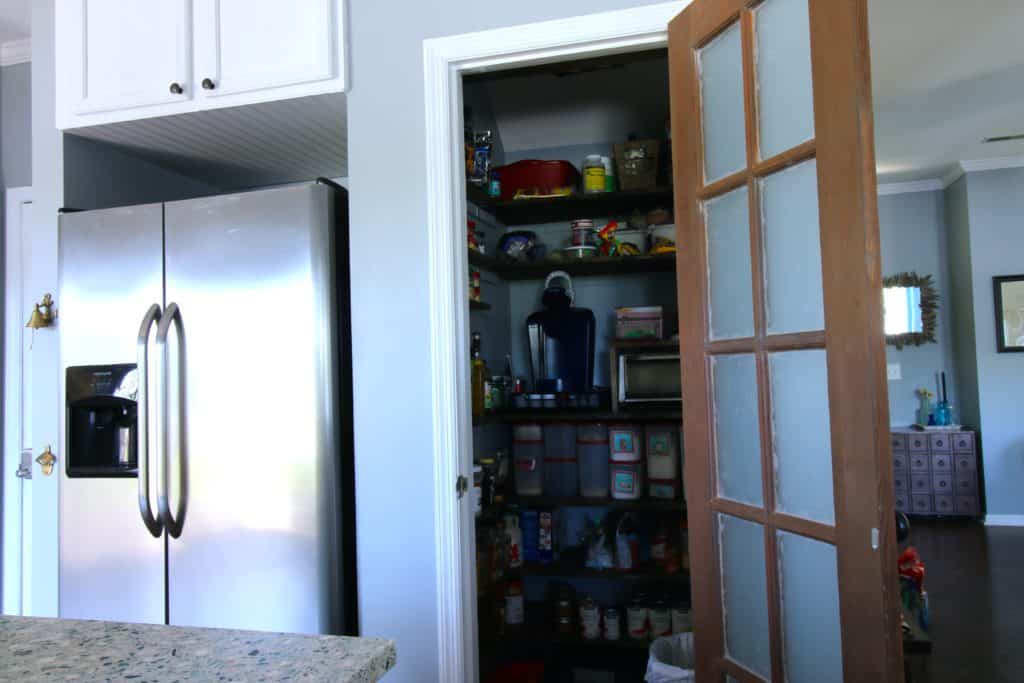
That cabinet above the fridge...
The last project we did was to bring forward and raise the dinky above the fridge cabinet that was tucked away and unusable. We brought it forward to match the crown molding and used bead board underneath to make it look very deep.
Flooring installation
Oh yeah, and one other project (and one of only two things we didn't do ourselves) was that we had the hardwood floors run into the kitchen to match the rest of the first floor. We had a number of reasons for why we hired it out, and we definitely made the right decision.
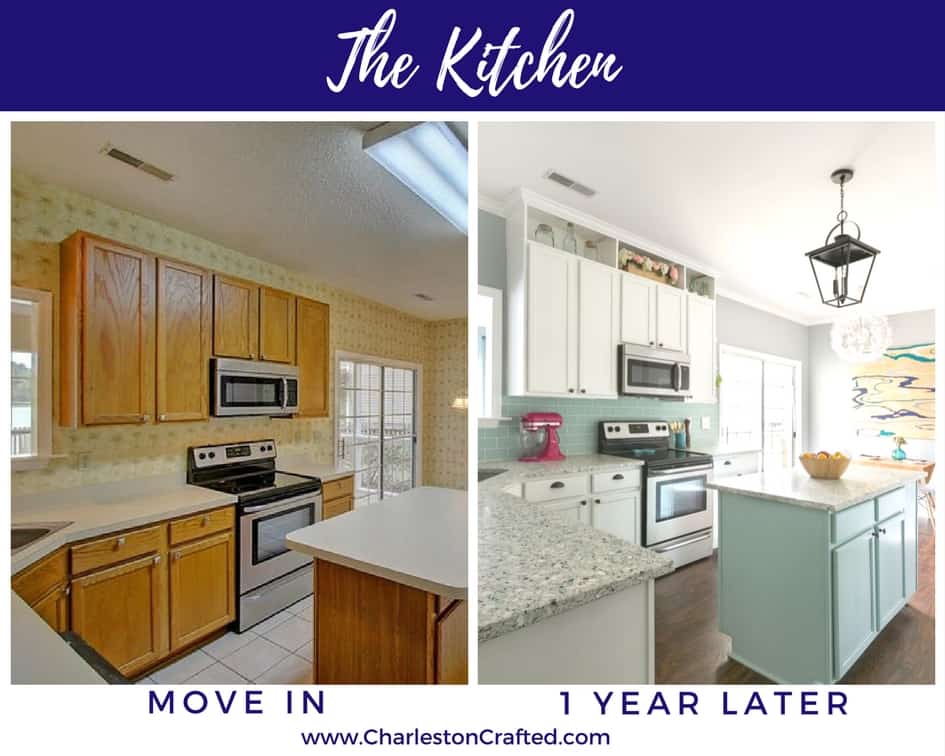
Coastal kitchen remodel before and after
After hours and months of work, our DIY coastal kitchen is done and, if we don't say so ourselves, beautiful. This turned out exactly how we wanted.
But you would never think it if you look back at some of the photos of how the kitchen was when we moved in!
I hope that you enjoyed following along as we remodeled and redecorated our kitchen. I hope that this whole project has empowered you to believe that you too could make over a kitchen! You are capable of so much more than you think.
Our kitchen was also featured in Charleston Home and Design Magazine!
Thanks for following along on our journey! XOXO

Looking for something?
We've been doing this since 2012 so we have a LOT of blog posts!
Search stuff like: Ceiling Projects | DIY Plant Stands | Thrift Flips

Hey there, I'm Sean, the woodworking enthusiast and builder behind CharlestonCrafted.com! Since 2012, I've been sharing the magic of turning raw materials into beautiful creations. I love teaching others the art and satisfaction of woodworking and DIY. I try to inspire fellow crafters to make something extraordinary out of nothing at all.


Amanda says
I can't believe the transformation - it looks amazing, and so much brighter! Great job, guys!
Maria Brittis says
Wow, you have out done yourself! What a difference! I love the counter tops, they are gorgeous. Totally in love with them.
Maria
Kelley @ Coastal Kelder says
This looks so great!!! I can't believe it when I see the before.
Gillian says
You didn't want to keep that yellow wallpaper? Just kidding, it looks amazing! Congrats on all your hard work.
Roxanne says
That's a major transformation! I love the color scheme and those counters!
Sara Dwyer says
I love Elizabeth and Chris! Are you loving it for the counter? Upkeep? Thinking about using for our bathroom counters/backsplash/tub redos.
Morgan says
I am OBSESSED with our counters. They look so so good. The worst/hardest part was that they don't install so you have to find a 3rd party installer. We had a hard time finding anyone who wanted to take on the "small" job because they all have so much work right now! So we had to wait a lot of weeks. The only upkeep is that the installed sealed it at install and suggested that we seal it once a year. In a bathroom you wouldn't have red wine or spaghetti sauce or anything dark (I assume) so you might not even need to re-seal.
Let me know if you want to come see them!!
Lowanda J says
Wow, you guys did a really great job! The transformation is beautiful!
adina says
Hello would you mind sharing your source for the flooring? Thank you!!
Carmen says
oh my gosh I love this y'all!! great great job! Pinning now 🙂