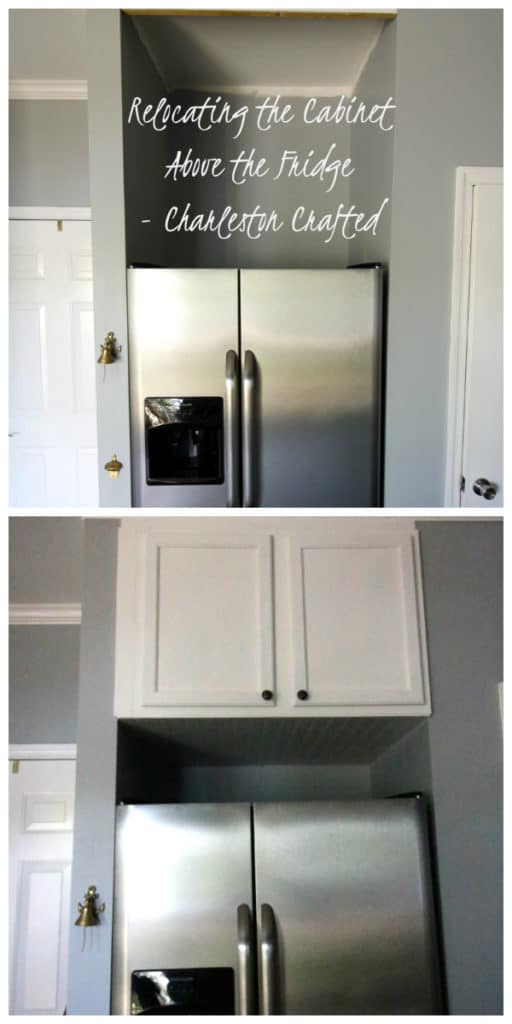
If you hate not being able to access that cabinet above your fridge that's pushed against the wall, here's how you can relocated it to make it functional!
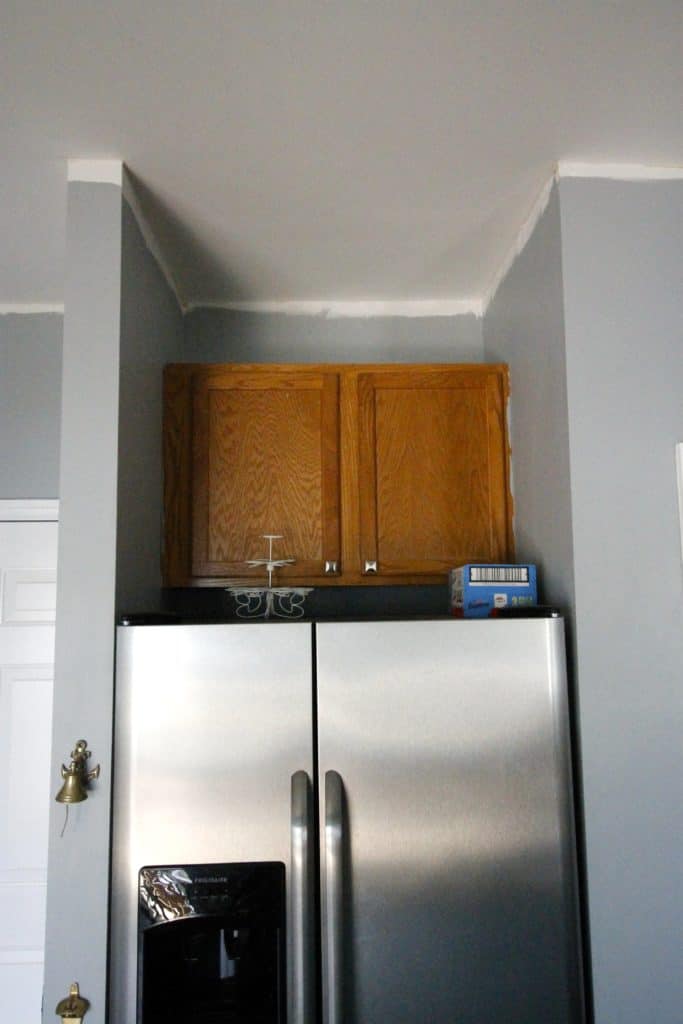
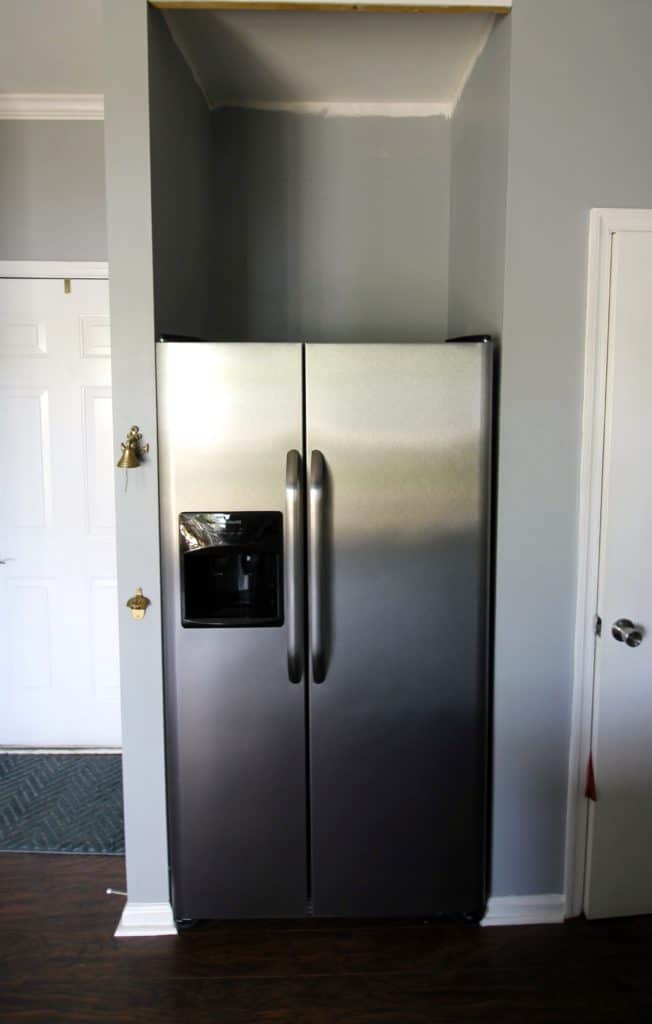
Raise your hand if you're one of the many lucky people who has a cabinet above their refrigerator that they can't access because it's three feet back and super high up.
My hand is raised, well both of them are, as I'm trying to access that ridiculous choice of a cabinet spot.
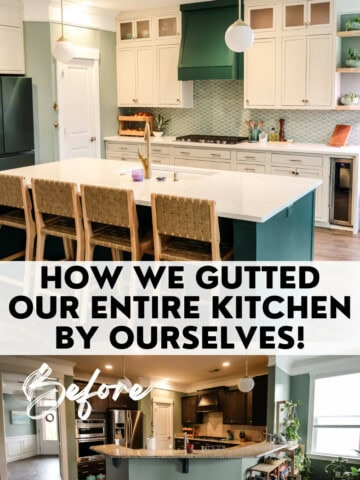
As we wrap up our kitchen remodel, we had to do something about relocating the cabinet above the fridge. It was unusable and looked bad. So we made some improvements.
How to remove the cabinet above the fridge
First things first, we removed the cabinet above the fridge from the wall, which was just four screws through the cabinet walls and into the studs.
You'll likely need to pull your fridge out from the wall to get behind it, so this would be a perfect time to clean back there as well!
After we removed the cabinet, we realized the cabinet was much less deep than it seemed from the ground. It was only a 12" cabinet, which is pretty sad to begin with. But just look how much space is above the fridge!
What to do with the cabinet above the fridge
At this point, we had two choices. We could choose to relocate and fix up the existing cabinet, or we could install a new very deep cabinet that would go all the way to the wall.
After thinking about our storage needs, we decided we didn't need to have a super deep cabinet up there, so we could just fix up the old one and put it back in a better spot.
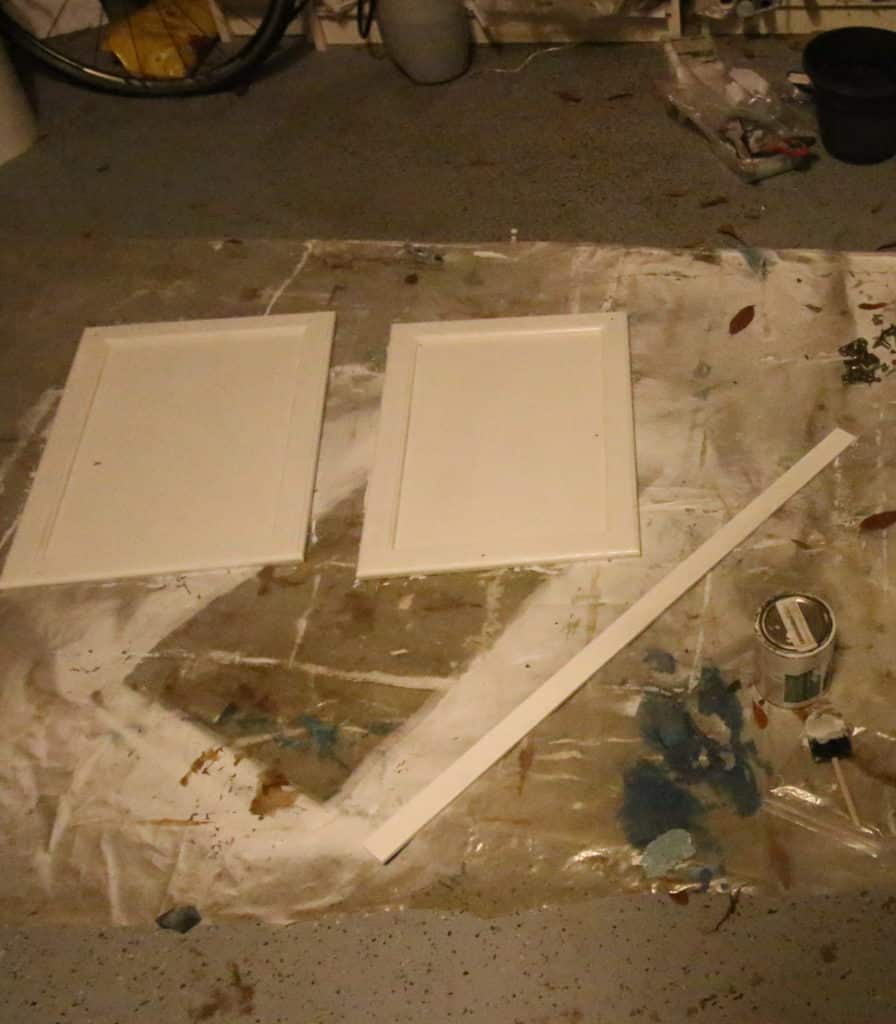
We took off the doors and painted them and the front of the cabinet the same way we did the rest of the cabinets in our kitchen a couple of months ago.
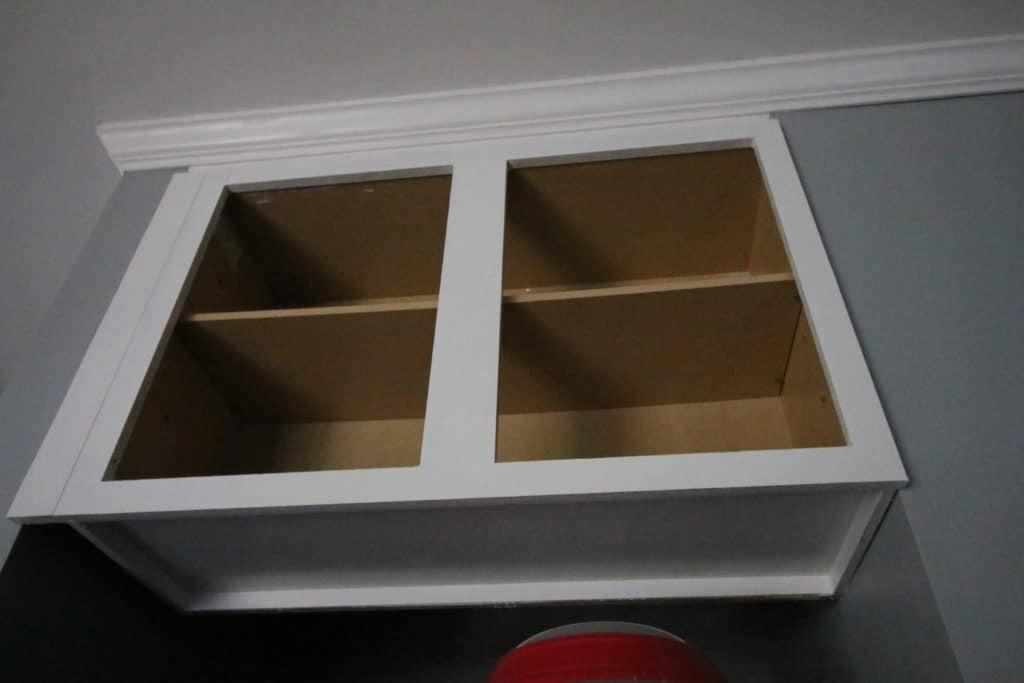
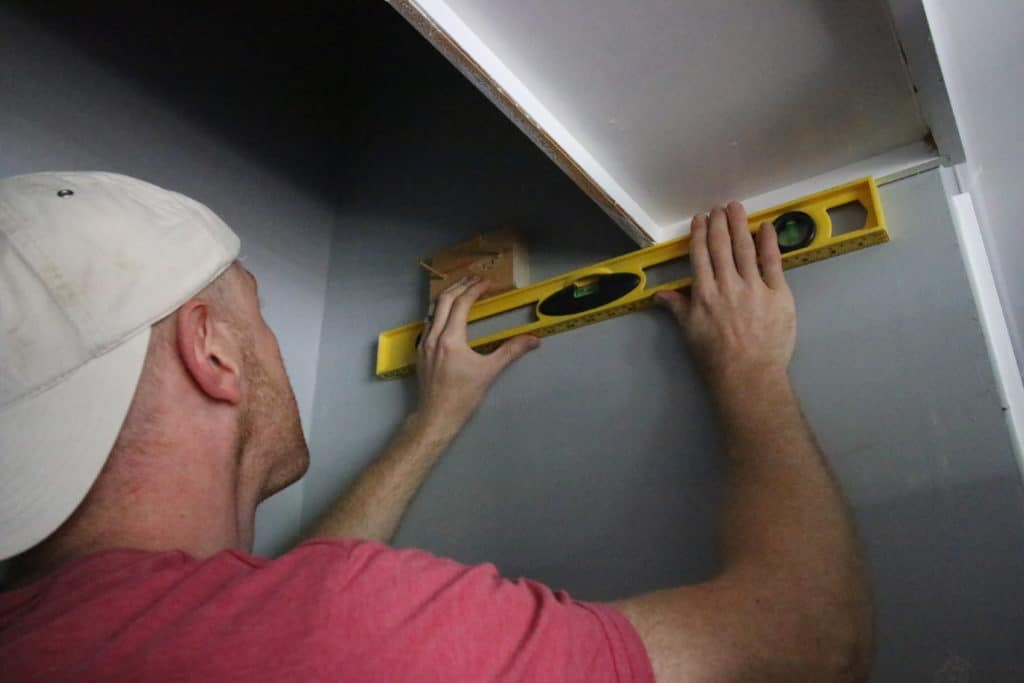
After letting them cure, it was time to put the cabinet back up. We had run the crown molding in the kitchen straight across the fridge gap at the top because we knew we were eventually going to get to this project.
We secured the molding in with a 2x4 that we put the cabinet flush up against. The only problem is that we overestimated the quality of craftsmanship that this house had from its original builders.
How to move the cabinet above the fridge
Wouldn't you know it, but the front of the area above the fridge was ¾" smaller than the back of the space. Quality craftsmanship. Soooooo instead of the cabinet going flush with the wall, its edges hang over ever so slightly on each side.
Oh well. It was either do that or shave off some cabinet and that didn't seem worth it.
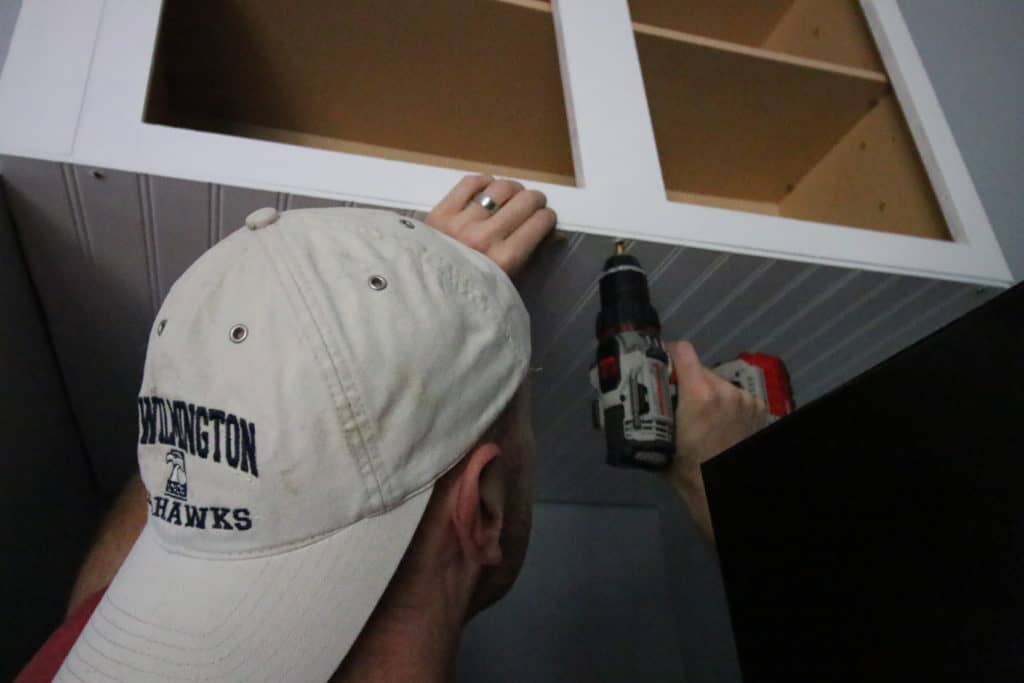
To reinstall the cabinet, simply do the opposite of what you did to take it off. Grab those long screws and screw through the sides of the cabinet into the studs of the wall to secure it in place.
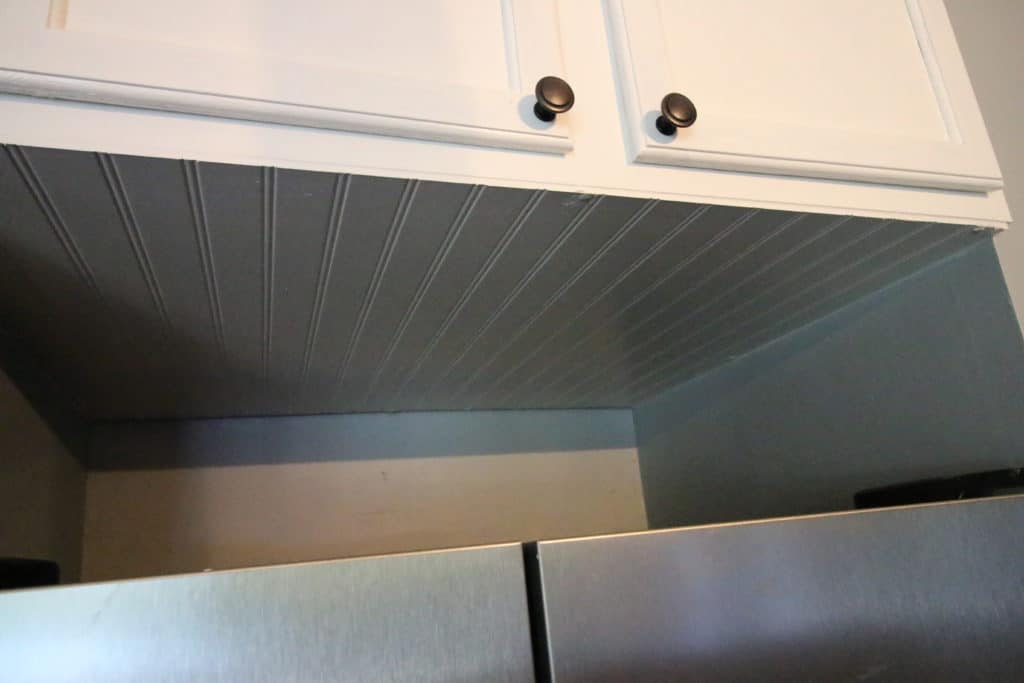
Installing bead board to fill the gap
The problem was that, now that the cabinet was all the way at the front, it looked really bad from underneath. We were thinking it would look fine, but it really really didn't.
The problem wasn't the bottom of the cabinet itself, it was the giant gap you could see behind it.
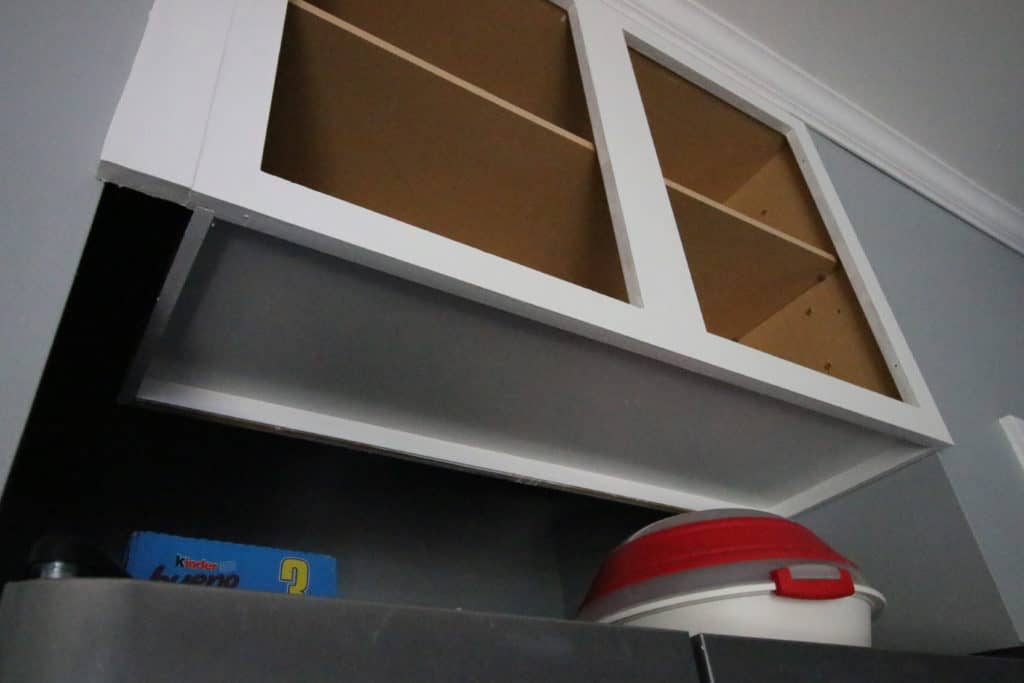
So we had to decide what to do. We came up with idea of running a piece of board along the bottom of the cabinet to fit the entire space.
We settled on bead board and cut it to the exact dimensions of the fridge gap (including the ¾ size difference from front to back, sigh).
Check out when we put bead board over our entire ceiling!
To hang it, we drilled in some scrap wood into the sides and back of the gap that would be level with the bottom of the cabinet.
Then, we attached the bead board straight into the bottom of the cabinet and the pieces of wood on the sides.
*note, when we did this project, we didn't have a brad nailer and we installed the bead board with tiny trim screws. I would highly recommend you use a brad nailer to have virtually invisible holes.
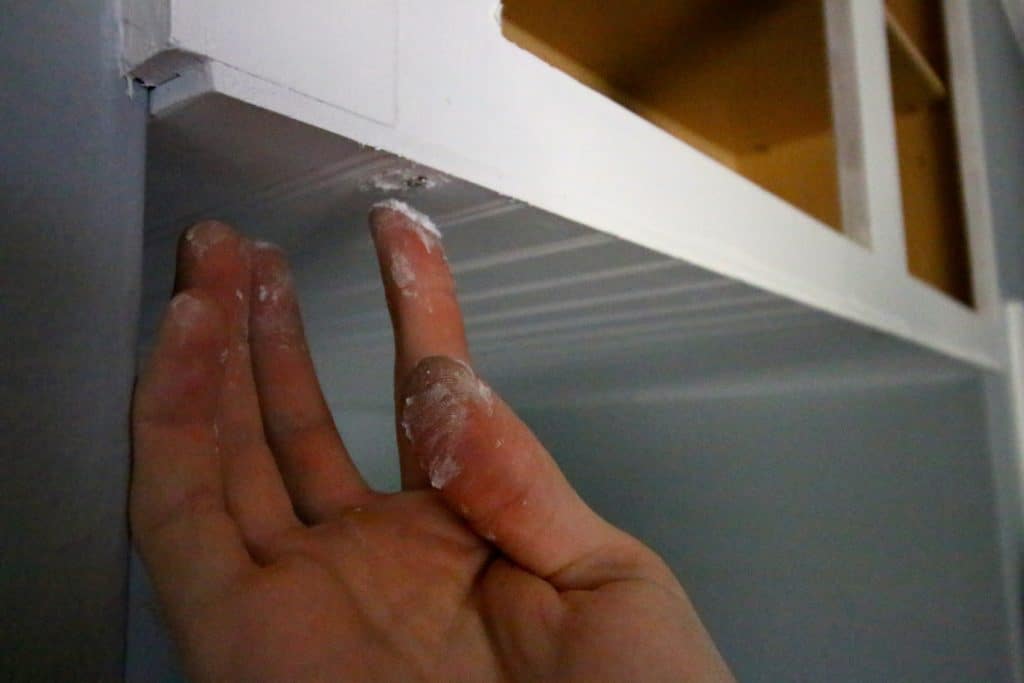
Finished that off with spackle to fill the holes and paint to make it match and all the sudden it looks like we have a super deep cabinet above our fridge.
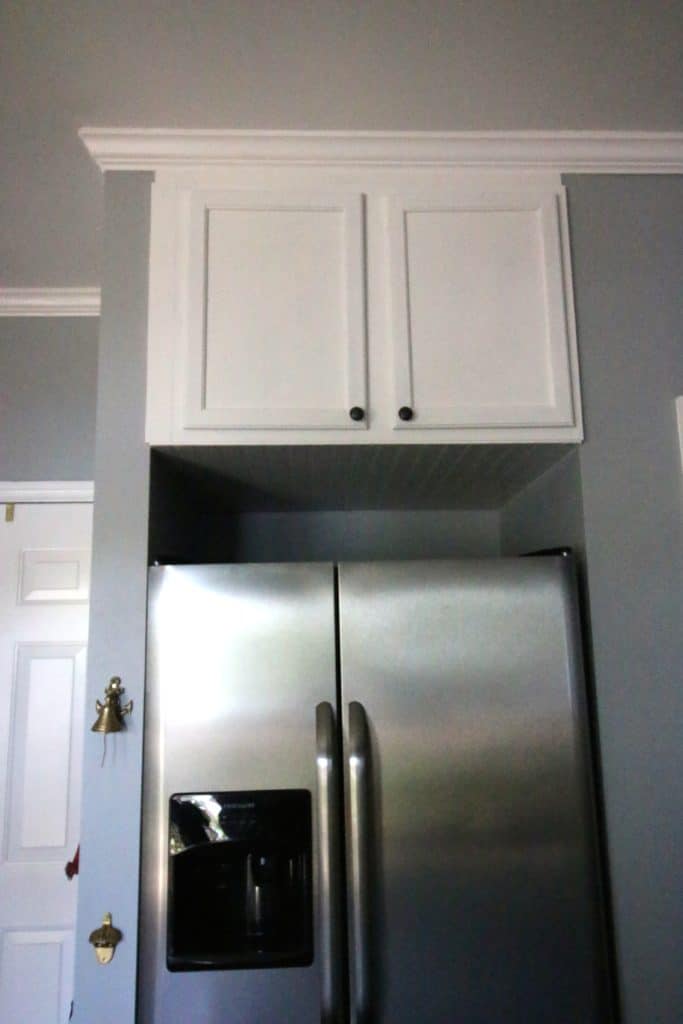
The bead board gives the illusion that the cabinet runs all the way to the back, but you don't lose anything in the back of the cabinet since it's shallow to begin with.
Painting everything to match makes it flow seamlessly throughout the space. Now we can reach up to the cabinet and get everything we need!
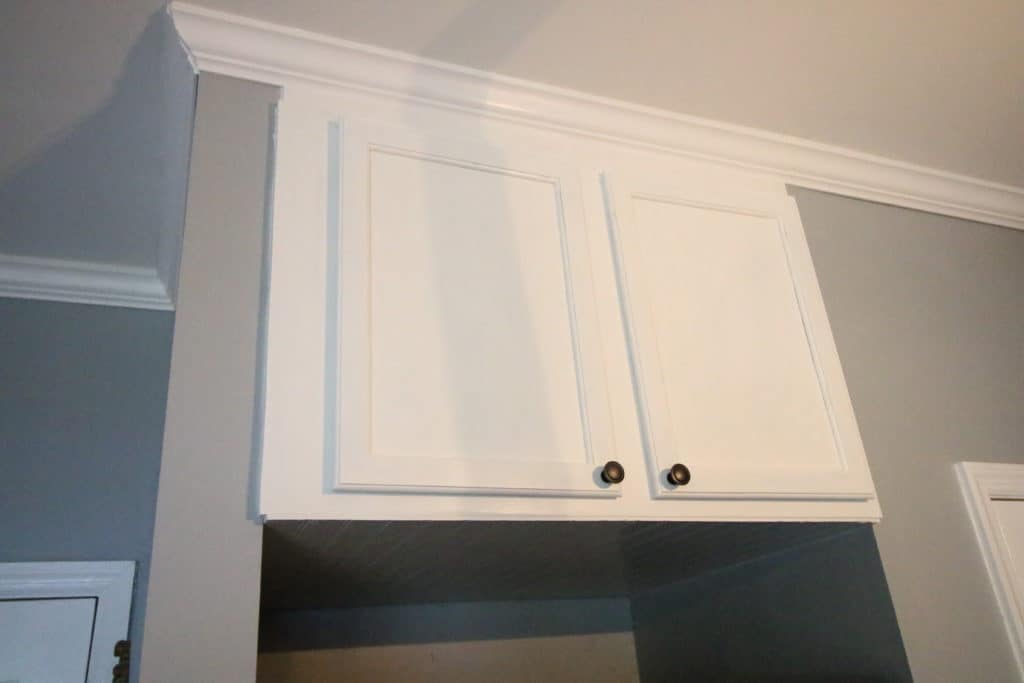
Relocating the cabinet above the fridge was a great idea. The bottom shelf is easily reachable (for me, not so much for Morgan) and the top shelf is reachable with a step stool.
Before, neither were. We still are storing our infrequently used items in there, but it's great that the cabinet looks great and is usable.

Looking for something?
We've been doing this since 2012 so we have a LOT of blog posts!
Search stuff like: Ceiling Projects | DIY Plant Stands | Thrift Flips

Hey there, I'm Sean, the woodworking enthusiast and builder behind CharlestonCrafted.com! Since 2012, I've been sharing the magic of turning raw materials into beautiful creations. I love teaching others the art and satisfaction of woodworking and DIY. I try to inspire fellow crafters to make something extraordinary out of nothing at all.