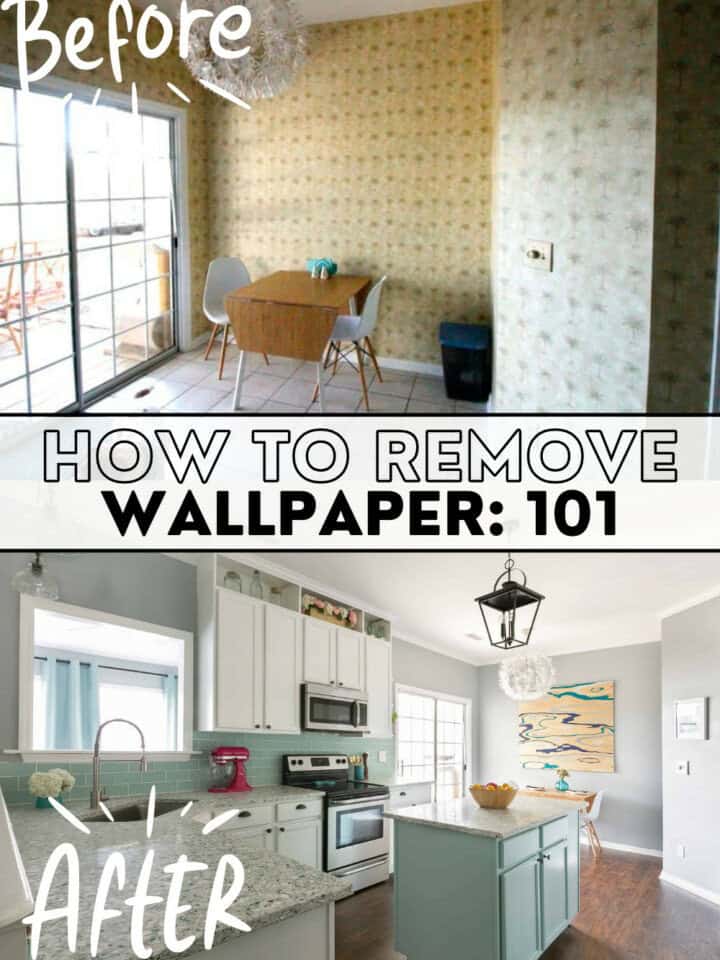
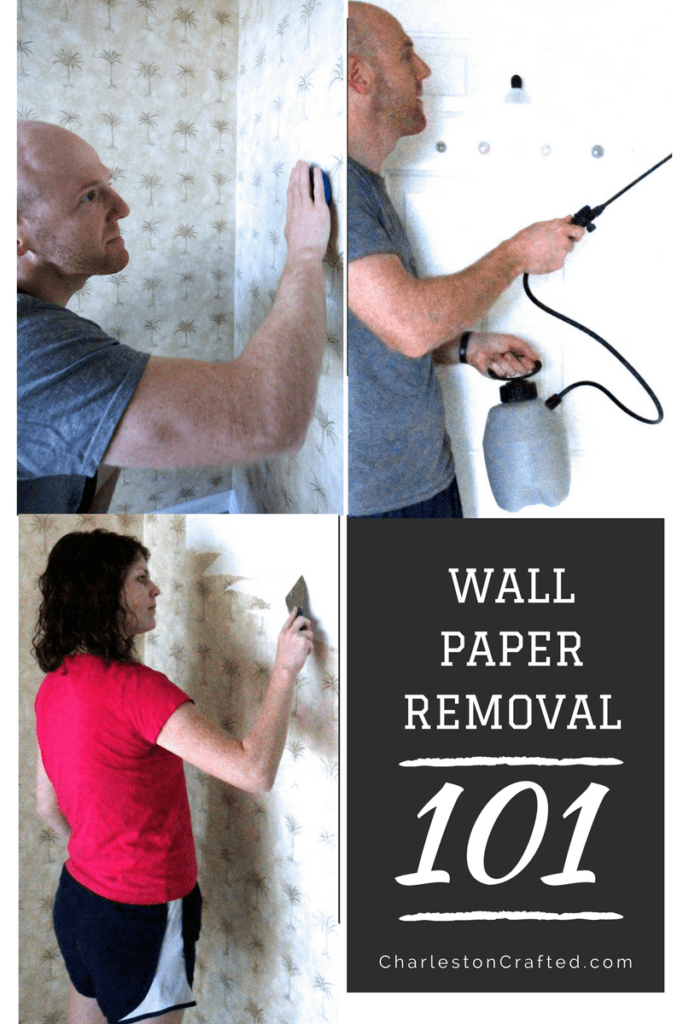
In our first house, we had to remove all of the wallpaper during our kitchen renovation and we learned a lot. Here's how to remove wallpaper the easy DIY way!
I am so excited to start our kitchen makeover this month! I have tried to break up the DIY to-do list into one major task per month, along with some hired-out tasks in between.
The major task for January was removing the wallpaper and painting the walls. Funny story about this wallpaper that I love telling. Our house was a rental prior to us buying it and the previous owners made a lot of great updates like replacing 90% of the flooring (everything but the kitchen actually) and having all the walls painted a neutral color.
We met them randomly before the house even went on the market and they let us tour it. On that tour they showed us the wall colors and floor samples and told us what they planned to have done.
Sean pointed at the kitchen walls and said "and remove this wall paper, right?" And the owner said "Oh no, this is really nice wallpaper!"
I don't know why I think this is so funny. On one hand, Sean's not really usually the one to suggest doing anything that will cost extra or take more time, so for him to say to remove the wall paper tells you that it was bad.
But the owner really really loved this wall paper. I imagine that she picked it out and convinced her husband to buy it and we know they spent a lot having it hung (we got their invoice in a packet of house-related papers at the closing). Here's what it looked like.
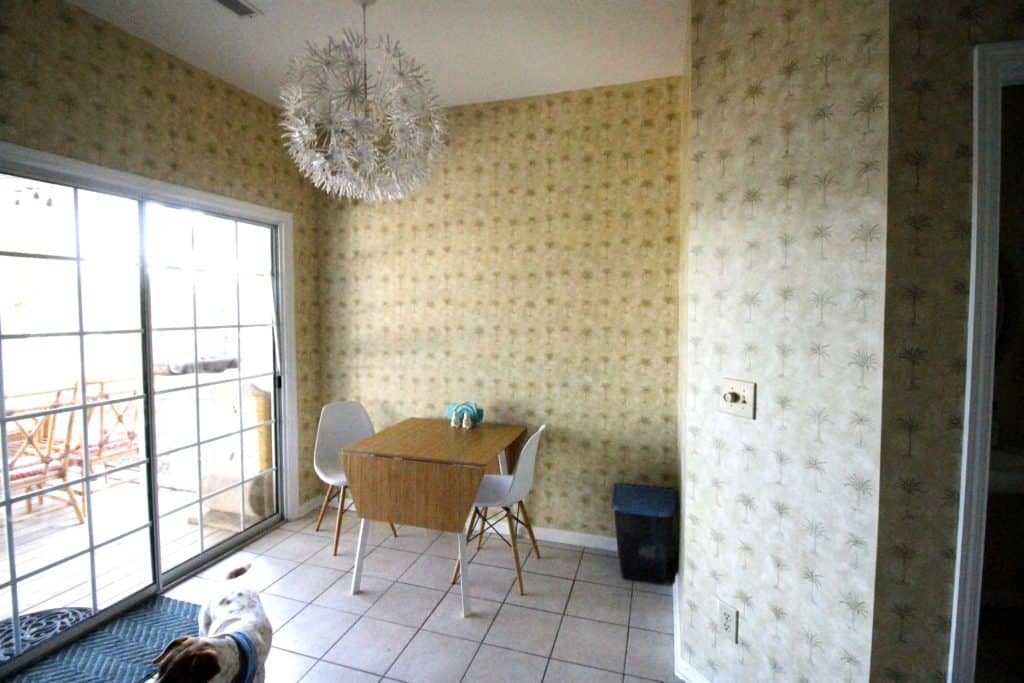
It just screams 1995 to me. If wallpaper is your jam, good for you, but I change my mind too often to handle anything as permanent as wallpaper.
This particular specimen was way too beige (warm colors while I prefer cool colors) and honestly just looked like a crap ton of palm trees to me. Like, I get it, we live at the beach. If only they had planted an actual palm tree in the yard....
Removing the wallpaper was a job. It wasn't particularly difficult. I think that our popcorn ceiling removal has put everything into perspective. It took portions of 3 days but we could have done it in two if we wanted to, but we spaced it out and didn't try to do steps before the previous step was dry.
How to remove wallpaper
Learning how to remove wallpaper was really a fairly straightforward process and one that you can learn easily. There's hundreds of tutorials out there, but here are the steps we took that worked and made it as easy as possible.
Steps to remove wallpaper
Here's the list of steps you need to go through in order to remove wallpaper.
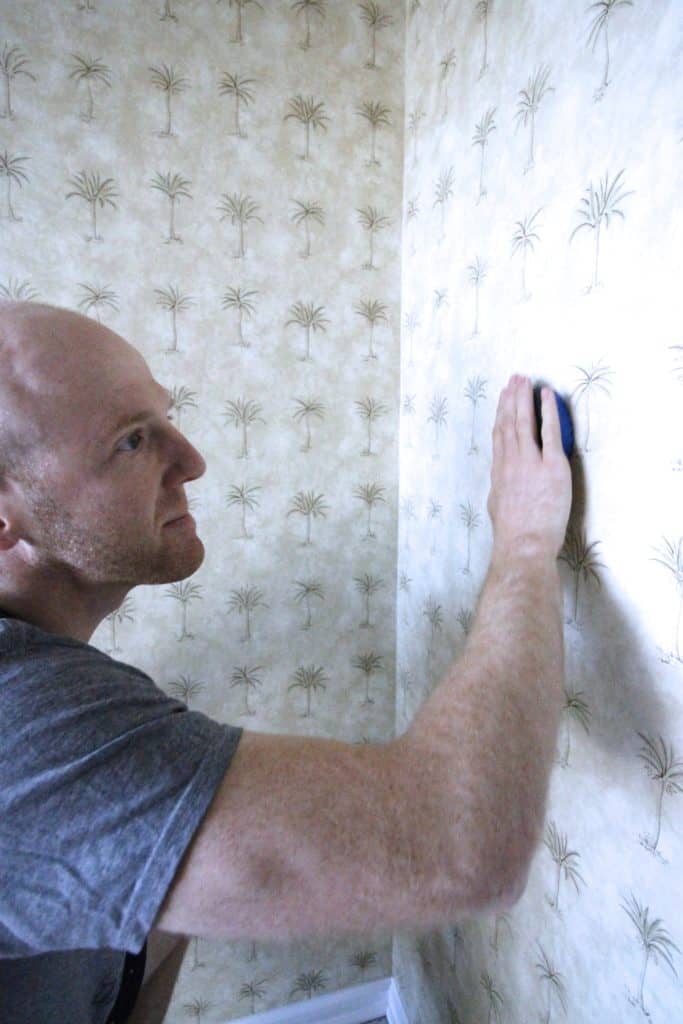
- Use a scoring tool to score the wall, using small circles over the entirety of the paper
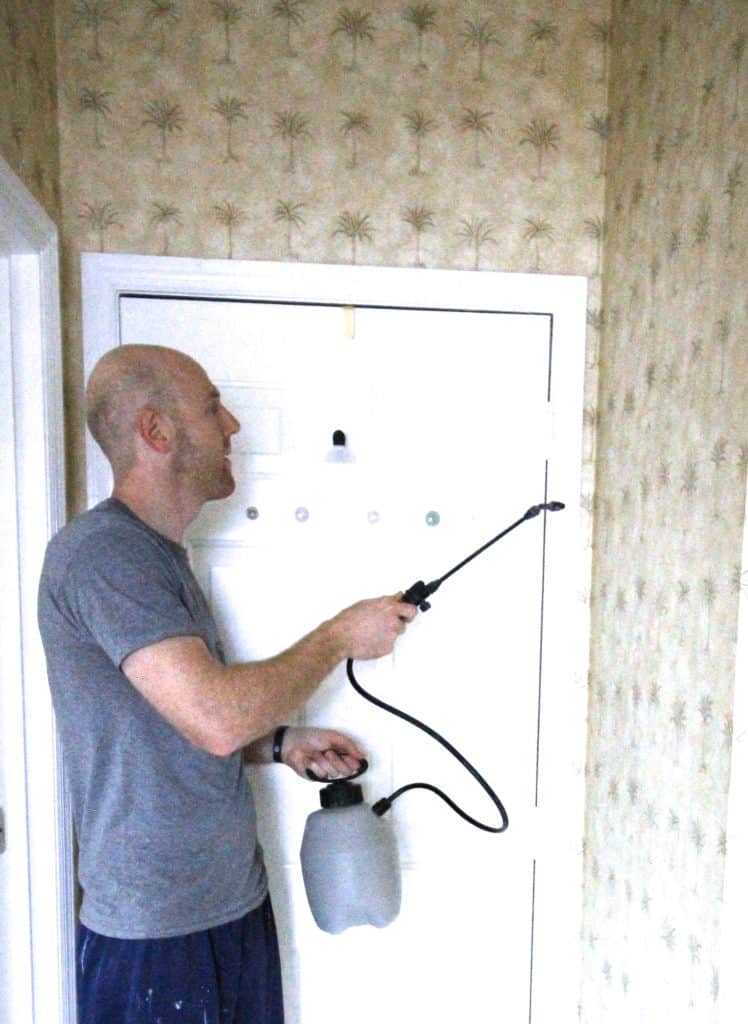
- Use a sprayer to apply a small mixture of *HOT* water + fabric softener all over the walls
- Let it sit
- Let it sit longer
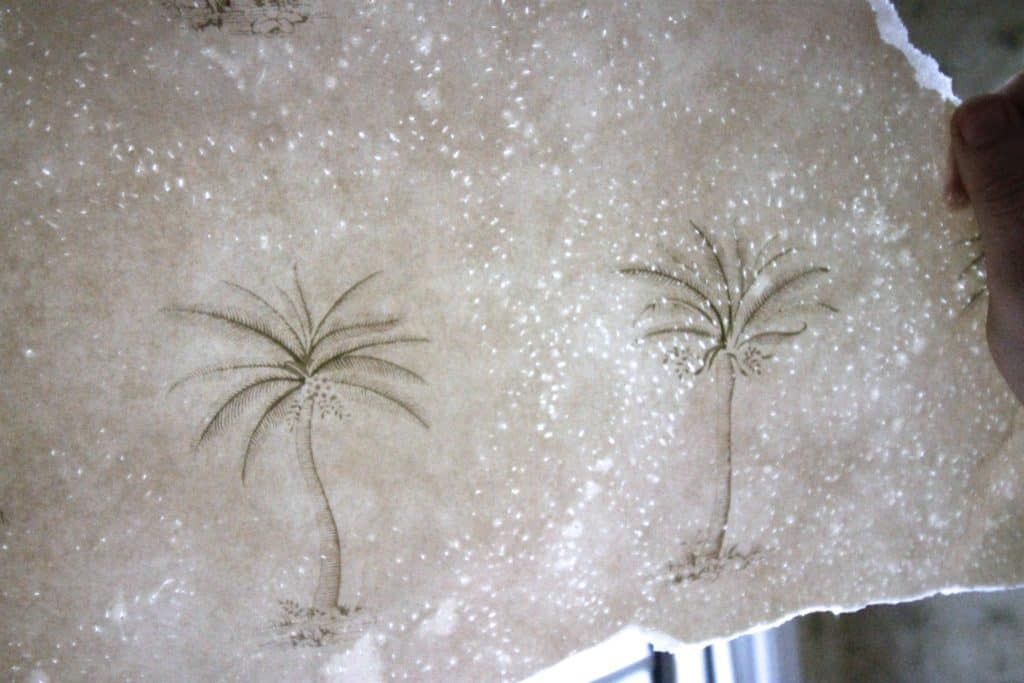
- Peel off large pieces using your fingers
- Use a flat edge scraper to get any remaining bits of paper
- Go back through and spritz a little more water on parts of the wallpaper backing that didn't come off and lightly scrape those off with the scraper
Number 1 tip- Be patient while removing wallpaper
Our biggest problem was, shocker, being patient. At one point early on, I think Sean really decided that this wasn't coming off and was trying to figure out how to repair the scoring. It came off, it just needed to sit for about 30 minutes.
How to score wallpaper for removal
When you need to remove wallpaper, the first step is to score it paper with a scoring tool.
Scoring wallpaper refers to using a small tool that rolls over the wallpaper and puts thousands of tiny holes in the paper. The purpose of scoring wallpaper is to allow water on the next step to penetrate behind the paper and loosen it up.
When scoring wallpaper, make sure you do it on every square inch you can and do it really wall. Don't worry about doing too much scoring.
How to spray wallpaper
The next step is to spray the wallpaper with a mix of hot water and dish detergent. You want to coat the paper pretty well so that it is able to get through the little scoring holes and help lift the paper from the drywall.
It's good to work in relatively small areas that you can manage at one time, but if you're lucky, big sheets will come off easily.
We sprayed down one wall and let it sit, then when we were ready to remove the paper, we would spray another wall so that it would be ready when we were done with peeling the first wall.
How to peel and scrape wallpaper
When it comes time to remove the wallpaper, slip a scraper behind one of the seams and get yourself a good enough handle to pull with your hand. Try to work you way up and down the seam first to get as much loose as possible.
Then, slowly and steadily work your paper off the wall in as big of a sheet as you can.
For any remaining pieces, use the scraper to scrape it off, adding more water if needed.

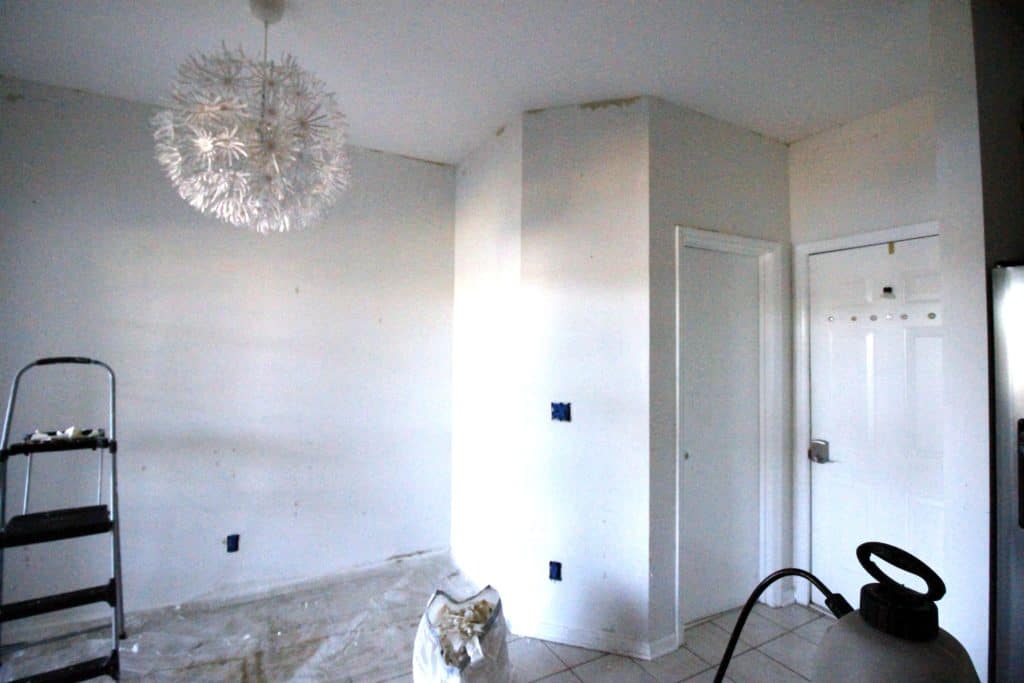
How to fix walls damaged from wallpaper
We let the walls dry over night before moving on to the next step. Day 2 was really a half day and Sean spackled any messed up bits of drywall and also sanded the whole wall gently.
I painted the edges and everything that needed to be hand-brushed, like tight and small areas, with one coat. Day 3 we sanded the spackle and then rolled paint and did painting touch ups and final touches.
This was actually really easy at this point. Everything was already taped, edges were done and it was clear.
We discovered a few more pieces of wallpaper backing that were still stuck to the wall when we painted it. It was pretty obvious that something wasn't right, so we just grabbed the scraper again, scraped it off, and painted over it before it dried. You could tell right away.
Results of removing wallpaper
In the end, it looks great. Just like with a bunch of the other projects in our house, like the scraped ceilings, torn down walls and extended fireplace, we found ourselves immediately saying, "Wait, what did this look like before?"
It's just one of those things that seems like it was supposed to be that way, so we can't believe we had to spend three days making it happen, but we're very happy we did.
Onto the next phase of the kitchen...
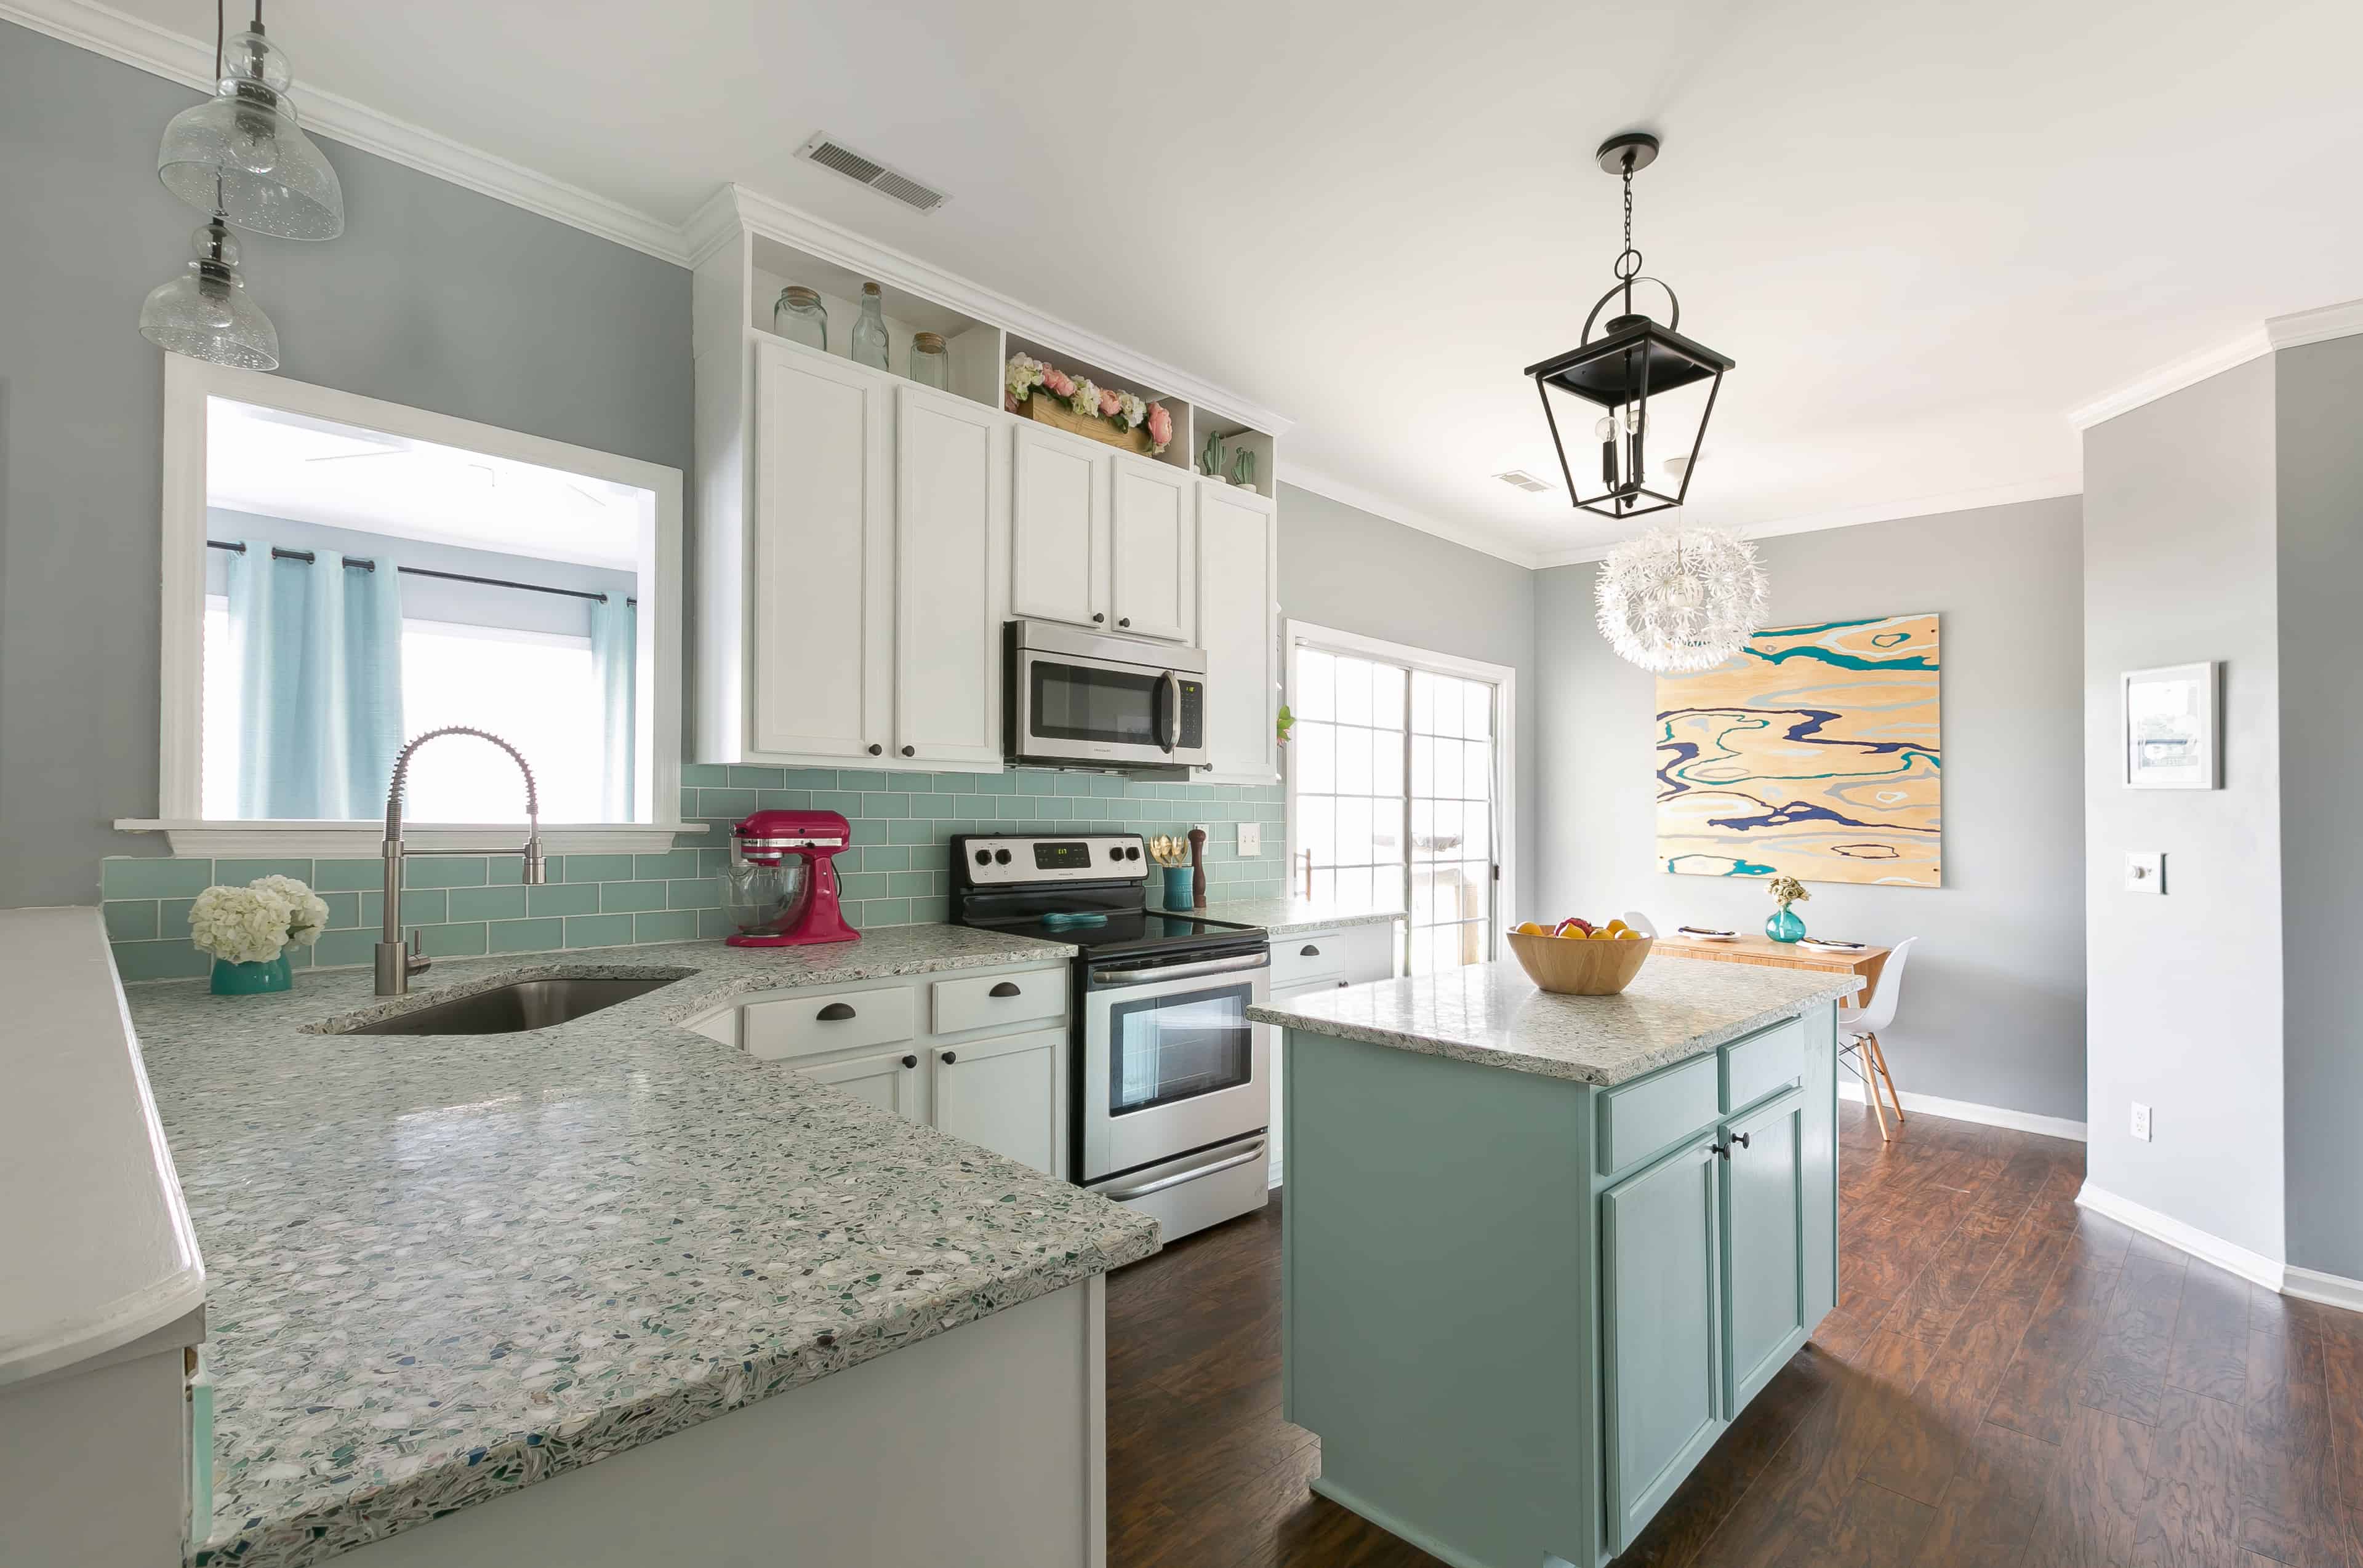
Here's our kitchen in the end! See tons of pictures here.

Looking for something?
We've been doing this since 2012 so we have a LOT of blog posts!
Search stuff like: Ceiling Projects | DIY Plant Stands | Thrift Flips

Hello, I'm Morgan, half of the creative force behind CharlestonCrafted.com! With a passion for DIY that dates back to 2012, I've transformed three homes and now I'm dedicated to helping others craft their dream spaces. Let's turn your house into a home together!

Amanda Peterson says
Can't wait to see what the kitchen will look like!
Maria Knight says
Kitchen looks awesome...btw...did you guys paint kitchen cabinets or replace...cant remember at this point i have been following for a long time...transplant from South Carolina myself...
Sean says
Thanks for following for a long time! We painted them! https://www.charlestoncrafted.com/learned-painting-kitchen-cabinets/