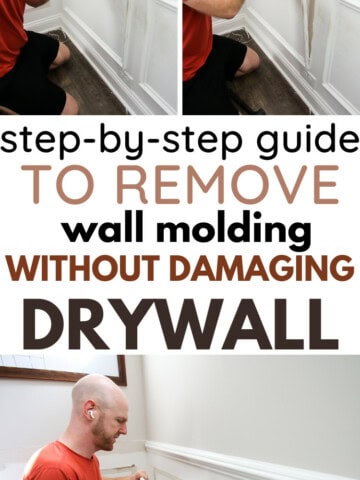
Removing trim without damaging drywall will save you time, effort and money. Here's how to protect drywall when removing trim, wainscoting, baseboards and crown.
When you walk into our home, there's a room on the right and left.
To the right is the official "office" as described on the layout. However, we turned that into our guest bedroom because it has doors.
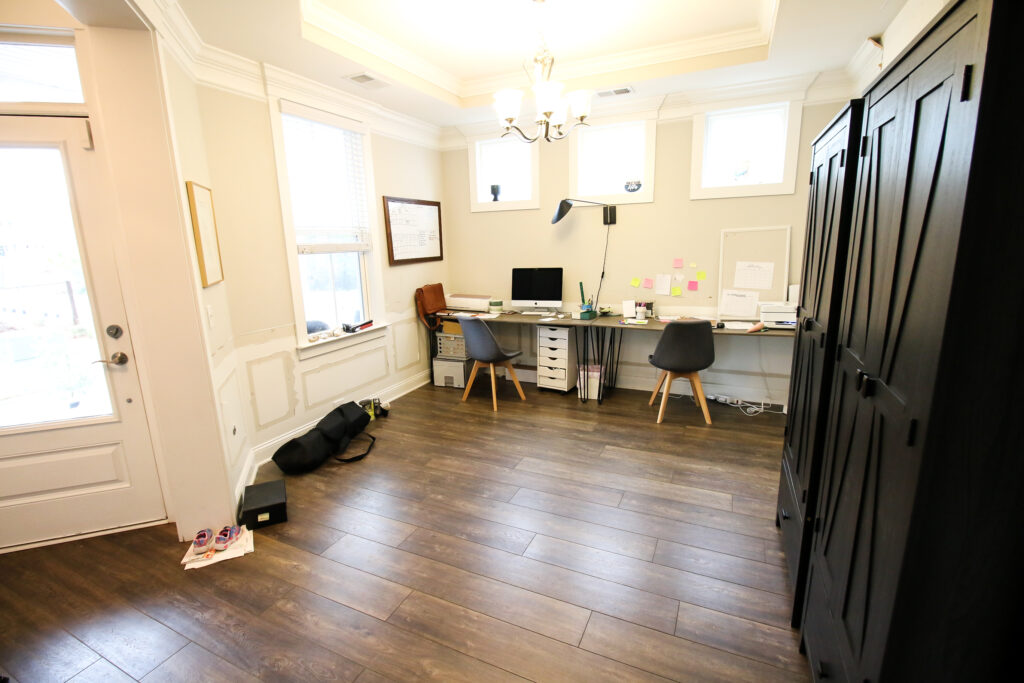
To the left is the official "dining room" as described in the layout. However, we've used that room as our office ever since we moved in.
Well, last month, we closed up the doorway between the "dining room" and the kitchen when we built out our huge new pantry. That was all a project that happened because we wanted to officially and formally make our office look like an office.
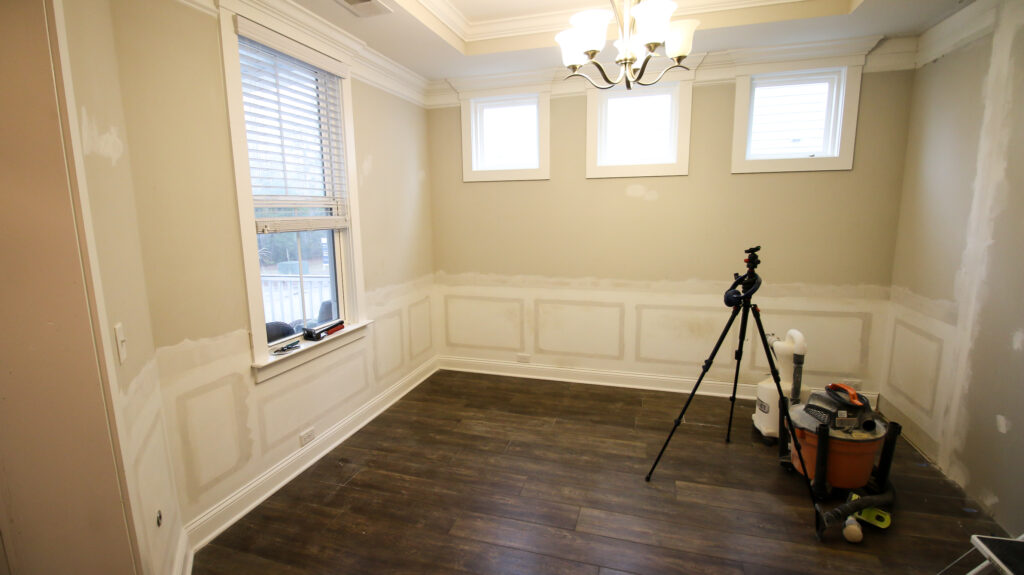
One of the main problems with using the official dining room as our office was just that the room looked like a dining room, mostly because of the molding on the walls and the chandelier. So, the first step in the office renovation was to remove all the molding from the walls.
The walls were covered in wainscoting picture frame molding and chair rails and we needed to get rid of all that, but didn't want to have to cut out and replace new drywall.
This post will show you all about how to remove molding without damaging drywall. This will help you save time, effort and money.
How to remove trim and molding without damaging drywall
This project set the stage for our office renovation to happen. By removing all the molding in the room, it immediately stopped looking like a dining room.
The cool thing about this project is that it doesn't really need many materials, tools or knowledge. Everything you need to know should be right here in this post.
Before we tell you about the removal process, here's what you need to have to make it as easy on yourself as possible.
Tools needed:
- Trim puller
- Mallet (if you want less noise) or hammer
- Box cutter
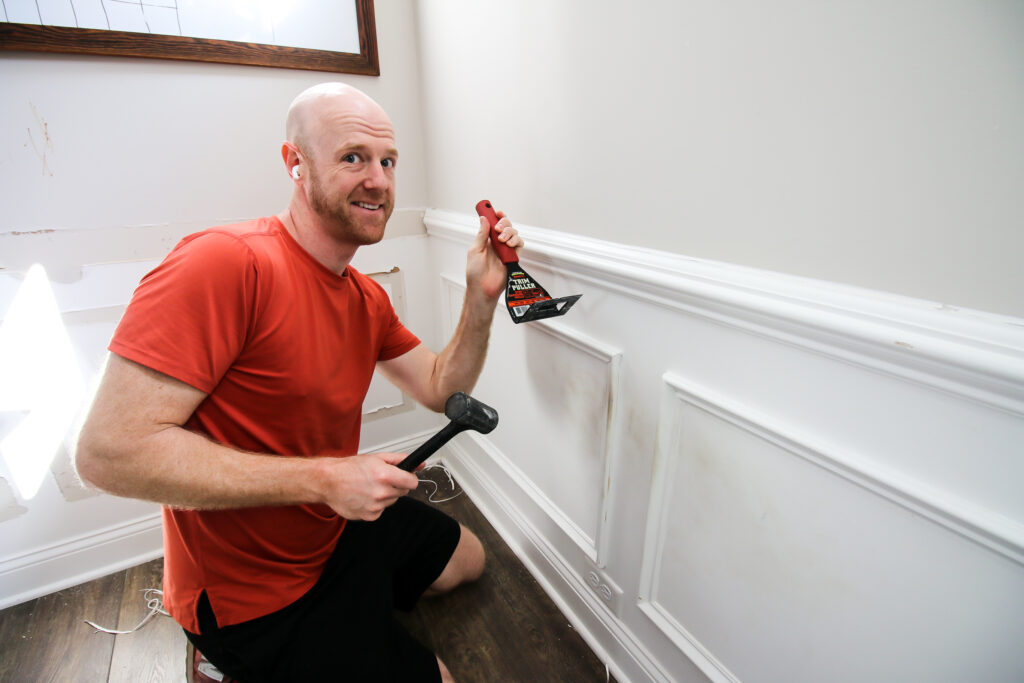
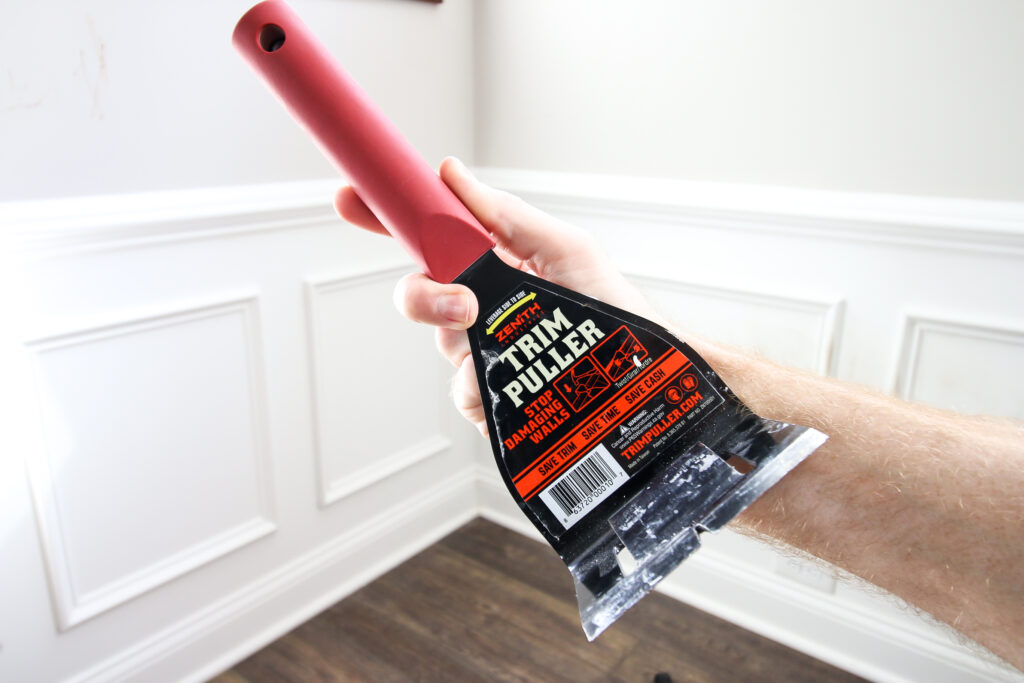
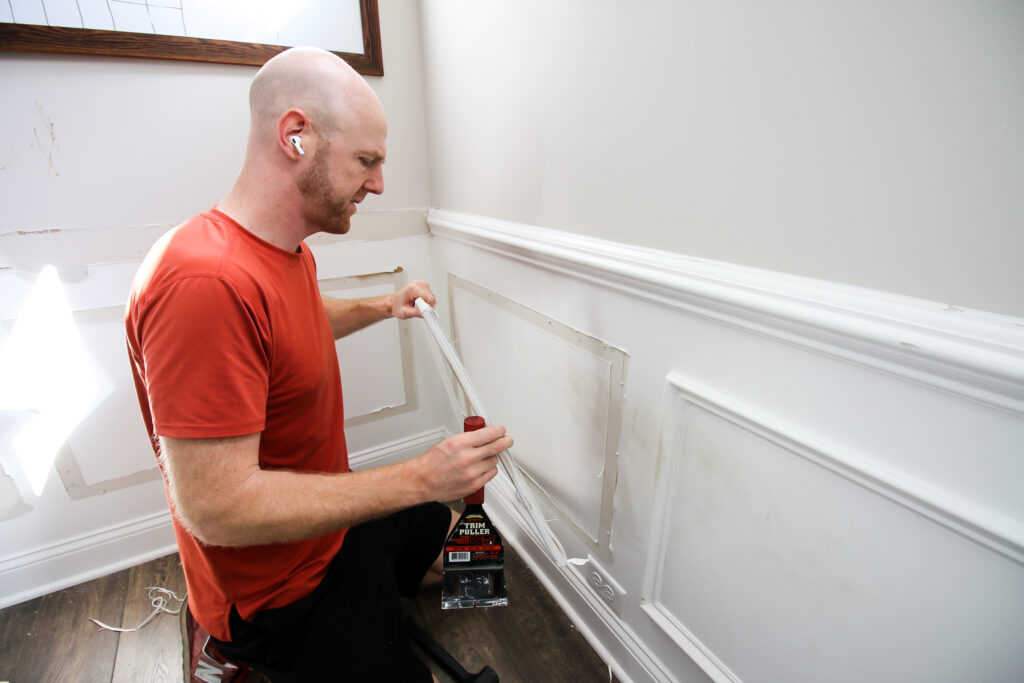
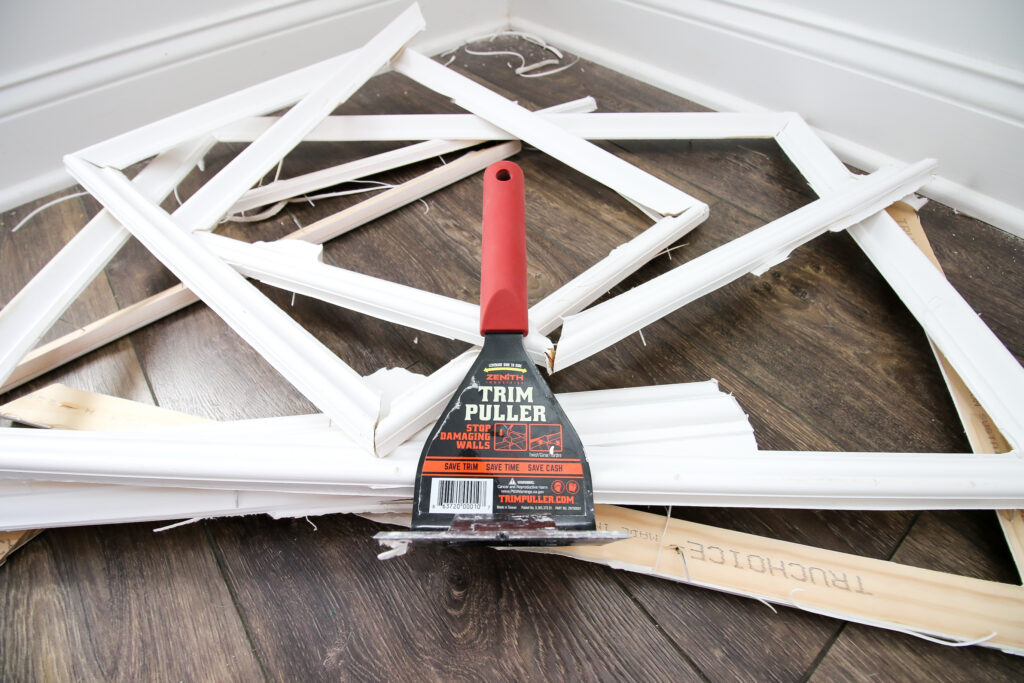
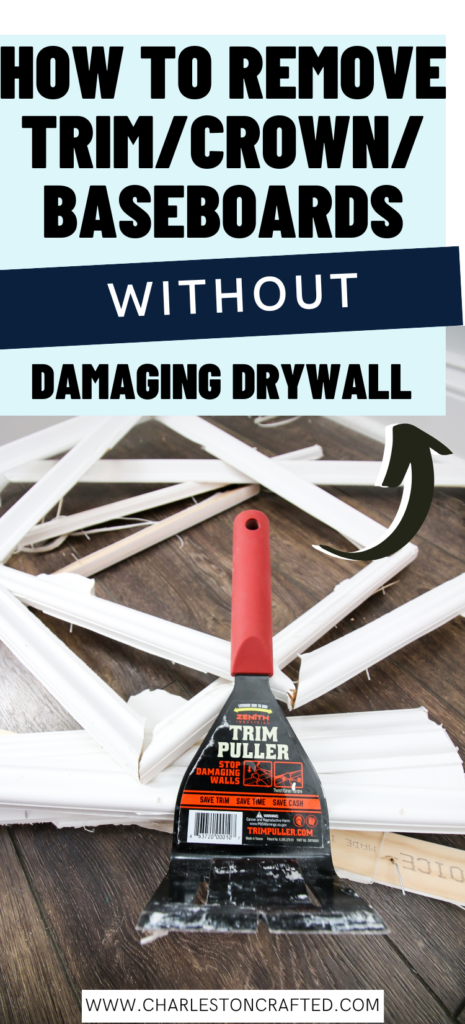
For all of our trim molding removal methods, we would recommend using the Zenith by Danco Trim Puller.
We have used this trim puller on multiple projects since we got it last year and it is so easy. We removed baseboards with it when we installed our DIY built in dresser in Morgan's closet and when we replaced the wooden caps on our stairs with solar lights.
The Zenith Trim Puller makes it so easy to pop any kind of molding off the wall and prevents damage to both the trim and the drywall.
If you use a crow bar or a regular pry bar to try to pull any kind of molding, you put a lot of pressure on a small space on the drywall. As you begin to put force on the bar to remove the molding, you can crack or bust through the drywall. The wide surface of the Zenith Trim Puller prevents that from happening.
How to remove wainscoting
The easiest way to remove wainscoting is to pry it off the wall cleanly with a trim puller.
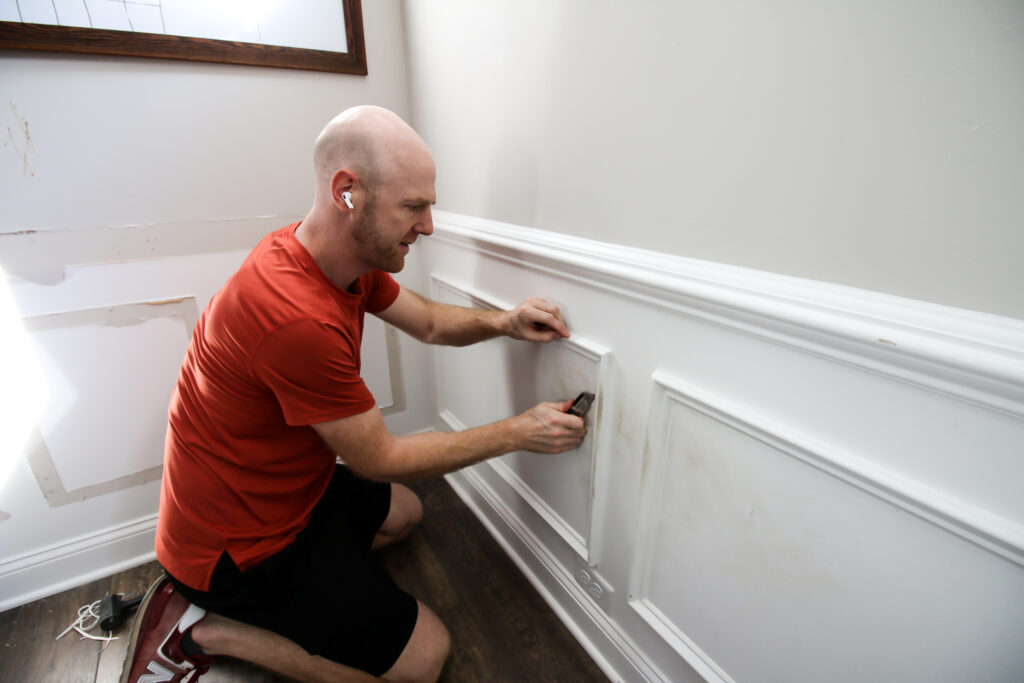
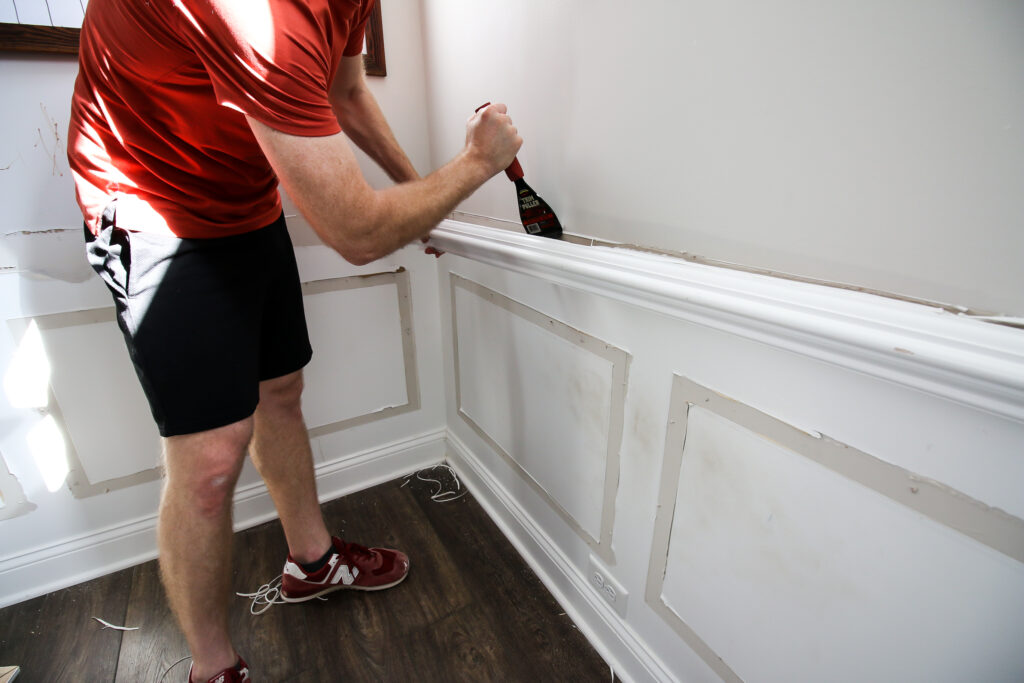
Step one: score caulk around molding
Start by scoring the caulk around the inside and outside of the wainscoting picture frame. It's helpful to score both along the molding and along the wall using a sharp utility knife or box cutter.
Once the caulk is cut away, you can peel it off to give yourself a clean entry point.
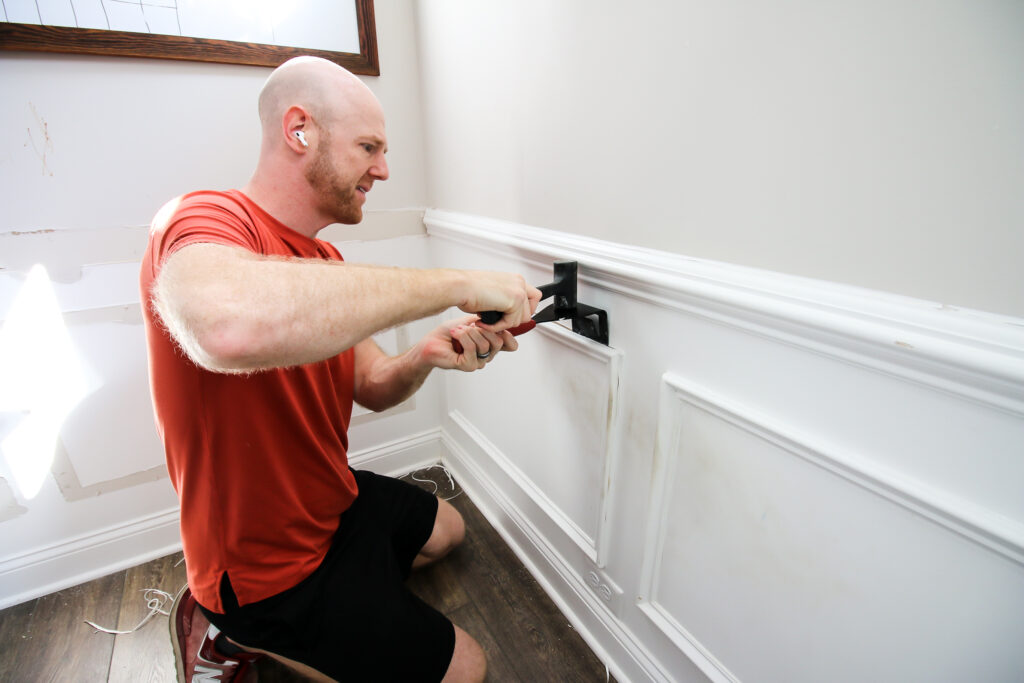
Step two: get trim puller behind molding
Align the trim puller between the wall and the molding with the angled edge under the molding. Gently tap on the large surface of the trim puller until it gets behind the molding.
Continue this up and down the piece of molding.
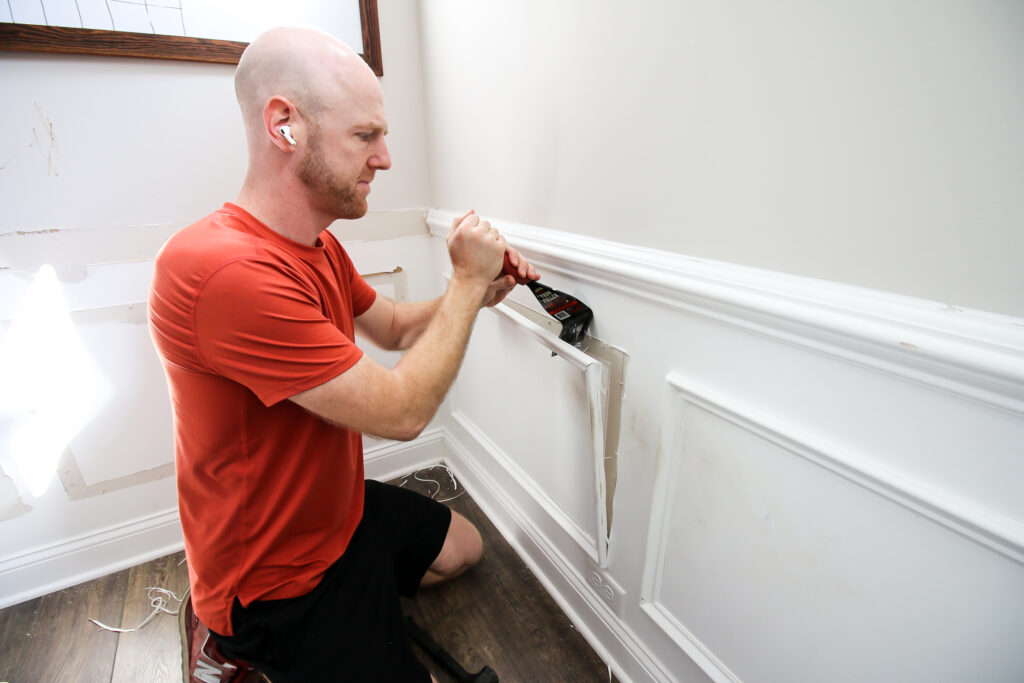
Step three: pry molding off wall
Pull the molding off the wall using a prying motion, either rocking side to side or front to back. Be careful not to try to remove too much at a time so you don't rip the drywall paper.
If the wainscoting doesn't come off in one piece, continue this process all the way around.
In case you want to put it back, here's how to install wainscoting!
How is wainscoting attached to the wall?
Wainscoting is attached to the wall usually just by caulk and a few nails.
Most construction workers or DIYers will just install install wainscoting by aligning the molding boards in the frame and nailing it into place using 1 ½" brad nails. Then, caulk is applied to the inside and outside edges to hold it in place.
That's the same way our builder-grade fireplace surrond was attached when we removed it!
Should I remove my wainscoting?
You should remove wainscoting if you are looking for a modern look for a room or are trying to transform a space from more formal to less formal.
Wainscoting is a common feature in dining rooms, so if you don't use your dining room as a place to eat, you might want to consider removing it. Also, if you are trying to modernize your space, you could opt to go with a ¾ molding board and batten wall instead and will need to remove it.
How to finish the wall after removing wainscoting
If done properly, following our method, your drywall will not be damaged after removing wainscoting. However, traditionally, wainscoting is put on the lower part of the wall and a glossy paint is applied to this area. That glossy paint is thick.
When you remove the wainscoting, the wall will not be perfectly flush.
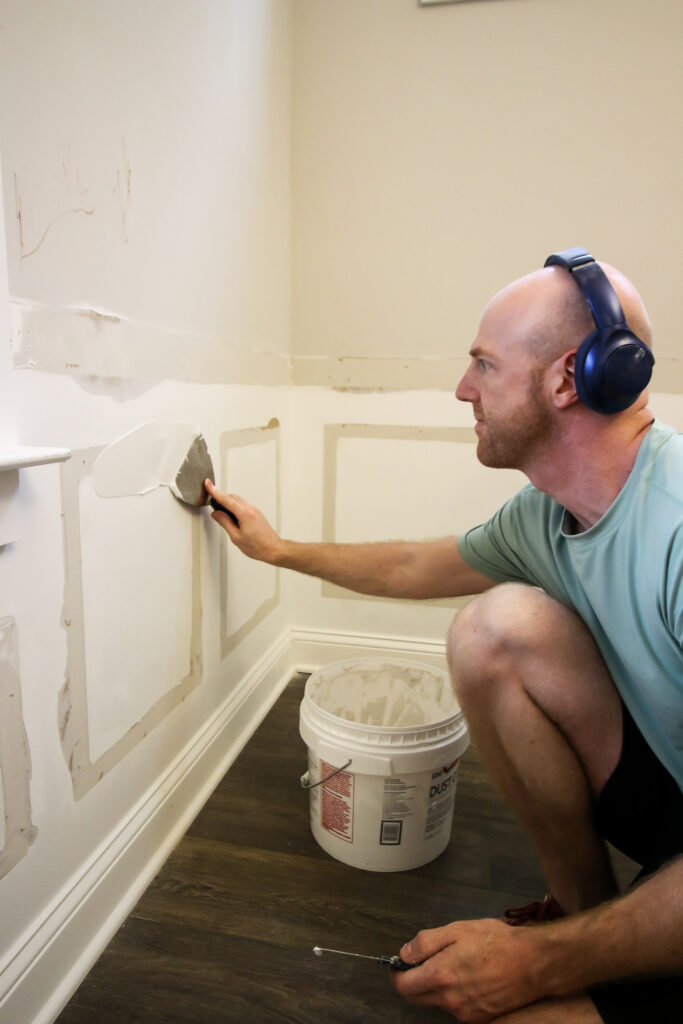

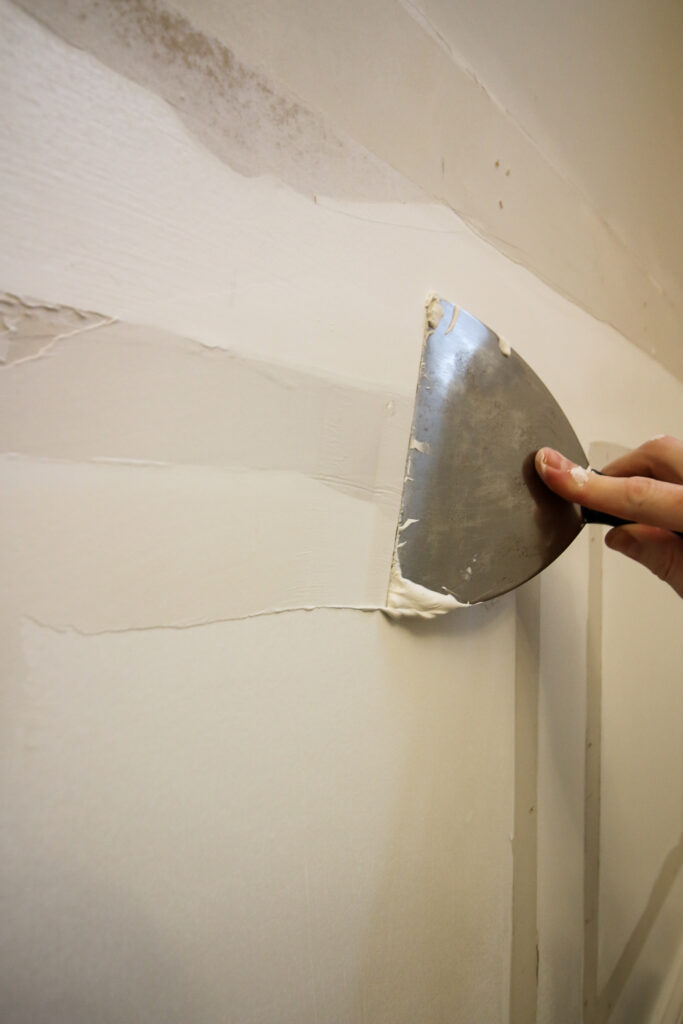
The best thing to do here is to sand the wall as smooth as possible, especially where the caulk met the wall, and try to make as smooth a surface as possible.
Then, apply joint compound using a joint knife on top of the area where the molding was. Apply two coats until smooth and then sand to make it look like nothing ever happened.
How to remove chair railing
Removing chair railing without damaging the wall is very similar to removing wainscoting, except you will need to remove longer pieces.
Generally, builder's will span an entire wall with one piece of chair railing, which means you will need to pull the whole piece off in one.
Again, score the caulk with a utility knife first, then tap the trim puller behind the chair railing.
Repeat this process every foot or so before you try to pull the nails all the way out of the wall. If you pull too hard on one end of a long chair railing board, you will break it and it won't come off cleanly.
Work your way down the wall and then pull the entire chair railing piece off. If any nails got stuck in the wall, pull them out with a pair of pliers.
How to remove baseboards without damaging drywall
Baseboards and trim are very similar in their application and removal, however removing baseboards without damaging drywall is a little bit different.
Start by scoring the caulk with the box cutter and removing as much of it as possible.
Then, start at one end of the baseboard and align the trim puller with the top of the baseboard and the wall. Hit the trim puller with the mallet until it gets behind the baseboard.
As you can see, baseboards are thinner at the top than they are on the rest of their body, so you need to hammer the trim puller down so it gets behind the thicker part of the baseboard.
Work from one side to the other loosening the baseboard and getting nails out of the wall.
One special part of removing baseboard is that it is usually installed before the flooring. So, this means that the bottom of the baseboard is behind the flooring, meaning you can't just pry it out.
Read more about how to remove baseboards behind flooring!
You will need to get a second wedge (either a putty knife or another pry bar) underneath the end of the baseboard to lift it up above the flooring and then use the trim puller to fully pull it out from the wall.
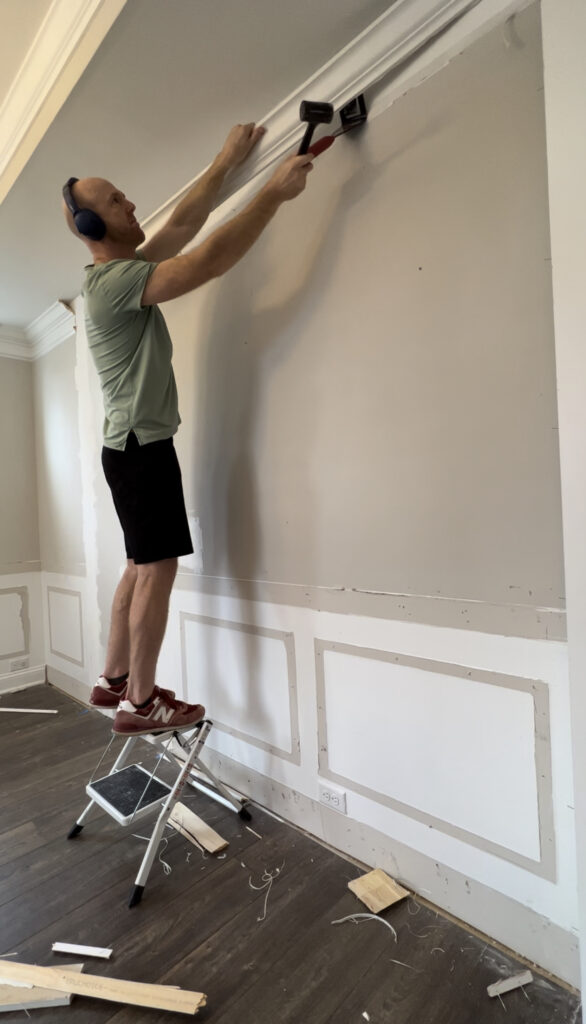
How to remove crown molding without damaging ceiling
If you want to remove crown molding without damaging the ceiling, follow these steps.
Score the caulk at the top and bottom of the crown all the way from one side to the other. Then hammer the trim puller in between the crown and the ceiling to pry it down.
Finally, hammer the trim puller between the trim and the wall and pry it there before removing the entire piece.
If you are looking to put some of that crown back up, here's our tips!
Removing trim with a trim puller
Removing any kind of molding from the wall is easy to do and doesn't have to damage your drywall. Just make sure you have a trim puller, mallet and these instructions to get the job done right!

Looking for something?
We've been doing this since 2012 so we have a LOT of blog posts!
Search stuff like: Ceiling Projects | DIY Plant Stands | Thrift Flips

Hey there, I'm Sean, the woodworking enthusiast and builder behind CharlestonCrafted.com! Since 2012, I've been sharing the magic of turning raw materials into beautiful creations. I love teaching others the art and satisfaction of woodworking and DIY. I try to inspire fellow crafters to make something extraordinary out of nothing at all.


