This is the easiest way to install a board and batten wall in any room of your house, without too many tools or much experience!
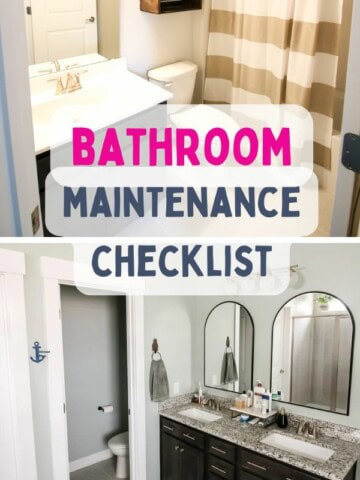
We've now redone or at least touched every room in our home, so we've decided to go back and do a few rooms a little more. When we did a mini-makeover on our guest bathroom when we first moved in, all we did was paint the walls and cabinets, change the mirror and replace the medicine cabinet with open shelving.
To really spruce this room up, we partnered with Woodgrain Millwork to create an easy DIY board and batten accent wall with molding and add new baseboards and crown in the whole room!
How to make a ¾ board and batten accent wall with molding
We went with a fairly simple pattern for the space so that it would translate well for future buyers. If we were going to stay here long term, we probably would have done a more geometric pattern, but are looking to appeal to buyers soon as well.
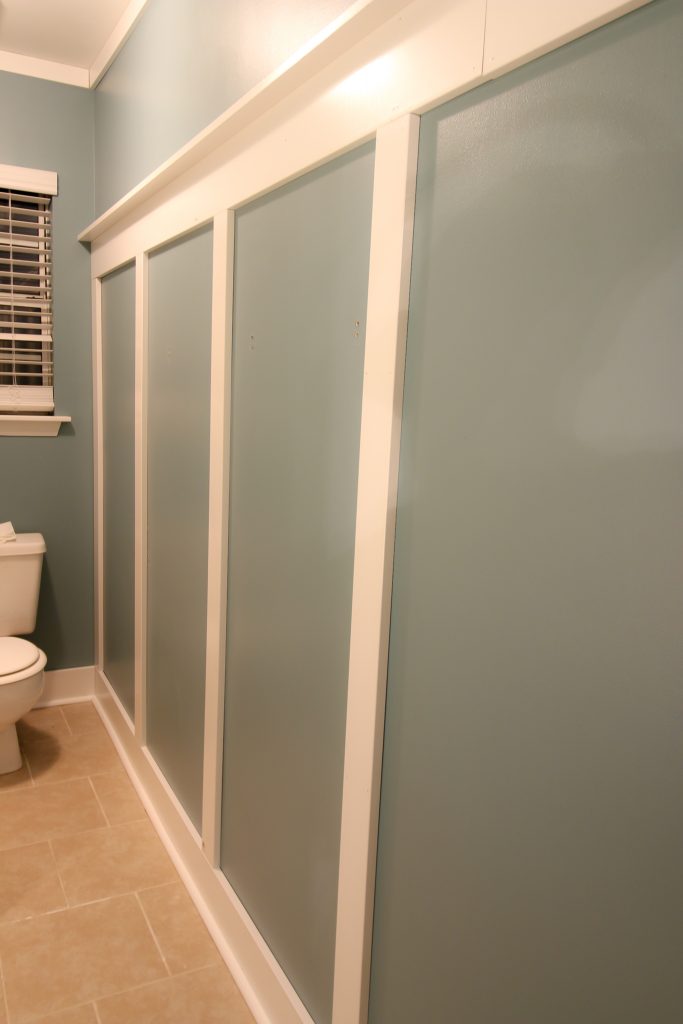
Woodgrain Millwork has a ton of molding types in all shapes and sizes. This allowed us to play around with our design. This accent wall is a ¾ wall with vertical columns and a shelf on top.
We previously used Woodgrain's Finished Elegance line when we did our DIY coffered ceiling and wainscoting in the nursery, which both turned out great.
To make this board and batten accent wall, we used:
- Finished Elegance 1"x4" boards
- Finished Elegance 1"x6" boards
- Finished Elegance 1"x3" boards
- Finished Elegance color-matching caulk
Step one: prep work
We started by removing the existing baseboards and quarter round in order to have a flush surface to work with.
Step two: install molding
Then, we nailed in 1x6 molding along the floor to serve as a new baseboard and then added another 1x6 board across the wall 6 feet up.
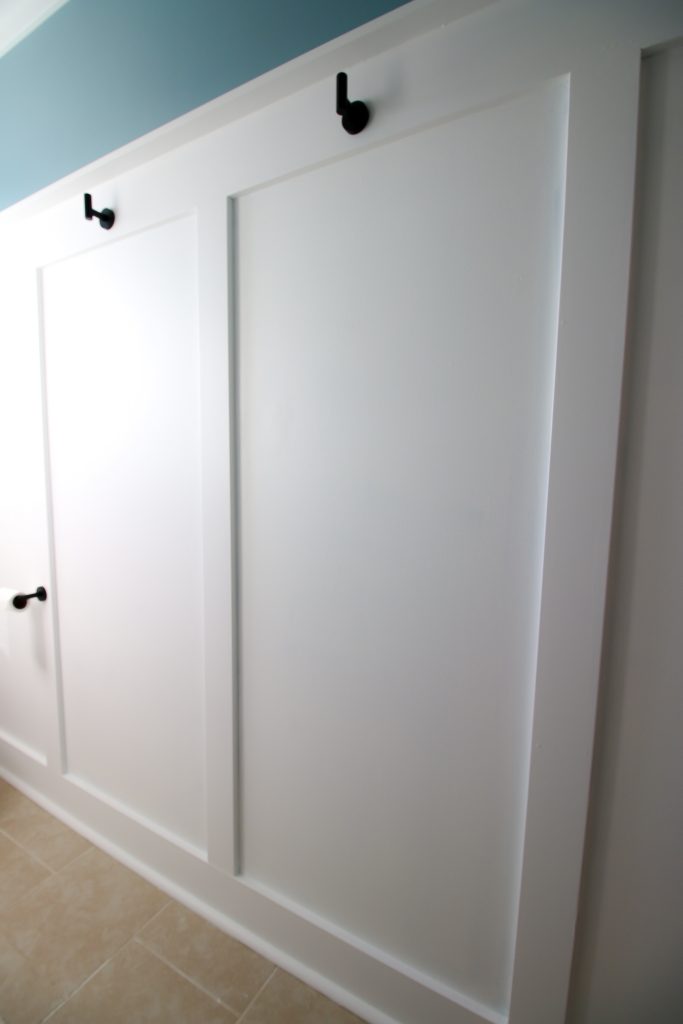
Next, we cut five pieces of 1x4 molding to size and added them vertically to the wall. Start with the outside edges, then centered, then centered in the remaining spaces.
Finally, we used a piece of 1x3 molding along the very top of the accent wall and turned it sideways to create a shelf. Of course, it's not really much of a functional shelf, but it adds texture and character.
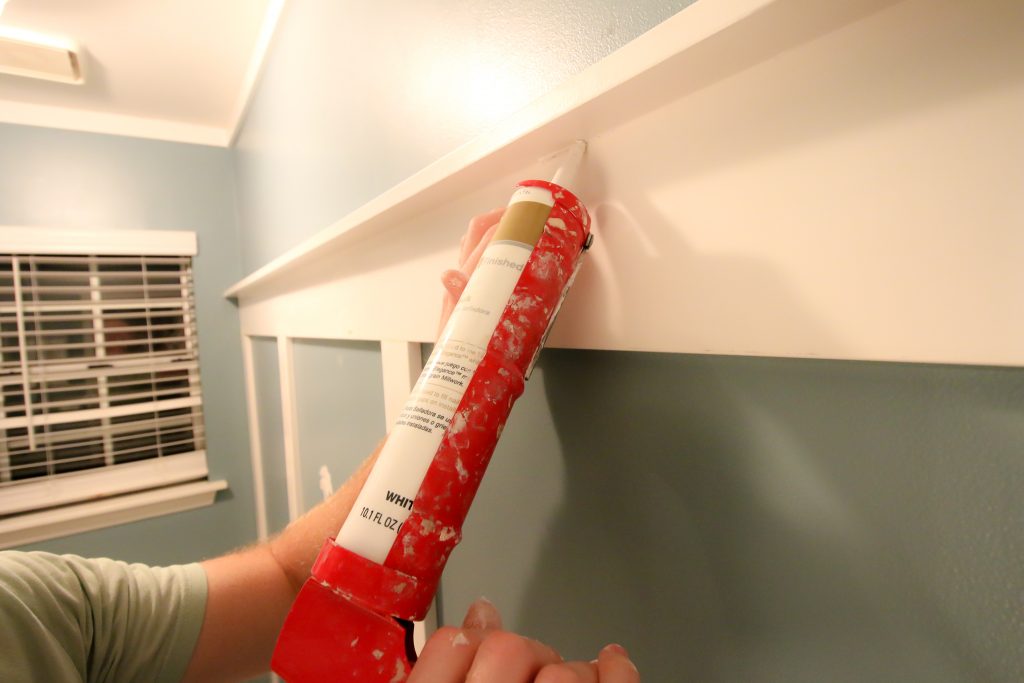
Step three: caulk and patch
We finished everything off by using caulk and wood filler to patch up all the nail holes and eliminate seams.
Woodgrain's Finished Elegance line doesn't even need to be painted if you're going to use it just as it is. Since we needed to paint the rest of the space on the accent wall, we painted the whole area white.
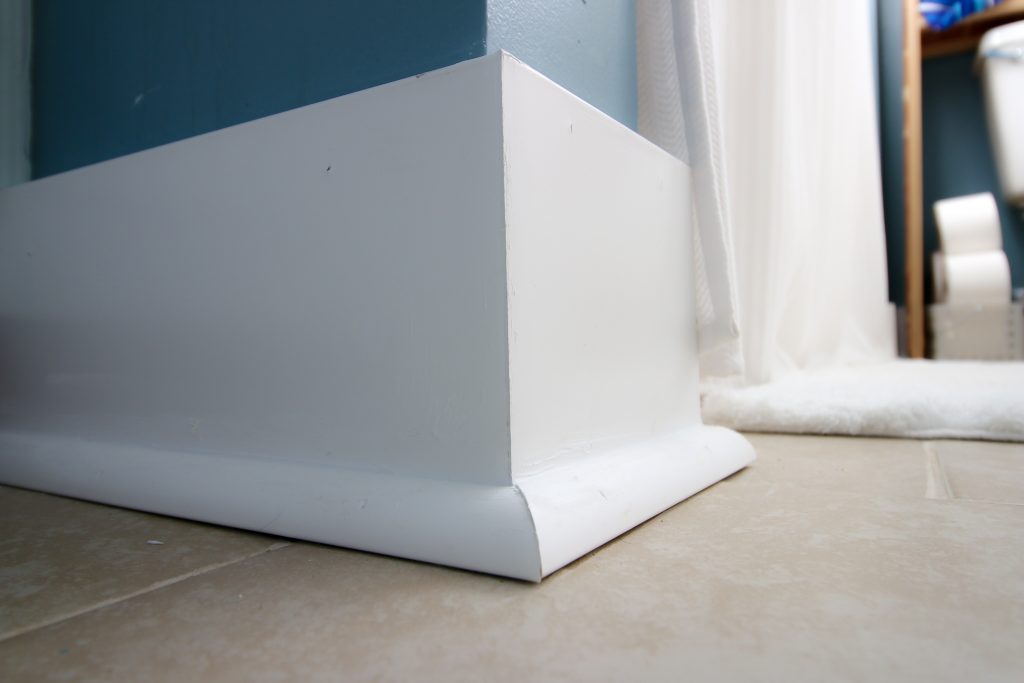
Step four: carry baseboards and crown
Along with the accent wall, we also used Woodgrains Finished Elegance pieces to add crown molding and new baseboards in the rest of the room.
The baseboards were the same as the accent wall, using 1x6 molding and quarter round to finish off the whole floor.
For the crown, we wanted to continue the modern look of the accent wall and opted to add more 1x3 molding around the entire ceiling line instead of using traditional crown molding pieces. It was very simple to add straight molding to the crown with miter joints.
To see how to install traditional crown molding, click here!
Thanks to the Finished Elegance line of molding and caulk, we filled the holes, wiped them clean, and didn't need to paint them at all.
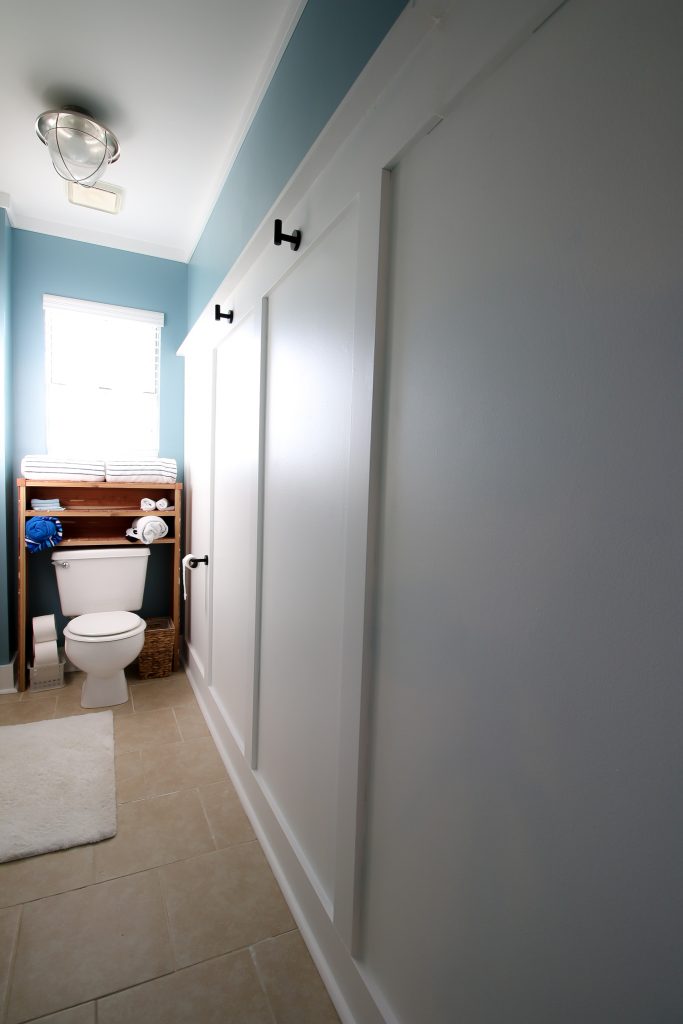
Completed board and batten wall
We absolutely love how this easy DIY board and batten wall with hooks turned out. The accent wall looks great and draws the eyes up, making this small room seem bigger.
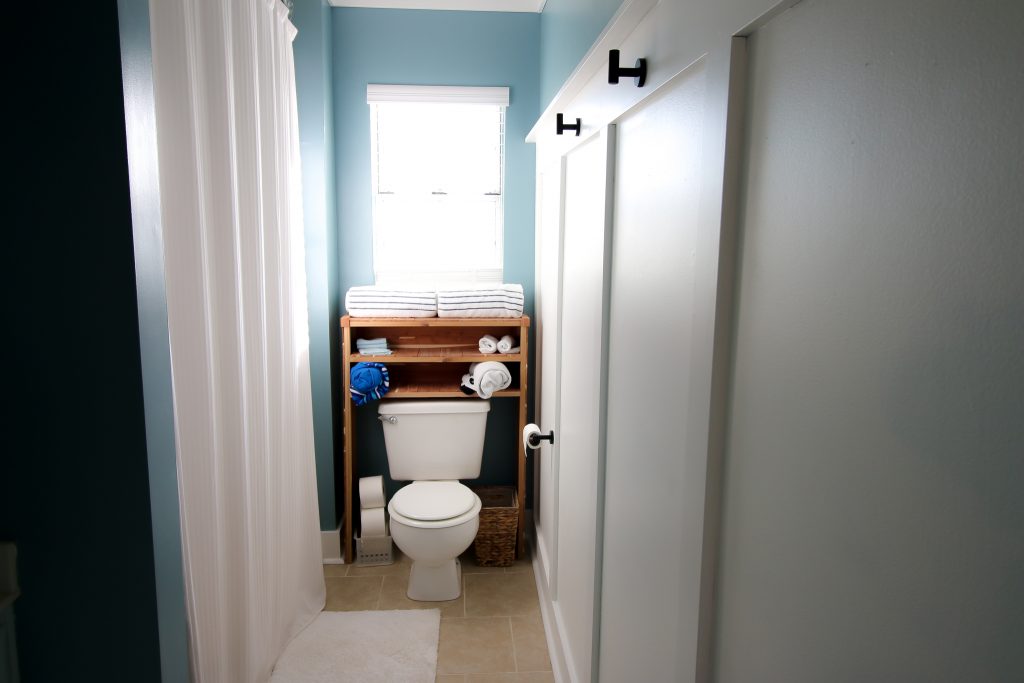
We added some modern hardware for the towels and toilet paper that go well with our overall aesthetic.
This accent wall is perfect for a modern home and can be done quickly, easily and inexpensively!
This post was sponsored by Woodgrain Millwork. All opinions are our own and we really enjoy working with Woodgrain's Finished Elegance line. Thank you for supporting the brands that make Charleston Crafted possible!

Looking for something?
We've been doing this since 2012 so we have a LOT of blog posts!
Search stuff like: Ceiling Projects | DIY Plant Stands | Thrift Flips

Hey there, I'm Sean, the woodworking enthusiast and builder behind CharlestonCrafted.com! Since 2012, I've been sharing the magic of turning raw materials into beautiful creations. I love teaching others the art and satisfaction of woodworking and DIY. I try to inspire fellow crafters to make something extraordinary out of nothing at all.