Here's how to fill in a doorway with drywall when doing a renovation in your home. This is an easy DIY project with these steps!
When we moved into our home two years ago, we made the formal dining room our office space and put our dining table in the huge eat in area off the kitchen.
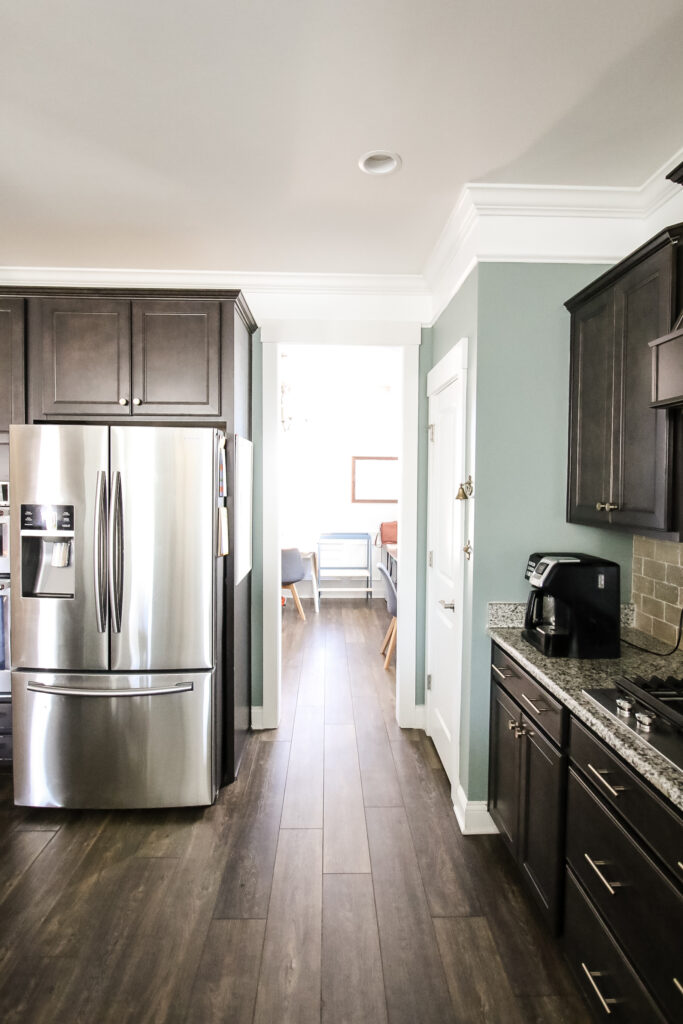
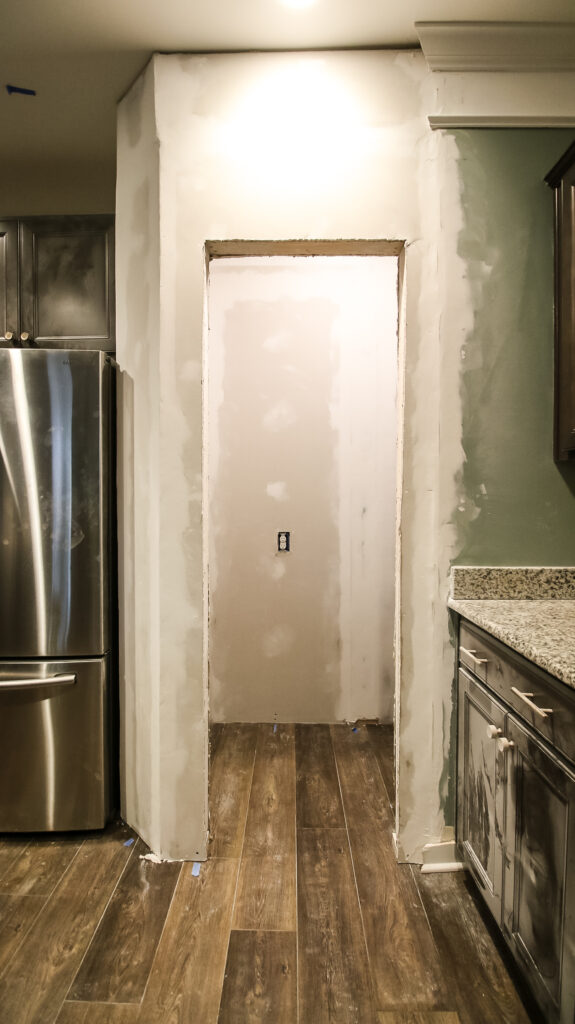
In all this time, we have been working right next to the door to the kitchen. The kitchen also has a main entrance in the open floor plan, so this second door wasn't necessary.
We started planning finally doing a renovation to convert the formal dining room to a functional office and to do that, we needed to fill in that doorway.
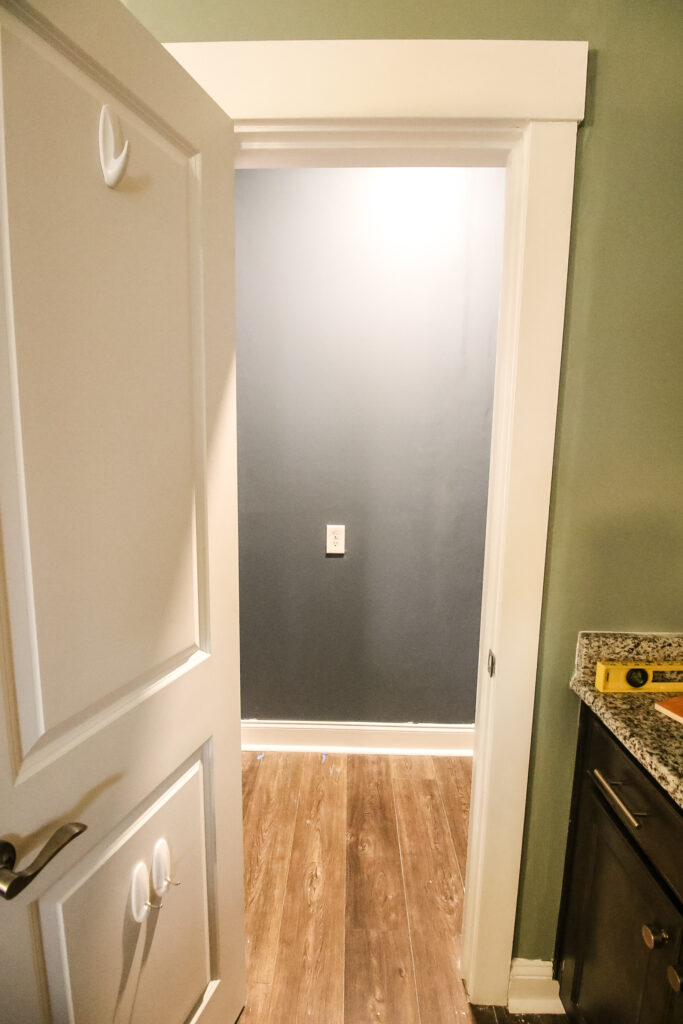
As things go when doing projects, this thought snowballed into the fact that we should expand our tiny pantry that is on the other side of the doorway.
Last year, we ripped out the wire shelving and built custom shelves in the pantry, but we wanted something bigger as our kids start to grow and we have tons of food.
As we began our pantry expansion project, we started by filling in the doorway between the kitchen and the office. This turned out to be a much easier part of the entire expansion than we thought!
Continue reading to see how easy it is to close an existing doorway up with drywall to help you change and improve the functionality of a space.
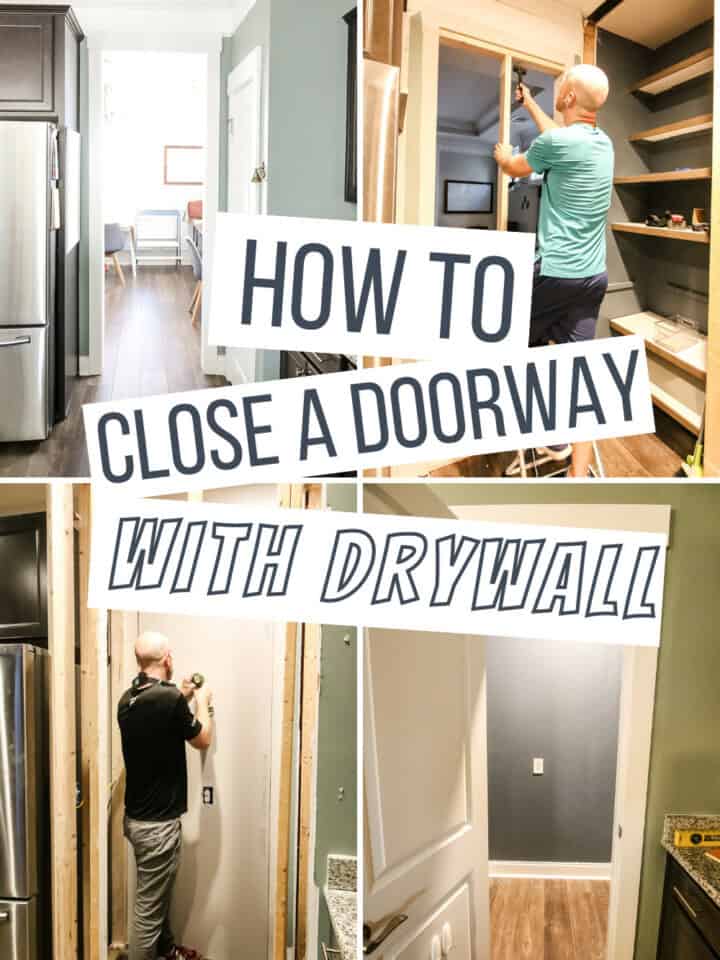
How to close a doorway with drywall
Closing an existing doorway is very easy to do when starting a home renovation project. The actual project you're going to be doing is going to be much harder than closing the doorway!
This post will show you the supplies you need to do this project and each of the steps you'll need to complete in order to have your doorway closed off.
In reality, you can complete this project in about two days- one for demolition of the doorway and construction of the new one, and one for finishing work.
Let's dive into everything you need to know for how to close off a doorway and turn it to a solid wall!
Check out the door we added to the pantry at our old house!
What do you need to cover a door opening with drywall?
You need a few materials and tools to cover a doorway with drywall. You may have tools on hand, which will make the project less expensive.
Materials needed to close off a doorway:
- 2x4s (number depends how wide, but most like 3-5)
- 2 sheets of drywall
- Joint compound
- Drywall tape
- Drywall screws
- Paint
- Moulding
Tools needed to close off a doorway:
- Trim puller
- Saw
- Cordless drill
- Joint knife spreader
- Sander
How do you close up an open doorway
Here are the steps you need to follow to fill a door opening that you will be turning into a solid wall.
Step one: remove existing door and molding
Start by removing the old door and molding around it.
Our doorway we were filling didn't actually didn't have a door, it was just an open doorway, so we didn't have to remove a door. However, we did have to remove the door from our old pantry, so here's the easiest way we found to do that.
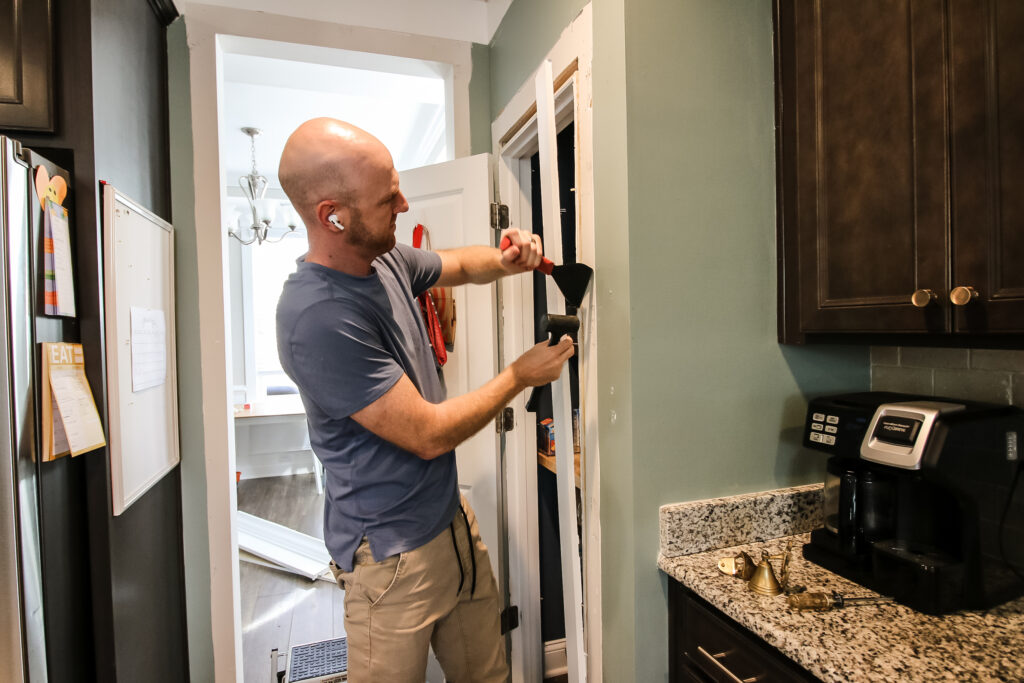
Start by using a trim puller to remove all the molding around the door. Score the caulk with a utility knife and peel that off, if possible. Then use the trim puller and a hammer or mallet to pry all of the molding off the doorway.
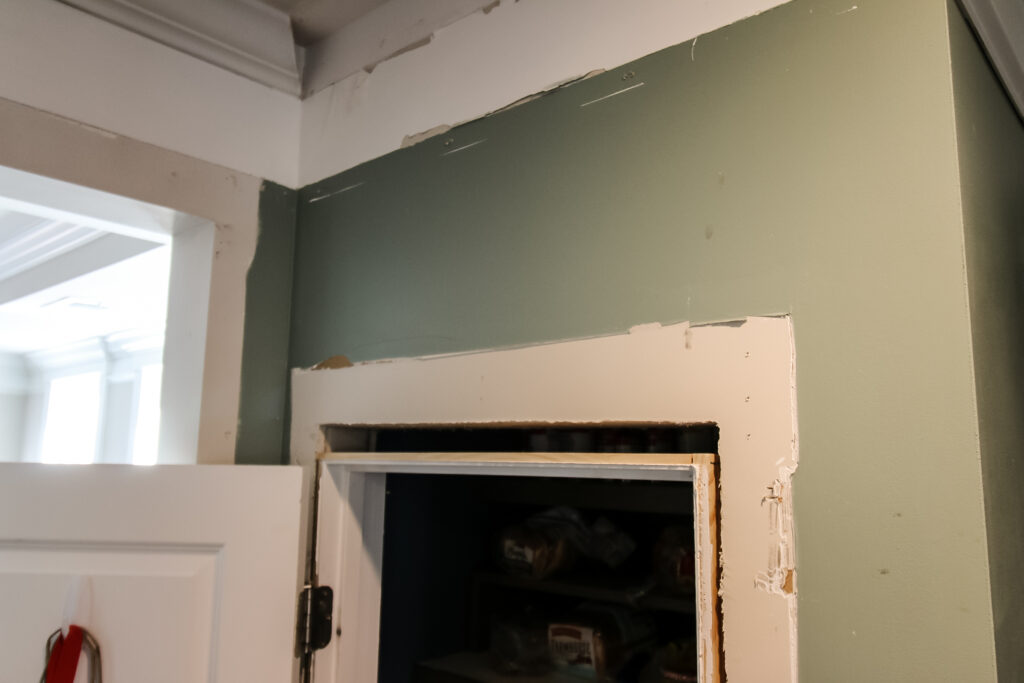
This will expose the door casing. Likely, the casing will just be nailed into the studs around it. Use a reciprocating saw with a metal saw blade attachment to cut through all the nails.
Then, simply remove the door and casing.
You can also remove the door from the hinges first to make pulling off the casing easier.
Step two: take good measurements
Next, measure the width and the height of the doorway you need to fill. Make sure you take really good measurements of the door frame so that you can properly cut the studs you need.
Measuring the width will show you what to cut the top and bottom "plates" aka the two 2x4s at the top and bottom of the doorframe. Make sure you measure the top and bottom separately, because they might not be exactly the same.
The width will also show you how many vertical studs you need. Likely, you only need one in the center of a standard doorframe.
However, you could also choose to put a stud on both sides to super securely attach your new drywall.
Step three: attach top and bottom plates
After cutting your top and bottom plates, attach them to the top of the doorframe and the floor using 3" screws.
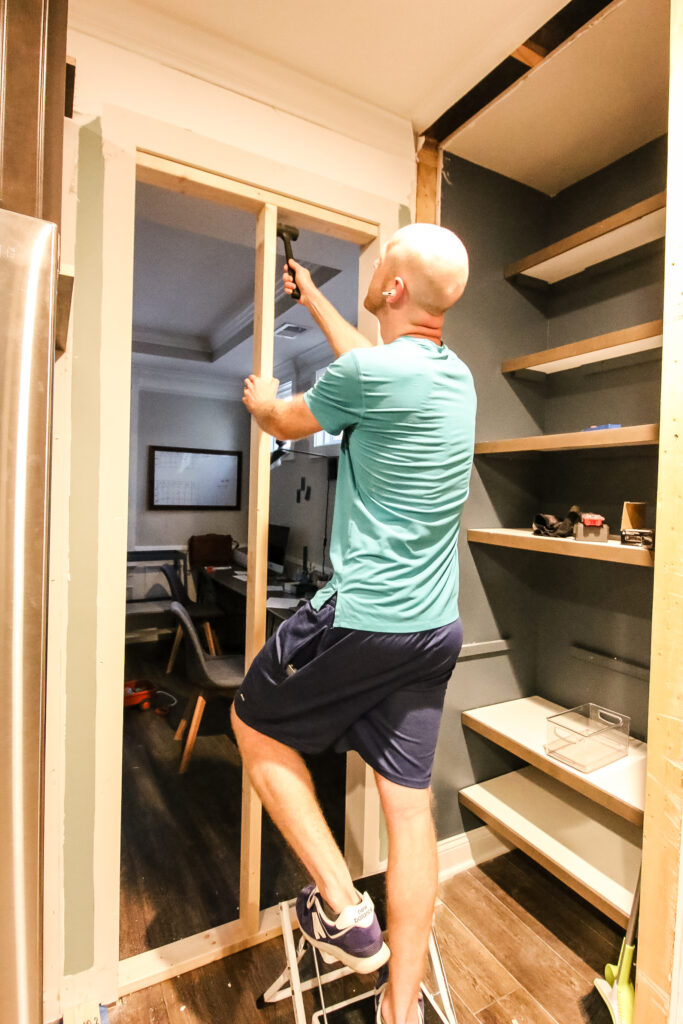
Step four: attach studs
Next, attach your vertical studs between the two plates. Use a nail gun or construction screws to attach at the top and bottom.
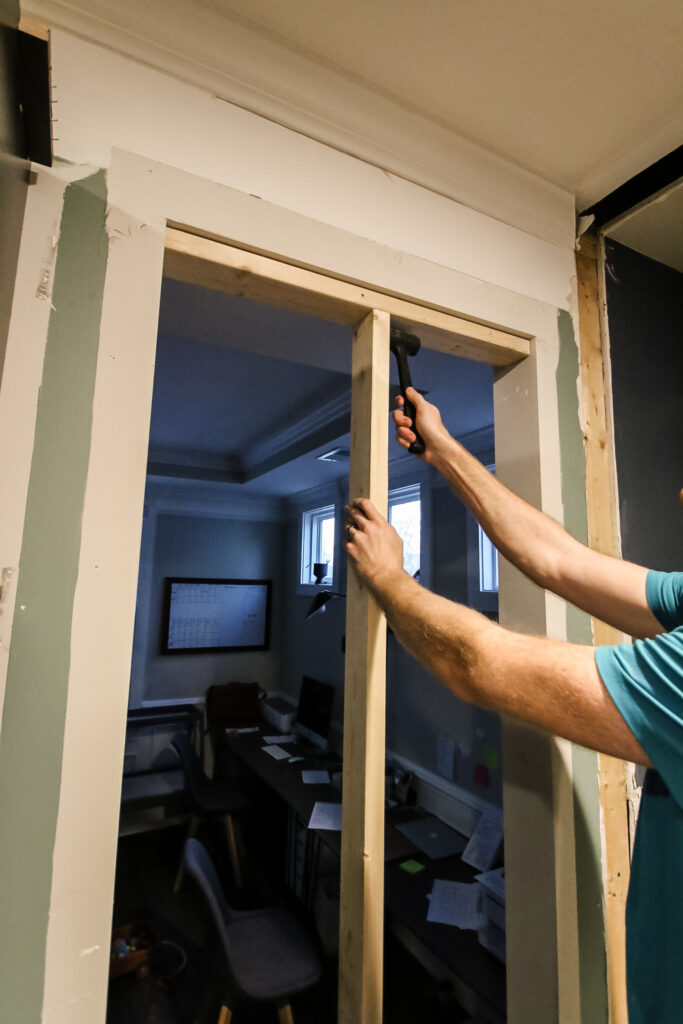
Make sure your vertical studs are level and secure.
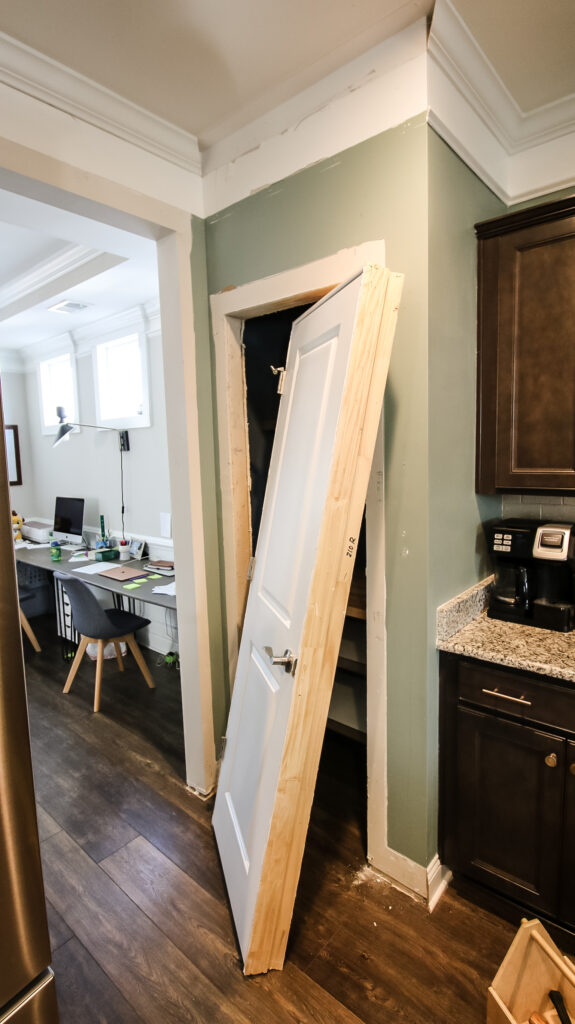
Step five: cut drywall
Next, cut your drywall. We used a Dremel SawMax, but you can also just score with a utility knife and snap the drywall at the right lines.
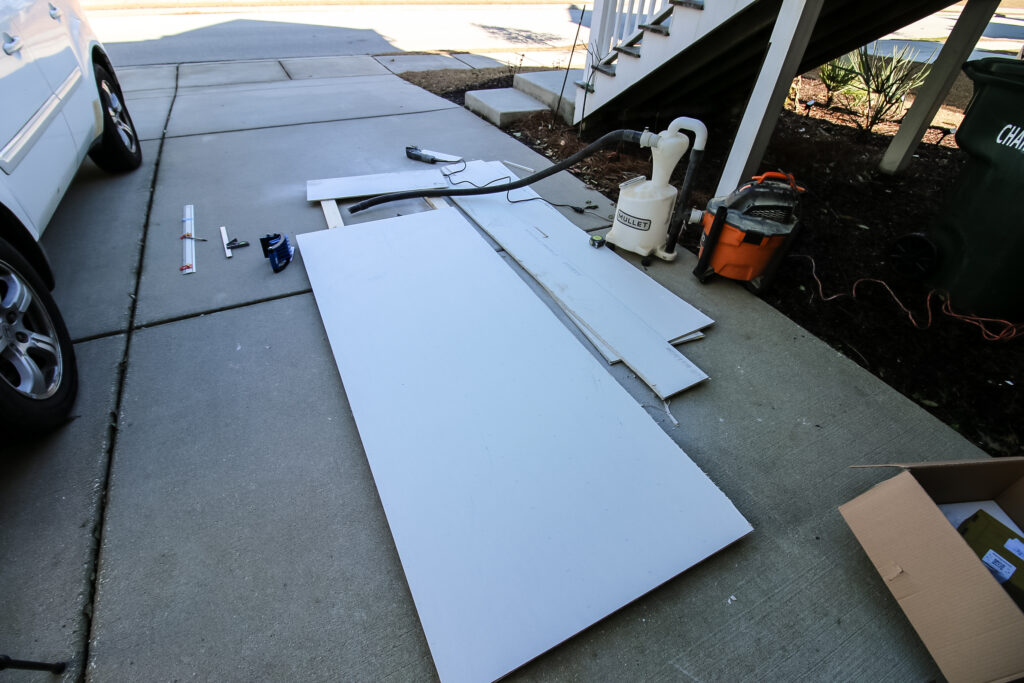
Measure out the doorframe you just measured onto a drywall sheet, subtracting about ¼" on all sides of the door.
Repeat to cut a second sheet.
Step six: install drywall
Now it's time to install the drywall! It would be helpful to have a friend to help you hold the drywall in place as you screw it in.
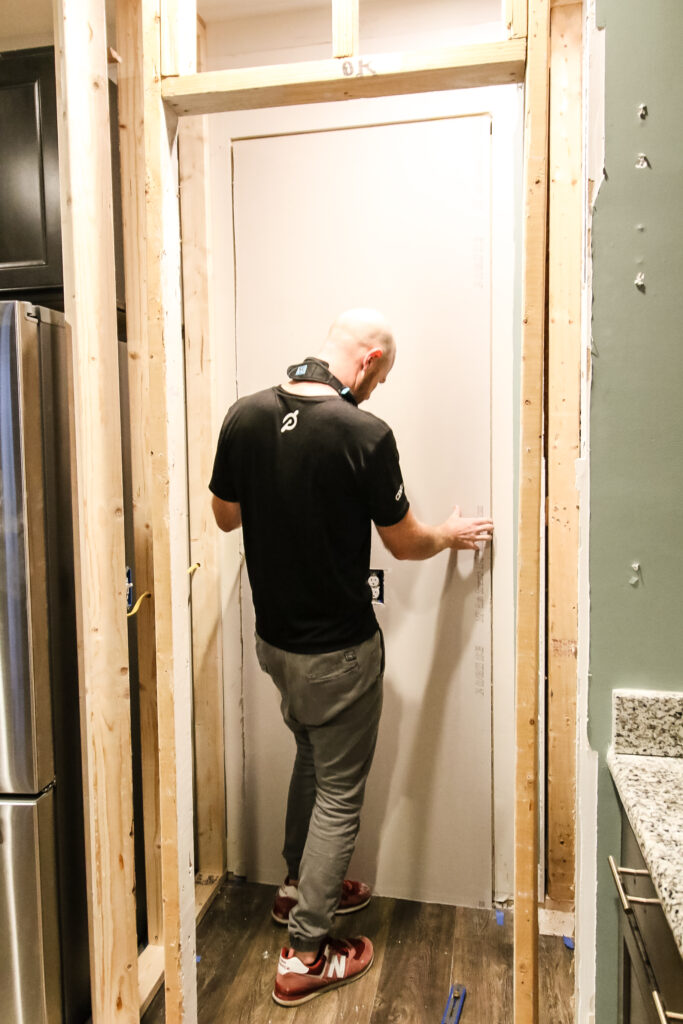
Using drywall screws, secure the sheet of drywall to the center stud in the center.
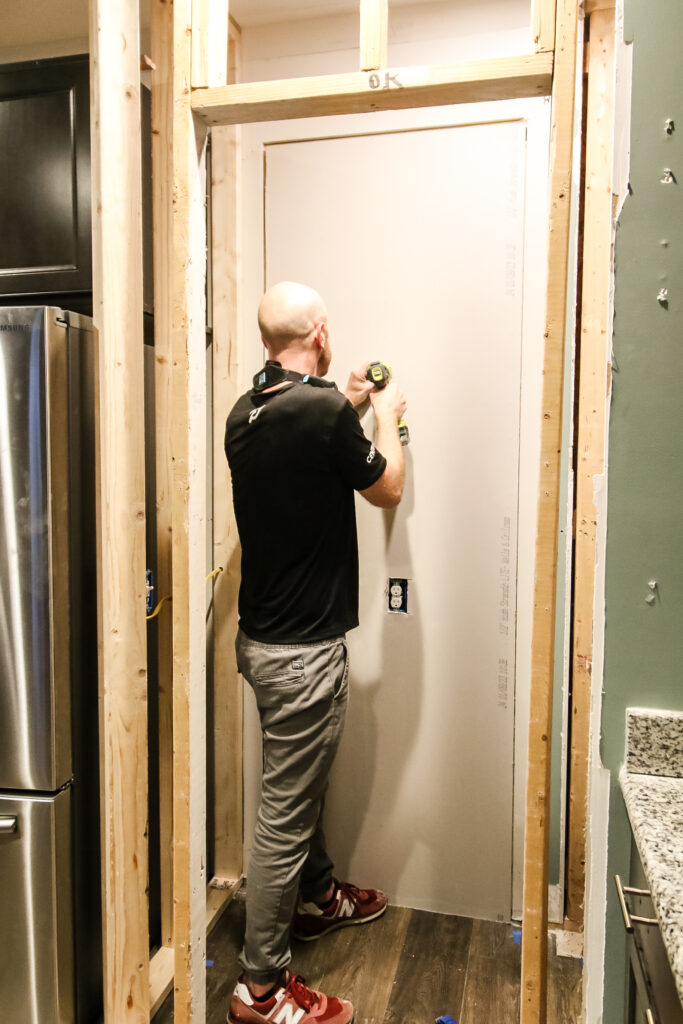
From there, insert as many screws as you'd like, but make sure there is one about every 16" as that is standard practice.
You'll see that there are small "x's" printed on the drywall that are roughly 4" apart to help you with attaching.
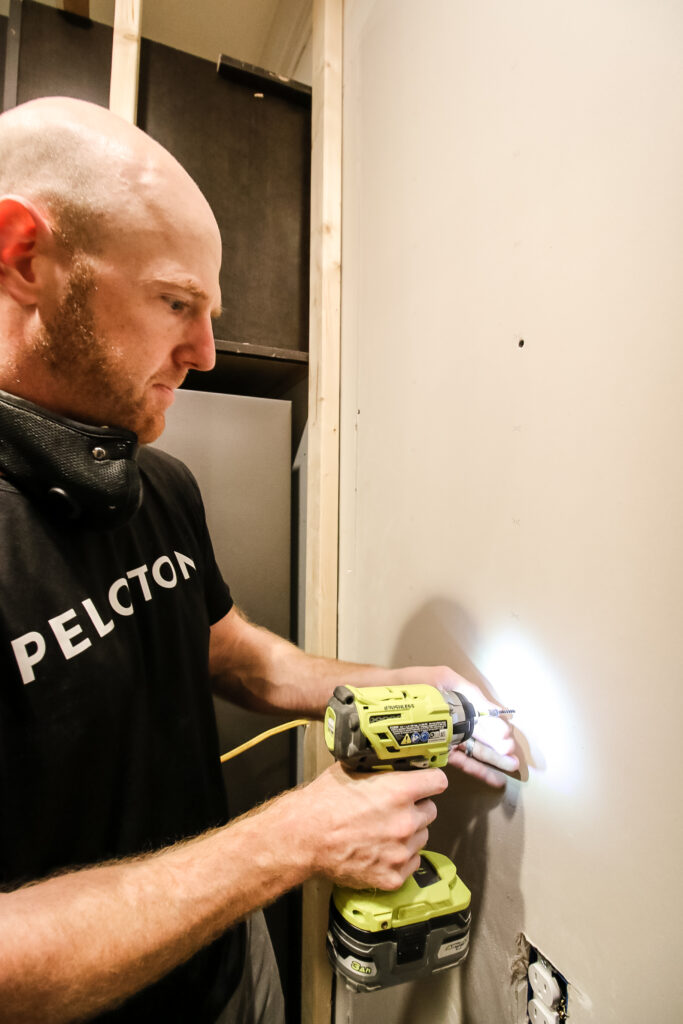
Remember to drill your screws just past flush so that you can fill the holes later.
Attach the drywall along all studs and the top and bottom plates.
Step seven: apply tape and joint compound
Now that the drywall is in place, it's time to fill the seams. Start by using self-stick joint tape along all of the seams, making sure it spans across the gap and sticks to both sides.
Next, mix up your joint compound and then begin spreading it over the seams and nail holes. Use a 6" joint knife to spread the mix over the seams and feather it out to the sides.
Try to make the compound as smooth as possible now to minimize the work you have to do later with sanding. Spread from side to side, tapering it out to the sides as you go across.
Also apply compound over the nail holes. This doesn't need feathering, you really should be able to scrape it nearly perfectly flush with the wall.
Allow the joint compound to dry and then apply a second coat to fully smooth it out. Then allow a full 24 hours to dry before sanding.
Step eight: sand smooth
Finally, sand smooth. Use an orbital sander to sand the compound smooth, starting with a grit around 120 and doing a second pass with a 220 grit.
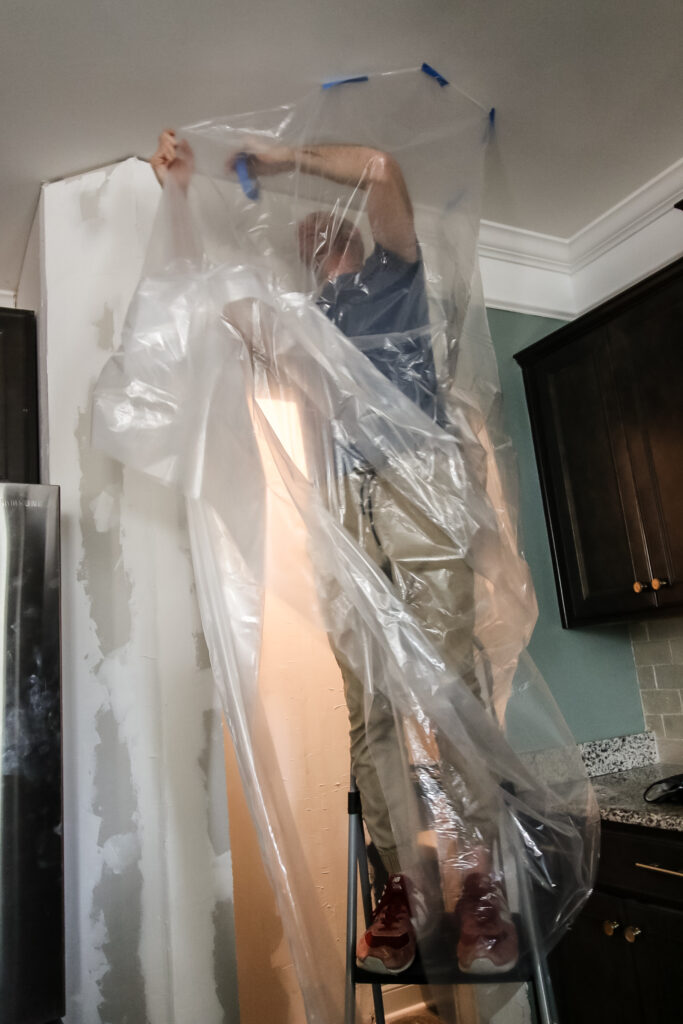
Before sanding, tarp off your area. We recommend getting thin plastic drop cloth and taping it to the ceiling, sealing yourself into the area.
Make sure you where a dust mask and goggles when sanding.
Remember that not matter what you do, dust will still end up everywhere. Trust me.
Step nine: paint and finish
Once everything is smooth, you can add your paint color and finish the crown, base board or whatever new molding you're putting in.
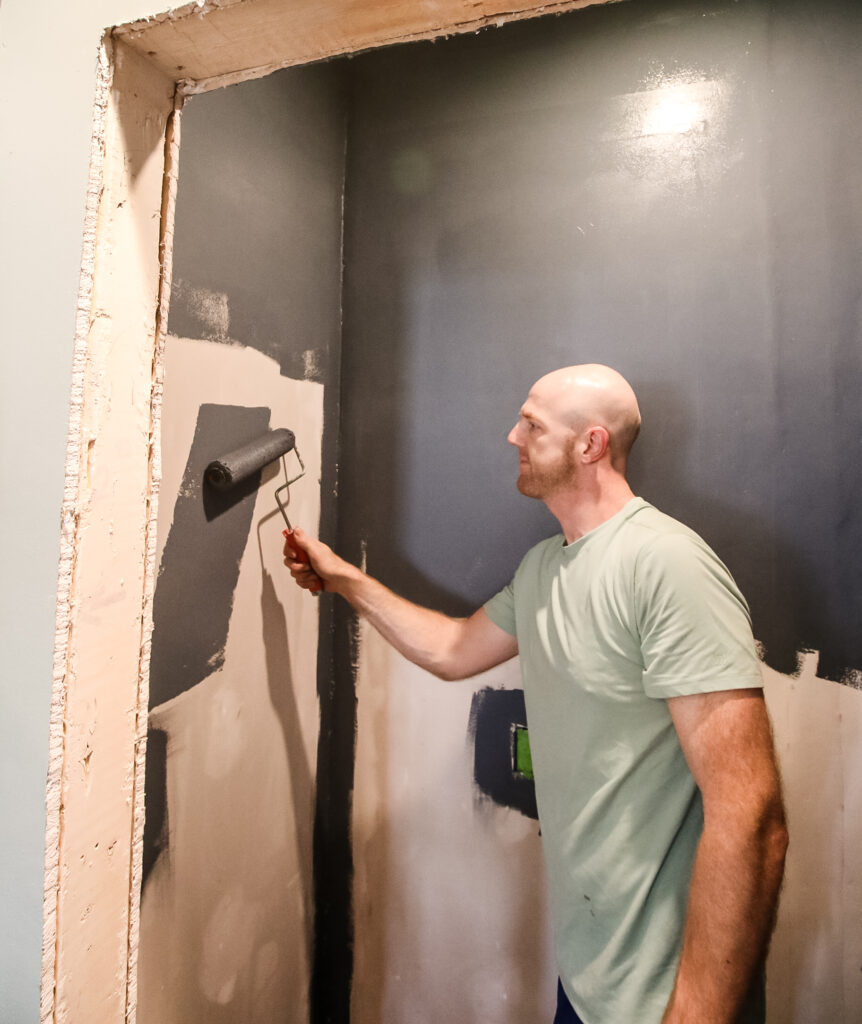
Sit back because your drywall installation is done!
How much does it cost to close a door with drywall?
It is relatively inexpensive to close a doorway with drywall if you are willing and able to do the work yourself.
The project itself is low cost, but is often involved in a much larger project that is costing money.
To close a doorway, you don't need many materials, just 2x4s, a couple sheets of drywall and finishing materials. The materials for closing a doorway with drywall should cost you less than $100.
Any tools you need will add to your cost, but those can be used for future projects as well.
Here's our full budget breakdown for filling in one doorway:
- (2) 2x4s- $11.36
- (2) drywall sheets- $28.80
- (1) bucket of joint compound- $20.70
- (1) roll drywall tape- $12.30
- (1) roughly 6' crown and base moulding- $15
- Grand Total: $88.16

Looking for something?
We've been doing this since 2012 so we have a LOT of blog posts!
Search stuff like: Ceiling Projects | DIY Plant Stands | Thrift Flips

Hey there, I'm Sean, the woodworking enthusiast and builder behind CharlestonCrafted.com! Since 2012, I've been sharing the magic of turning raw materials into beautiful creations. I love teaching others the art and satisfaction of woodworking and DIY. I try to inspire fellow crafters to make something extraordinary out of nothing at all.