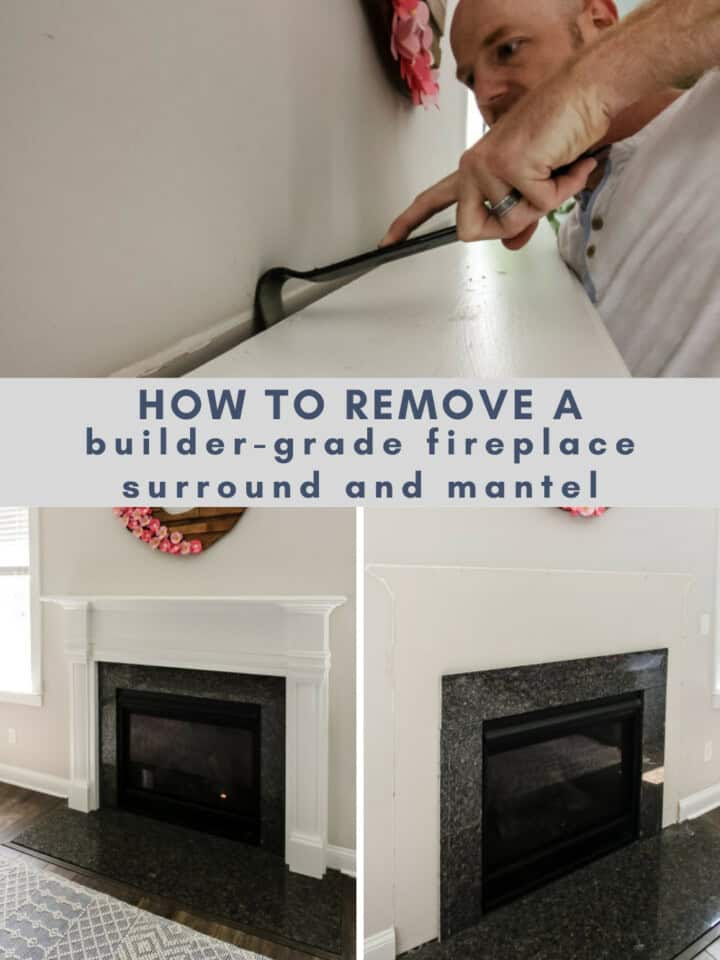
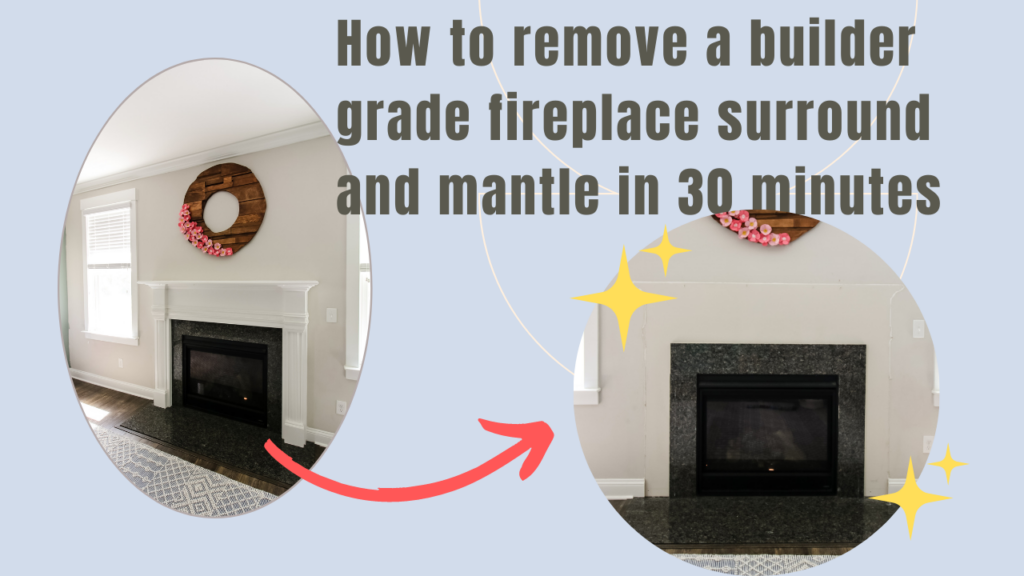
If you're looking for how to remove your builder grade fireplace surround and mantel, look no further! This is an easy DIY project that can be completed in about 30 minutes and set you up to install a custom mantle or accent wall in your home!
Last year, we purchased our home, which was built in 2016. Right in the heart of the main living space was an ugly, basic, builder grade fireplace surround and mantel.
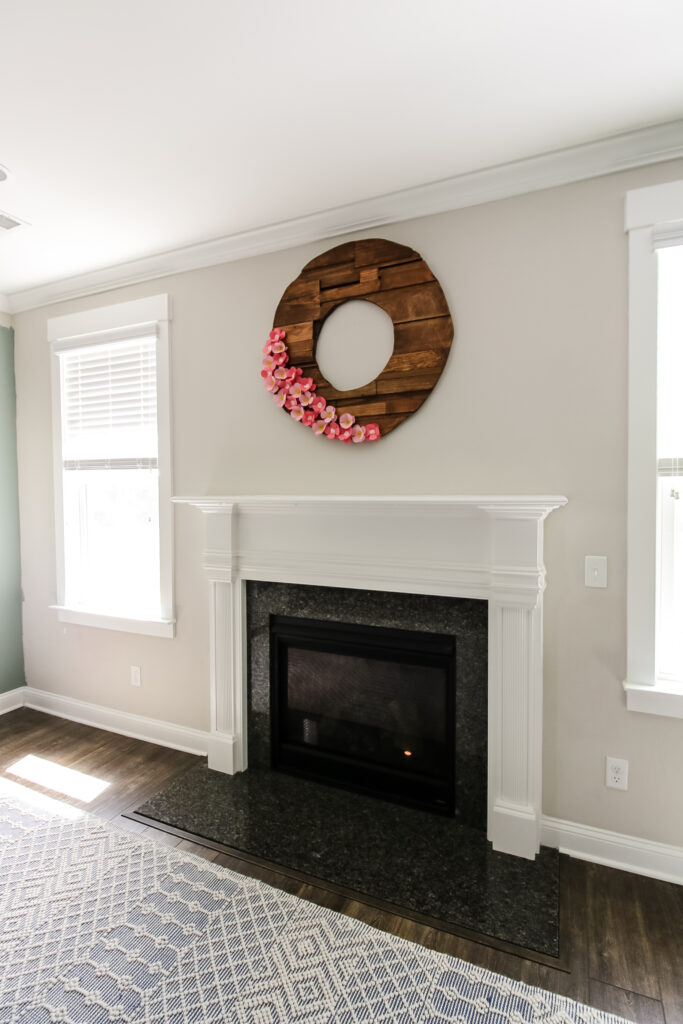
We didn't want this cheap fixture to be the center focal point of our home when you walk in the door.
So, we designed a massive feature wall around our fireplace to be the focal point of our entire downstairs.
Before we could work on that construction, we had to remove the basic fireplace surround and mantel from the wall.
Removing a fireplace surround is a simple DIY project that literally anyone can do in about 30 minutes. This is a simple process that we'll show you how to do right here!
How to remove a fireplace surround and mantel
Creating a focal wall in your living room is a fantastic way to make a huge visual impact in your home.
If that wall is where your fireplace is, you have a lot of options for making features surrounding the fireplace.
First, you'll likely have to remove your existing fireplace surround to give yourself a blank slate to work with.
If you have a new construction home, the builder probably put in a very cheap fireplace surround and mantel that looks outdated the minute they put it in.
What you probably don't realize with a builder grade fireplace surround is that it is mostly held in place with caulk.
It's not very solid or fancy, so let's remove it.
Here's how to do it!
Step One: remove caulk
As mentioned, our mantel was held up almost exclusively with a bead of caulk around the entire thing.
That's it.
It seems crazy that caulk is considered safe and secure for a large fireplace surround and mantel, but I guess that's up to new construction code.
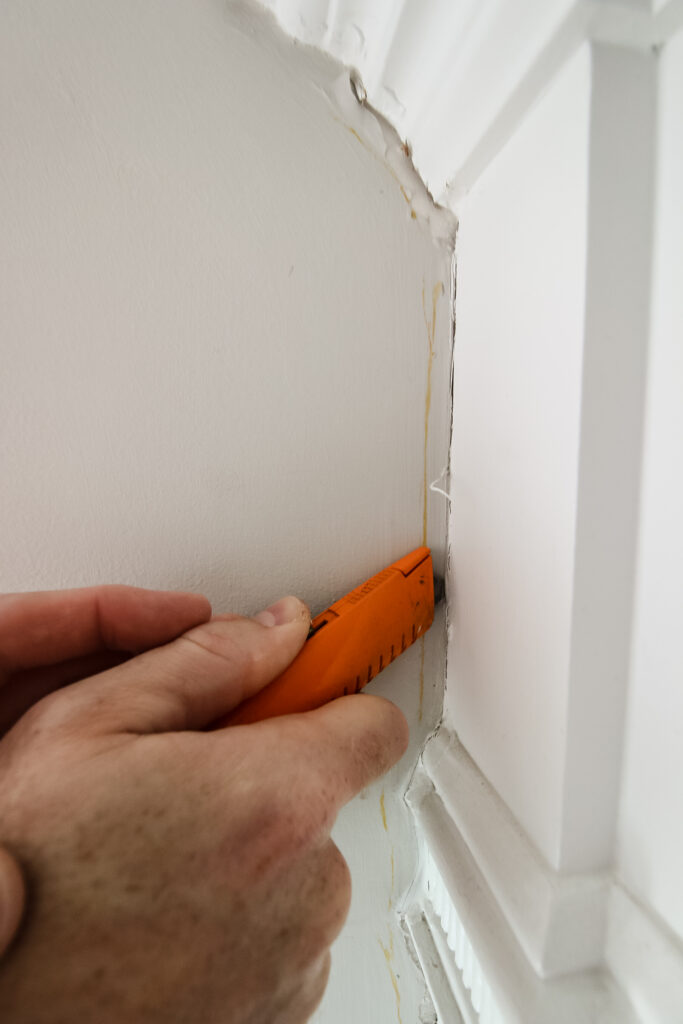
To remove the caulk, you'll need a utility knife. I like this one. It's not the one in the picture, but it's nice because you don't have to continuously depress the knob to keep the blade out.
Score the caulk all the way around the fireplace in two lines- one along the wall and one along the edges of the fireplace surround and mantel.
With the caulk cut, peel it out in long, satisfying strips.
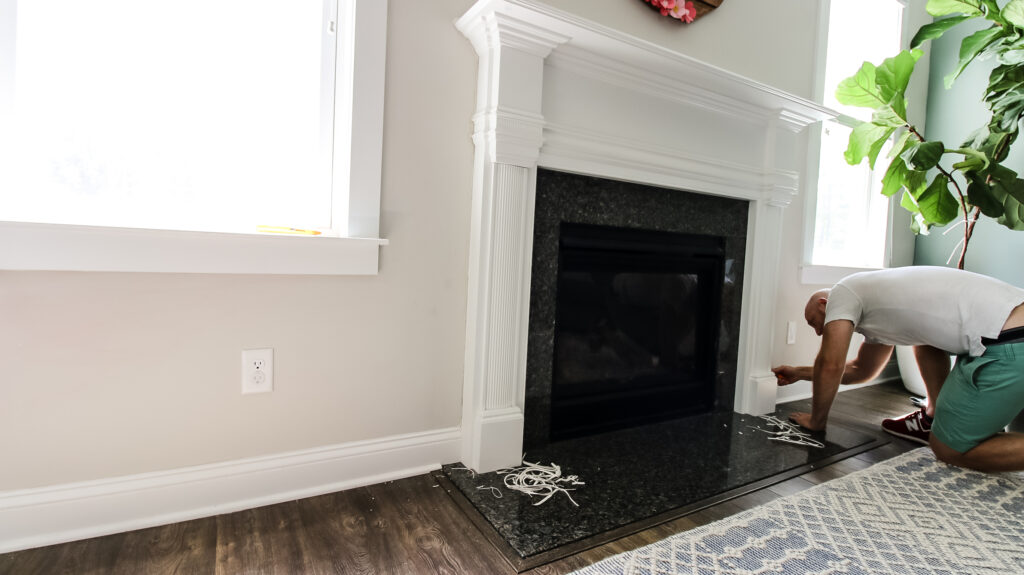
Step Two: loosen from the wall
Even with the caulk removed, the surround was still pretty tight on the wall from paint and gravity.
Work the base out first as best as possible and see how much can be dislodged from the wall just by pulling.
We've known people whose surrounds were resting on some screws in the wall, just hung up there with gravity.
If that's the case, you should be able to lift the entire thing off the screws and away from the wall and be done.
If yours has nails, move on to step three.
Step Three: remove nails
The only other thing holding our fireplace in place was eight 18 gauge brad nails. That's it.
These nails were only at the top and through the mantel. It seemed as though the builder nailed through the top of the mantel and into the wall, then patched and painted.
When we were lifting the mantel, the columns on the side swung out and we loosened the nails as best we could.
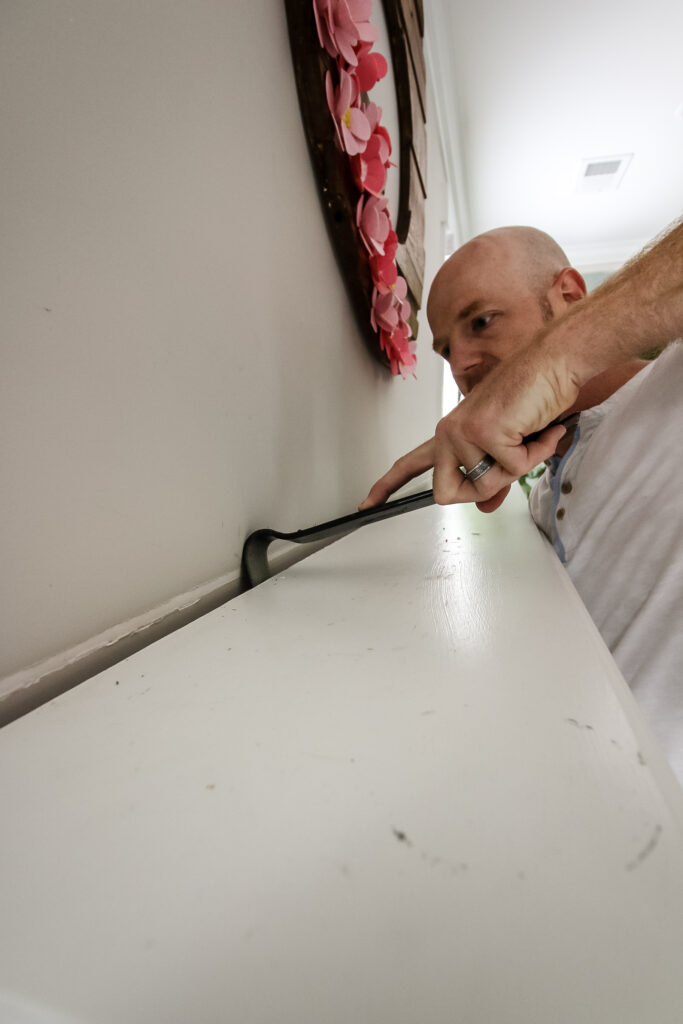
Then, once determining the exact location of each nail, we used a small, handheld pry bar (like this one here) to pry the mantel from the wall where the nails were.
Tap the pry bar with a rubber mallet or hammer to wedge it between the mantel and the wall and then work it out.
Step Four: disposal
There's a few things you can do once the mantel is removed.
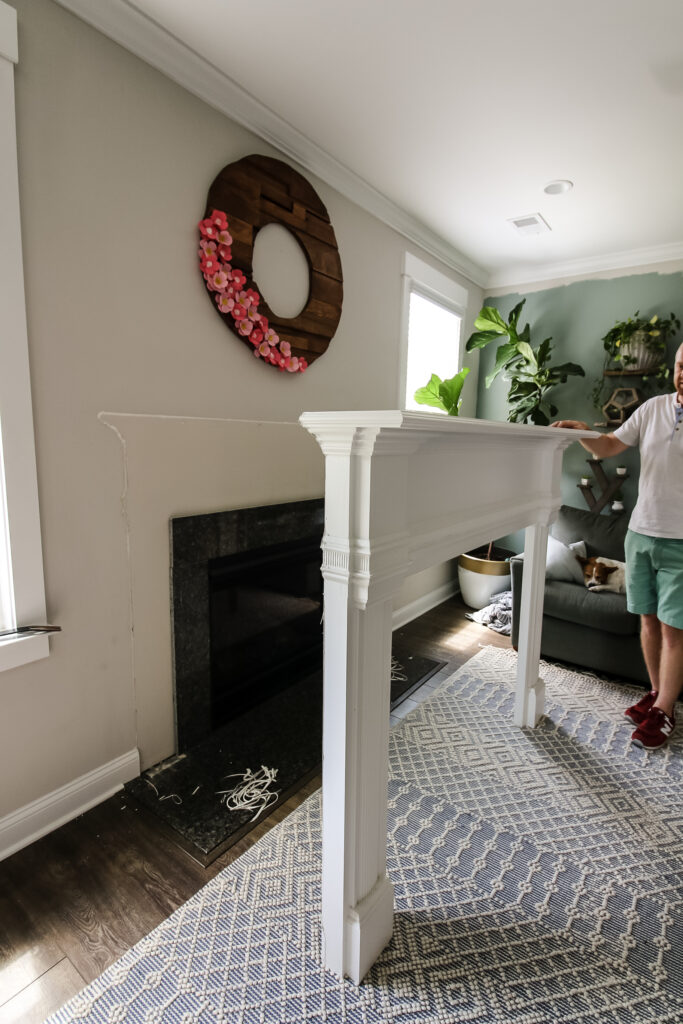
Our first choice would be to list it for sale to help recoup the costs of your upcoming accent wall project. We listed ours for $100, got a bunch of messages and sold it for list price in a couple of days.
You could also donate it to charity. Places like Habitat for Humanity can sell them at their resale stores or use them in their houses.
If the fireplace surround or mantel is in bad shape, you can trash it. Ours came apart into three pieces using IKEA-type locking screws, but if yours doesn't, you'll need to cut it down and put it by the curb.
Step Five: install a new fireplace feature!
Now that the old builder grade fireplace surround and mantel are gone, it's time to replace the mantel with something fancy!
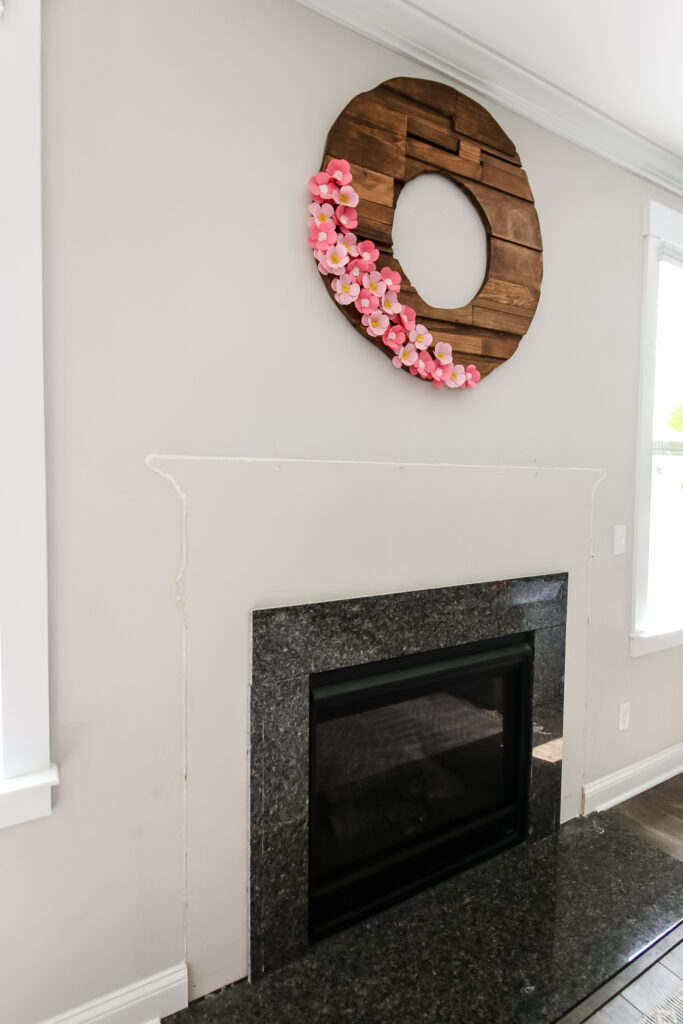
Plan your fireplace makeover to include a bump out or accent wall around it. That could mean shiplap, tile, a custom rustic wood mantel, or whatever works for you!
Video Tutorial
If you want to see a quick video of how we removed this builder grade fireplace surround and mantel, click the image below!
This was a simple project and the video shows you exactly how we did it in about 1 minute!

Looking for something?
We've been doing this since 2012 so we have a LOT of blog posts!
Search stuff like: Ceiling Projects | DIY Plant Stands | Thrift Flips

Hello, I'm Morgan, half of the creative force behind CharlestonCrafted.com! With a passion for DIY that dates back to 2012, I've transformed three homes and now I'm dedicated to helping others craft their dream spaces. Let's turn your house into a home together!