Knowing how to hang crown molding is one of the most essential skills a person can have if they are renovating a home. Crown molding instantly makes a room look more finished and elegant.
The great part about it is that it's not that hard. Hanging crown molding is all about getting in a rhythm and using the right materials and the right tools.
Thank you to Woodgrain for sponsoring this post. All opinions are our own.
How to Hang Crown Molding
We've now hung crown molding in nearly every room in our house (starting back with our front room) and the rooms we haven't aren't getting it. It took us until the final room to feel comfortable with writing this post because we had to figure it out too!
Everyone talks about how crown molding has to be hung "upside down and backward." That's not the case as long as you use the proper settings on your miter saw.
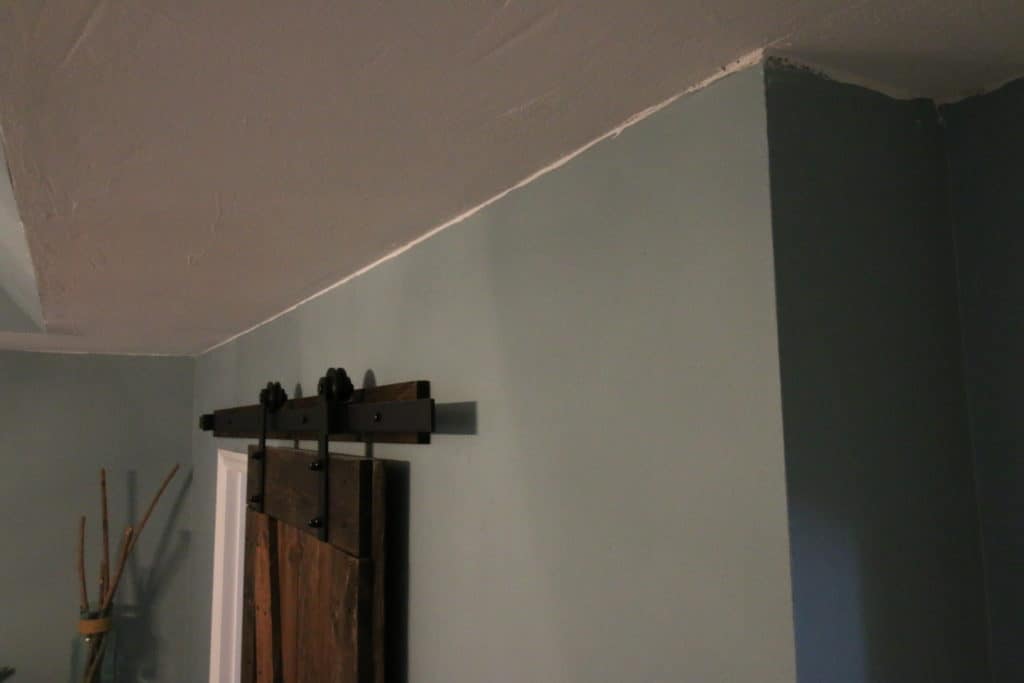
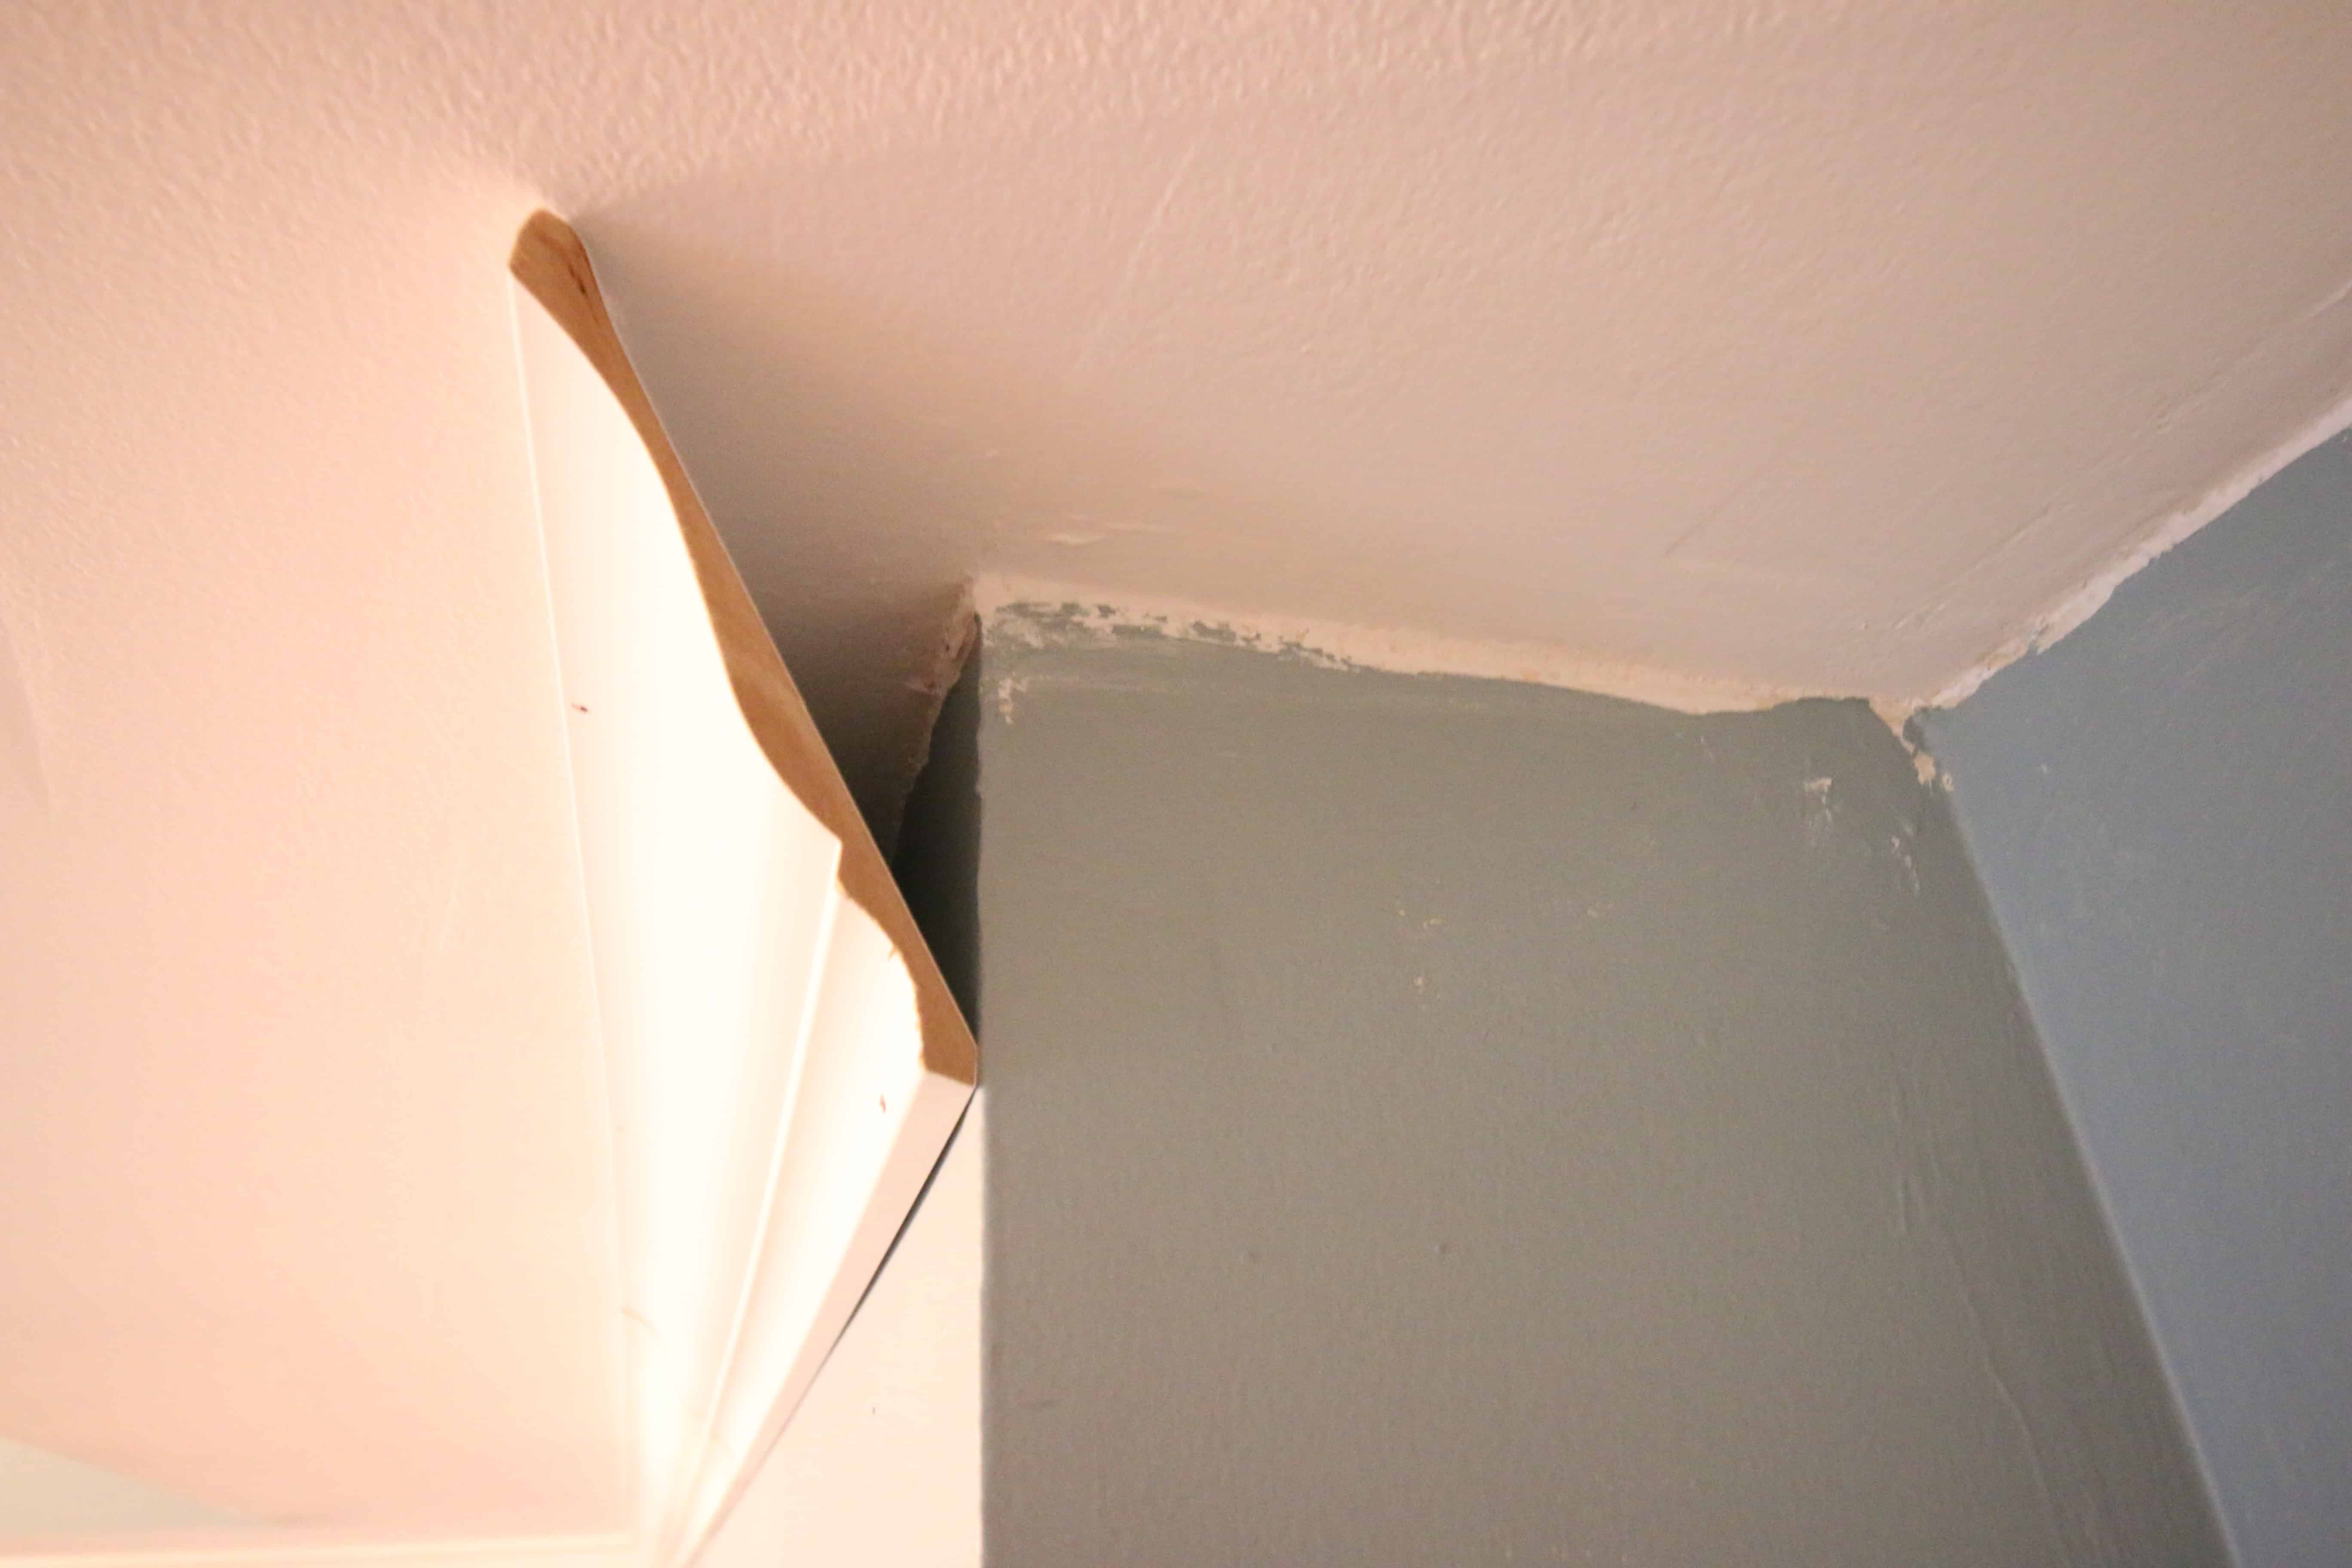
Here's how our room looked before adding crown molding:
What you need to hang crown molding
- Miter saw, with beveling capability
- Coping saw
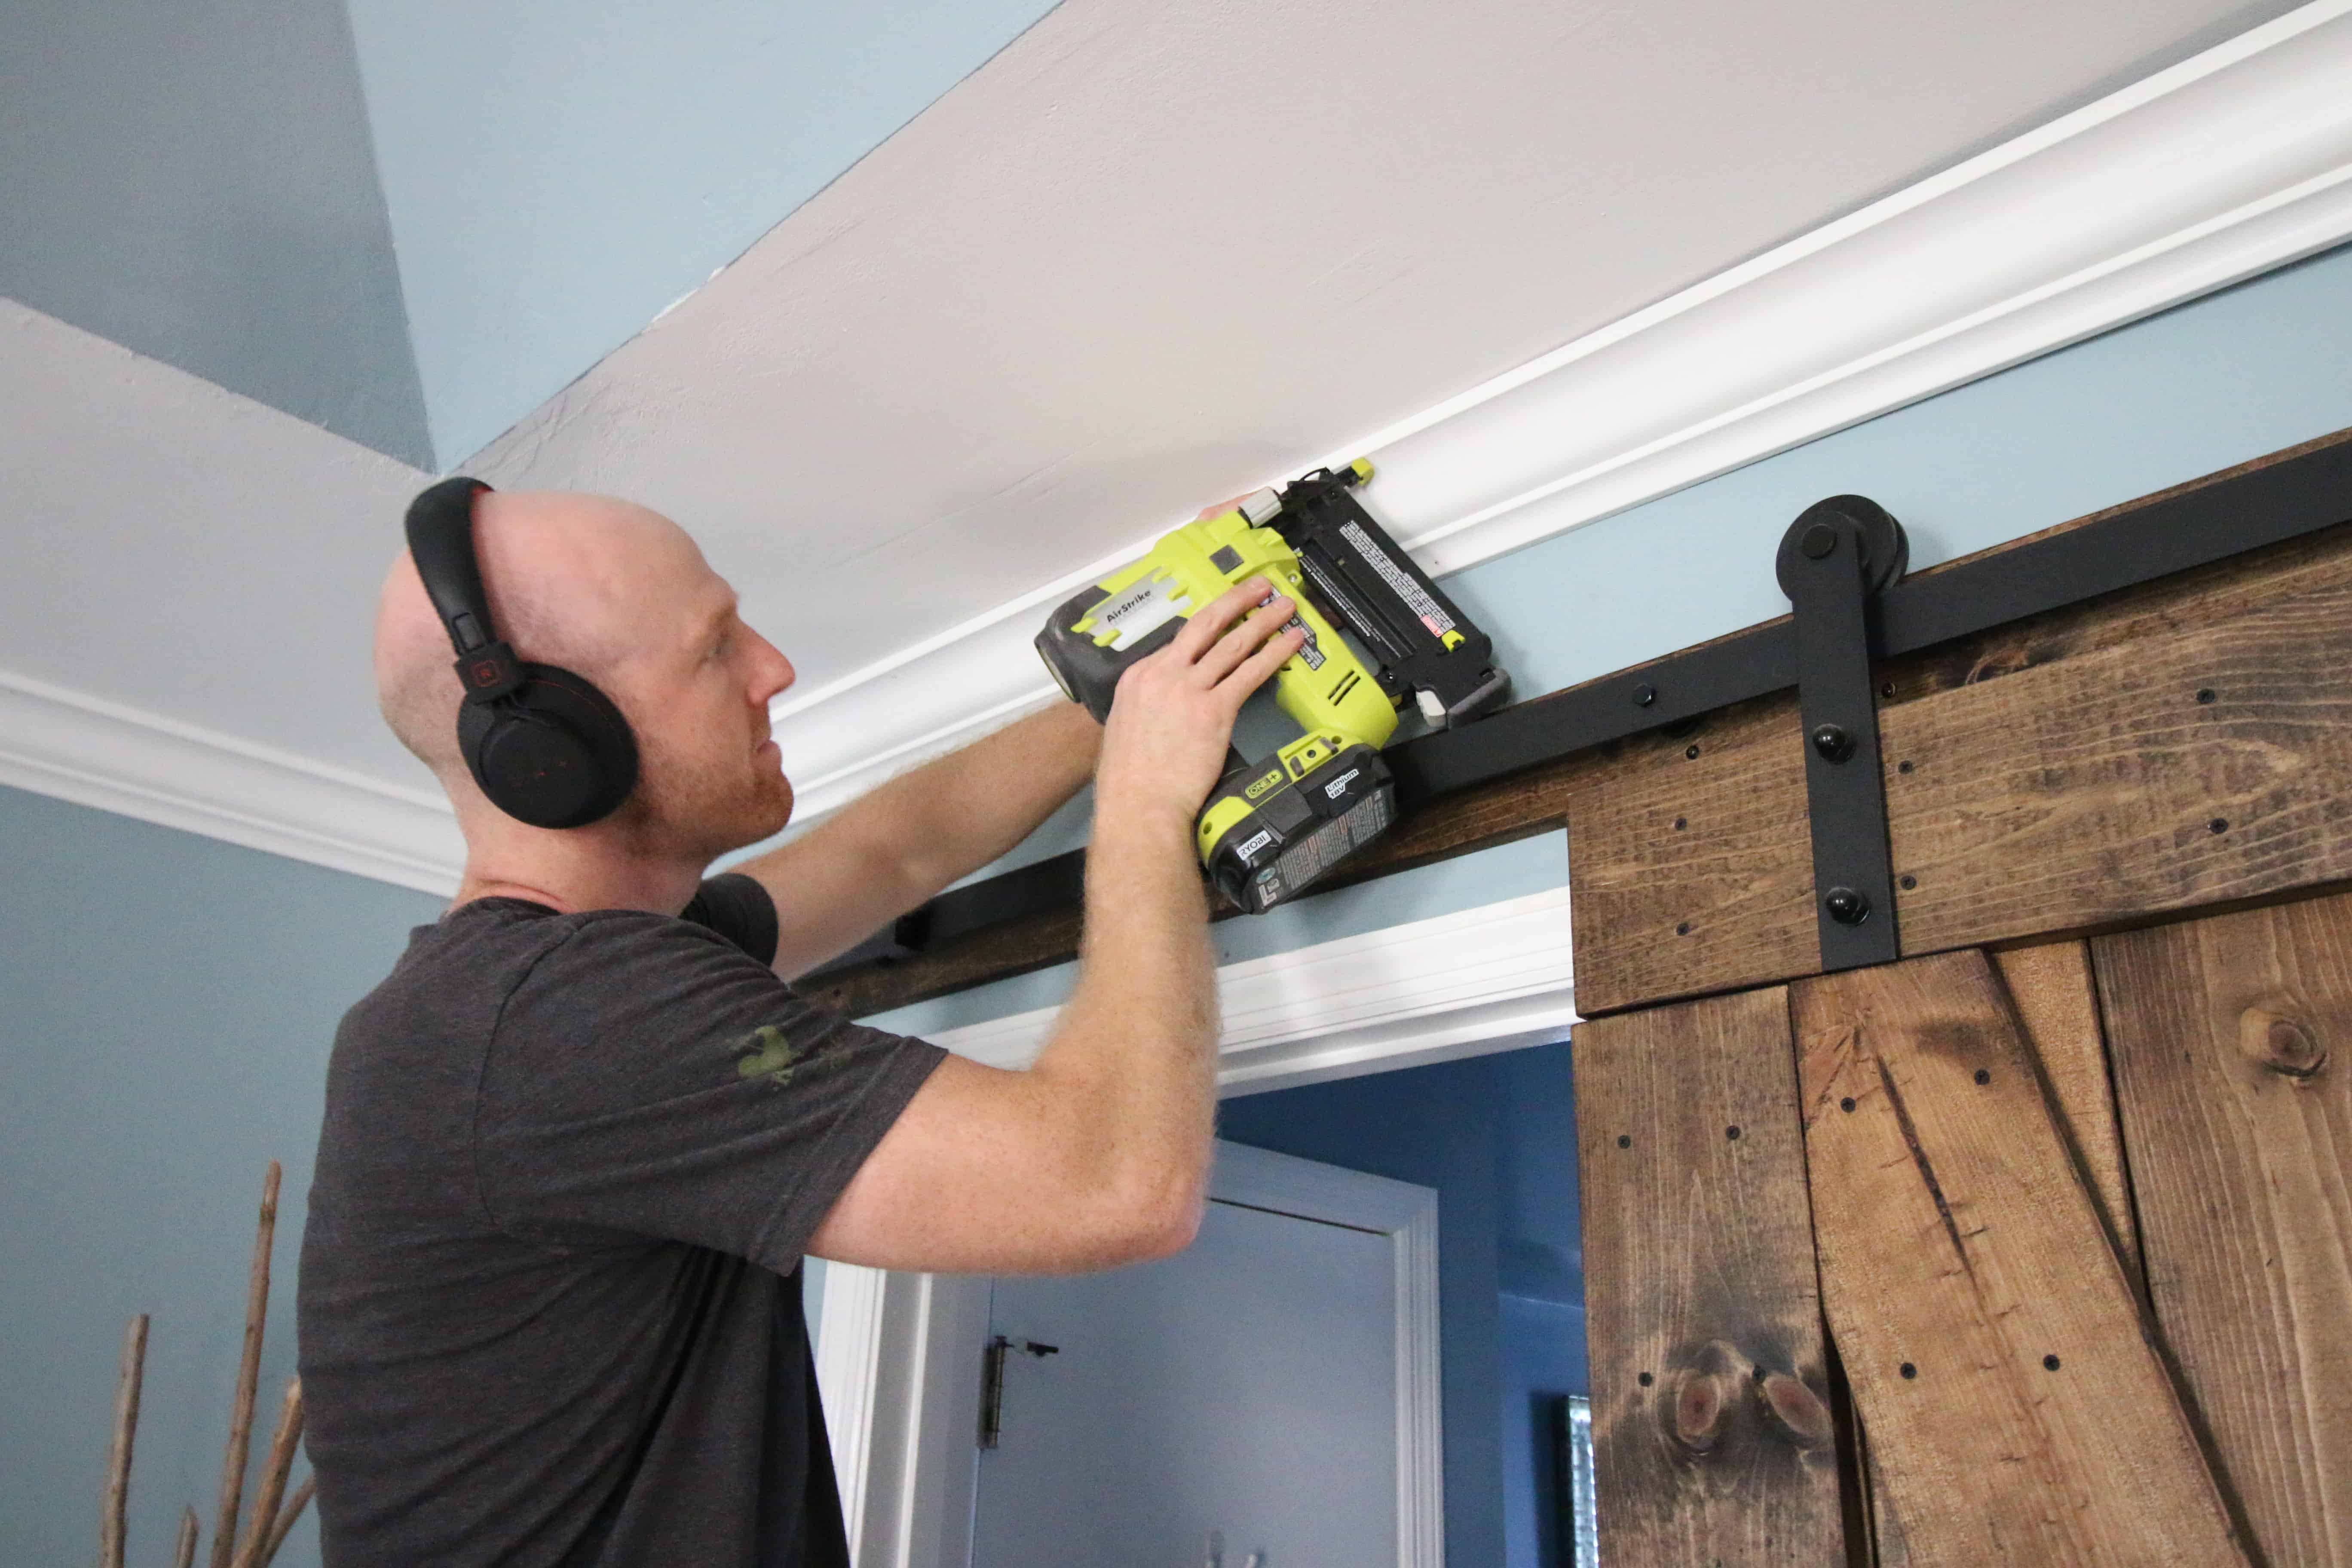
- Nail gun
- Crown molding
Let's take this opportunity to talk about the company Woodgrain and their Finished Elegance line of molding products. Woodgrain's Finished Elegance is an awesome molding line because it comes pre-primed and ready to go.
Their crown molding can be hung straight out of the box with no need to paint, thanks to their pre-painted finish and their color matched caulk. They have five different sizes of crown molding for whatever fits your space. We loved using the 4 ⅝" crown, which was the same size we used for the DIY coffered ceiling we did in our nursery.
Now, on to how to actually hang it...
Tips for How to Hang Crown Molding
- For every wall, make sure you measure as carefully as possible as hanging crown molding is an art. Especially pieces that will be outside corners, you have to be accurate. Remember that the measurement will be for the bottom of your crown.
- Start in the upper left corner of your room.
- Use straight edges whenever possible. Sometimes it's even better to work with smaller pieces for the room corners and connect longer, straight-edged pieces to those.

- For outside corners, set your miter to 31.6 degrees and your bevel to 33.9 degrees. Working to the right, your left piece needs to be cut with the angle bottom up to top. For the right piece, it needs to be cut with the angle top down to bottom. These will come together flush.
- For inside corners, take your first piece all the way flush to the wall. Then, cut your connecting piece with your miter at 31.6 degrees and your bevel at 33.9 degrees. Cut with the angle from the bottom up to the top.
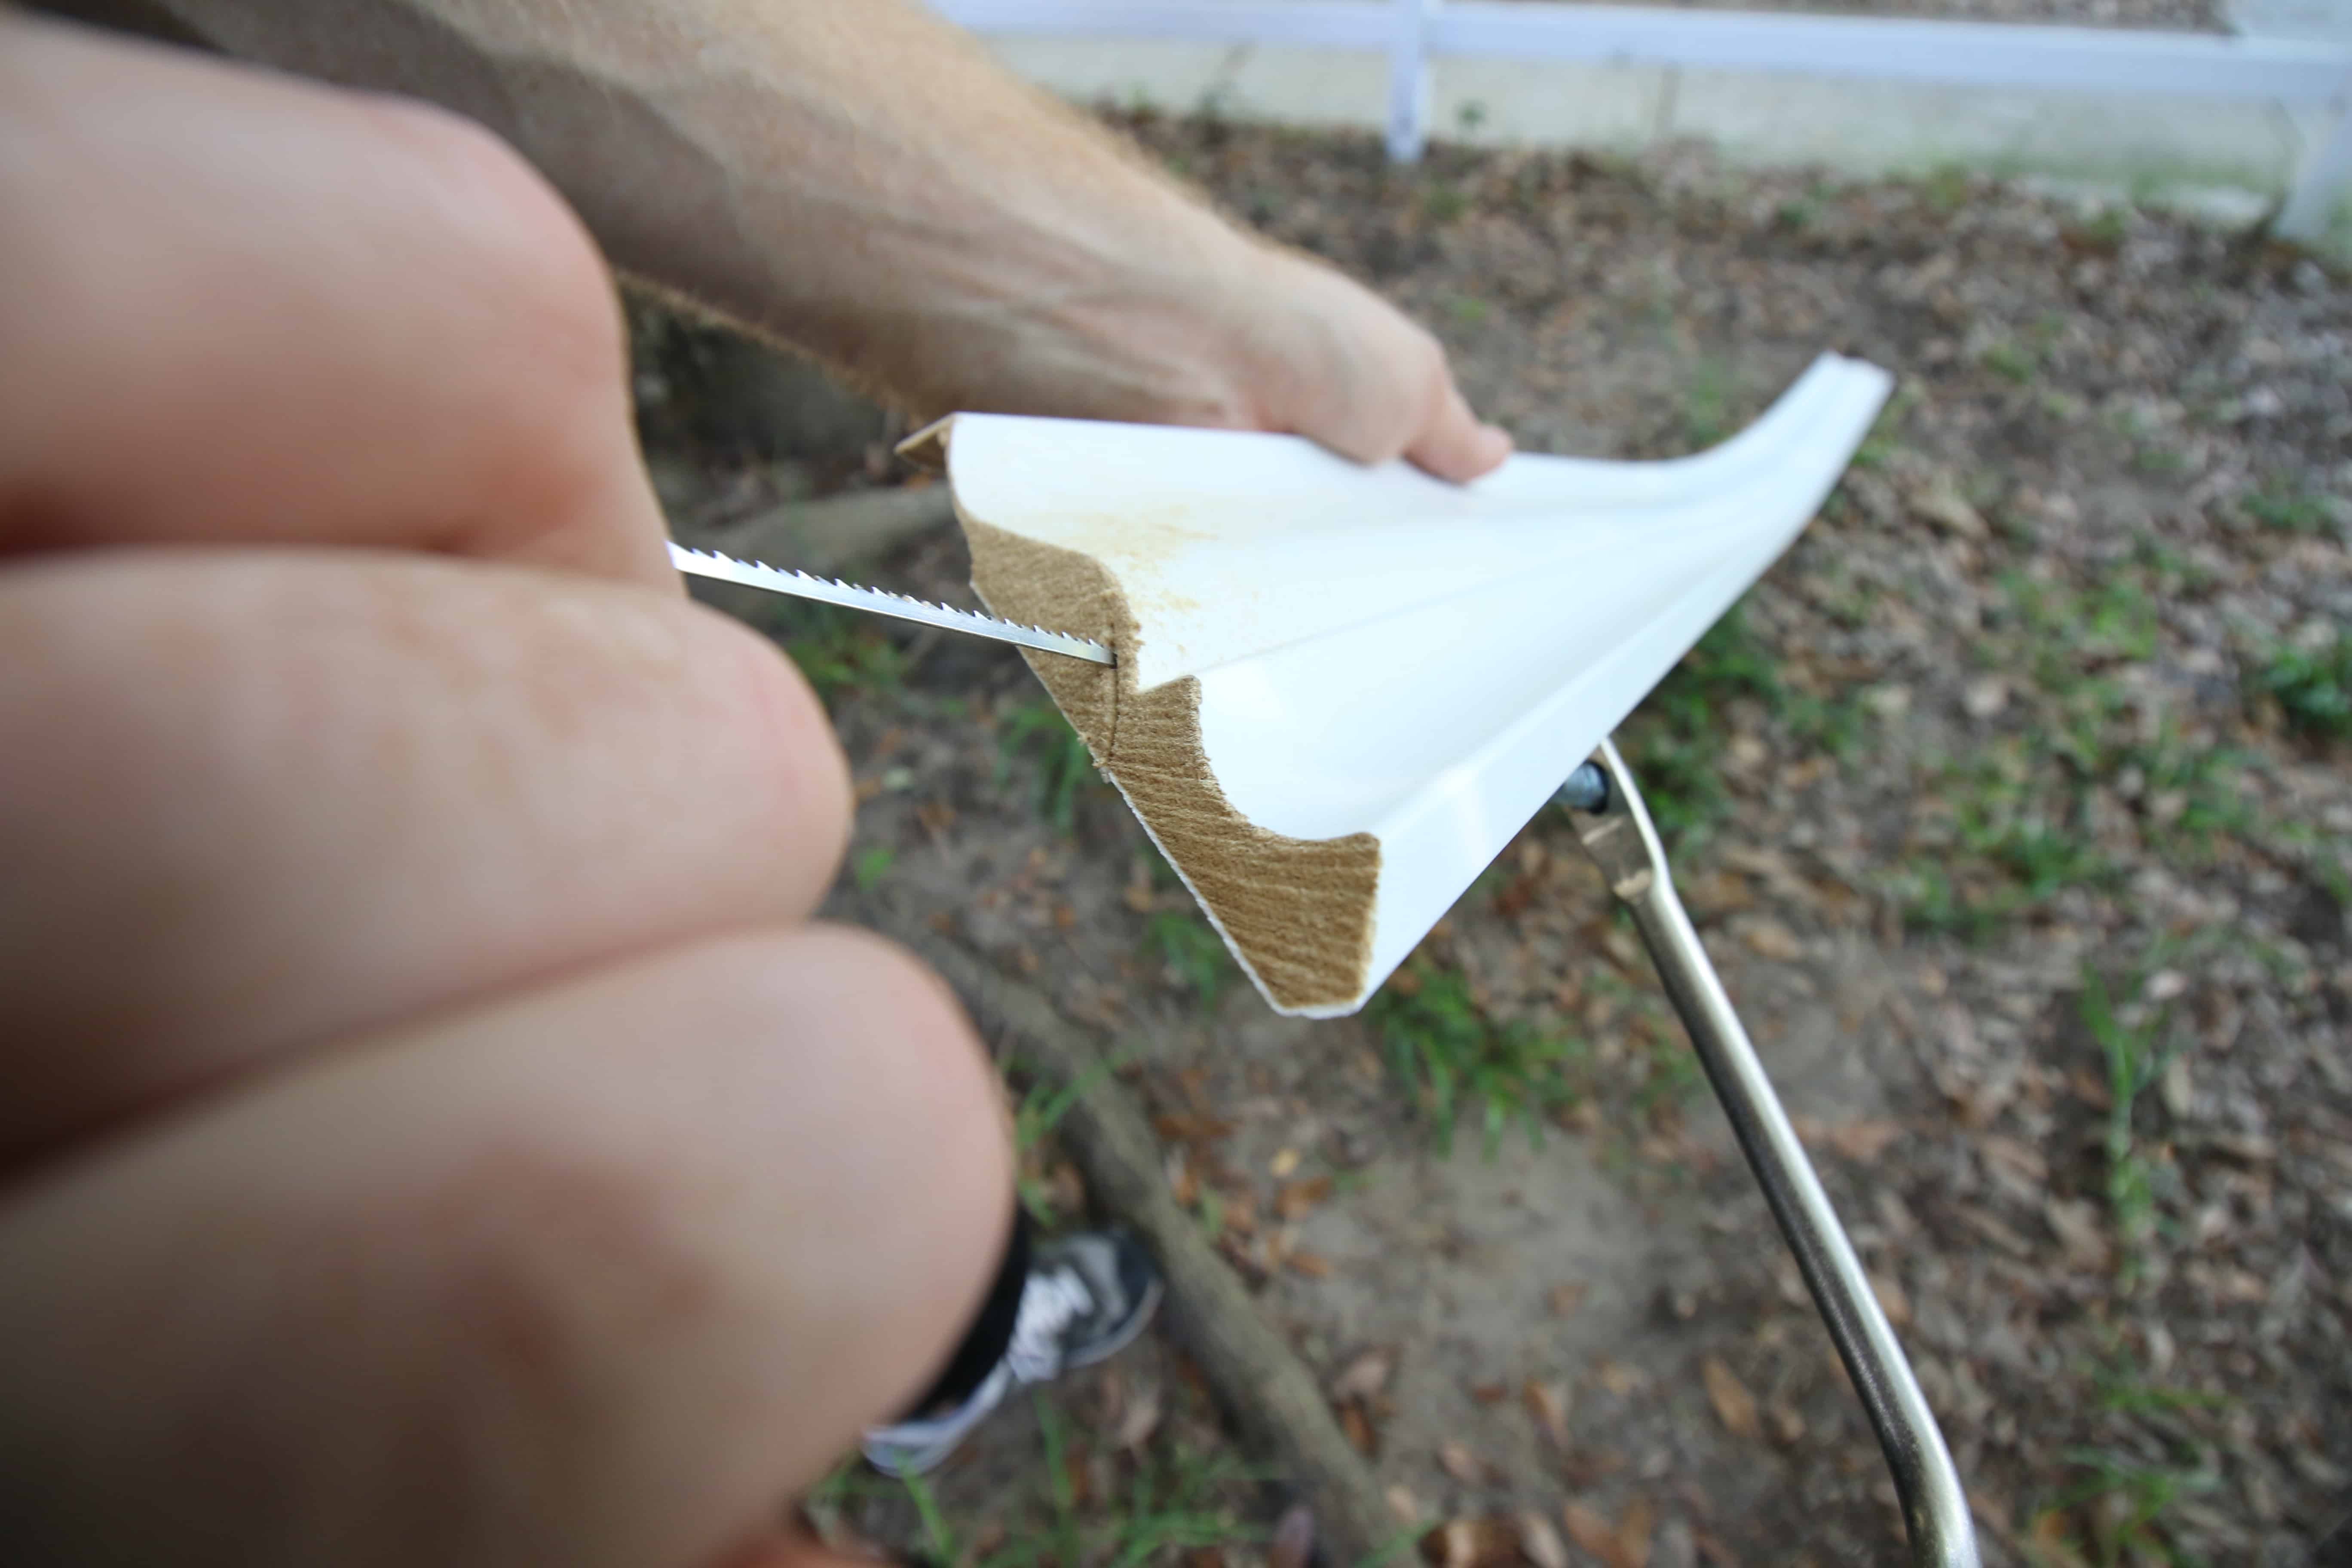
- Use the coping saw to saw off the excess on the edge of the piece. Using the sharpest angle you possibly can, follow the curves and angles of the molding and saw it out. This will create a hollow backing that will allow the piece to go flush up against the piece that's in place. On the final piece, you'll have to do this on both sides.
- When nailing pieces in place, use two nails in each place, angling them away from each other to make a sturdier hold.
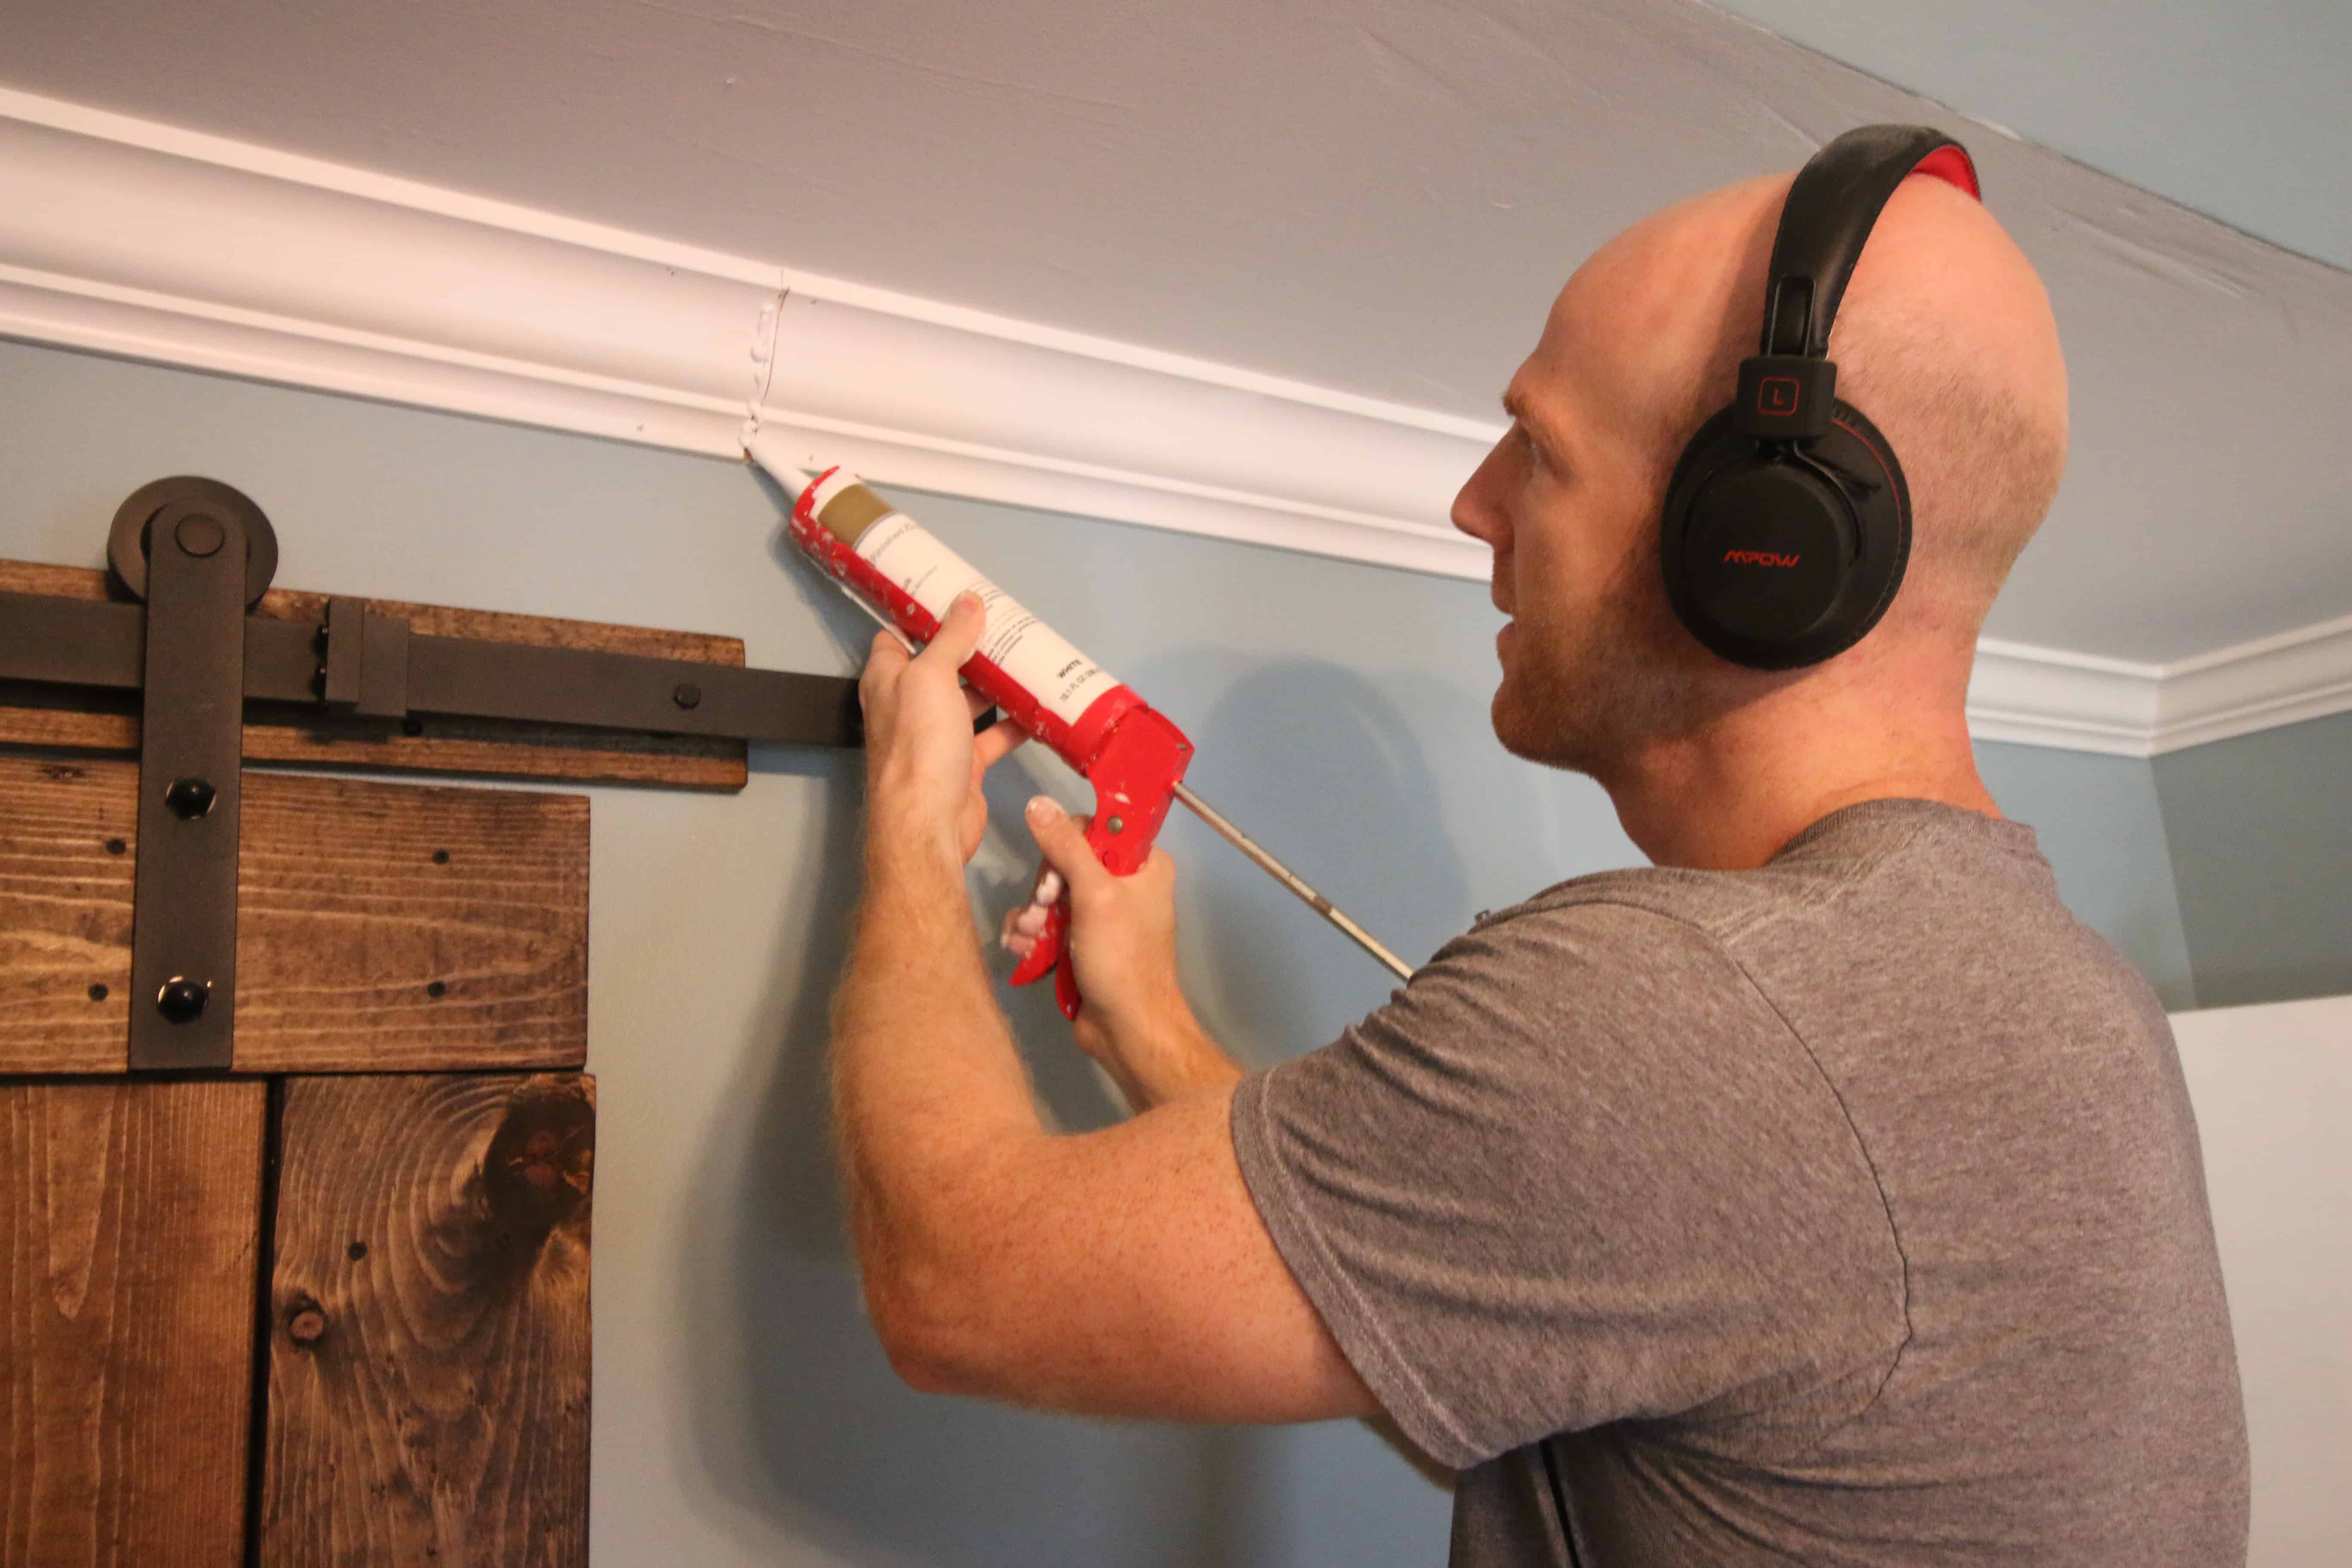
- Use caulk to fill in nail holes and anywhere the pieces of molding come together, like straight edges and inside/outside corners. Always remember the saying "Do Your Best and Caulk the Rest."
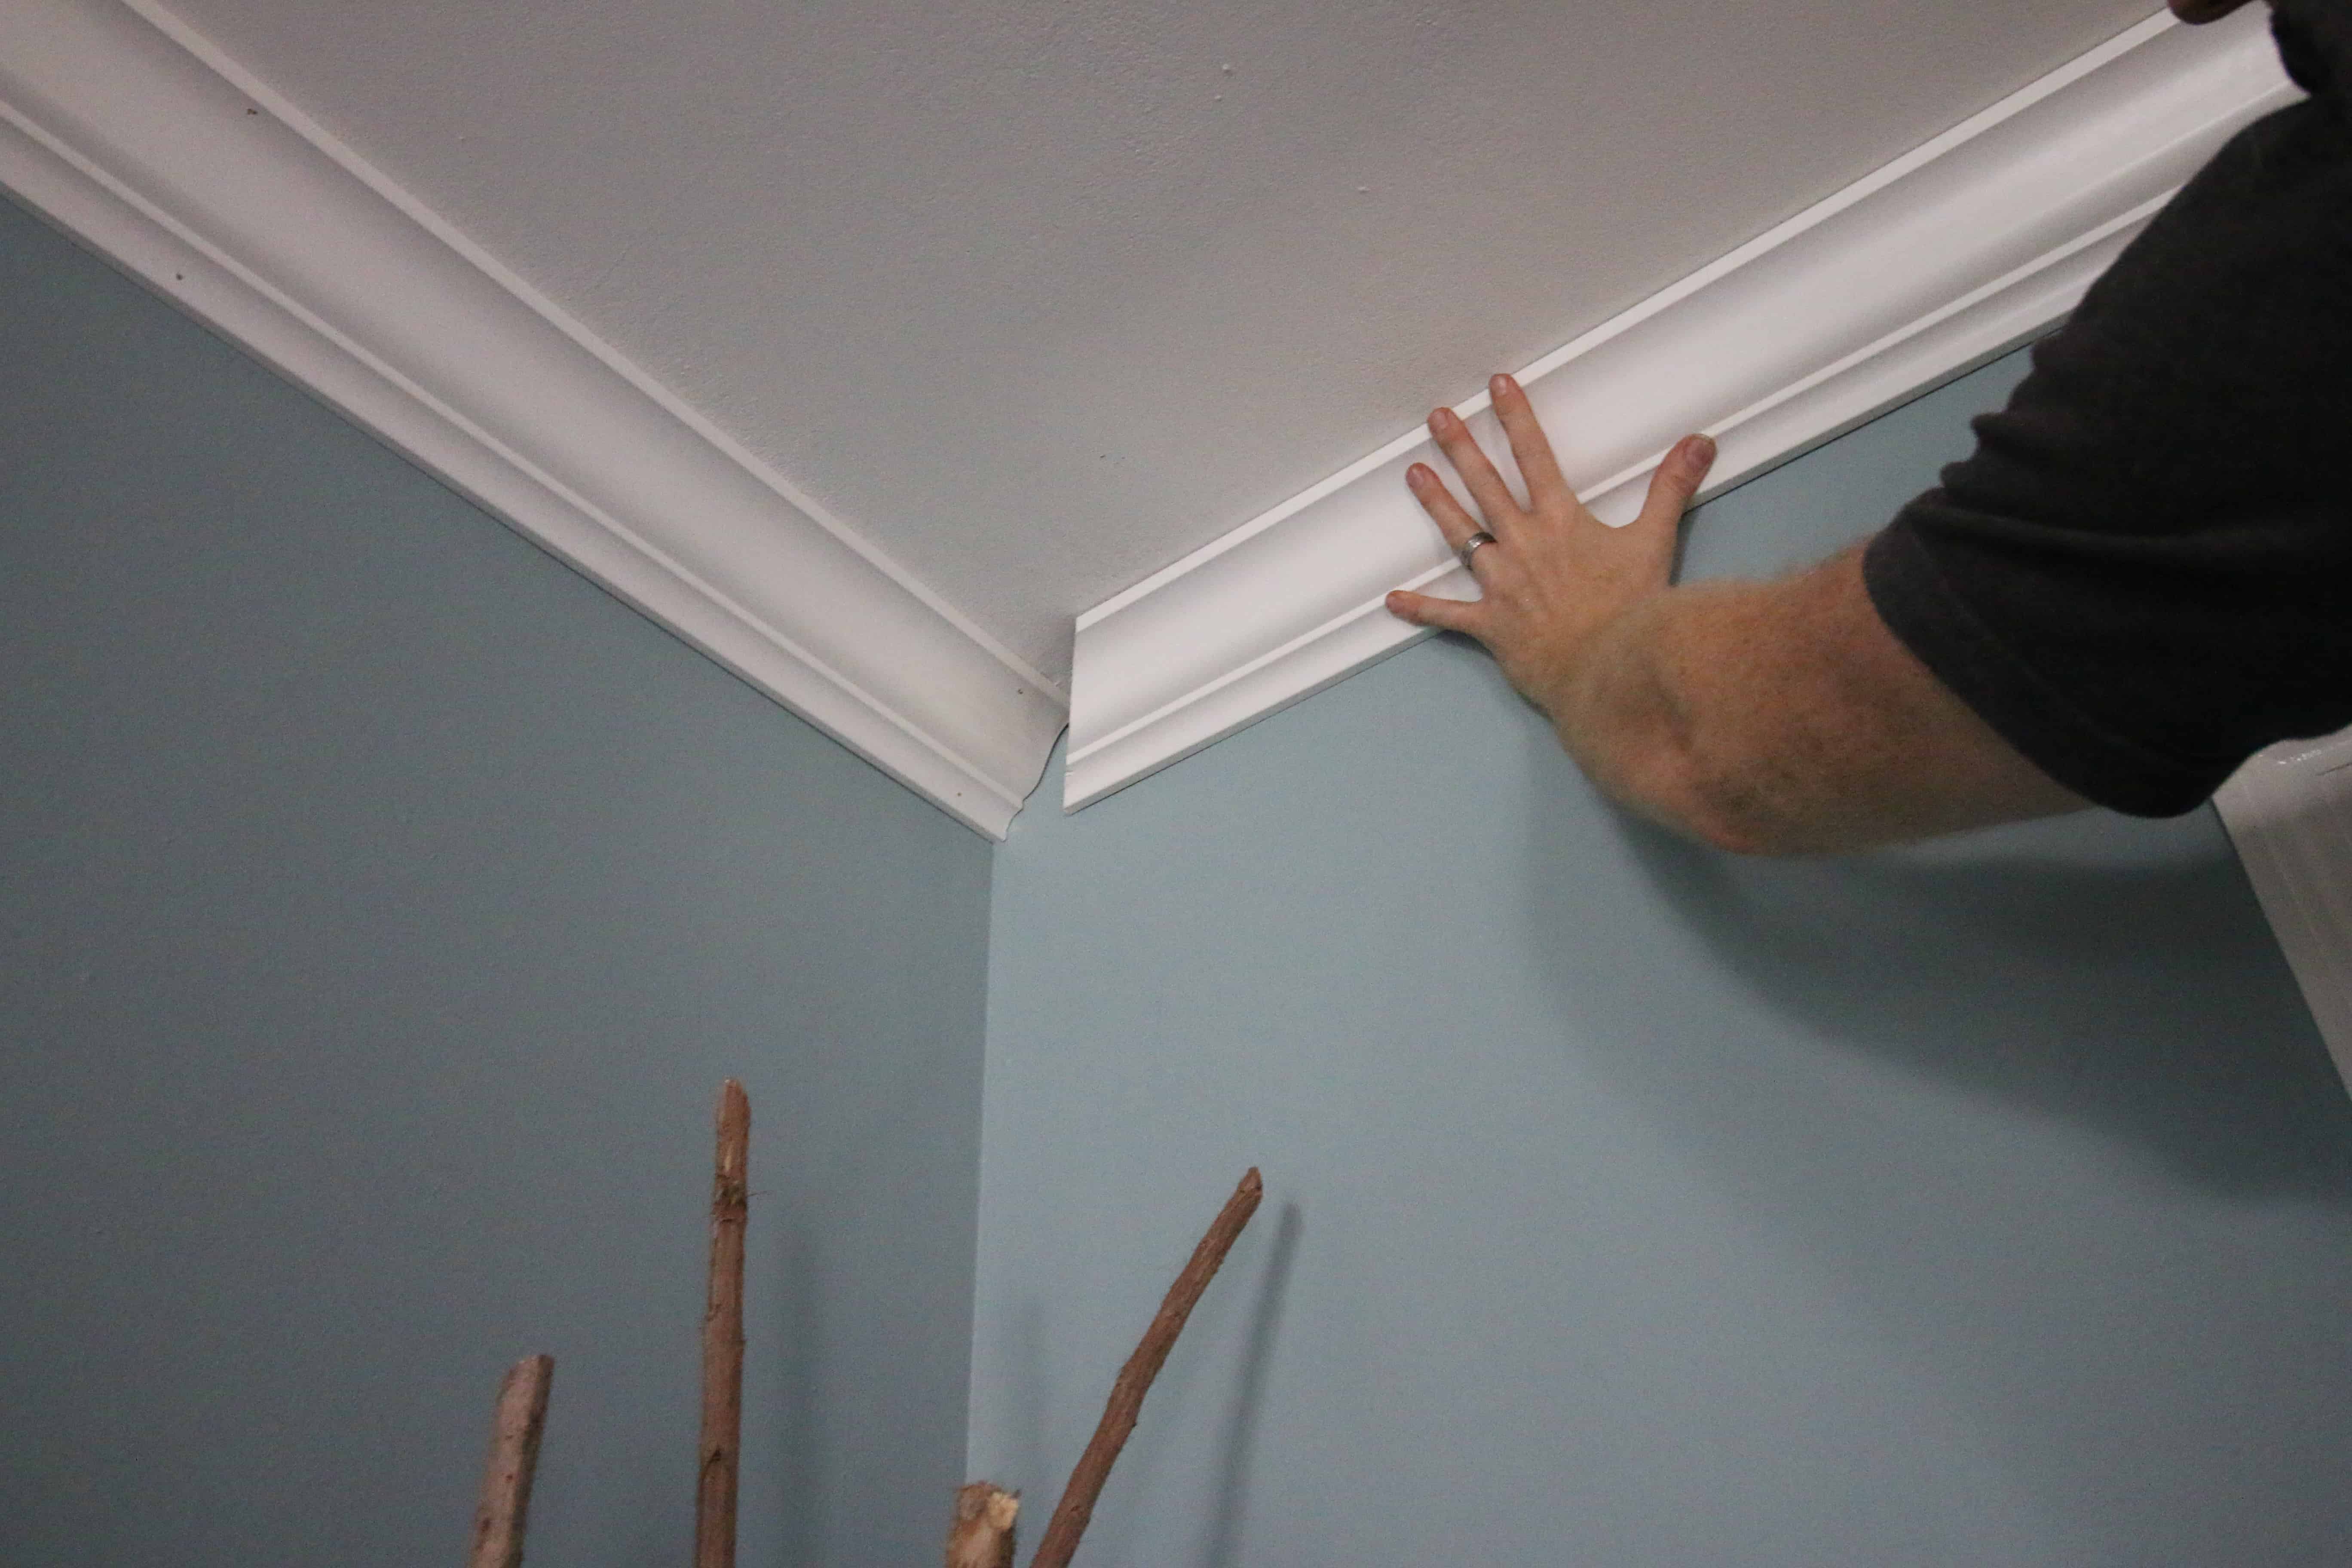
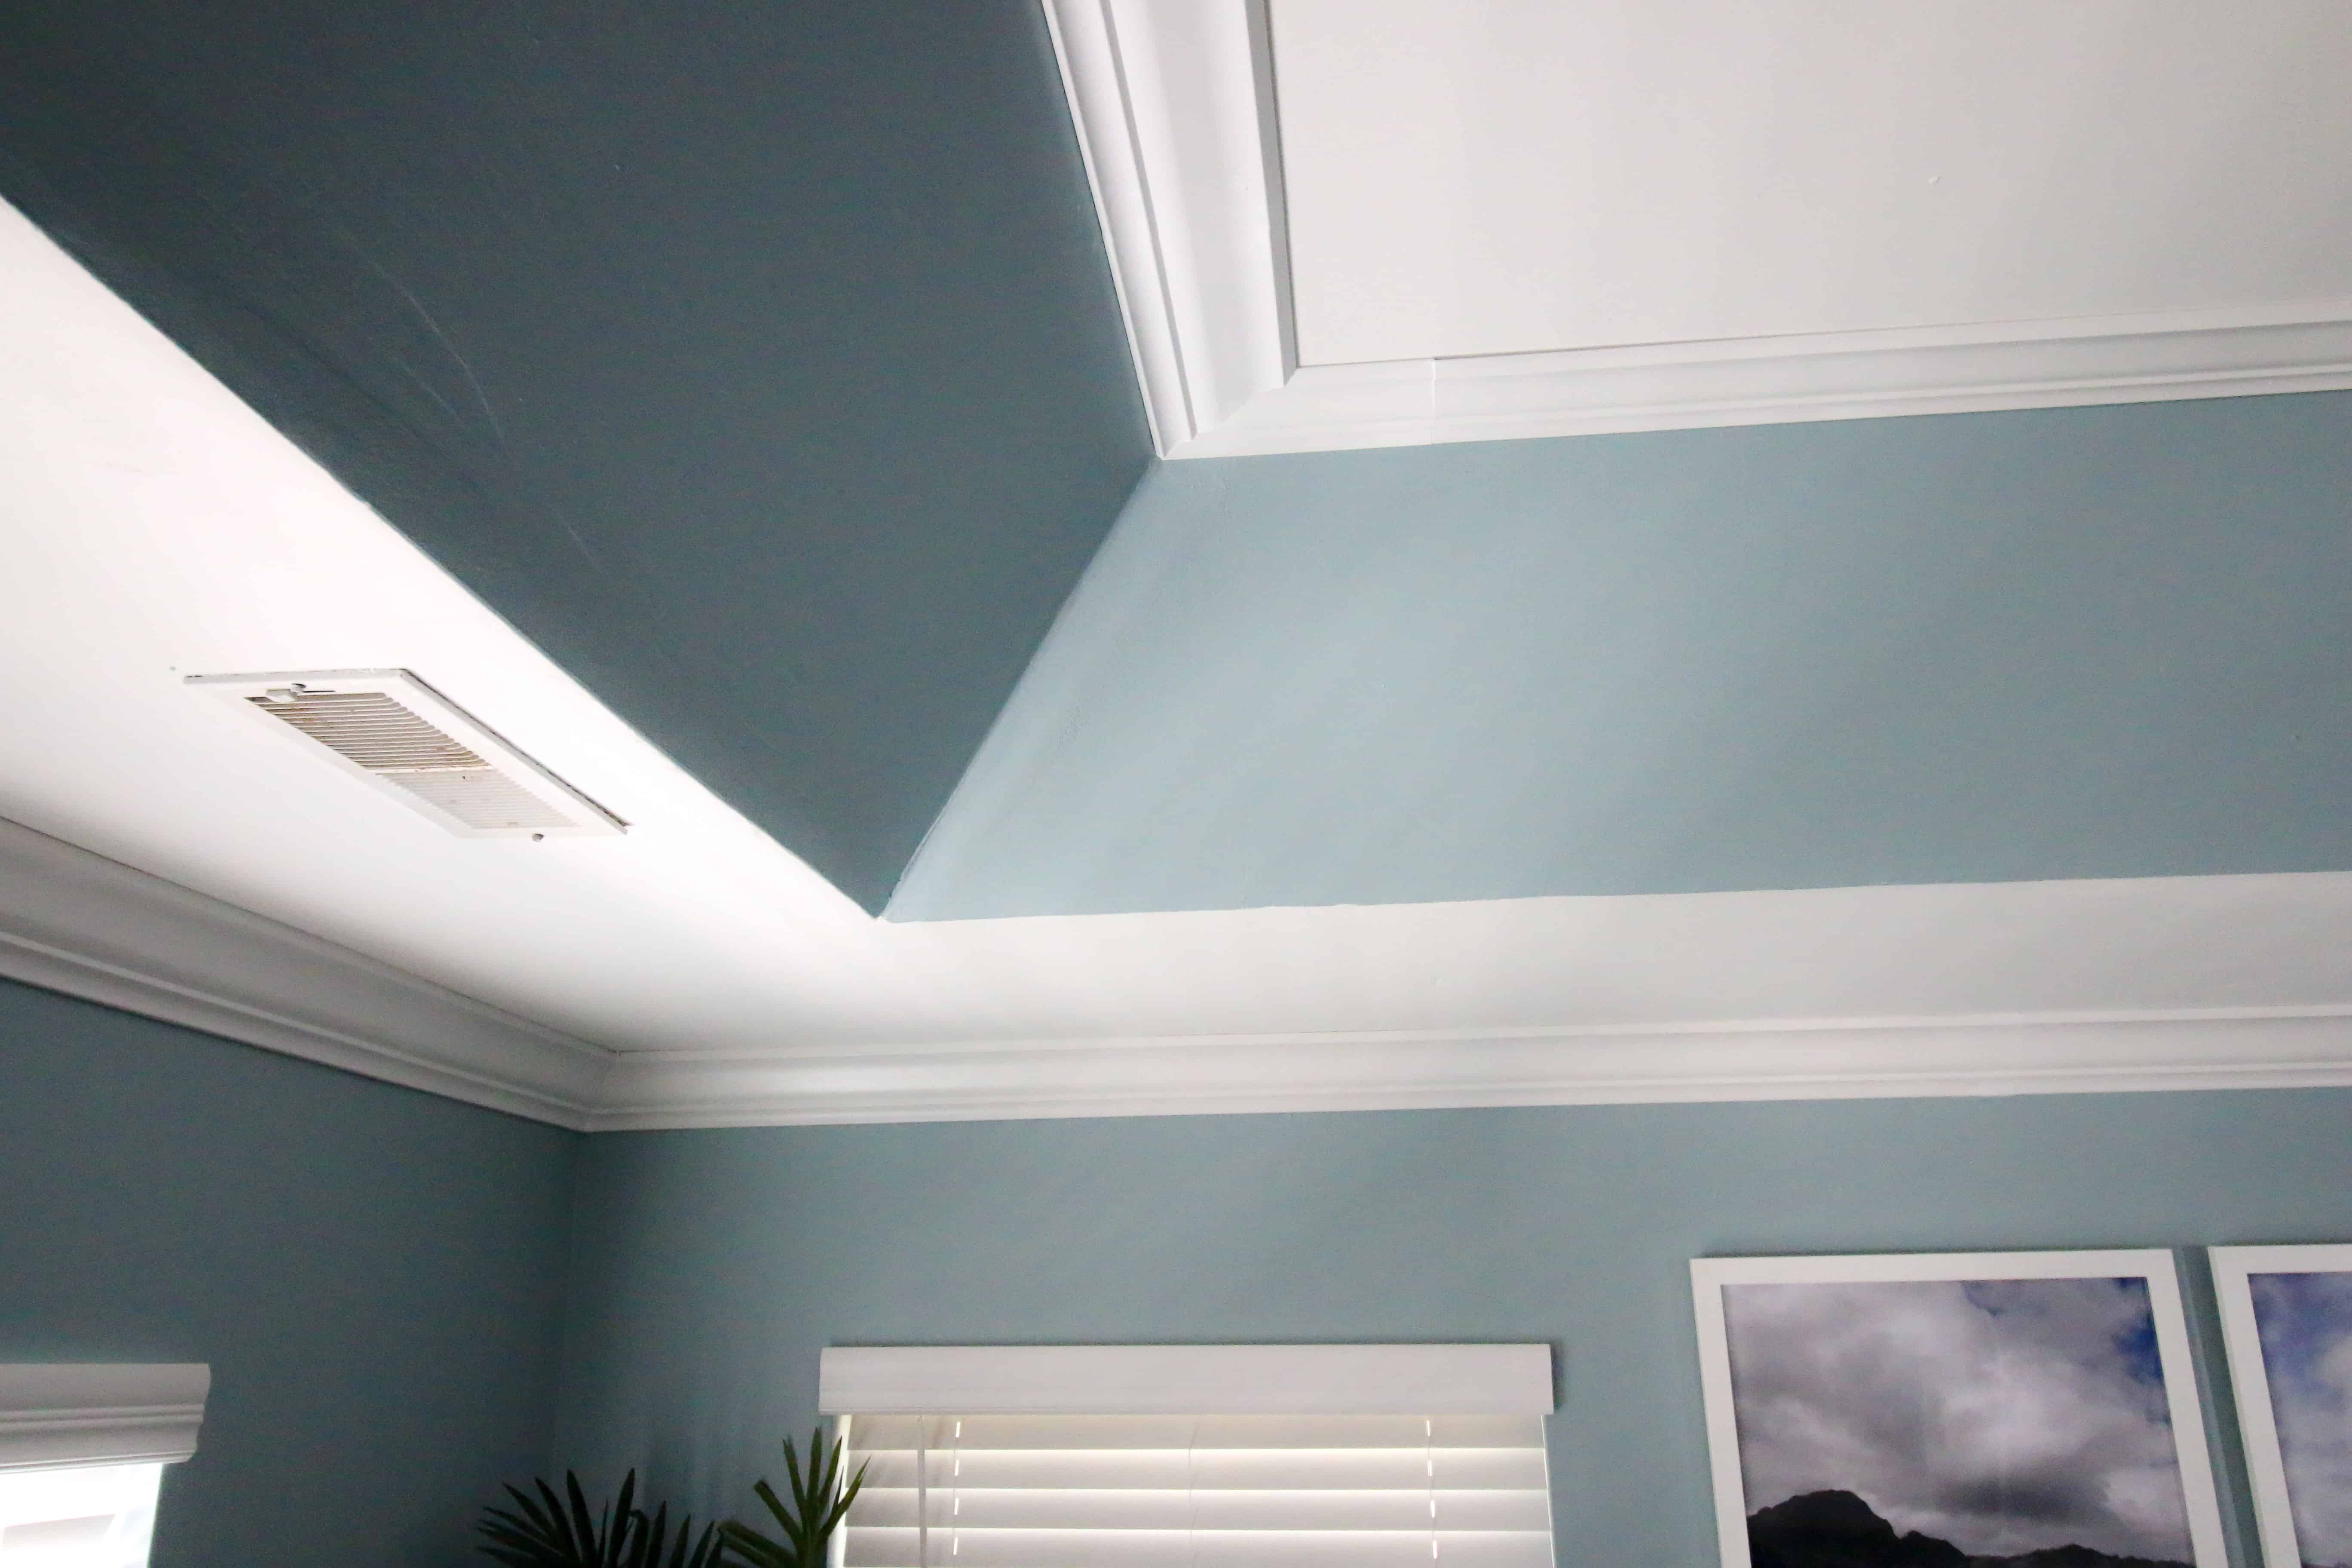
After all that, here's how the room looks after with beautiful crown molding:
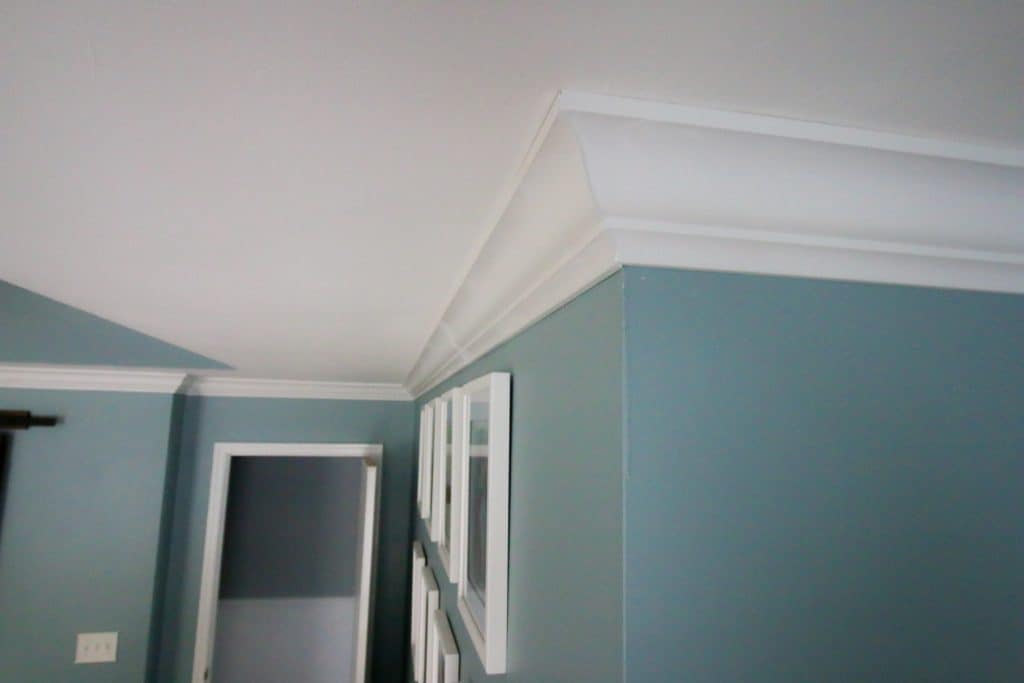
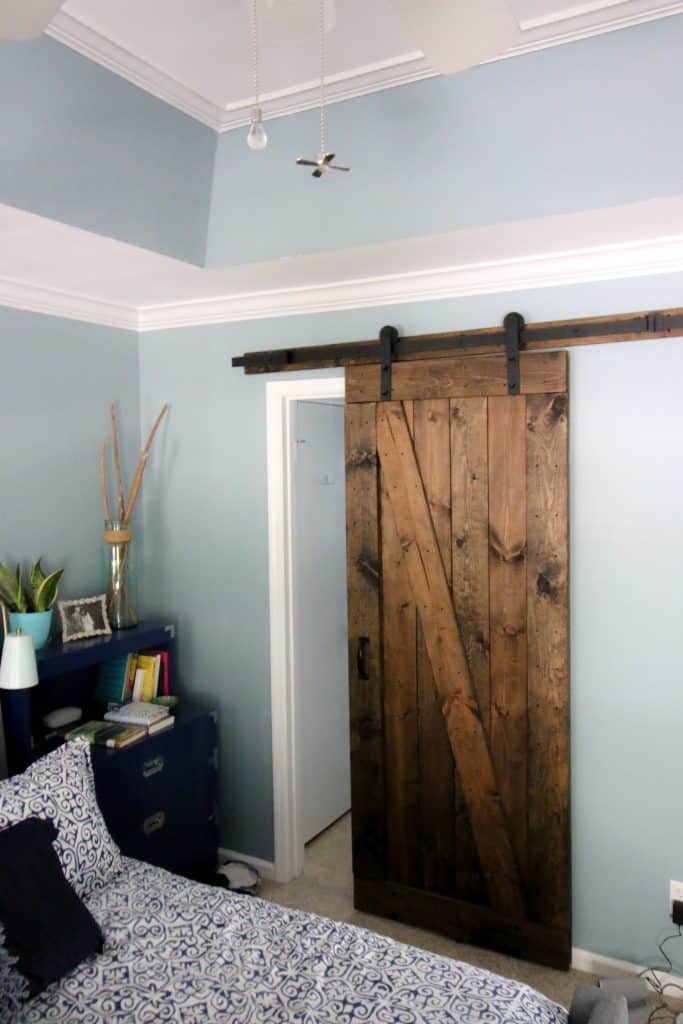
As you can see, crown molding is a simple and fairly inexpensive way to make a room look finished and elegant.
Again, huge shout out to Woodgrain and their Finished Elegance line of crown molding. Their crown molding is light weight, so it's very easy to hold while nailing into place. Plus, it comes finished and looks great, even before you've caulked. Woodgrain's crown molding truly does make each and every room in our home look elegant and we love it.
Good luck on your crown molding project and please drop us a line if you have any trouble! It's a hard process to explain and we'd love to help!

Looking for something?
We've been doing this since 2012 so we have a LOT of blog posts!
Search stuff like: Ceiling Projects | DIY Plant Stands | Thrift Flips

Hey there, I'm Sean, the woodworking enthusiast and builder behind CharlestonCrafted.com! Since 2012, I've been sharing the magic of turning raw materials into beautiful creations. I love teaching others the art and satisfaction of woodworking and DIY. I try to inspire fellow crafters to make something extraordinary out of nothing at all.