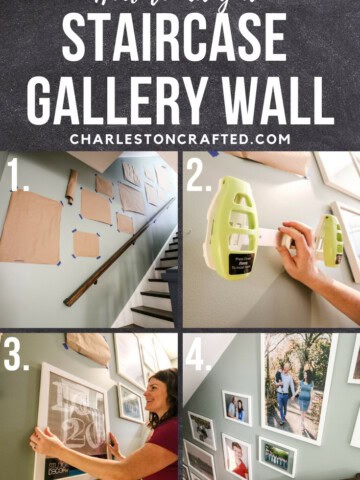
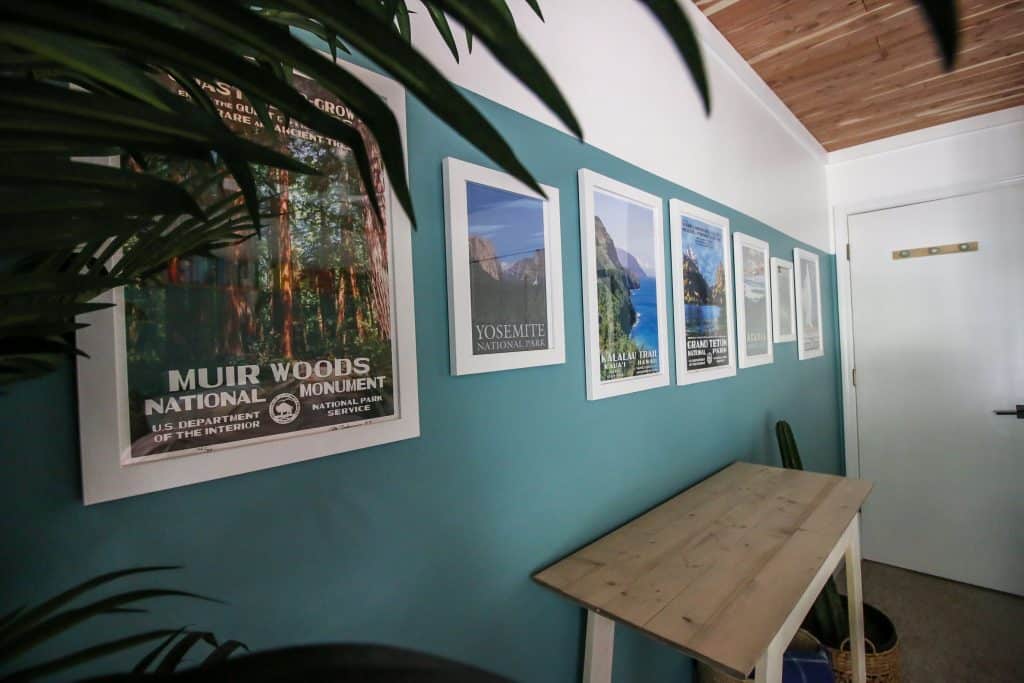
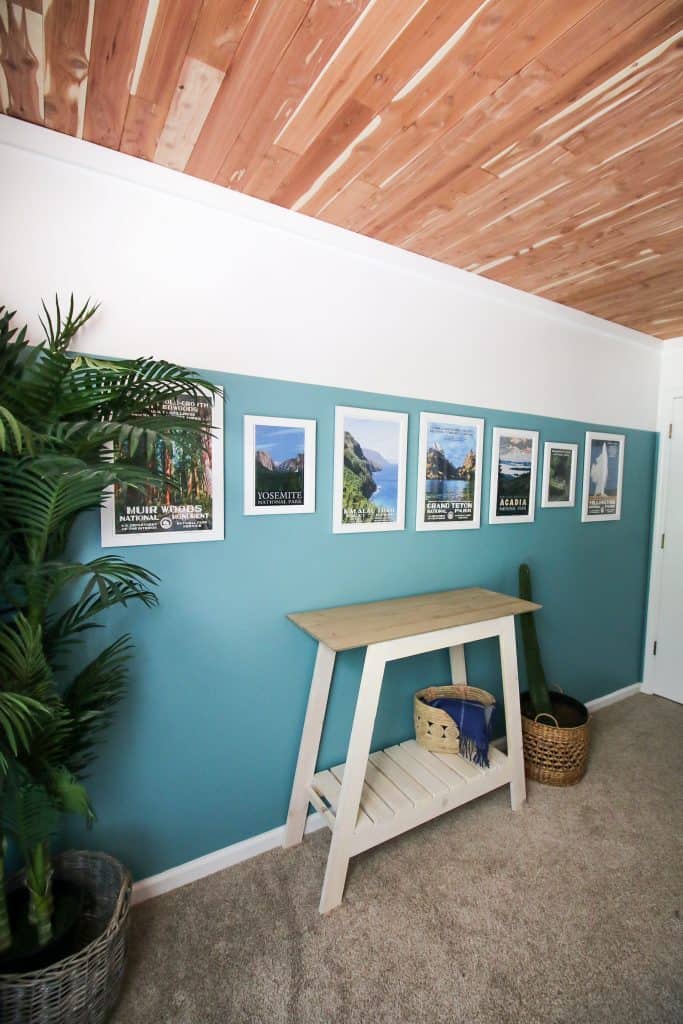
One of the easiest ways to make a big impact in a room is by hanging a gallery wall. We have hung a ton of different gallery wall layouts, but this was a new one for us - a straight line! It's a little more difficult, so we'll show you how to hang pictures in a straight line for a DIY linear gallery wall.
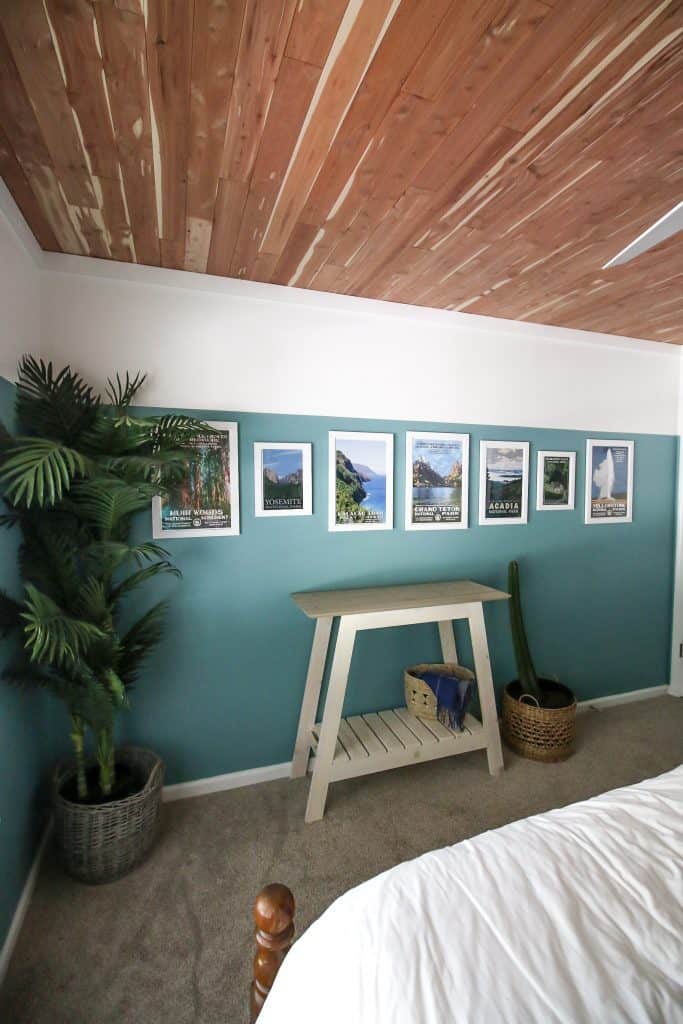
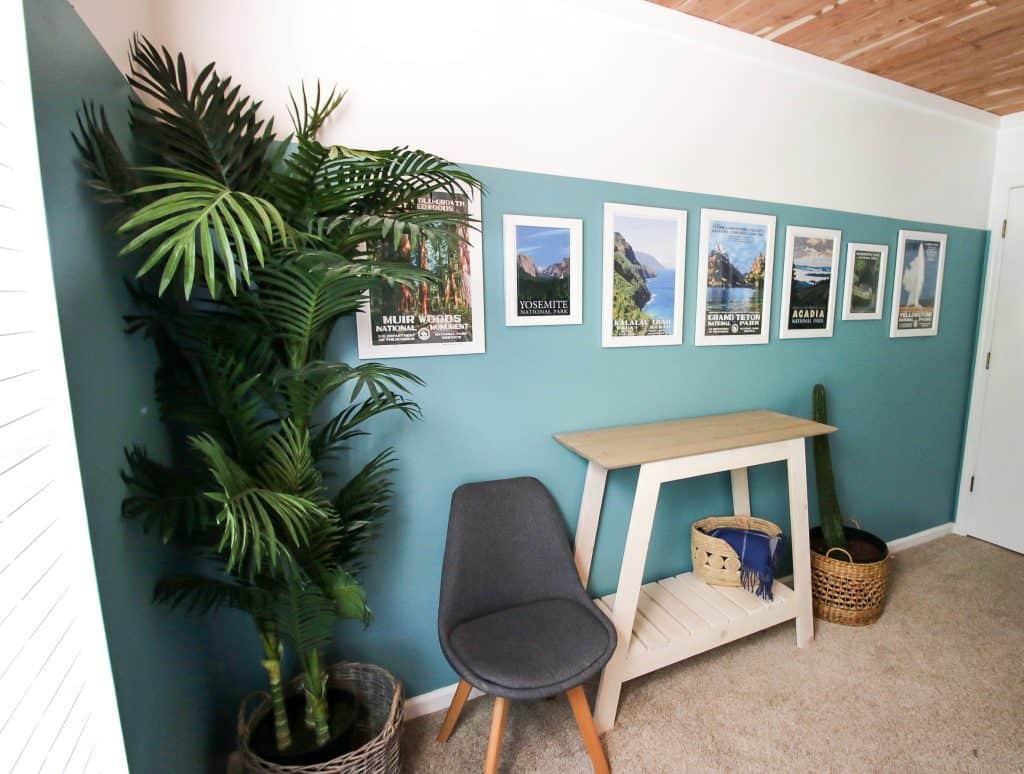
When I was designing our guest bedroom, I knew that I wanted to hang travel posters on the wall across from the bed. We collect a vintage-looking poster every time we visit a national park.
Where to get National Park posters
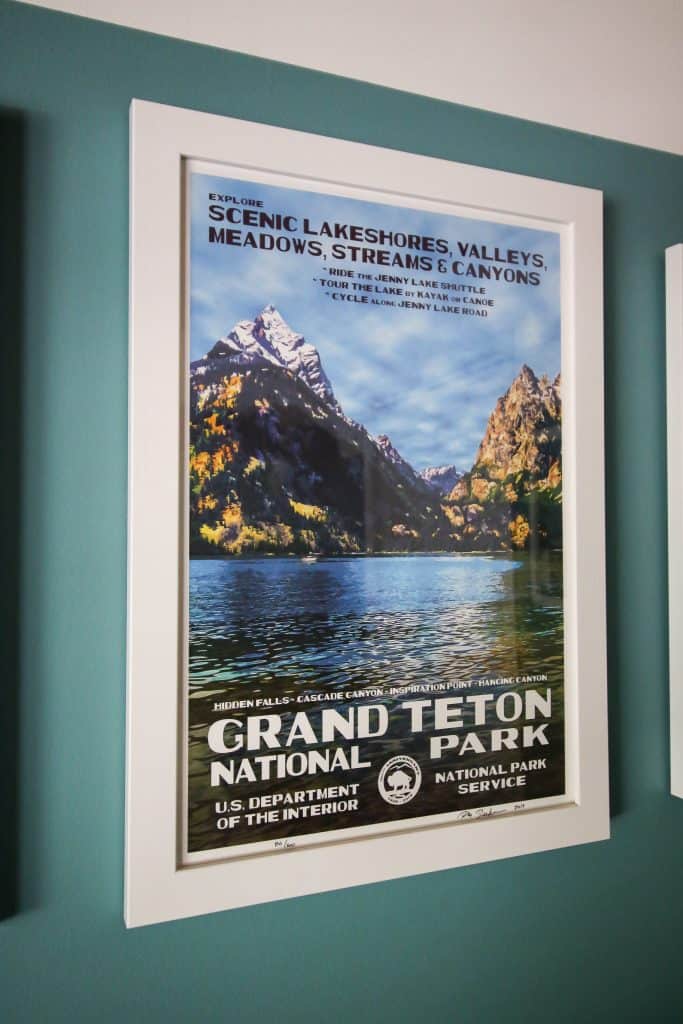
We recently got posters for parks we visited before we started collecting the posters, too. We got posters from the Tetons, Muir Woods, and Yellowstone from Rob Dekker at National-Park-Posters.com. He takes the photos himself and makes gorgeous art from them.
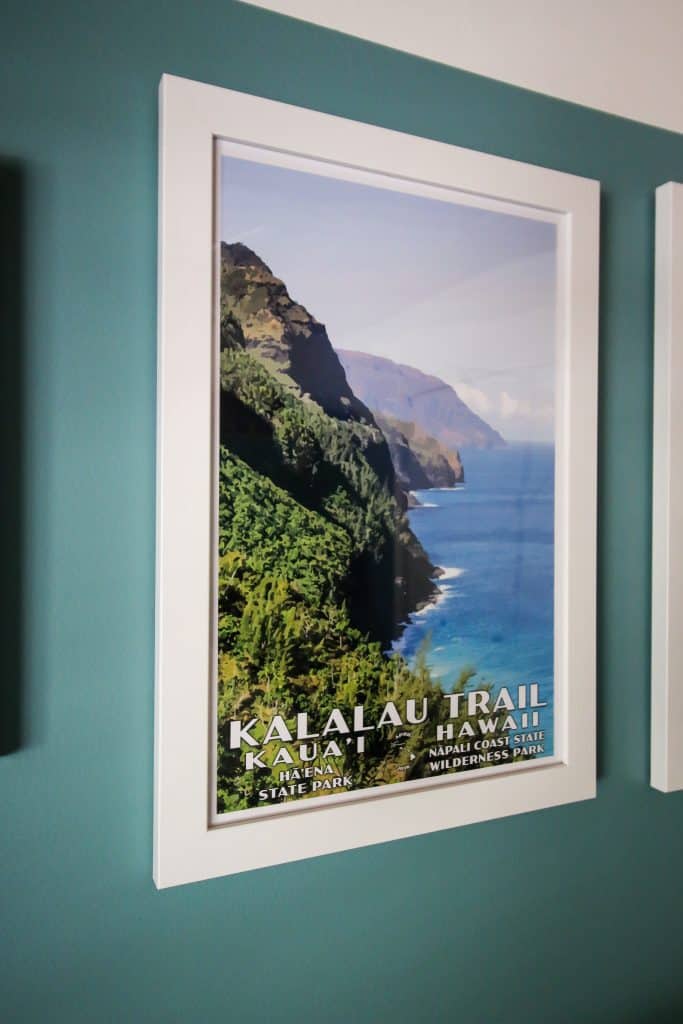
We also had a custom travel poster made from a photo that we took on our trip to Kauai! It's not a national park, but the Kalalau Trail was definitely poster-worthy. This poster was custom designed and printed for us from Just Go Travel Studios. We highly recommend their custom poster service!
Where to buy custom frames
Unfortunately, all of these posters were weird and random sizes. I was unable to find off-the-shelf frames that came in the exact variety of sizes that I needed. I ended up having the frames custom made by Frame It Easy, which wasn't cheap but was the least expensive option that I found.
If you want to get custom frames from Frame It Easy, use this link to get 10% off your order!
How to hang a linear gallery wall
How high should I hang my pictures on the wall?
The first step for hanging this gallery wall was to determine the height that I wanted the frames to hang at. In general, you want them about eye level, but that can mean a lot of things.
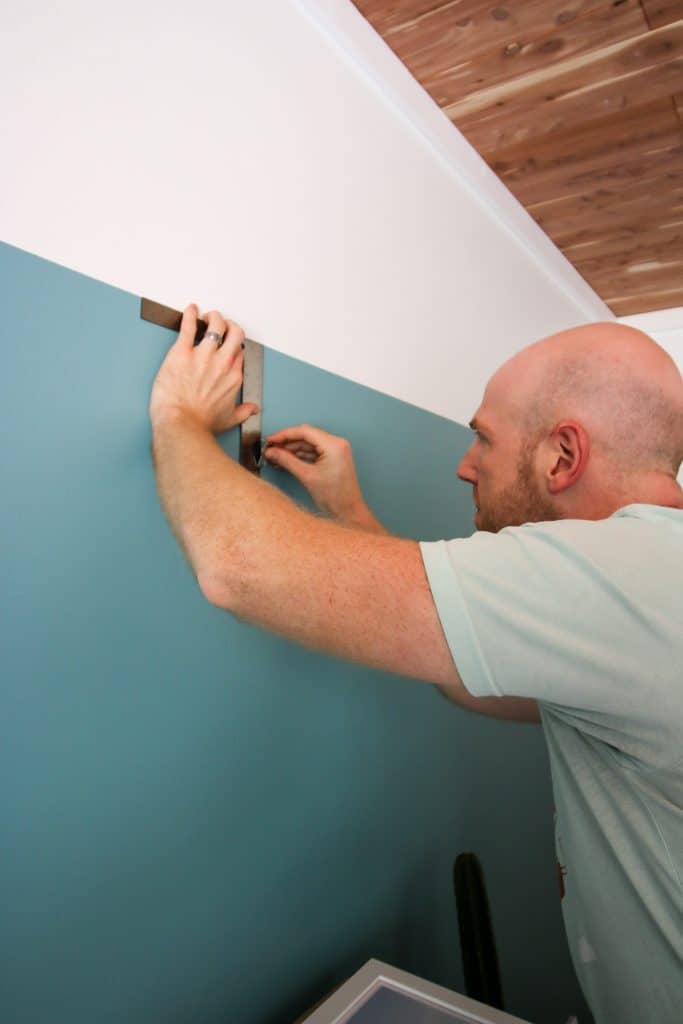
I like to have the vertical center of my frame somewhere around 5 feet off the ground. We used our painted wall stripe as a guide and measured down from there.
Linear gallery wall layout ideas
When hanging a horizontal linear gallery wall there are actually 2 options:
- Center the frames horizontally
- Line the frames up on the bottoms as if they were sitting on a shelf
Of course if your frames are the same heights, these options will look the same.
I opted to line our frames up horizontally. The stripe on the wall + a lined up bottom looked like too many lines to me. But either layout can be great on the right wall.
Depending on how you want to layout your line of photos will determine how to pick the heights for each frame. If you line up on the bottom, it's easy to line up that way.
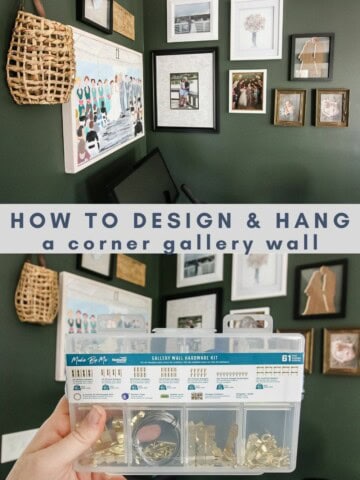
Here's our tutorial for how to build a corner gallery wall!
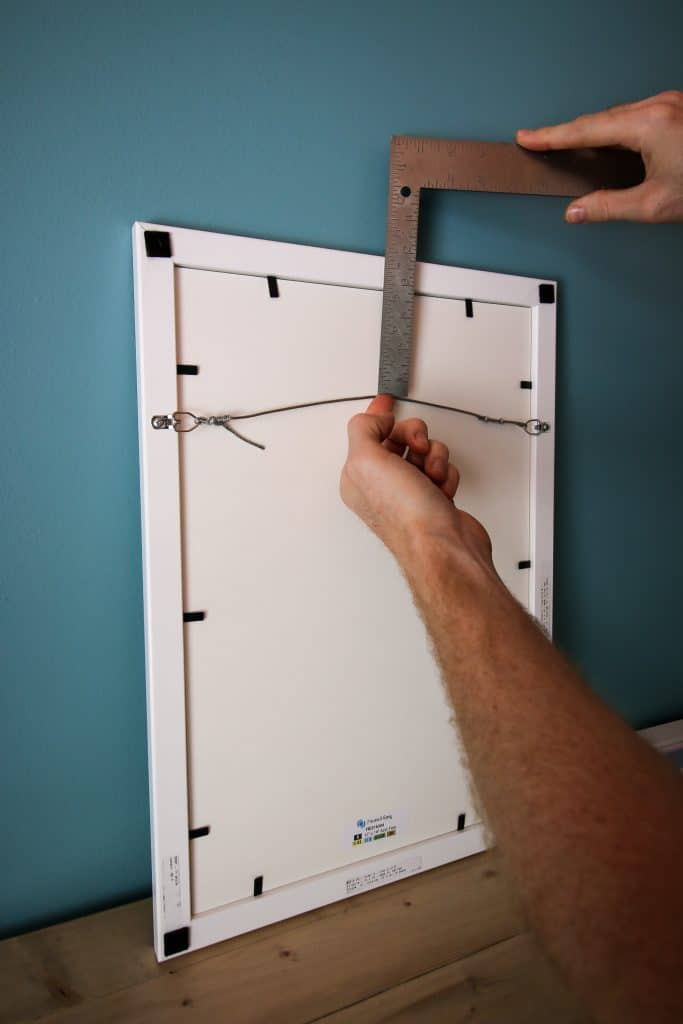
If you want to line up horizontally, you will need to measure the center of each frame and line that up on a line that you imaginary draw on the wall.
Hanging subsequent pictures
Once you have the first frame hung in the center at the proper height, it's time to hang the frames that will go side-by-side.
We decided to hang the frames on the far left and right first. This is because we had a hard stop where they needed to end by.
Use a level or straight edge to make sure those pictures line up with your center frame.
To hang the frames in between those two, we had to do a little math.
Measure:
- The distance between your two frames hung on the wall already (blank space) - call this A
- The total width of your remaining frames - call this B
A minus B is going to give you the total gap you will have between your frames.
Divide number by the number of gaps you will need and you'll know how much space you need between each frame. I know, I know, math sucks. You can do it!
Measure from the edge of the first frame already hanging on the wall. Add the gap (you just calculated) plus half the width of the frame that you want to hang. That's where you hang the nail on the wall.
Picture hanging hacks
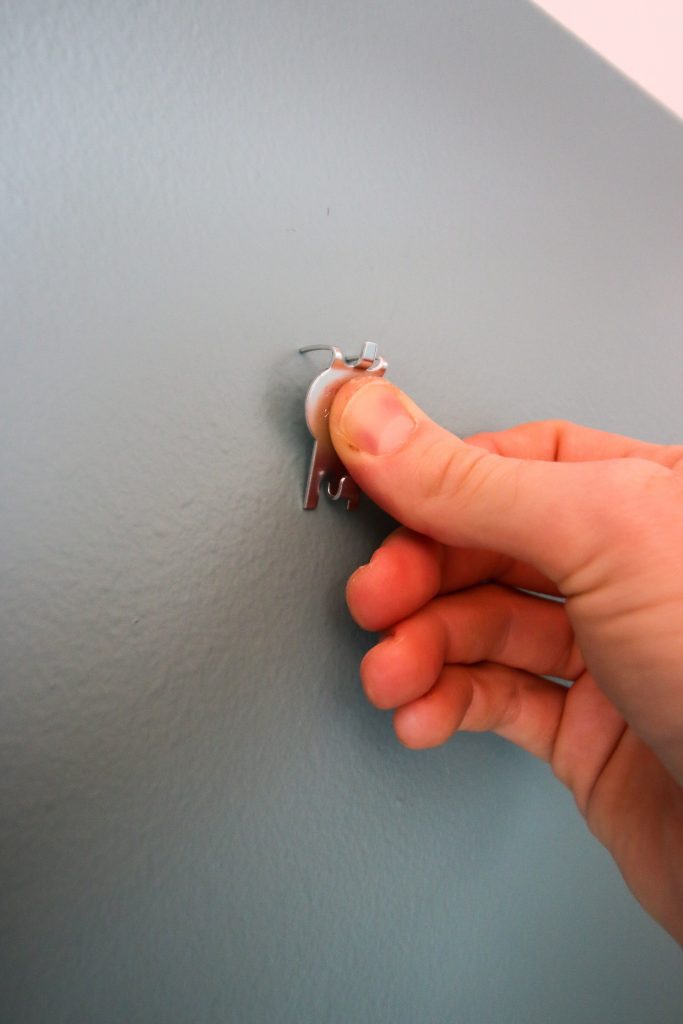
We hung these frames with High and Mighty tool free picture hanging kit. It's a cool piece of hardware that you can push into your drywall with just one finger. It comes out easy to reposition but hangs strong to hold your frames!
Another easy hack for hanging frames involves tape. You can place a roll of tape (sticky side out) on the back of the frame where it will hang on the wall. Pick the spot where you want your frame to go and push it to the wall. Pull off the frame and the tape will stick in the spot where you should hang your nail or hanging hardware.
Hanging frames without a level
No level? No problem. Did you know that your phone comes with a free level app?

How to Make a Linear Gallery Wall
If you're interested in making a linear gallery wall, here's our tips for how to do it. A linear gallery wall has two options, so let's break them down!
Materials
- Nails or frame hanging hardware
Tools
- Level
- Hammer
Instructions
- Decide if you want your linear gallery wall to be lined up on the top, bottom or center of your frames.
- If lining up flush on the top or bottom, use a laser level to mark the line where they all should be flush, then measure up for each frame from the line to the hanging hardware.
- If lining up centered, Start by hanging your biggest frames on either end. Then hang a frame in the center. From here, determine how much space you have in the two sections and how many frames need to go in there.
- Calculate gap size by measuring the space and subtracting the total width of the remaining frames. Then divide that number by the number of gaps you'll have and that is the size of each gap.
- Measure the distance from the top of each remaining frame to its hanging hardware. Measure this distance down from the tallest frame and this is the height to hang your remaining frames.

Looking for something?
We've been doing this since 2012 so we have a LOT of blog posts!
Search stuff like: Ceiling Projects | DIY Plant Stands | Thrift Flips

Hello, I'm Morgan, half of the creative force behind CharlestonCrafted.com! With a passion for DIY that dates back to 2012, I've transformed three homes and now I'm dedicated to helping others craft their dream spaces. Let's turn your house into a home together!