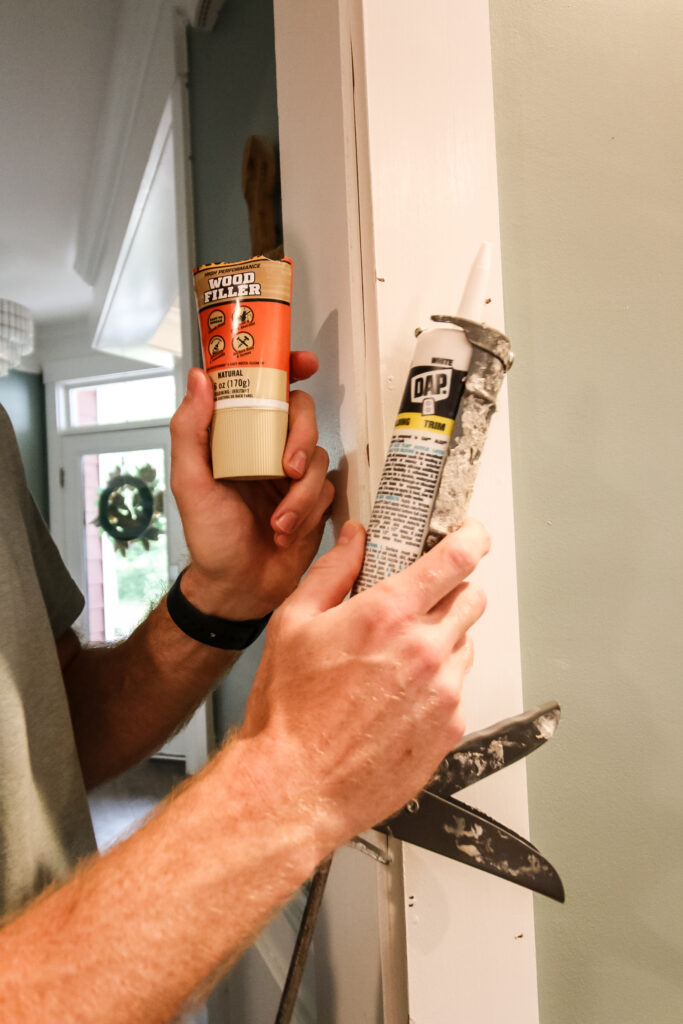
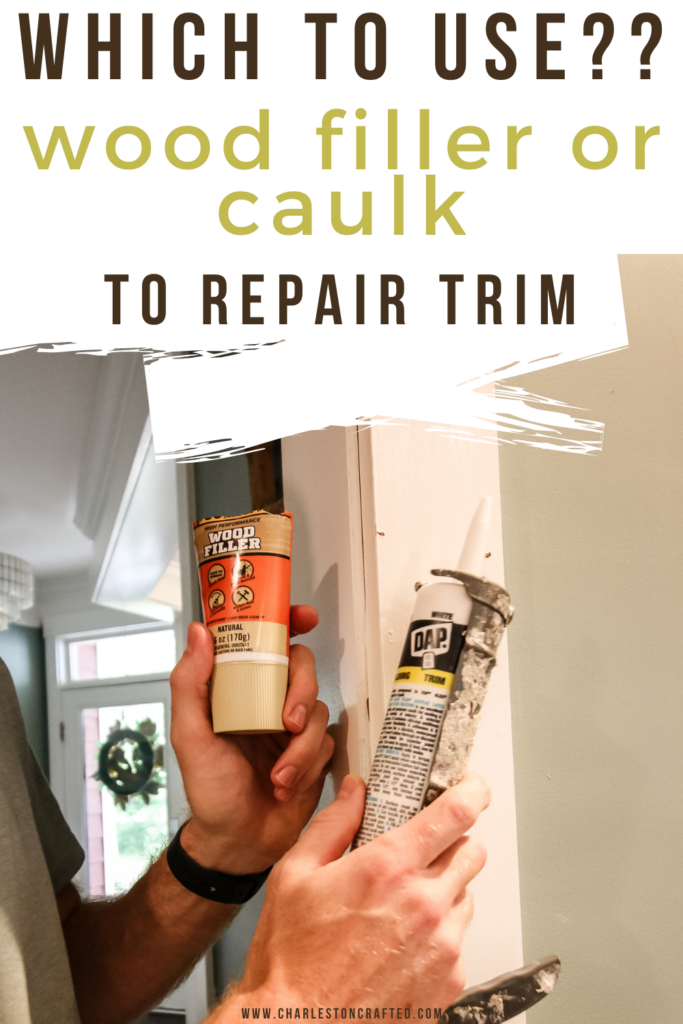
Did you know that if you need to fix a scuff or gauge in trim you should use wood filler, not caulk? Here's all about what you need to do!
We are in the middle of our kitchen renovation and boy do things always seem to spiral.
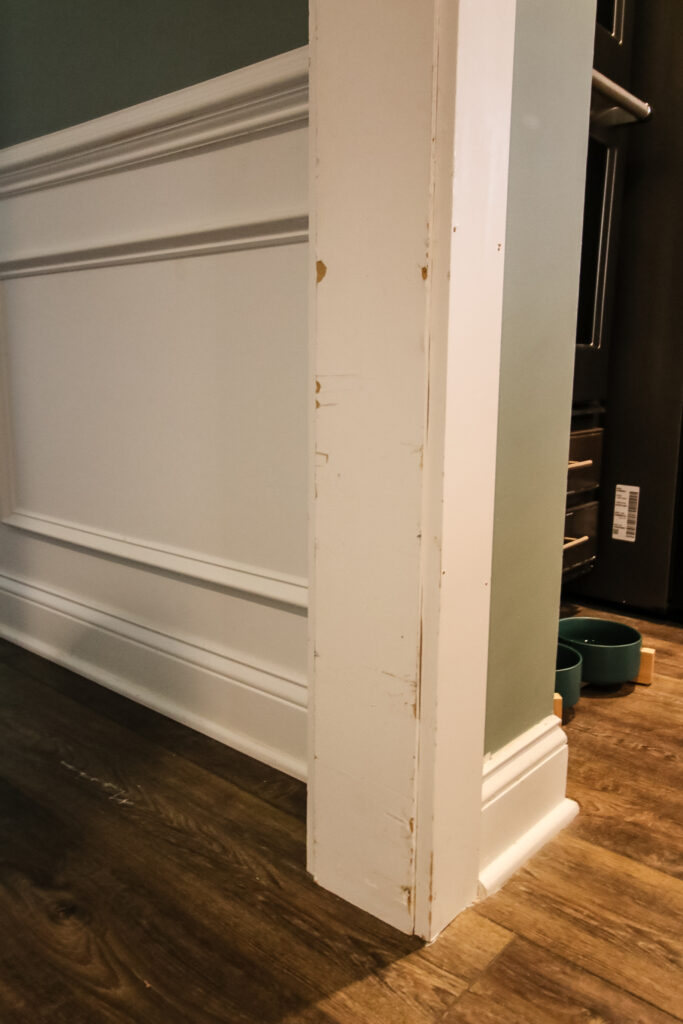
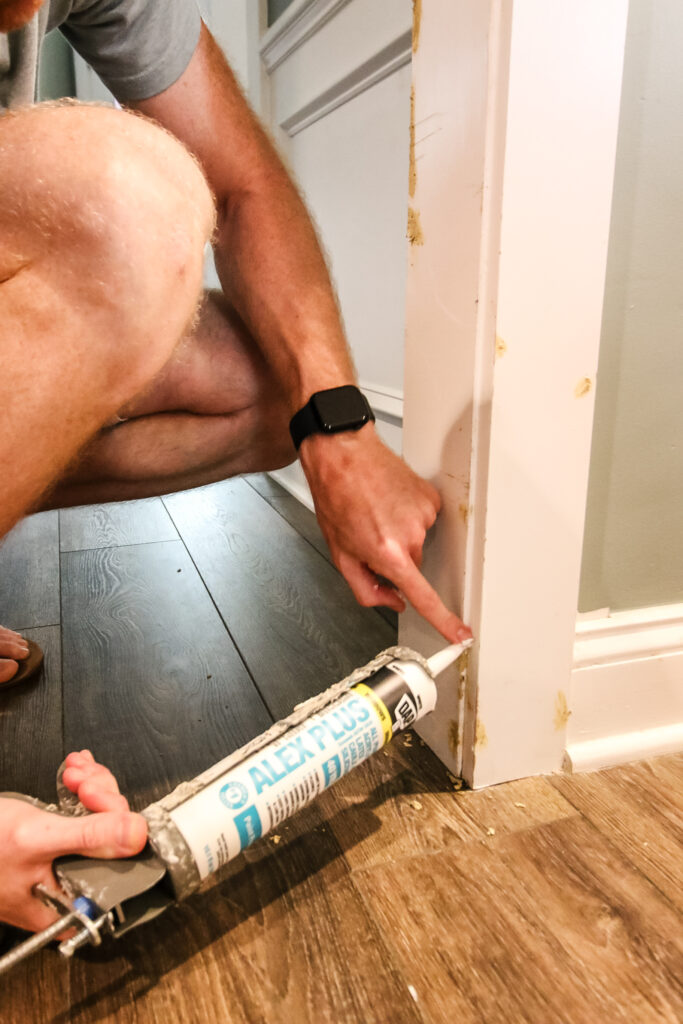
One of the first things we did was actually swap our our fridge for a Samsung Bespoke fridge (check out our full review of it here) but the delivery people really messed up our floors and the trim in the doorway to our kitchen when they brought it in.
I finally got around to repairing the damaged trim and wanted to share with you how to do it, because a lot of people think you always use caulk on trim molding in your home, but that's not the case.
Caulk is used for filling those seams, but wood filler is used for things like repairing gouges or scratches. Let me show you how to do it!

How to repair damaged door trim
Repairing damaged door trim, baseboards, crown or any other molding is a really simple DIY project. You just need to fill the damaged area, sand and paint!
Why not try to make your own wood filler with these easy methods!
Difference between wood filler and caulk
The main difference between wood filler and caulk is that caulk is flexible and can move with joints. It is also easier to apply over a large area.
Wood filler on the other hand is easy to make an area look like it never had any damage to begin with, because it is filling in that area to restore it to it's original look.
For instance, if you put caulk in a scratch, it won't fill flat and it's hard to sand smooth and look right. On the other hand, if you try to put wood filler in a seam between two pieces of trim or molding, it's going to be really hard to get in there and get smooth.
Learn more about when to use wood filler, caulk or spackle here!
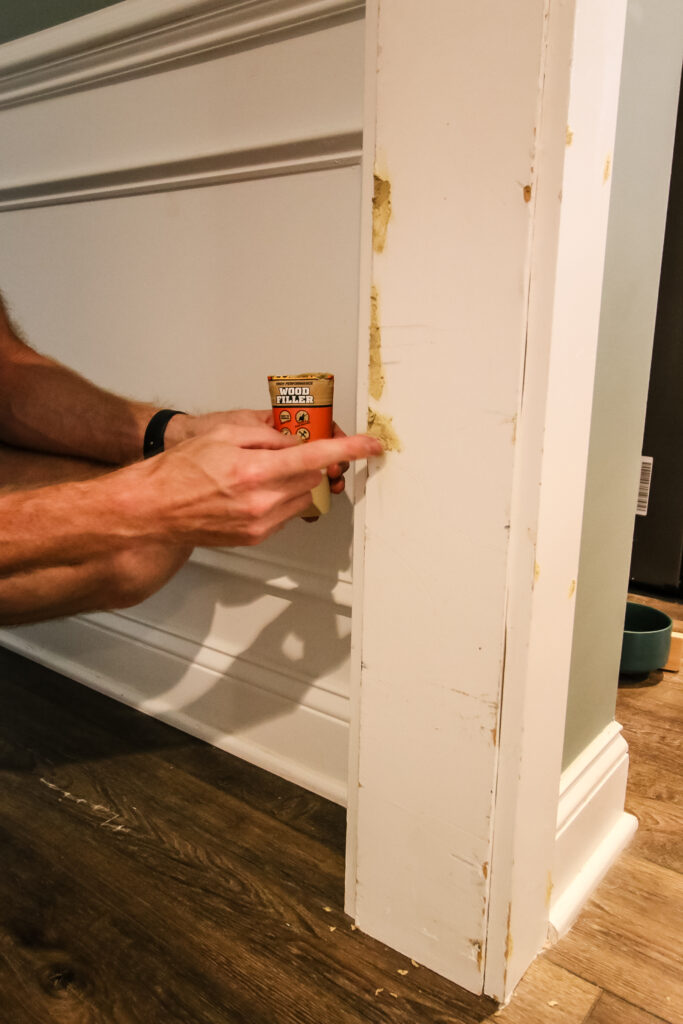
Step one: apply wood filler to trim
To apply wood filler to trim, I like to pitch off an amount that can go between my fingers and then just rub it on there. I work it into the damaged area, making sure to cover everything.
You usually actually want to over fill a little bit when applying wood filler because it can shrink when it dries. Since you're going to sand anyways, it can be brought down to flush, but if it shrinks to below flush, you'd have to add more.
I like to work this into cracks, gouges and nail holes if you've just nailed in the molding too.
After it's all filled, allow it to dry for 24 hours, even though you aren't putting that much in.

Step two: sand smooth
Once the wood filler is dry, use a fine grit sandpaper and lightly sand in a circular motion over all the areas you filled.
Using a circular motion minimizes any more chance of creating scratch marks as the paper will smooth everything out as you're sanding, just like with a random orbit sander.
Bring any bumps down to level with the trim and then wipe clean with a damp cloth.
Step three: paint
Finally, you're ready to paint. Trim is usually painted with a high-gloss white sheen, you make sure you have that. But it also means that trim can get dirty quicker over time.
Because of that, I don't recommend spot-painting. You really should paint the entire area of trim so that the color matches. This is obviously much easier if you painting door trim (because you can just do the whole doorway quickly) compared to painting all your crown molding, but I promise it will look better.
Learn more about the best trim paints here!

What's the best wood filler to use on trim?
We have actually done a whole series of comparing different wood fillers. They each have pros and cons depending on the job you want to do.
In the case of trim, you want to use something that is paintable, quick to dry, and ok to use indoors, so I'd recommend something like Gorilla Glue Wood Filler or Dap Wood Filler. Here's more detail on some other ones:

Looking for something?
We've been doing this since 2012 so we have a LOT of blog posts!
Search stuff like: Ceiling Projects | DIY Plant Stands | Thrift Flips

Hey there, I'm Sean, the woodworking enthusiast and builder behind CharlestonCrafted.com! Since 2012, I've been sharing the magic of turning raw materials into beautiful creations. I love teaching others the art and satisfaction of woodworking and DIY. I try to inspire fellow crafters to make something extraordinary out of nothing at all.